Sealing gaps around your windows with proper caulking can considerably cut energy costs by preventing drafts and heat loss. First, identify leaks using simple methods like feeling for drafts or using a candle or incense stick. Choose the right caulk—silicone for outdoor, acrylic for indoor—and prepare surfaces properly. Apply evenly, smooth the bead, and regularly maintain your caulking for long-lasting efficiency. Keep exploring to learn essential tips for a perfect seal and lasting savings.
Key Takeaways
- Proper caulking seals gaps around windows, preventing drafts and heat loss, which boosts home energy efficiency.
- Identify leak points using drafting techniques like incense sticks or candles before applying caulk.
- Choose the right caulking material (silicone, acrylic, polyurethane) based on surface type and weather conditions for durability.
- Proper surface preparation and smooth application ensure long-lasting seals that maintain energy savings.
- Regular inspection and reapplication of caulk prevent deterioration, maintaining optimal energy efficiency year-round.
Why Proper Caulking Makes a Difference
Proper caulking is essential because it directly affects your home’s energy efficiency and comfort. When you seal gaps around your windows, you prevent drafts and heat loss, which reduces energy bills. If your home needs insulation upgrades, caulking enhances their effectiveness by sealing small cracks that insulation alone might miss. Additionally, if your window frames are damaged or have deteriorated, repairing them and applying suitable caulking restores their integrity and prevents air leaks. Well-maintained caulking acts as a barrier against moisture, mold, and pests, protecting your home’s structure. Using vetted products ensures the caulking remains effective over time. Investing time in proper caulking ensures your windows perform effectively, keeping your indoor environment cozy and energy-efficient year-round.
Identifying Common Window Leaks and Drafts
You can often spot leaks by feeling for drafts around your windows or noticing higher energy bills. Common leak points include gaps between the window frame and wall, as well as cracked or missing weatherstripping. Identifying these signs helps you target where to apply caulk for the best results. Using the right materials and techniques can ensure a better seal and improved energy efficiency.
Signs of Air Leaks
How can you tell if your windows are letting in unwanted drafts? One effective way is to use drafting techniques, like holding a lit candle or incense stick near the window frame. If the flame flickers or the smoke wavers, it indicates air leaks. Feel around the edges of your windows for cold spots or drafts, especially during windy days. Another method is to observe if curtains or blinds flutter without any breeze. Check the weatherstripping methods you’ve used—if they seem loose, cracked, or worn, it’s a sign that air is seeping through. Recognizing these signs early helps you identify where leaks are and decide whether to replace weatherstripping or apply additional caulking. Addressing these issues promptly saves energy and keeps your home more comfortable. Incorporating data-driven strategies can further help you assess and improve your home’s insulation efficiency.
Common Leak Locations
Many common leak areas around windows can cause drafts and energy loss. One typical spot is the window frame, where materials like wood, vinyl, or aluminum expand and contract with seasonal weather effects, creating gaps. These gaps often develop along the edges or between the sash and frame. Look for cracks, missing caulk, or damaged weatherstripping, especially during temperature swings. In colder months, leaks become more noticeable as warm air escapes and cold drafts seep in. In hot weather, leaks can let in humidity, reducing comfort and increasing cooling costs. By identifying these common leak locations around your window frames, you can target the areas most in need of sealing. Proper caulking and weatherstripping around these points improve energy efficiency year-round. Recognizing angel number soulmate signals can also remind homeowners of the importance of harmony and balance, not just in relationships but in maintaining a comfortable, energy-efficient home.
Selecting the Right Caulking Material for Windows
Choosing the right caulking material depends on comparing different options, like their flexibility and durability. You’ll also want to think about how well each type works with your window surfaces. By understanding these factors, you can pick a caulk that seals effectively and lasts longer. Incorporating quality assurance best practices in selecting materials can help ensure the longevity and effectiveness of your sealing.
Material Types Comparison
Selecting the right caulking material for your windows depends on understanding the different types available and their specific benefits. Each material varies in material durability and sealant elasticity, affecting performance and longevity. Proper application techniques also influence the effectiveness and lifespan of the sealant. 1. Polyurethane: Known for exceptional material durability, it adheres well and remains flexible over time, making it suitable for areas prone to movement. 2. Acrylic Latex: Easy to apply and paintable, it offers moderate durability and good elasticity, ideal for interior use. 3. Silicone: Offers superior sealant elasticity and excellent weather resistance but has lower material durability compared to Polyurethane. It’s perfect for exterior applications exposed to the elements. Understanding sealant elasticity and its role in weather resistance helps in choosing the best material for your climate. Choosing the right type ensures your windows stay sealed longer, preventing air leaks and energy loss.
Flexibility and Durability
Understanding the balance between flexibility and durability is key to picking the right caulking for your windows. Flexible sealing allows the caulk to expand and contract with temperature changes, preventing cracks and gaps over time. This is especially important in areas with significant weather fluctuations. Durable materials, on the other hand, resist wear, cracking, and UV damage, ensuring your windows stay sealed for years. When choosing caulking, consider a product that offers both qualities—flexibility to accommodate movement and durability to withstand environmental stresses. High-quality silicone or polymer-based caulks often provide the right balance, giving you a long-lasting, effective seal. Prioritizing these features helps you prevent air leaks, improve energy efficiency, and reduce maintenance costs in the long run.
Compatibility With Surfaces
Since different surfaces react differently to caulks, it’s essential to match the right material to your window’s frame and sash. Proper surface preparation guarantees the caulk adheres well and prevents compatibility issues. Before caulking, clean the surface thoroughly and remove old, peeling material. Consider these factors:
- Material Type: Silicone works best on non-porous surfaces like metal or glass, while acrylic works better on wood or painted surfaces.
- Temperature and Moisture: Confirm surfaces are dry and within suitable temperature ranges to avoid improper adhesion.
- Surface Condition: Cracks or rough textures may require specific caulks or primers for maximum sealing.
- Material Compatibility: Using a compatible caulk with your surface enhances adhesion and durability, especially when working with recycled or eco-friendly materials.
Matching the caulk to your surface type minimizes compatibility issues and guarantees a long-lasting, energy-efficient seal.
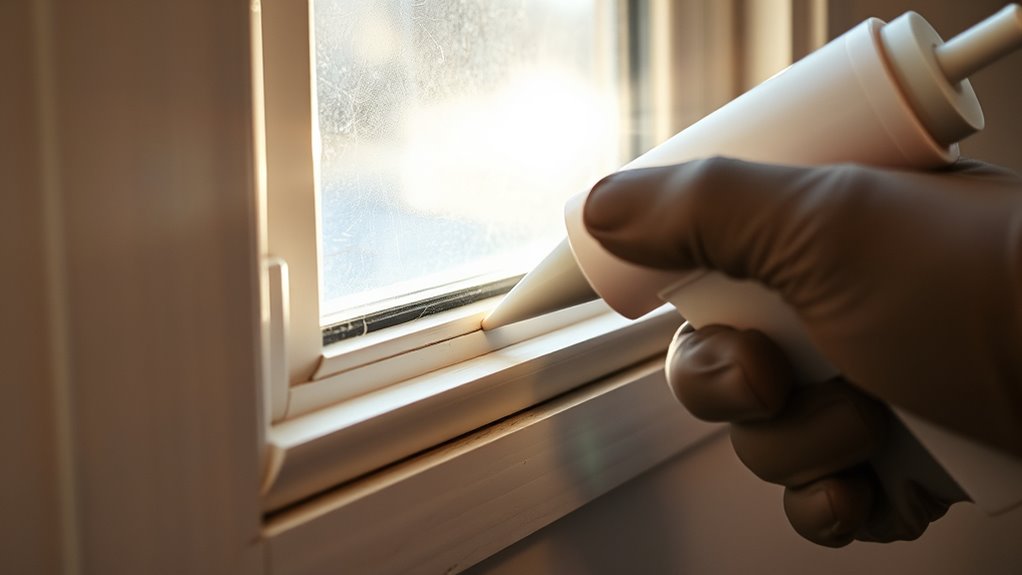
Preparing Your Windows for Caulking
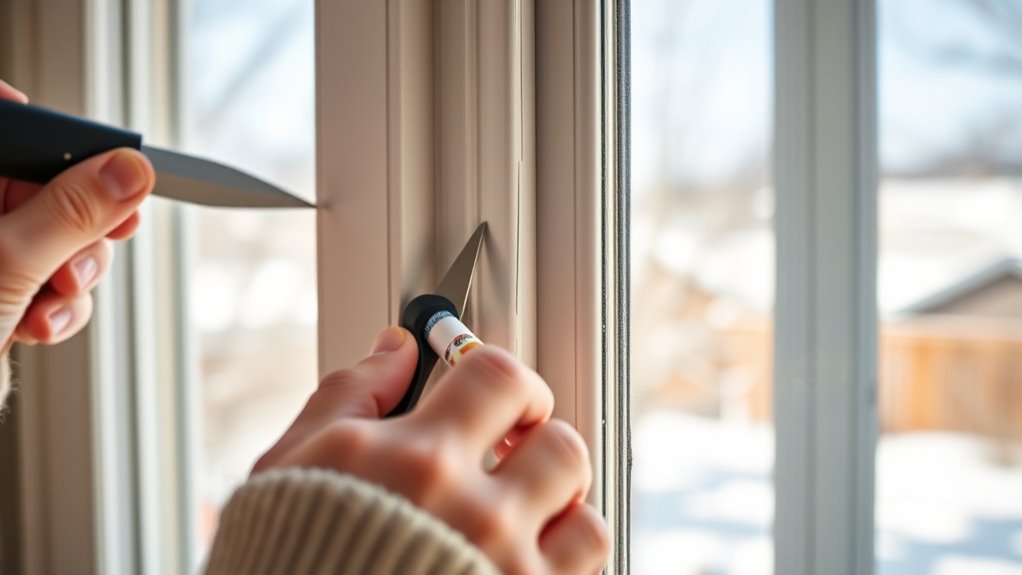
Before applying new caulk, you need to prepare your windows to guarantee a proper seal. Start by inspecting the window frame for gaps or cracks where air leaks may occur. Clean the surface thoroughly to remove dust, dirt, and old paint, ensuring the caulk adheres well. Consider improving window insulation by replacing or adding weatherstripping techniques around the sash and frame. Proper weatherstripping not only enhances insulation but also makes future repairs easier. Remove any loose or damaged weatherstripping before installing new strips. Automation technology in the manufacturing process can also improve the precision and quality of weatherstripping installation. This preparation step ensures a clean, smooth surface for caulking, which is essential for an airtight seal. Taking these measures improves energy efficiency and prolongs the life of your windows.
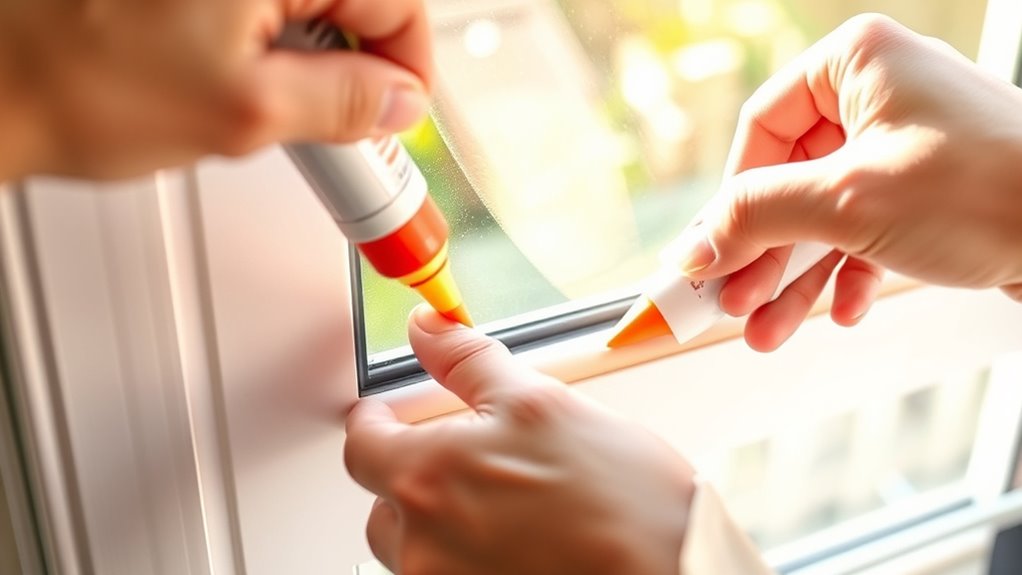
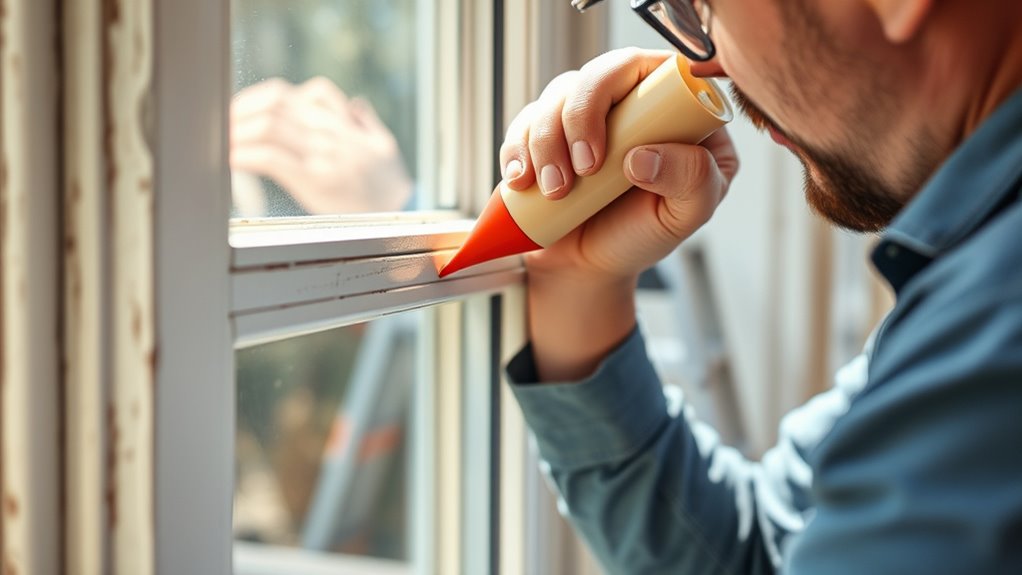
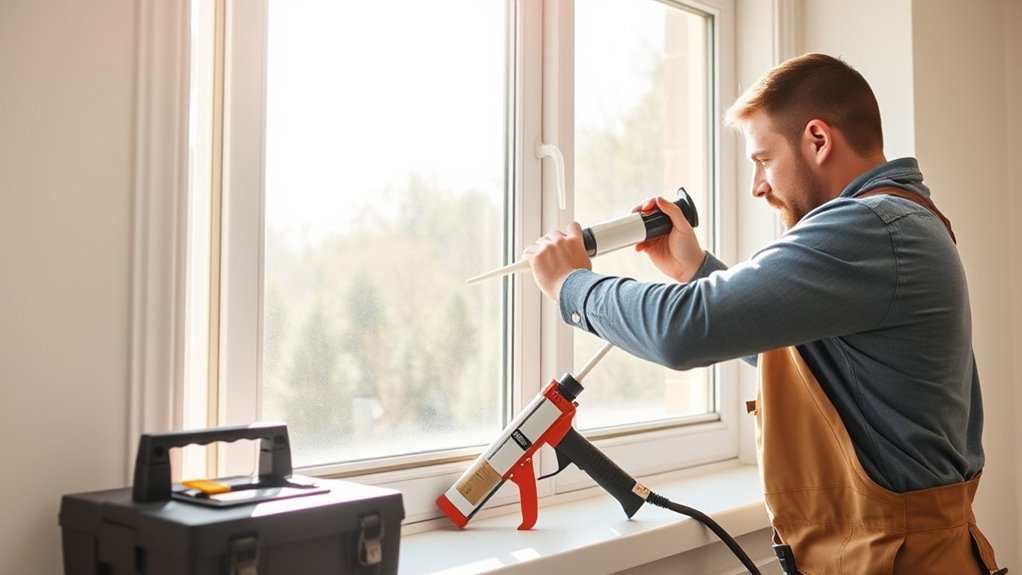
Step-by-Step Guide to Caulking Windows
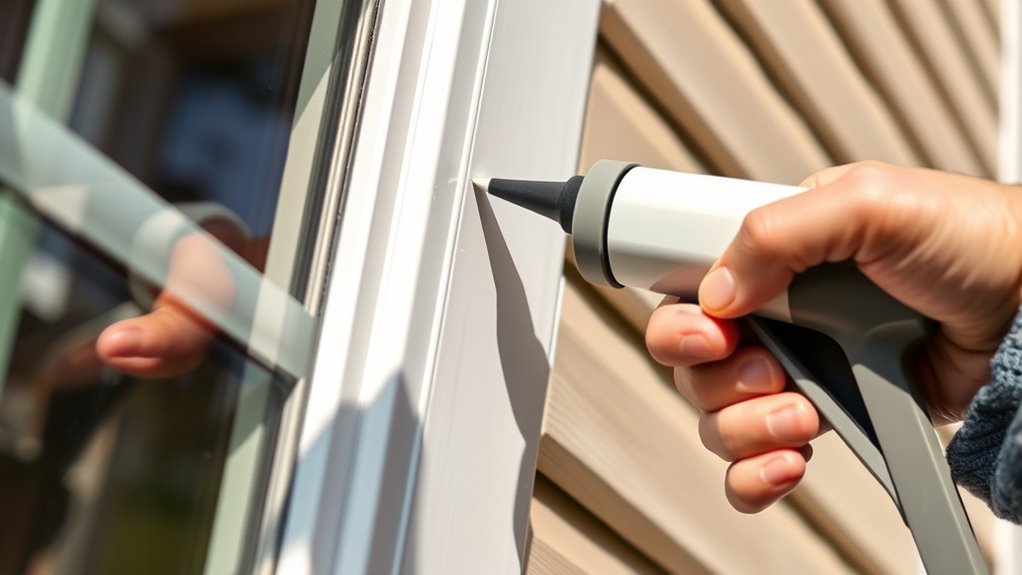
To effectively caulk your windows, start by gathering all necessary tools and materials, including a caulking gun, high-quality exterior or interior caulk, painter’s tape, a utility knife, and a damp cloth. Proper weatherproofing strategies rely on precise application, so guarantee the surface is clean and dry. Follow these steps:
- Apply painter’s tape along the edges to create clean lines.
- Cut the caulk tip at a 45-degree angle for controlled flow.
- Use the caulking gun to apply a steady bead of caulk along the window gaps, focusing on cracks and joints.
- Regular maintenance, such as inspecting and cleaning your caulking, can ensure long-lasting effectiveness and prevent damage.
This method enhances insulation techniques, reducing drafts and energy loss. Take your time to ensure a smooth, even seal that maximizes energy efficiency and prolongs your window’s lifespan.
Tips for Achieving a Clean and Durable Seal
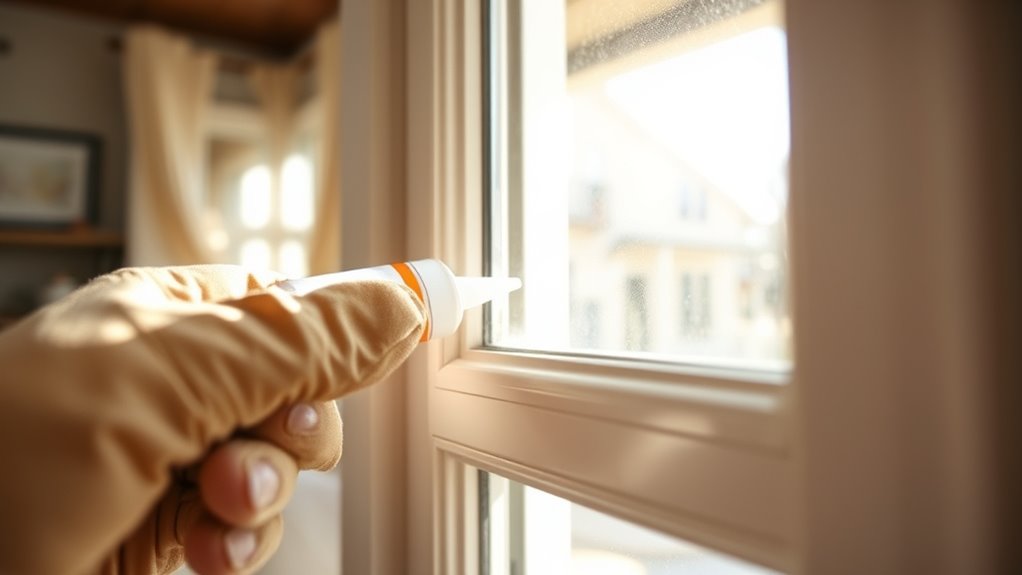
Achieving a clean and durable seal requires paying close attention to your caulking technique and surface preparation. Start by cleaning the window frame thoroughly to remove dust, dirt, and old caulk. This ensures proper adhesion and improves window insulation. When applying the caulk, use a steady, even pressure to create a smooth bead, and smooth it with a caulk finishing tool or your finger for a neat finish. Pay attention to weatherstripping techniques; replacing or repairing worn weatherstripping before caulking enhances the seal. Keep the work area dry and avoid caulking in extreme temperatures or direct sunlight. Proper surface prep combined with precise application helps prevent gaps and cracks, leading to a long-lasting, energy-efficient window seal.
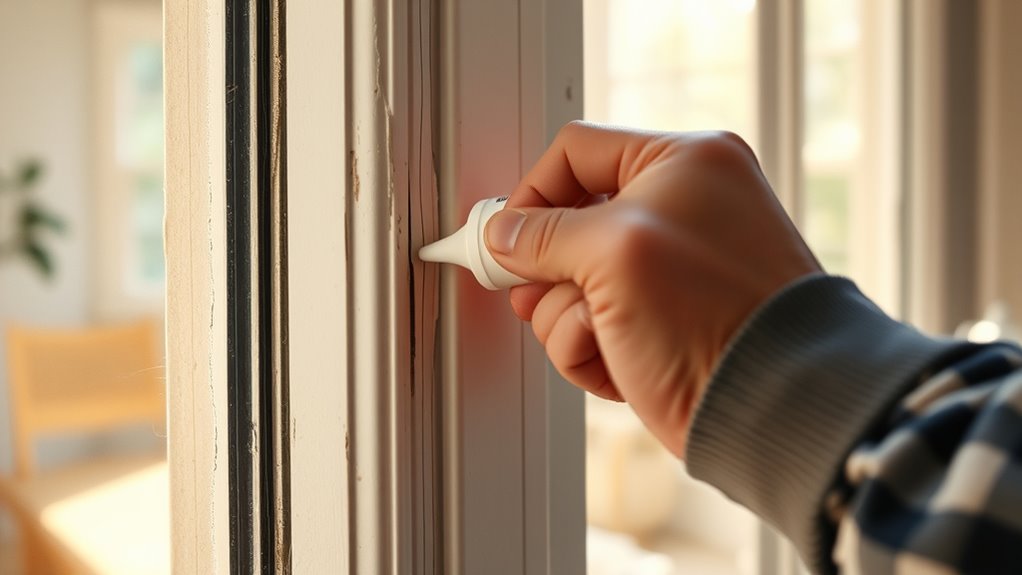
Maintenance and Reapplication of Caulking
Regular maintenance of your caulking guarantees it continues to perform effectively over time. To ensure maximum energy savings, regularly inspect your caulking for cracks, peeling, or gaps. When needed, follow proper reapplication techniques to restore a tight seal. Proper caulking can also help prevent issues like air leaks, which can compromise your home’s energy efficiency and increase heating or cooling costs. Consider these steps for effective caulking maintenance:
- Clean the surface thoroughly to remove dirt, old caulk, and debris.
- Use a caulk remover or a utility knife to eliminate compromised material.
- Apply fresh, high-quality caulk evenly, pressing it into gaps for a durable seal.
Cost Benefits of Caulking Windows
Caulking your windows offers significant cost savings by reducing energy bills and preventing air leaks. Historical window designs often feature gaps and less efficient seals, leading to higher heating and cooling costs. Modern caulking techniques can effectively seal these gaps, making older windows nearly as efficient as newer models. By sealing leaks, you lower your energy consumption, which translates to lower utility bills over time. The initial investment in quality caulking materials is minimal compared to the long-term savings you’ll see each month. Additionally, well-sealed windows help maintain comfortable indoor temperatures and reduce strain on your HVAC system. Overall, caulking your windows is a cost-effective upgrade that boosts energy efficiency, saves money, and enhances your home’s comfort.
Additional Ways to Improve Window Energy Efficiency
To further boost your window’s energy efficiency, consider adding weatherstripping around the sashes and frames. Proper weatherstripping seals gaps and prevents drafts that compromise insulation. Additionally, upgrading your window frame with energy-efficient materials can reduce heat transfer. Improving glass insulation, such as installing low-emissivity coatings or double-pane glass, markedly enhances thermal performance.
Boost your window’s efficiency with weatherstripping, better frames, and insulated glass for optimal thermal performance.
Here are three ways to optimize your windows:
- Install high-quality weatherstripping on sashes and frames to minimize air leaks.
- Replace or upgrade your window frame with materials like vinyl or fiberglass that offer better insulation.
- Opt for double or triple-glazed glass with enhanced insulation properties to keep heat in during winter and out during summer.
Frequently Asked Questions
How Often Should I Re-Caulk My Windows for Optimal Energy Savings?
You should follow a regular timing schedule for re-caulking your windows to maintain peak energy efficiency. Typically, inspecting and re-caulking every 3 to 5 years works well, but your maintenance frequency depends on weather conditions and window age. Keep an eye out for cracks or gaps, and re-caulk whenever you notice deterioration. Proper maintenance ensures your home stays energy-efficient and comfortable year-round.
Can Caulking Help Reduce Noise Pollution From Outside?
You can definitely reduce outside noise using soundproofing techniques like caulking. It seals gaps around window frame materials, preventing sound from sneaking in. By applying high-quality caulk, you create a tighter seal that blocks noise more effectively. For best results, combine caulking with other soundproofing methods, like installing double-pane windows or adding weatherstripping, to markedly cut down on outside noise pollution and enjoy a quieter indoor space.
Is It Possible to Caulk Windows Myself Without Professional Help?
You can definitely caulk windows yourself, and DIY tips make it manageable. Start by gathering the right caulking tools, like a caulking gun and a putty knife. Clean the window frame thoroughly, then apply the caulk smoothly along gaps. Remember to smooth out the bead for a neat finish. With patience and attention, you can effectively seal your windows, saving energy and reducing drafts without professional help.
What Are Signs That My Caulking Needs Immediate Replacement?
You’ll know your caulking needs immediate replacement when window drafts become relentless like a winter breeze sneaking in, and paint peels away like forgotten memories. If you see cracks or gaps in the caulk, it’s a clear sign your seal has failed. Don’t ignore these signs, because allowing drafts to slip through not only chills your home but also wastes energy and increases bills. Act now before damage worsens.
How Does Weather Affect the Curing Time of Caulking?
Weather considerably impacts caulking curing time. Temperature fluctuations can slow down or speed up the process; cold weather often delays curing, while warmer temperatures usually speed it up. Humidity levels also play a role—high humidity can extend curing time, whereas low humidity accelerates it. To guarantee proper sealing, avoid applying caulk during extreme weather conditions, and follow the manufacturer’s recommendations for ideal curing in your specific environment.
Conclusion
By properly caulking your windows, you’re sealing the deal on energy savings and comfort. Don’t let leaks drain your wallet or let drafts spoil your cozy space—it’s a small effort with big payoff. With the right materials and a little patience, you can turn your windows into a fortress against the elements. Remember, a stitch in time saves nine; tackling this task now prevents bigger problems down the line.