
To keep your bathrooms and kitchens dry and mold-free, use proper caulking techniques. Choose mildew-resistant silicone or polyurethane, clean and dry surfaces before application, and remove old caulk completely. Apply the new caulk steadily and smooth it for a neat finish, especially around sinks, tubs, and showers. Regular inspection and reapplication prevent leaks and mold buildup. Keep these tips in mind to guarantee long-lasting, waterproof results—there’s more to learn if you continue exploring this topic.
Key Takeaways
- Use mildew-resistant silicone or polyurethane caulk for mold prevention around sinks, tubs, and showers.
- Thoroughly clean and dry surfaces before applying new caulk to ensure proper adhesion.
- Apply caulk evenly along joints and corners, then smooth with a finger or tool for a sealed, neat finish.
- Regularly inspect caulking in high-moisture areas and reapply when cracks or mold appear.
- Proper caulking creates a waterproof barrier, reducing water damage and mold growth in kitchens and bathrooms.
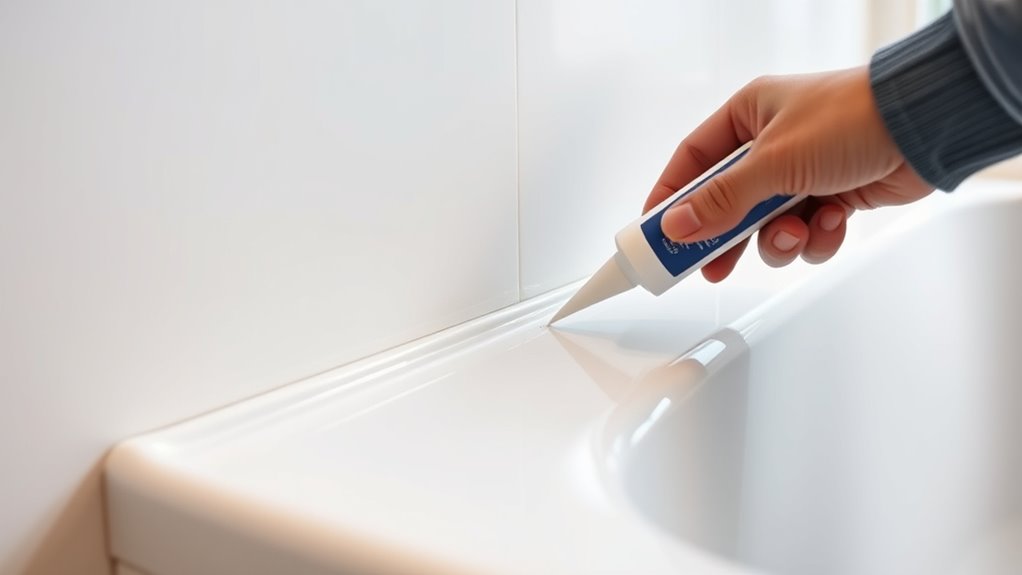
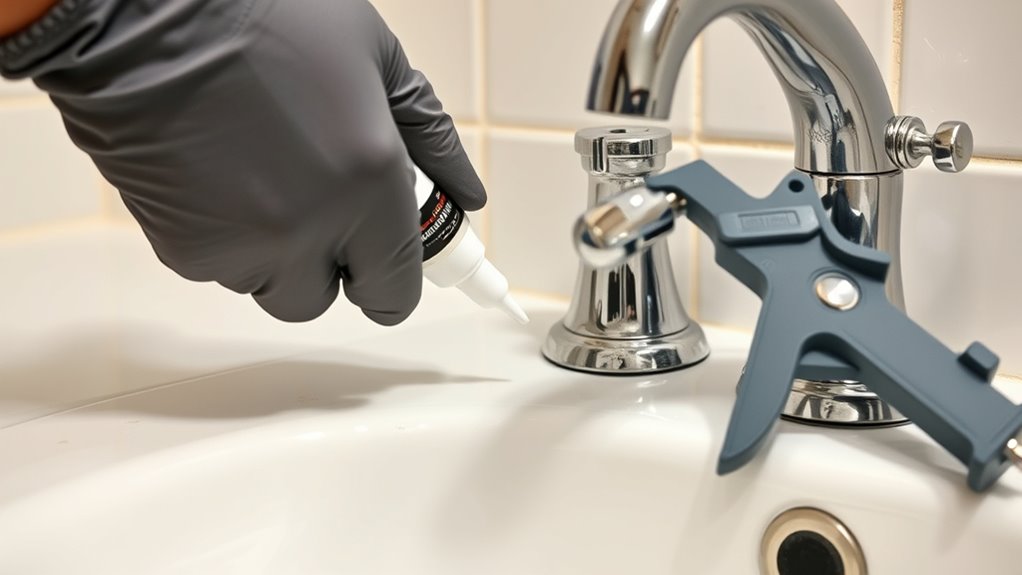
Ever wondered how to keep your bathroom and kitchen spaces clean, dry, and mold-free? The key lies in mastering caulking, especially when it comes to mold prevention and sealing techniques. Proper caulking isn’t just about making things look neat; it’s about creating a barrier that keeps moisture out and prevents mold growth, which can cause health issues and damage your home. Starting with mold prevention, you need to focus on areas prone to water exposure—around sinks, tubs, showers, and behind appliances. Mold thrives in damp environments, so your goal should be to eliminate any opportunity for water to seep into gaps or porous surfaces. This means selecting the right caulk, preferably mildew-resistant silicone or polyurethane, which resists mold and mildew growth over time. Before applying, verify the surfaces are thoroughly cleaned and dried. Mold spores like to cling to old, peeling, or moldy caulking, so removing the old material completely is vital. Using a utility knife or caulk remover tool, carefully cut away the existing caulk, then clean the area with a disinfectant or alcohol to remove residue and mold spores. Once the area is dry, apply your sealing technique by loading your caulk gun with fresh, mildew-resistant caulk. Hold the gun at a consistent angle and apply steady pressure to create an even bead along the seam. Use a smoothing tool or your finger dipped in water to press the caulk into the joint, ensuring a tight seal that adheres well to the surfaces. Sealing techniques are essential for preventing water from leaking behind tiles, into wall cavities, or under sinks, which can lead to hidden mold growth and structural damage. Pay special attention to corners, edges, and joints where water tends to collect or seep through gaps. After applying, give the caulk a few hours to cure, and avoid exposing it to water during this time. Regular maintenance also plays a role—inspect your caulking periodically, especially in high-moisture areas, and reapply when you notice cracks or deterioration. Proper sealing techniques not only improve the appearance of your spaces but also act as a defense against mold buildup. Remember, the right caulk applied correctly creates a durable, waterproof barrier that keeps your bathrooms and kitchens cleaner, healthier, and mold-free. Using the right caulking materials is essential for long-lasting results. Taking these steps guarantees you’re actively preventing mold and safeguarding your home from water damage, all while maintaining a fresh, hygienic environment.

ESANHAO Electric Drain Auger 25ft Cordless Drain Cleaner machine auto feed plumbing snake for kitchen sink, showers, toilet et. 3/4-2" Pipe drain clog (Upgraded)
POWERFUL AND EFFICIENT DRAIN CLEANING: Experience the outstanding performance of the ESANHAO cordless drain snake and effortlessly clean...
As an affiliate, we earn on qualifying purchases.
Frequently Asked Questions
How Often Should I Re-Caulk My Bathroom or Kitchen?
You should re-caulk your bathroom or kitchen every 1 to 2 years for ideal caulking maintenance. Over time, the bathroom sealant lifespan diminishes due to moisture and use, causing cracks or mold. Regular inspections help you spot deterioration early. When you notice gaps, mold, or peeling, it’s time to re-caulk. Keeping up with this schedule ensures your bathroom stays waterproof, clean, and safe.
What Type of Caulk Is Best for High-Moisture Areas?
Imagine you’re sealing your shower, and mold starts growing in the corners. For high-moisture areas, you should use a waterproof sealant like a mold-resistant caulk. These caulks prevent water from seeping in and inhibit mold growth, ensuring longevity. Silicone-based options are excellent because they remain flexible and waterproof, making them ideal for bathrooms and kitchens where moisture levels are consistently high.
Can I Use Acrylic Caulk Instead of Silicone?
You can use acrylic caulk instead of silicone, but keep in mind that acrylic caulk generally has lower durability in high-moisture areas. For better longevity, verify you apply it with proper techniques like cleaning and drying surfaces thoroughly before sealing. While acrylic is easier to work with and paintable, silicone offers superior waterproofing and flexibility, making it the better choice for bathrooms and kitchens where moisture is constant.
How Do I Remove Old, Moldy Caulk Effectively?
To eliminate old, moldy caulk effectively, start by softening it with a caulk remover or heat gun. Use a utility knife or caulk removal tool to carefully cut along the edges. Then, apply mold removal cleaner to disinfect and prevent future growth. Afterward, prepare the area by cleaning thoroughly and drying it completely. Proper caulk preparation ensures a smooth, mold-free surface for your new caulk application.
Is It Necessary to Wear Protective Gear When Caulking?
Think of caulking safety like armor in a battle—you should wear protective gear. Protective gear, such as gloves and goggles, shields you from mold spores, chemicals, and sharp tools. When caulking, especially in tight or moldy areas, it’s essential to wear this gear to prevent skin irritation, eye injury, or inhaling harmful particles. Prioritize protective gear to make certain your work is safe and effective.
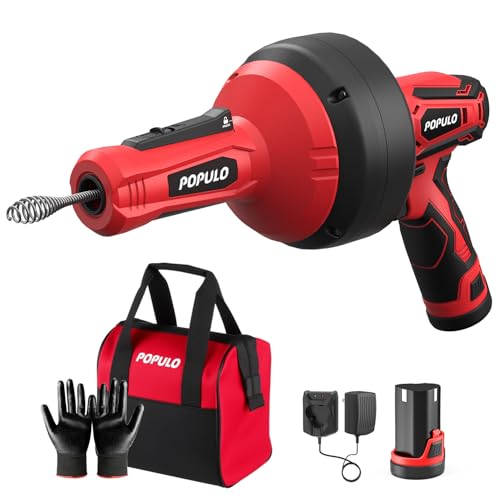
POPULO 12V Cordless Electric Drain Auger, Auto Feed Plumbing Snake Drain for Unclog Sink Drain 3/4"-2" Pipe, 16.8 FT Snake Hair Drain Clog Remover Cleaner Tools for Shower, Kitchen, Bathtub, Sink
NOTE - This electric drain snake auger is suitable for 3/4''-2''pipe. Recommended in KITCHEN SINK, BATHTUB DRAIN, SHOWER...
As an affiliate, we earn on qualifying purchases.
Conclusion
Think of caulking as the seal that keeps your home’s comfort inside and moisture out. Just like a well-tied shoelace prevents your shoes from slipping, proper caulking prevents leaks and mold in your bathroom or kitchen. I once saw a small crack turn into a major issue because it was ignored—reminding me that a little effort now saves big problems later. So, stay proactive, seal confidently, and enjoy a leak-free, healthier space.

HANGUDA Powerful 20V 2000mAh Cordless Electric Drain Auger-25FT Auto-Feed Drain Snake for Hair Clogs in Kitchen/Bath/Shower/Toilet (3/4"-2"Pipes)
25FT Spiral Anti-Kink Drain Cable :This electric drain auger features a flexible, kink-resistant steel core cable that smoothly...
As an affiliate, we earn on qualifying purchases.

Milwaukee 2772A-21 18-Volt 5/16-Inch x 35-Foot Cordless Drain Snake Kit
Cordless Drain Cleaner for 1-1/4 in. to 3in. Diameter Drain Lines
As an affiliate, we earn on qualifying purchases.