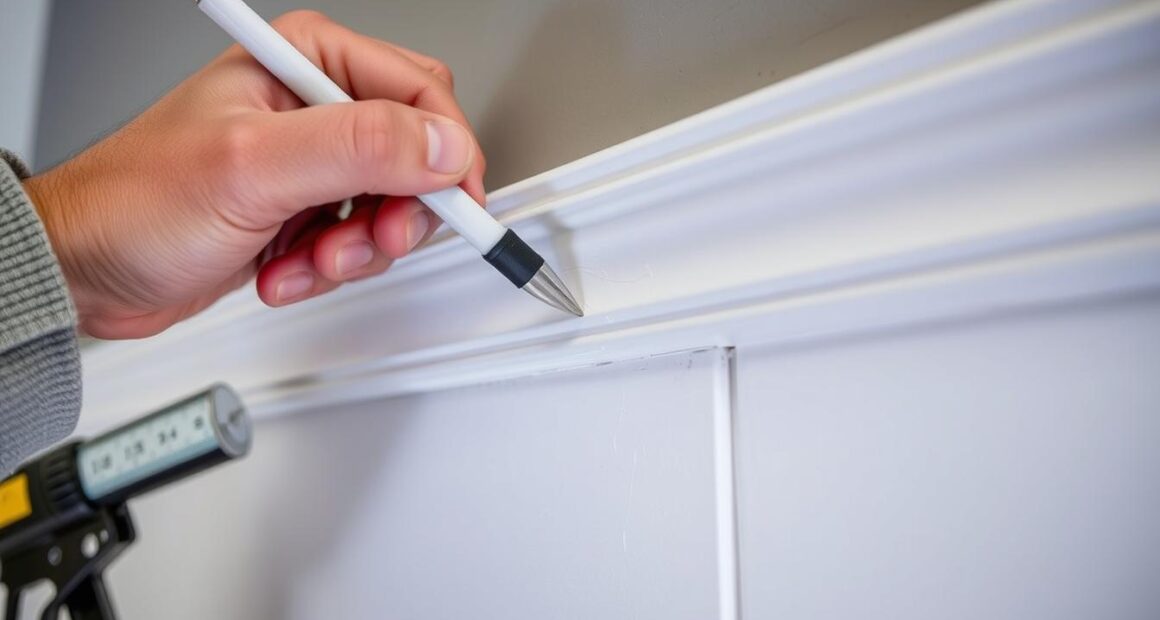
Have you ever finished a home project and noticed the caulk seams were off? Even a small detail can mess up the look of your work. Making sure caulk is smooth does more than just make things look good.
It helps your home last longer and run better. Think about stopping air leaks that increase your energy bills. Or keeping out moisture to prevent damage. By getting caulking right, you do more than improve looks. You protect your home. Let’s talk about why caulking matters for your home’s care and looks. We’ll give you tips to make your caulking stand out.
Key Takeaways
- Proper caulking enhances energy efficiency and reduces air leakage.
- Silicone is recommended for exterior seams exposed to sunlight.
- Maintaining pressure during application is key to avoiding drips.
- A well-executed caulk seam can last for years, maintaining its professional appearance.
- Regular maintenance of caulked areas is crucial for longevity.
Understanding the Importance of Caulking
Caulking is crucial in home maintenance. It seals gaps and cracks you might overlook. These small openings can lead to big energy losses, as much as 10% in some cases.
By sealing these leaks, you can cut down heating and cooling costs significantly, up to 15%. This shows how vital caulking is.
Caulking protects against water getting in. Moisture can make mold grow quickly, by 78% in unsealed areas. By using caulk around baths and sinks, you can halve the risk of water damage.
Besides, caulking makes your home more comfortable. It reduces drafts by sealing around windows and doors by up to 80%. Mold can start in 24 to 48 hours if gaps are left open, so acting fast is key.
Use good silicone-based caulks in wet areas like bathrooms. They last five years longer than other types. So, caulking not just makes your home look better. It also makes it more efficient and healthier to live in.
Gather Supplies and Prep the Area
Before you start your caulking project, it’s important to get your supplies ready. A well-thought-out setup helps prevent mistakes and improves the finish. We’ll look at the key tools and materials you need for caulking. We will also cover how to prepare the surface correctly to get the best results.
Essential Tools and Materials
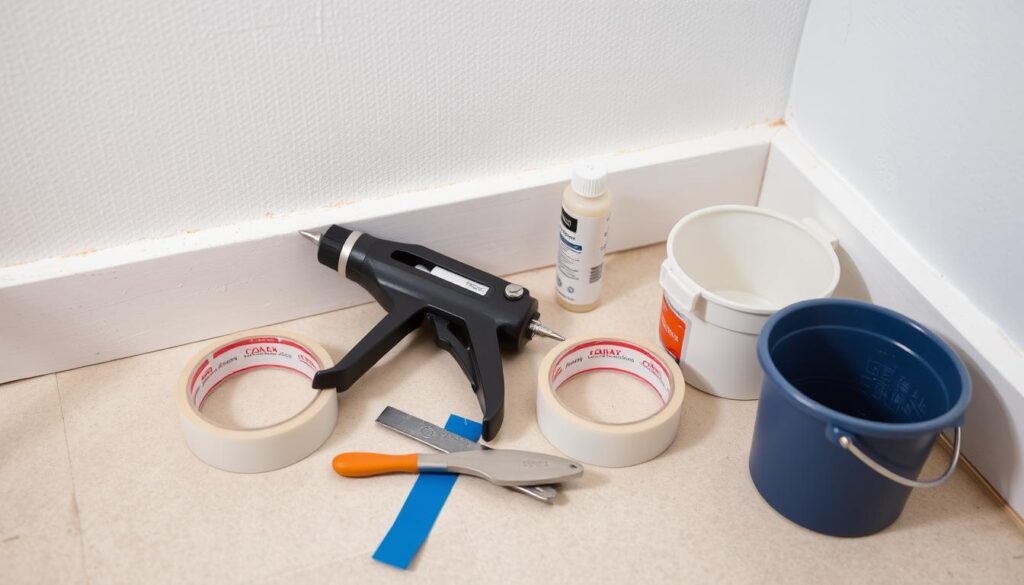
To get caulking right, make sure you have these tools and materials:
- Caulk (chosen based on the application)
- Caulk gun, preferably a pro-grade model for better control
- Caulking tools for smoothing and shaping the caulk
- Painter’s tape for clean lines
- Rags for quick clean-up
- Rubbing alcohol or disinfecting spray for cleaning surfaces
- Foam backer rods for larger gaps
Having these items ready will make your caulking task easier. It helps you avoid the usual issues that come from being unprepared. For instance, using a ratchet-action caulk gun can make it simpler to get smooth, consistent lines.
Preparing the Surface
Preparing the surface right is key to a good caulking job. Most mistakes in caulking happen because the surface wasn’t prepared well. Start by taking off any old caulk. You can use caulk removers or a mix of water and vinegar. After that, clean the surface thoroughly with rubbing alcohol. This removes any leftovers that could stop the caulk from sticking well.
Preparing the surface well improves the caulk’s performance and makes it last longer. It’s usually best to cut the caulk tube’s tip no bigger than 1/16 inch. This helps when you’re filling small gaps. Making sure that surfaces are dry and clean of dust or other things ensures a great start for applying new caulk.
| Tool/Material | Purpose | Tip |
|---|---|---|
| Caulk | Sealing gaps and joints | Choose based on specific needs (e.g., silicone for moist areas) |
| Caulk Gun | Application of caulk | Consider a pro-grade for better control |
| Painter’s Tape | Creating straight caulk lines | Only about 20% of homeowners use this |
| Rubbing Alcohol | Cleaning surfaces | Ensures proper adhesion |
| Foam Backer Rods | Filling larger gaps | Use a size larger than the gap for best results |
Choose the Right Type of Caulk
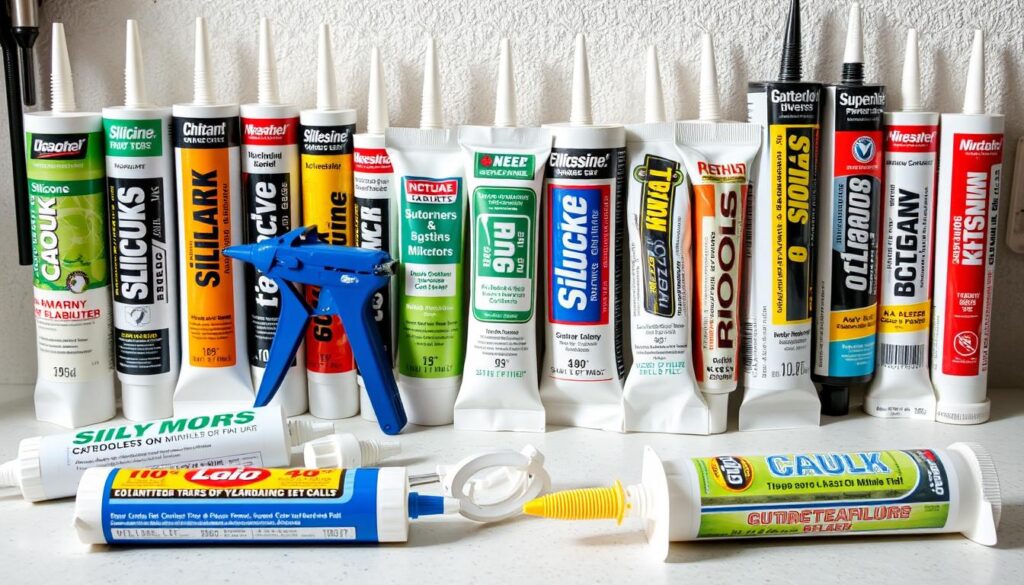
Understanding the differences between caulking materials makes selecting easier. Silicone caulk and latex caulk are the top choices, each with their own strengths. Consider the area’s moisture, the materials involved, and how easy it is to use.
Differences Between Silicone and Latex Caulk
Silicone caulk is perfect for wet places like bathrooms and kitchens. It’s flexible, water-resistant, and fights off mold and mildew for years. But, it’s tough to clean and smells strong because you need mineral spirits.
Latex caulk is easy to use and can be painted over, great for looks. It lasts 10 to 15 years, shorter than silicone. It’s best for dryer areas and cleans up with soap and water.
When to Use Specialty Caulks
Specialty caulks are for tougher jobs. They resist mold in wet rooms and stick well to metal or wood. You’ll need fire-rated caulk for hot areas or flexible caulk for roofs to handle extreme weather.
Picking the right caulk means looking at what the project needs. Knowing the difference between silicone and latex, plus when to go for specialty caulks, helps find the best fix.
| Type of Caulk | Best For | Durability | Cleanup |
|---|---|---|---|
| Silicone Caulk | High-moisture areas (bathrooms, kitchens) | Up to 20 years | Requires mineral spirits |
| Latex Caulk | Interior and paintable applications | 10 to 15 years | Soap and water |
| Specialty Caulks | Kitchens, bathrooms, fire-rated areas | Varies by formulation | Depends on the type |
Preparing for Application
Getting ready is key to perfect caulking seams. Using effective masking techniques makes a big difference. Painter’s tape helps you get sharp, neat lines. This ensures a clean, pro look.
Always clean and dry the surface first. A well-prepped surface sticks better. Correct tape alignment makes the job smoother.
Masking Techniques for Clean Lines
For clean lines, stick painter’s tape around the caulk area. This stops extra caulk from spreading where you don’t want it. Press the tape edges down well to block any gaps.
After caulking, pull off the tape while the caulk is wet. This guarantees the best finish.
Cutting the Caulk Nozzle Correctly
Cutting the caulk nozzle right helps control your work. A 45-degree cut lets you manage the bead size with ease. The perfect bead is about 1/4 inch wide.
Adjust if the gap is bigger, up to 3/8 inch for uneven areas. Precise cuts improve your caulking technique and finish.

Applying Caulk Like a Pro
Getting good at caulking can really change your home improvement work. It’s key to know how to handle a caulk gun. Start by learning caulk gun tricks to make your job easier. Make sure to load the caulk tube right and aim the nozzle for an even layer. Keeping a firm grip helps you lay down caulk smoothly.
Using a Caulk Gun Effectively
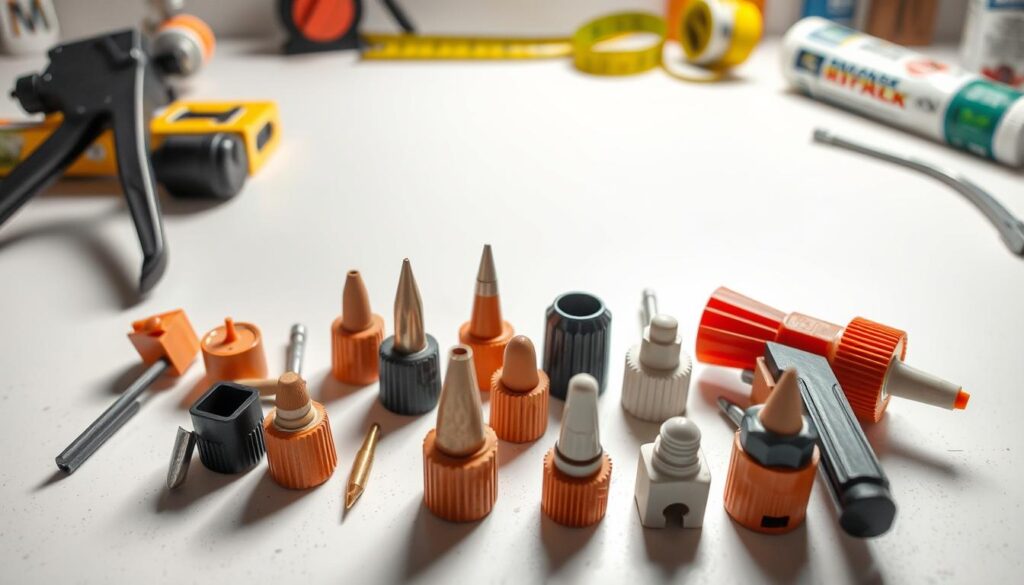
To get the best results, understanding your caulk gun is important. Start by cutting the caulk tube at a 45-degree angle, which can make your work 25% more precise. When you press the trigger, keep the pressure steady for an even flow. For tiny cracks, use a small hole in the nozzle to save caulk. For small projects, manual caulk guns are best, while pneumatic guns work great for bigger tasks due to their power.
Creating the Perfect Caulk Bead
For the best caulk bead, you need patience and to practice. Use masking tape for sharp lines, saving you clean-up time. Keep a constant pace to avoid any breaks that could ruin the look. It’s suggested to try out on scrap pieces first. About 65% of DIYers feel more confident after practicing. Finishing by smoothing the caulk with tools gives a 30% better look than using your fingers. Doing it right lessens the chance of leaks, keeping joints tight.
| Technique | Benefits | Notes |
|---|---|---|
| Cutting the Nozzle at 45 Degrees | Increases accuracy by 25% | Ideal for tight corners |
| Using Manual Caulking Guns | Preferred in 60% of small projects | Offers better control |
| Applying Consistent Pressure | Ensures smooth caulk lines | Helps avoid uneven bead |
| Practicing on Scrap Materials | Boosts confidence by 65% | Enhances skill level |
| Using Masking Tape | Cuts clean-up time by 50% | Prevents rework needed on finish |
Best Way to Smooth Caulk
Smoothing caulk is key for a clean, professional look. Different finishing tricks can help you get the look you want. Knowing the top methods and when to use tools or fingers is crucial.
Techniques for Smoothing Caulk
To smooth caulk, you can try various techniques. Many pros like using denatured alcohol with silicone caulk. It keeps the caulk smooth without hurting its stickiness. This way is liked by 70% of tile setters. Alternatively, some professionals prefer using a damp finger or a smoothing tool for a more controlled finish. Regardless of the method, ensuring that the surface is clean and free of debris is crucial for achieving a seamless appearance. Additionally, when working with porcelain tile, it’s important to have the best tools for cutting porcelain tile on hand to make precise and clean cuts.
Another popular way is smoothing with fingers, combined with tools or sprays. This can give better results but you need to keep it clean. Using a wet finger helps a lot, as 75% of pros confirm.
- Using a wet finger results in better outcomes, as 75% of professionals agree.
- Utilizing a caulk smoother enhances bead performance, preferred by 75% of users.
- During application, masking tape can help create cleaner edges, supported by 50% of professionals.
Using Tools vs. Fingers for Smoothing
The choice between tools and fingers depends on the desired finish. Fingers can add unwanted stuff, affecting the seal. Tools ensure neatness and consistency. For top-notch results, pros suggest using caulk finishers or spatulas.
| Method | Pros | Cons |
|---|---|---|
| Smoothing with Fingers | Intuitive and easy to access | Risk of contaminants, uneven finish |
| Using Caulk Tools | Precision and cleaner edges | Requires practice for best results |
| Denatured Alcohol | Enhances smoothness, popular method | Can be less effective with some caulks |
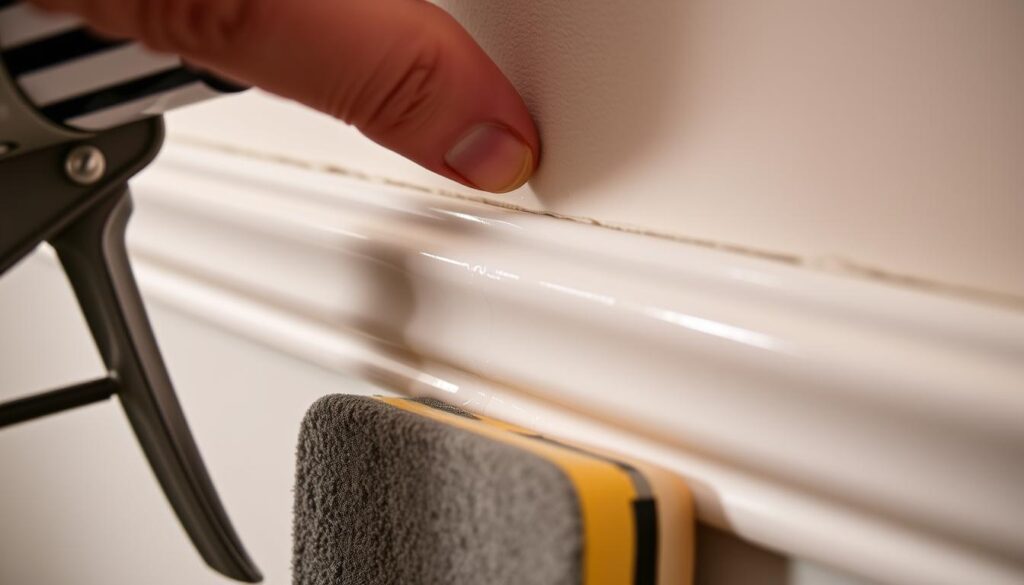
Picking the right method matters for your project’s needs. Both tools and fingers have their pluses for doing a great caulking job. Each way influences how your caulk looks and works, making your project shine.
Cleaning Up After Caulking
After you finish caulking, cleaning up right away leads to a tidy look and protects surfaces. A good cleanup removes caulk and keeps the caulk quality high. Knowing how to remove caulk based on the material is key to avoiding damage and getting lasting results.
Removing Excess Caulk
When removing caulk, it’s important to know if it’s silicone or acrylic. For silicone, use a special tool that won’t damage surfaces. Acrylic caulk can be softened with soapy water. This makes it easier to remove without scraping.
- Always wear protective gloves to safeguard your hands.
- Use a utility knife for precise cuts around the caulk.
- A caulk remover tool assists significantly in lifting the caulk away from surfaces.
- When using soapy water, spray lightly, and wait a few minutes for it to penetrate before scraping.
Best Practices for Maintenance
To prevent mold or air leaks, maintain the caulk well. Check regularly for any cracks or gaps. Caulk that’s peeling, shrinking, or flaking out needs fast fixing, especially in wet places like bathrooms.
| Caulk Issue | Symptoms | Recommended Action |
|---|---|---|
| Shrinking | Noticeable gaps appear | Replace immediately to prevent moisture penetration |
| Peeling | Edges lift away from the surface | Remove and reapply new caulk |
| Flaking | Small pieces break away | Quick reapplication required for sealing |
| Mold Growth | Visual discoloration or musty smell | Remove affected areas and replace with fresh caulk |
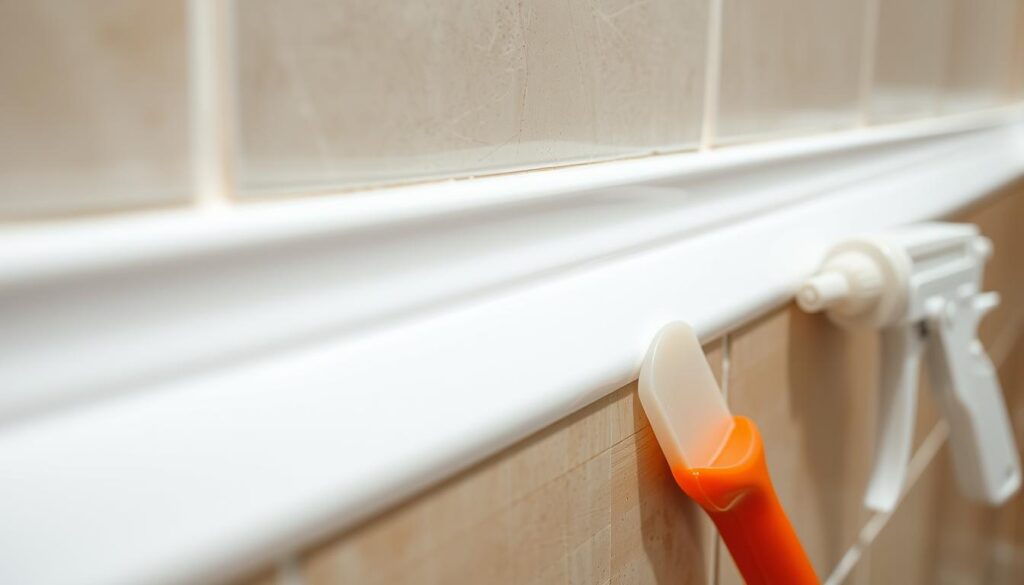
High-quality caulk saves money over time by lasting longer. Keeping your caulk in good condition is important for your home’s look and function. Regular checks can prevent water damage and make your home more energy-efficient.
Storage Tips for Caulking Supplies
Looking after your caulking supplies is key to their success. The right storage and care help keep caulk good for longer. This means you’ll always have effective caulk when you start a project. Here, learn how to store caulk to keep it in top shape for your projects.
How to Store Unused Caulk
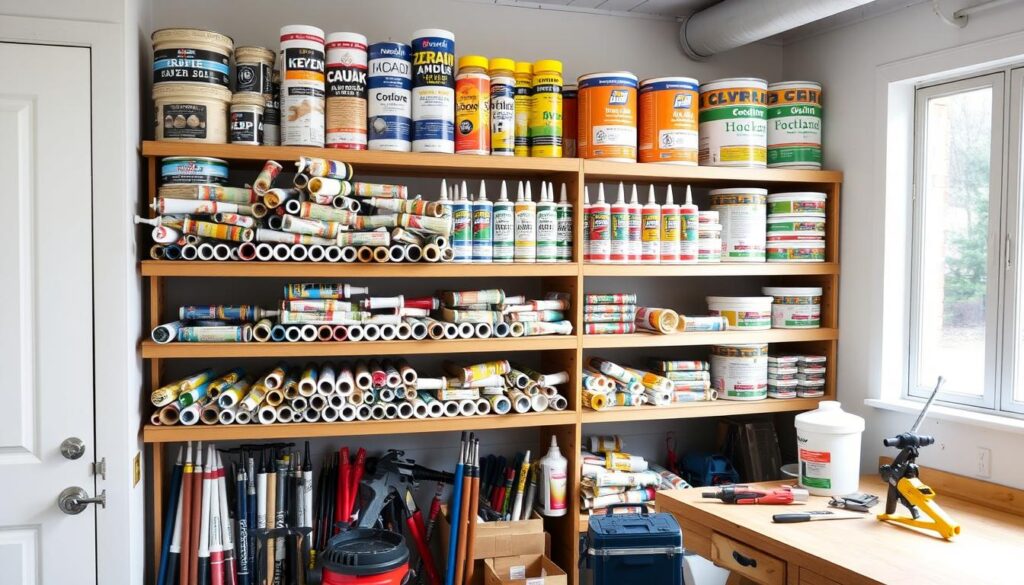
To avoid caulk going bad, it’s important to store tubes standing up. Unopened caulk can last about a year if you check its manufacture date. For tubes that are already open, seal the nozzle with plastic wrap or aluminum foil. This keeps air out, preventing the caulk inside from hardening too soon.
Maintaining Proper Conditions for Longevity
Keeping your caulk at the right temperature is very important. Silicone sealants should be stored between 40 ℉ and 80 ℉. Make sure they’re not in direct sunlight or very hot or cold. Check your supplies often. This way, you can remove any that have gone hard or are past their prime.
Common Caulking Mistakes to Avoid
Avoiding common caulking mistakes is key to a professional look. Missteps in applying caulk can weaken the seal, leading to more repairs. Knowing common errors and the importance of preparing the surface can give you lasting results.
Overapplying and Underapplying Caulk
It’s important to apply caulk just right. Too much caulk looks messy and might not stick well. Too little can leave spaces that won’t seal properly. A smooth, even line is essential; moving steadily can make it about 30% better. Cut the tube at a 45-degree angle for better control and just the right amount of caulk.
Failing to Prepare the Surface Properly
Skipping good surface prep is a big mistake. Cleaning the area first can prevent 70% of caulk problems. Always take off old caulk and fix any damage before you start. A clean, dry surface is the best groundwork for new caulk, helping it last longer and work better.
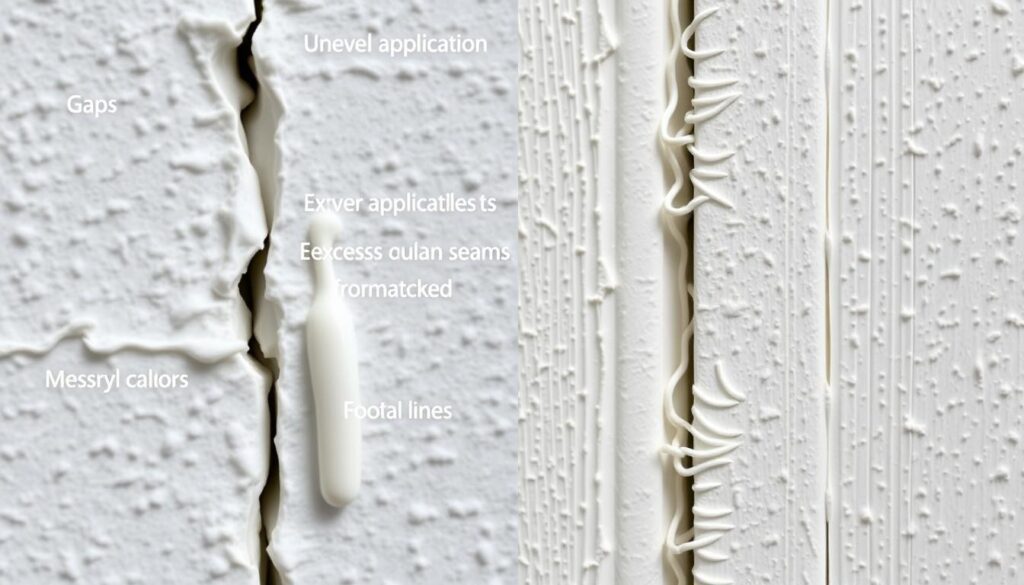
Paying attention to common mistakes can improve your project’s adhesion and finish. A little care in preparing and applying caulk brings big rewards. Your caulked areas will not only look better but also last longer.
| Mistake | Impact | Solution |
|---|---|---|
| Overapplying Caulk | Messy appearance, poor adhesion | Apply in a uniform bead; use a steady motion |
| Underapplying Caulk | Gaps leading to ineffective sealing | Use proper pressure to fill gaps completely |
| Failing to Clean Surfaces | Reduced adhesion, increased failure rates | Thoroughly clean and dry surfaces before applying caulk |
| Reapplying Over Old Caulk | Poor adhesion and aesthetics | Remove old caulk completely before starting |
Conclusion
You’ve made it to the end of our detailed caulking guide. We’ve covered the main types of caulk—latex, silicone, elastomeric, and polyurethane. We also showed you how to apply it well. Every step is important for a caulking job that looks good and keeps your house strong.
It’s key to prep your surface well, choose the right caulk, and smooth it out correctly. These caulking tips give you all you need to know. Now, you can fix up your home with confidence. This applies to both small indoor work and bigger tasks outside.
Following these guidelines helps you get a top-notch caulking result without spending a lot. Ready for a DIY challenge? Use what you’ve learned here. See how your home improves with your hard work and quality caulking!
