To remove wallpaper hassle-free, start by gathering your tools: scrapers, adhesive removers, and a sponge. Clear the area of furniture and cover the floor. Identify the wallpaper type and choose an appropriate adhesive remover, like Krud Kutter. Score the wallpaper with a utility knife and apply the solution evenly. Let it soak for 10-15 minutes before gently scraping from the top down. Once removed, clean the walls of residue and inspect for damage. With the right approach, you'll enjoy a fresh, clean surface. For even more tips and techniques to perfect your process, just keep going!
Key Takeaways
- Gather essential tools like scrapers, adhesive removers, and protective gear before starting the wallpaper removal process.
- Choose the right wallpaper remover based on the wallpaper type and surface; test on a small area first.
- Score the wallpaper with a utility knife and apply remover solution for better penetration; let it soak for 10-15 minutes.
- Use a putty knife or specialized scraper to gently remove wallpaper, working from the top down in sections.
- Clean walls thoroughly post-removal, address any damage, and prepare surfaces for repainting or new wallpaper application.
Preparation Steps
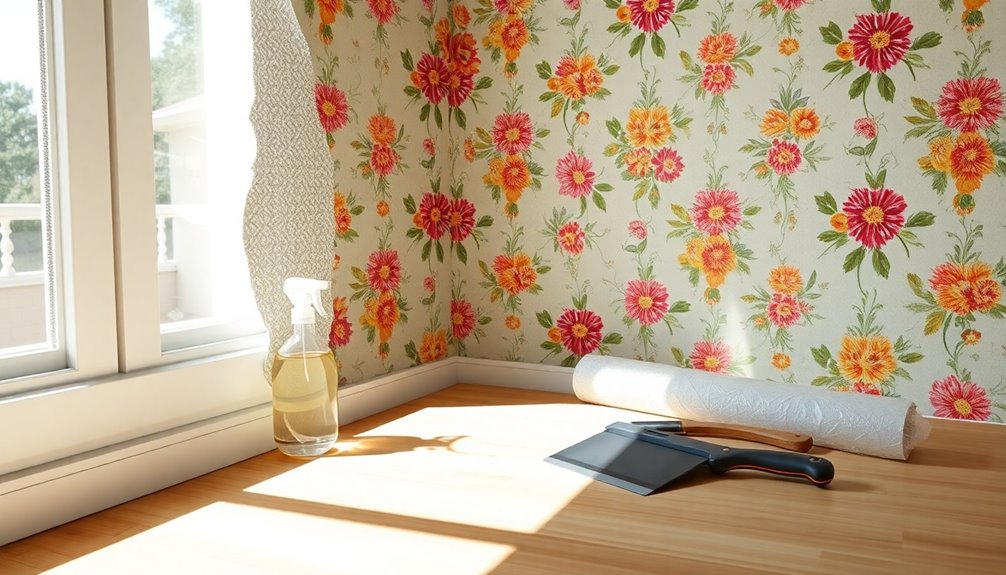
Before you dive into removing wallpaper, it's essential to prepare your space properly. Start by gathering the necessary tools and materials like scrapers, adhesive removers, water, lint-free rags, and protective gear such as gloves and goggles.
Clear the room by removing furniture and covering the floor with drop cloths. Protect electrical outlets with tape and secure loose items like curtains. Vacuum the floor to eliminate dust and seal off vents with tape.
Next, clean the wall to remove dirt, check for exposed nails, and cover baseboards with painter's tape. If needed, apply the adhesive remover according to the manufacturer's instructions and soak the wallpaper with water.
Lastly, plan for the disposal of old wallpaper and clean your tools thoroughly.
Choosing a Wallpaper Remover
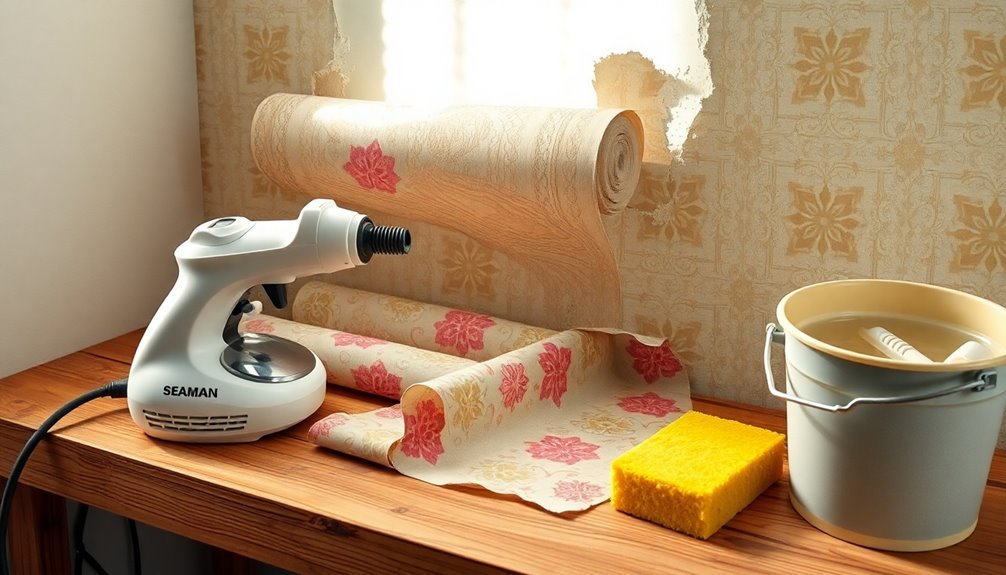
How do you choose the right wallpaper remover for your project? Start by identifying the type of wallpaper you're dealing with.
Chemical-based removers are effective but can be hazardous, while steam-based options are eco-friendly but may struggle with stubborn wallpaper.
Consider the surface type—drywall, plaster, or wood—as different removers work best on specific materials.
Think about the age of the wallpaper and adhesive strength; older wallpapers often need stronger methods.
Don't overlook environmental concerns and your budget, as chemical removers are typically cheaper.
Brands like Krud Kutter and Zinsser offer reliable options tailored for various surfaces.
Always prioritize safety by ensuring proper ventilation and using protective gear when applying your chosen remover.
Applying the Remover
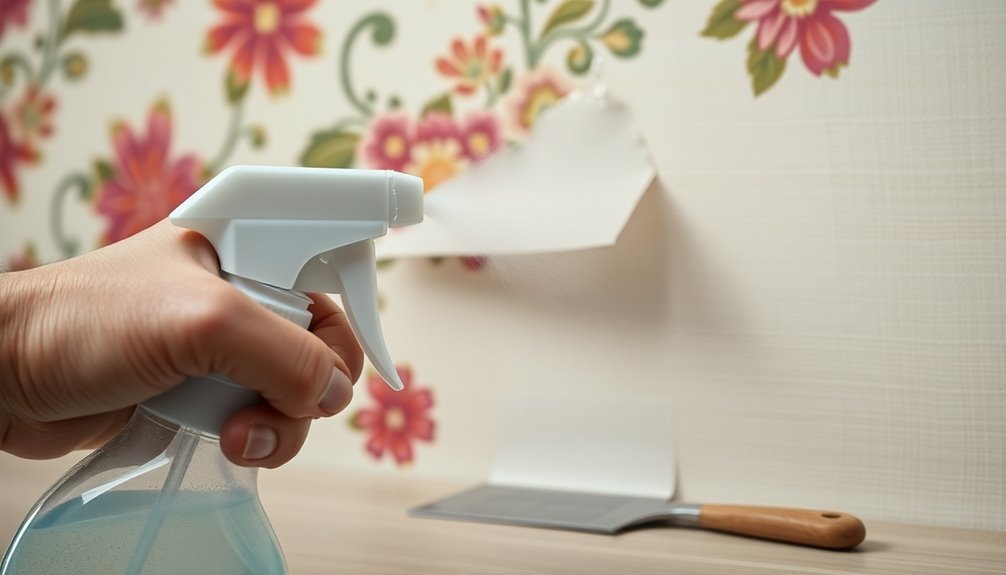
When applying the wallpaper remover, start by meticulously preparing your workspace to ensure a smooth process.
Read the manufacturer's instructions and protect your floors and furniture with drop cloths or plastic sheets. Don't forget to wear gloves and safety goggles to keep your skin and eyes safe.
Test the remover on a small, inconspicuous area first to check for any damage.
Apply the remover evenly with a brush or roller, but avoid over-saturating the wallpaper. Work in sections, which helps maintain control and prevents drying out.
Allow the remover to sit for the recommended time, usually 15-30 minutes, and always ventilate the area well to avoid inhaling fumes.
This careful approach will make the process more effective.
Scraping Techniques
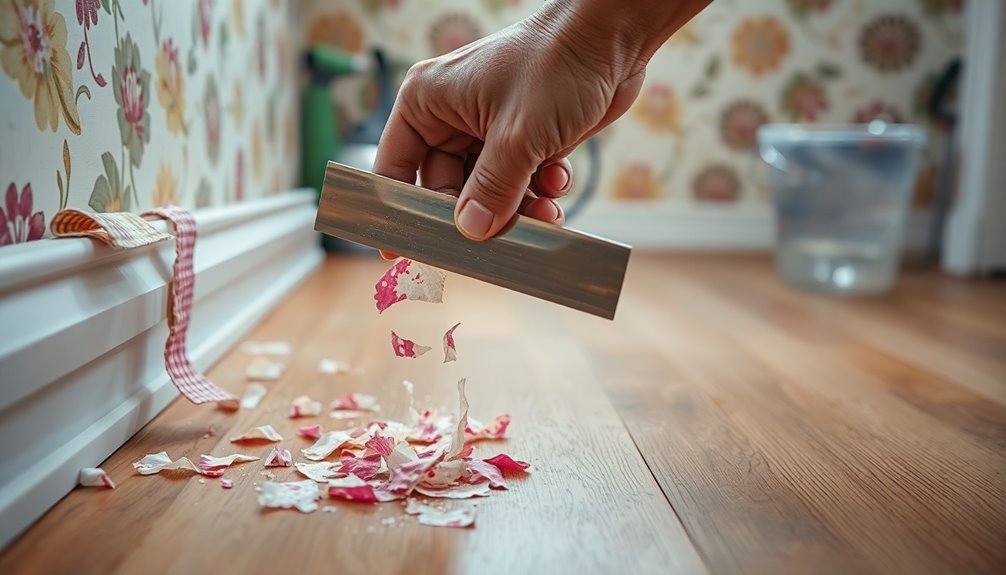
Effective scraping techniques are crucial for successfully removing wallpaper without damaging your walls. First, choose the right tool, such as a putty knife or specialized wallpaper scraper.
Protect your space by covering the floor and furniture with drop cloths. Remove any furniture and tape off edges to safeguard baseboards and moldings. Before you start, spray the wallpaper with a lubricant to ease the process.
Begin scraping from the top of the wall, working in sections to maintain control. Use gentle pressure, scraping in one direction to avoid tearing the paper.
For corners, a scraper with a curved edge works best, while a putty knife can tackle smaller areas. Always check for any remaining adhesive before moving on.
Cleaning the Wall

After you've successfully scraped off the wallpaper, the next step is to clean the wall to ensure a smooth surface for any future painting or finishing.
Start by removing furniture and covering the floor with drop cloths to protect it from debris. Lightly dust the wall before checking for studs to avoid any damage.
For cleaning solutions, mix warm water with mild soap or combine equal parts water and vinegar for a stronger cleaner. Use a damp cloth, soft-bristled brush, or microfiber cloth to wipe down the wall gently, ensuring you rinse thoroughly afterward.
Allow the wall to air dry completely before inspecting for any residue and considering touch-ups with primer or spackling compound if needed.
Disposal of Wallpaper
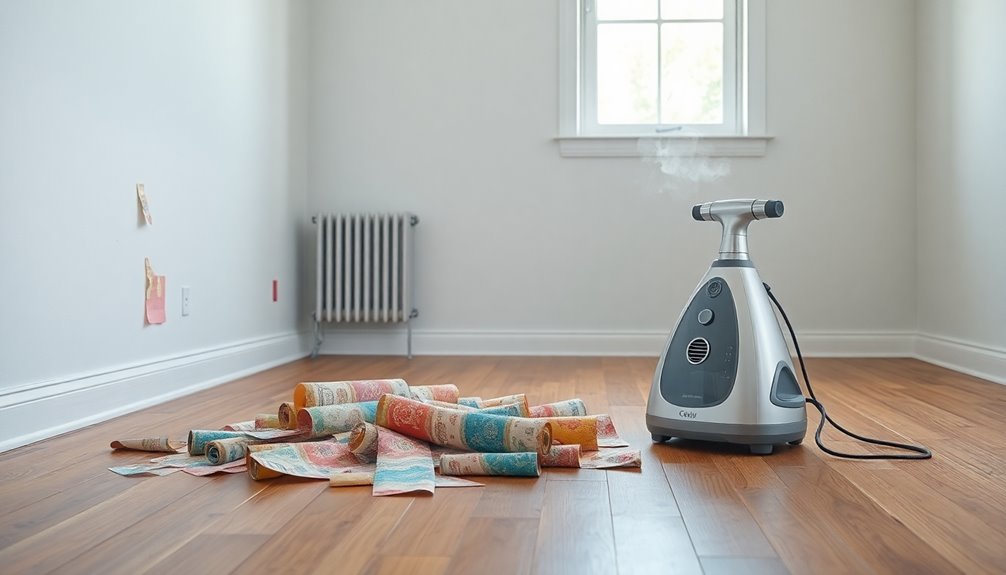
Disposing of wallpaper properly is crucial for both your home and the environment.
Start by checking if your community has recycling facilities for wallpaper; many do. If recycling isn't an option, you can dispose of non-recyclable wallpaper in landfills, but consult local waste management for guidelines.
Consider donating usable wallpaper to local charities or community centers. If your wallpaper contains hazardous materials like lead, it must be taken to designated hazardous waste facilities.
Being aware of the material composition and chemical content is essential for safe disposal.
Lastly, using eco-friendly wallpaper options can minimize your environmental impact and make future removals easier.
Essential Tools Needed
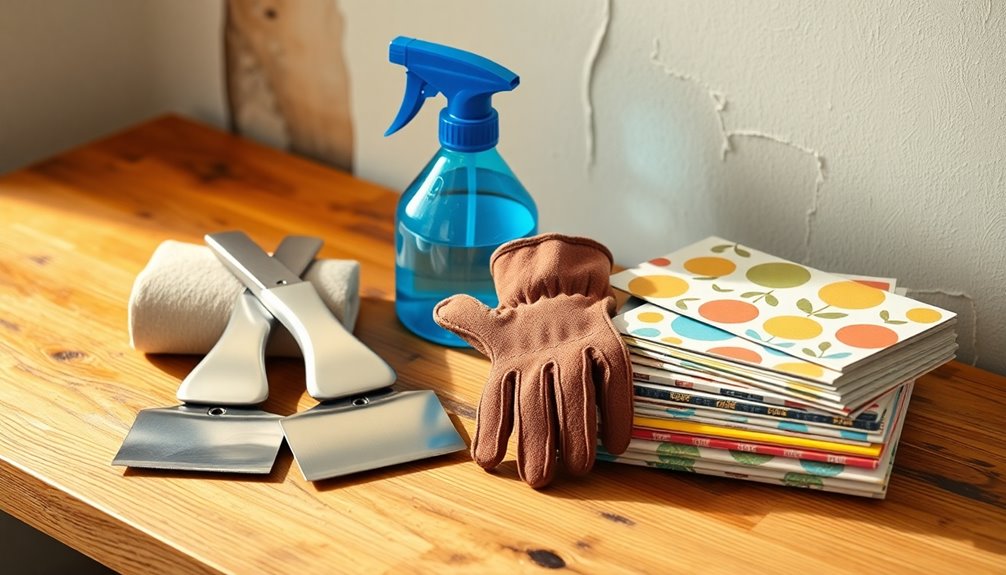
Once you've handled the disposal of old wallpaper, it's time to gather the right tools for the removal process.
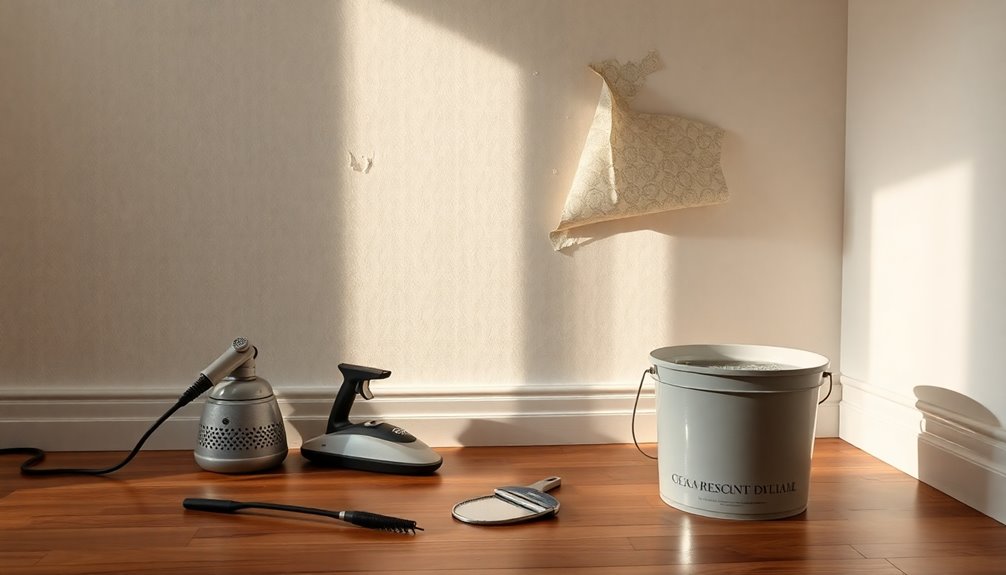
Start with adhesive removers, like sprays or pads, to dissolve the sticky residue. Have a heat gun handy for loosening stubborn adhesive.
Next, include scrapers such as putty knives and specialized wallpaper scrapers to lift the wallpaper off smoothly.
Don't forget cleaning supplies: soap and water, mild detergents, rags, and sponges will help you clear away any leftover residue.
Lastly, equip yourself with protective gear like gloves, safety goggles, and masks to stay safe during the job. A drop cloth and painter's tape will keep your space clean and protected from damage.
Happy removing!
Safety Precautions
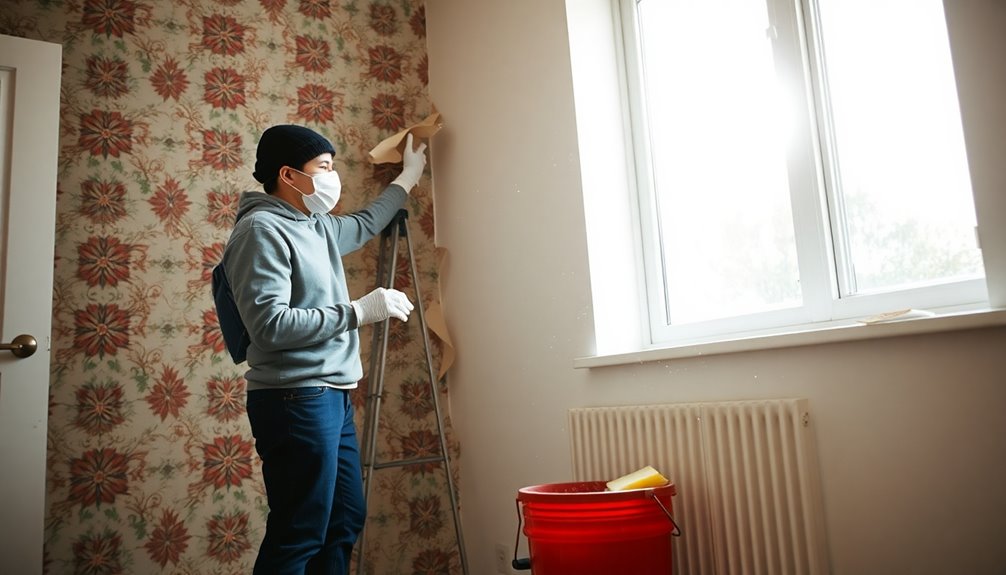
When tackling wallpaper removal, prioritizing safety is crucial to ensure a smooth process and protect yourself from potential hazards.
Start by wearing protective gear like gloves, goggles, and a mask to guard against chemicals, dust, and sharp edges. Opt for long sleeves and closed-toe shoes to shield your skin and feet.
Ventilate the area by opening windows and using fans to circulate air. Remove furniture to promote airflow, and seal off the room to contain fumes.
Always read chemical instructions, use them in well-ventilated spaces, and avoid mixing different products. Dispose of waste responsibly, clean tools thoroughly, and wash your hands after handling chemicals.
Finally, neutralize surfaces and ensure everything is dry before finishing.
Troubleshooting Common Issues
Even with proper safety precautions in place, you might run into some common issues during wallpaper removal.
If the adhesive isn't cooperating, check its age; old adhesive may need replacing. Ensure your surface is clean and dry before applying new adhesive, and always follow the manufacturer's instructions.
Using blunt tools can lead to wall damage, so opt for sharp scrapers and maintain the right angle while applying pressure.
If you notice rips or bubbles in the wallpaper, a patching kit can help, and a pin can smooth out air pockets.
Lastly, keep an eye on environmental factors like humidity and temperature to ensure a smoother removal process.
Final Touches and Tips

As you wrap up your wallpaper removal project, paying attention to the final touches can make a significant difference in the overall outcome.
Start by cleaning up any leftover adhesive with a damp cloth and properly disposing of old wallpaper. Inspect the walls for damage and make necessary repairs. If needed, apply a fresh coat of paint or finish to rejuvenate your space.
To prevent future issues, choose the right adhesive remover and always wear protective gear. It's also beneficial to maintain a clean home environment, as it reduces allergens and pollutants, improving indoor air quality.
Test the remover on a small area first and follow the manufacturer's instructions carefully. Ensure good ventilation when using chemicals.
Lastly, maintain your tools by cleaning them regularly and storing them properly, so they're ready for your next project.
Frequently Asked Questions
How Long Does the Wallpaper Removal Process Typically Take?
The wallpaper removal process typically takes anywhere from 2 to 12 hours, depending on the size of the room and the complexity of the wallpaper.
For small rooms, expect around 2-4 hours, while larger or more intricate areas can take up to 12 hours.
You'll need to factor in preparation, actual removal, and cleanup time, so plan accordingly to ensure you've got enough time to complete the project without feeling rushed.
Can I Remove Wallpaper Without Damaging the Paint Underneath?
When it comes to removing wallpaper, you can definitely do it without damaging the paint underneath, but you've gotta tread lightly.
Start by preparing the area and choosing the right tools, like a steamer or wallpaper remover solution.
Gently apply steam and scrape the wallpaper off, being careful not to scratch the paint.
Finally, wipe away any leftover adhesive to keep your walls looking sharp.
It's all about taking your time and being cautious!
What Type of Wallpaper Is Easiest to Remove?
When considering which type of wallpaper is easiest to remove, peel-and-stick wallpaper stands out. You can simply pull it off without any special tools, making it a hassle-free option.
Non-woven and vinyl wallpapers also offer relatively easy removal due to their weaker adhesives and smooth surfaces.
If you're dealing with paper-based wallpaper, be prepared for a tougher job, as its stronger adhesive can lead to tearing and longer removal time.
Is It Necessary to Hire a Professional for Wallpaper Removal?
Removing wallpaper can feel like peeling an onion—layer after layer, it might make you cry!
Whether you should hire a professional depends on your comfort level and the complexity of the job. If you're confident and have the time, a DIY approach can save you money.
However, if you want to avoid damage to your walls and ensure a clean finish, hiring a professional is a smart choice.
It's all about your priorities!
How Can I Tell if the Wallpaper Is Removable or Not?
To tell if your wallpaper is removable, start by checking the adhesive type; water-based adhesives are often easier to remove.
Inspect the surface texture—smooth wallpapers typically come off more easily.
Look at the backing material, as paper-backed wallpaper is usually simpler to handle.
Lastly, check for any manufacturer instructions or labels that indicate removability.
Customer reviews can also provide insights on others' experiences with similar wallpapers.
Conclusion
As you peel away the last remnants of wallpaper, it's like shedding layers of the past, revealing a fresh canvas waiting for your creative touch. Each strip removed symbolizes a step toward new beginnings and possibilities in your space. Remember, the process may feel daunting, but with patience and the right tools, you'll transform your walls into a reflection of your vision. Embrace the change, and let your walls tell a new story.

