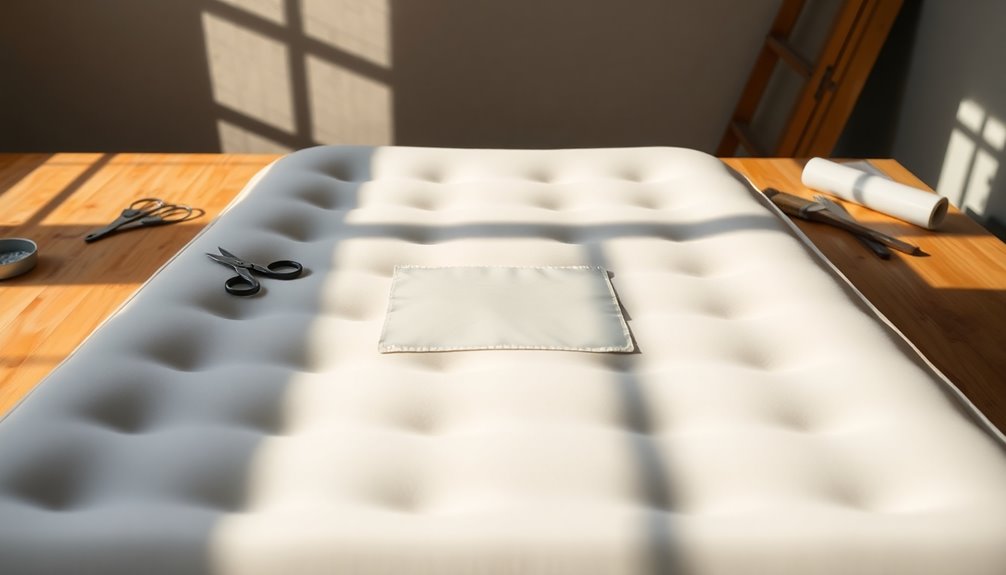
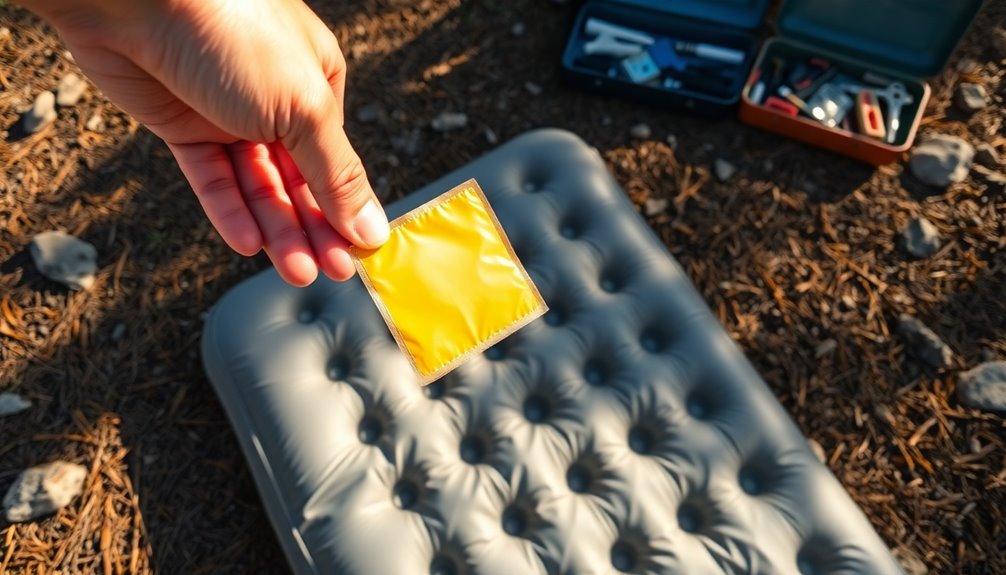
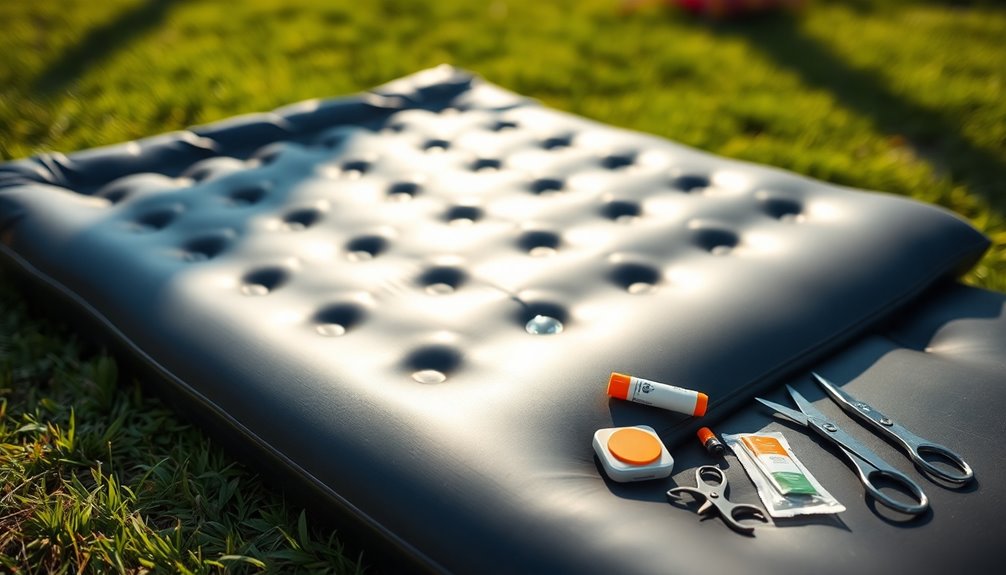
To patch an air mattress, start by identifying the leak. Look for bubbles using a soap solution, listen for hissing sounds, or submerge it to spot trouble spots. Gather a patch kit or air mattress repair tape, and ensure the area around the leak is clean. Deflate the mattress to make patching easier, then apply the patch smoothly over the leak, pressing out any air bubbles. Finally, maintain your mattress by cleaning it regularly and checking for signs of wear. Want tips on common causes of leaks and how to reinforce your patches? There's more helpful info to explore!
Key Takeaways
- Conduct a thorough visual inspection and use the soap solution method to identify leak locations effectively.
- Acquire a patch kit or air mattress repair tape for quick and easy fixes.
- Clean the area around the leak and deflate the mattress before applying the patch for better adhesion.
- Align and smooth out the patch over the leak, ensuring a tight seal to prevent future air loss.
- Regularly maintain your mattress by cleaning it, checking for wear, and storing it properly to extend its lifespan.
Identify the Leak

Before you can effectively patch your air mattress, you'll need to identify the leak. Start with a visual inspection; inflate the mattress fully in a well-lit room. Use a flashlight to examine seams closely, as they're common leak spots. Mark any leaks you find with a permanent marker.
If you can't spot the leak, try the soap solution method. Mix dish soap with water in a spray bottle and spray it evenly over the mattress. Look for bubbles forming where air escapes.
You can also listen for escaping air—inflate the mattress and pay attention for any hissing sounds. It's crucial to address these leaks promptly, as even small pinholes can lead to significant air loss overnight.
Finally, if needed, submerge the mattress in water to see if bubbles indicate a leak.
Gather Materials

Once you've pinpointed the leak, it's time to gather the necessary materials for the repair. A patch kit is your best bet, as it typically includes adhesive patches, sealant, and instructions—all available at outdoor or camping stores for $5 to $15.
If you're facing a small leak, consider using air mattress repair tape; it's a temporary fix and can be found for under $5.
For more extensive repairs, rubber cement works well and can be found at hardware stores, but remember to use it in a well-ventilated area.
Lastly, duct tape can serve as an emergency fix; it's inexpensive and commonly found, though it's not a long-term solution.
Prepare the Area

Preparing the area for patching your air mattress is crucial for a successful repair. Start by deflating the mattress to reduce tension, making it easier to apply the patch. Lay it flat to ensure accessibility around the hole and to identify the leak more effectively.
Next, clean the area using a damp cloth to remove debris and apply a gentle cleanser. Rinse off the soap and let it dry completely. Choose a flat, well-lit workspace that's stable to prevent movement during the repair. Minimize distractions and position yourself comfortably to work efficiently.
Finally, locate the hole using soapy water, listening for hissing sounds, or visually inspecting for damage. Mark the spot for reference. To enhance your repair success, ensure the mattress is fully deflated completely before beginning the patching process.
Apply the Patch

With the area around the leak prepped and clean, you can now focus on applying the patch.
Start by selecting a vinyl or rubber patch that matches the size and shape of the leak. Once you've got the right patch, peel off the backing to expose the adhesive side.
Carefully align the patch over the leak, making sure it's centered and smooth. Press firmly to secure it in place, applying gentle pressure.
After that, inspect the patch for any air bubbles. If you spot any, smooth them out to ensure a tight seal.
This step is crucial for effective leak repair, so take your time to ensure the patch is properly applied before moving on.
Reinforce the Patch

To ensure your patch holds up over time, reinforcing it's essential. Start by choosing the right materials, like strong adhesive tape or fabric glue, to secure the patch.
You can also sew it with matching thread or apply a piece of fabric over the patch for extra support. For added durability, consider applying multiple patches or layering fabric over the original patch.
Use stitches or a combination of glue and staples to firmly secure everything in place. After reinforcing, test the patch with water and pressure to make sure it’s leak-free. Once you’re confident that the patch is secure, you can proceed to apply caulk around the edges for additional protection. To achieve perfect caulk seams, ensure that the caulk is evenly applied and smoothed out with a caulking tool or your finger. Allow the caulk to cure fully according to the manufacturer’s instructions before exposing the area to water or pressure again.
Lastly, regularly inspect the patch for any signs of wear to keep your air mattress in great shape.
Maintain the Mattress

After reinforcing the patch, it's important to maintain your air mattress to ensure its longevity and comfort.
Start by cleaning it regularly with mild soap and water, steering clear of harsh chemicals. Always dry it thoroughly after cleaning to prevent mold. Check for stains and address them immediately, following the manufacturer's cleaning instructions.
When storing, deflate the mattress completely and use a protective cover. Keep it away from direct sunlight and avoid overcrowding your storage area.
Inflate and deflate slowly, using the correct tools, and check for proper inflation. Rotate and flip the mattress occasionally to ensure even wear, and regularly inspect it for any signs of wear and tear.
Following these tips will keep your mattress in great shape!
Common Causes of Leaks

Leaks in an air mattress can be frustrating, and understanding the common causes can help you prevent them.
Temperature changes, like cooler nights, can cause air inside to condense, leading to deflation. If you're using your mattress at higher altitudes, be aware that it loses air faster due to reduced atmospheric pressure.
Additionally, external pumps mightn't be airtight, causing air loss when you disconnect them. Thin materials are also prone to punctures, especially with daily use or improper folding. Regular inspections can help identify minor holes before they become major issues.
Lastly, seams can become vulnerable over time, and manufacturing defects may contribute to leaks.
Temporary Fixes for Emergencies

Even with the best care, air mattresses can experience leaks, leaving you in need of quick solutions. One effective temporary fix is using duct tape. Simply cover the hole with a large piece, ensuring it overhangs by at least one inch. Make sure the area is dry first. For leak detection, try the soap bubble method. Mix dish soap and water in a spray bottle, then spray it on the mattress to see where bubbles form. Alternatively, you can use a tissue or paper towel; press it against the mattress, and if it blows upward, you've found your leak. Additionally, you can fully inflate the air mattress and observe for deflation, as this helps in identifying the extent of the leak.
When to Replace the Mattress

If you find yourself constantly patching your air mattress, it's likely time to consider a replacement. Persistent leaks, deflation issues, and visible wear like cracks or tears are clear indicators.
If you wake up on a deflated mattress, it's a sign it's lost its ability to hold air. Bulging or sagging areas compromise support, making sleep uncomfortable. Additionally, if your mattress has developed persistent odors or loses air quicker than before, it's probably due for an upgrade. Age plays a role too; if your mattress is several years old, it mightn't provide the comfort you need.
Regular inspections and timely repairs can extend the lifespan of your mattress, but frequent leaks often indicate that replacement is the best option. Don't wait until discomfort turns into pain—invest in a new mattress for better sleep quality.
Frequently Asked Questions
Can I Use Regular Tape for Patching an Air Mattress?
You can use regular tape to patch an air mattress, but it's best for temporary fixes.
Duct tape or vinyl tape might help seal small holes, but they won't last long under pressure.
Make sure to clean and dry the area before applying the tape for better adhesion.
Just keep in mind that while it can work in a pinch, it's not a reliable long-term solution for leaks.
How Long Does a Patch Last on an Air Mattress?
When it comes to patching an air mattress, you want the fix to stick like glue!
Generally, a patch can last anywhere from 1 to 3 months with regular use. Factors like the quality of the patch, how you apply it, and the conditions it faces all play a role in its durability.
If you use it lightly, a patch could even last up to 6 months. Just keep an eye out for any signs of failure!
What Should I Do if the Leak Is Unrepairable?
If you find the leak's unrepairable, start by confirming it with multiple tests.
Check if there are other leaks or if the mattress is simply too old.
If it's time to replace it, measure your old mattress and choose a new one that fits your needs.
Dispose of the old one responsibly, and ensure you properly store the new mattress.
Regular maintenance can help prevent future leaks and extend its life.
Are There Specific Brands for Air Mattress Patches?
Isn't it frustrating when your air mattress springs a leak?
Fortunately, you've got solid brand options for patches. Intex is known for its durable patches, while Coleman offers a variety suited for different sizes.
SoundAsleep provides high-quality, long-lasting repairs, and Mainstays is budget-friendly.
If you're looking for eco-friendly choices, check out EnerPlex.
With these reliable brands, you can easily find the right patch for your air mattress needs!
Can I Use a Hairdryer to Speed up the Drying Process?
You can use a hairdryer to speed up the drying process, but be cautious.
High temperatures might damage the air mattress material, so keep it at a safe distance. Direct heat can risk burns or even start a fire, depending on flammable materials nearby.
While it can help remove moisture, combining it with fans or letting it dry naturally might be safer and more effective overall.
Always check the manufacturer's guidelines first!
Conclusion
You've got your air mattress ready for a cozy night, but a pesky leak can turn comfort into chaos. By quickly identifying the source and applying a patch, you can save your evening. Just as a small hole can disrupt your sleep, a simple fix can restore it. Remember, maintenance is key to prolonging your mattress's life. So, don't wait for leaks to catch you off guard—take action now, and enjoy peaceful, uninterrupted rest!


