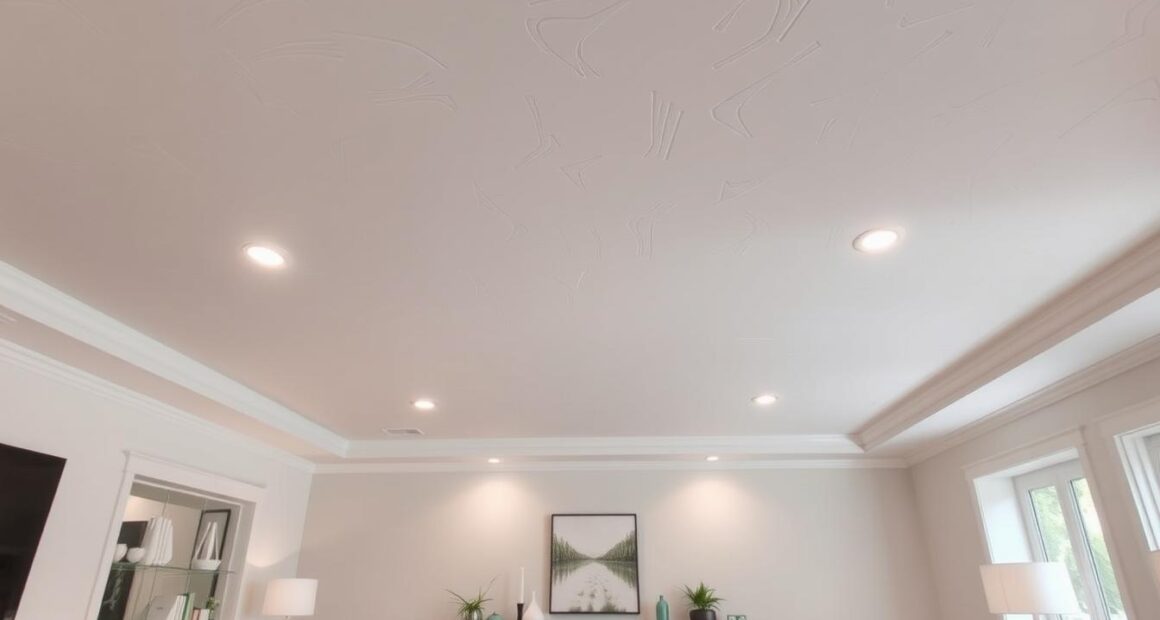
Have you ever entered a room and felt like you were in a time machine? Maybe it was the old popcorn ceiling that caught your eye. These bumpy textures are common in homes built from the 1950s to the 1980s. They may bring back memories but often, they need a modern upgrade. If the thought of redoing your popcorn ceiling seems too much, you’re not alone. The process might seem scary, but the end result is worth it. With the right methods and tools, you can make your space look new and improved. Let’s look at various options and find the best way to update your popcorn ceiling.
Key Takeaways
- Popcorn ceilings were commonly installed from the 1950s to the 1980s and may contain asbestos.
- Covering a popcorn ceiling often proves to be less expensive than removing it.
- Methods like drywall installation and beadboard can achieve a modern finish.
- Skim coating involves multiple layers of joint compound for smooth results.
- Safety precautions are essential for working with potential asbestos-containing materials.
Understanding Popcorn Ceilings
To understand popcorn ceilings, look at their unique texture. This design got its start in the 1950s and was popular through the 1980s. Homes across America adopted it for its textured look, achieved by spraying materials like vermiculite on the ceiling.
The purpose of popcorn ceilings went beyond looks. They were great for reducing noise and hiding ceiling flaws. This made the ceilings attractive to homeowners, as they were also easier and cheaper to install. However, their appearance is now often seen as out-of-date.
Keeping these ceilings clean is hard, and painting them can be tricky. They also tend to make rooms look darker by absorbing light. As a result, many people want to update their home’s look with different ceiling options.
Choosing to cover up popcorn ceilings rather than remove them can save money and effort. Whether you aim to maintain your home’s unique style or prefer a modern look, knowing about popcorn ceilings helps. It’s a good starting point for revamping your living space.
Why You Might Want to Cover a Popcorn Ceiling
Homeowners often look at reasons to cover popcorn ceiling because it looks old and is hard to clean. They were all the rage in the 60s and 70s. But now, they trap dust and cobwebs. This makes cleaning them a real pain. Furthermore, many homeowners seek to modernize their living spaces, leading to increased interest in removing or covering popcorn ceilings. A fresh look can not only enhance a room’s aesthetic appeal but also improve air quality by reducing dust accumulation. Additionally, while updating your home, don’t forget to consider ways to banish flies in your backyard, creating a more enjoyable outdoor environment.
Also, popcorn ceiling issues include the texture falling apart over time. Aging ceilings might release asbestos fibers, which are dangerous to health. Covering up these ceilings can make your room look better. Plus, it improves the air you breathe indoors.
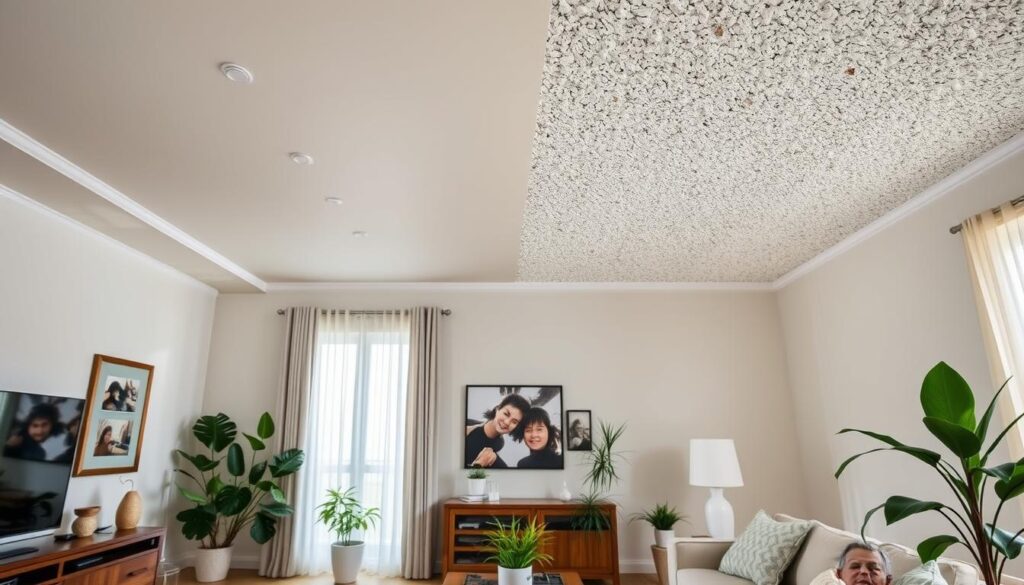
There are great benefits of covering popcorn ceiling. For instance, installing faux-tin ceiling tiles can quickly change your room’s look. It takes less than a day. Some people choose fabric covers, which need a lot of material and sewing. Or, painting a fun pattern on the popcorn texture is a cheap and easy fix.
Covering, instead of removing popcorn ceilings, is quicker and cleaner. Removing them can leave behind uneven drywall that needs more work. By covering them, you unlock different design choices. And, you avoid the mess of scraping off old textures.
| Method | Cost | Installation Time | Pros | Cons |
|---|---|---|---|---|
| Faux-Tin Ceiling Tiles | $400 | Less than 1 day | Quick installation, attractive | Requires precise fitting |
| Fabric Covering | Varies | Depends on sewing skills | Softens the ceiling texture | Time-consuming, material cost |
| Painting | Lowest cost | Short | Simple and effective | Temporary solution |
| Skim Coating | $0.50 – $1.00 per sq. ft. | Varies based on experience | Cost-effective, smooth finish | Requires skill, labor-intensive |
Exploring new ways to cover popcorn ceilings can make your home more beautiful and practical. Making a smart choice helps increase its looks and safety.
Best Way to Cover Popcorn Ceiling
Covering your popcorn ceiling can make your home look and feel better. There are several methods, but drywall and skim coat are top choices. Each method has its own benefits to consider.
Using Drywall to Cover Popcorn Ceiling
When you use drywall to cover a popcorn ceiling, you put new sheets over the old surface. This method is simple and can save money. You must attach thin drywall panels, in sizes like 1/4, 3/8, or 1/2-inch, to the ceiling joists.
Choosing 1/2-inch panels adds stability, but they’re heavier and harder to install. Remember, adding drywall makes your ceiling slightly lower. You must pay attention when finishing to avoid issues like visible seams.
Check out this simple table to understand more:
| Aspect | Details |
|---|---|
| Material Thickness Options | 1/4, 3/8, 1/2 inch |
| Reduction in Ceiling Height | Minor |
| Labor Intensity | Moderate to High |
| Final Finish Requirements | High attention needed |
Applying a Skim Coat
Skim coating is another great choice for hiding popcorn ceilings. You apply a thin mix of joint compound to smooth things out. Many people like this because it’s affordable and makes a big difference.
This method needs less work than putting up new drywall. However, you must be careful. You’ll probably need several coats to hide the popcorn texture well. This can get a bit messy, but it can hide up to 80% of the texture.
Here’s a quick way to compare:
| Method | Cost | Time Required | Skill Level |
|---|---|---|---|
| Drywall Installation | Approximately $1.50 per sq. ft. | 1 week | Moderate to High |
| Skim Coating | Low (joint compound and tools) | Varies by coats | Skillful application necessary |
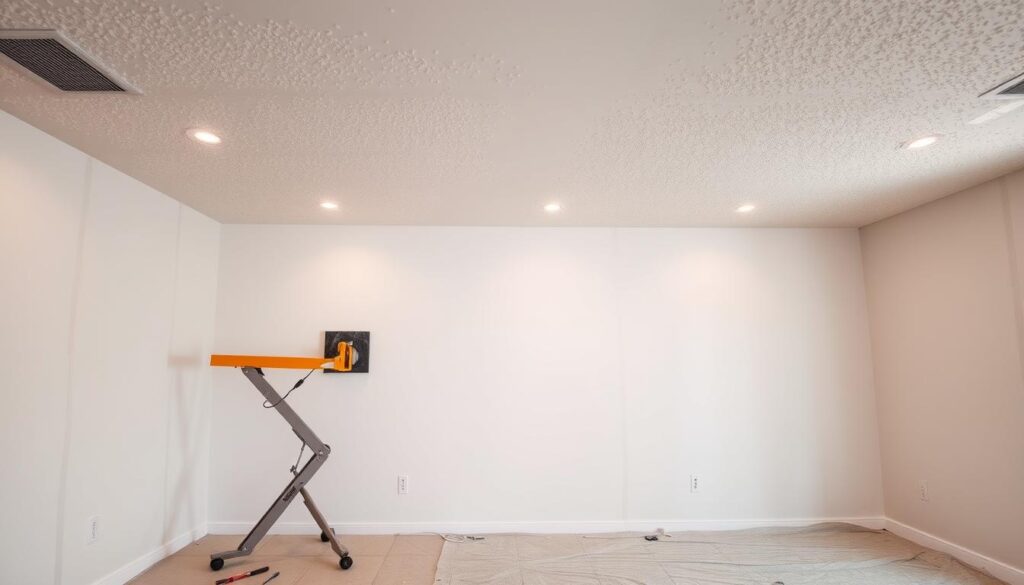
Each method is good for covering popcorn ceilings, depending on what you prefer and your DIY skills. Choosing between drywall and skim coating depends on your project needs, budget, and how much you like DIY work.
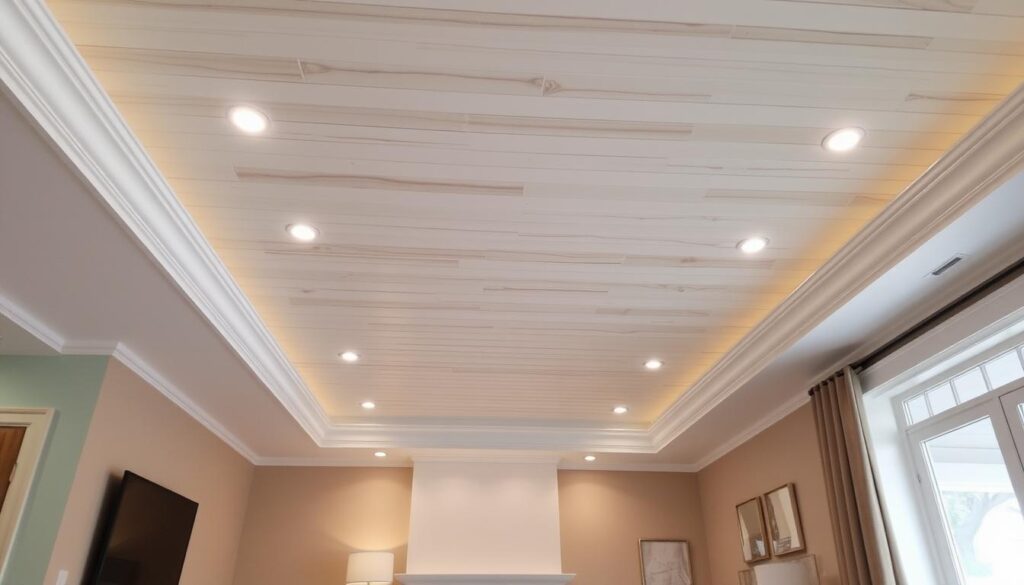
Covering with Beadboard or Tongue-and-Groove Planks
Beadboard and tongue-and-groove planks can turn your ceiling into a cozy highlight of your home. They are great options for adding warmth and character. They also help get rid of old-fashioned popcorn ceilings. By knowing the different types of beadboard and installation tips, your project can go smoothly.
Types of Beadboard Available
Beadboard gives a lovely finish and is available in various materials. This makes it a flexible choice for your home. The options you have include:
- MDF Beadboard: An affordable option, costing about $27 per 4×8 sheet at places like Home Depot or Lowe’s.
- Pre-Primed Beadboard: This type is ready to install and finish, perfect for those who like to do it themselves.
- Wood Beadboard: If you’re going for a rustic look, this natural finish is ideal.
For a beadboard ceiling, you might spend between $300 and $400. This cost depends on the size of your room and the materials you choose. This ceiling treatment is a great fit for many areas in your house.
Installation Tips for Wood Planks
Using tongue-and-groove planks can make installing your ceiling easier. Here are some handy tips:
- Choose lightweight planks for an easier install. Heavier planks might need more hands on deck, but lighter ones can be managed by just one or two people.
- Keep nails about 16 inches apart when attaching the planks to studs. This helps prevent the ceiling from sagging.
- Use 1×4 pieces spaced 48 inches apart in each direction. This will make sure your ceiling has enough support.
- Overlap the planks by 7 inches as you install them. This adds to the stability and gives a finished look.
- Finish up with caulking and sanding. Once the caulk is dry, you might want to add high gloss paint. This reflects light and makes the beadboard look even better.
People who like DIY projects say this one can be done in a day or two. You’ll probably use about 10 packs of tongue-and-groove planks and eight MDF boards for a coffered ceiling. These elements combine to make your space feel welcoming.
Grid-Track Systems for Easy Installation
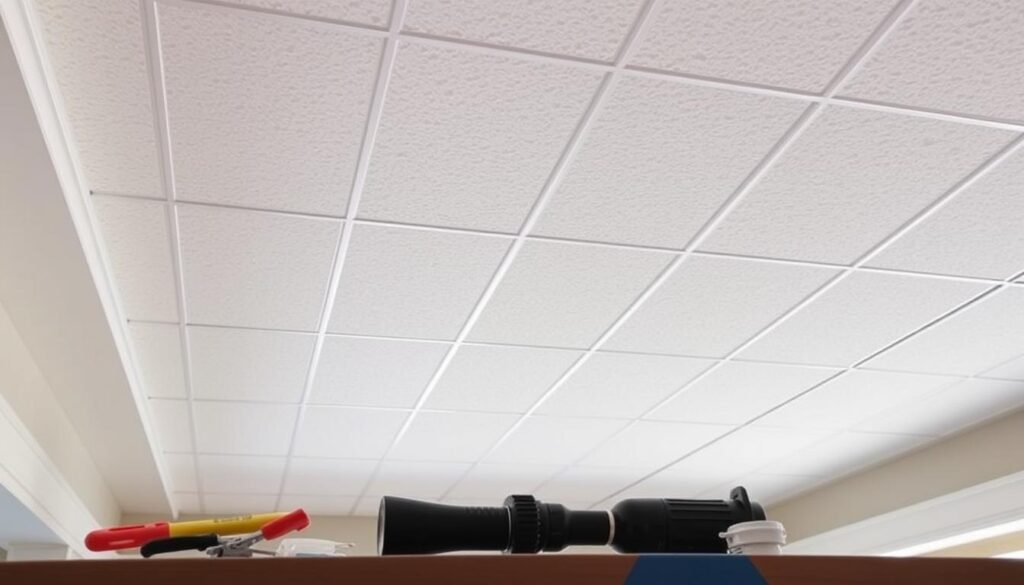
Looking to update your popcorn ceiling? The Armstrong Easy-Up system is a top choice. It uses ceiling grid systems to make DIY ceiling updates easy. Just attach a grid of tracks, and you can put in new planks or tiles without a mess.
Overview of the Armstrong Easy-Up Track System
The Armstrong Easy-Up system makes ceiling updates straightforward. You attach metal tracks to your ceiling. They should be 2 inches from the wall and placed 16 to 24 inches apart. This setup not only looks good but only lowers your ceiling by 1 inch.
The planks for this system need to be at least 26 inches long with two clips for each track. This ensures they stay in place. When installing, you use 2.5-inch wood screws to attach each metal track to the ceiling joists. This makes the structure solid.
Cost and Benefits of Grid-Track Systems
Grid-track systems might seem expensive at first, but they’re worth it. They let you pick from many colors and styles, making your space look great. Plus, they can make uneven ceilings look perfect.
The Armstrong WoodHaven ceiling planks cover about 29 square feet per box. There’s no need to paint or refinish them, saving you time and effort. Best of all, you can usually get the installation done in a day. It’s an ideal project for a weekend.
Skim Coating as a Cost-Effective Solution
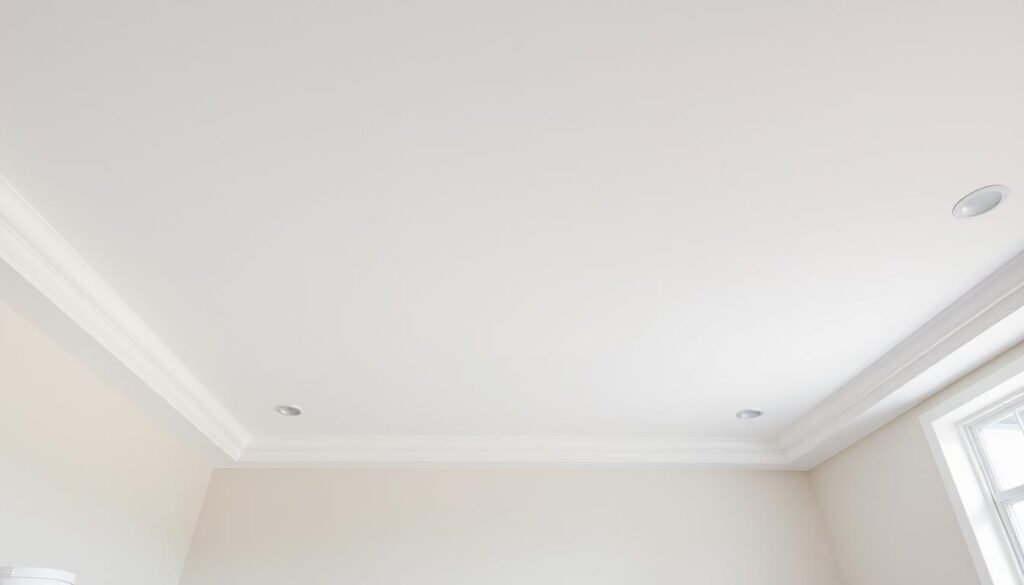
Homeowners looking to spruce up their living areas find skim coating an attractive option. It makes the ceiling smooth and looks good. Plus, it’s cheaper than getting rid of the old surface. Learn about the materials for skim coating and how to do it to succeed.
Materials Needed for Skim Coating
Here’s what you need to skim coat your ceiling:
- Joint compound
- Drywall trowel
- Sanding tools
- Drop cloths for mess control
- Painter’s tape for securing edges
Steps to Achieve a Smooth Finish
To get a smooth ceiling, follow these steps:
- First, clean off any dust or dirt from the ceiling.
- Use a trowel to spread joint compound evenly on the surface.
- Let each layer dry for about 24 hours before adding another.
- Sand between layers to get rid of any bumps. You might need several layers for a smooth finish.
- After smoothing, you can paint the ceiling for a new look.
Safety Precautions Before Starting
Before you start working on your popcorn ceiling, it’s important to be safe. Many popcorn ceilings can have asbestos. This means you need to plan carefully before you start taking them down. Making sure you stay safe is the most important thing during your home update.
Testing for Asbestos
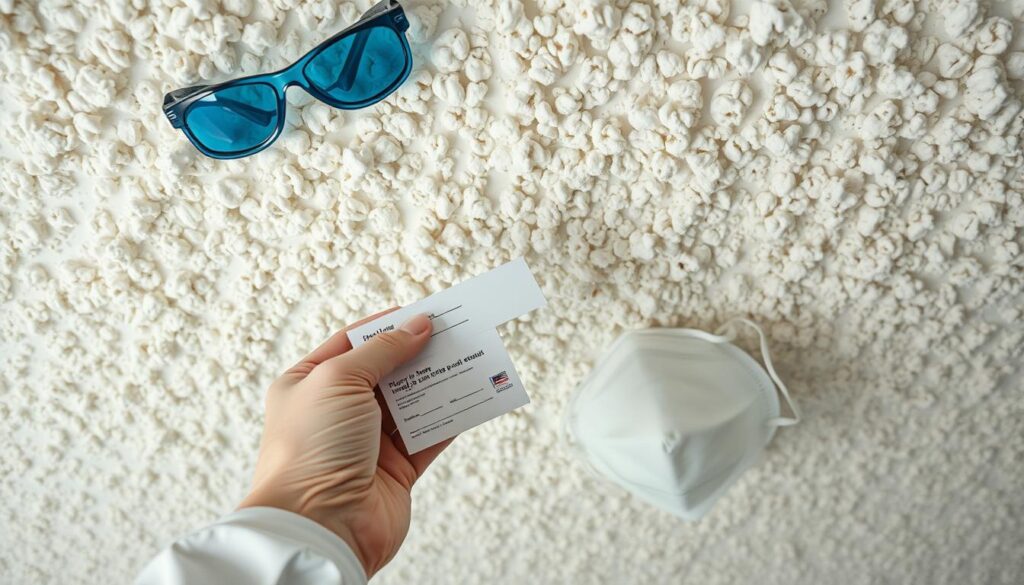
Thinking about redoing your popcorn ceiling? First, check for asbestos. If your home was built before 1980, your ceiling might have 1% to 10% asbestos. A quick test can tell you if it’s safe to proceed. This means you can make a safe plan, whether you remove it or just cover it up.
Protective Gear You Should Use
Protective gear is a must to lower health risks when renovating. Always use goggles, gloves, and an N95 respirator to protect yourself from dust and particles. If you find asbestos, it’s better to get professionals. Also, try not to disturb the ceiling to keep fibers from getting in the air. Following these steps will help make your home safer and healthier.
Tools and Materials Required
Getting ready to fix your popcorn ceiling means you need the right tools and supplies. This makes the job look better and helps it go smoothly. You’ll find that having the correct tools and picking the right materials makes everything easier and quicker.
Essential Tools for Covering a Ceiling
Here are some key tools you’ll need:
- Screwdrivers
- Utility knives
- Tape measure
- Drywall lifter (optional but helpful)
- Caulking guns
- Drywall finishing tools
These tools help you get the best look and finish for your ceiling update.
Different Materials to Consider
There are several materials you can use depending on the look you want:
| Material | Description | Cost-Effectiveness |
|---|---|---|
| Standard Drywall | Creates a smooth finish; can be labor-intensive. | Generally a budget-friendly option. |
| Beadboard | Gives a classic look; requires precise measurements. | More expensive because it’s harder to install. |
| Tongue-and-Groove Planks | Offers a seamless appearance; easy to install. | Cost is moderate but it’s a lasting choice. |
| Rigid Foam Insulation | Moisture-resistant; good for saving energy. | Costs more at first but saves money later. |
Understanding these materials helps pick what’s best for your style and budget. With the correct tools and materials, you can say goodbye to that outdated popcorn ceiling.

Cost Considerations
It’s important to know the popcorn ceiling covering costs when planning your renovation. Prices differ based on the method and if you hire pros or do it yourself. Comparing options thoroughly will help stretch your budget for ceiling renovation.
Here’s a short list of common methods:
| Method | Cost Range per Square Foot | Labor Considerations |
|---|---|---|
| Removal (Professional) | $1.25 – $2.22 | $15 – $50 per hour |
| DIY Removal | $100 – $500 for tools | Time: ~20 hours for 500 sq. ft. |
| Covering with Drywall | $10 – $20 | Professional installation required |
| Beadboard | Less than $0.50 | Cost-efficient option |
| Pressed Tin Tiles | $1 – $5 | Installation costs can add hundreds |
Remember, homes built before 1980 might need an asbestos check. This could affect your cost comparison and budget. Make smart choices about labor, tools, and materials to keep on budget.
Final Thoughts on Covering Popcorn Ceilings
Since the 1950s, popcorn ceilings were trendy up to the 1990s. Many houses still have them. Yet, people often look for ways to hide their popcorn ceilings to make their homes nicer. There are many choices for covering your ceiling, each with its perks. These changes can make your home feel better.
A fact might surprise you: over half of these ceilings have never been painted, even after decades. This shows many haven’t yet updated this part of their home. If you’re thinking about scraping and painting, remember oil-based paints make the job harder. Always think through your options, like putting up drywall, beadboard, or applying a skim coat, for best results.
Getting a professional to remove it might show more flaws than expected, sometimes over 25% of the ceiling. Often, about 70% of people trying it themselves end up needing professional help. Remember, removal can cost between $1.50 and $3.50 per square foot, which adds up.

Choosing the right materials can greatly improve looks. Tongue and groove or thin shiplap are popular, though they might show some flaws. The ease of installing these materials is attractive as they can be cut simply, with basic tools. Or, going all out with a full renovation can give amazing results.
Updates like these often benefit dining rooms, family areas, and laundry rooms the most. Spending time to pick the right method means your ceiling makeover will match your home’s style and needs perfectly. Keeping these points in mind will make your home more inviting and enjoyable for everyone.
| Ceiling Treatment Options | Ease of Installation | Potential Cost |
|---|---|---|
| Scraping and Painting | Moderate | $1.50 – $3.50 per sq. ft. |
| Drywall Installation | Moderate to Difficult | $2.00 – $4.00 per sq. ft. |
| Beadboard | Easy | Varies (Check local prices) |
| Tongue and Groove | Easy | Varies (about $25.97 for a 3-pack) |
| Skim Coating | Difficult | Varies (depends on labor) |
When you think about the different ways to cover a popcorn ceiling, choosing the best method can really improve your home and make it more valuable.
Conclusion
Covering an old popcorn ceiling can make your home look better and offer practical perks. We’ve looked at ways to do this, from smoothing it out to using beadboard. Matching your design ideas with your budget can help make your space look great.
Choosing to do it yourself or hiring someone is a big decision. Safety is key, especially with the risk of asbestos in old homes. Always be safe and pick a method that you’re comfortable with.
Getting rid of or covering up popcorn ceilings can brighten up your home, make it look cleaner, and might even up your home’s value. With the right tools and attitude, upgrading your home can be a fulfilling project.
