
Patching drywall holes is an easy process that enhances your walls’ appearance. Start by evaluating the damage and cleaning the edges. Cut a drywall patch to fit, apply adhesive around the hole, and press the patch in securely. After that, spread joint compound over the patch, feathering the edges for a seamless blend. Allow it to dry and sand for a smooth finish. Want to know more about tools and techniques? There’s plenty more to discover!
Key Takeaways
- Assess the damage and clean the edges of the hole for a solid bond before patching.
- Cut a drywall patch larger than the hole, ensuring a snug fit against clean edges.
- Apply a thin layer of joint compound around the patch’s edges for adhesion, then press the patch into place.
- Feather joint compound over the patch, extending at least 6 inches beyond, and allow to dry completely between coats.
- Sand the patched area lightly after each coat and wipe clean before painting for a seamless finish.
Common Causes of Drywall Damage
When you live in a busy household, drywall damage can happen more often than you’d think. Accidental punctures from furniture, sports equipment, or children’s activities frequently create holes in drywall, especially in high-traffic areas. Understanding alimony types can guide you in budgeting for potential home repairs after financial changes. Additionally, the presence of children can lead to emotional expressions that may inadvertently cause damage to walls as they play and explore their environment. Proper planning for bathroom needs can also prevent accidental damage during renovations if precautions are taken.
Renovations can also lead to drywall holes if you don’t take proper precautions when drilling or nailing. Plus, moving large items, like appliances or mattresses, often results in dents or holes as they bump against walls.
Everyday wear and tear, such as impacts from doors, can create small cracks over time, particularly in homes with children or pets. To keep your walls looking good, it’s essential to know how to repair drywall whenever you need to fix a hole or patch a damaged area. Additionally, understanding Leave No Trace principles can help maintain the integrity of your home environment while managing repairs.
Tools and Materials Needed for Repair
Repairing drywall holes requires a few essential tools and materials to guarantee a smooth and effective patch job.
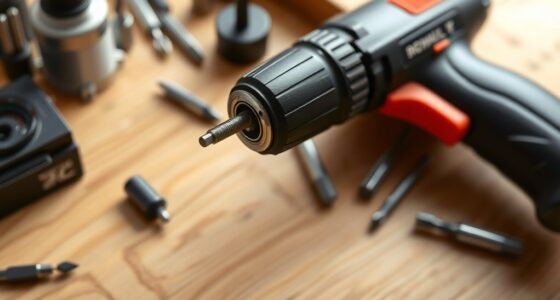
Start with a utility knife for cutting the drywall patch to size, and don’t forget a tape measure to verify an accurate fit. If you’re dealing with larger holes, wood backing like 2×4 or 2×2 strips will provide the necessary support. Organizing your space can help you keep these tools readily accessible for future repairs. Additionally, ensuring that your repair area has proper lighting will help you see any imperfections in your patch job.
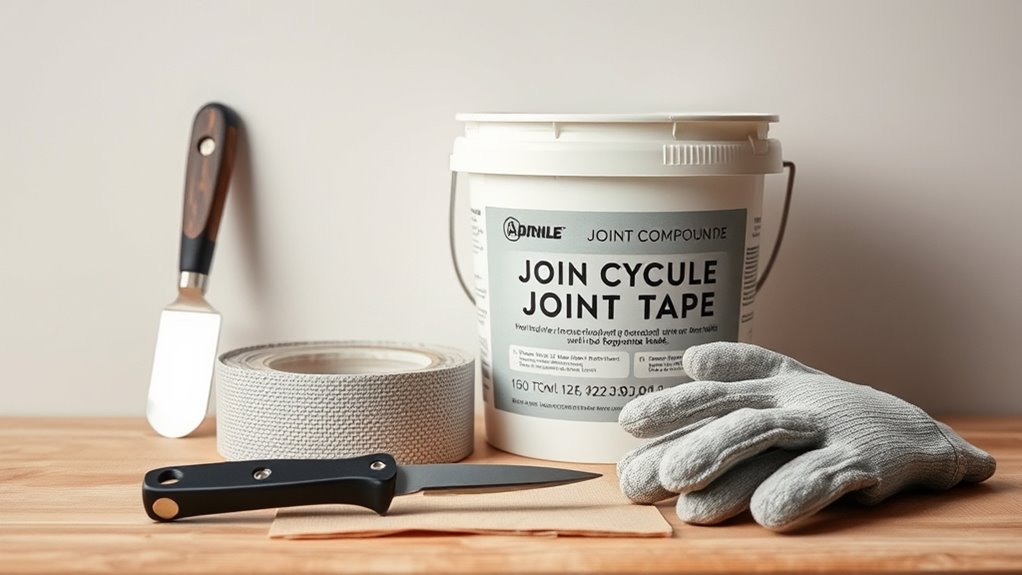
For applying the drywall joint compound, a putty knife is vital for a smooth finish. FibaTape self-adhesive patches are a great choice for ease of use, accommodating various hole dimensions. Additionally, using drop cloths can help protect your flooring and surrounding areas with a drop cloth to catch any dust or debris during the repair process.
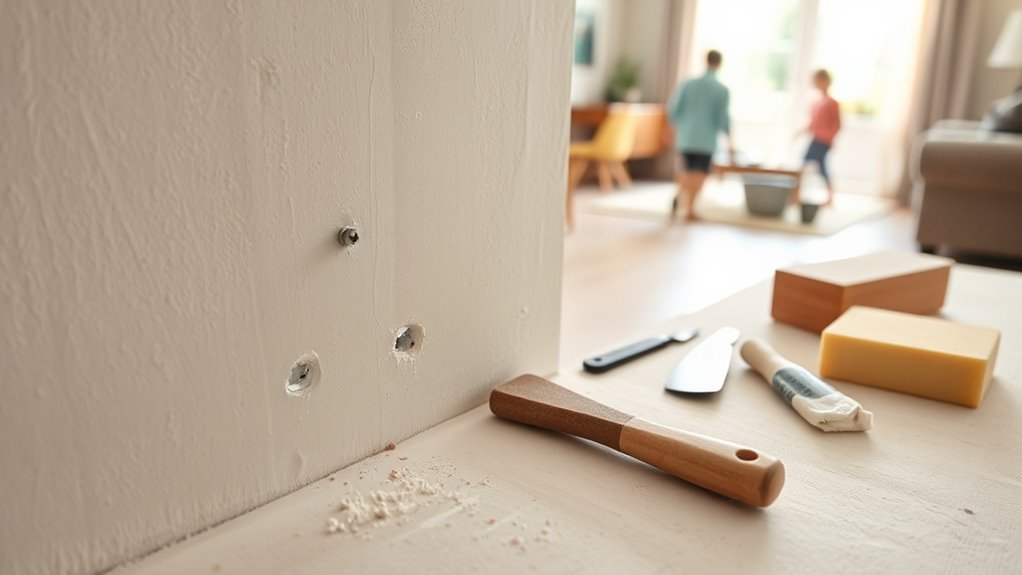
Preparing the Hole for Patching
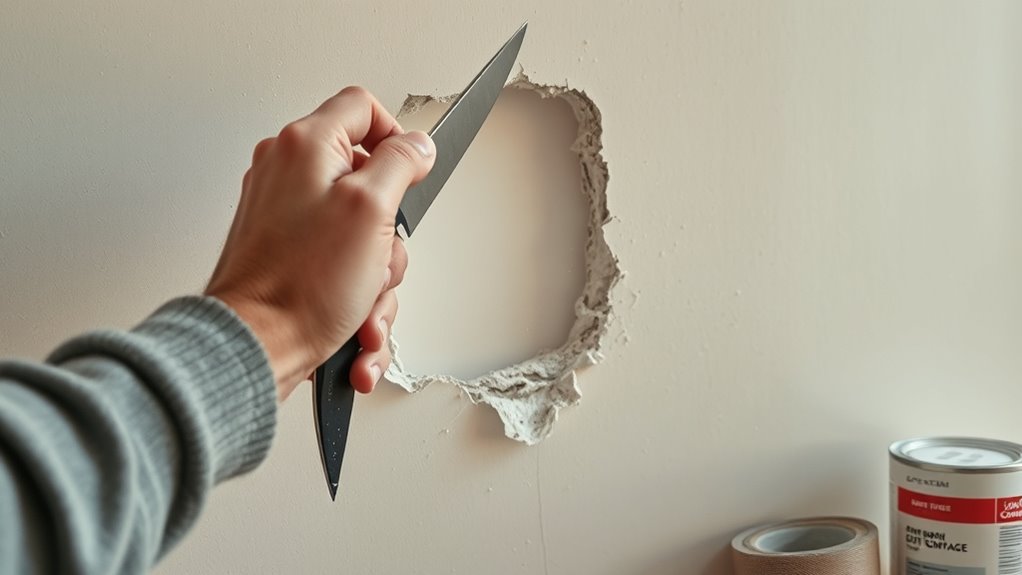
Before you start patching, assess the extent of the damage to determine how much drywall you need to remove.
Clean the edges thoroughly to get rid of any loose material, ensuring a solid bond for the patch.
Next, measure and mark a square or rectangular area around the hole, making it at least an inch larger for a smoother repair. Additionally, ensure the surface is free of dust and debris, as regular vacuuming can help improve the adhesion of the patch materials. This preparation aligns with the principle of maximizing space by ensuring a clean and organized work area. It’s also advisable to check filter indicators on your air purifier to maintain optimal air quality during your repair work. Using a vacuum with superior dust removal capabilities can enhance the cleanliness of your workspace, making the patching process more effective.
Assess Damage Extent
Evaluating the damage extent is essential for effective drywall repair. Start by inspecting the drywall hole to determine its size and severity. This evaluation will guide your repair method and materials.
- For holes smaller than 1/2 inch, lightweight spackle works well.
- Larger holes may require a drywall patch and additional support.
- Widen cracks with a utility knife for better adhesion.
- Remove loose debris to guarantee a clean surface for the patch.
Measuring the hole accurately helps you draw a square or rectangle around it, making the patch fit snugly against the existing drywall. Additionally, ensuring proper installation practices can prevent future damage to your drywall. Regular maintenance of your home, including checking for clogged mechanisms, can help maintain the integrity of your drywall and prevent further issues. A clean home environment can reduce allergens and pollutants, which may also protect the condition of your drywall over time. Furthermore, understanding the importance of chain of custody in various contexts can enhance your home repair efforts by ensuring that all materials are handled correctly and efficiently.
Clean Edges Thoroughly
A clean edge is essential for a successful drywall patch. Start by using a utility knife to carefully trim around the hole in the wall, removing any loose or damaged drywall to create clean edges. This uniform surface guarantees better adhesion for your patching material. Additionally, weather-resistant materials can be beneficial if the patch is in a moisture-prone area.
Once you’ve cut the edges, wipe down the area with a damp cloth or sponge to eliminate dust and debris, which can hinder adhesion. For small holes, sandpaper can help smooth out the edges, preventing cracks or separation over time. Additionally, using durable materials ensures that your patch will last longer without issues.
If you encounter jagged edges, use a hammer or screwdriver to create a more uniform shape, allowing for a better fit. Remember to wear protective eyewear and a dust mask during this process. Additionally, incorporating gentle stretching before starting your patching work can help relax your muscles and reduce tension.
Measure and Mark
Once you’ve cleaned the edges, it’s time to measure and mark the area for your patch. Start by measuring the size of the hole and adding at least an inch on each side to determine the dimensions of your patch.
Use a chalk box to create straight lines around the damaged area, guaranteeing a clean cut. Mark the area with a pencil to clearly define the shape, making it easier to cut. Air purifiers can help improve indoor air quality during this process, ensuring a healthier environment while you work. Regular cleaning of air purifiers can enhance their effectiveness in maintaining this optimal air quality. Additionally, using an air purifier can reduce allergens like dust that may be stirred up during the patching process.
- Measure carefully for accuracy.
- Use a chalk box for straight lines.
- Mark clearly with a pencil.
- Cut along the lines with a keyhole saw or utility knife.
This guarantees a neat opening for the patch and smooth edges for better adhesion. Additionally, ensuring proper ventilation and air quality during the patching process helps maintain a healthy environment in your home.
Installing the Drywall Patch
Now that you’ve prepared the hole, it’s time to install the drywall patch.
You’ll want to secure the patch firmly and apply the joint compound smoothly for a seamless finish.
Let’s go through the steps to guarantee your patch looks professional and lasts for years.
Prepare the Hole Properly
To prepare the hole properly for your drywall patch, start by cleaning the edges with a utility knife. Remove any loose or damaged drywall to guarantee a smooth surface for the patch to adhere to.
Next, trace the hole’s shape onto a piece of paper, creating a template for cutting your drywall patch accurately.
- Cut a piece of drywall larger than the hole.
- Center the traced shape on the back and score and snap off the excess.
- Sand the surrounding area to remove gloss for better adhesion.
- Apply a thin layer of drywall mud as an adhesive around the hole before inserting the patch.
This preparation will help you achieve a sturdy and effective repair.
Secure the Patch Firmly
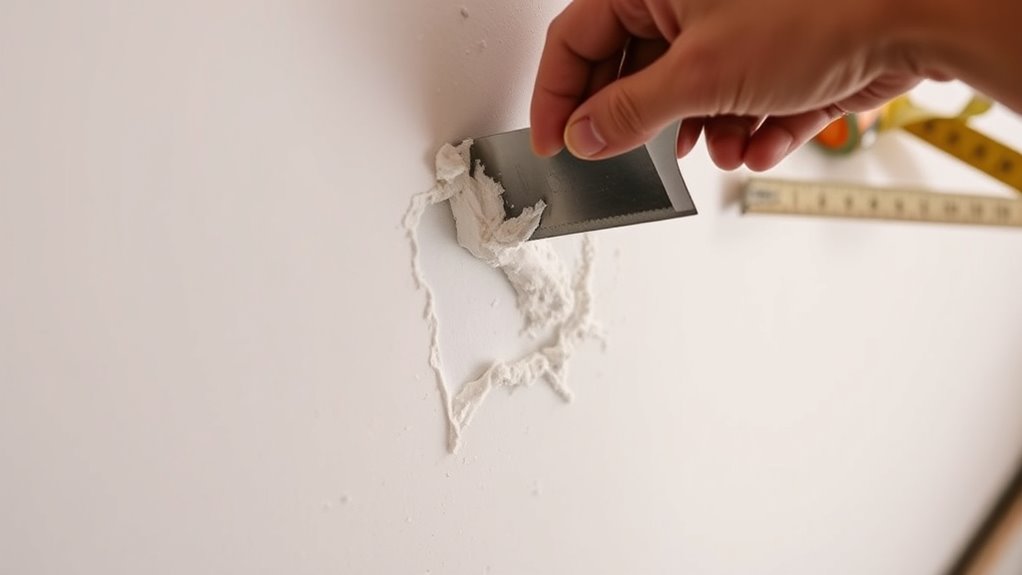
Begin by applying a thin layer of drywall mud around the edges of the hole; this acts as an adhesive for the patch.
Next, wet the paper edges of your drywall patch to enhance adhesion with the surrounding drywall.
Using a joint knife, press the patch firmly into the hole, ensuring it fits snugly. Smooth it out to eliminate any gaps, creating a secure seal.
Check that the patch is level with the surrounding wall surface by feathering out the drywall mud around the edges. This step is essential for a seamless finish later on.
Finally, allow the patch to set and dry completely before applying additional layers of mud or sanding.
Apply Joint Compound Smoothly
Once you’ve secured the patch, applying joint compound smoothly is essential for a seamless finish. Start by using a 6-inch drywall knife to apply a thin layer of joint compound over the new piece of drywall, making sure to feather the edges of the patch. Allow this first coat to dry completely, usually around 24 hours.
- Assess if a second coat is needed.
- Apply the second coat wider than the first for a smoother finish.
- Feather the edges again to minimize sanding.
Once dry, lightly sand the area with fine-grit sandpaper.
Finally, clean the area with a tack cloth to remove dust and guarantee your paint adheres properly to the patched surface.
Applying Joint Compound and Finishing
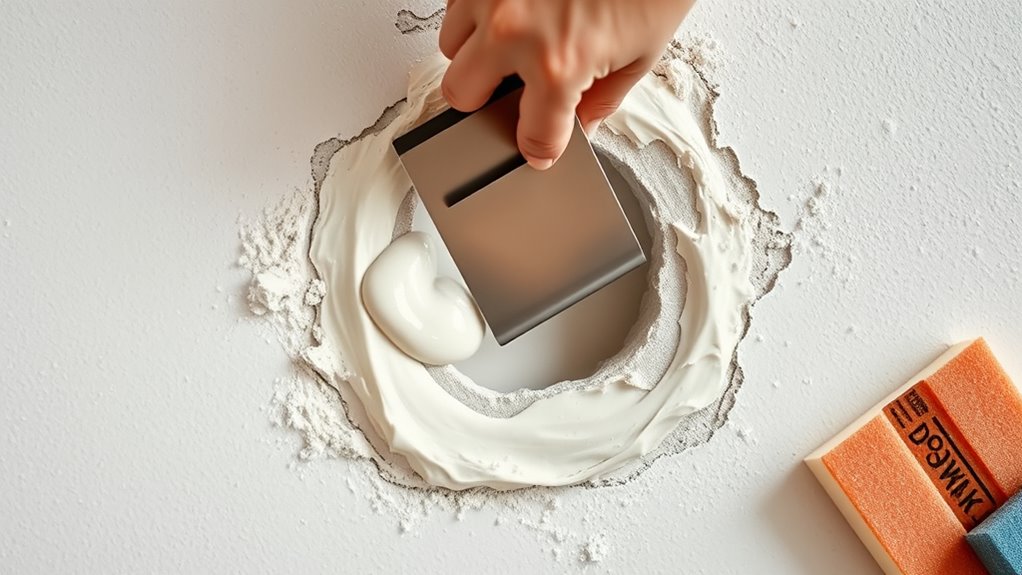
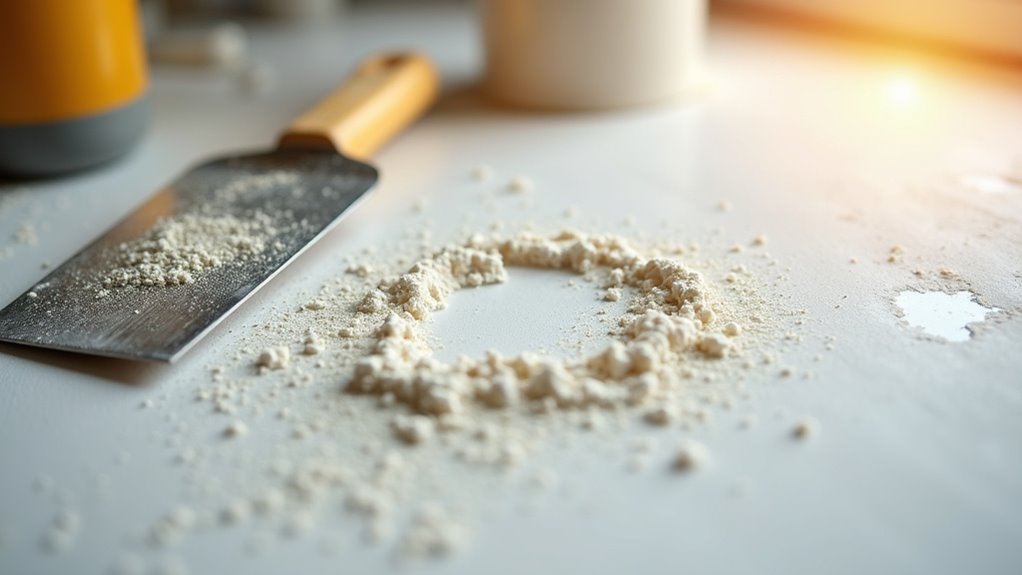
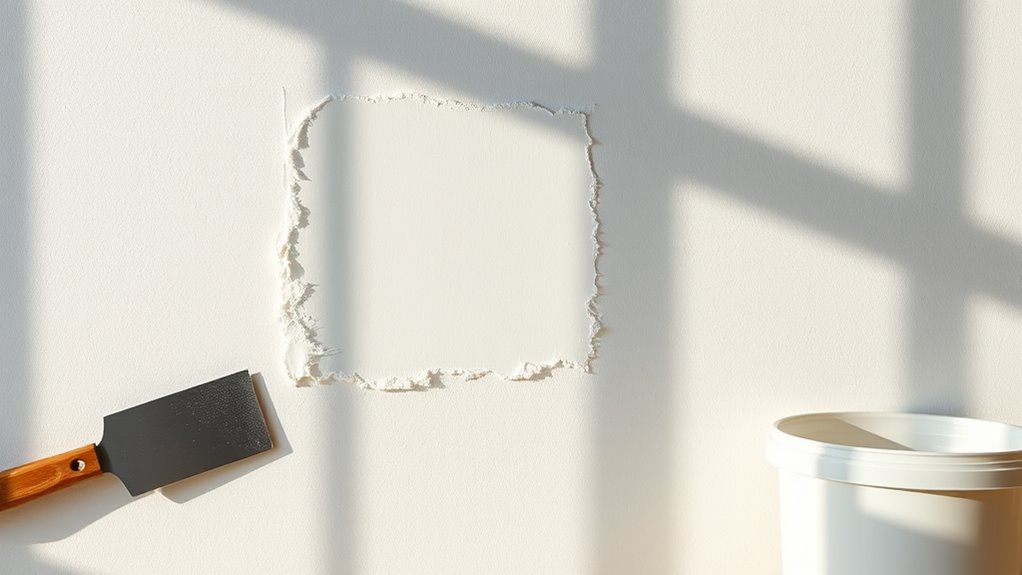
Applying joint compound is an essential step in achieving a flawless drywall repair. Start by spreading a thin layer of joint compound over the patched area, feathering the edges to blend it seamlessly with the surrounding wall.
Allow the first coat to dry completely, usually taking about 24 hours. Once dry, lightly sand it with fine-grit sandpaper for a smooth finish.
For the best results, apply multiple coats, ensuring each coat extends wider than the last to effectively conceal the patch.
After the final coat has dried and been sanded smooth, use a tack cloth to wipe away any dust before painting. This will help you achieve a uniform appearance that blends in with the existing wall texture.
Tips for a Seamless Repair
Achieving a seamless drywall repair requires careful attention to detail, especially when it comes to feathering the edges of your patch.
Make certain to extend the joint compound at least 6 inches beyond the patch. Here are some tips to help you achieve a flawless finish:
- Use multiple thin coats of joint compound for better integration.
- Sand the patched area with fine-grit sandpaper after each coat.
- Wipe the patched area with a tack cloth to remove dust before painting.
- Opt for a higher nap roller when painting the area to match texture.
Following these steps will guarantee your drywall repair blends smoothly with the surrounding painted area, making it nearly invisible.
Frequently Asked Questions
What Is the Best Way to Patch Drywall Holes?
The best way to patch drywall holes depends on their size.
For small holes, you’ll want to use lightweight spackle, filling them completely and sanding smooth after drying.
For larger holes, cut a piece of drywall to fit, securing it to the studs.
Use self-adhesive fiberglass tape around the edges and apply multiple layers of joint compound, feathering the edges to minimize sanding.
Always let each layer dry fully before adding more.
How to Fix a Hole in the Wall for Dummies?
Fixing a hole in the wall isn’t rocket science, but you might think it’s when you see that gaping space!
First, identify the hole’s size. For tiny holes, grab some spackle; for larger ones, cut drywall to fit.
Widen cracks, clean dust, and fill with spackle or joint compound.
Sand it smooth, apply paint, and admire your handiwork. You’ll be surprised at how easy it really is!
What Is the Best Filler for a Hole in Drywall?
When you’re choosing the best filler for a hole in drywall, it really depends on the size of the damage.
For small holes and dents, lightweight spackle works great since it dries quickly and sands easily.
If you’ve got a crack wider than 1/2-inch, opt for self-adhesive fiberglass tape with joint compound for better strength.
For larger holes, a drywall patch with joint compound guarantees a solid, seamless repair.
Do You Have to Sand Before Patching Drywall?
You might think skipping sanding saves time, but it actually creates more work later.
Sanding the area around the hole smooths out imperfections and enhances adhesion for your patching material. Start with medium-grit sandpaper to level the surface, then switch to fine-grit for that smooth finish.
Without this step, your patch could stand out like a sore thumb. So, grab that sandpaper—it’s essential for a seamless repair!
Conclusion
Now that you’ve mastered the art of drywall patching, you’re practically a home improvement guru. Who needs a professional when you can wield a putty knife like a seasoned warrior? Just remember, if your patch ends up looking like a Picasso masterpiece, you might want to reconsider your career in home repairs. But hey, at least you can impress your friends with your “unique” wall art! So grab that joint compound and embrace your inner artist—just maybe not in the living room.