Basic plumbing fixes are vital for every homeowner. You’ll want to have essential tools handy, like pliers, wrenches, and Teflon tape. Start with simple tasks, like fixing a leaky faucet by replacing washers or O-rings. Learn to tackle clogged drains using plungers or drain snakes. Address running toilets caused by faulty flappers. Regular maintenance can save you money and prevent headaches. Keep exploring to discover more valuable tips for maintaining your plumbing system effectively.
Key Takeaways
- Know how to fix a leaky faucet by identifying the type and replacing worn washers or O-rings.
- Unclog drains using a plunger, drain snake, or a baking soda and vinegar solution for buildup.
- Regularly inspect and maintain toilet components to prevent running toilets and save water.
- Use Teflon tape on threaded joints during repairs to prevent leaks and ensure a tight seal.
- Schedule routine plumbing inspections to catch potential issues early and maintain water quality.
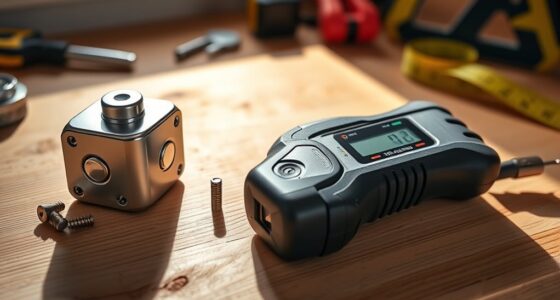
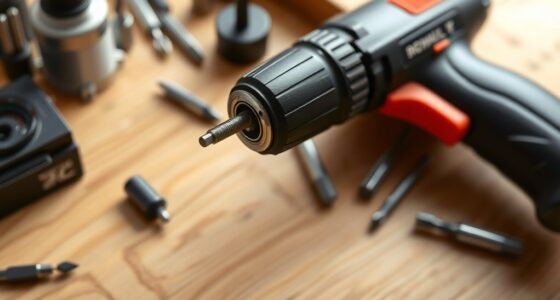
Tools Needed for Basic Plumbing Repairs
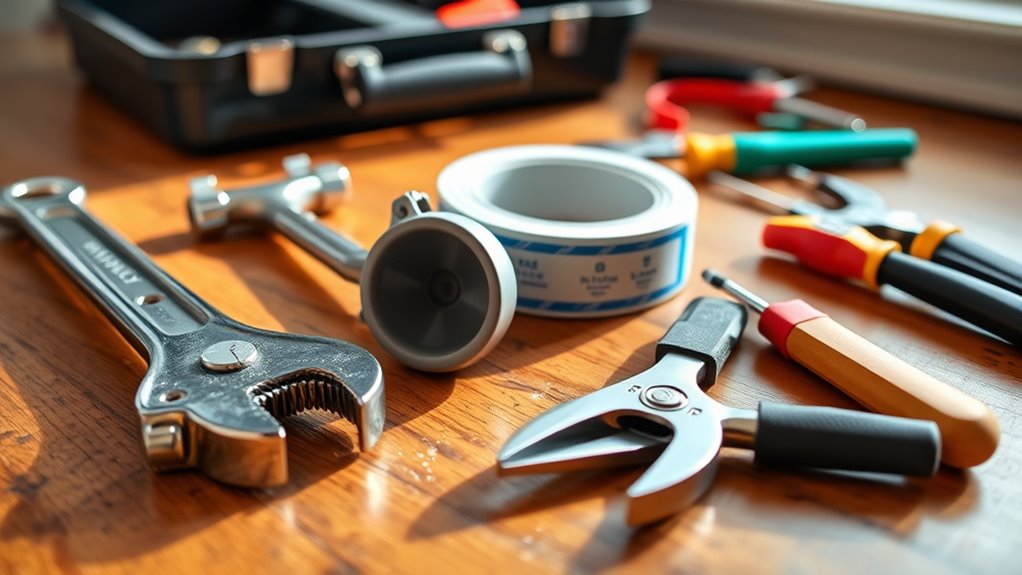
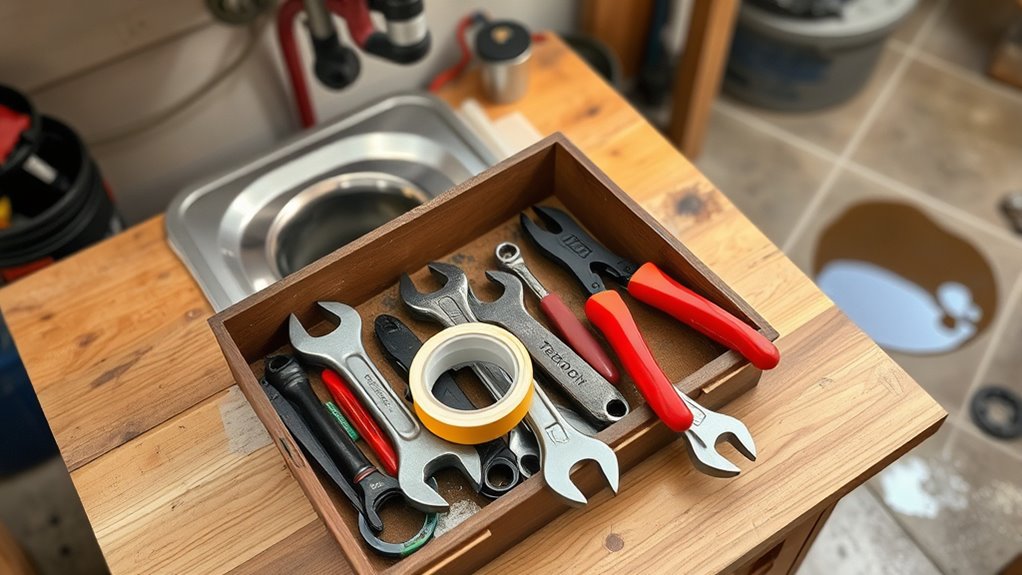
When tackling basic plumbing repairs, having the right tools on hand can make all the difference. For effective DIY plumbing, you’ll need some essential tools.
Start with pliers, perfect for tightening and loosening compression nuts and fixtures. A wrench is vital for removing pipes and adjusting hex nuts on faucets, allowing you to perform repairs efficiently. Understanding emotional well-being can also help ensure that the stress of plumbing issues does not overwhelm you. Regular inspections of your plumbing can identify potential issues early, similar to the way regular inspections in automotive repair help maintain vehicle efficiency. Additionally, maintaining indoor air quality through proper plumbing can prevent moisture problems that lead to mold growth.
Don’t forget a basin wrench for those tricky nuts under sinks. A pipe cutter guarantees you get precise measurements and clean cuts for proper fits.
Additionally, a pipe wrench grips and turns pipes easily, while soldering tools help join copper pipes securely.
Finally, Teflon tape seals threaded joints to prevent leaks, making these the must-have tools needed for basic plumbing repairs. Understanding color accuracy can also help when selecting fixtures that require precise fittings for optimal performance.
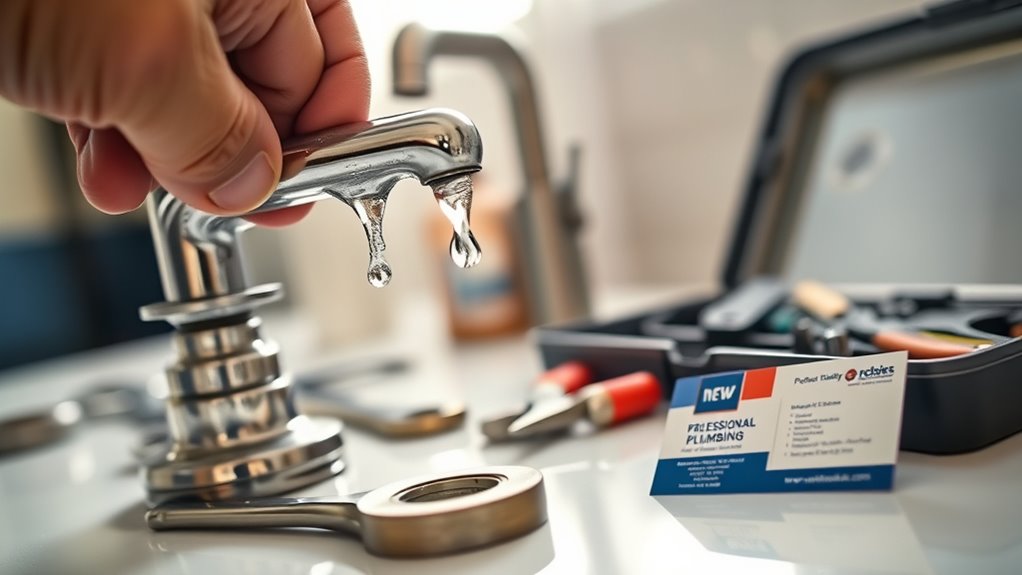
How to Fix a Leaky Faucet
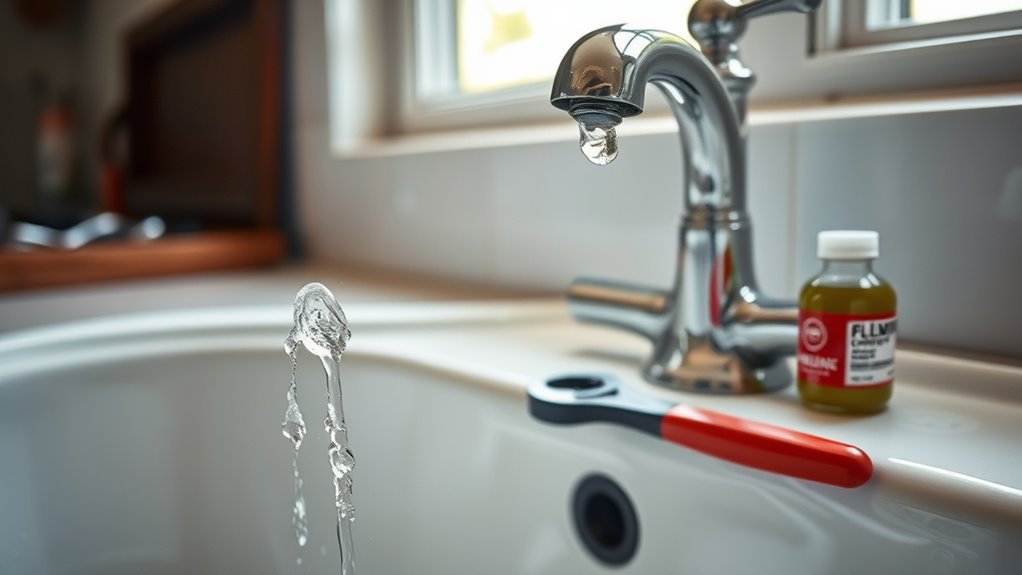
Fixing a leaky faucet starts with identifying the type of faucet you have, as each one has its unique components. Gather the necessary tools, like screwdrivers and replacement parts, to make the process smoother. Regular maintenance, such as upgrading fixtures, can also prevent leaks and ensure optimal toilet functionality. Additionally, understanding the importance of long-term financial planning can help you budget for any future home repairs. Remember that regular maintenance can improve the overall efficiency of your plumbing system, leading to better water conservation. Follow a step-by-step repair guide, and you’ll have that faucet running without leaks in no time.
Identify Faucet Type
How can you effectively tackle a leaky faucet if you don’t first identify its type? Knowing whether you have a compression, cartridge, ball, or ceramic disc faucet is essential since each requires different repairs and replacement parts.
Look for common signs of a leaky faucet, like dripping water or pooling around the base, often due to worn washers or O-rings. User experience can be significantly improved by addressing such leaks promptly. Additionally, routine maintenance can help identify potential issues before they become significant problems. Regular checks on wood pellet fireplaces can also teach you the importance of proper maintenance in preventing leaks.
Once you’ve identified the faucet type, you can disassemble it by removing the handle and unscrewing retaining screws to access the leak source.
After identifying the necessary replacement parts, you can find them easily online or at local hardware stores. It’s also beneficial to understand the importance of regular maintenance to prevent future leaks and prolong the lifespan of your faucet.
Completing these steps guarantees you’re well-prepared for the repairs ahead.
Gather Necessary Tools
To tackle a leaky faucet effectively, you’ll need a few essential tools that streamline the process.
Start with an adjustable wrench, screwdriver, pliers, and a basin wrench to disassemble and reassemble the faucet components. If you encounter stubborn or corroded fittings, a pipe wrench will help you loosen them, allowing you to access the leak source. Additionally, using well-draining soil can be beneficial if you plan to set up indoor plants in the same area, as it supports a healthy environment. Consider having a high pressure airless paint sprayer on hand for any painting touch-ups that may be necessary after your plumbing repairs. You might also enjoy aquatic exercise routines post-repair, which can help relieve any physical strain from the plumbing work.
Don’t forget Teflon tape for sealing threaded connections, preventing future leaks after your repairs. It’s also wise to have a replacement kit for common parts like washers and O-rings on hand to simplify the repair process.
Finally, grab a small bucket or towel to catch any water that spills during the job, keeping your workspace dry and organized. Additionally, knowing how to use portable plumbing tools can greatly enhance your efficiency during repairs, especially in tight spaces or outdoor settings.
Step-by-Step Repair Guide
Before diving into the repair, it’s essential to turn off the water supply at the shut-off valve or main supply. This prevents any unwanted leaks while you work.
Next, disassemble the faucet carefully to identify the source of the leak, which is often due to worn washers, loose nuts, or damaged O-rings. Replacing faulty parts with new ones that match the original specifications ensures a proper fit. Additionally, just as with Gold IRAs, understanding the components of your plumbing system can help you address issues more effectively. Regular inspections of the faucet’s components can also help prevent leaks, similar to the way regular filter replacement maintains optimal performance in air purifiers. Using quality materials during repairs can enhance durability and longevity, much like investing in expandable home security systems that allow for future upgrades.
Once you’ve reassembled the faucet, turn the water supply back on and test for leaks to confirm the repair was successful. Additionally, regular maintenance and inspections can help prevent future issues, similar to how regular inspections of a wood stove can ensure safety and efficiency.
This simple plumbing fix can save you significant amounts of water and reduce your utility bills, as a dripping faucet can waste over 10,000 gallons annually.
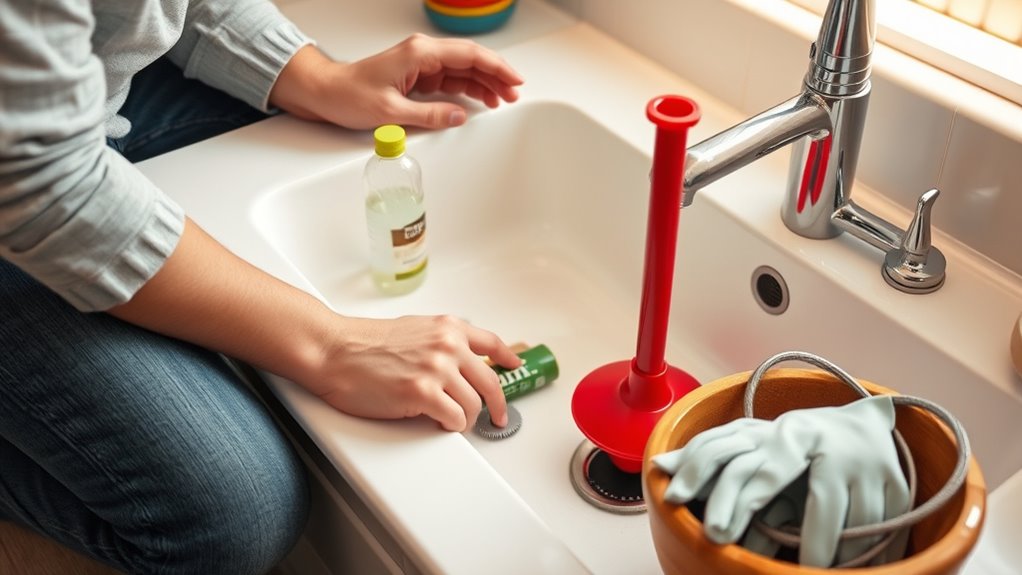
Dealing With Clogged Drains

Clogged drains are a common headache for homeowners, often caused by hair, grease, or foreign objects. Knowing how to effectively remove these clogs and implementing preventive maintenance can save you time and money. Let’s explore some practical techniques to keep your drains flowing smoothly. Additionally, using proper ventilation around wood stoves can help prevent excess moisture and buildup that may lead to plumbing issues. Regular chimney cleaning not only ensures safety but also contributes to a healthier home environment by reducing humidity levels that can affect plumbing.
Common Causes Clogs
While you mightn’t think about it often, clogged drains can become a frustrating issue in your home. Common culprits include hair, grease, soap scum, and food particles, which accumulate over time and restrict water flow.
In fact, about 80% of drain clogs result from hair and gunk buildup. This makes regular maintenance essential to prevent blockages.
To keep your drains flowing smoothly, consider using a drain strainer to capture debris, especially in sinks and tubs. Additionally, regularly cleaning faucets and showerheads can help prevent mineral buildup that contributes to slow drains.
Effective Clog Removal Techniques
Dealing with clogged drains can be a hassle, but several effective techniques can help you clear them quickly. Start with a plunger, which creates suction to dislodge obstructions.
If that doesn’t work, consider using a drain snake or auger to tackle deeper clogs caused by hair or grease. Regular maintenance is key; mix baking soda and vinegar to break down buildup and keep your pipes clear.
Remember, avoid pouring grease or food scraps down the sink, as they can solidify and lead to blockages.
If you try these methods and still face persistent issues, it’s time to call a professional plumber who can use advanced tools to resolve the problem safely and effectively.
Preventive Maintenance Tips
After tackling those pesky clogs, it’s important to focus on preventive measures to keep your drains flowing smoothly.
Start by using sink strainers in your kitchen and bathroom to catch food particles and debris. Avoid pouring grease, oil, or non-biodegradable items down the drain, as they can solidify and cause blockages.
Schedule routine inspections of your plumbing system to catch potential issues before they escalate. Additionally, periodically flush your drains with hot water or a mixture of vinegar and baking soda to dissolve minor build-ups.
Finally, educate yourself on common clog causes, like hair and soap scum, so you can implement targeted preventive measures effectively. Keeping your drains clear will save you time and headaches in the long run.
DIY Methods for Clearing Clogs
Have you ever faced the frustration of a stubborn clog in your sink or toilet? You can tackle this issue with some handy DIY methods.
Start by using a plunger; its vacuum and pressure can effectively dislodge clogs in both toilets and sinks. For deeper blockages that a plunger can’t reach, grab a drain snake. This versatile tool can navigate through tough spots and clear the way.
Another natural solution is pouring a mixture of baking soda and vinegar down the drain to break down organic matter and grease. To prevent clogs in the first place, regularly clean sink traps and remove hair and debris.
If these basic repairs don’t work, it’s time to call a professional plumber.
Repairing a Running Toilet
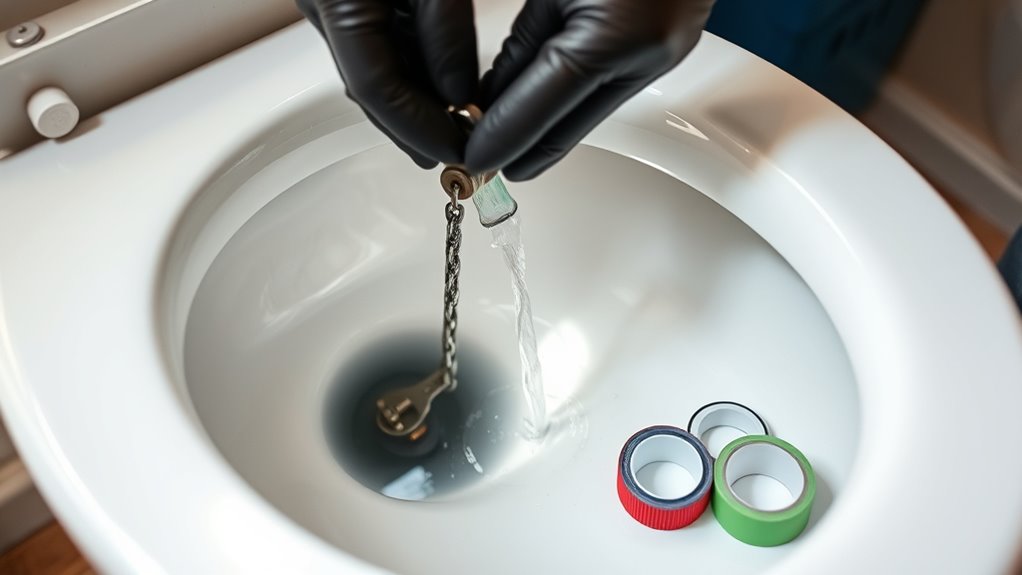
If your toilet’s constantly running, it might be due to a faulty flapper valve or a misaligned float system.
Tackling this issue quickly is essential since it can waste a significant amount of water each day.
Let’s go over some common causes and simple steps to fix it.
Common Causes Explained
When you hear that constant sound of running water, it often points to a problem with your toilet’s components. A common culprit is the flapper valve, which may not seal properly, allowing water to flow continuously into the bowl. This not only wastes water but can also spike your water bills.
Sometimes, jiggling the handle can temporarily reseat the flapper and stop the leak. Regular maintenance is key; checking the float and flush mechanisms can help prevent running toilets.
If you’re facing persistent issues, consider using a Danco toilet repair kit for reliable replacement parts. By addressing a running toilet promptly, you could save an average of 200 gallons of water per day, reducing waste and expenses.
Quick Repair Steps
To fix a running toilet quickly, start by jiggling the handle; this simple action can often reveal whether the flapper valve needs replacing.
If the toilet flush stops temporarily, you may need to inspect the flapper for wear or misalignment.
Turn off the shutoff valve to stop the water flow before replacing the flapper, which usually takes under 30 minutes and costs about $10 to $20.
Addressing these plumbing tasks can save you up to 200 gallons of water per day, preventing unnecessary water damage.
Regularly check for leaks and adjust float levels to keep your toilet in top shape, ensuring it functions properly and saves you money in the long run.
Fixing a Dripping Showerhead

A dripping showerhead can be a frustrating nuisance, especially when it leads to wasted water and higher bills. To fix it, start by turning off the water supply.
Next, disassemble the showerhead and inspect for worn-out washers or O-rings. These are often the culprits behind the leak and can be easily replaced.
Using plumber’s tape on the threads during reassembly can guarantee a tight seal, preventing future leaks. Regular maintenance, like cleaning mineral deposits, helps maintain water pressure and can save you time down the road.
Understanding Your Plumbing System
Understanding your plumbing system is vital for maintaining a functional home. Your home’s plumbing system consists of two main subsystems: the supply system, which delivers fresh water under pressure, and the drainage system, which disposes of wastewater using gravity.
Knowing the location of your main water shut-off valve is important; it’s usually near the water meter and allows you to quickly stop the flow in emergencies. Each fixture, like sinks and toilets, should have individual stop valves for better control.
Additionally, make certain that horizontal pipes have a proper slope of 1/4 inch per foot for efficient drainage. Incorporating these Plumbing Tips can help prevent issues and ultimately prolong the life of your plumbing system.
Common Plumbing Mistakes to Avoid
While tackling plumbing repairs, it’s easy to make mistakes that can lead to bigger problems down the line. One of the most common plumbing mistakes to avoid is forgetting to turn off the water supply before starting work. This can result in a significant amount of water flooding your home, causing extensive damage.
Additionally, using the wrong tools, like a standard wrench instead of a basin wrench, can damage fixtures and lead to leaks. Over-tightening connections can also strip screws and break bolts, making future repairs a hassle.
Finally, ignoring local plumbing codes might save time now, but it could create costly rework later, especially when selling your home. Stay proactive and informed to prevent these pitfalls!
Importance of Regular Maintenance

Regular maintenance is essential for keeping your plumbing system in top shape and avoiding costly repairs. By staying proactive, you can save money and prevent health hazards associated with plumbing issues.
Here are some key benefits of regular maintenance:
- Inspect pipes regularly for leaks and corrosion to save up to 10,000 gallons of water annually.
- Check fixtures and drains to catch clogs early, avoiding emergency plumbing repairs that can cost $500 to $800.
- Clean and maintain aerators to improve water pressure, especially in older systems.
- Insulate pipes during colder months to prevent freezing and bursting.
When to Call a Professional Plumber
Even with regular maintenance, plumbing issues can arise that require professional help.
If you notice persistent leaking pipes or faucets that basic plumbing fixes can’t resolve, it’s crucial to contact a professional plumber. Ignoring these issues can lead to water damage and mold growth.
If clogged drains remain blocked after multiple attempts to clear them, a pro can help avoid further damage. Additionally, low water pressure could signal serious plumbing problems that need a licensed plumber’s expertise.
Foul odors from your drains often indicate sewage backups, which are best handled by a professional for health reasons.
If any plumbing problems exceed your skill level, don’t hesitate to call a plumber to guarantee your water supply remains safe and functional.
Frequently Asked Questions
What Is the Most Common Plumbing Repair?
The most common plumbing repair you’ll encounter is fixing leaky faucets.
If you notice dripping, it’s often due to worn-out washers or O-rings. Ignoring it can waste up to 10,000 gallons of water each year, which not only harms the environment but also raises your water bill.
Taking the time to address this issue can save you money and prevent further damage to your plumbing system, ensuring everything runs smoothly.
What Is the 135 Rule for Plumbing?
Imagine a smooth river flowing effortlessly down a gentle slope, carrying away debris without a hitch. That’s the essence of the 135 Rule in plumbing.
It dictates that for every 10 feet of pipe, you should let it drop 1.5 inches. This slope guarantees wastewater flows seamlessly, preventing clogs and backups.
What Are the Basics of Plumbing?
The basics of plumbing involve understanding how water supply and drainage systems work.
You need to know where your main water shut-off valve is located for emergencies. Familiarize yourself with common fixtures like sinks and toilets, ensuring they’re properly connected to both systems.
Regularly inspect for leaks and keep drains clear to maintain efficiency. By grasping these essentials, you’ll enhance your home’s plumbing and avoid costly issues down the line.
What Are the 4 Main Parts of Standard House Plumbing?
Imagine turning on your faucet and nothing comes out. Frustrating, right?
To avoid that, you need to understand the four main parts of standard house plumbing.
First, there’s the water supply system, delivering fresh water under pressure.
Next is the drainage system, which uses gravity to remove wastewater.
Don’t forget the fixtures, like sinks and toilets, where you interact with water.
Finally, the venting system guarantees smooth drainage by preventing vacuum conditions.
Conclusion
To sum up, knowing these basic plumbing fixes can save you time and money. Did you know that nearly 10% of homes have leaks that waste at least 90 gallons of water a day? That’s a lot of wasted resources! By tackling simple repairs like leaky faucets or clogged drains, you not only improve your home’s efficiency but also contribute to water conservation. So, grab your tools, stay proactive, and don’t hesitate to call a pro when needed!