Decor
Holiday Decor When Trying to Sell Your Home
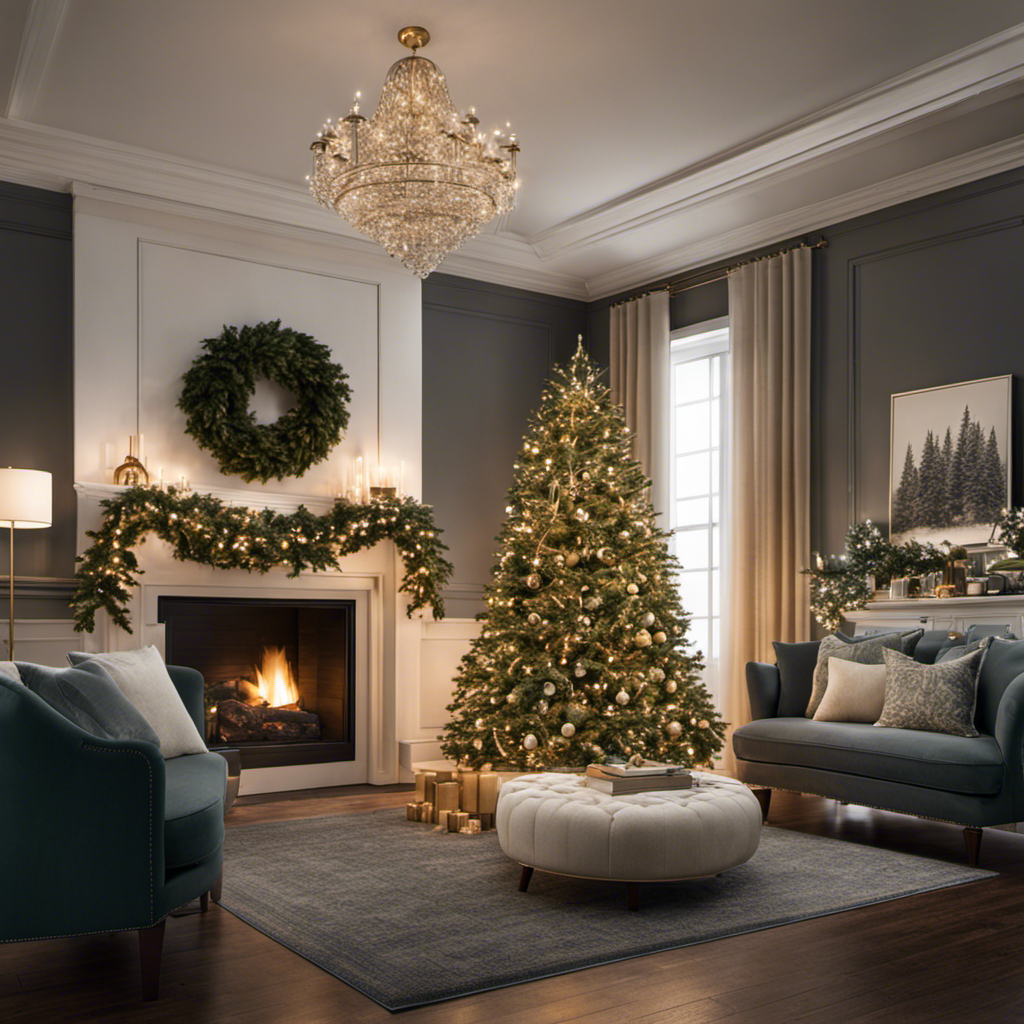
Imagine stepping into a potential buyer’s shoes as they enter your home. The warm glow of twinkling lights, the smell of freshly baked cookies, and the festive holiday decor create an inviting atmosphere.
But, when selling your home, is it wise to keep these decorations up? In this article, we will explore the impact of holiday decor on selling your home and provide tips on how to stage your space with the right balance of cheer and neutrality.
Key Takeaways
- Excessive holiday decor can distract potential buyers from focusing on the property’s features.
- Buyers want to envision themselves living in the space, and excessive decor can make it difficult for them to do so.
- Opt for classic, timeless colors like silver, gold, or white to keep the decor neutral.
- Avoid overwhelming buyers with too many decorations and keep it tasteful and minimal.
Impact of Holiday Decor on Home Selling
You should avoid using excessive holiday decor when trying to sell your home as it can distract potential buyers from focusing on the features of the property.
While holiday decorations can create a warm and festive atmosphere, too much of it can be overwhelming and take away from the effectiveness of showcasing your home.
Buyers want to envision themselves living in the space, and excessive holiday decor can make it difficult for them to do so. It may also give the impression that the home is cluttered or poorly maintained.
By keeping the decor minimal and tasteful, you can ensure that buyers can see the true potential of the property.
Choosing the Right Holiday Decor for a Selling Home
When selling your home during the holidays, it’s important to select the appropriate decorations. By choosing the right holiday decor, you can create a festive ambiance that appeals to potential buyers and makes them feel welcome.
Here are three key considerations when selecting your decorations:
-
Keep it neutral: Opt for classic, timeless colors like silver, gold, or white. This will appeal to a wide range of buyers and ensure your home looks elegant and sophisticated.
-
Highlight key features: Use decorations strategically to draw attention to the best features of your home. Hang a wreath on the front door to create a welcoming entrance, or place candles on the mantel to showcase the fireplace.
-
Don’t go overboard: While it’s important to create a festive atmosphere, it’s also crucial not to overwhelm buyers with too many decorations. Keep it tasteful and minimal, allowing potential buyers to envision themselves living in the space.
Tips for Staging With Holiday Decor During the Selling Process
To stage your home during the selling process, consider strategically using festive decorations to highlight key features and create an inviting atmosphere.
When it comes to timing considerations, it’s important to strike the right balance between seasonality and practicality. For example, if you’re selling your home during the holiday season, incorporating holiday decor can create a warm and cozy ambiance that resonates with potential buyers. However, it’s crucial to avoid going overboard and overwhelming the space with excessive decorations.
Instead, focus on incorporating natural elements like fresh greenery, pinecones, or seasonal flowers to add a touch of elegance and freshness. These natural elements can enhance the overall aesthetic of your home without overpowering it.
How to Maintain a Neutral and Inviting Atmosphere With Holiday Decor
Using a neutral color palette for your festive decorations can create an inviting and cozy atmosphere that appeals to potential buyers. When trying to sell your home during the holiday season, it’s important to maintain a festive ambiance while still keeping the space neutral and appealing to a wide range of tastes.
Here are three ways you can incorporate seasonal touches into your home decor without overwhelming potential buyers:
-
Opt for neutral-colored ornaments and accents: Choose decorations in shades of white, silver, or gold to create a sophisticated and timeless look.
-
Add subtle nods to the season: Incorporate small touches like scented candles, evergreen wreaths, or a bowl of seasonal fruits to create a festive atmosphere without going overboard.
-
Keep it simple and clutter-free: Avoid overcrowding your space with excessive decorations. Instead, focus on highlighting key areas with tasteful and well-placed decor.
Best Practices for Removing Holiday Decor Before Open Houses or Showings
Before hosting open houses or showings, it’s essential to remove your festive ornaments and decorations to create a clean and clutter-free environment. The impact of holiday decor on buyer perception cannot be underestimated. While the right amount of tasteful decor can create a warm and inviting atmosphere, too much can distract potential buyers from the true features of your home. It’s important to avoid potential pitfalls of using holiday decor while selling, such as overwhelming buyers with religious or cultural symbols that may not align with their beliefs. By removing holiday decor, you are allowing buyers to envision themselves in the space and focus on the architectural details and layout. Below is a table summarizing the best practices for removing holiday decor:
| Best Practices for Removing Holiday Decor |
|---|
| Remove all ornaments and decorations |
| Pack them away carefully for future use |
| Store in a safe and organized manner |
| Ensure all surfaces are clean and clear |
Frequently Asked Questions
How Can I Incorporate Holiday Decor Without Overwhelming Potential Buyers?
You can incorporate holiday decor tastefully without overwhelming potential buyers. By creating a warm and inviting atmosphere, you can use subtle touches like wreaths and candles to add charm without detracting from the overall appeal of your home.
Are There Any Specific Holiday Themes or Colors That Are More Appealing to Home Buyers?
When it comes to holiday decor, potential home buyers may have different preferences. However, it’s important to consider traditional vs. modern holiday decor styles and the impact of holiday decor on home staging.
Can I Leave up Holiday Decor During the Entire Selling Process, or Should I Take It Down After a Certain Date?
You should consider incorporating seasonal decorations into your home when trying to sell it. However, it is advisable to start taking down holiday decor after a certain date to maintain a neutral and appealing atmosphere for potential buyers.
Should I Avoid Religious or Cultural-Specific Holiday Decor to Appeal to a Wider Range of Potential Buyers?
To appeal to a wider range of potential buyers, it’s recommended to avoid religious or cultural-specific holiday decor. Instead, focus on creating a festive atmosphere with inclusive holiday decor that can be appreciated by everyone.
Are There Any Specific Holiday Decor Items That Should Be Avoided When Selling a Home?
To minimize the impact of holiday decor on potential buyers, avoid specific items like oversized lawn inflatables or excessive lighting displays. These can distract from the home’s features and create a cluttered appearance.
How Can Trend Forecasting Help Me Choose Holiday Decor for Selling My Home?
Trend forecast techniques for home decor are invaluable when choosing holiday decorations to enhance your home’s selling potential. By staying up-to-date with the latest trends, you can create a visually appealing atmosphere that attracts potential buyers. With insights into popular styles and color schemes, you can incorporate trendy holiday decor that resonates with buyers, making your home stand out in the competitive housing market.
Conclusion
In conclusion, when selling your home during the holiday season, it’s important to choose the right decor that can create a neutral and inviting atmosphere for potential buyers.
According to a recent survey, homes with tasteful holiday decorations sell faster and at a higher price compared to those without any decorations.
So, don’t hesitate to add some festive touches to your home, but remember to keep it tasteful and appealing to a wide range of buyers.
- About the Author
- Latest Posts
Introducing Ron, the home decor aficionado at ByRetreat, whose passion for creating beautiful and inviting spaces is at the heart of his work. With his deep knowledge of home decor and his innate sense of style, Ron brings a wealth of expertise and a keen eye for detail to the ByRetreat team.
Ron’s love for home decor goes beyond aesthetics; he understands that our surroundings play a significant role in our overall well-being and productivity. With this in mind, Ron is dedicated to transforming remote workspaces into havens of comfort, functionality, and beauty.
Decor
Step-by-Step Guide to Creating a Stunning Brick Wall Accent
Achieve a unique, industrial-chic look in your home with this comprehensive guide to creating a stunning brick wall accent from scratch.
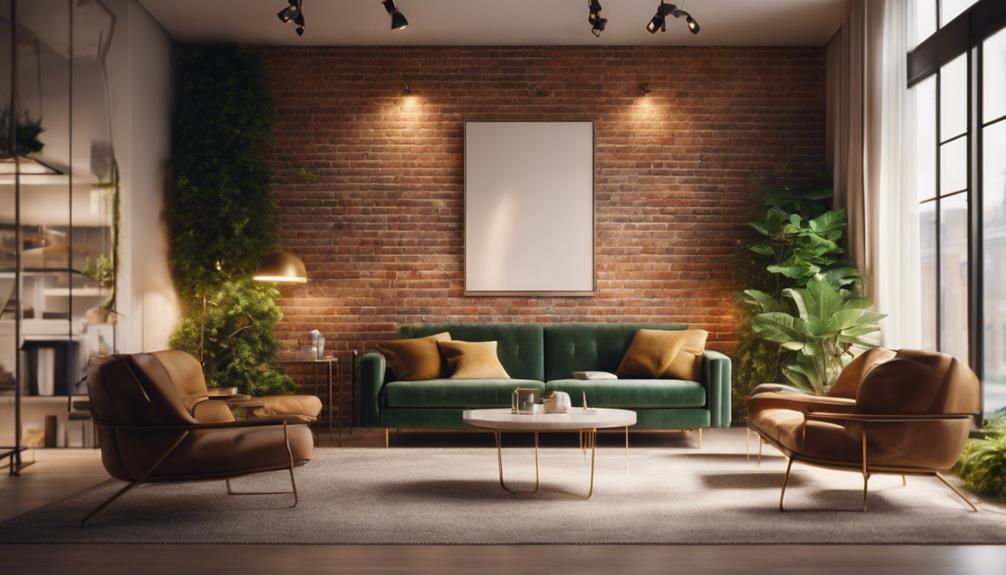
We're about to start on a transformative project: crafting a stunning brick wall accent that adds depth, texture, and visual appeal to any room. To get started, we'll gather essential materials like high-quality brick veneer, a grout bag, and necessary tools. Next, we'll prepare the wall surface, making sure it's clean and even. Then, we'll initiate and trace the design, taking precise measurements to guarantee accuracy. We'll add texture with spackle and achieve a distressed look by exposing the bricks to the elements. Finally, we'll prime, paint, and finish the wall, blending corners and edges for a seamless look. Let's delve into the details to create a truly stunning accent wall.
Key Takeaways
• Prepare the wall surface by ensuring it's clean, even, and applying adhesive according to the manufacturer's instructions.
• Project and trace the design onto the wall using a projector and pencil or chalk for accurate visualization and measurement.
• Add texture and a distressed look by applying spackle, manipulating it for unique effects, and exposing the bricks to the elements for a natural patina.
• Paint the brick wall accent with a masonry primer and a chosen paint color, applying it evenly with a roller and blending corners and edges for a seamless look.
• Inspect the finished wall accent for a flawless finish and maintain it accordingly to ensure its longevity.
Gathering Essential Materials
We'll need to gather the following essential materials to create a stunning brick wall accent that exceeds our expectations. For a professional-looking result, we can't skimp on the quality of our materials.
First, we'll need a high-quality brick veneer that will be the star of the show.
Next, we'll require a grout bag to apply the grout between the bricks, guaranteeing a seamless finish.
To cut our bricks to size, we'll need a saw with a diamond blade, which will make quick work of even the toughest bricks.
Additionally, we'll need a clean 5-gallon bucket to mix our grout and a trowel to apply it. Other necessary materials include Omnigrip adhesive, a level, tape measure, paint stir stick, brick jointer, gloves, and painters plastic for mess prevention.
With all these materials at our disposal, we'll be well on our way to creating a stunning brick wall accent that will elevate any room. By taking the time to gather all the necessary materials, we'll set ourselves up for success and secure a smooth, efficient process.
Preparing the Wall Surface
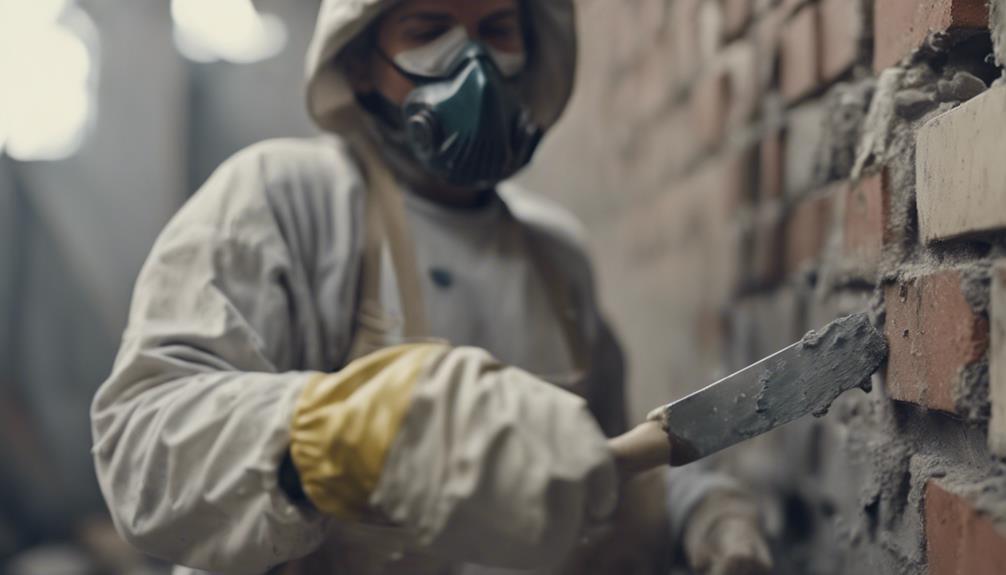
Cleaning the wall surface of any debris, dirt, or dust is the essential first step in preparing it for brick installation, ensuring a strong bond between the brick veneer and the wall. We need to make sure the surface is spotless to prevent any obstacles that might affect the adhesive properties of the brick.
Next, we'll use a level to check the wall for any uneven spots or imperfections that may impact the brick installation. This step is vital to guarantee a smooth and even application of the brick.
Once we've confirmed the wall is level, we'll apply a suitable adhesive or mortar to the wall surface according to the manufacturer's instructions. This will create a strong bond between the brick and the wall.
Before we begin the installation process, we'll also consider using a protective covering or drop cloth to prevent messes and protect the surrounding area.
Projecting the Brick Pattern
With our wall surface prepared, we're ready to visualize the brick pattern, and a projector will be our best friend in this step. We'll use it to display the brick pattern onto the wall, guaranteeing accurate placement.
First, we'll position the projector at the right distance and angle to get a clear projection. Then, we'll adjust the size and alignment of the projected image to fit our wall dimensions. This will provide us with a precise guide for our brick installation.
We'll take a moment to double-check that the projected image is centered and even, making any necessary adjustments before moving forward. With our pattern projected, we can now trace the design onto the wall using a pencil or chalk. This will give us a precise outline to follow as we begin installing our bricks.
Tracing the Design Accurately
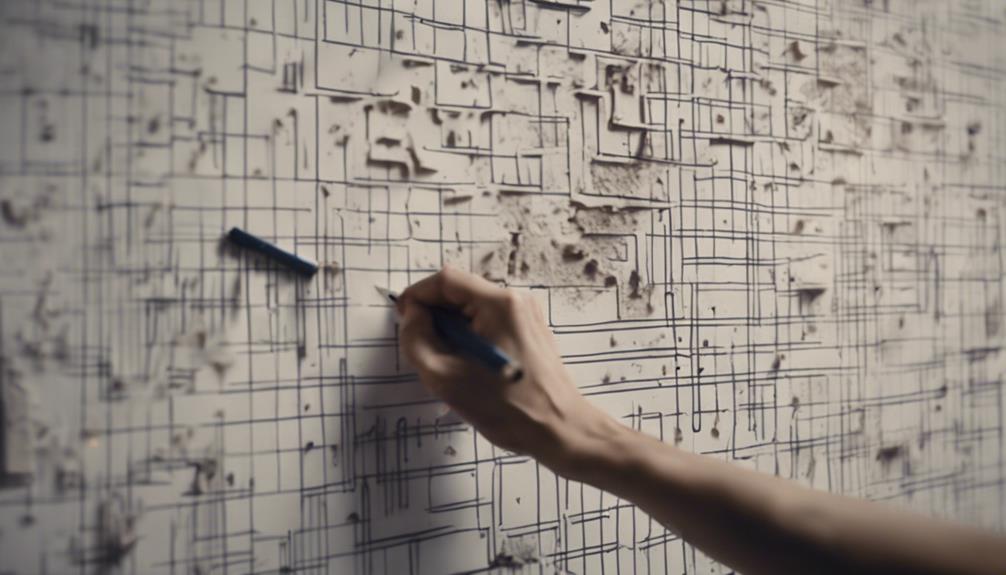
As we move forward with tracing the design accurately, we'll need to focus on three key points: designing the pattern, marking the wall, and measuring accurately.
By carefully considering these elements, we'll guarantee that our brick wall accent turns out stunning and precise.
Designing the Pattern
Having a projector helps us to accurately trace the brick wall design onto the surface, ensuring our pattern is precise and visually appealing.
When designing the pattern, precision is key to achieving a professional-looking brick accent wall. We take our time to carefully trace the pattern, ensuring proper alignment and spacing of the bricks.
Using a projector allows us to transfer a detailed and consistent design onto the wall, which is essential for a stunning brick accent wall. Recognizing that precision in tracing the design will result in a visually appealing final product.
Rushing through this step can lead to errors during the installation process, which is why we take the time to get it right. By tracing the pattern accurately, we can achieve a beautiful brick accent wall that adds character and style to any room.
With precision and patience, we can create a design that will impress.
Marking the Wall
Before we start tracing the design, we level the wall and take precise measurements to guarantee our brick accent wall turns out perfectly aligned and visually stunning. To guarantee accuracy, we use a level and tape measure to mark the dimensions of the accent wall precisely. This step is essential, as it sets the foundation for a cohesive and professional-looking finish.
| Step | Action | Tips |
|---|---|---|
| 1 | Level the wall | Ensure the wall is even and plumb |
| 2 | Measure dimensions | Use a tape measure to record precise measurements |
| 3 | Mark the design | Trace the design accurately, paying attention to corners and edges |
We double-check our measurements and markings to avoid any mistakes that could impact the overall appearance of our brick accent wall. By taking our time and being meticulous, we can create a stunning feature wall that adds visual interest to any room.
Measuring Accurately
By taking precise measurements, we ensure that our brick accent wall design is accurately translated onto the wall, enabling us to visualize the final look of our stunning feature wall.
To achieve this, we use a tape measure to guarantee accuracy in our measurements. By doing so, we can determine the exact size and layout of our brick accent wall, guaranteeing a seamless design that fits perfectly with the wall dimensions.
Tracing the design accurately on the wall helps us visualize the final look of our brick accent wall, making it easier to make any necessary adjustments before starting the installation process. Taking accurate measurements is essential for ensuring the bricks fit perfectly and the design is symmetrical.
Precision in measuring and tracing the design ensures a professional and visually appealing brick accent wall. With accurate measurements, we can confidently begin the installation process, knowing that our stunning brick accent wall will turn out exactly as envisioned.
Adding Texture With Spackle
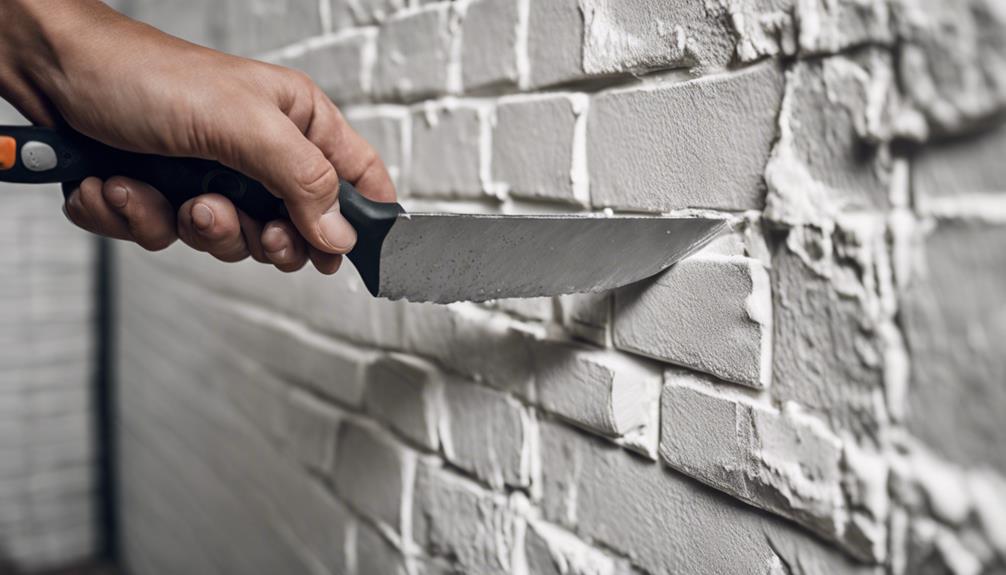
Frequently, we find that spackle is an ideal material for adding texture to a brick wall, as it can be manipulated to achieve a wide range of effects. By applying spackle generously and strategically, we can create unique textures and patterns on the brick surface.
To achieve the desired texture, we can use tools like putty knives to manipulate the spackle and create varying effects.
Some techniques to try include:
- Dabbing the spackle onto the brick wall to create a rough, irregular texture
- Scraping the spackle with a putty knife to create a smooth, even texture
- Building up layers of spackle to create a raised, three-dimensional effect
- Using different tools, such as a trowel or a sponge, to create unique textures and patterns
Achieving a Distressed Look
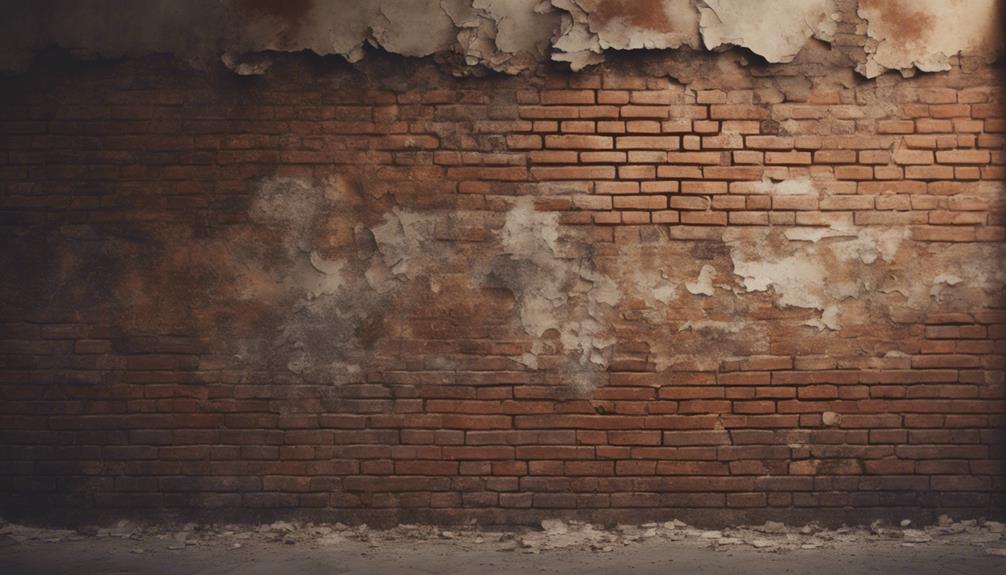
As we delve into the world of achieving a distressed look for our brick wall accent, we'll explore the finer points of creating an authentically worn appearance.
We'll discuss how to age the bricks naturally, emphasizing faded spots to give our accent wall a truly vintage vibe.
Aging the Bricks Naturally
We can replicate the natural aging process by exposing our bricks to the elements, allowing them to develop a rich, distressed look over time. This process can take months, even years, but the result is well worth the wait. As our brick wall is exposed to the sun, rain, and wind, it will begin to develop a unique patina that adds character and authenticity to our accent wall.
Some of the natural effects we can expect to see include:
- Moss, lichen, and efflorescence forming on the bricks, adding texture and visual interest
- Weathering and wear that creates a worn, aged appearance
- Cracks, chips, and discoloration that add to the distressed look
- Unique patterns and textures that develop over time, giving our brick wall a one-of-a-kind charm
Emphasizing Faded Spots
To take our naturally aged brick wall to the next level, we'll emphasize the faded spots, strategically applying paint to create a distressed look that adds character to our accent wall.
Using a dry brush technique, we'll lightly apply paint to the faded areas, creating a weathered appearance that adds depth and texture to our wall. By blending the corners with a heavier coat of paint, we'll enhance the distressed effect, making our wall look like it's been around for years.
To achieve this look, we'll need to plan out the placement of the faded areas carefully. We can use a projector or our drawing skills to map out the design, ensuring a cohesive distressed look.
Painting the Brick Accent Wall
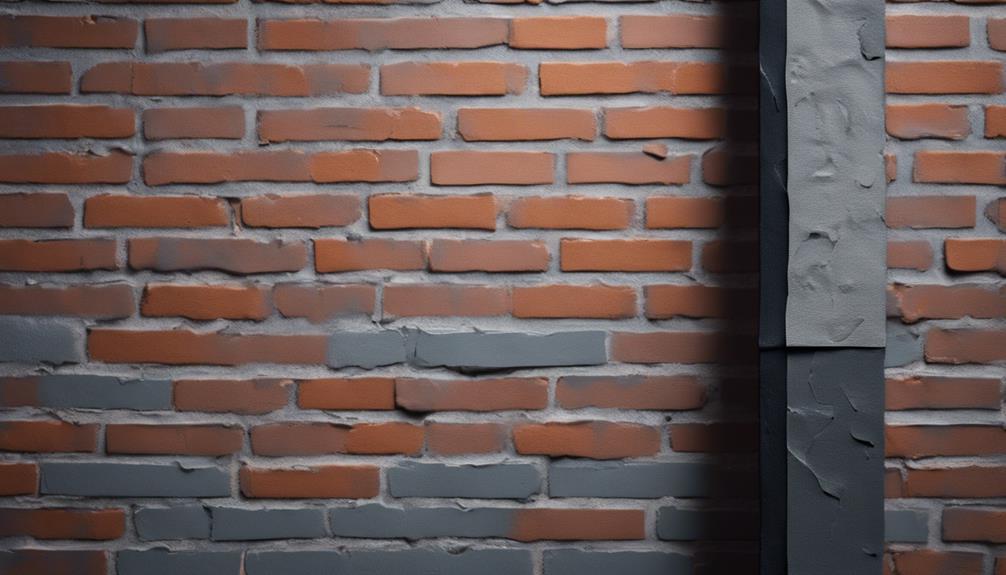
We're ready to transform our brick accent wall with a fresh coat of paint, but first, we need to prime it with a high-quality masonry primer to guarantee the paint adheres properly. This vital step ensures a strong bond between the paint and the brick, preventing peeling or flaking over time.
To achieve a stunning brick accent wall, we'll follow these essential steps:
- Choose a paint color that complements our room's decor and style, considering darker colors for a dramatic look.
- Select a breathable masonry paint to allow moisture to escape from the brick and prevent peeling or bubbling.
- Apply paint using a high-quality roller for even coverage, and consider using a brush for hard-to-reach areas and grout lines.
- Allow the paint to fully dry between coats and consider adding a clear sealant for added protection and durability.
Blending Corners and Edges
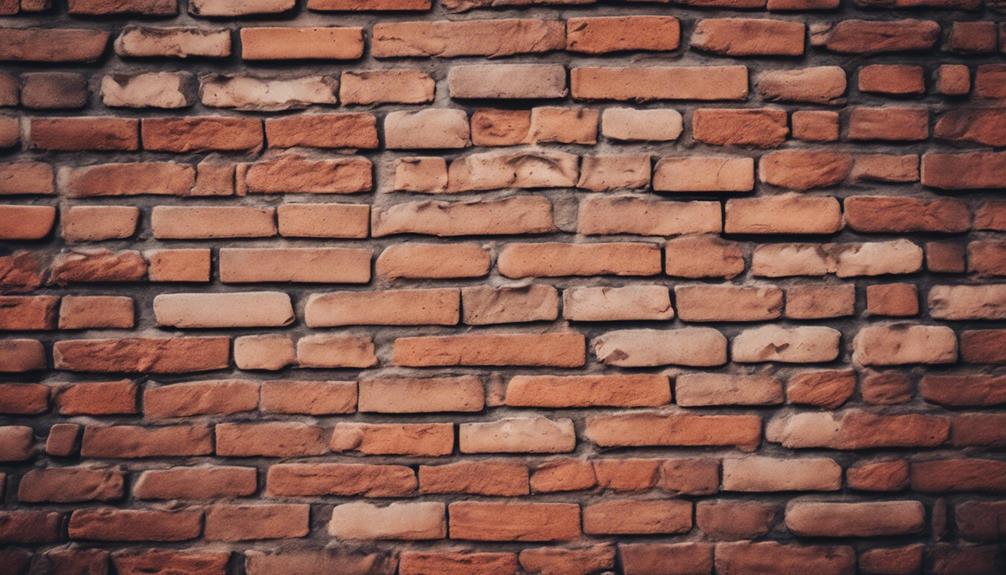
After priming and painting our brick accent wall, we're ready to tackle the often-overlooked details that make all the difference: blending corners and edges. This pivotal step guarantees a seamless look across the entire wall.
To achieve this, we'll employ a specific paint technique. When corner blending, we'll apply a heavier coat of paint and gradually fade it towards the center of the wall, creating a smooth shift. Along the edges, we'll use light strokes and a dry brush technique to create a distressed effect, adding character to our brick wall.
It's crucial to pay attention to detail when painting corners and edges to maintain a cohesive look. We'll apply paint lightly on the corners to avoid a heavy or unnatural appearance that may disrupt the overall aesthetic.
To guarantee accuracy, we can utilize a projector or drawing skills to accurately trace and blend corners and edges for a professional finish.
Finishing Touches and Inspection
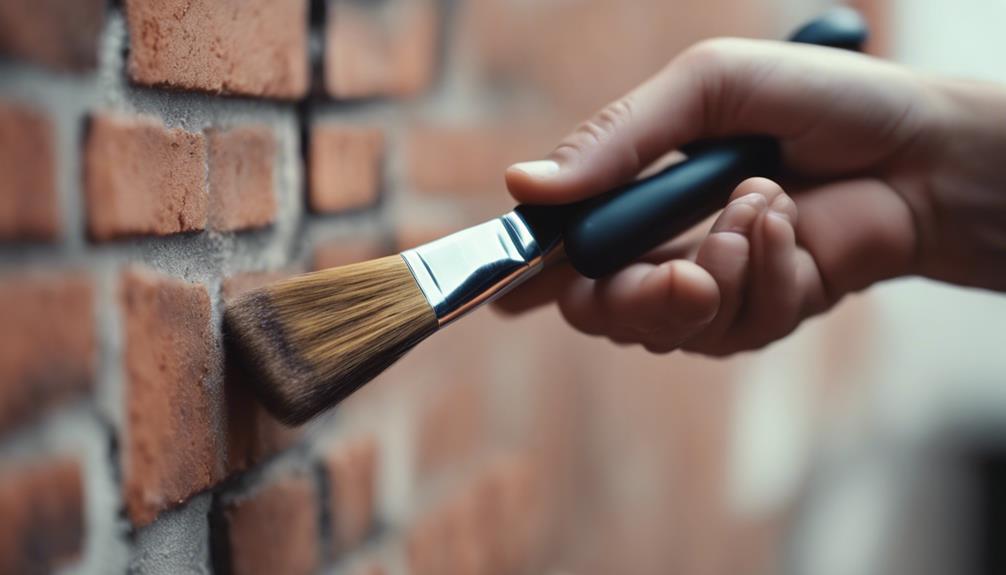
We inspect every inch of our brick accent wall, scrutinizing each brick and joint to guarantee a flawless finish. This final step is essential in ensuring our hard work pays off.
As we examine the wall, we're checking for any loose bricks or grout, making sure everything is stable and secure.
Here are some key things we're looking for:
- Loose bricks or grout that need to be resecured
- Signs of damage or wear and tear that require maintenance or touch-ups
- Areas that need a good cleaning to maintain the wall's appearance and longevity
- Whether sealing the brick wall is necessary for added protection against stains and moisture.
Frequently Asked Questions
How Can I Make My Brick Wall More Attractive?
We want to make our brick wall more attractive, and rightfully so! To achieve this, we can add texture with different brick colors or patterns, strategically use lighting to highlight the texture and depth, and incorporate decorative elements like shelves, artwork, or plants.
We can also experiment with finishes like whitewashing or sealing for a customized look. By doing so, we'll create a visually appealing space that showcases our brick wall's unique character.
How Do You Make a Brick Wall Effect on a Wall?
We achieve a brick wall effect on a wall by using thin brick panels or brick veneer for a realistic look.
We apply mastic or tile adhesive to the back of each panel and affix them to the wall, guaranteeing a secure installation.
We use a level to confirm straight rows and a seamless appearance.
How Do You Make a Realistic Faux Brick Wall?
We've found that creating a realistic faux brick wall involves more than just slapping on some brick veneer panels.
To achieve an authentic look, we investigate the importance of subtle details. By applying spackle to fill in gaps and create a distressed effect, we can mimic the imperfections of real brick.
Additionally, using a projector to trace a brick pattern guarantees accurate placement, while drywall screws provide a durable finish.
How Do You Decorate a Brick Accent Wall?
We approach decorating a brick accent wall by striking a balance between showcasing its rustic charm and incorporating complementary elements.
We opt for minimalist decor to let the brick take center stage, while strategic lighting fixtures highlight its texture and depth.
Adding pops of color through wall hangings or plants creates a striking contrast, and thoughtfully arranged furniture enhances the overall aesthetic.
Conclusion
As we step back to admire our handiwork, we're reminded of the ancient Greeks' concept of 'meraki' – pouring love and care into our creations.
Our brick accent wall, with its textured, distressed beauty, is a confirmation of the power of attention to detail. Like a masterpiece of trompe l'oeil, it deceives the eye, inviting the viewer to touch, to explore.
And as we walk away, we're certain that our labor of love has created something truly remarkable – a work of art that whispers, 'I was made with love, and I'll endure.'
- About the Author
- Latest Posts
Introducing Ron, the home decor aficionado at ByRetreat, whose passion for creating beautiful and inviting spaces is at the heart of his work. With his deep knowledge of home decor and his innate sense of style, Ron brings a wealth of expertise and a keen eye for detail to the ByRetreat team.
Ron’s love for home decor goes beyond aesthetics; he understands that our surroundings play a significant role in our overall well-being and productivity. With this in mind, Ron is dedicated to transforming remote workspaces into havens of comfort, functionality, and beauty.
Decor
How to Create a White Brick Accent Wall in 5 Steps
Liven up your space with a stunning white brick accent wall in just 5 simple steps – discover the secrets to transforming your room!
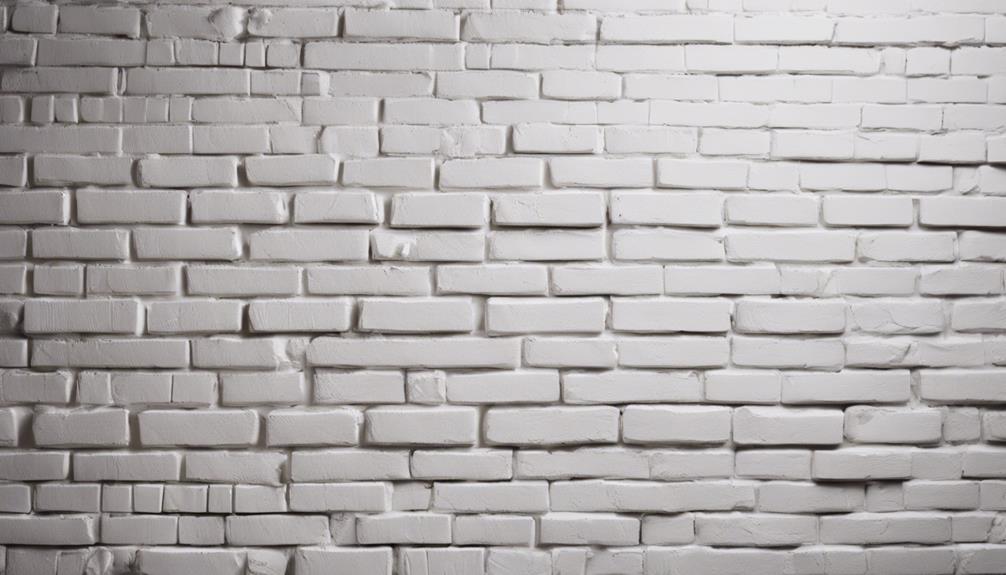
To create a white brick accent wall, start by cleaning and priming the surface. Measure and cut faux brick panels to fit, then dry fit and attach them. Seal the wall with a paint mixture for coverage. Finish by adding corner trim for a polished look. For detailed steps on each process, follow these instructions for a professional outcome.
Key Takeaways
- Clean and prime the wall surface for adhesion.
- Measure, cut, and sand faux brick panels accurately.
- Dry fit panels before applying adhesive and nailing.
- Seal the wall with diluted white paint mixture.
- Add corner trim for a professional finish.
Cleaning and Priming the Wall Surface
- Remove dirt and debris
- Wash with TSP solution
- Sand for smoothness
- Apply primer
- Let dry before painting. –v 6 –ar 16:9
To begin creating your white brick accent wall, start by thoroughly cleaning and priming the wall surface. Before installing the faux brick panels, make sure the wall is free of any dust or dirt by using a damp cloth or mild soap and water. This step is vital to promote proper adhesion of the panels to the wall surface.
Next, prime the wall with a high-quality primer to create a smooth base for the faux brick panels. Using a paint roller or brush, apply the primer evenly, covering the entire wall surface. The primer won't only help the panels adhere better but also ensure a professional and long-lasting finish to your accent wall.
Allow the primer to dry completely as per the manufacturer's instructions before proceeding with the installation of the faux brick panels. Proper cleaning and priming of the wall surface are important steps in this process to guarantee a successful and visually appealing white brick accent wall.
Measuring and Cutting Faux Brick Panels
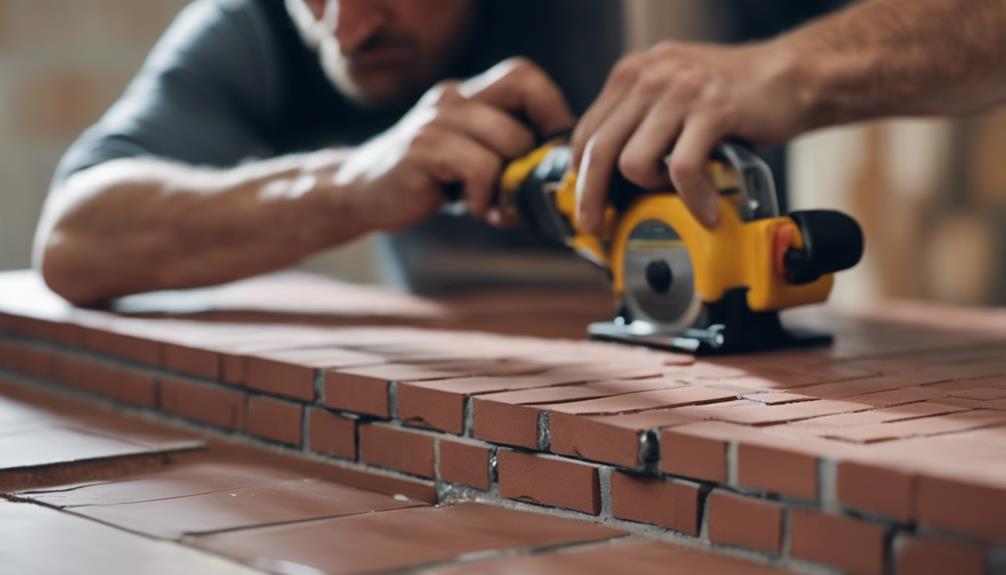
Accurately measure the wall area where the faux brick panels will be installed to guarantee a proper fit. Use a measuring tape to determine the height and width you need to cover.
After measuring, it's time to cut the faux brick panels. Grab a jigsaw or hand saw to precisely cut the panels to the desired size for your faux brick wall. Take into account any obstacles or corners in the space to make certain a seamless fit.
Once cut, sand the edges of the panels for a smooth finish. This step not only enhances the distressed look but also guarantees a professional appearance. Remember, the distressed look adds character to the faux brick wall.
Finally, dry fit the cut panels on the wall before attaching them. This step allows you to check alignment and make any necessary adjustments before permanently securing the panels.
Take your time during the measuring and cutting process to achieve a polished end result.
Dry Fitting and Attaching Panels
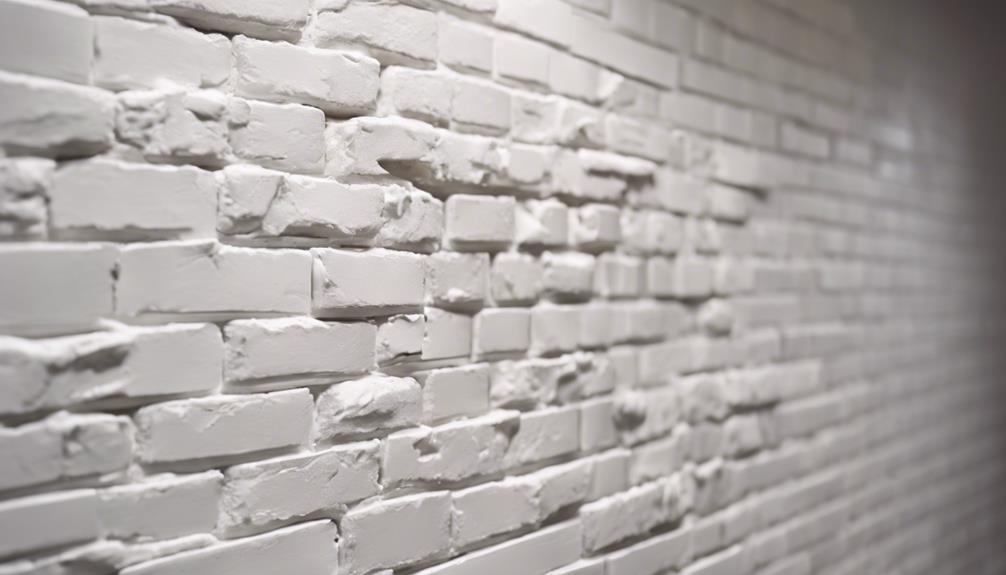
Measure and cut faux brick panels to fit the desired area before attaching them to the wall, ensuring a seamless installation process.
To begin, dry fit the panels in place to check alignment and spacing. This step is important to make sure everything fits properly before permanently attaching them.
Once you're satisfied with the positioning, apply construction adhesive to the back of the panels for added support during installation. Securely nail the panels into the studs to create a sturdy and long-lasting attachment to the wall.
When nailing, aim to conceal nail holes effectively by either nailing directly into recessed mortar lines or adding more nails where panels meet. This won't only provide a secure hold but also maintain the aesthetic appeal of your white brick accent wall.
Sealing the Wall With Paint Mixture
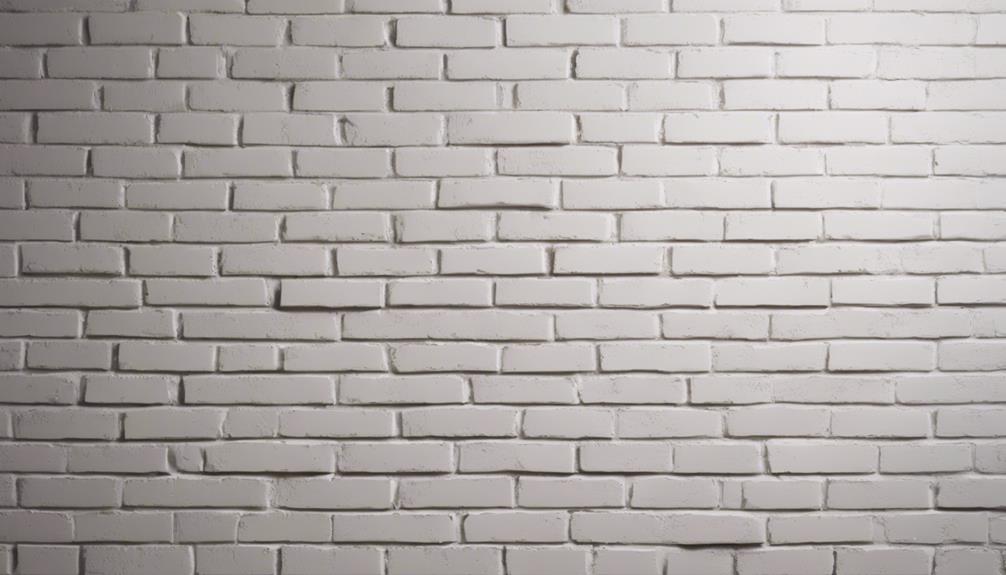
For sealing the faux brick wall, mix white paint with water to create a sealing solution. Dilute the paint mixture to the desired consistency for easy application. Use a paintbrush or roller to evenly apply the sealing solution to the entire wall, guaranteeing complete coverage to seal and protect the faux brick surface. Let the paint mixture dry completely before proceeding with additional layers or decorations.
To help you understand the sealing process better, here is a simple table outlining the steps to seal the faux brick wall with the white paint mixture:
| Steps to Seal Faux Brick Wall |
|---|
| 1. Mix white paint with water |
| 2. Dilute to desired consistency |
| 3. Apply with brush or roller |
| 4. Guarantee complete coverage |
Following these steps will not only seal your faux brick wall effectively but also provide a protective layer that enhances its appearance.
Adding Corner Trim for Finishing Touch
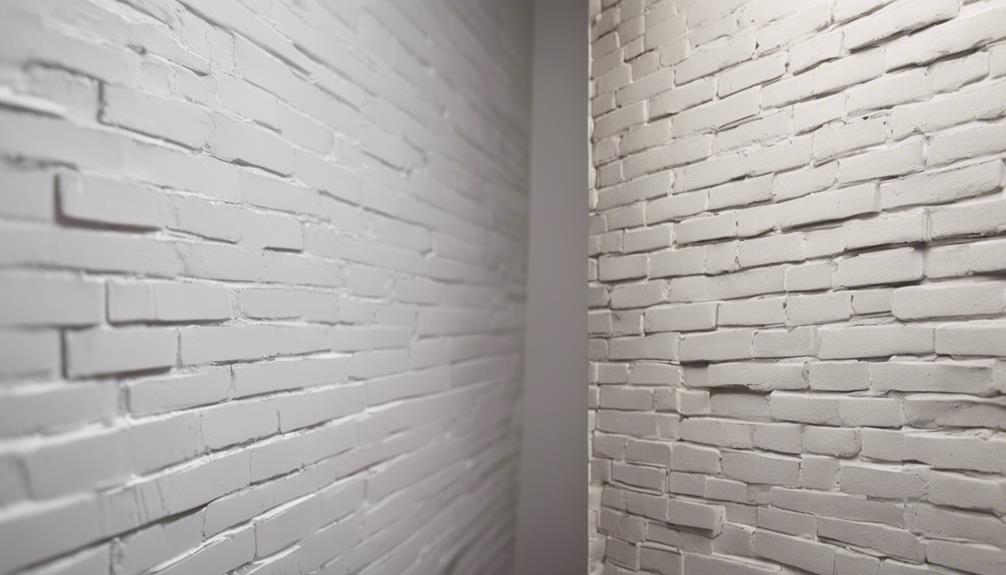
To elevate the overall look of your faux brick accent wall, consider adding corner trim for a polished and professional finishing touch. Here's why corner trim is essential for your project:
- Polished Finish: Corner trim provides a clean connection between the faux brick panels and adjacent walls, giving your accent wall a refined appearance.
- Conceals Imperfections: It helps hide any imperfections or gaps at the corners, ensuring a seamless and flawless look.
- Complements Style: Choose corner trim that complements the style and color of your faux brick panels to create a cohesive and unified design.
- Completes the Look: Properly installed corner trim enhances the overall appearance of your accent wall, providing a professional finish that completes the entire project.
Frequently Asked Questions
How to Create a White Brick Wall?
To create a white brick wall, first, install faux brick panels securely. Fill gaps with drywall mud for a textured look. Paint the bricks white for a modern finish. Seal the wall for durability and easy maintenance.
How to Build a Brick Wall Step by Step?
Measure and mark the wall to guarantee accuracy. Start by attaching the first brick level using screws or adhesive. Fill any gaps with drywall mud for texture. Use grouting sponges to stamp bricks with paint for a realistic finish.
How to Paint a Brick Wall White?
When painting a brick wall white, prep is key. Sanding for smoothness, layering with care, and sealing for protection will guarantee a flawless finish. Remember, a little elbow grease now saves headaches later.
How to Paint Fake Brick White?
To paint fake brick white, use a semi-gloss enamel paint for durability. Lightly sand the surface for better adhesion. Apply multiple coats evenly, allowing each to dry completely. Consider a paint sprayer for a smoother finish.
Conclusion
In just five easy steps, you can transform any room with a stunning white brick accent wall. With a little bit of elbow grease and creativity, you can achieve a stylish and modern look that will impress all your friends and family.
So go ahead, grab those faux brick panels and get ready to showcase your DIY skills with a beautiful accent wall that will be the envy of everyone who sees it!
- About the Author
- Latest Posts
Introducing Ron, the home decor aficionado at ByRetreat, whose passion for creating beautiful and inviting spaces is at the heart of his work. With his deep knowledge of home decor and his innate sense of style, Ron brings a wealth of expertise and a keen eye for detail to the ByRetreat team.
Ron’s love for home decor goes beyond aesthetics; he understands that our surroundings play a significant role in our overall well-being and productivity. With this in mind, Ron is dedicated to transforming remote workspaces into havens of comfort, functionality, and beauty.
Decor
Make Stunning Topiaries in 3 Simple Steps
Master the art of topiary-making in just three easy steps and unlock the secret to creating breathtaking, one-of-a-kind masterpieces.
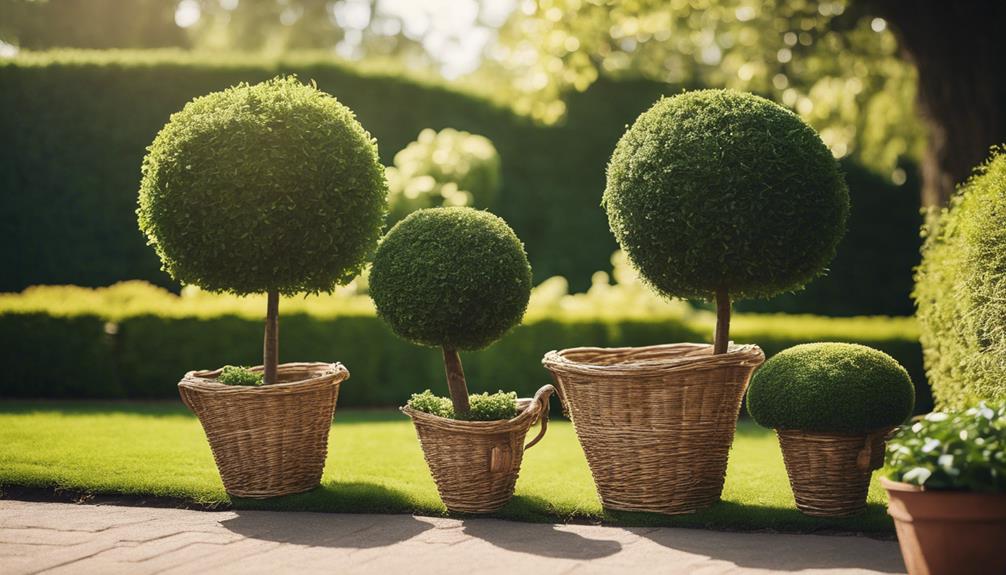
We can create stunning topiaries in just a few simple steps, and with the right materials and techniques, we can bring our unique vision to life and add a touch of elegance to any space. First, we select topiary materials like boxwood, yew, or ivy, and opt for shapes like cones, balls, or spirals. Next, we prepare our dowel rods by sanding and staining them to match our design aesthetic. Finally, we assemble our topiary by attaching high-quality greenery to a sturdy base and customizing with ribbons or flowers. As we work through these steps, our topiary begins to take shape, and the possibilities unfold.
Key Takeaways
• Select topiary materials like boxwood, yew, or privet, considering growth habits and requirements for ideal shaping and trimming.
• Prepare dowel rods by sanding, staining, and anchoring them securely in the base for stability and aesthetic appeal.
• Assemble the topiary by attaching high-quality greenery to a sturdy base, using tools like floral wire and hot glue for a polished look.
• Choose a base that provides a solid foundation, determining the overall structure and appearance of the topiary, and prepare necessary tools.
• Customize the topiary with embellishments like ribbons, flowers, or decorative accents, matching the design aesthetic and color scheme.
Selecting Your Topiary Materials
When choosing shrubs for our topiary project, we opt for varieties like boxwood, yew, privet, or ivy, which are well-suited for shaping and trimming. These plants are perfect for creating intricate designs and shapes, making them ideal for our topiary masterpiece.
To make a stunning topiary, we need to select one that fits our vision. We can choose a shape that complements our outdoor or indoor space, such as a cone, ball, or spiral shape. If we're feeling adventurous, we can even create animal shapes!
Before we start, we need to learn how to make the right selection. Creating a topiary requires careful consideration of the plant's growth habits and requirements. Make sure to research the specific needs of our chosen shrub to guarantee it thrives.
Preparing Your Dowel Rods

Now that we've selected our topiary material, it's time to prepare the dowel rods that will provide the framework for our design. Whether we're creating Topiary Trees for the first time or seasoned pros, preparing our dowel rods is a critical step in bringing our vision to life.
To start, we'll select dowel rods of the appropriate length and thickness for our topiary project. Next, we'll sand them to create a smooth surface for painting or staining, making them a little more receptive to our chosen aesthetic. Speaking of which, we can stain our dowel rods to match the aesthetic of our topiary design, adding an extra layer of cohesion to our project.
As we work, it's vital to keep one hand on the dowel rods, ensuring they're securely anchored in the base of our topiary for stability. Thanks for sharing in our creative journey! With our dowel rods prepared, we're one step closer to crafting a stunning topiary that's sure to impress.
Assembling Your Topiary

With our dowel rods prepared, we're ready to build our topiary by selecting a sturdy base that will provide a solid foundation for our design. This is the most vital step, as it will determine the overall structure and appearance of our topiary.
Here are the essential steps to assemble our topiary:
- Choose the right base: Select a sturdy base, such as a foam ball or cone, to build upon.
- Select high-quality greenery: Pick high-quality faux greenery or live plants that will hold their shape well and complement our design.
- Prepare our tools: Gather tools like floral wire, scissors, and hot glue to secure the greenery to the base.
- Start filling: Begin attaching the greenery to the base, layering different types to create depth and texture in our topiary design.
Now that we've assembled our topiary, it's time to add those finishing touches. We can customize our topiary with embellishments like ribbons, flowers, or decorative accents for a personalized touch.
Next time, we'll be browsing through a website in this browser, searching for inspiration for our next topiary project. But for now, let's take our time to start filling our topiary with life and beauty.
Frequently Asked Questions
How to Make a Topiary for Beginners?
We're thrilled to explore the world of topiaries!
To make a topiary as a beginner, we choose a boxwood or ivy plant, ideal for their dense growth and ease of shaping.
We start with a basic shape like a cone or ball, using wire frames for more intricate designs.
Regular trimming and maintenance are key to keeping our topiary looking neat and well-shaped.
How to Make Topiary Frames at Home?
We're thrilled to explore making topiary frames at home!
Did you know that 70% of gardeners use DIY wire frames to create unique topiaries? We're among them!
To make our own topiary frames, we start by bending and shaping wire into desired shapes like cones, balls, or spirals.
Then, we secure the wire frame together using zip ties and attach it to the plant for shaping.
This way, we can customize our topiary frames to fit specific plant shapes and sizes, igniting our creativity!
What Is the Topiary Technique?
We're thrilled to delve into the world of topiaries!
The topiary technique involves carefully trimming and training plants to create unique shapes or designs. It's an art form that requires patience and attention to detail, as we carefully shape and prune our chosen plants to bring our vision to life.
How to Make a Topiary From an Established Shrub?
We're excited to share how to create a stunning topiary from an established shrub!
First, we prune the shrub by selecting a central stem and clipping offshoots to create the desired shape.
We then encourage outward growth by strategically pruning the shrub to guide its development.
With regular maintenance, our topiary will thrive and maintain its unique shape over time.
Conclusion
We've picked our plants, prepared our dowel rods, and assembled our topiaries. Now, we get to admire our handiwork!
With just three simple steps, we've created stunning topiaries that add a touch of elegance to any space.
We've tamed the wild, shaping our plants into beautiful, uniform forms. And the best part? We did it ourselves, with a little patience and some careful planning.
- About the Author
- Latest Posts
Introducing Ron, the home decor aficionado at ByRetreat, whose passion for creating beautiful and inviting spaces is at the heart of his work. With his deep knowledge of home decor and his innate sense of style, Ron brings a wealth of expertise and a keen eye for detail to the ByRetreat team.
Ron’s love for home decor goes beyond aesthetics; he understands that our surroundings play a significant role in our overall well-being and productivity. With this in mind, Ron is dedicated to transforming remote workspaces into havens of comfort, functionality, and beauty.
-

 Vetted3 days ago
15 Best Printers of 2024: Top Picks and Expert Reviews
-
 Vetted5 days ago
15 Best Tile Sealers for Long-Lasting Protection and Shine
-

 Vetted1 week ago
15 Best Smelling Floor Cleaners That Will Leave Your Home Fresh and Inviting
-

 Vetted1 week ago
14 Best Power Scrubbers for Showers That Will Transform Your Cleaning Routine
-

 Vetted7 hours ago
15 Best LED Dimmer Switches With No Flicker: Ultimate Guide for a Flicker-Free Lighting Experience
-

 Vetted8 hours ago
15 Best Evergreen Plants for Shade Gardens: A Complete Guide
-

 Mardi Gras Decoration2 days ago
What Do the Symbols of Mardi Gras Mean?
-

 Appliances5 days ago
5 Best Energy-Efficient Stainless Steel Fridges 2023


