
To tell if your air mattress has a leak, fully inflate it and listen for hissing sounds. Check for visible damage and use a soapy water solution to spot bubbles around the seams and valve. You can also submerge the mattress in water to find air leaks. Once you locate a leak, clean the area, patch it with a vinyl repair kit, and let it dry. Want to know more about preventing future leaks?
Key Takeaways
- Inflate the mattress fully, lie on it, and listen for hissing sounds to detect air escaping.
- Use a soapy water solution to spray potential leak areas and watch for bubbles indicating escaping air.
- Visually inspect the mattress for rips or tears, especially around seams and valves.
- Mark leak areas with a permanent marker, clean, and patch them using a vinyl repair kit.
- After repairs, monitor for any signs of deflation and store the mattress properly to prevent future leaks.
Confirming the Leak

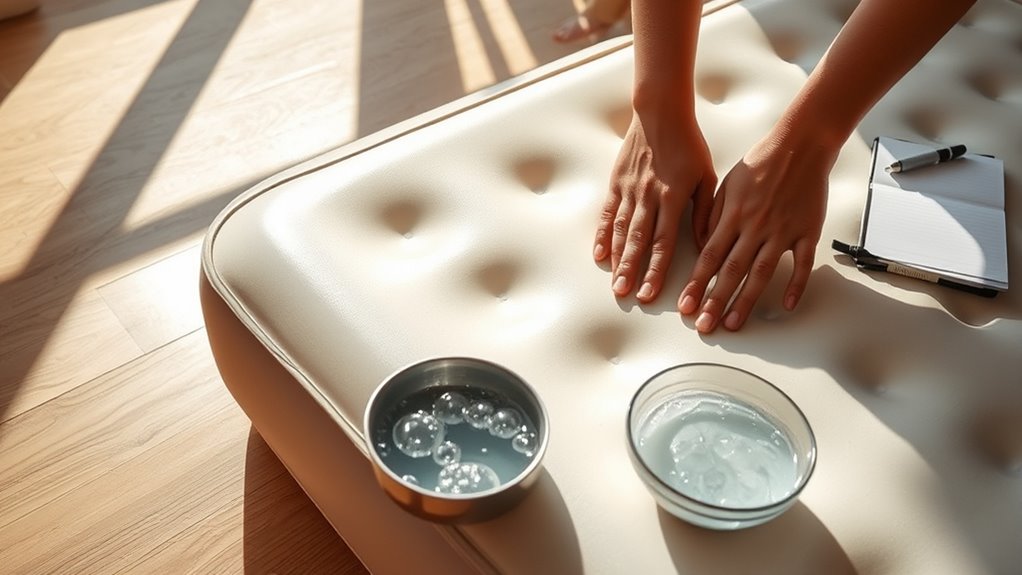
When you suspect your air mattress has a leak, confirming it swiftly is essential. Start by fully inflating the mattress and lying on it for a few minutes. Pay attention to any signs of deflation; you’ll want to listen closely for hissing sounds that indicate escaping air, particularly around seams and valves.
Next, conduct a thorough visual inspection for visible rips or tears. To locate the leak more effectively, use a soapy water solution applied with a sponge to the surface. Watch for bubbles forming, as this will help pinpoint the leak’s location. Regular maintenance, such as using proper cleaning methods, can also help extend the life of your air mattress. For instance, ensuring proper storage can prevent clogs and damage to internal components. Additionally, maintaining gear quality is crucial, as it enhances performance and reduces the risk of issues like leaks. A well-maintained air mattress can contribute to a more calm environment, promoting better sleep and relaxation.
If needed, you can submerge the mattress in water to visually identify escaping air bubbles, although this method may not always be practical. Additionally, ensure the area around the mattress is free from high dust or humidity to avoid further complications during the inspection.
Preparing for Inspection
Before you start inspecting your air mattress, make certain it’s fully inflated to boost internal pressure, which helps in spotting leaks.
Gather your inspection tools, like a soapy water solution and a spray bottle, to make the process easier. Regular maintenance of your air mattress can help prevent leaks and extend its lifespan, similar to how preventive maintenance extends appliance longevity. In addition, utilizing best lifestyle products for home care can enhance the overall upkeep of your belongings. For instance, using microfiber cloths can effectively clean the mattress surface, ensuring no debris interferes with your inspection. A clean and organized environment can also promote better mental well-being, making the inspection process less stressful.
Finally, pick a well-lit, spacious area to guarantee you can thoroughly check for any signs of damage. Additionally, ensuring proper lighting control during your inspection can help you identify leaks more effectively.
Inflate for Pressure Assessment
To effectively prepare for inspecting your air mattress for leaks, fully inflate it using an air pump to boost internal pressure, making any leaks much easier to spot. Once you’ve inflated your mattress, move it to a spacious area with ample lighting for a thorough visual inspection. Regular maintenance can significantly enhance the energy efficiency of your air mattress, just as it does for heat pumps. Ensuring proper filter replacement guidelines can help maintain optimal performance over time, much like how bread pudding is a wonderful way to utilize stale ingredients.
| Inspection Method | Description |
|---|---|
| Visual Inspection | Check for rips, tears, and damage, especially around seams and the valve area. |
| Tactile Inspection | Run a moistened hand along the surface, feeling for air escaping. |
| Hissing Sound | Listen carefully for any hissing sounds that indicate leaks. |
| Soapy Water Solution | Spray soapy water around suspected areas to help find a leak. |
Additionally, understanding the state tax implications of withdrawals can help you plan your repair budget effectively. Regular maintenance of your air mattress, much like filter replacement indicators in air purifiers, can extend its lifespan and prevent leaks over time.
Gather Necessary Inspection Tools
With your air mattress fully inflated and in a well-lit area, it’s time to gather the necessary tools for an effective leak inspection.
Start by preparing a soapy water solution, mixing liquid dish soap with warm water in a spray bottle for leak detection. You’ll also need a towel to dry the area after using the soapy water method. High suction power is essential for removing air quickly if you need to re-inflate your mattress after the repair. Engaging in digital literacy programs can help seniors effectively navigate maintenance tasks like this. Additionally, understanding cybersecurity measures can help protect your personal data while conducting online research for repairs. It’s also useful to consider solar-powered solutions for outdoor activities to ensure your air mattress is ready for camping trips.
Grab a permanent marker to circle any identified leak areas, making them easier to find during the patching process.
Keep fine sandpaper handy to smooth rough surfaces around the leak, ensuring better adhesion for patches.
Finally, collect patching materials like a vinyl repair kit or duct tape to tackle air mattress repair once you locate the leak. Additionally, be aware that similar to how HEPA filtration effectively captures allergens in air purifiers, properly sealing leaks can significantly improve the longevity of your air mattress.
Ensure Adequate Lighting Conditions
How can you effectively spot leaks on your air mattress? Start by ensuring you have adequate lighting in your inspection area. A well-lit environment makes it much easier to spot visible damage like rips or tears on the mattress surface.
Use natural light or bright artificial lighting to illuminate the entire area while you check for leaks. Position the mattress to minimize shadows, as these can hide potential problem spots. Furthermore, utilizing energy-efficient models can help you reduce overall energy consumption, which is beneficial for your living environment in general. Additionally, consider using a high suction power vacuum to clean the mattress before inspection, as this can help remove any debris that might obscure potential leaks. Utilizing an air purifier with HEPA filters can further enhance your indoor environment by reducing allergens and improving air quality.
Don’t forget to shine a flashlight on the seams and valves, where leaks often occur, especially in low-light conditions. This not only helps with your visual inspection but also allows you to detect air movement, making it easier to identify any escaping air. Additionally, enhancing your mental resilience can help you stay focused during the inspection process, ensuring you don’t miss any potential leaks.
Visual Inspection Techniques
A thorough visual inspection is essential for detecting leaks in your air mattress. First, inflate the mattress fully and focus on the seams and potential wear areas where tears are likely.
Look for noticeable rips or punctures on the surface; these signs of damage are often easier to identify than smaller leaks. Don’t forget to check the valve, as it’s a common source of air loss.
Inspect for visible rips or punctures, as they’re usually easier to spot than smaller leaks. Don’t overlook the valve, a frequent air loss culprit.
Examine this area closely for any visible damage or misalignment. Use a permanent marker to circle suspected leak areas during your inspection, making the repair process more efficient.
Confirm you have adequate lighting to enhance visibility, as dim conditions can obscure small tears or holes that need attention.
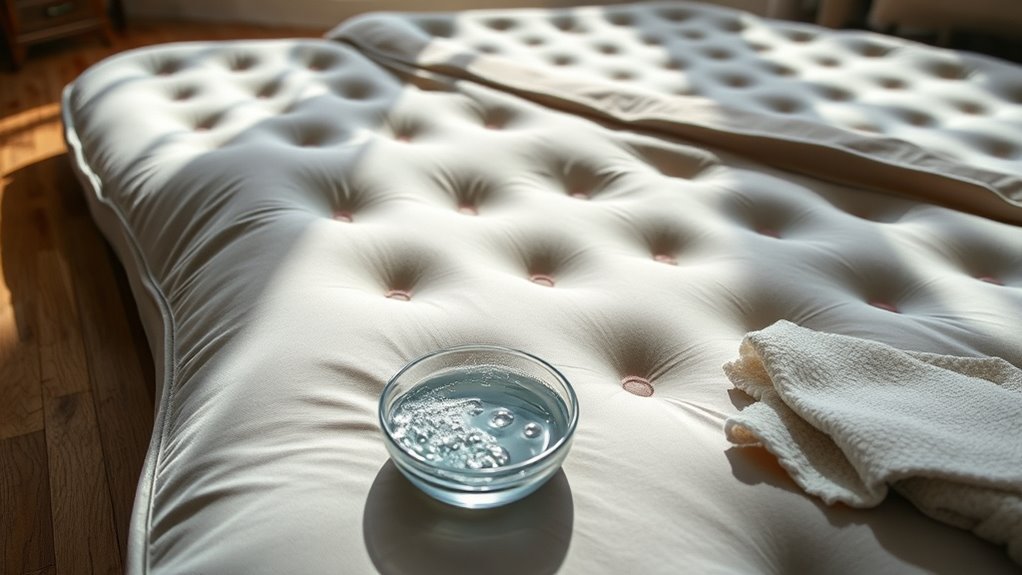
Using the Soapy Water Method

To find a leak in your air mattress, start by preparing a soapy water solution using liquid dish soap and warm water in a spray bottle.
Once you’ve mixed it, spray the solution around the valve and other suspected areas, watching for any bubbles that form.
These bubbles will help you identify where the air is escaping from, making it easier to pinpoint the leak.
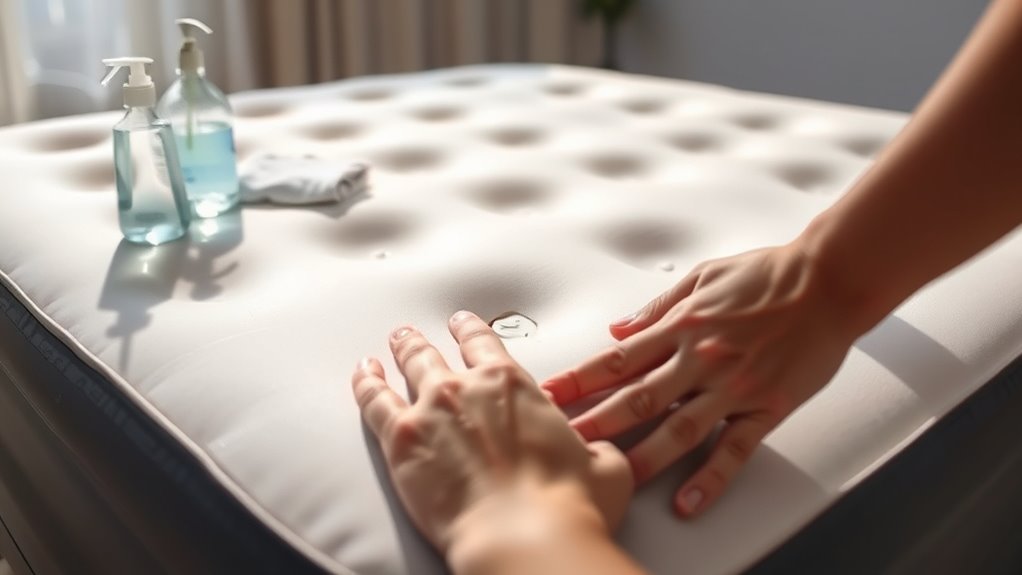
Prepare Soapy Water Solution
Creating a soapy water solution is a straightforward process that can greatly aid in detecting leaks in your air mattress. To prepare it, follow these steps:
- Mix equal parts of liquid dish soap and warm water in a spray bottle.
- Use warm water to help the soap mix thoroughly and create better bubbles for leak detection.
- Shake the spray bottle gently to combine the solution.
Start by spraying around the valve area, then cover the entire mattress surface. Focus on seams and any suspicious areas where escaping air might be present.
Look for bubbles forming in the soapy water, as these indicate the presence of a leak. This method will help you effectively identify leaks and restore your air mattress.
Apply and Observe Bubbles
When you’re ready to check for leaks, it’s time to apply the soapy water solution generously over your air mattress.
Use a spray bottle to distribute the soapy solution evenly, focusing on seams and potential weak points. As you do this, be on the lookout to apply and observe bubbles forming—this indicates air escaping from a leak.
When you spot bubbles, mark those areas with a permanent marker for easy identification during the patching process.
Once you’ve identified the leaks, rinse the mattress thoroughly with clean water to prepare the surface for effective patching.
This leak detection method guarantees you can quickly address any issues and keep your inflated mattress in prime condition.
Submerging the Mattress for Leak Detection

An effective method for detecting leaks in your air mattress is submerging it in water. This technique allows you to easily spot escaping air, as it creates visible bubbles at the leak site.
To maximize your leak detection efforts, follow these steps:
- Confirm the mattress is fully inflated before submerging.
- Use a large container or pool for complete immersion.
- Carefully inspect seams, valves, and weak points while submerged.
- Look for bubbles that indicate air escaping.
- After identifying leaks, dry the mattress thoroughly before patching to guarantee proper adhesion.
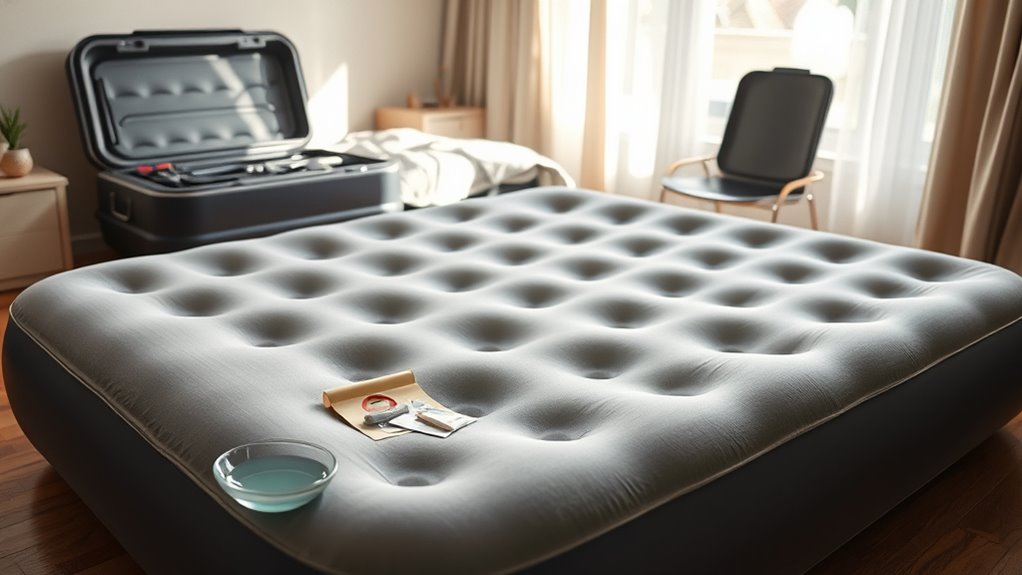
Marking the Leak Area

Once you’ve pinpointed a leak in your air mattress, it’s important to mark the area right away. Use a permanent marker to circle the leak, ensuring you can easily locate it during the patching process.
Marking the leak immediately helps you avoid losing track of it as the mattress deflates further. If you discover multiple leaks, mark each one with separate circles to efficiently address all areas during repairs.
Make sure the area you mark is clean and dry; this prevents any interference with the patching materials later on. By marking the leak area promptly, you set yourself up for a smoother and more effective patching process, saving both time and frustration in the long run.
Cleaning the Leak Area
After marking the leak area, it’s time to clean it thoroughly.
You’ll want to guarantee a proper seal when patching, so follow these steps for effective cleaning:
- Use a vinyl surface cleaner for removing dirt or debris.
- Smooth out rough surfaces with fine sandpaper to create a flat and clean patching surface.
- Mark the leak area again with a permanent marker for easy identification later.
- Make certain no moisture remains in the leak area before applying any adhesive to the patch.
- Allow the cleaned area to air-dry completely to ensure the patch adheres properly.
Patching the Leak

Now that you’ve cleaned the area around the leak, it’s time to patch it up.
Start by selecting the right patch materials and applying them correctly for a secure fit.
Finally, let the patch cure properly before testing it out to guarantee you’re leak-free.
Selecting Patch Materials
Selecting the right patch materials for your air mattress is essential for a successful repair. Using a vinyl repair patch kit guarantees a strong and airtight seal to effectively seal the hole.
If you need temporary fixes, consider alternative materials when you can’t find a patch kit.
- Patches should be at least half an inch larger than the hole.
- Use duct tape or thin plastic from shower curtains as quick fixes.
- For larger holes, apply adhesive to both the patch and the damaged area.
- Confirm the surface is clean and dry for better adhesion.
- Allow the adhesive to dry completely before inflating the mattress to verify it’s properly inflated and ready for use.
Applying the Patch
Before you start patching the leak, it’s crucial to clean and dry the area around the hole thoroughly. This promotes ideal adhesion.
Use a patch from your repair kit, making sure it covers at least half an inch beyond the hole for a secure seal. For larger tears, apply adhesive to both the damaged area and the patch, allowing the adhesive to become tacky before pressing them together.
After applying the patch, press it firmly onto the surface and place a weight on top for the recommended time to guarantee a strong bond.
Finally, allow the patch to dry for at least 8 hours before re-inflating the mattress to confirm the seal is fully set and effective.
Curing and Testing
Once you’ve applied the patch, it’s essential to ascertain the adhesive cures properly to achieve a lasting repair. Allow at least 8 hours, or as directed by the manufacturer, for curing.
After the adhesive has dried, inflate the mattress and check for escaping air. Listen for hissing sounds or feel for air leaks.
- Press firmly on the patch to eliminate air bubbles.
- Check the patch for any signs of peeling.
- Lay on the mattress for several minutes to test firmness.
- Ascertain the patch maintains pressure without deflating.
- If there are issues, reapply pressure and allow more curing time.
This method confirms the effectiveness of your patching efforts.
Testing the Repair

After applying a patch to your air mattress, it’s essential to test the repair properly to confirm it holds.
Start by waiting at least 8 hours to verify the adhesive has fully cured. Re-inflate the mattress to its full capacity and observe whether it can maintain air pressure over time.
Wait at least 8 hours for the adhesive to cure, then re-inflate the mattress to check for air pressure maintenance.
While doing this, listen for the sound of any hissing near the patched area, as it may indicate an air mattress leak. Conduct a visual inspection of the patch; it should remain flat and securely adhered without any peeling edges.
If the mattress deflates again, recheck for additional leaks or consider applying a new patch to enhance the existing repair.
Preventing Future Leaks
Even with a successful patch repair, taking steps to prevent future leaks is essential for extending the life of your air mattress.
Air mattresses tend to wear down over time, so you should regularly inspect for visible signs of damage, like cracks or tears.
To maximize your mattress’s lifespan, consider the following tips:
- Store the mattress deflated in a cool, dry place, away from sharp objects.
- Avoid overinflating beyond the recommended capacity to reduce seam stress.
- Use a soft surface during use to prevent punctures.
- Consider using a mattress protector designed for air mattresses for an additional layer of safety.
- Address any visible signs of wear immediately to prevent the patch from failing later.
Frequently Asked Questions
Can a Leaking Air Mattress Be Fixed?
Yes, you can fix a leaking air mattress!
Start by locating the leak using soapy water or listening for hissing sounds.
Once you find it, clean and dry the area thoroughly before applying a patch.
Make sure the patch covers at least half an inch around the hole.
Allow the adhesive to dry for at least 8 hours before reinflating.
Regular inspections and timely repairs can help extend its life.
Why Is My Air Mattress Losing Air but No Hole?
If your air mattress is losing air but you can’t find a hole, it might be due to valve issues or temperature changes.
Check the valve for proper sealing; even small damages can let air escape. New mattresses may also stretch, causing temporary deflation.
Regularly inspect the seams for wear. If air loss persists and you can’t locate the problem, consider trying a different mattress for better comfort and durability.
What Is the Fastest Way to Find a Hole in an Air Mattress?
The fastest way to find a hole in your air mattress is to inflate it fully and listen for any hissing sounds.
You can also mix dish soap with water in a spray bottle and apply it to the mattress. If there’s a leak, bubbles will form.
Alternatively, move a lit incense stick around the mattress; the smoke will reveal any holes by being drawn towards escaping air.
Inspect the valve area carefully too!
How Do You Find a Slow Leak in an Inflatable?
Did you know that about 25% of inflatable products can develop slow leaks over time?
To find a slow leak in your inflatable, start by fully inflating it. Listen for any hissing sounds that might indicate air escaping.
Use a soapy water solution to spray the surface; bubbles will form around leaks. You can also feel along seams for escaping air.
Mark any identified leaks for easy reference during repairs.
Conclusion
Now that you’ve tackled the leak in your air mattress, you’re ready to enjoy a good night’s sleep without worrying about waking up on the floor like it’s the Dark Ages! Remember to check your mattress regularly and store it properly when not in use to prevent future leaks. With a little care and maintenance, your air mattress can serve you well for many camping trips and overnight guests to come. Sleep tight!