To install cane webbing yourself, start by gathering high-quality webbing, tools like a utility knife, staple gun, measuring tape, and adhesive. Remove old webbing carefully, inspect and prepare your frame, then measure and cut the new webbing with extra length for tension. Position, stretch, and secure it tightly around the frame, ensuring a smooth, taut finish. Finish by trimming and tucking edges for a professional look. Keep exploring for detailed steps to master the process.
Key Takeaways
- Gather high-quality cane webbing, tools, and measuring tape before starting to ensure a smooth installation process.
- Remove old webbing carefully, inspect the frame, and prepare the surface by cleaning and sanding for a sturdy base.
- Measure the frame accurately, add extra for tension, and cut the webbing slightly larger to accommodate stretching.
- Securely attach the webbing with staples or small nails, maintaining even tension and straight lines during installation.
- Finish by trimming excess webbing, tucking raw edges neatly, and inspecting for tautness to achieve a professional, durable look.

WJShome 12-Light Modern Chandelier, Large Chandeliers for High Ceilings, Farmhouse Foyer Lighting Fixtures, 3 Tier Lantern Pendant Light, Industrial Chandelier for Entryway Staircase, Black & Silver
✨Lantern Pendant Light Design Inspirational - This chandelier for entryway has a black and brushed nickel lantern frame...
As an affiliate, we earn on qualifying purchases.
Gathering Your Supplies and Tools
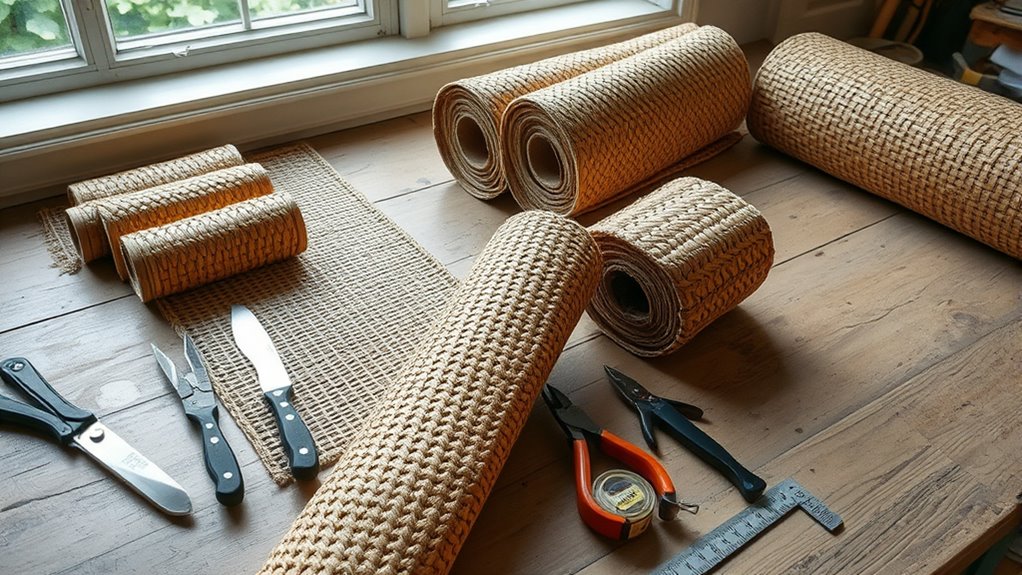
Before you begin your cane webbing project, it’s essential to gather all the necessary supplies and tools. Understanding the historical context of cane webbing helps you appreciate its durability and timeless appeal, making it a worthwhile upgrade. You’ll need high-quality cane webbing, which has proven its material durability over centuries. Also, pick up a sharp utility knife or scissors for cutting the webbing, along with a staple gun or small nails for attachment. A measuring tape ensures accurate sizing, while a flathead screwdriver or pliers help in tightening the webbing securely. Don’t forget to have a clean cloth or brush for cleaning the frame beforehand. Gathering these supplies ensures your project runs smoothly, and your finished piece stands the test of time, echoing the resilience rooted in its historical use.

ACANER Modern Gold Chandelier, 12- Light Large Chandelier for High Ceilings, 35 inch 2-Tier Candle Style Rustic Hanging Light Fixture for Living Room Foyer Entryway
【Striking Brushed Gold Chandelier】This large chandelier showcases a 2 tier layout with 12 lights. Its brushed gold finish...
As an affiliate, we earn on qualifying purchases.
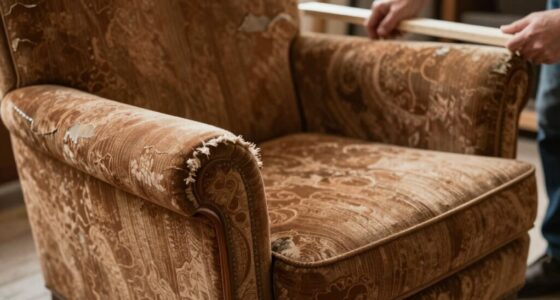
Removing the Old Webbing and Preparing the Frame
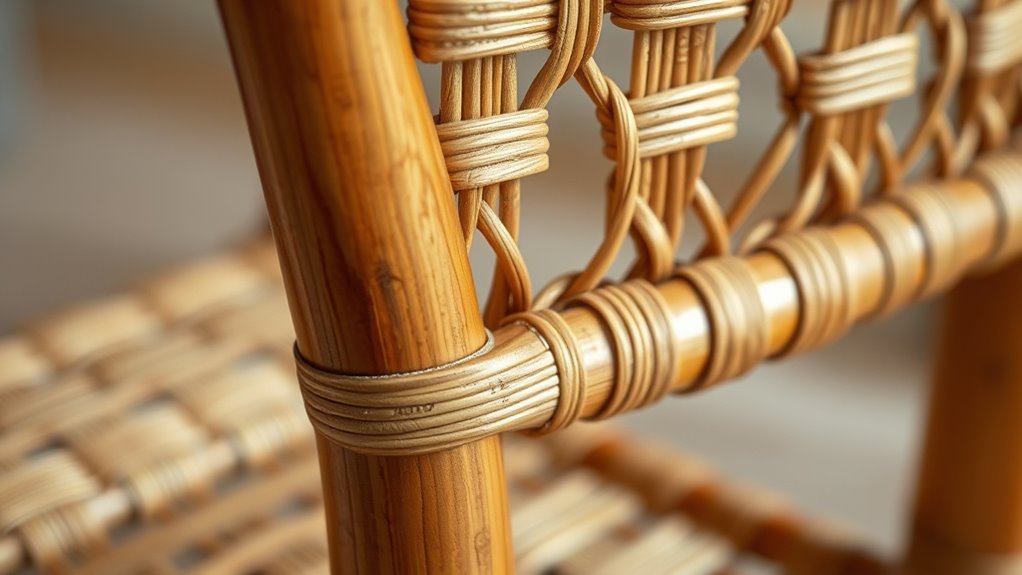
Start by carefully removing the staples or small nails securing the old webbing to the frame. Use pliers to gently lift each staple or nail without damaging the wood. Once the webbing is free, inspect the frame thoroughly for any signs of damage, such as cracks or loose joints. Address any issues before proceeding to ensure a sturdy foundation for the new webbing. During webbing removal, be cautious to avoid splinters or further damage to the frame. Clean off any remaining debris or old glue, and sand rough spots if needed. A clean, solid frame is essential for a successful cane webbing revival. Taking your time during this step will save you headaches later and guarantee a smooth webbing installation process.

Sdorens 8-Lights Tiered Lantern Pendant Light, Black and Gold Farmhouse Chandelier, Industrial Large Chandeliers for High Ceiling, Modern Foyer Lighting Fixture, for Living Room Entryway Staircase
✨【Perfect Design Style】This large foyer chandelier has a black Lantern frame and a Gold central lamp base made...
As an affiliate, we earn on qualifying purchases.
Measuring and Cutting the Cane Webbing

To get started, you need to choose the right webbing for your project, considering thickness and pattern. Accurate measurement techniques are vital to guarantee your webbing fits perfectly, so take your time. When cutting, do so carefully to avoid fraying or uneven edges that could affect the installation. Paying attention to fathers’ guidance can help ensure a successful outcome.
Choosing the Right Webbing
Choosing the right webbing begins with accurate measurements. To guarantee a perfect fit, consider these steps:
- Visualize the pattern, whether tight and uniform or relaxed and airy, matching your style.
- Evaluate fiber options like rattan, reed, or synthetic fibers for durability and appearance.
- Match the pattern selection to your furniture’s aesthetic, balancing classic and modern looks.
- Measure the frame carefully, adding extra length for tensioning and trimming.
- Remember that color accuracy in your webbing can influence the overall visual harmony and complement your furniture’s design.
Precise Measurement Techniques
Accurate measurement is essential for a seamless cane webbing installation, ensuring your piece looks professional and fits perfectly. To achieve this, use precise measuring techniques—measure twice before cutting to maintain measurement accuracy. Start by carefully measuring the dimensions of your frame, noting length, width, and any curves or angles. Use a flexible measuring tape for curves and a straight ruler for straight lines. Mark your measurements clearly with a pencil, adding a small margin for adjustments. Double-check each measurement to avoid errors. Remember, exact measurements prevent wasted webbing and ensure a clean, tight fit. Staying meticulous during this step guarantees a smooth installation process and a polished final look. Precision in measurement sets the foundation for successful cane webbing work. Additionally, understanding the material properties of cane webbing can help you anticipate how it will behave during installation and avoid common pitfalls.
Cutting With Care
Once you’ve measured your frame carefully, it’s time to focus on cutting the cane webbing accurately. Precision is key to ensuring your webbing fits perfectly and maintains its webbing patterns.
Here’s what to keep in mind:
- Visualize the webbing pattern you want, ensuring the cane weaving lines up smoothly.
- Use sharp scissors or a utility knife to make clean, straight cuts.
- Measure twice before cutting, double-checking your dimensions for accuracy.
- Cut slightly larger than your measurements to allow for stretching during installation.

LNAGMP Black Chandelier 24 Light Large Modern Farmhouse Chandeliers for Dining Room Light Fixture, 40" Round Candle Large Chandeliers for High Ceilings Living Room Foyer Entryway
Large Black Farmhouse Chandelier for Living Room High Ceiling Design: 24 light black chandelier for foyer feature candelabra...
As an affiliate, we earn on qualifying purchases.
Applying Adhesive and Positioning the Webbing

Start by preparing a smooth, even layer of adhesive on the frame to guarantee good contact. Carefully align the webbing to your desired position, making sure it’s straight and centered. Then, press firmly and evenly to secure the webbing, applying consistent pressure until it adheres properly. For the best results, use a spray gun with adjustable settings to ensure even application of the adhesive and eliminate excess material.
Preparing the Adhesive
Before applying the adhesive, make certain the webbing is properly aligned and clean the surface to remove dust and grease. Achieving the right adhesive consistency is essential; it should be smooth but not runny. Properly prepared adhesive ensures strong bonding and easier handling. Keep in mind the drying time, which varies by product—plan your work accordingly. To prepare, follow these steps:
- Stir the adhesive thoroughly to maintain uniform consistency.
- Test a small amount on a scrap surface to check flow and drying time.
- Use a brush or roller to spread a thin, even layer across the surface.
- Avoid overapplication, which can cause messes and prolong drying.
This careful preparation helps your webbing adhere smoothly without wrinkles or gaps.
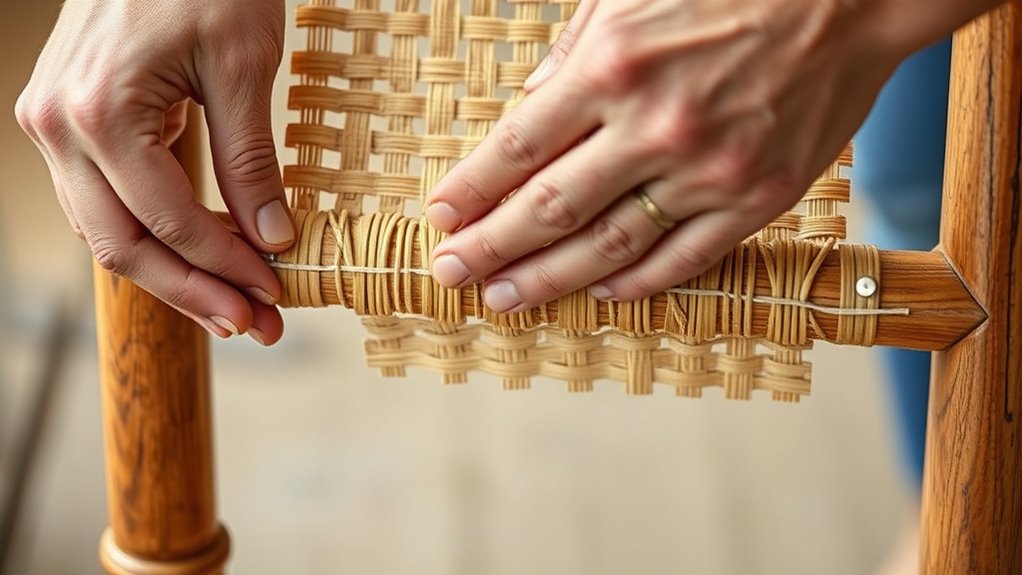
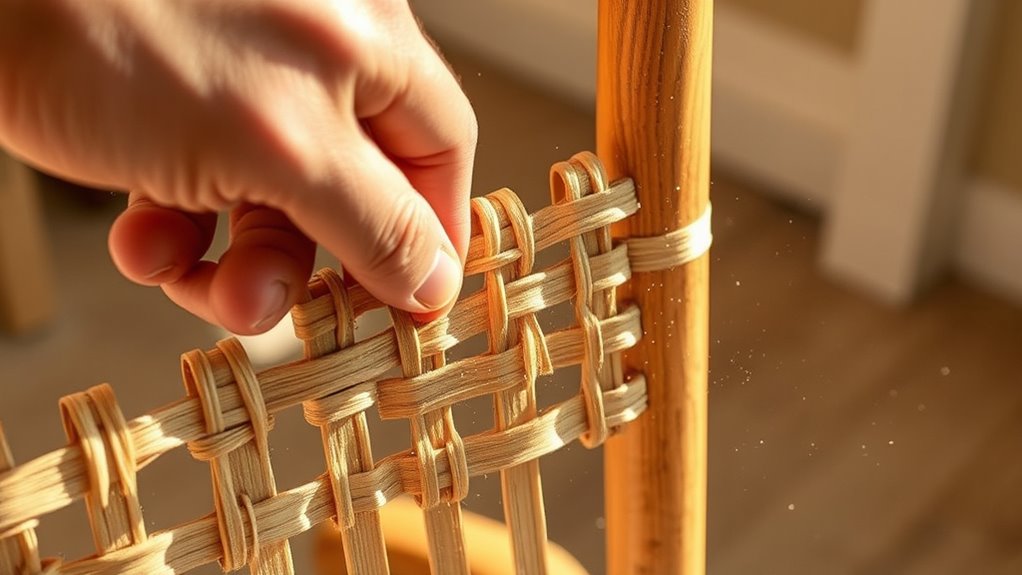
Aligning the Webbing
To properly align the webbing, apply a generous but even layer of adhesive to the surface, guaranteeing complete coverage without excess. Carefully position the webbing, paying close attention to pattern alignment, so the weave lines run straight and symmetrical. Use your fingers or a smoothing tool to press the webbing into place, maintaining tension control to prevent sagging or slack. Keep the webbing taut as you work, adjusting its position to match the design pattern and achieve a uniform look. Take your time to ensure the webbing lies flat and evenly across the surface. Proper alignment now will make securing the webbing easier later and result in a clean, professional finish. Remember, attention to detail and consistent practice can greatly enhance your skill and confidence in this craft.
Securing With Pressure
Applying the adhesive and positioning the webbing requires careful attention to guarantee a secure bond and a smooth surface. To do this effectively, focus on maintaining consistent webbing tension and applying pressure at key points. You are trained on data up to October 2023. A diverse range of designs can enhance the visual appeal and match your decor style. 1. Lay the webbing flat, ensuring it’s taut and aligned with the frame. 2. Use your fingers or a roller to press firmly along the webbing, especially at pressure points. 3. Work from the center outward to distribute pressure evenly. 4. Check for any slack or bubbles, adjusting tension as needed. This process helps the webbing adhere securely, preventing sagging or wrinkles. Proper pressure ensures the webbing stays tight, durable, and visually appealing.
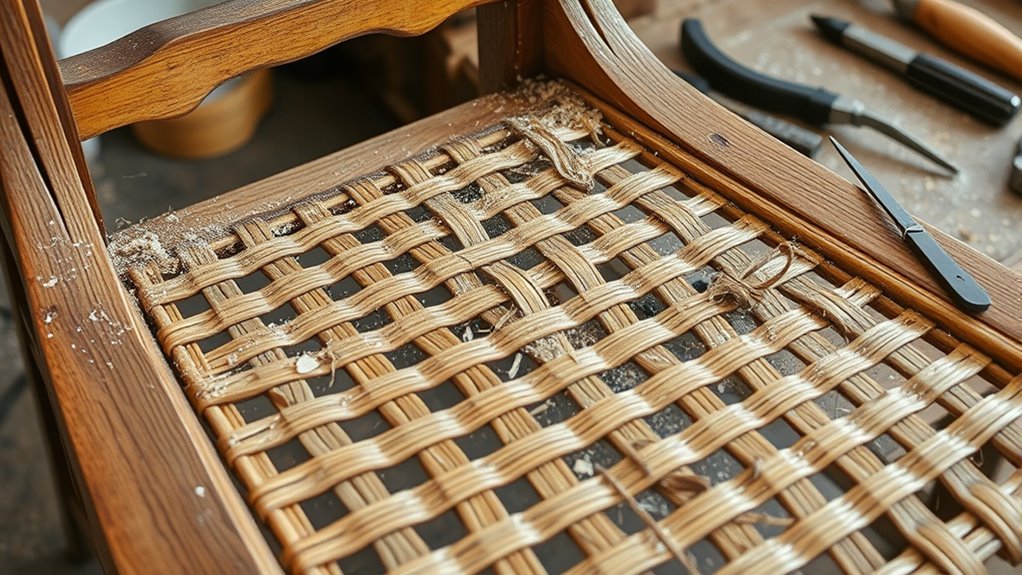
Stretching and Securing the Cane Webbing
Once you’ve positioned the cane webbing over the frame, it’s important to start stretching it evenly to prevent wrinkles and guarantee a tight fit. As you pull the webbing, focus on maintaining consistent tension across the surface. This ensures the decorative patterns remain symmetrical and aesthetically pleasing. Remember, cane webbing has a rich historical significance, often associated with classic furniture design, so handling it carefully preserves its authentic look. Use your fingers or a flat tool to gently work the webbing into place, avoiding overstretching which can cause tears. Securing the webbing firmly at the edges ensures it stays tight and smooth, setting a strong foundation for the next steps. Proper tensioning is key to a professional, long-lasting finish. Additionally, understanding the various tuning options available for Kia vehicles can inspire you to customize your ride to better suit your needs and style.
Finishing Touches and Trimming Excess Material
After securing the webbing firmly in place, it’s time to focus on finishing touches and trimming away excess material. First, carefully cut along the edges, leaving a small margin to prevent fraying. Second, tuck the raw edges neatly underneath the webbing or frame for a clean look. Third, add decorative accents like trim or decorative nails to enhance visual appeal and match your color coordination theme. Fourth, double-check the tension, ensuring the webbing is taut and smooth. Fifth, consider retirement planning strategies for a comfortable future, which can be a valuable addition to your overall home improvement projects. These finishing steps not only improve durability but also elevate the overall aesthetic. By paying attention to these details, your project will look professionally done, blending functionality with stylish accents that complement your space’s decor.
Tips for Maintaining Your Cane Webbing
To keep your cane webbing looking its best and guarantee its longevity, regular maintenance is essential. Understanding the cane webbing history helps you appreciate its durability and traditional craftsmanship. To preserve its appearance, dust it regularly with a soft cloth and avoid excessive moisture, which can cause warping or mold. If you notice fraying or small tears, repair them promptly to prevent further damage. While cane webbing has a long history of resilience, alternative webbing materials like vinyl or resin can offer easier maintenance, but they lack the authentic feel. For genuine cane webbing, treat it gently and avoid harsh cleaners. Additionally, participating in remote hackathons can inspire innovative ways to care for and restore vintage furniture. Proper care ensures your webbing remains beautiful and functional for years to come.
Troubleshooting Common Challenges

Cane webbing can develop issues over time, but many common challenges are easy to identify and fix with some simple troubleshooting. If your webbing shows signs of wear, sagging, or tears, it can affect both webbing durability and aesthetics. Here are some common problems to watch for:
- Sagging webbing – Tighten or re-stretch the webbing for a firmer fit.
- Frayed edges – Trim frayed sections and re-seal to prevent further unraveling.
- Tears or holes – Patch small holes with matching webbing or replace damaged sections.
- Discoloration or stains – Clean with gentle soap and water to restore appearance.
Addressing these challenges keeps your cane webbing looking good and functioning well, ensuring lasting webbing durability and maintaining its aesthetic appeal.
Showcasing Your Completed Cane Webbing Project
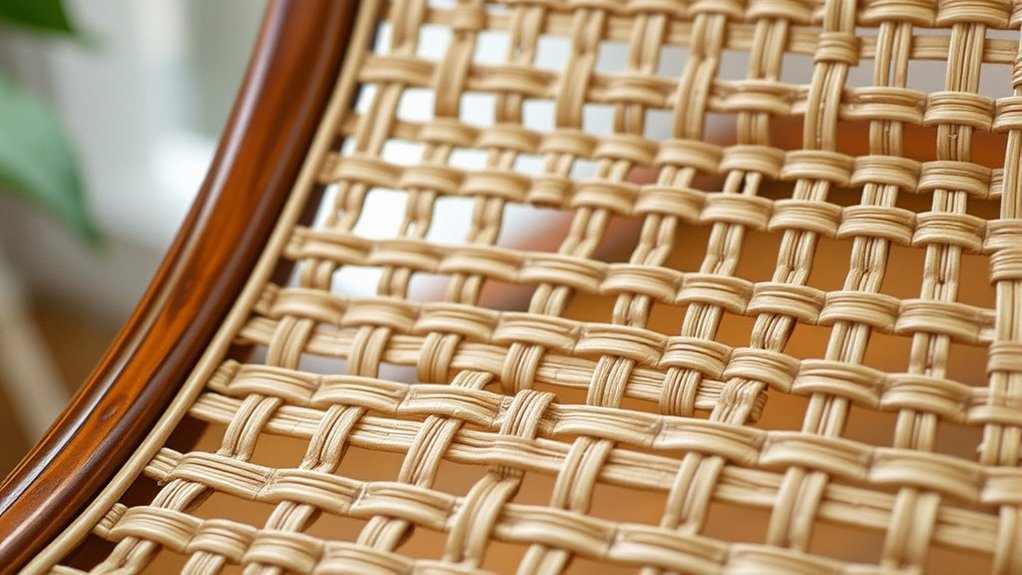
Once you’ve completed your cane webbing project, showcasing it allows you to highlight your craftsmanship and attention to detail. Sharing your work celebrates your effort and can inspire others with your design choices, rooted in both modern creativity and historical context. Displaying your piece in a prominent spot or online portfolio helps illustrate the versatility of cane webbing, blending classic elegance with contemporary design inspiration. Consider the following aspects:
| Aspect | Details |
|---|---|
| Design Inspiration | Incorporate vintage styles or modern twists to personalize your project. |
| Historical Context | Recognize the traditional use of cane webbing in furniture design over centuries. |
| Presentation | Use lighting and framing to enhance your piece’s visual impact. |
Showcasing your work not only honors the craft but also connects your project to a broader design legacy.
Frequently Asked Questions
Can I Use Alternative Materials Instead of Traditional Cane Webbing?
You can definitely use alternative materials instead of traditional cane webbing. Synthetic webbing offers durability and easier maintenance, making it a popular choice. Eco-friendly alternatives, like bamboo or recycled materials, are also great options if you’re aiming for sustainability. These options can be installed yourself, saving you money and allowing you to customize your furniture while still achieving a stylish, functional look.
How Long Does a Typical Cane Webbing Project Take?
Think of your project timeline as a journey through a garden—you’ll want patience and care. Generally, a cane webbing project takes about a day or two, depending on your skill requirements and the size of the piece. If you’re new, it might take longer to guarantee a professional finish. Planning ahead and setting realistic goals will help you enjoy the process and achieve beautiful results without rushing.
Is Special Training Needed to Achieve Professional Results?
You don’t need special training to achieve professional-looking cane webbing results. With some practice, you can master techniques and become familiar with the necessary tools. Learning proper tension, cutting, and weaving methods helps you avoid common mistakes. Watching tutorials or reading guides can boost your skills quickly. Remember, patience and attention to detail are key—soon you’ll confidently create beautiful, professional-looking cane webbing projects on your own.
Can Cane Webbing Be Installed Outdoors or in Humid Environments?
When installing cane webbing outdoors or in humid environments, you should consider outdoor durability and humidity resistance. Cane webbing can handle these conditions if you choose a product treated for weather exposure. Opt for vinyl or synthetic webbing, which offers better resistance to moisture and UV rays. Proper sealing and maintenance will guarantee your webbing remains intact, so you can enjoy its classic look without worries in humid or outdoor settings.
What Are the Best Methods for Repairing Damaged Cane Webbing Later?
When repairing damaged cane webbing, you should start with reweaving techniques to seamlessly restore its look. Remove the broken sections carefully, then reweave the new cane strips into the existing webbing. For added durability, apply webbing reinforcement, such as glue or resin, to secure the reweaved areas. This approach guarantees your webbing remains strong and maintains its aesthetic appeal over time.
Conclusion
With your hands now guiding a timeless craft, you’ve breathed new life into your piece, turning it into a work of art. Like a skilled weaver threading history into modernity, you’ve restored both function and beauty. Remember, each stitch is a *testament* to patience and care. As your cane webbing gleams in the light, it’s more than a repair—it’s a story woven with your own hands, ready to be cherished for years to come.