Appliances
Electric Griddle Temp for Pancakes
2025
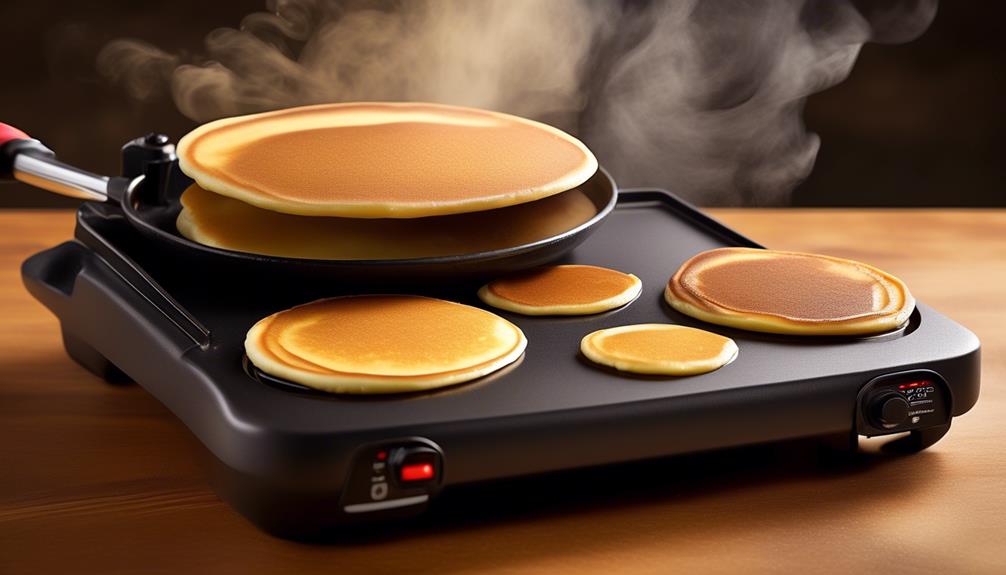
When making the perfect pancakes on an electric griddle, temperature is crucial. Are you aware that the right temperature can greatly impact the texture and flavor of your pancakes?
Getting the temperature just right is key to achieving that golden-brown exterior and fluffy interior that we all love. But how do we know what the perfect temperature is, and how can we ensure that our pancakes turn out just the way we want them to?
Join us as we explore the science behind electric griddle temperature for pancakes and discover the secrets to achieving pancake perfection.
Key Takeaways
- Precise temperature control and heat retention are crucial for even cooking and delicious golden-brown pancakes.
- The recommended temperature range for cooking pancakes on an electric griddle is between 375°F to 385°F (190°C to 195°C), with different heat zones for strategic ingredient placement and cooking techniques.
- Surface variations on the griddle require adjustments in batter consistency and cooking techniques to ensure perfectly cooked pancakes.
- Preheating the griddle, conducting temperature tests, and maintaining a consistent temperature throughout cooking are essential for achieving pancake perfection.
Importance of Temperature Control
Maintaining precise temperature control is crucial when using an electric griddle to ensure that pancakes cook evenly and achieve the desired texture and flavor. Temperature precision is key to producing consistently perfect pancakes. When the griddle is set to the right temperature, the batter cooks evenly, preventing undercooked or burnt spots. This precision also ensures that the pancakes develop a delicious golden-brown color.
Heat retention is another critical factor when using an electric griddle. Once the desired temperature is reached, the griddle should effectively retain heat to ensure even cooking throughout the entire batch of pancakes. Consistent heat retention prevents fluctuations that can lead to unevenly cooked pancakes.
To achieve optimal results, it's essential to preheat the electric griddle properly and allow it to reach the desired temperature before pouring the pancake batter. This preheating period allows the griddle to evenly distribute the heat, promoting uniform cooking. Additionally, understanding the heat retention properties of the specific electric griddle being used is crucial for mastering the art of pancake making.
Recommended Temperature Range
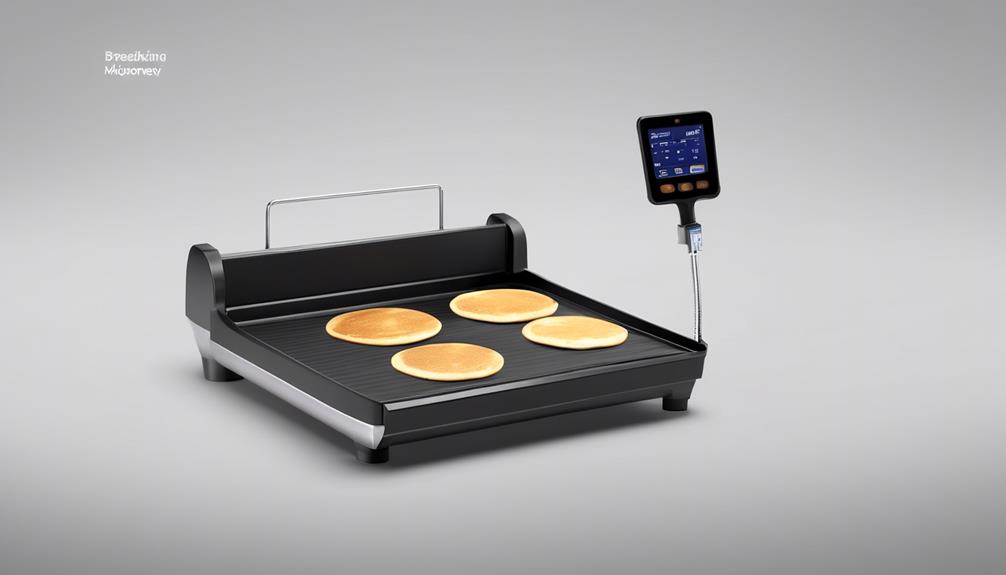
When cooking pancakes on an electric griddle, achieving the recommended temperature range is essential to ensure consistent and perfect results. The ideal temperature for cooking pancakes on an electric griddle is between 375°F to 385°F (190°C to 195°C). This temperature range allows the pancakes to cook evenly, ensuring a golden-brown exterior while maintaining a fluffy interior. To achieve this, preheat the griddle to the recommended temperature and allow it to stabilize before pouring the batter. It’s important to monitor the heat throughout the cooking process, as fluctuations can impact the quality of the pancakes. Utilizing a thermometer or testing the electric griddle pancake temperature with a small drop of batter can help confirm the surface is properly heated. Maintaining the correct electric griddle pancake temperature will ensure each batch comes out perfectly delicious and ready to enjoy.
Cooking techniques play a crucial role in maintaining the recommended temperature range. When cooking multiple batches, it's important to monitor the griddle's temperature and make heat adjustments as needed. Additionally, recipe modifications such as adding ingredients that conduct heat differently may require slight heat adjustment to maintain the ideal temperature range.
To ensure mastery in pancake making, understanding the impact of temperature on the cooking process is vital. By adhering to the recommended temperature range and implementing appropriate cooking techniques and recipe modifications, achieving consistent and perfect pancake results becomes more achievable.
Understanding Heat Zones on the Griddle
So, let's talk about the heat distribution on the griddle.
We'll analyze how the cooking surface variations affect the pancakes.
We'll also discuss the importance of temperature control in different zones.
Heat Distribution
To achieve optimal heat distribution on the griddle, it's essential to understand the varying temperature zones and how they affect the cooking process.
- Heat distribution:
- Understanding the heat zones allows for strategic placement of ingredients based on their required cooking temperatures, ensuring even cooking and preventing overcooking or undercooking.
- Utilizing different zones for various cooking techniques such as searing, sautéing, and simmering enhances the flavors and textures of the food, elevating the overall culinary experience.
Mastering temperature consistency on the griddle is crucial for achieving the desired pancake texture. By comprehending the heat distribution and its impact on cooking techniques, one can manipulate the griddle's zones to create the perfect environment for each stage of pancake preparation, resulting in consistent, fluffy pancakes every time.
Cooking Surface Variations
Understanding the varying temperature zones and their impact on cooking techniques is essential for mastering the art of utilizing heat distribution on the griddle, particularly when it comes to cooking surface variations. Different areas of the griddle may have slightly different temperatures, creating zones that can be used to your advantage.
For instance, the center tends to be the hottest, making it ideal for quickly cooking pancakes, while the outer edges are cooler, suitable for keeping cooked pancakes warm without overcooking.
When making adjustments for cooking surface variations, it's crucial to consider how the batter consistency and cooking techniques may need to be adapted to suit the different heat zones. Being mindful of these variations allows for precise control over the cooking process, resulting in perfectly cooked pancakes every time.
Temperature Control
Exploring the heat zones on the griddle allows for precise temperature control and strategic utilization of varying cooking zones. Understanding temperature accuracy and heat retention is crucial for mastering the art of griddle cooking. Here's how to achieve mastery:
- Mastering Temperature Accuracy:
Achieving the perfect pancake requires a precise understanding of the griddle's heat zones. This level of control allows for consistent and uniform cooking, leading to a delightful culinary experience.
- Optimizing Heat Retention:
Efficient heat retention ensures that every pancake is cooked to perfection, with a golden-brown exterior and a fluffy interior. This mastery of the griddle's heat zones is essential for creating the ideal pancake every time.
Understanding and manipulating the heat zones on the griddle empowers us to elevate our cooking to new levels of precision and excellence.
Preheating the Griddle
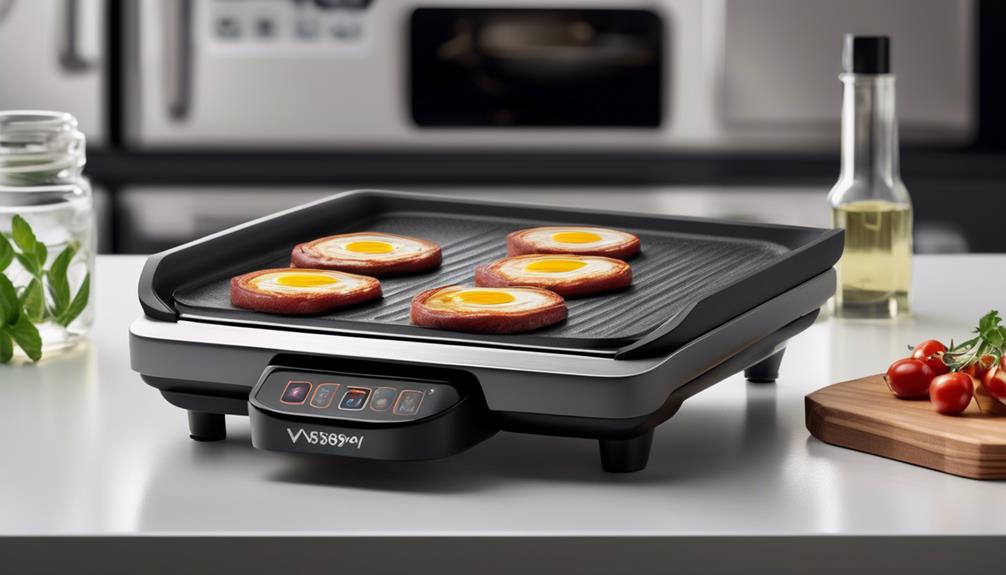
We can achieve optimal pancake cooking results by preheating the griddle to the recommended temperature before beginning the cooking process. Preheating the griddle properly ensures that the pancakes cook evenly and develop a golden-brown exterior while maintaining a fluffy interior. To ensure temperature accuracy and efficient preheating, consider the following preheating tips:
| Preheating Tips | Description |
|---|---|
| Allow Sufficient Time | Preheat the griddle for 10-15 minutes before cooking to ensure even heat distribution across the surface. |
| Use an Infrared Thermometer | Check the griddle's surface temperature using an infrared thermometer to ensure it reaches the recommended cooking temperature. |
| Conduct a Water Droplet Test | Sprinkle a few drops of water onto the griddle once it's preheated. The water should sizzle and evaporate almost immediately when the griddle is at the right temperature. |
Testing Temperature With a Droplet of Water

We can easily test the temperature of the griddle surface by dropping a small amount of water onto it. This simple method allows us to gauge the readiness of the griddle for cooking pancakes.
When the griddle is at the right temperature, the water droplet will sizzle and evaporate almost immediately, indicating that it's time to start cooking.
Droplet Water Test
To determine if an electric griddle has reached the proper temperature for making pancakes, a droplet of water can be used to test the surface temperature. When using the droplet test, it's important to consider the following:
- Observation: Watch how the droplet behaves on the griddle surface. This can give you valuable insights into the heat adjustment needed.
- *Emotional Response*: Feeling confident in your ability to gauge the griddle's temperature empowers you to achieve the perfect pancake consistency.
- *Emotional Response*: Mastering the droplet test fosters a sense of control and precision, leading to consistently delicious pancakes.
Mastering the droplet test allows for precise temperature adjustments, resulting in pancakes that are perfectly cooked every time.
Griddle Surface Sizzle
A single droplet of water placed on the griddle surface will sizzle and evaporate rapidly if the temperature is ideal for cooking pancakes. This is a simple and effective way to test the readiness of your griddle.
However, it's important to note that griddle maintenance also plays a crucial role in achieving the perfect sizzle. Regular cleaning and seasoning of the griddle surface will ensure even heat distribution and consistent sizzling.
Additionally, maintaining the right batter consistency is essential. The batter should be thick enough to hold its shape on the griddle but not too thick to prevent even cooking.
Careful attention to these details will result in the perfect sizzle, ensuring that your pancakes are cooked to perfection every time.
Adjusting Temperature for Different Pancake Types

Adjusting the temperature of the electric griddle according to the specific type of pancake being cooked is crucial for achieving optimal results. When it comes to achieving the perfect pancake texture and cooking time, adjusting the griddle temperature is crucial.
Here's how to do it:
- For Fluffy Pancakes:
Set the griddle to 375°F to 385°F. This temperature range allows the batter to cook evenly and rise beautifully, resulting in airy and fluffy pancakes that are a delight to bite into. Achieving the ideal fluffiness in pancakes brings a sense of satisfaction, making breakfast a truly enjoyable experience.
- For Crispy Edged Pancakes:
Increase the temperature to 400°F to 410°F. This higher heat level creates a slightly crispy exterior while maintaining a tender interior. The contrast in textures evokes a feeling of indulgence and adds an extra dimension to the pancake-eating experience.
Maintaining Consistent Temperature Throughout Cooking

Maintaining a consistent griddle temperature is essential for ensuring the desired texture and flavor of different types of pancakes, as discussed previously. Heat consistency is key to achieving evenly cooked, golden-brown pancakes. To maintain temperature throughout cooking, consider the following factors:
| Factors | Description | Tips |
|---|---|---|
| Preheating | Ensure griddle is fully preheated before cooking | Allow ample time for preheating |
| Batter Thickness | Thin batters may require lower heat for even cooking | Adjust heat based on batter consistency |
| Batch Size | Larger batches may cause temperature fluctuations | Adjust heat slightly for larger batches |
| Heat Recovery | Griddle's ability to regain temperature after cooking | Allow griddle to reheat between batches |
Frequently Asked Questions
Can I Use an Electric Griddle to Make Other Breakfast Items Besides Pancakes?
Yes, you can use an electric griddle to make other breakfast items besides pancakes.
For breakfast omelettes, the griddle provides an even cooking surface and precise temperature control.
French toast also benefits from the griddle's consistent heat distribution, ensuring a golden, crispy exterior.
Its versatility and spacious cooking area make it ideal for preparing a variety of breakfast dishes, allowing for efficient and precise cooking.
Is There a Specific Type of Spatula That Works Best for Flipping Pancakes on an Electric Griddle?
When flipping pancakes on an electric griddle, the best spatula is one with a thin, flexible edge, allowing for easy maneuvering under the delicate pancakes.
Our flipping technique involves sliding the spatula beneath the pancake, then swiftly lifting and flipping it. This ensures even cooking and prevents breakage.
The right spatula and technique are essential for achieving perfectly flipped pancakes every time.
How Do I Clean My Electric Griddle After Making Pancakes?
Cleaning the electric griddle after making pancakes is essential for its upkeep. Proper cleaning tips include scraping off any food residue, wiping it down with a damp cloth, and using a mild detergent for stubborn stains.
We follow a maintenance schedule to ensure the griddle is always ready for use. It's important to avoid abrasive materials that could damage the surface.
Regular cleaning keeps the griddle in top condition for future cooking sessions.
Can I Use a Non-Stick Spray on My Electric Griddle When Making Pancakes?
Yes, you can use a non-stick spray on the electric griddle when making pancakes. It provides an easy release and helps in achieving that perfect golden brown color.
When considering the type of fat to use, both butter and oil work well, but oil has a higher smoke point.
For flipping techniques, a thin spatula and a confident wrist flick are key for flawless flips.
These tips ensure pancake perfection every time.
Are There Any Safety Precautions I Should Take When Using an Electric Griddle to Make Pancakes?
When using an electric griddle to make pancakes, it's important to ensure proper temperature and mastering the flipping technique.
Additionally, electric griddle maintenance and safety tips are crucial for a smooth cooking experience. We recommend keeping the griddle clean and dry, and always following the manufacturer's guidelines.
Moreover, using a spatula to flip the pancakes gently can help prevent splatters and burns. These precautions ensure a safe and enjoyable pancake-making process.
Conclusion
So, there you have it – the key to making perfect pancakes on an electric griddle lies in controlling the temperature. By understanding the recommended temperature range, heat zones, and preheating techniques, you can ensure that your pancakes turn out just right every time.
Remember to test the temperature with a droplet of water and adjust as needed for different pancake types. With consistent temperature control, you'll be serving up delicious pancakes in no time.
- About the Author
- Latest Posts
Introducing Ron, the home decor aficionado at ByRetreat, whose passion for creating beautiful and inviting spaces is at the heart of his work. With his deep knowledge of home decor and his innate sense of style, Ron brings a wealth of expertise and a keen eye for detail to the ByRetreat team.
Ron’s love for home decor goes beyond aesthetics; he understands that our surroundings play a significant role in our overall well-being and productivity. With this in mind, Ron is dedicated to transforming remote workspaces into havens of comfort, functionality, and beauty.
Garage Door Opener
Hyundai Tucson Garage Door Opener: 3 Easy Steps
Uncover the effortless magic of syncing your Hyundai Tucson's garage door opener in three easy steps, transforming your daily routine with convenience.
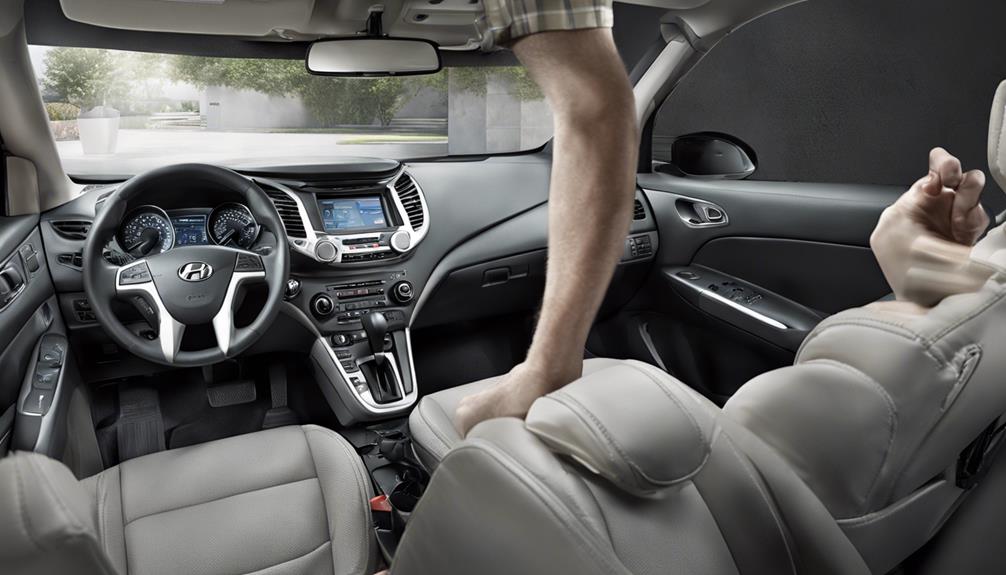
Discovering new possibilities with your Hyundai Tucson garage door opener is akin to stumbling upon the key to a treasure trove of convenience.
Simplify your daily routine with just a few straightforward steps that can enhance your driving experience. By mastering these easy techniques, you can effortlessly sync your garage door to your vehicle, making every arrival and departure a seamless transition.
Let's uncover the secrets behind this process and elevate your driving convenience to the next level.
Key Takeaways
- Reset HomeLink for a clean slate and prevent interference.
- Program HomeLink by syncing with the garage door opener.
- Test HomeLink for seamless garage door operation.
- Ensure optimal functionality by following specific reprogramming steps.
Resetting the HomeLink System
To initiate the resetting of the HomeLink system in a Hyundai Tucson, simultaneously press and hold the first and third buttons until the indicator light clears the existing codes. This step is essential if you're encountering issues with your garage door opener or need to reprogram it.
By resetting the HomeLink system, you ensure a clean slate for syncing with your garage door opener, preventing any interference from previous codes. Once the indicator light has cleared, you can proceed to align the HomeLink system with your garage door opener for seamless operation.
Resetting the HomeLink system on your Hyundai Tucson is the first crucial step towards reprogramming your garage door opener. Ensuring that the codes are cleared and the system is ready for syncing is vital for optimal functionality. This process sets the foundation for aligning the HomeLink system with your garage door opener, guaranteeing that your garage door operates smoothly.
Programming the Garage Door Opener
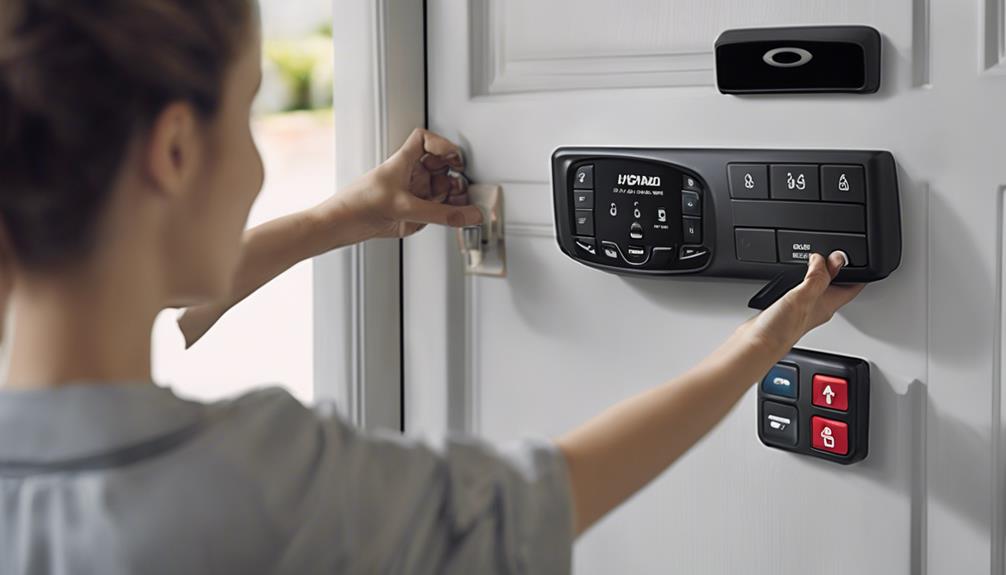
Programming the garage door opener in the Hyundai Tucson requires careful synchronization for optimal functionality. The HomeLink universal system in the Hyundai Tucson offers a seamless way to control garage doors conveniently from your vehicle. To begin the programming process, ensure your vehicle is parked outside the garage. Inside the vehicle, locate the HomeLink buttons typically positioned on the rearview mirror or overhead console.
Here's a step-by-step guide:
- Press and hold the desired HomeLink button and the garage door opener simultaneously. Wait for the indicator light to change from slow to rapidly blinking.
- Release both buttons, then locate the 'learn' button on your garage door motor.
- Within 30 seconds, press the 'learn' button and the programmed HomeLink button in your vehicle simultaneously until the light changes.
Completing these steps correctly ensures synchronization between your Hyundai Tucson and the garage door opener, guaranteeing optimal functionality.
Testing the Garage Door Opener
Before initiating the testing phase for the garage door opener in your Hyundai Tucson, ensure the vehicle is parked outside the garage. To test the garage door opener, follow these steps:
- Press the programmed HomeLink button inside your Hyundai Tucson.
- Observe the garage door's response to the button press.
- Check if the garage door opens or closes as expected.
- Repeat the test multiple times to ensure consistent operation.
- If the garage door doesn't respond, troubleshoot by reprogramming the HomeLink system following the specific instructions for your garage door type.
Testing the garage door opener is crucial to ensure its functionality and integration with your Hyundai Tucson. By following these steps, you can verify that the opener operates smoothly and reliably. If any issues arise during testing, refer to the reprogramming instructions to troubleshoot and resolve any potential problems efficiently.
Frequently Asked Questions
How Do I Program My Garage Door Opener on My Hyundai Tucson?
To program a garage door opener on a Hyundai Tucson, we need to follow a few simple steps.
First, ensure compatibility between the HomeLink system in the Tucson and the garage door opener.
Have the garage door remote handy during programming.
Refer to the Tucson's owner's manual for specific instructions.
Following these steps will help successfully program the garage door opener in a Hyundai Tucson.
How to Program the Garage Door Opener in Your Car in 3 Easy Steps?
When programming a garage door opener in your car in 3 easy steps, we align it with the radio frequency of the garage door opener.
Differentiate between fixed and rolling code systems to ensure proper programming. Following specific steps for each type guarantees success.
Synchronization is crucial for functionality. By aligning frequencies and following precise steps, we ensure a seamless setup process for the garage door opener in our car.
Does the 2023 Hyundai Tucson Have a Garage Door Opener?
Yes, the 2023 Hyundai Tucson does have a garage door opener feature. It comes standard with a built-in HomeLink system that allows for easy programming of your garage door opener.
This feature adds a layer of convenience and enhances safety and security by enabling you to control your garage door from inside the vehicle.
Integrate this function into your daily routine effortlessly for a seamless experience.
Does the 2024 Hyundai Tucson Have a Garage Door Opener?
Yes, the 2024 Hyundai Tucson is equipped with a built-in HomeLink garage door opener system. This convenient feature allows us to easily open and close our garage doors from inside the vehicle with just a few simple steps.
The HomeLink integration enhances our driving experience by adding a level of convenience and security. With the seamless garage door control provided by the HomeLink system, we can enjoy a more streamlined and user-friendly experience.
Conclusion
In conclusion, programming your Hyundai Tucson garage door opener is as easy as pie. Just follow the three simple steps outlined above, and you'll be opening your garage door with ease in no time.
It's like a key fitting perfectly into a lock, seamlessly syncing your vehicle with your garage door for convenient access.
- About the Author
- Latest Posts
Introducing Ron, the home decor aficionado at ByRetreat, whose passion for creating beautiful and inviting spaces is at the heart of his work. With his deep knowledge of home decor and his innate sense of style, Ron brings a wealth of expertise and a keen eye for detail to the ByRetreat team.
Ron’s love for home decor goes beyond aesthetics; he understands that our surroundings play a significant role in our overall well-being and productivity. With this in mind, Ron is dedicated to transforming remote workspaces into havens of comfort, functionality, and beauty.
Garage Door Opener
10 Best Belt Garage Door Openers for Smooth Operation
Peek into the world of garage door openers with the top ten belt-driven models, promising smooth operation and advanced features for your convenience.
Did you know that 70% of homeowners prefer belt-driven garage door openers for their smooth and quiet operation?
Among the top ten options on the market, each offers unique features that cater to different needs and budgets. From enhanced security features to advanced smart technology integration, these belt-driven openers are designed to provide reliable and hassle-free operation.
Curious to find out which belt garage door opener suits your requirements best? Let's explore the top picks for smooth and efficient performance.
Key Takeaways
- Chamberlain B 6765: Powerful 1 1/4 HPe motor with Wi-Fi control and reliable battery backup.
- Genie StealthDrive 7155-TKV: Robust 1 1/4 HPc motor, safe-t-beam system, and lifetime motor/belt warranty.
- Craftsman CMXEOCG572: Smooth ½ HP operation with safety sensors and durable materials.
- Raynor Airman II: Energy-efficient AC motor, security package, and warranties for motor and parts.
Chamberlain B 6765 Best Overall
When considering the best overall garage door opener, the Chamberlain B6765 stands out for its powerful 1 1/4 HPe DC motor and advanced features. The Chamberlain B6765 is equipped with a robust belt drive system that ensures smooth and quiet operation, perfect for maintaining a peaceful environment in your garage. Additionally, this model comes with smart control capabilities enabled by built-in Wi-Fi, allowing you to monitor and operate your garage door from anywhere using your smartphone.
One of the standout features of the Chamberlain B6765 is its reliable battery back-up system, providing you with peace of mind during power outages by allowing for 25+ cycles without electricity. This feature ensures that you can still access your garage even when facing electrical disruptions.
Moreover, the silent operation of this opener makes it ideal for homes where noise reduction is a priority, ensuring minimal disturbance during door operation. The Chamberlain B6765 truly sets the standard for convenience, security, and ease of use in the realm of garage door openers.
Genie StealthDrive 7155-TKV Best Battery Back-Up
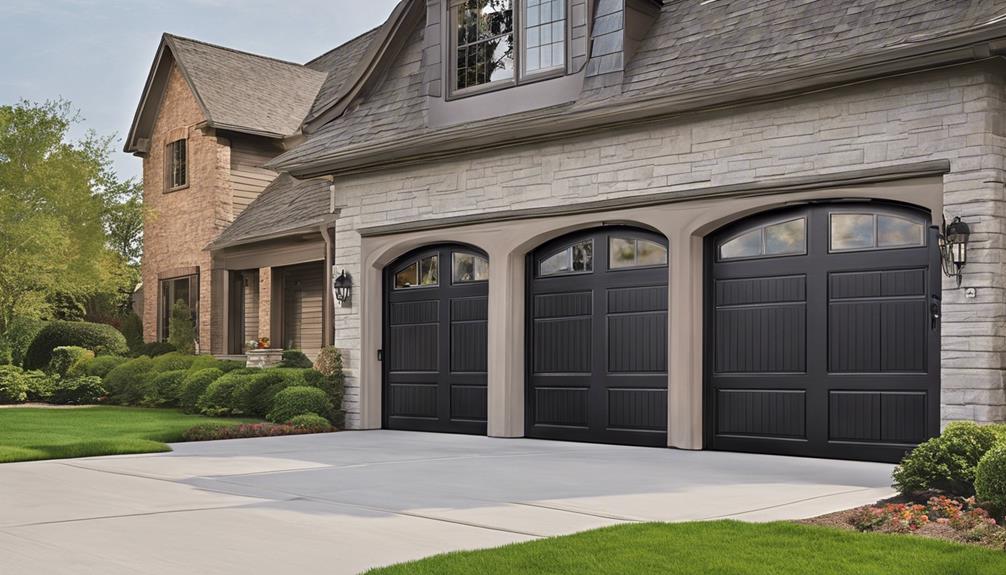
The Genie StealthDrive 7155-TKV excels in providing peace of mind with its robust battery backup system, ensuring uninterrupted operation even during power failures.
This feature is crucial for maintaining access to the garage and securing your property at all times.
With the StealthDrive's reliable performance and advanced technology, homeowners can trust in its ability to deliver consistent functionality when needed most.
Battery Backup Benefits
Our top choice for the best battery back-up garage door opener is the Genie StealthDrive 7155-TKV, known for its reliable 50-cycle power supply during outages, ensuring uninterrupted operation. This opener offers a 1 1/4 HPc DC motor, providing robust power even in emergencies. The inclusion of the Safe-t-beam system enhances safety by preventing accidents or door blockages. Additionally, Genie provides a lifetime warranty for the motor and belt, guaranteeing long-lasting performance and durability. With the battery backup feature, users can enjoy peace of mind during power outages, as the Genie StealthDrive 7155-TKV continues to operate seamlessly. Below is a table summarizing the key features of the Genie StealthDrive 7155-TKV:
| Feature | Description |
|---|---|
| Motor | 1 1/4 HPc DC |
| Safety System | Safe-t-beam |
| Warranty | Lifetime on motor and belt |
StealthDrive Performance
With its advanced Aladdin Connect technology, the Genie StealthDrive 7155-TKV ensures optimal performance and seamless operation for users. This belt-drive garage door opener offers ultra-quiet operation powered by a 1 1/4 HPc DC motor, delivering smooth functionality. Users can conveniently control the opener through their smartphones, adding a modern touch to garage door operation.
Additionally, the 50-cycle battery back-up system ensures that the opener functions even during power outages, providing continuous access. The inclusion of the Safe-T-Beam system enhances safety measures, giving users peace of mind. Moreover, the Genie StealthDrive 7155-TKV comes with a lifetime warranty on the motor and belt, guaranteeing long-lasting reliability.
Craftsman CMXEOCG572 Best Mid-Range
Craftsman CMXEOCG572 excels as a mid-range belt garage door opener with its reliable performance and essential safety features. Equipped with a ½ HP motor, this opener ensures smooth operation for standard garage doors. The inclusion of safety sensors enhances security by detecting obstructions and preventing accidents.
In case of emergencies, the built-in emergency release feature allows for manual operation. Crafted with durable materials, the Craftsman CMXEOCG572 offers a cost-effective solution without compromising on quality. It strikes a balance between affordability and functionality, making it an appealing choice for those seeking a dependable garage door opener.
The basic yet crucial features it provides cater to the needs of users looking for essential functions at a reasonable price point. For individuals prioritizing reliable performance and safety in a mid-range option, the Craftsman CMXEOCG572 stands out as a practical and efficient choice.
Raynor Airman II Best Budget
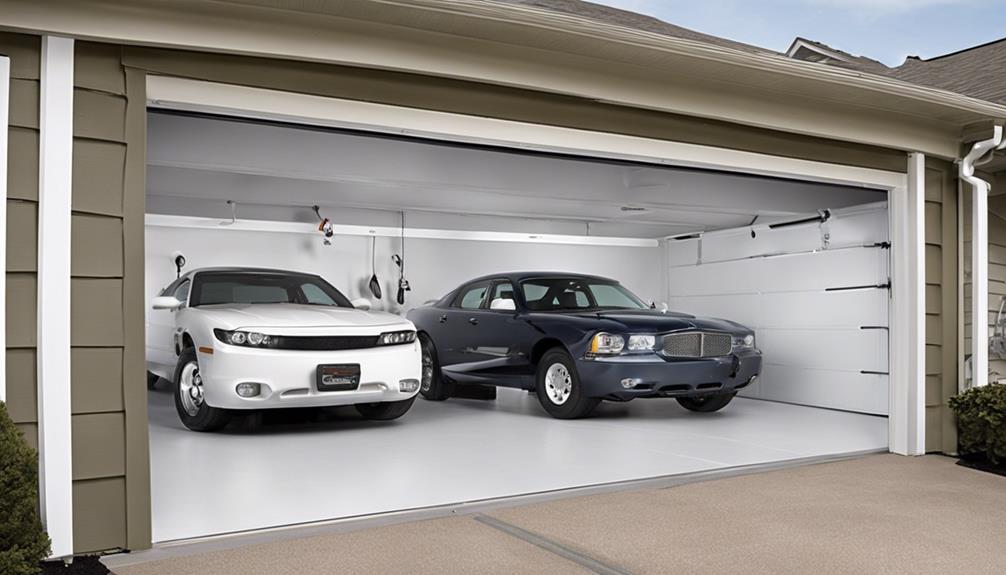
The Raynor Airman II, a budget-friendly garage door opener, features an energy-efficient AC motor rated at 1/2 HP. This model is designed to provide a smooth and reliable operation for your garage door while keeping costs down. Here are some key features that make the Raynor Airman II stand out:
- Energy Efficiency: The AC motor in the Raynor Airman II isn't only budget-friendly but also energy-efficient, helping you save on electricity bills in the long run.
- Security Package: The included security package ensures that each time you open the garage door, new codes are generated, enhancing the overall security of your home.
- Peace of Mind: With safety features like surge protection and emergency release, the Raynor Airman II prioritizes your peace of mind, keeping you and your family safe at all times.
In addition to these features, the Raynor Airman II comes with a 4-year warranty on the motor and a 1-year warranty on parts, providing you with added assurance and confidence in your purchase.
Marantec Synergy 370 Best Reliability
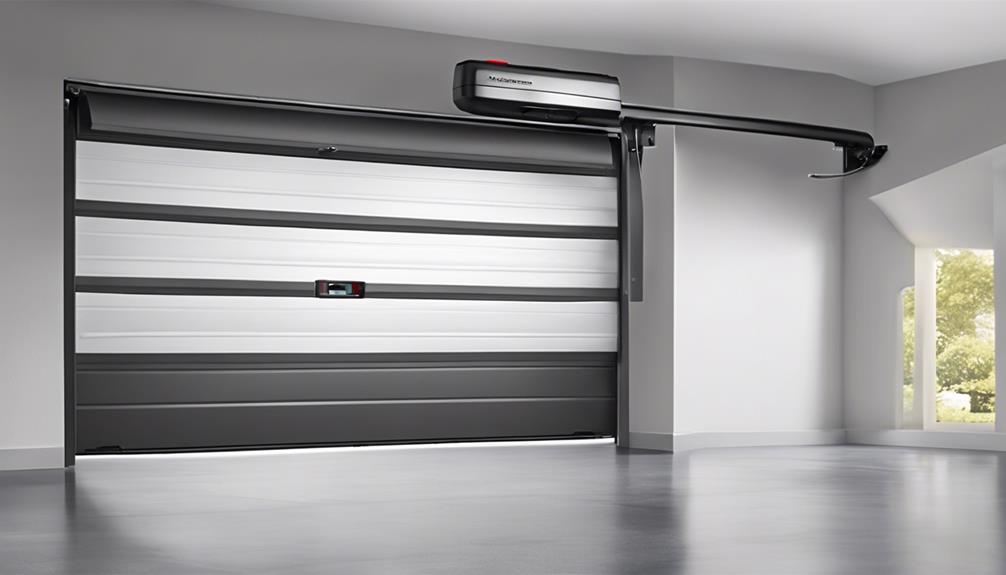
The Marantec Synergy 370 boasts exceptional reliability due to its robust design and high-quality components.
Installing the Synergy 370 is straightforward, thanks to its user-friendly features and clear instructions.
This garage door opener is compatible with a wide range of doors, making it a versatile and dependable choice for homeowners.
Reliability of Marantec
With exceptional reliability and durability, the Marantec Synergy 370 stands out as a top performer among garage door openers. Users rely on its consistent operation and long-lasting performance, making it a trustworthy choice for those seeking a dependable belt garage door opener.
The Marantec Synergy 370 is designed to provide smooth operation without compromising on durability. Its reputation for trouble-free functionality sets it apart in the market, ensuring a hassle-free experience for homeowners.
- Known for exceptional reliability and durability
- Offers consistent and trouble-free operation
- Minimal maintenance requirements for long-lasting performance
Installation Process Simplicity
Upon unpacking the Marantec Synergy 370 garage door opener, users will immediately appreciate its user-friendly design and straightforward installation process. The ease of setup is enhanced by features such as pre-programmed remotes and clear, step-by-step instructions that simplify the installation process.
Whether you're a seasoned DIY enthusiast or a novice, the intuitive design of the Marantec Synergy 370 caters to users of all skill levels, ensuring a hassle-free installation experience. Its versatility shines through in its compatibility with various garage door types, making it a reliable and convenient choice for different setups.
Trust in the Marantec Synergy 370 for a smooth installation process that guarantees long-lasting, dependable performance.
Compatibility With Most Doors
Unpacking the Marantec Synergy 370 garage door opener reveals its exceptional compatibility with a wide array of garage door types and sizes. This Belt Drive Garage opener boasts a powerful DC motor that ensures reliable performance, making it suitable for various garage door materials like steel, aluminum, and wood. Additionally, the Synergy 370 comes equipped with advanced safety features, prioritizing user protection and preventing damage to the door during operation.
- Compatible with a wide range of garage door types
- Powerful DC motor for reliable performance
- Advanced safety features for user and door protection
LiftMaster 8500 Elite Series
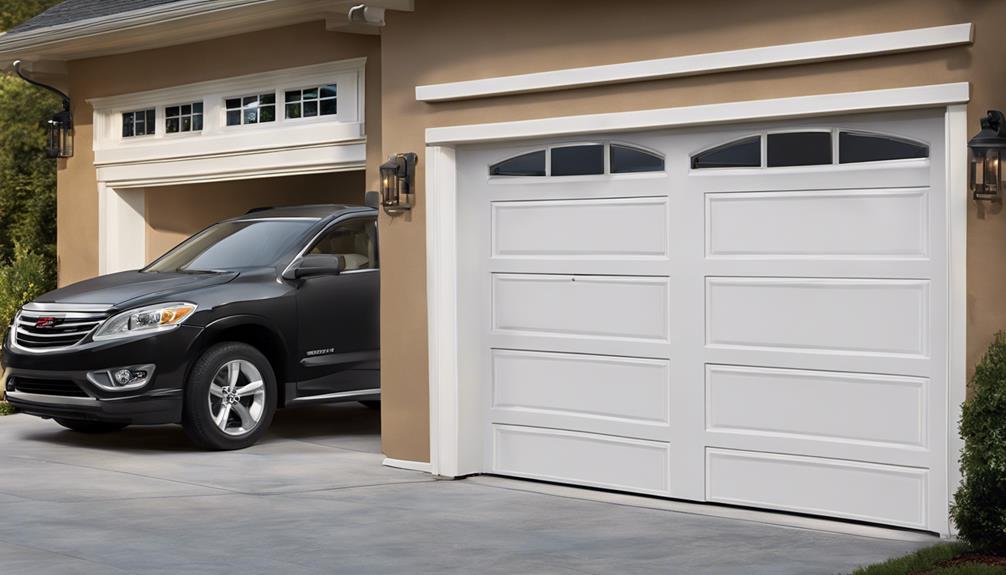
The LiftMaster 8500 Elite Series wall-mounted garage door opener offers a space-saving solution with its quiet operation and advanced security features. This opener is specifically designed for heavy garage doors, ensuring smooth and efficient operation. The quiet functionality is ideal for noise-sensitive environments, providing a soft open and close mechanism. Additionally, the deadbolt locking system enhances security, giving you peace of mind. With smartphone controls, you can conveniently operate your garage door from anywhere, adding a layer of convenience to your daily routine. The built-in battery backup feature ensures that you can still operate your garage door even during power outages, eliminating any disruptions to your schedule.
| Feature | Description |
|---|---|
| Quiet Operation | Soft open/close function for noise-sensitive areas |
| Heavy Doors | Specifically designed for heavy garage doors for efficient performance |
| Advanced Security | Deadbolt locking system for enhanced security |
Chamberlain B730 Ultra-Quiet Belt Drive Garage Door Opener
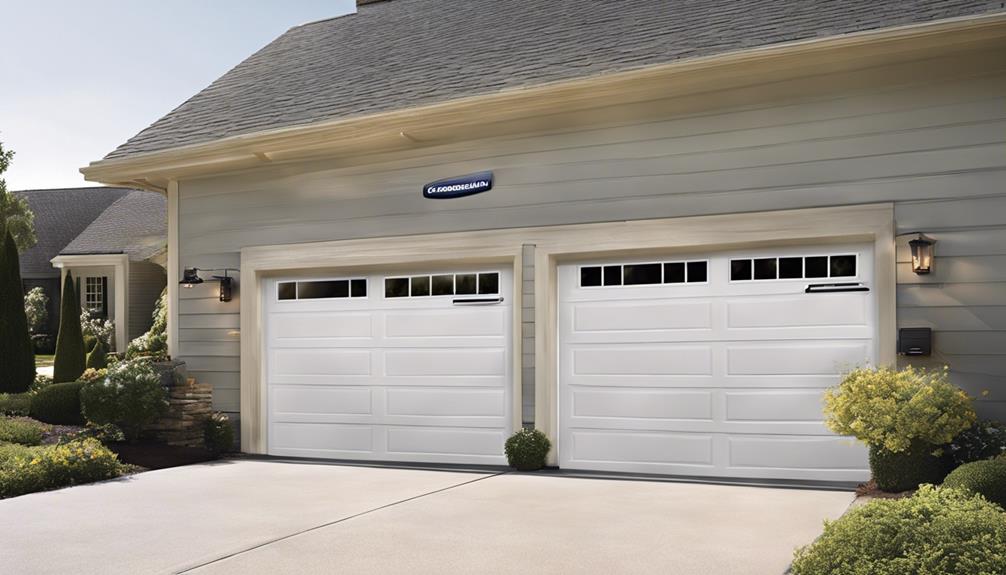
Nearing installation, homeowners can anticipate a seamless transition to quiet, efficient garage door operation with the Chamberlain B730 Ultra-Quiet Belt Drive Garage Door Opener. This opener boasts a powerful 3/4 HP motor that ensures smooth performance every time. Here are some key features of the Chamberlain B730:
- Quiet Performance: Designed for noise-sensitive environments, this opener operates quietly, providing peace of mind.
- MyQ Technology: With built-in MyQ technology, homeowners can conveniently control and monitor their garage door from their smartphones.
- Maximum Lifting Capacity: The Chamberlain B730 can lift up to 550 pounds, making it suitable for most standard garage doors.
The reliable belt drive system of the Chamberlain B730 guarantees not only quiet operation but also efficiency. Homeowners looking for a garage door opener that combines power, quietness, and smart technology will find the Chamberlain B730 an excellent choice for their needs.
Genie SilentMax 1200 Garage Door Opener
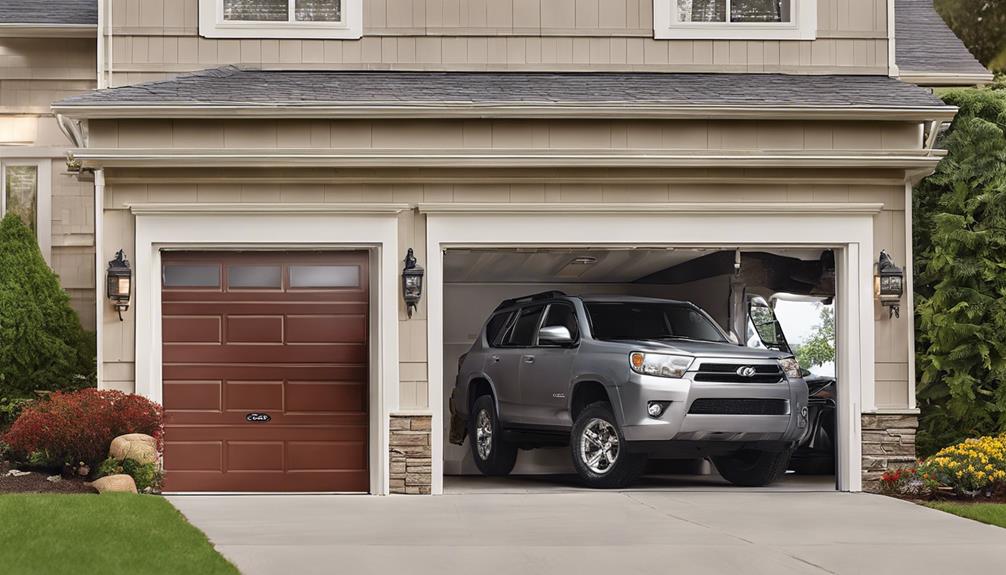
Featuring a powerful 140V DC motor, the Genie SilentMax 1200 Garage Door Opener ensures smooth and reliable operation with its belt drive system designed to minimize noise and vibrations.
With a lifting force capacity of 1 1/4 HP, this opener can effortlessly handle standard garage doors while providing quiet performance.
The inclusion of Intellicode technology enhances security by offering secure access to your garage.
The Genie SilentMax 1200 also prioritizes convenience, coming with two pre-programmed 3-button remotes for easy operation.
Whether you're arriving home late at night or leaving early in the morning, the quiet operation of this garage door opener won't disturb your household or neighbors.
Enjoy the liberation of a smoothly functioning garage door opener that combines power, reliability, and security, all while keeping noise levels to a minimum.
SOMMER Direct Drive 1042V001 Quiet Garage Door Opener
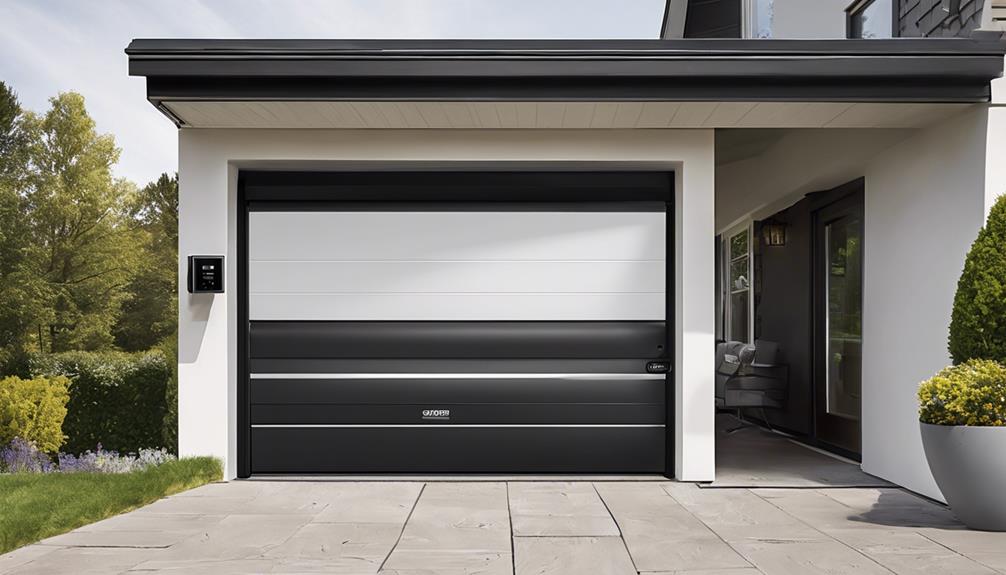
Continuing our exploration of quiet garage door openers, let's now turn our attention to the SOMMER Direct Drive 1042V001, a German-engineered system known for its reliable performance and innovative features. This quiet garage door opener boasts a German-made DC motor with ¾ HP, ensuring long-lasting and efficient operation. The inclusion of LED lighting not only illuminates your garage but also adds a touch of modernity to the system. Additionally, the automatic soft start/stop function guarantees a smooth and quiet door operation, reducing noise and enhancing user experience.
- German-made DC motor for reliable performance
- LED lighting for illumination
- Soft start/stop function for quiet operation
Moreover, the SOMMER Direct Drive 1042V001 comes equipped with safety sensors, 2 remotes, a wall button, and a 7-foot door rail for added convenience. Buyers can rest assured with warranties that cover the motor, gears, rail assembly for a limited lifetime, parts for 8 years, and the LED lighting system for 5 years. This comprehensive coverage provides peace of mind and demonstrates the manufacturer's confidence in their product.
Decko 24300 Silent Belt Drive Garage Door Opener
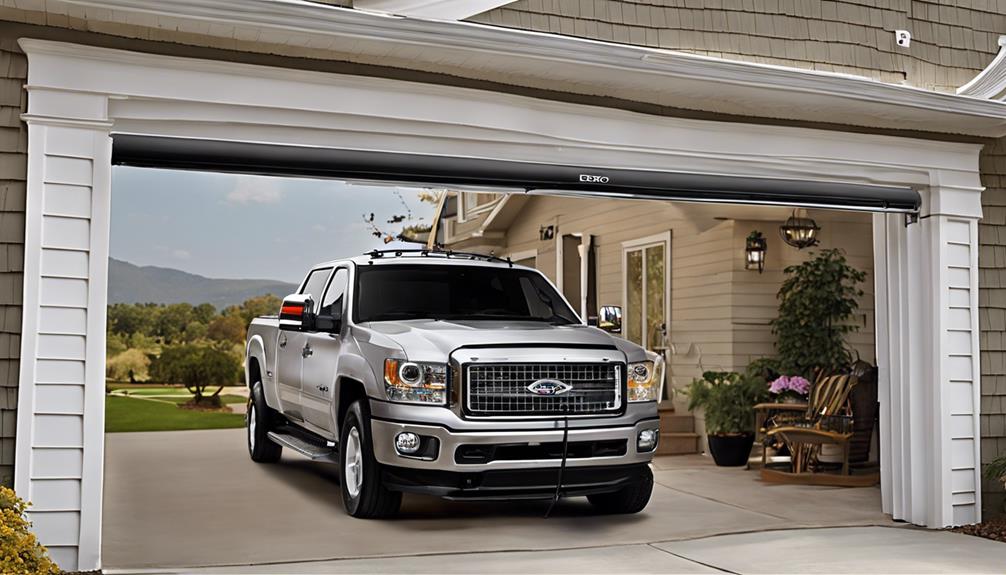
The Decko 24300 Silent Belt Drive Garage Door Opener incorporates a belt drive mechanism to ensure a quiet and smooth operation for homeowners seeking reliable performance and value. This opener offers a balance of functionality and affordability, making it an excellent choice for those looking for a belt-driven garage door opener. Designed for easy installation and user-friendly operation, the Decko 24300 provides a seamless experience for users. Its quiet operation ensures minimal noise disruptions, while its smooth performance guarantees efficient functionality. Here is a breakdown of some key features of the Decko 24300 Silent Belt Drive Garage Door Opener:
| Feature | Description |
|---|---|
| Drive Mechanism | Belt Drive |
| Noise Level | Quiet Operation |
| Installation | Easy |
| Price | Affordable Option |
The Decko 24300 is a reliable and cost-effective solution for homeowners seeking a smooth garage door opening experience.
Frequently Asked Questions
What Is the Best Belt Drive Garage Door Opener?
We believe the best belt drive garage door opener combines a powerful motor with advanced features like integrated cameras or battery backup.
Factors such as motor strength, security options, and warranty coverage are crucial in making an informed decision.
What Brand of Garage Door Opener Is the Most Reliable?
We believe LiftMaster stands out as the most reliable brand for garage door openers. Their reputation for durability and quiet operation is unmatched.
LiftMaster offers advanced models with smart technology, ensuring enhanced reliability. Customer reviews and their long-standing presence in the market demonstrate their quality and longevity.
When it comes to reliability, LiftMaster is the symbol of excellence in the garage door opener industry.
How Do I Make My Garage Door Open Smoothly?
To make our garage door open smoothly, we need to:
- Regularly lubricate moving parts
- Check and tighten hardware
- Test safety features like sensors
- Keep tracks clean and aligned
Timely replacement of worn-out parts, such as belts or gears, is crucial to ensure smooth operation. By following these maintenance steps, we can avoid jerky movements and misalignments that may hinder the garage door's opening and closing functions.
What Are the Disadvantages of a Belt Drive Garage Door Opener?
Disadvantages of a belt drive garage door opener include potential belt wear leading to replacements, occasional belt slipping causing operational issues, and higher maintenance requirements compared to other openers.
Heavy garage doors may strain a belt drive opener due to limited lifting power.
While belt drives are quieter and offer smoother operation, these factors contribute to their overall disadvantages, especially when considering long-term upkeep and potential costs.
Conclusion
In conclusion, when it comes to choosing a belt-driven garage door opener, the top ten options provide a reliable and quiet solution for smooth operation.
Remember, 'you get what you pay for' – investing in a high-quality opener like the Chamberlain B6765 will ensure efficient performance and convenience for years to come.
Choose wisely and enjoy the convenience and peace of mind that a top-notch garage door opener can provide.
- About the Author
- Latest Posts
Introducing Ron, the home decor aficionado at ByRetreat, whose passion for creating beautiful and inviting spaces is at the heart of his work. With his deep knowledge of home decor and his innate sense of style, Ron brings a wealth of expertise and a keen eye for detail to the ByRetreat team.
Ron’s love for home decor goes beyond aesthetics; he understands that our surroundings play a significant role in our overall well-being and productivity. With this in mind, Ron is dedicated to transforming remote workspaces into havens of comfort, functionality, and beauty.

Are you exhausted from trying to find room for all your small appliances? Your search ends here – we have the ideal solution for you!
In this article, we will explore 12 clever storage solutions that will help you maximize the space in your kitchen or any other area with compact appliances. From wall-mounted appliance shelves to under cabinet racks, pull-out drawers, and over-the-door organizers, we have got you covered.
These innovative storage solutions are designed to keep your appliances neatly organized and easily accessible, allowing you to make the most of your limited space.
So, let’s dive in and discover the secrets to efficient storage for your compact appliances.
Key Takeaways
- Wall-mounted storage solutions, such as shelves and magnetic storage, are effective for compact appliances.
- Under cabinet storage solutions, like appliance racks, maximize space and keep appliances easily accessible.
- Pull-out storage solutions, such as appliance drawers, provide a convenient way to store and access compact appliances.
- Over-the-door storage solutions, such as appliance organizers, offer additional storage space for compact appliances.
Wall-Mounted Appliance Shelves
We love using wall-mounted appliance shelves to maximize storage space and keep our compact appliances easily accessible. These space-saving cabinet designs are a game-changer for those of us who want to make the most out of our small kitchen areas. By utilizing the vertical wall space, we can free up valuable counter space and keep our appliances within arm’s reach.
Wall-mounted appliance shelves are perfect for storing commonly used appliances such as microwaves, blenders, and toasters. They’re designed to securely hold these appliances while still allowing easy access for everyday use. With adjustable shelves and hooks, we can customize the storage area to fit our specific needs.
Not only do wall-mounted appliance shelves help us keep our countertops clutter-free, but they also add a sleek and modern look to our kitchen. They blend seamlessly with our existing cabinetry and create a clean and organized appearance.
In conclusion, wall-mounted appliance shelves are a practical and efficient solution for maximizing storage space in our small kitchens. They provide a designated area for our compact appliances, allowing us to access them easily while keeping our countertops clear.
Now, let’s move on to the next section and explore the benefits of under cabinet appliance racks.
Under Cabinet Appliance Racks
To further optimize storage space and maintain accessibility, another ingenious solution for compact appliances is the utilization of under cabinet appliance racks. These racks provide a hidden and efficient way to store your appliances, keeping them easily accessible while freeing up valuable counter space.
Here are three reasons why under cabinet appliance racks are a must-have for any kitchen:
- Maximizing Space: With limited counter space, it’s important to make the most of every square inch. Under cabinet appliance racks allow you to store your appliances out of sight, freeing up valuable countertop real estate for meal preparation or other kitchen activities.
- Easy Accessibility: Tired of rummaging through cabinets or cluttered countertops to find the appliance you need? Under cabinet racks keep your appliances organized and easily accessible. With a simple pull or slide, you can retrieve the appliance you need without any hassle.
- Hidden Storage: Under counter appliance storage provides a sleek and clutter-free look to your kitchen. By concealing your appliances behind cabinet doors, you create a clean and streamlined appearance, adding to the overall aesthetics of your space.
With under cabinet appliance racks, you can efficiently store your appliances while keeping them hidden from view. But, if you’re looking for even more convenience and accessibility, let’s explore the next section on pull-out appliance drawers.
Pull-Out Appliance Drawers
Once installed, pull-out appliance drawers offer a convenient and space-saving solution for storing compact appliances in the kitchen. These drawers are designed to be easily accessible, allowing you to effortlessly retrieve and store your appliances without the need for heavy lifting or reaching into deep cabinets.
To give you an idea of the options available, here is a comparison table showcasing some popular pull-out appliance drawers and their features:
| Drawer Model | Mounting Type | Dimensions (in inches) |
|---|---|---|
| Drawer A | Wall mounted | 24 x 15 x 18 |
| Drawer B | Wall mounted | 30 x 15 x 18 |
| Drawer C | Wall mounted | 36 x 15 x 18 |
These drawers can be easily installed on the wall, taking up minimal space and leaving your countertops clutter-free. They come in various sizes to accommodate different appliances and can be customized to suit your specific needs.
Over-The-Door Appliance Organizers
An over-the-door appliance organizer is a convenient storage solution for compact appliances. Here are three reasons why you should consider using one:
- Maximize Space: The over-the-door design allows you to utilize the often overlooked space behind your pantry or cabinet doors. By utilizing vertical storage solutions, you can free up valuable countertop or cabinet space for other items.
- Easy Access: With an over-the-door appliance organizer, you can keep your compact appliances within reach while maintaining a clutter-free countertop. No more digging through cabinets or rearranging items to find what you need. Everything is easily visible and accessible.
- Versatile Storage: These organizers aren’t limited to just kitchen appliances. You can also use them to store cleaning supplies, toiletries, or other small items. The adjustable shelves and pockets make it easy to customize the storage space according to your needs.
By incorporating an over-the-door appliance organizer into your kitchen or pantry, you can make the most of your available space while keeping your compact appliances easily accessible.
Now let’s explore another space-saving solution for storing appliances: magnetic appliance storage solutions.
Magnetic Appliance Storage Solutions
Now, let’s explore how magnetic appliance storage solutions can provide an innovative way to store compact appliances.
Magnetic appliance hooks are small, yet powerful, magnets that can hold various compact appliances securely to the side of your refrigerator or any other magnetic surface. These hooks are versatile and can support the weight of appliances such as toasters, blenders, or even coffee makers. By utilizing the vertical space on your refrigerator, you can free up valuable countertop or cabinet space.

Innovative appliance holders are specifically designed to store and organize compact appliances. These holders come in various forms, including wall-mounted racks or shelves, and are often made of sturdy materials like stainless steel or plastic. They provide a convenient and stylish solution for keeping your appliances neatly stored while still within reach.
Both magnetic appliance hooks and innovative appliance holders offer a practical and efficient storage solution for compact appliances. They allow you to declutter your kitchen countertops, maximize your storage space, and keep your appliances easily accessible whenever you need them.
With these storage solutions, you can create a functional and organized kitchen that promotes efficiency and mastery in your culinary pursuits.
Stackable Appliance Containers
We frequently use stackable appliance containers to efficiently store and organize compact appliances in our kitchen. These containers are designed to maximize space and keep our appliances easily accessible.
Here are three reasons why stackable appliance containers are a great addition to any kitchen:
- Space-saving cabinet designs: Stackable appliance containers are specifically designed to fit neatly into cabinets or on countertops, making the most of limited space in our kitchen. With their slim profiles and stacking capabilities, these containers allow us to organize and store our appliances without cluttering our countertops or taking up valuable cabinet space.
- Easy access and visibility: Stackable appliance containers often feature transparent lids or clear sides, allowing us to easily see the contents inside without having to open each container. This makes it simple to locate the appliance we need, saving us time and frustration when cooking or baking.
- Versatility and adaptability: Stackable appliance containers come in a variety of sizes and shapes, ensuring that we can find the perfect container to fit each appliance. From small containers for handheld mixers to larger ones for blenders or food processors, these containers can accommodate appliances of all sizes. Additionally, their stackable design allows us to customize the arrangement based on our specific needs and available space.
Corner Appliance Storage Units
As we explore clever storage solutions for compact appliances, one option that stands out is utilizing corner appliance storage units. These innovative space-saving solutions are perfect for maximizing the storage potential in your kitchen or any other area where you have limited space.
Corner appliance storage units are designed to fit into the corners of your cabinets or countertops, making use of the often-unused space in these areas. These units typically feature shelves or compartments that can hold appliances such as blenders, toasters, or coffee makers. The shelves are adjustable, allowing you to customize the unit to fit your appliances and maximize storage efficiency. Some units even come with built-in power outlets, making it easier to keep your appliances plugged in and ready to use.
With corner appliance storage units, you can keep your countertop clutter-free and organized. By storing your appliances in these units, you can free up valuable counter space for meal preparation and other activities. You can also easily access your appliances when you need them, as they’ll be conveniently stored in one place.

Appliance Storage Carts
Moving on to the next storage solution, let’s explore the convenience of appliance storage carts. These portable solutions offer multi-functional designs that can greatly enhance the organization and usability of your compact appliances.
Here are three reasons why appliance storage carts are a must-have for any home:
- Versatile Storage Options: Appliance storage carts come with various compartments and shelves, allowing you to store not only your appliances but also their accessories and additional kitchen tools. With designated spaces for each item, you can easily locate and access everything you need while cooking or baking.
- Easy Mobility: One of the key advantages of appliance storage carts is their portability. Equipped with wheels, these carts can be effortlessly moved around your kitchen, enabling you to position your appliances wherever they’re most convenient. Whether you need to create extra counter space or bring your appliances closer to the power source, these carts make it a breeze.
- Multi-Purpose Use: Appliance storage carts aren’t limited to just storing appliances. They can also serve as an additional work surface or a serving station during parties and gatherings. By utilizing their multi-functional capabilities, you can maximize the functionality of your kitchen space.
Appliance storage carts offer a practical and efficient solution for organizing and utilizing your compact appliances. With their portable nature and multi-functional designs, these carts can transform the way you work in your kitchen, making every cooking experience a breeze.
Slim-Profile Appliance Cabinets
When it comes to maximizing small kitchen spaces, slim-profile appliance cabinets are a game-changer.
These space-saving cabinet designs offer efficient organization solutions that help keep your kitchen clutter-free.
With slim-profile appliance cabinets, you can make the most of your available space while still having all your appliances easily accessible.
Space-Saving Cabinet Designs
To maximize space in your kitchen, we recommend incorporating space-saving cabinet designs, specifically slim-profile appliance cabinets. These innovative storage solutions are perfect for compact kitchens where every inch counts. Here are three reasons why you should consider slim-profile appliance cabinets:
- Optimal Use of Vertical Space: Slim-profile cabinets are designed to make the most of your kitchen’s vertical space. They’re taller and narrower than traditional cabinets, allowing you to store more items without taking up valuable floor space.
- Customizable Storage Options: These cabinets come with adjustable shelves and dividers, making it easy to create a storage system that fits your needs. Whether you need space for spices, canned goods, or baking supplies, slim-profile cabinets can be customized to accommodate your pantry items.
- Streamlined Aesthetic: Slim-profile appliance cabinets have a sleek and modern look that adds a touch of sophistication to your kitchen. They create a clean and organized appearance, giving your kitchen a polished and professional feel.
Efficient Organization Solutions
In addition to their space-saving design, slim-profile appliance cabinets also offer efficient organization solutions for compact kitchens. These cabinets are specifically designed to maximize storage space and keep everything organized and easily accessible. With their narrow profile, they can fit into tight spaces and make the most out of every inch of your kitchen.
One of the key features of slim-profile appliance cabinets is their efficient storage solutions. They often come with built-in shelves, drawers, and compartments that allow you to neatly store your appliances, utensils, and other kitchen essentials. These cabinets can also include adjustable shelving, allowing you to customize the storage space according to your needs.
Furthermore, these cabinets offer space-saving organization. They can be installed in strategic locations, such as next to the refrigerator or oven, making it convenient to access your appliances while cooking. Additionally, their sleek design adds a stylish touch to your kitchen while optimizing functionality.
Maximizing Small Kitchen Spaces
One key way to maximize small kitchen spaces is by utilizing slim-profile appliance cabinets. These cabinets are designed to fit seamlessly into compact kitchens, providing storage solutions that optimize both functionality and space.
Here are three creative ways to make the most of your small kitchen:
- Utilize vertical space: Install slim-profile appliance cabinets that extend from floor to ceiling. This allows you to maximize storage space without sacrificing valuable square footage.
- Incorporate creative shelving ideas: Opt for adjustable shelves or pull-out shelves to customize your cabinet space. This allows you to efficiently store and access items of various sizes, making the most of every inch.
- Opt for multi-functional cabinets: Choose slim-profile appliance cabinets that serve multiple purposes. For example, you can find cabinets with built-in spice racks or pull-out cutting boards, maximizing functionality while minimizing clutter.
By implementing these strategies, you can create a compact kitchen that feels spacious and organized.
Now, let’s explore another clever storage solution: appliance storage baskets.
Appliance Storage Baskets
We use appliance storage baskets to keep our compact appliances organized and easily accessible. These baskets are a practical solution for storing appliances such as toasters, blenders, and coffee makers. Appliance storage bins come in various sizes and designs, allowing us to choose the one that best fits our kitchen space and aesthetic preferences. These bins are typically made of durable materials such as plastic or metal, ensuring that they can withstand the weight and frequent use of our appliances.
Countertop appliance caddies are another option for organizing our compact appliances. These caddies have compartments and shelves that can hold multiple appliances, making it easy to keep everything in one place. They’re also designed to provide easy access to our appliances, allowing us to quickly grab what we need without having to search through cabinets or cluttered countertops.

Appliance Storage Hooks
Appliance storage hooks provide efficient hanging options for compact appliances, allowing us to maximize space in our kitchens.
These space-saving hooks offer practical storage solutions, keeping our appliances easily accessible while freeing up valuable countertop or cabinet space.
With appliance storage hooks, we can keep our kitchen organized and clutter-free, making our cooking and meal preparation experience more efficient and enjoyable.
Efficient Hanging Options
There are several efficient hanging options available for storing compact appliances, including appliance storage hooks. These space-saving hanging solutions offer innovative appliance storage ideas that can help maximize the use of your limited kitchen space.
Here are three options to consider:
- Magnetic hooks: These hooks can be attached to the side of your refrigerator or any other magnetic surface, allowing you to hang small appliances such as can openers or measuring spoons within easy reach.
- Over-the-door hooks: These hooks can be placed over the top of your cabinet doors, providing a convenient spot to hang lightweight appliances like hand mixers or small blenders. This keeps them off the countertop and frees up valuable workspace.
- Wall-mounted hooks: By attaching hooks to your kitchen walls, you can hang larger appliances like slow cookers or toaster ovens. This not only keeps them organized but also ensures they’re easily accessible whenever you need them.
With these efficient hanging options, you can make the most of your compact kitchen and keep your appliances neatly stored and within arm’s reach.
Space-Saving Appliance Hooks
To make the most of your compact kitchen and keep your appliances neatly stored, consider using space-saving appliance hooks. These innovative hooks provide efficient hanging options for your appliances, helping you save valuable counter and cabinet space.
With appliance hooks, you can easily hang your blender, toaster, or even your coffee maker, keeping them within reach while freeing up your countertops. These hooks are designed to securely hold your appliances in place, ensuring they stay stable and safe.

They’re also versatile and can be installed on walls or inside cabinet doors, allowing you to customize your storage solution based on your kitchen layout.
Practical Storage Solutions
When it comes to practical storage solutions for compact appliances, one option to consider is utilizing appliance storage hooks. These hooks are a simple yet effective way to keep your appliances organized and easily accessible.
Here are three reasons why appliance storage hooks are a practical choice for practical organization:
- Space-saving: By hanging your appliances on hooks, you can free up valuable countertop or cabinet space. This allows you to maximize the use of your kitchen area and keep it clutter-free.
- Easy access: With appliance storage hooks, you can conveniently hang your appliances within reach. This eliminates the need to dig through drawers or cabinets, saving you time and effort when you need to use your appliances.
- Versatility: Appliance storage hooks can be used for a variety of compact appliances, such as blenders, toasters, or even small kitchen gadgets. They provide a flexible storage solution that can adapt to your changing needs.
Appliance Storage Racks
We found an ingenious solution for compact appliances: appliance storage racks. These racks are a creative storage solution that can help maximize space in your kitchen or any other area where you store your appliances.
Appliance storage racks are designed to hold multiple appliances in a compact and organized manner. They typically feature multiple shelves or compartments, allowing you to stack and store your appliances vertically. This not only saves valuable counter space but also makes it easier to access and retrieve your appliances when needed.
Appliance storage racks come in various sizes and designs, catering to different needs and preferences. Some racks are designed specifically for smaller appliances like toasters and blenders, while others can accommodate larger appliances such as mixers and food processors. Additionally, some racks are designed to be wall-mounted, further maximizing space in your kitchen.
When choosing an appliance storage rack, consider the size and weight of your appliances, as well as the available space in your kitchen. Look for racks that are sturdy and durable to ensure your appliances are securely stored. You may also want to consider racks with adjustable shelves or compartments, allowing you to customize the storage space according to your needs.
Frequently Asked Questions
How Do I Choose the Right Size Wall-Mounted Appliance Shelf for My Compact Appliances?
When choosing a wall-mounted appliance shelf for compact appliances, there are a few factors to consider.

First, think about the size of your appliances and make sure the shelf can accommodate them.
Look for space-saving alternatives that maximize storage without taking up too much room.
Consider the weight capacity of the shelf to ensure it can handle the appliances.
Lastly, make sure the shelf is easy to install and securely mount to the wall.
Can Under Cabinet Appliance Racks Hold Heavy Appliances Securely?
Can under cabinet appliance racks hold heavy appliances securely? Absolutely!
When it comes to safety considerations, under cabinet appliance racks are designed to handle the weight of heavy appliances without compromising stability.
However, if you’re still concerned, there are alternative options available. Consider installing a sturdy wall-mounted shelf or a freestanding storage unit specifically designed for heavy appliances.
These alternatives provide added peace of mind while maximizing your storage space.
Always prioritize safety when it comes to storing your compact appliances.
Are Pull-Out Appliance Drawers Compatible With All Types of Appliances?
Pull-out appliance drawers have their pros and cons. On the positive side, they provide easy access to compact appliances, making them convenient to use. However, they may not be compatible with all types of appliances due to size or weight restrictions.
Alternatives to pull-out drawers for compact appliances include under cabinet appliance racks or wall-mounted shelves. These options can also provide efficient storage solutions while ensuring the compatibility of different appliances.
Can Over-The-Door Appliance Organizers Be Easily Installed Without Any Tools?
Over-the-door appliance organizers can be easily installed without any tools, making them a convenient storage solution.
However, there are pros and cons to consider. On the positive side, they maximize space and keep appliances easily accessible.
On the downside, they may not be as sturdy as other storage options and can potentially damage the door.
Alternatives to over-the-door organizers include pull-out shelves or cabinets specifically designed for appliances.
These alternatives provide more stability and customization options.
Are Magnetic Appliance Storage Solutions Strong Enough to Hold Larger Appliances Securely?
Magnetic appliance storage solutions provide a secure way to hold larger appliances. We’ve found that these solutions are strong enough to support the weight of heavier appliances without any issues.
Additionally, a wall-mounted appliance shelf can also be a practical storage solution for compact appliances. By utilizing these clever storage options, you can maximize your space and keep your appliances organized and easily accessible.
How Can I Use Compact Storage Solutions for Portable Carpet Cleaners?
When looking for efficient and space-saving options for storing portable carpet cleaners, consider compact storage solutions. Wall-mounted shelves or stackable storage bins can help keep portable carpet cleaners organized and easily accessible. Utilizing these compact storage solutions can help maximize space and keep your cleaning equipment in top condition.
Conclusion
In conclusion, these clever storage solutions for compact appliances are like hidden gems in your kitchen. They not only save valuable counter space, but also bring a sense of organization and order to your cooking area.
With these storage options, you can easily access your appliances whenever you need them, while keeping them neatly tucked away when not in use. Say goodbye to clutter and hello to a more efficient and stylish kitchen!
- About the Author
- Latest Posts
Introducing Charles, the Editor in Chief at ByRetreat, whose passion for interior design and editorial excellence elevates every remote workspace to new heights. With his keen eye for detail, impeccable taste, and expertise in design, Charles brings a wealth of knowledge and creativity to the ByRetreat team.
As the Editor in Chief of a renowned lifestyle blog, Charles has honed his skills in curating captivating content and staying up-to-date with the latest trends in interior design. His deep understanding of aesthetics and the power of storytelling through design enables him to create remote workspaces that are not only visually stunning but also rich in personality and meaning.
-

 Decor2 weeks ago
Maximalist Decor Explained: Embrace More Style
-

 Vetted3 weeks ago
15 Best Foot Massagers for Neuropathy to Soothe Your Feet and Relieve Discomfort
-

 Vetted3 weeks ago
15 Best Sports Laundry Detergents for Keeping Your Activewear Fresh and Clean
-

 Vetted4 weeks ago
15 Best Tall Toilets for Seniors That Combine Comfort and Safety
-
 Vetted5 days ago
15 Best Cleaners for Fiberglass Showers to Keep Your Bathroom Sparkling Clean
-

 Vetted1 week ago
15 Best Organic Pest Control Solutions for a Naturally Pest-Free Home
-

 Decor3 weeks ago
Where the Wild Things Are Nursery Decor
-

 Architecture Home Styles3 weeks ago
Exploring the Difference Between Traditional and Contemporary Styles


