Halloween Decorations
Step-by-Step DIY Halloween Yard Decorations
Intriguingly transform your yard into a haunted wonderland with these step-by-step DIY Halloween decorations that will leave your guests spellbound.
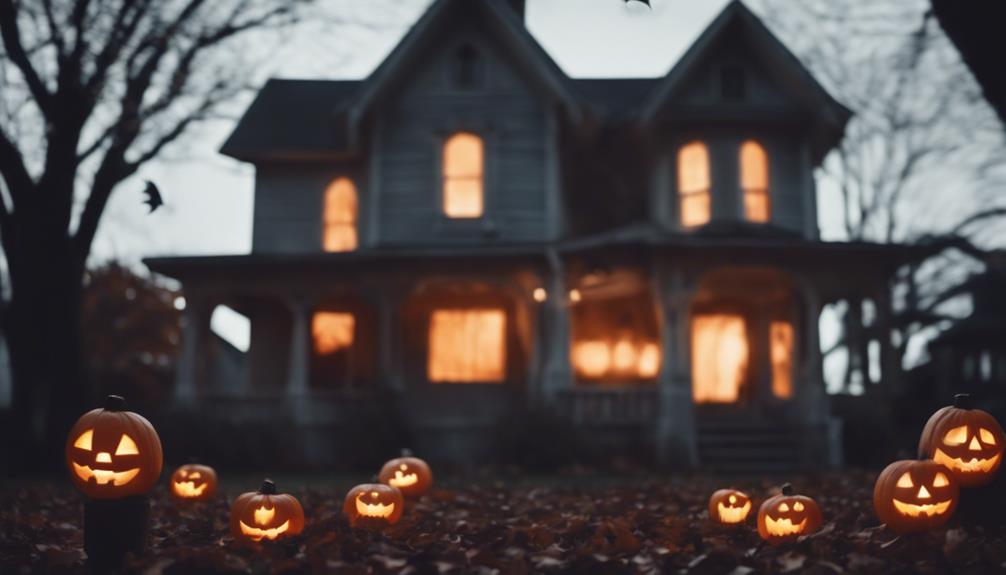
Get ready to spookify your yard with these awesome DIY Halloween decorations! Carve feather patterns on pumpkins using chalk markers for a unique touch. Light up the night with paper bag luminaries filled with sand and tea lights. Craft a monster wreath with colorful yarn pom-poms for a whimsical look. Recycle materials to make eco-friendly monsters that will amaze your neighbors. Spray paint styrofoam pumpkins to create a vibrant arch. Hang eerie lanterns made from glass jars for a ghostly glow. Follow these steps and your yard will be the talk of the town this Halloween!
Key Takeaways
- Use washable chalk markers for carving intricate designs on pumpkins.
- Create a paper bag luminary with white bags, sand, and tea lights.
- Craft a monster wreath with green yarn and yarn pom-poms.
- Recycle materials to make a unique monster project for Halloween.
- Design a spooky spider web using adhesive hooks and layered webs.
Feather Pumpkin Carving
To create stunning Halloween yard decorations, consider using washable chalk markers to carve an elegant feather design on pumpkins. This DIY project allows you to showcase your creativity and add a unique touch to your Halloween decor.
By incorporating carving techniques using Lino Cut tools, you can create a mix of long and short strokes to give your feather design texture and depth. Making the feathers larger will make them more eye-catching and impressive when displayed in your yard.
To make the feathers pop even more, try utilizing recycled magazine paper to add color and contrast to your pumpkin carvings. This fun and budget-friendly activity is a great way to get into the Halloween spirit and impress your neighbors with your innovative decorations.
Paper Bag Luminary Tutorial
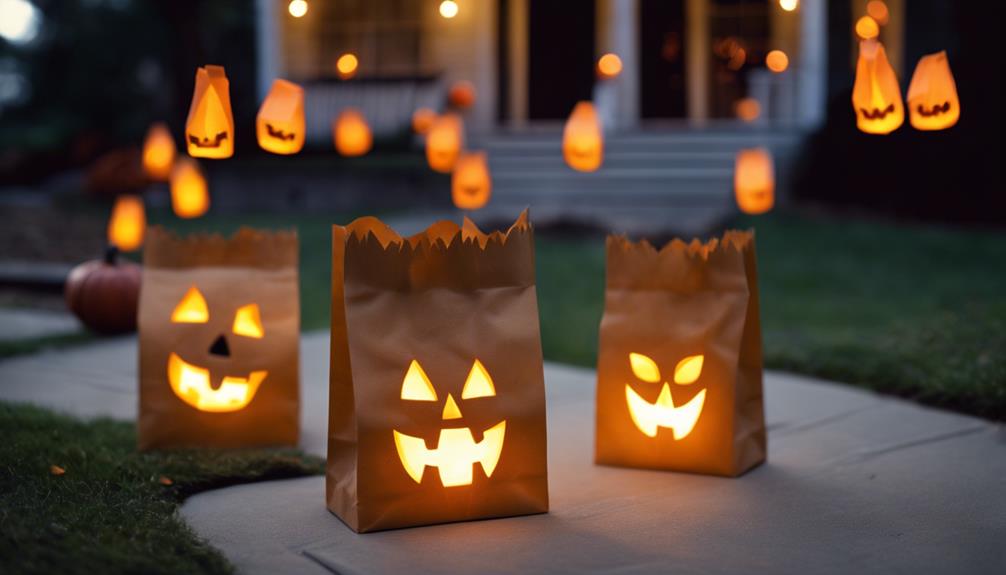
Get ready to illuminate your Halloween night with paper bag luminaries!
Discover how to create these spooky decorations using simple materials like white bags and tea lights.
With step-by-step instructions, creative design ideas, and a touch of Halloween spirit, your yard will be glowing with eerie charm in no time.
Materials Needed
For crafting paper bag luminaries, you will require white bags, sand for stability, and tea lights for illumination. These DIY luminaries are perfect for adding a spooky glow to your outdoor decorations, especially near the front door. To create these Halloween crafts, gather the following materials:
| Materials Needed |
|---|
| White bags |
| Sand |
| Tea lights |
Using these items, you can easily transform your outdoor space into a festive Halloween wonderland. The combination of the white bags and tea lights will provide an eerie yet inviting ambiance to your front yard. Don't forget to fill the bags with sand for stability, ensuring they stay in place throughout the night. Get ready to impress your neighbors with these simple yet effective DIY paper bag luminaries!
Step-by-Step Instructions
After gathering the materials needed for the paper bag luminaries, you can now proceed to creating these spooky but inviting Halloween decorations for your yard. Here's how you can make your own outdoor DIY Halloween decorations:
- Fill the Bags: Start by placing sand in the bottom of each white paper bag to provide stability for your luminaries.
- Add the Light: Place a tea light in the center of the sand-filled bag, ensuring it sits securely.
- Illuminate Your Yard: Once all your luminaries are set up, light the tea lights to create a warm and affordable glow that will make your outdoor space look spooky and inviting.
These simple steps will help you achieve an illuminating and budget-friendly Halloween decor that adds a cozy atmosphere to your yard.
Creative Design Ideas
Wondering how to elevate your paper bag luminary decorations for Halloween this year? Take your DIY Halloween yard decorations to the next level by incorporating creative design ideas.
For a spooky touch, consider placing faux pumpkins around the luminaries on your front porch. This simple addition will enhance the overall Halloween ambiance.
To add a sweet twist, scatter Halloween candy around the luminaries to delight trick-or-treaters. Remember, paper bag luminaries are easy to make – just fill them with sand for stability and place tea lights inside for a warm glow.
These charming decorations are affordable and perfect for creating an eerie atmosphere in your outdoor Halloween display. Embrace the festive spirit and get creative with your paper bag luminaries this Halloween!
Monster Wreath DIY
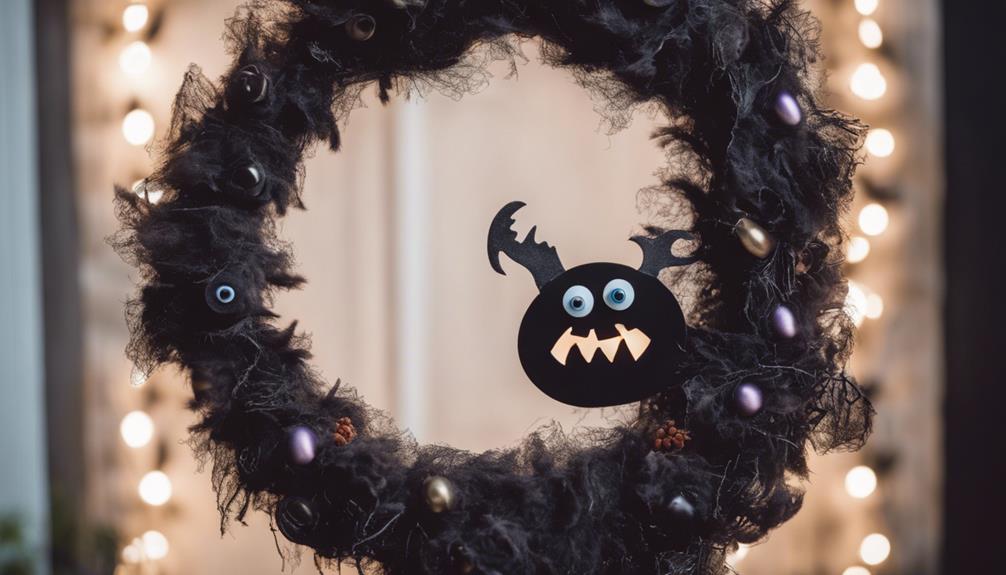
Crafting a monster wreath for Halloween can be a fun and creative way to add a touch of spookiness to your yard decor. To create your own monster wreath, follow these steps:
- Gather Materials: Acquire green yarn, a wreath form, and any other colored yarn you desire for pom-poms.
- Make Yarn Pom-Poms: Use the green yarn to craft pom-poms of various sizes to create monster eyes, teeth, or horns.
- Assemble the Monster Wreath: Attach the yarn pom-poms to the wreath form, forming a whimsical and spooky monster face. Customize the arrangement to suit your Halloween theme and style.
This DIY project offers a fantastic opportunity to express your creativity and decorate your home uniquely for Halloween. By using simple materials and your imagination, you can craft a festive and eye-catching monster wreath that will impress your guests and neighbors. Enjoy the process of transforming a plain wreath form into a charming Halloween monster that adds a delightful touch to your yard decor!
Recycled Materials Monster Project
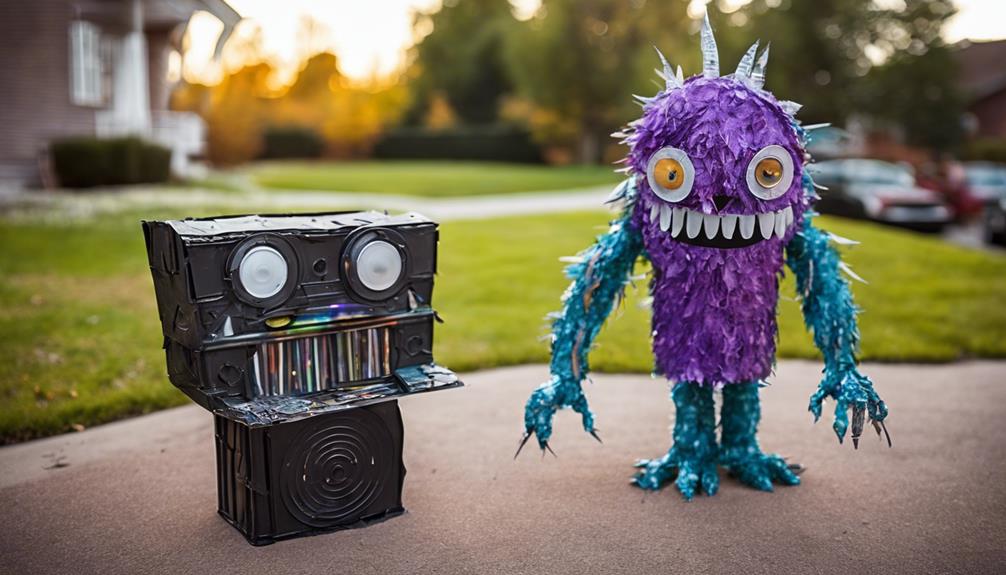
Transform recycled materials into a spooky monster for your Halloween decor by utilizing items like cardboard boxes, plastic bottles, and old fabric. This sustainable DIY project not only reduces waste but also allows you to express your creativity in making a unique outdoor Halloween decoration. Customize your spooky monster by choosing its features and colors to match your Halloween theme perfectly.
To create your recycled materials monster, follow a step-by-step guide that will help you assemble and decorate it with ease. Start by gathering your materials and sketching out your monster's design. Cut and shape the cardboard boxes to form the body and limbs, then attach the plastic bottles for eyes and other details. Use the old fabric to give your monster texture and personality.
With a little imagination and some recycled materials, you can bring a fun and eco-friendly twist to your Halloween decorations this year. Get ready to impress your neighbors with your one-of-a-kind spooky monster!
Pumpkin Arch Creation
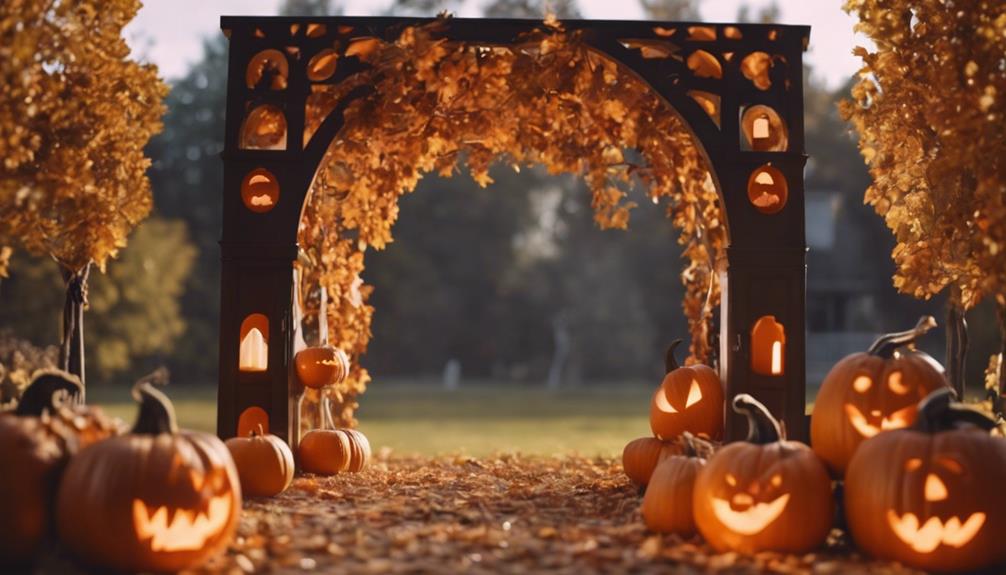
To create a striking Pumpkin Arch for your Halloween yard decor, start by spray painting styrofoam pumpkins in vibrant colors. Here's how to make your DIY pumpkin arch stand out:
- Spray Paint Pumpkins: Choose bright and eye-catching colors like orange, black, or even metallic hues to give your pumpkins a festive look.
- Connect with Wire: Use sturdy wire to connect the pumpkins together, forming an arch shape that will be the centerpiece of your outdoor decoration.
- Customize Your Arch: Get creative with your design by adding embellishments like fake spider webs, spooky spiders, or even LED lights to make your pumpkin arch truly unique.
This Halloween DIY project isn't only easy to make but also allows you to add a playful and colorful touch to your yard decor. The pumpkin arch will help create a festive and whimsical atmosphere, perfect for celebrating the spooky season with style!
Spooky Halloween Yard Lanterns
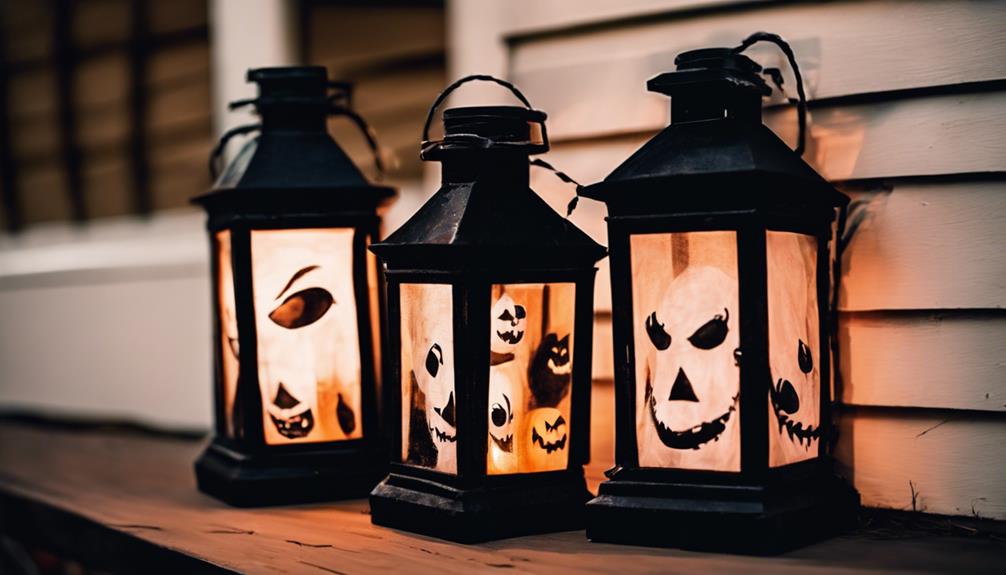
Enhance your Halloween yard decor with a spooky touch by creating eerie glow using lanterns and candles. Line your pathway with glass jars filled with battery-powered tea lights to cast a haunting light along the walk.
Take it up a notch by adding spooky scenes inside the jars to create a silhouette display that will give your yard an extra eerie vibe. If you're feeling crafty, look up tutorials online for making your own spooky lanterns using simple materials like mason jars or old Christmas lanterns that you can repurpose into dark and eerie Halloween decorations.
For a mystical touch, consider placing LED candles inside floating witch hats to add a magical element to your yard. These spooky lantern ideas are sure to impress your Halloween guests and make your yard stand out with its ghostly glow.
Creepy Spider Decor How-To
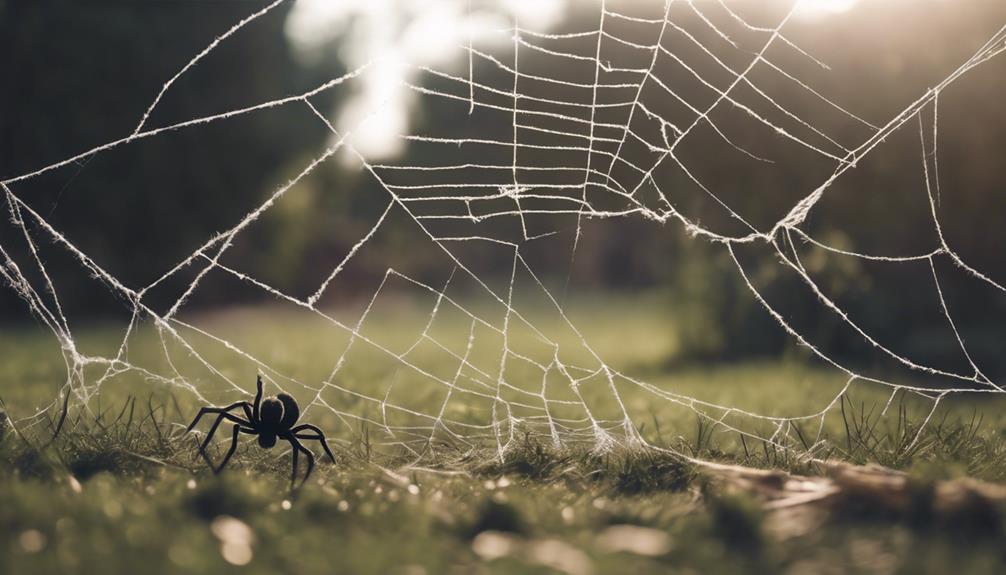
Ready to create some creepy spider decor for your yard?
Let's talk about spider web design, the materials you'll need, and the hanging technique to make these giant spiders almost seven feet across.
Get ready to spook your neighbors and turn your home into a haunted haven this Halloween!
Spider Web Design
Stretch black paper or fabric across your yard to create a spooky spider web design for Halloween. Enhance the eerie effect with fake spiders and consider adding glow-in-the-dark paint or lights for a chilling nighttime display.
Here are three innovative ideas to make your spider web design stand out:
- Adhesive Hooks or Stakes: Use these to secure the web in place and give it a realistic appearance.
- Layered Webs: Create depth by layering different sizes of webs on top of each other for a more intricate look.
- Spider Clusters: Group fake spiders together in clusters on the web to mimic a gathering of creepy crawlies.
This budget-friendly and customizable DIY project will be a spine-chilling addition to your Halloween yard decor.
Materials Needed
To create the creepy spider decorations, gather essential materials such as faux fur, foam tubes, and wire forms for crafting giant Halloween spiders. You'll also need adhesive hooks to hang these spooky arachnids in your yard.
For an extra eerie touch, consider adding faux ravens to your Halloween display using cable ties and black duct tape.
And if you're feeling crafty, head to Lowes for plywood, U-brackets, and plant stakes to create oversized rat outlines. These materials will help you bring your Halloween yard to life with creepy critters and spooky decorations that are sure to impress your neighbors and trick-or-treaters alike.
Hanging Technique
For a secure hanging technique when creating the creepy spider decorations, utilize heavy-gauge wire to craft sturdy hangers that will support the weight of the decorations.
Here are three innovative ways to enhance your front door and porch decorations this Halloween season:
- Shepherds Hooks: Attach your hanging decorations, like spooky spiders, to shepherds hooks for a chilling effect that will captivate your visitors.
- Battery-Powered Candles: Incorporate battery-powered candles into your hanging decor for safe and eerie illumination that adds an extra layer of spookiness.
- Adhesive Hooks: Use adhesive hooks for securely hanging larger decorations such as giant spiders, ensuring they stay in place and create a haunting atmosphere.
Festive Pumpkin Topiary Instructions
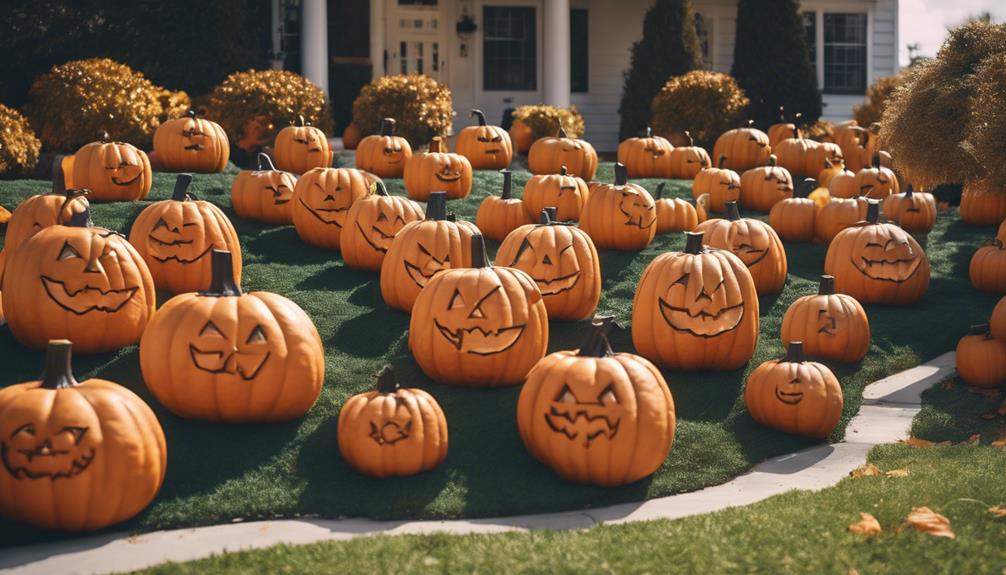
Consider using different-sized faux pumpkins stacked together to craft a charming pumpkin topiary for your Halloween decorations. To begin, gather faux pumpkins in varying sizes to create a visually appealing display. Use a sturdy dowel or rod to secure the pumpkins together, ensuring stability.
Get creative by decorating each pumpkin with unique designs or faces to add charm to your topiary. Once assembled, place your festive pumpkin topiary on your porch or in your yard for a whimsical Halloween touch that will delight trick-or-treaters and guests alike.
Don't be afraid to customize the colors and decorations to match your existing Halloween decor theme, making your display truly unique. By following these simple steps, you can easily elevate your outdoor decor and embrace the spirit of the season with a fun and eye-catching pumpkin topiary.
Frequently Asked Questions
How to Make Halloween Decorations for Your Yard?
To make Halloween decorations for your yard, start by gathering spooky materials like pumpkins, faux fur, and foam tubes. Incorporate elements such as giant spiders, floating witch hats, and milk jug skulls for a terrifying effect.
Use lighting effects and creative touches to enhance the overall Halloween theme. Follow step-by-step guides for unique displays like painted pumpkins and lantern paths.
Get ready to create a chilling ambiance in your yard!
How to Decorate for Halloween on a Budget Outside?
When decorating for Halloween on a budget outside, get creative with DIY projects and look for deals at stores like the Dollar Store. Save money by buying decorations after Halloween for sales. Start setting up your spooky yard displays at the end of September or early October.
For fall decor, begin in late August or early September. Enjoy the process and make your outdoor space frightfully fun without breaking the bank!
How to Decorate Your Garden for Halloween?
To decorate your garden for Halloween, start by setting a spooky ambiance with pumpkins, lanterns, and eerie props. Incorporate lights, spiders, and skulls for a terrifying effect.
Stack pumpkins, add faux ravens, and create unique displays for a festive touch. Personalize your outdoor decor for a memorable Halloween experience.
Engage your creativity and have fun turning your garden into a hauntingly fabulous Halloween haven!
How to Make Ghost for Yard Decoration?
To make a ghost for yard decoration, drape a white sheet or cheesecloth over a wire frame. Add spooky LED lights inside for glowing eyes. Secure the ghost to a tree or post with fishing line to create a floating effect. Customize it with wire arms or unique fabric shapes.
This easy DIY project can add a hauntingly fun element to your Halloween yard display.
Conclusion
So there you have it, your Halloween yard decorations are all set to spook your neighbors!
Who knew that feathers, paper bags, and recycled materials could create such a creepy ambiance?
Don't forget to light up your spooky lanterns and show off your monster wreath with pride.
Your yard will be the talk of the town this Halloween, and all it took was a little creativity and some DIY magic.
Happy haunting!
- About the Author
- Latest Posts
Introducing Ron, the home decor aficionado at ByRetreat, whose passion for creating beautiful and inviting spaces is at the heart of his work. With his deep knowledge of home decor and his innate sense of style, Ron brings a wealth of expertise and a keen eye for detail to the ByRetreat team.
Ron’s love for home decor goes beyond aesthetics; he understands that our surroundings play a significant role in our overall well-being and productivity. With this in mind, Ron is dedicated to transforming remote workspaces into havens of comfort, functionality, and beauty.
Halloween Decorations
Spooktacular Halloween Room Decorations: A DIY Guide
Unleash your creativity with our DIY guide for spine-chilling Halloween room decorations that will transform your home into a haunted masterpiece…
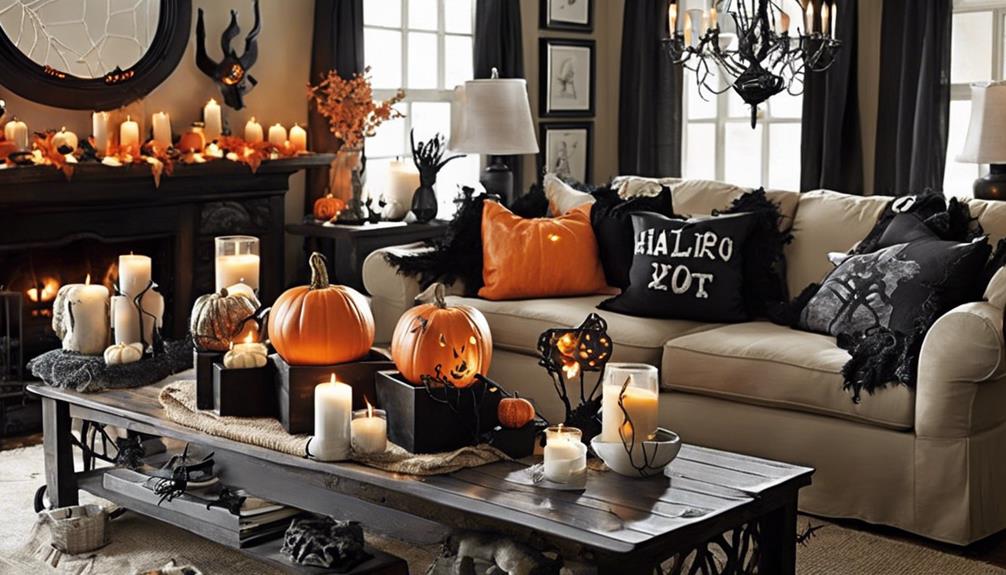
When it comes to creating spine-chilling Halloween ambiance, crafting your own decorations can be as thrilling as unraveling a mystery. From transforming your living room into a haunted mansion to adding a spooky touch to every corner of your home, the possibilities are endless.
By following our DIY guide, you'll discover how simple materials and a dash of creativity can turn your space into a spooktacular spectacle that will leave everyone in awe.
So, are you ready to release your inner Halloween decorator and take your haunted decor to the next level?
Key Takeaways
- Create a bone-chilling haunted mantel display with eerie candles, vintage frames, and skeletal accents.
- Set up spooky table settings featuring creepy crawly decor, dark tableware, and flickering LED candles.
- Install spooky string lights with Halloween shapes for a festive ambiance.
- Craft ghostly wall art using glow-in-the-dark paint and floating display for a haunting effect.
Haunted Mantel Display
For crafting a hauntingly beautiful mantel display, gather black fabric as a backdrop and infuse it with chilling decor elements like fake cobwebs, plastic spiders, eerie candles, DIY potion bottles, old books, vintage frames, Halloween figurines, pumpkin decor, and skeletal accents.
Start by draping the black fabric elegantly across the mantel, creating a mysterious backdrop that sets the stage for your haunting decorations. Scatter fake cobwebs strategically, allowing them to drape over the edges for an eerie effect. Place plastic spiders crawling along the fabric, adding a creepy-crawly touch to the display. Intersperse eerie candles among the decor, casting flickering shadows that dance across the mantel.
DIY potion bottles can be easily crafted using old glass bottles and spooky labels, adding a touch of witchy charm. Arrange old books and vintage frames, creating layers of mystery and history within the display. Complete the look with Halloween figurines, pumpkin decor, and skeletal accents, ensuring a bone-chilling mantel that will captivate all who see it.
Eerie Window Silhouettes
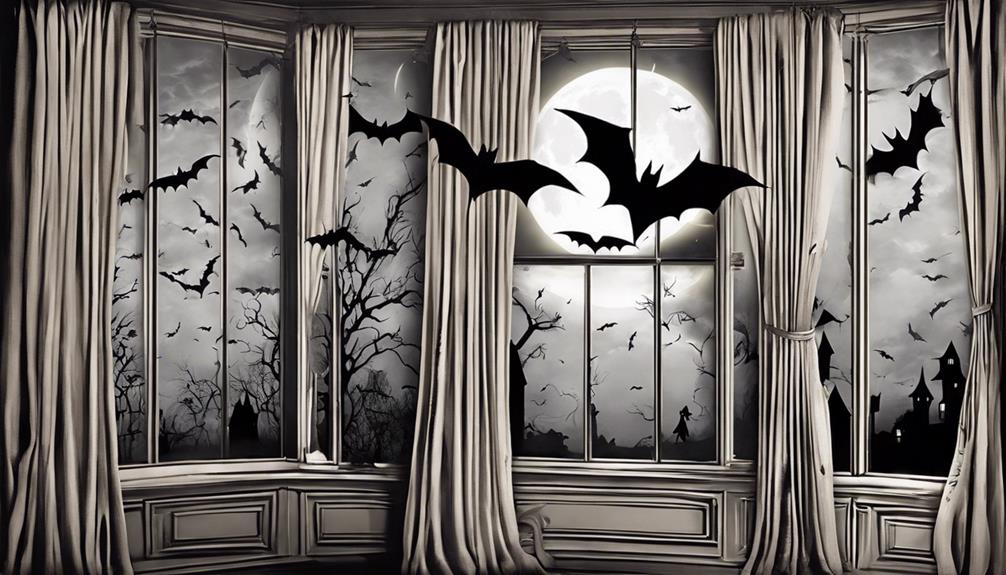
To transform your home into a chilling Halloween spectacle, immerse yourself in the world of eerie window silhouettes, where shadows come alive with haunting shapes and ghostly figures. Window silhouettes offer a simple yet effective way to create spooky scenes by cutting out shapes like bats, ghosts, or witches from black construction paper. Here's how to make the most of this eerie decor:
- Easy Attachment: Utilize double-sided tape or removable adhesive putty to easily attach the silhouettes to your windows for a haunting effect.
- Enhancing Spookiness: Place LED tea lights behind the silhouettes to cast eerie shadows and add a flickering glow, intensifying the overall spookiness of the display.
- Customization: Create different themes by varying the shapes and sizes of the silhouettes; from a graveyard scene with tombstones and skeletons to a witch's coven, the possibilities are endless.
Eerie window silhouettes not only offer a budget-friendly option for Halloween decor but also allow for customization to fit any desired style or level of spookiness.
Creepy Crawly Table Settings
Let's conjure up a hauntingly stylish ambiance with our creepy crawly table settings, setting the stage for a spine-chilling Halloween feast. To create a macabre yet elegant look, start with a black or dark-colored tablecloth as the base of your decor. Enhance the eerie atmosphere by incorporating plastic spiders, spider webs, and insect figurines into the setting.
For a touch of sophistication, opt for dark and eerie plates, cups, and utensils that complement the theme. To add an extra spooky element, consider using flickering LED candles or eerie centerpieces like jars filled with fake bugs. To truly impress your guests, serve Halloween treats in unique and thematic ways such as using skeleton hands or witch's cauldrons as serving dishes.
—
| Creepy Crawly Table Settings | Description |
|---|---|
| Black Tablecloth | Base of the Halloween decor |
| Plastic Spiders | Creepy touch to the setting |
| Dark Tableware | Enhances the spooky atmosphere |
| Flickering LED Candles | Adds an extra eerie effect |
Spooky String Lights Installation
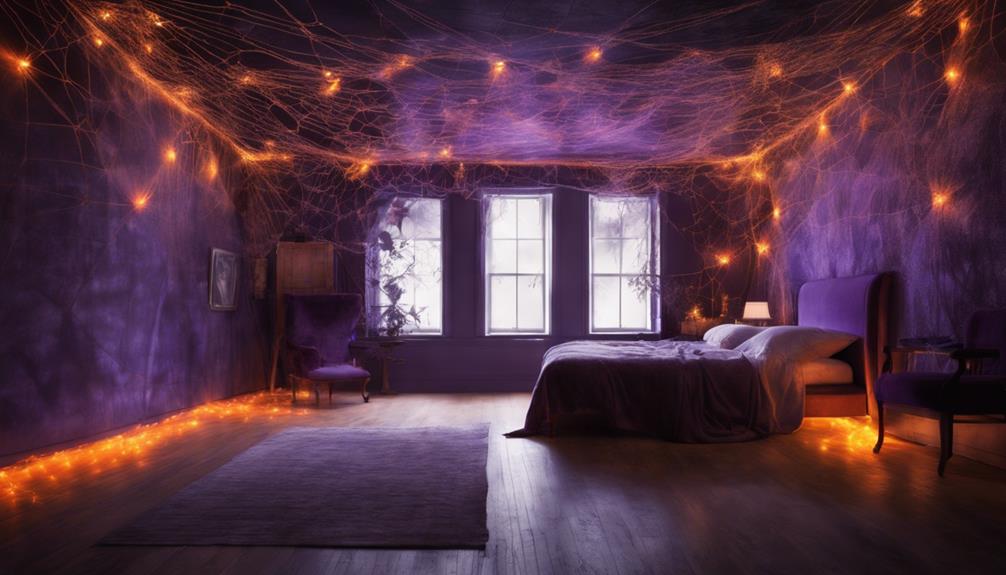
As we initiate on creating an enchantingly eerie atmosphere, the installation of spooky string lights is paramount for infusing our Halloween space with a ghostly glow. To accomplish the perfect ambiance, here are some tips for a spooktacular string light installation:
- Choose Wisely: Opt for string lights adorned with Halloween-themed shapes like pumpkins, bats, or ghosts to add a festive and eerie touch to your decor.
- Measure Carefully: Before hanging the lights, measure the area you plan to adorn to make sure you have enough length for your design, preventing any last-minute mishaps.
- Secure Strategically: Use hooks, adhesive clips, or tape to securely attach the string lights. This not only prevents them from falling but also guarantees they don't tangle, maintaining the spooky allure throughout your space.
Ghostly Wall Art Creation
Infusing our Halloween space with a chilling charm, the creation of ghostly wall art adds a hauntingly delightful dimension to our eerie decor scheme. For this DIY project, start by cutting out ghost shapes of varying sizes from white cardboard or foam board. Once you have your ghostly figures ready, paint them with glow-in-the-dark paint or enhance them with glow sticks for a spine-tingling nighttime effect. To display your ghostly creations, use removable adhesive strips or hooks to avoid damaging your walls. Get creative by adding eyes, mouths, or hands using black paint or markers to give your ghosts personality and charm. Arrange the ghostly wall art in a floating formation for a whimsical and haunting visual impact in your Halloween decor.
| Ghostly Wall Art Creation | Tips & Tricks | Materials Needed |
|---|---|---|
| Cut out ghost shapes | Vary the sizes for a dynamic display | White cardboard or foam board |
| Add glow effects | Use glow-in-the-dark paint or glow sticks for an eerie glow | Glow-in-the-dark paint, glow sticks |
| Personalize your ghosts | Add details like eyes, mouths, and hands for a unique touch | Black paint, markers |
| Display creatively | Arrange in a floating formation for a whimsical and haunting look | Removable adhesive strips, hooks |
Frequently Asked Questions
How Do You Make a Room Look Scary for Halloween?
We make a room look scary for Halloween by hanging creepy cloth drapes, using dim lighting or flickering candles, placing fake cobwebs strategically, adding Halloween-themed props, and playing eerie sound effects. It transforms the space into a haunted house!
How Do I Decorate My Room for Halloween?
We'll transform your room into a Halloween haven by crafting ghostly garlands, eerie spiderweb decals, and glowing jack-o'-lanterns. Engage in DIY projects with cardboard, paint, and glitter for a spooktacular look that won't break the bank.
How to Decorate for Halloween Diy?
To decorate for Halloween DIY, we ignite creativity. Cardboard cutouts, glitter accents, and hot glue magic transform spaces. Bats and pumpkins dance on walls. Mix materials for budget-friendly flair. Our DIY decor sparks festive delight.
How to Decorate Classroom for Halloween Party?
Let's transform our classroom into a spooktacular space for a Halloween party! We'll use DIY decorations like ghost garlands and spiderweb window decals. Safety first with secure setups and flameless candles. Let's create an immersive and interactive experience!
Conclusion
To wrap up, we hope these DIY Halloween decorations have inspired you to transform your space into a spooktacular haunted haven. Remember, safety first when creating your eerie atmosphere!
So grab your cauldron, brew up some creativity, and let your imagination run wild. Don't be a scaredy-cat, immerse yourself in the Halloween spirit and make your decorations boo-tifully terrifying!
- About the Author
- Latest Posts
Introducing Ron, the home decor aficionado at ByRetreat, whose passion for creating beautiful and inviting spaces is at the heart of his work. With his deep knowledge of home decor and his innate sense of style, Ron brings a wealth of expertise and a keen eye for detail to the ByRetreat team.
Ron’s love for home decor goes beyond aesthetics; he understands that our surroundings play a significant role in our overall well-being and productivity. With this in mind, Ron is dedicated to transforming remote workspaces into havens of comfort, functionality, and beauty.
Halloween Decorations
Spooktacular Halloween Spider Decorations
Are you ready to add some spine-tingling spider decorations to your Halloween setup?
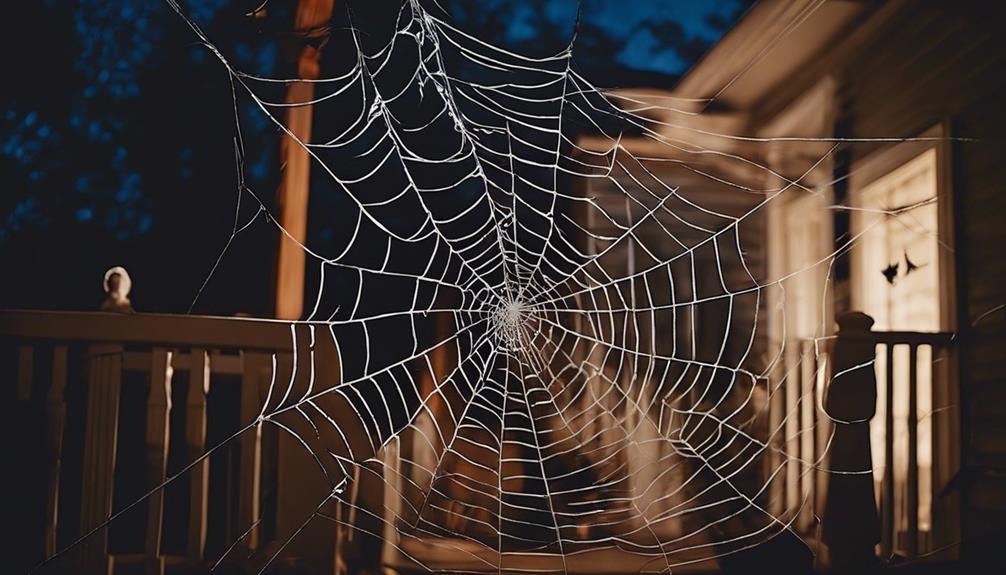
Get ready to spookify your space with hair-raising Halloween spider decorations! Display a Creepy-Crawly Spider Web Wreath with furry spiders on sturdy webs indoors or out. For added chills, try Hanging Spider Silhouettes using printable templates on light materials like cardboard. Place them strategically and experiment with lighting for maximum scare factor. Add elegance with a Glittery Spiderweb Table Runner or craft DIY Spider Egg Sacks for a touch of homemade horror. Impress with a Giant Inflatable Spider that's easy to set up and gets top ratings. Reveal these creepy crawlers for a Halloween setup that will give everyone the creeps!
Key Takeaways
- Creepy-Crawly Spider Web Wreath for indoor/outdoor use.
- Hanging Spider Silhouettes for eerie ambiance.
- Glittery Spiderweb Table Runner for spooky elegance.
- DIY Spider Egg Sacks for homemade creepy decor.
- Giant Inflatable Spider Decoration for a bold statement.
Creepy-Crawly Spider Web Wreath
When preparing for Halloween decorations, consider adding a touch of spookiness with the Creepy-Crawly Spider Web Wreath. This high-quality wreath is designed to give your space a creepy yet stylish look for the season. The realistic appearance of black furry spiders crawling on intricate webs will surely send shivers down your spine. Not only is it perfect for indoor settings, but its durable polyester material also makes it ideal for outdoor displays. Hang it on doors, walls, or windows effortlessly using hooks or adhesive strips for a quick and easy setup that will instantly elevate your Halloween decor.
The Creepy-Crawly Spider Web Wreath is a must-have for anyone looking to create a haunted house or spooky party ambiance. Its vivid design has received positive feedback from customers who appreciate its quality, realistic look, and user-friendly setup. Don't miss out on the chance to add this eerie yet charming wreath to your Halloween decorations this year!
Hanging Spider Silhouettes
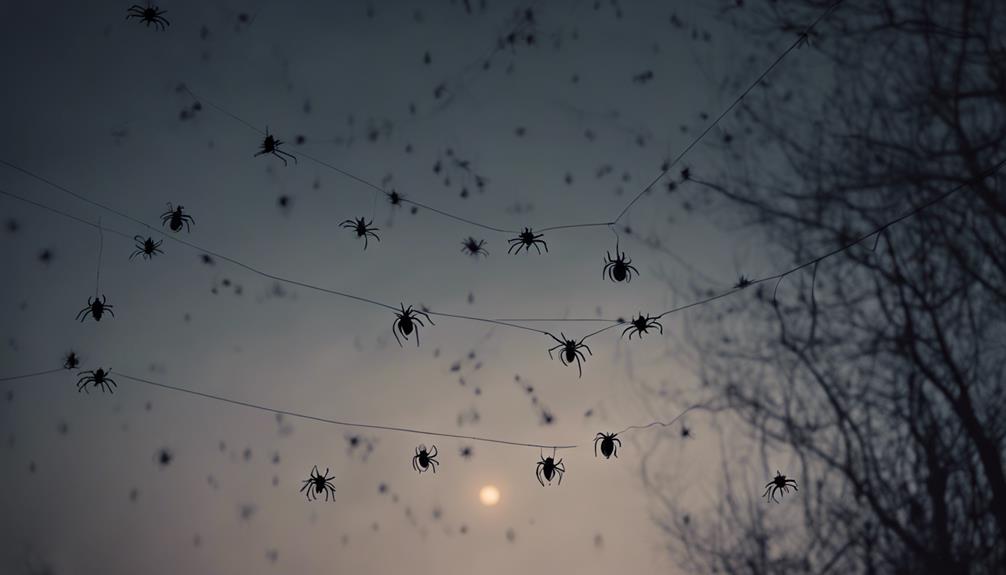
Looking to enhance your Halloween decor? Hanging spider silhouettes are a fantastic choice!
From silhouette design tips to material options and hanging techniques, we've everything you need to create a spooky ambiance this Halloween season.
Get ready to impress your guests with these eerie additions to your indoor or outdoor decorations.
Silhouette Design Tips
Enhance your Halloween decor with chilling hanging spider silhouettes. To achieve the perfect spooky touch, consider using a printable spider template and black paper or cardstock.
Place these eerie silhouettes strategically in windows or on walls for maximum effect. For an extra eerie ambiance, try backlighting or using a spotlight to enhance the shadows cast by the spider silhouettes.
Get creative by experimenting with various sizes and shapes to create a diverse and haunting display that will surely impress your Halloween guests. These simple silhouette design tips can elevate your decorations to a whole new level of fright this Halloween season.
Material Options for Silhouettes
Curious about the best materials for creating hanging spider silhouettes this Halloween?
When it comes to Halloween spider decorations, lightweight materials like cardboard or plastic are ideal for crafting these eerie silhouettes. Whether you plan to use them indoors or outdoors, these materials are easy to work with and perfect for achieving that spooky ambiance.
You can find hanging spider silhouettes in various sizes and designs to suit your preferences and space requirements. Setting them up is a breeze too; simply use hooks, adhesive tabs, or strings for quick and effortless hanging.
Get creative with your decorations this Halloween and add these chilling silhouettes to your spooky setup!
Hanging Techniques for Spiders
When hanging spider silhouettes for Halloween, make sure you secure them using tape, hooks, or pins to create a spooky atmosphere.
For a floating effect, consider using fishing line or invisible thread with your hanging spider decorations.
Position them strategically to surprise and scare guests or trick-or-treaters.
To enhance the chilling effect, combine the hanging spider decorations with dim lighting in your Halloween display.
Experiment with different heights and angles to achieve a dynamic and eerie look.
By incorporating these techniques, you can create a spine-tingling ambiance that will leave everyone in awe of your spooky décor.
Glittery Spiderweb Table Runner
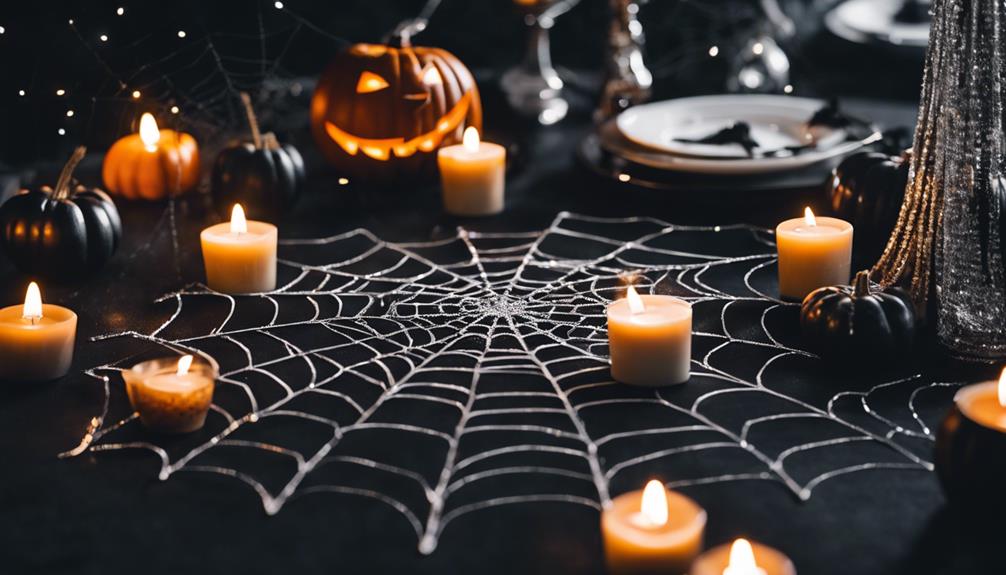
Adding a touch of elegance and spookiness to your Halloween table decorations is the Glittery Spiderweb Table Runner. This festive table runner features a black design with a glittery silver spiderweb pattern, perfect for creating a Halloween-themed atmosphere at your gatherings. Made of high-quality material, this table runner isn't only durable but also easy to clean, allowing you to reuse it for many Halloweens to come. Measuring approximately 72 inches long, it fits most standard tables, making it a versatile decoration option.
Whether you're hosting a Halloween party or a spooky dinner, the Glittery Spiderweb Table Runner is sure to enhance the festive vibe of your event. Its unique design adds a pop of excitement to your table setting, setting the stage for a memorable Halloween celebration. So, why not add this eye-catching and stylish table runner to your Halloween decorations this year and impress your guests with your attention to detail and creativity?
DIY Spider Egg Sacks
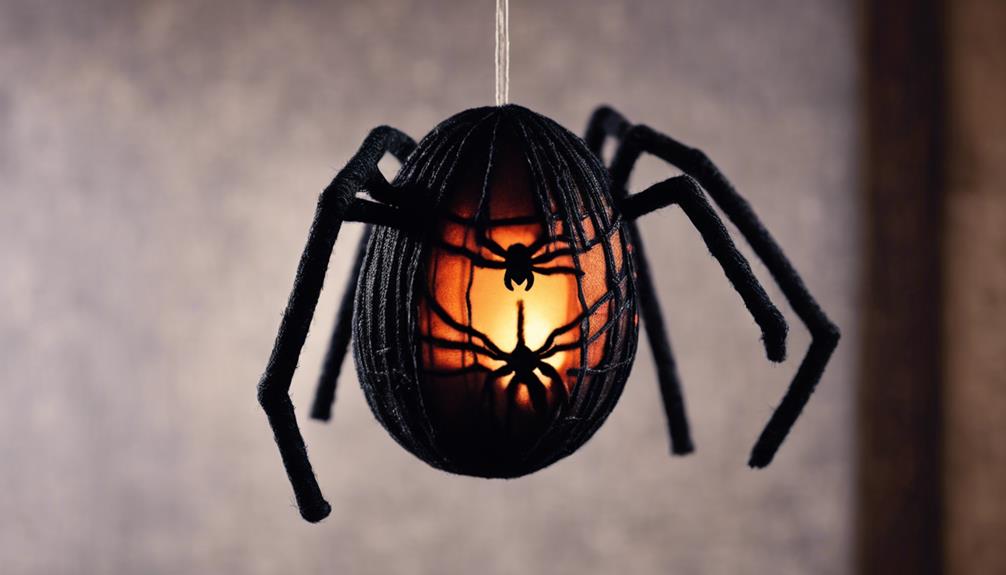
Enhance your Halloween decorations with a touch of creepiness by crafting your own DIY Spider Egg Sacks at home. These spooky homemade decorations are a perfect addition to your Halloween display, adding an eerie vibe that will impress your guests.
To create your own spider egg sacks, all you need are simple materials like white yarn or string and plastic spiders. Not only are DIY Spider Egg Sacks a budget-friendly way to enhance your Halloween decor, but they also offer a fun crafting activity for the season.
Giant Inflatable Spider Decoration
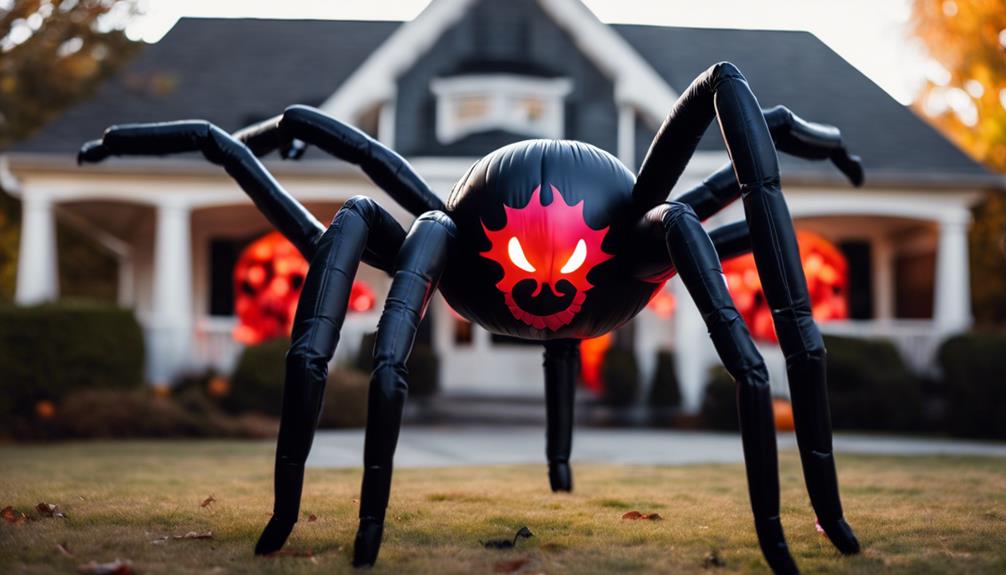
For a striking and spooky addition to your Halloween decor, consider the Giant Inflatable Spider Decoration. Crafted from high-quality polyester material, this inflatable spider delivers a realistic appearance and durability that will impress both indoors and outdoors. Measuring 3.5D x 6.5W x 7.5H, its large size makes it a prominent Halloween decoration that will surely catch everyone's eye.
With a commendable 4.4 out of 5 stars from 4,286 ratings, this decoration stands out for its quality and popularity. Its versatile placement options allow you to position it creatively, enhancing the spooky ambiance of your Halloween setup. The easy setup and reusable features make this Giant Inflatable Spider a convenient choice for your Halloween decor needs.
Spiderweb Window Clings
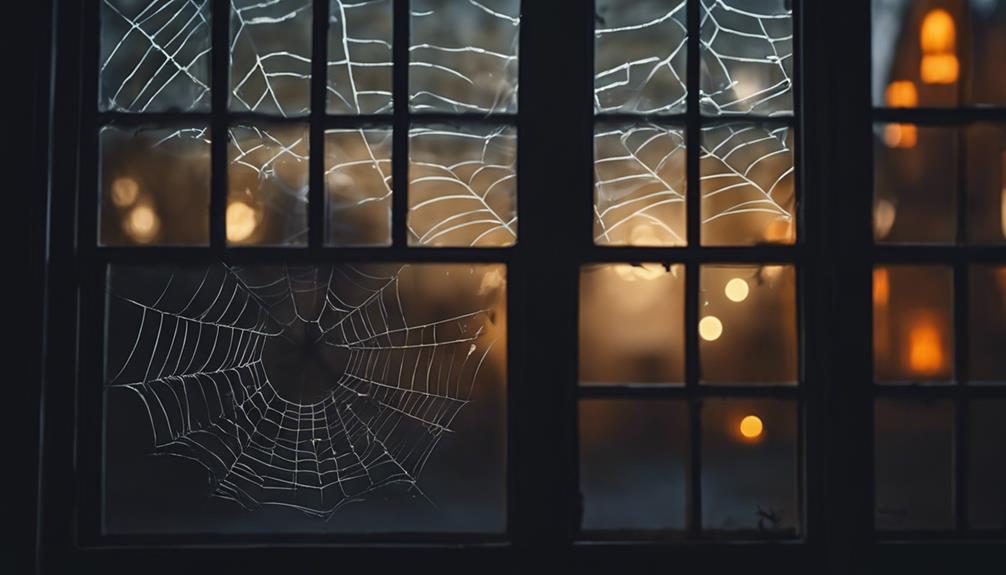
When it comes to enhancing your Halloween decor with a touch of spookiness, Spiderweb Window Clings offer a simple yet effective way to create a creepy ambiance. Here's why you should consider adding these to your decorations:
- Easy Application: Spiderweb Window Clings are static clings that stick to windows without the need for adhesive, making them a breeze to apply.
- Variety of Designs: With options like spider webs, spiders, and other spooky elements, you can choose the design that best suits your Halloween theme.
- Reusable: These clings can be removed and repositioned multiple times without leaving any residue, allowing for flexibility in your decor.
- Versatile Use: Ideal for decorating windows, mirrors, glass doors, or any smooth surface, Spiderweb Window Clings add a creepy touch while still allowing light to shine through.
Get ready to spookify your space with these reusable and versatile Halloween decorations!
Frequently Asked Questions
What Can I Use to Make Fake Spider Webs?
For making fake spider webs, you can use materials like White Stretch Spider Web, Tinsel Black Spider Decorations, or Rope Spider Web. These options give a realistic and spooky look to your Halloween decorations.
To personalize your setup, consider adding Air-Filled Gold Letter Balloons spelling out words like 'EEK'. Secure these materials with tape or push pins for a cohesive display.
You can easily order these items from Party City with their convenient Curbside Pick Up option.
How Do You Make a Simple Halloween Spider Web?
To make a simple Halloween spider web:
Start by hanging a Rope Spider Web from each corner.
Inflate and tape Gold Letter Balloons for a spooky touch.
Secure Tinsel Black Spider Decorations with tape for added effect.
Use White Stretch Spider Web to wrap around the rope and letters.
Enjoy creating a SPOOKtacular web!
How to Make a Spider Decoration for Halloween?
Looking to make a spider decoration for Halloween?
You can create a creepy and fun decor piece by using simple materials like black tinsel spider decorations and white stretch spider web.
Combine these elements creatively to craft a spooky spider that will give your Halloween setup a chilling vibe.
Get ready to impress your guests with your unique and innovative spider decoration this season!
How Do You Attach a Halloween Spider Web to Your House?
To attach a Halloween spider web to your house, start by ensuring the surface is clean and dry. Use push pins or tape for secure adhesion. Stretch the web evenly for a spooky effect, and consider using multiple webs at different angles.
After Halloween, remove the web carefully to prevent damage. Keep things spooky and fun with these simple steps for a hauntingly good decoration!
Conclusion
Get ready to spook up your Halloween with these spidery decorations! Did you know that Americans spend over $2.7 billion on Halloween decorations each year?
So why not join in on the fun and add some creepy-crawly spiders to your home decor this season. From spider web wreaths to giant inflatable spiders, there are plenty of options to choose from to make your Halloween extra spooktacular!
- About the Author
- Latest Posts
Introducing Ron, the home decor aficionado at ByRetreat, whose passion for creating beautiful and inviting spaces is at the heart of his work. With his deep knowledge of home decor and his innate sense of style, Ron brings a wealth of expertise and a keen eye for detail to the ByRetreat team.
Ron’s love for home decor goes beyond aesthetics; he understands that our surroundings play a significant role in our overall well-being and productivity. With this in mind, Ron is dedicated to transforming remote workspaces into havens of comfort, functionality, and beauty.
Halloween Decorations
Step-by-Step Guide for Spooky Halloween Door Decorations
Journey into a world of Halloween horror with our step-by-step guide for transforming your door into a spooky masterpiece.
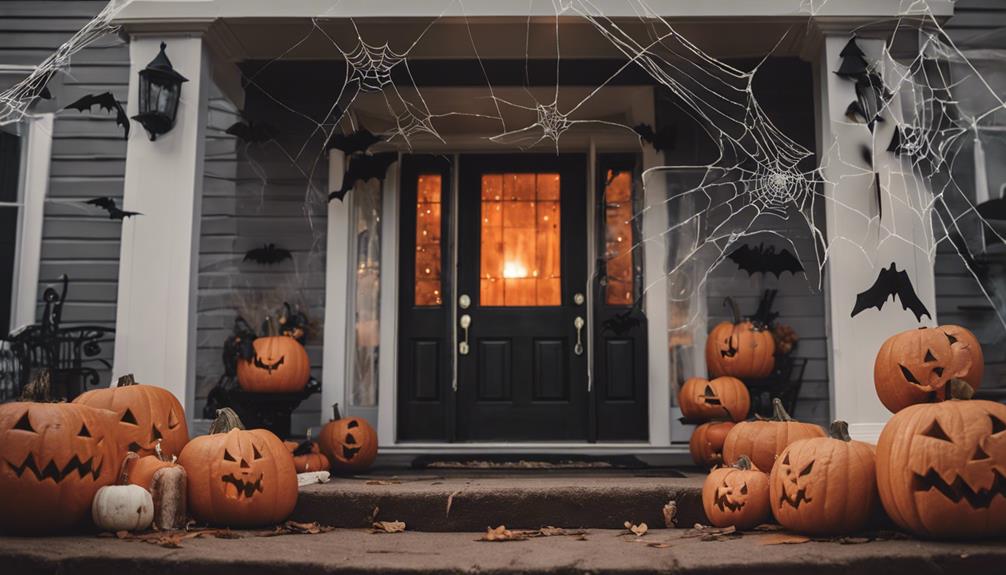
Ready to give your door a spooky makeover for Halloween? First, decide on a chilling theme like a haunted house or an eerie graveyard. Next, choose colors like orange, black, and purple to set the mood. Enhance with classic symbols – pumpkins, ghosts, and bats add to the scare factor! Position eerie props strategically, like fog machines and motion-activated sound effects. Create a haunted setting with fake spider webs, Jack-o'-lanterns, and bats. Elevate your decor with witchy welcome mats featuring cauldrons and broomsticks. Your guests will be in for a treat with these spine-tingling door decorations!
Key Takeaways
- Choose a witchy or haunted house theme for the door decor.
- Select a color scheme of traditional Halloween colors like orange, black, and purple.
- Use classic Halloween symbols such as pumpkins, ghosts, bats, witches, and skeletons.
- Incorporate eerie props like fog machines, sound effects, witches, and skeletons.
- Create a haunted backdrop with spider webs, Jack-o'-lanterns, bats, and creepy cloth.
Selecting a Halloween Theme
When deciding on a Halloween theme for your door decorations, consider the atmosphere you want to create. Whether you prefer a classic spooky look with a haunted house theme, witchy vibes with black cats and cauldrons, or an eerie graveyard complete with tombstones and skeletons, your choice of theme will set the stage for your entire display.
Think about the feeling you want to evoke in those who pass by your door – do you want to send shivers down their spines or make them smile with whimsical charm?
To bring your chosen theme to life, think about the color scheme that best complements it. For a haunted house theme, deep blacks and dark purples can add a mysterious touch. If you're going for witchy vibes, incorporate dark greens and oranges for a spellbinding effect. An eerie graveyard theme can be enhanced with shades of gray, mossy greens, and earthy browns.
Once you have your color scheme in mind, consider what props you can use to enhance the overall spookiness or whimsy of your door decorations.
Choosing a Color Scheme
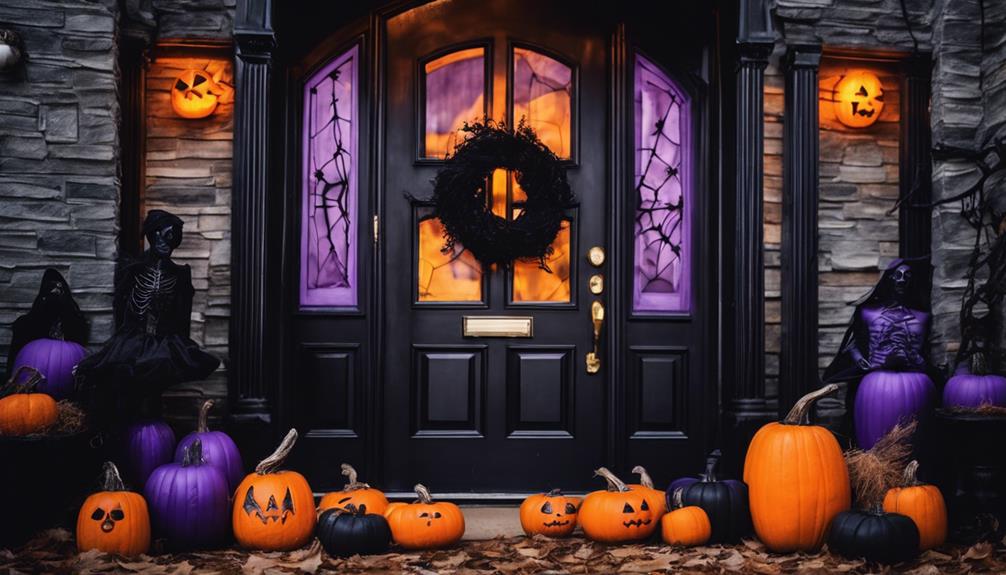
Consider incorporating traditional Halloween colors like orange, black, and purple to enhance the spookiness of your door decorations. To create a sleek and modern look, opt for a monochromatic color scheme. If you're feeling bold, experiment with a contrasting color scheme like black and white for a striking effect. For a touch of elegance, incorporate metallic colors such as gold or silver into your front door Halloween decor. Choosing the right color scheme can tie all the elements of your Halloween Door Decorations together, creating a visually appealing and cohesive look.
| Color Scheme | Description |
|---|---|
| Traditional Halloween | Incorporate orange, black, and purple for a spooky vibe |
| Monochromatic | Choose a single color for a modern and sleek look |
| Contrasting | Pair black and white for a bold and striking design |
| Metallic Touch | Add gold or silver for an elegant Halloween theme |
Incorporating Classic Halloween Symbols
To enhance the spooky ambiance of your Halloween door decorations, incorporate classic Halloween symbols such as pumpkins, ghosts, bats, witches, and skeletons. These iconic symbols are instantly recognizable and perfect for creating a festive and nostalgic atmosphere.
When decorating your door, consider using traditional Halloween colors like orange, black, and purple to complement these classic symbols. Pumpkins can be carved or painted, while ghosts and bats can be crafted from simple materials like paper or fabric. Witches and skeletons can be represented through silhouette cutouts or hanging decorations.
Adding Eerie Props
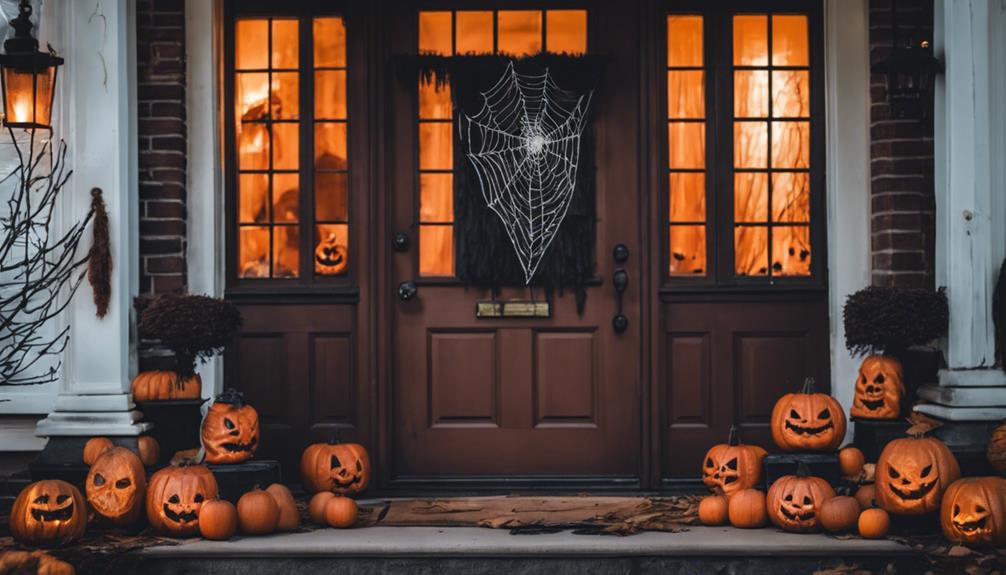
For an extra chilling effect, position eerie props strategically to enhance the spooky ambiance of your Halloween door decorations.
To create a truly immersive experience, consider adding a fog machine to envelop your entryway in an eerie mist, setting the stage for a hair-raising encounter.
Incorporate motion-activated sound effects to startle and entertain your guests as they approach, adding an interactive element to your spooky setup.
Introduce a cackling witch figure to your Halloween decorations, casting a spell of creepiness over all who dare to knock on your door.
For an ominous touch, include a grim reaper prop looming in the shadows, sending shivers down the spine of anyone who dares to pass by.
Don't forget to position a talking skeleton to engage with visitors, adding a fun yet spooky element to your door decor.
Creating a Haunted Backdrop
Create a spooky ambiance by hanging fake spider webs and draping creepy cloth over the door for an eerie effect. To enhance the Halloween spirit, consider displaying glowing Jack-o'-lanterns and using skeleton decorations to set the stage for a truly haunting experience. You can also add a chilling touch by hanging bats from the ceiling to complete your DIY Halloween Door with a truly eerie effect.
| Decorations | Description |
|---|---|
| Fake Spider Webs | Hang these for a creepy atmosphere |
| Creepy Cloth | Drape over the door for an eerie effect |
| Jack-o'-lanterns | Display glowing faces to add a spooky touch |
| Skeleton Decorations | Use these to enhance the haunted backdrop |
Finishing Touches With Witchy Welcome Mats
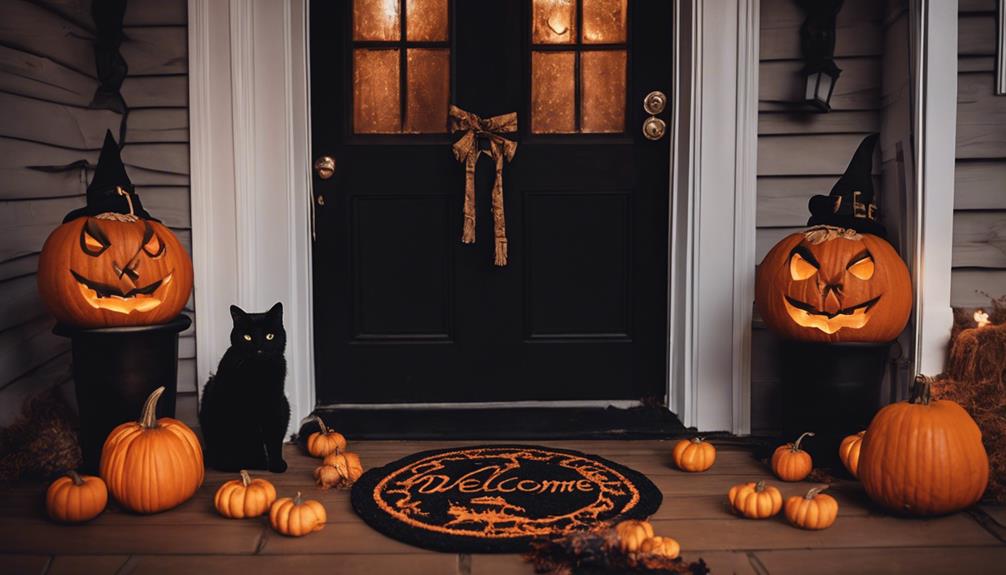
Enhance your Halloween door decor by adding witchy welcome mats featuring spooky designs and messages like cauldrons, broomsticks, and witch hat graphics. These mats not only offer a practical purpose but also serve as a stylish statement piece for your entrance.
Imagine your guests being greeted with a vintage-looking mat adorned with distressed lettering and witchy imagery, setting the perfect tone for a witch-themed Halloween vibe. Some mats go the extra mile with spellbook patterns or eerie messages like 'Beware', adding an extra touch of spookiness to your doorstep.
Choosing the right witchy welcome mat can truly elevate your door decor, giving it that extra Halloween charm. Whether you prefer a classic cauldron design or a more whimsical broomstick pattern, these mats are sure to impress your visitors and get them in the Halloween spirit from the moment they arrive.
Frequently Asked Questions
How to Decorate Your Door for Halloween?
To immerse yourself in decorating your door for Halloween, get crafty with wooden letters for a personalized touch. Sand, paint, and add spooky patterns. Use ribbon to hang them up for a cohesive DIY sign.
Explore other ideas like eyeball wreaths and bat-themed decor for inspiration. Involve the family and get creative with cardstock, crayons, and glue.
Your door will be the talk of the town with these simple yet fun decorations!
How Do I Make My Room Spooky for Halloween?
To make your room spooky for Halloween, set the mood with dim lighting or flickering candles. Add Halloween props like fake spider webs and eerie portraits. Play creepy sound effects or music to enhance the ambiance.
Incorporate ghoulish decor elements such as hanging bats or ghostly figures. Choose a color scheme of black, orange, and dark purples to intensify the Halloween theme. With these tips, your room will be hauntingly perfect for Halloween!
How to Decorate a Small Entryway for Halloween?
Looking to spook up your small entryway for Halloween? Opt for vertical decorations like hanging bats or ghostly figures. Incorporate mini pumpkins or witch hats for a festive touch.
Utilize compact decor such as a wreath or spooky door sign to save space. Choose slim and tall pieces like a witch broom or hanging spider for a striking look.
Consider multi-functional items like a Halloween-themed coat rack or pumpkin basket for treats.
How to Decorate a Gate for Halloween?
To decorate a gate for Halloween, start by using faux spider webs, plastic critters, and eerie decorations like skeleton hands or ghostly silhouettes.
Enhance the spooky theme with orange and purple string lights and a fog machine nearby for an extra eerie effect.
Consider motion-activated sound effects to surprise trick-or-treaters.
Incorporate these elements creatively to transform your gate into a chilling Halloween entrance that'll thrill all who approach!
Conclusion
As you put the final touches on your spooky Halloween door decorations, remember that creativity knows no bounds. Just like how a master artist uses their brush to bring a painting to life, you have the power to transform your door into a gateway to the supernatural.
Let your imagination run wild and embrace the magic of the season. Your door won't only scare trick-or-treaters, but also enchant them with the spirit of Halloween.
Happy decorating!
- About the Author
- Latest Posts
Introducing Ron, the home decor aficionado at ByRetreat, whose passion for creating beautiful and inviting spaces is at the heart of his work. With his deep knowledge of home decor and his innate sense of style, Ron brings a wealth of expertise and a keen eye for detail to the ByRetreat team.
Ron’s love for home decor goes beyond aesthetics; he understands that our surroundings play a significant role in our overall well-being and productivity. With this in mind, Ron is dedicated to transforming remote workspaces into havens of comfort, functionality, and beauty.
-

 Decor2 weeks ago
Maximalist Decor Explained: Embrace More Style
-

 Vetted2 weeks ago
15 Best Foot Massagers for Neuropathy to Soothe Your Feet and Relieve Discomfort
-

 Vetted3 weeks ago
15 Best Sports Laundry Detergents for Keeping Your Activewear Fresh and Clean
-

 Vetted4 weeks ago
15 Best Tall Toilets for Seniors That Combine Comfort and Safety
-

 Vetted4 weeks ago
15 Best Dish Scrubbers to Keep Your Kitchen Sparkling Clean
-

 Vetted4 days ago
15 Best Cleaners for Fiberglass Showers to Keep Your Bathroom Sparkling Clean
-

 Decor4 weeks ago
What Is Eclectic Home Decor
-
 Vetted1 week ago
15 Best Organic Pest Control Solutions for a Naturally Pest-Free Home


