
Reviving tie-dye for chic home décor means combining traditional techniques like shibori or bandhani with modern styles. Choose natural linen in light shades for vibrant results, and get creative with folding or twisting fabric to craft unique patterns. Proper care guarantees your pieces stay vibrant and durable, while styling them thoughtfully adds personality to your space. If you’re curious about mastering techniques and tips, there’s plenty more to transform your home effortlessly.
Key Takeaways
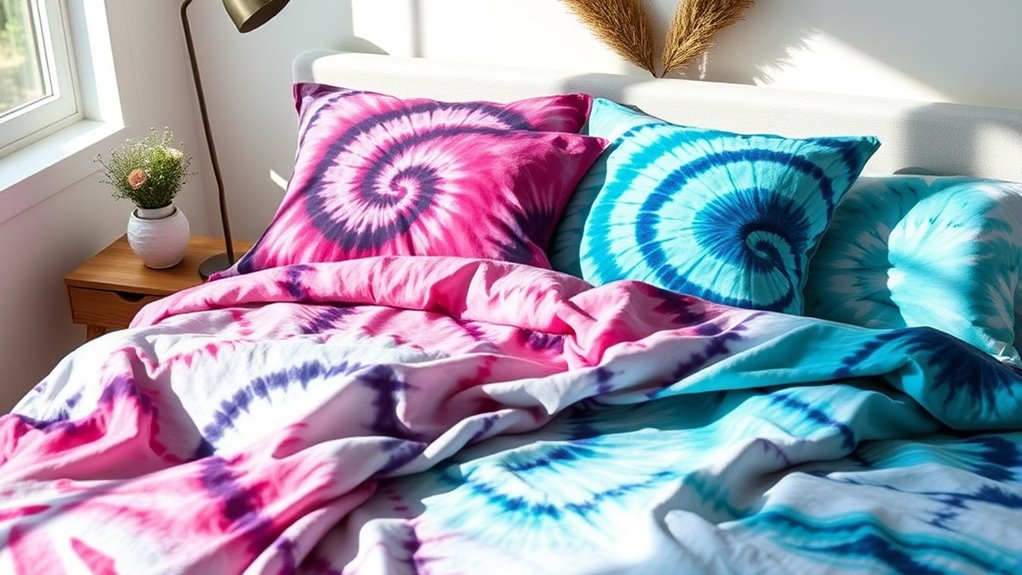
- Incorporate traditional tie-dye techniques like spiral and ombre designs to create unique, stylish home linen pieces.
- Choose natural, tightly woven linen fabrics in light colors for vibrant, long-lasting dye results.
- Experiment with folding and binding methods to craft modern, chic patterns that complement contemporary decor.
- Style tie-dye linens with neutral tones and minimalist furniture for a trendy, balanced interior look.
- Follow proper care practices, such as gentle washing and air-drying, to preserve vibrant colors and intricate patterns over time.
Exploring the History and Evolution of Tie-Dye in Home Decor

Although tie-dye is often associated with 1960s counterculture, its roots trace back centuries across different cultures. You’ll find that tie dye symbolism varies widely, often representing spirituality, nature, or social status. Cultural influences play a significant role in shaping its designs and meanings; for example, Japanese shibori, Indian bandhani, and African resist-dye techniques all contributed to its evolution. As you explore tie-dye in home decor, you’ll notice how traditional patterns have been adapted to modern styles, blending history with contemporary aesthetics. The vibrant colors and intricate patterns carry stories from diverse societies, giving your space a rich cultural depth. Understanding this history helps you appreciate the artistry behind each piece, making your DIY projects more meaningful. Additionally, considering appliance maintenance plans can help ensure your home’s appliances, including those used for crafting or cleaning, remain in optimal condition to support your creative projects.
Choosing the Perfect Linen for Your Tie-Dye Project
When selecting linen for your tie-dye project, fabric type is key—look for natural, tightly woven materials for the best results. Light colors tend to showcase your dye more vividly, so choose fabrics in softer shades. Also, consider the size and weave; a finer weave allows for more detailed designs, making your project stand out.
Fabric Type Matters
Choosing the right linen can make all the difference in your tie-dye project. The fabric’s durability affects how well it withstands repeated dyeing and washing, ensuring your design stays vibrant over time. Look for linen with a tight weave; this helps with dye fixation, so colors stay bold and don’t bleed. Natural linen fibers absorb dye better than synthetic blends, resulting in richer, more consistent colors. Avoid fabrics with a loose or coarse weave, which can cause uneven dye absorption and uneven results. Also, consider the fabric’s weight—lighter linens are easier to manipulate for intricate patterns, while heavier ones hold dye longer. Selecting the appropriate linen type guarantees your tie-dye project is both stunning and long-lasting. Proper fabric selection is crucial for achieving vibrant, lasting results in your dyeing endeavors.
Light Colors Work Best
Light-colored linens are your best bet for vibrant, eye-catching tie-dye designs because they provide a clean, neutral background that allows your colors to pop. When working with light fabrics, dye saturation is easier to achieve, ensuring bold, consistent hues. Dark fabrics tend to absorb more dye, making color blending trickier and often resulting in muted tones. For the most vivid results, choose whites or pastel shades, which enhance the contrast and clarity of your design. Light linens also help prevent uneven dye absorption, giving you better control over your pattern. Keep in mind, the lighter the fabric, the more vibrant and crisp your final tie-dye will appear, making it the ideal choice for creating stunning, professional-looking home linen projects.
Size and Weave Considerations
Selecting the right linen for your tie-dye project involves paying close attention to its size and weave. The fabric’s durability determines how well it withstands handling and washing, while its weave impacts colorfastness. For best results, choose linens with a medium to tight weave, which helps the dye stay vibrant and prevents bleeding. Additionally, considering organization and storage can help keep your linens in optimal condition for future projects.
Consider these factors:
- Larger pieces allow for more intricate designs but require careful handling.
- Thinner weaves tend to absorb dye more evenly, enhancing colorfastness.
- Denser weaves offer greater fabric durability, resisting tearing during dyeing.
- Smaller textiles may produce more detailed patterns but need gentle treatment.
- Always test your linen beforehand to ensure the dye adheres well and colors stay bright over time.
Essential Supplies and Preparing Your Workspace

To start your tie-dye project, gather the must-have materials like dye, gloves, and fabric. Set up your workspace in a well-ventilated area, covering surfaces with plastic or newspapers. Keep everything organized and within reach to make the process smooth and enjoyable. Using proper ventilation during dyeing helps ensure safety and better results.
Must-Have Materials
Gather all your essential supplies before starting your tie-dye project to guarantee a smooth experience. You’ll need a variety of items to achieve vibrant dye colors and unique pattern techniques. Prepare:
- Fiber-reactive dye in your chosen colors for bold, lasting hues
- White or light-colored fabric or home linen as your canvas
- Rubber bands and squeeze bottles for creating different patterns
- Plastic gloves and a protective surface to keep your workspace clean
- Plastic bags or plastic wrap to set the dye and prevent spills
- Familiarize yourself with proper dyeing techniques to ensure vibrant, long-lasting results.
Having these materials ready assures you can focus on experimenting with dye color combinations and pattern techniques without interruption. With the right supplies, your creative process flows seamlessly, making your home linen project both fun and successful.
Workspace Setup Tips
Before you start applying dye, set up a clean, organized workspace that makes the process easy and enjoyable. Choose a well-ventilated area and cover surfaces with plastic or old newspapers to protect them. Gather all your essential supplies—dye bottles, gloves, rubber bands, and brushes—within reach. When working with colors, experiment with color mixing to create unique shades, but always test small amounts first. Prioritize dye safety by wearing gloves and avoiding inhaling fumes, especially if using concentrated dyes. Keep your workspace tidy to prevent spills and mix colors carefully to achieve your desired hues. An organized setup minimizes frustration and ensures a smooth dyeing experience, making your tie-dye project both fun and safe. Being aware of chemical safety when handling dyes can further protect you during your project.
Step-by-Step Techniques for Creating Unique Tie-Dye Patterns

Creating eye-catching tie-dye patterns starts with choosing the right technique and materials. To achieve vibrant color blending and pattern symmetry, follow these steps:
Craft stunning tie-dye designs by selecting the right techniques and materials for vibrant, symmetrical patterns.
- Start with a clean, damp linen piece for even dye absorption.
- Fold or twist your fabric to create desired shapes, ensuring symmetry if needed.
- Apply dye selectively, blending colors at edges to enhance seamless flow.
- Use squeeze bottles or brushes for precise control, emphasizing color blending.
- Wrap with rubber bands or string tightly to maintain pattern integrity during dyeing.
- Additionally, selecting the appropriate electric bike conversion kit can enhance your outdoor activities once your project is complete.
Setting and Caring for Your Hand-Dyed Linen Pieces
Once you’ve completed your hand-dyed linen piece, proper setting and care are essential to preserve its vibrant dye color and intricate pattern density. To set the dye, rinse the linen in cold water immediately after dyeing to remove excess dye and prevent bleeding. Then, wash it gently with a mild, dye-safe detergent to maintain the pattern’s clarity. Avoid harsh chemicals or bleach, which can fade colors and distort patterns. Always air-dry your linen flat or hang it in the shade; direct sunlight can cause colors to fade over time. For ongoing care, wash your linen on a gentle cycle with cold water and avoid overloading your machine. Properly cared for, your linen will retain its vivid dye color and beautiful pattern density, keeping your piece looking fresh and vibrant. Additionally, incorporating protective styling techniques can help prolong the vibrancy of your dyed linen.
Styling Tips: Incorporating Tie-Dye Linens Into Your Interior Design
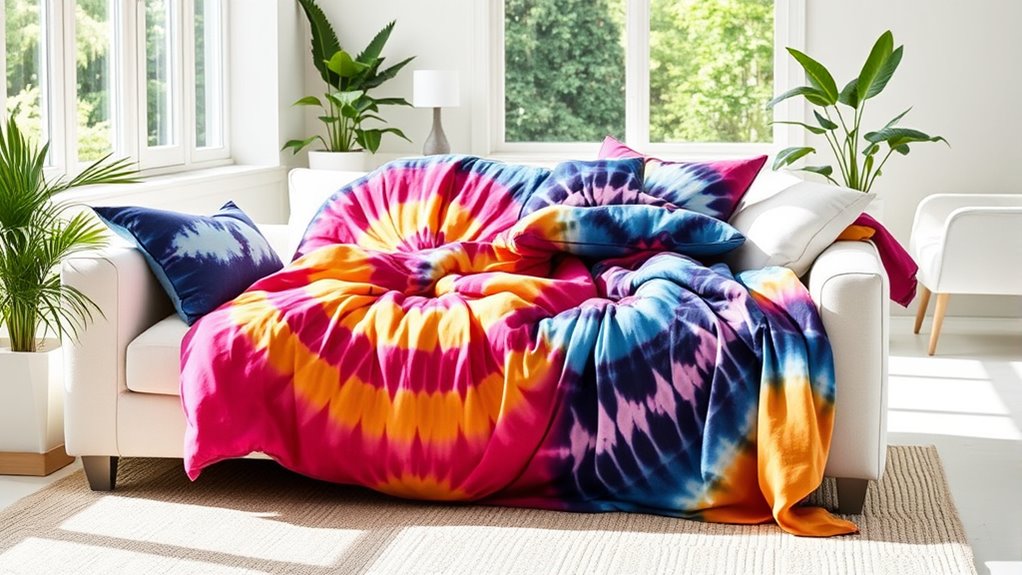
Incorporating tie-dye linen pieces into your interior design can add a vibrant, personalized touch that energizes any space. To maximize their impact, consider balancing bold color combinations with neutral tones to prevent overwhelming your decor. Mix different dyeing techniques—like spiral or crumple—to create visual interest and texture. Here are some styling tips:
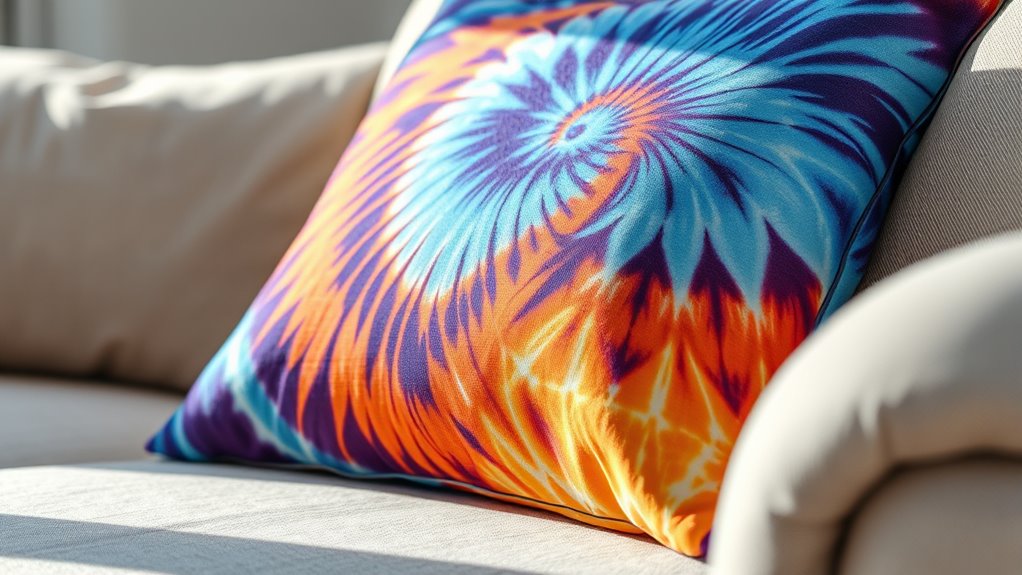
- Use large tie-dye pillows to add pops of color on neutral sofas
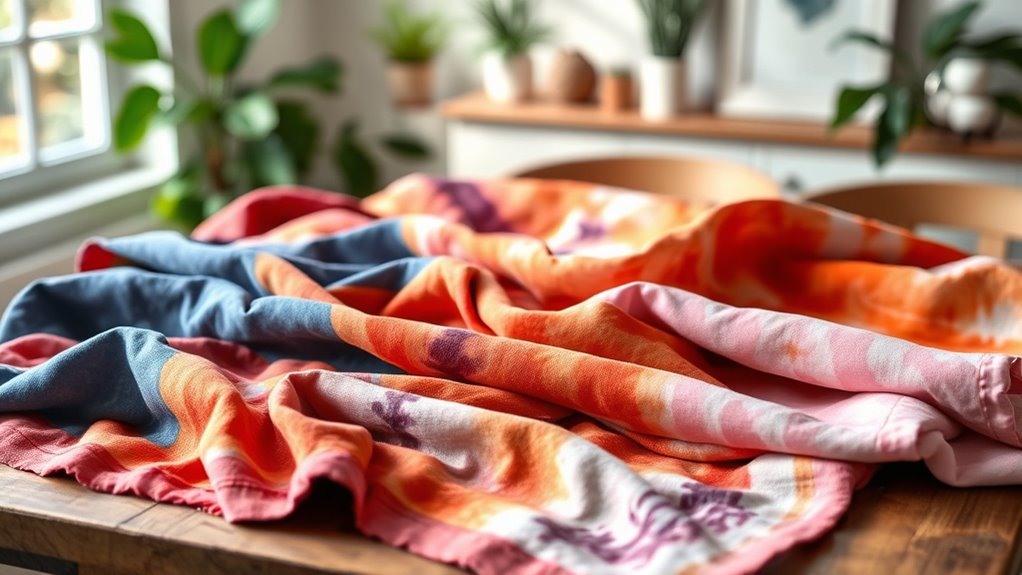
- Incorporate table linens with subtle dye patterns for a relaxed vibe
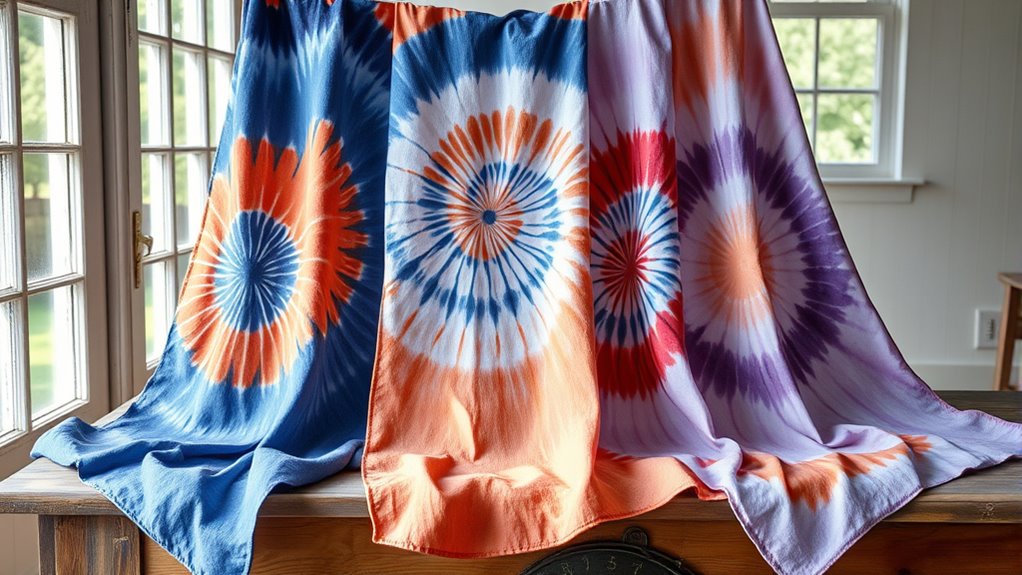
- Pair vibrant curtains with minimalist furniture to highlight the dyeing techniques
- Mix and match different color combinations for a playful, eclectic look
- Display folded linen throws as accent pieces on armchairs or beds
- When selecting fabrics, consider fibre quality to ensure durability and softness over time.
Inspiring Ideas: Customizing and Personalizing Your Home Linen Collection
Personalizing your home linen collection allows you to infuse your space with unique style and meaningful details. Experiment with different dyeing techniques to create one-of-a-kind pieces that reflect your personality. You can try tie-dye methods, spiral designs, or subtle ombre effects to add visual interest. Focus on color blending to achieve harmonious or bold contrasts—mix shades to create smooth progressions or striking accents. By customizing your linens, you turn simple textiles into statement pieces that resonate with your taste. Use natural dyes or vibrant pigments to match your decor palette. Incorporating textile techniques can further enhance the craftsmanship and authenticity of your projects. Whether you’re dyeing pillowcases, tablecloths, or napkins, personal touches elevate your home’s aesthetic and make your collection truly yours.
Frequently Asked Questions
How Long Does the Tie-Dye Process Typically Take?
The tie-dye process usually takes about 6 to 24 hours, depending on your dye fixation method. You’ll want to let the fabric sit long enough for the dye to set properly, which might involve wrapping or wrapping with plastic. Afterward, use effective drying techniques—air drying or using a dryer—to guarantee the colors are vibrant and fixed. Patience is key for a beautiful, lasting result.
Can I Use Synthetic Dyes for Linen?
You can use synthetic dyes for linen, but keep in mind that fabric durability varies. Synthetic dyes often produce vibrant colors, but they may fade faster over time if not set properly. To minimize dye fading, follow the dye manufacturer’s instructions carefully, and consider using a fixative. This way, you enjoy bright, long-lasting colors while maintaining the linen’s quality and durability.
How Do I Prevent Colors From Bleeding?
Did you know that improper color fixation causes 80% of dye bleeding issues? To prevent colors from bleeding, start with fabric preparation by washing your linen to remove sizing and oils. Use a salt or vinegar solution during dyeing to enhance color fixation. These steps help lock in the dye, ensuring vibrant, long-lasting colors. Always rinse with cold water after dyeing to set the colors and prevent bleeding during future washes.
Is It Safe to Wash Tie-Dyed Linen With Other Fabrics?
You can wash tie-dyed linen with other fabrics safely if you check fabric compatibility first. Use cold water and a gentle cycle to protect color preservation. Wash similar fabrics together to prevent bleeding and color transfer. Avoid mixing with heavy or rough textiles that could damage the dye. By taking these precautions, you guarantee your tie-dye stays vibrant and your linen remains in great condition.
What Are Eco-Friendly Alternatives to Traditional Dyes?
Many believe traditional dyes are harmful, but natural dyeing with plant-based dyes offers a safer, eco-friendly alternative. You can explore natural dyeing methods that use materials like indigo, madder root, or turmeric, which are sustainable and biodegradable. These plant-based dyes produce vibrant colors without toxic chemicals, helping you reduce your environmental impact while creating beautiful, unique textiles. Embrace natural dyeing to make your home linen projects more eco-conscious.
Conclusion
Now that you’ve mastered the magic of making mesmerizing, multicolored tie-dye linens, it’s time to transform your space with stunning, spirited textiles. Embrace your creativity, experiment with exciting patterns, and enjoy the vibrant vibe you’ve brought to your home. Remember, with a little patience and passion, your personalized pieces will become perfect, playful focal points. Immerse yourself in the delightful world of DIY design and dazzle your dwelling with dazzling, one-of-a-kind linens!