To stenciled floor tiles on a budget, start with a flat, smooth surface like sealed concrete or hardwood. Use durable, affordable stencils made from sturdy plastic or mylar to guarantee multiple uses. Gather essential supplies such as quality brushes, painter’s tape, and sealants for durability. Carefully prep your space, apply paint with steady hands, and finish with affordable touches like painted borders or rugs. If you keep exploring, you’ll find tips to make your design last and look professional.
Key Takeaways
- Use affordable, durable stencils like mylar or thick plastic for repeated use and crisp designs.
- Prepare surfaces thoroughly by cleaning, sanding, and sealing to ensure smooth, long-lasting stencil application.
- Choose budget-friendly paints such as tile or acrylic, and apply in thin layers for even coverage and minimal cost.
- Incorporate DIY touches like painted borders or recycled materials for decorative accents without extra expense.
- Seal the finished floor with a protective sealant to enhance durability and maintain vibrant colors over time.
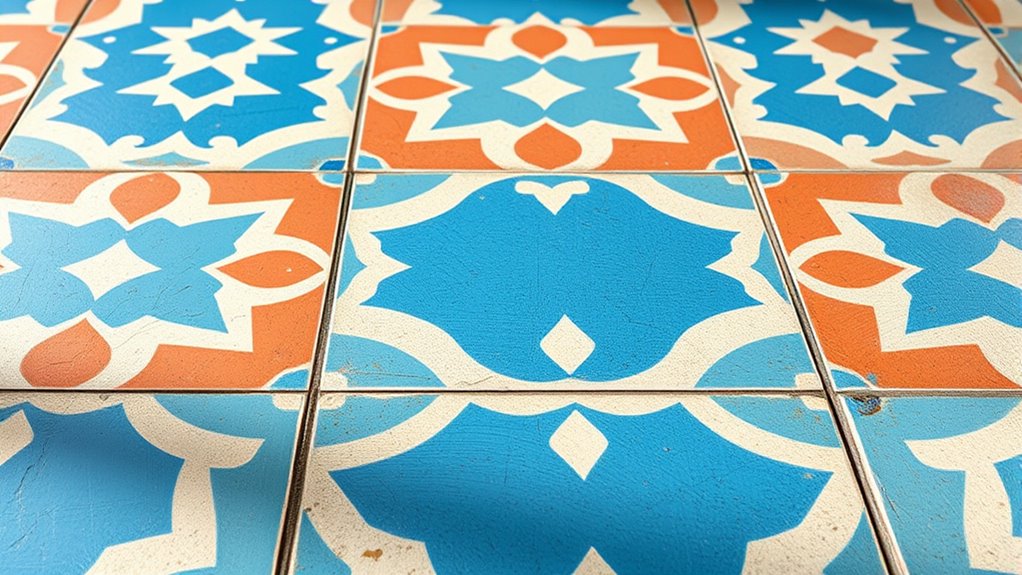
Choosing the Right Flooring Surface for Stenciling

Choosing the right flooring surface is vital for achieving clean, crisp stenciled designs. The floor material you select impacts how well the stencil adheres and how smooth the finished look is. Opt for a flat, even surface like vinyl, sealed concrete, or hardwood, which allows for precise detail. Before you start, surface preparation is indispensable—clean thoroughly to remove dust, grease, and debris that can cause uneven paint application or bleeding. Sanding rough spots or sealing porous areas helps create a stable base for stenciling. Avoid textured or uneven surfaces, as they can distort your design. Proper surface preparation ensures your stencils stay in place and your paint applies smoothly, resulting in professional-looking floor designs that last.
Selecting Affordable and Durable Stencils
Since stencils are the key to achieving consistent and professional-looking designs, selecting affordable yet durable options is essential. You can find various budget options that don’t compromise quality, making your project cost-effective. Look for stencil choices made from sturdy materials like mylar or thick plastic, which resist wear and tear over time. These durable options ensure your designs stay crisp and clean, even after multiple uses. Avoid cheap paper stencils that might warp or fade quickly, leading to frustration and wasted effort. Instead, invest in well-made stencils that balance affordability with longevity. Durable materials such as electric dirt bikes can withstand repeated use and maintain their integrity over time. By choosing the right stencil choices, you’ll set a solid foundation for beautiful, lasting floor tile designs without overspending.
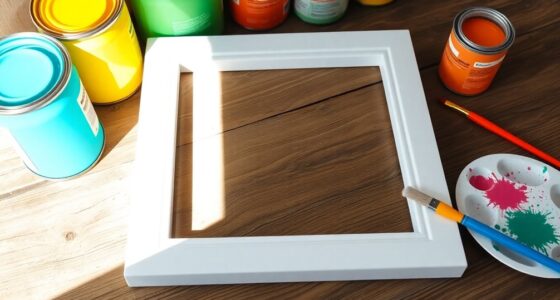
Essential Tools and Supplies for the Project
To get started, you’ll need basic painting supplies like brushes, rollers, and painter’s tape to prepare your surface. A durable floor sealant is essential to safeguard your design and guarantee longevity. When choosing your stencils, keep in mind tips like selecting designs that fit your space and considering stencil material for easy cleaning and reuse. For added durability, consider using sealant options that are compatible with your chosen paint and surface.
Basic Painting Supplies
Before you start stenciling your floor tiles, gather the essential painting supplies to guarantee a smooth project. First, focus on your paintbrush selection—choose brushes with firm bristles for clean edges and small detail brushes for intricate areas. Keep your stencils organized with proper stencil storage to prevent bending or tearing. You’ll also need quality painter’s tape to secure the stencils and painter’s drop cloths to protect surrounding surfaces. Make sure to have a container of primer or base paint if necessary, along with your chosen tile paint. Additionally, selecting the right paint finish can impact the durability and appearance of your stenciled tiles. Finally, gather cleaning supplies like brushes and rags for quick corrections. Having these supplies on hand ensures your project runs smoothly, resulting in crisp, professional-looking stenciled tiles without unnecessary hassle.
Durable Floor Sealant
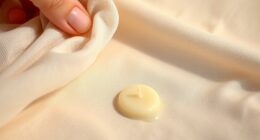
A durable floor sealant is essential for protecting your stenciled tiles and ensuring their longevity. It helps guard against scratches, moisture, and wear, preserving your design inspiration over time. When choosing a sealant, consider your flooring options—whether ceramic, vinyl, or concrete—to select the right type. A good sealant provides a clear, protective coating that enhances the appearance of your stenciled pattern without dulling the colors. Applying a high-quality sealant is a cost-effective way to extend the life of your project without needing frequent touch-ups. Make sure to follow the manufacturer’s instructions for proper application. This step is pivotal for maintaining the beauty and durability of your floors, especially if you’re working within a budget but want lasting results. Inspirational quotes about perseverance and care can motivate you to complete your project with patience and pride.
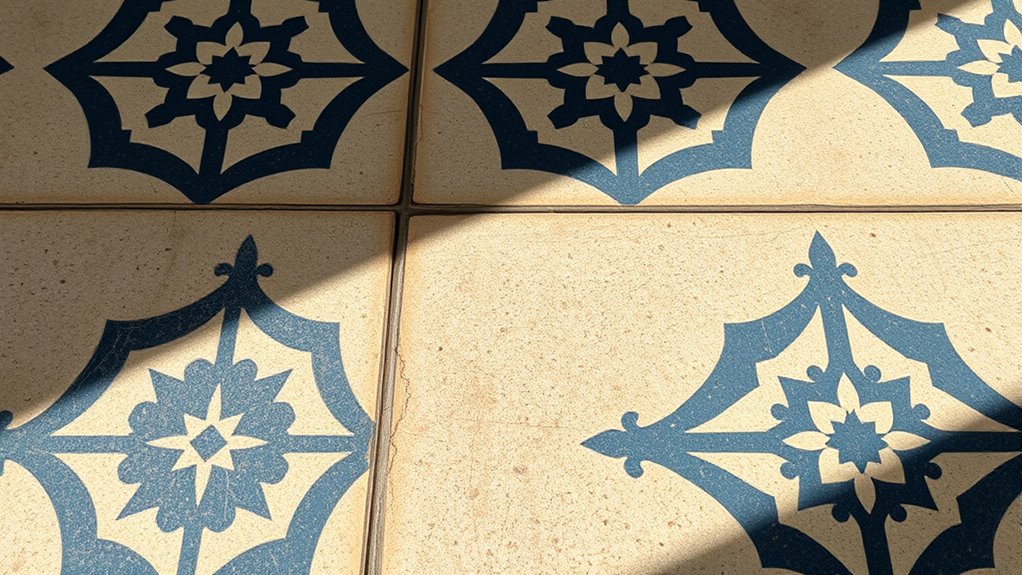
Stencil Selection Tips
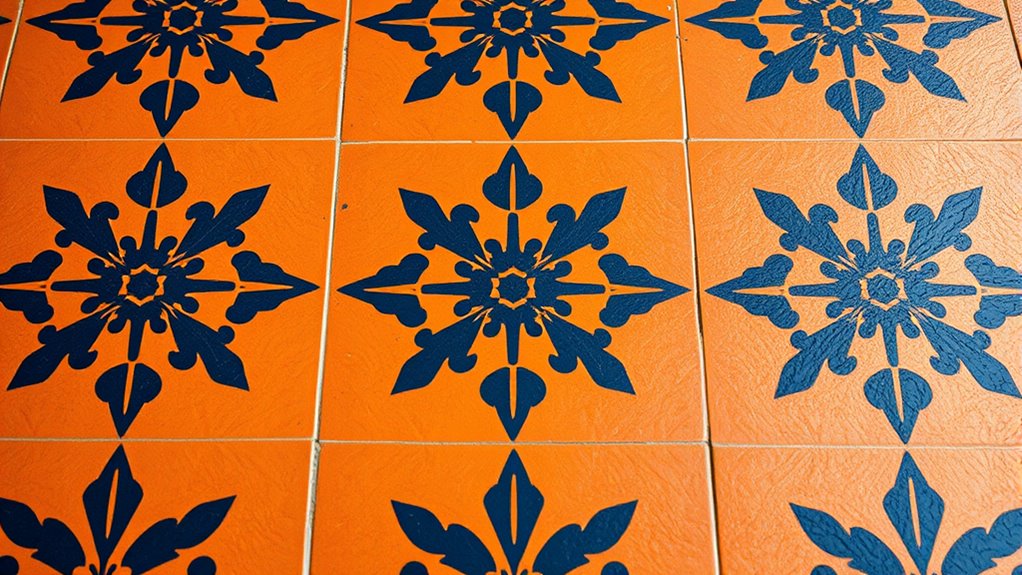
Choosing the right stencil is the foundation of a successful flooring project. Your stencil design influences the overall look, so pick one that complements your space. Consider pattern variety to keep your design interesting and avoid repetition. When selecting, think about the scale—smaller patterns suit tight spaces, while larger ones create a bold statement. Make certain the stencil material is durable and easy to clean, especially if you plan multiple uses. Compatibility with your paint type is also key. Here are some tips to guide your choice:
- Opt for designs that match your style
- Choose stencils with clear, crisp lines
- Select multiple patterns for variety
- Pick reusable, sturdy stencils
- Consider stencil size relative to your floor area
- Embrace attention in your creative process to ensure your design turns out as envisioned.
Preparing Your Floor for Stenciling
To guarantee your stenciled floor looks professional and lasts over time, you need to properly prepare the surface before starting. Start with thorough surface cleaning to remove dust, dirt, and grease that could interfere with paint adhesion. Use a mild cleaner and a scrub brush or mop to ensure the floor is spotless. Next, assess the surface for any cracks or uneven areas; repair these with filler or sand them smooth. Once repairs are dry, give the entire floor a final clean to remove any residual debris. Proper floor prep creates a clean, smooth surface that helps your stencil adhere evenly and prevents paint from bleeding. Taking these steps ensures your finished design will look crisp and remain durable over time. Additionally, considering necessary cookies and other site functionalities can ensure your project details are preserved during online research or tutorials.
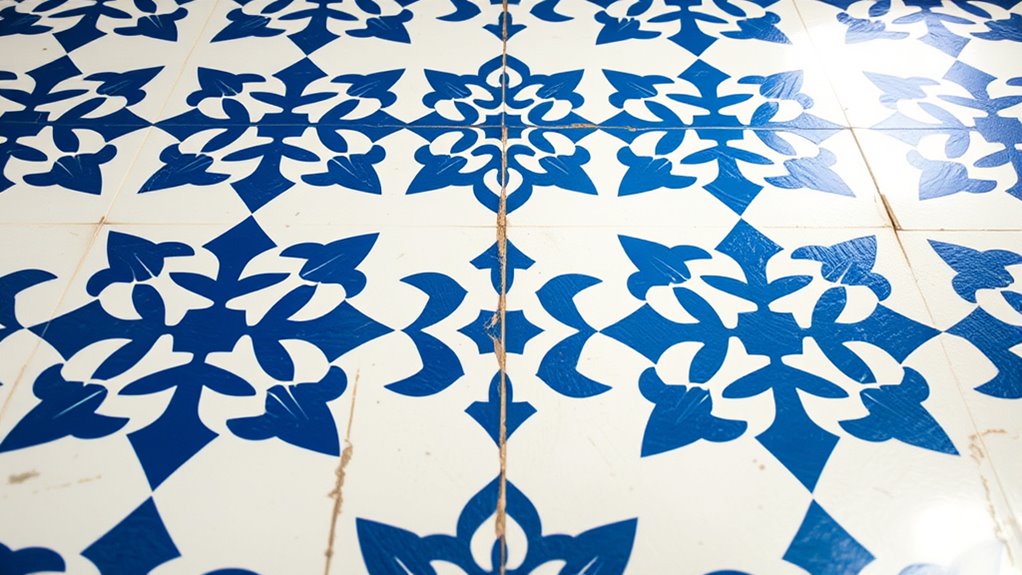
Tips for Painting Clean and Crisp Designs
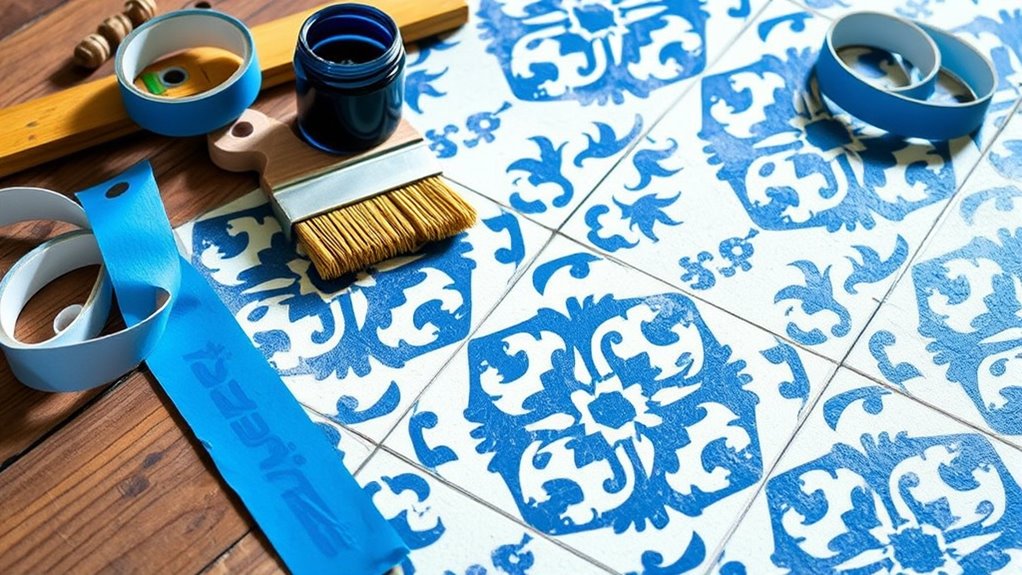
Once your floor is properly prepared, focus on applying your paint with precision to achieve clean, crisp lines. To enhance your design, use steady, controlled motions and avoid rushing. When working with multiple colors, plan your color blending carefully to prevent smudges or bleeding. For intricate patterns, consider stencil layering—allowing each layer to dry before adding the next—to keep lines sharp. Keep a damp cloth nearby to quickly correct mistakes and prevent paint smudges. Use painter’s tape to secure stencils firmly, ensuring they don’t shift during painting. Work in small sections to maintain control over your brush. Ultimately, clean your brush frequently to avoid unwanted color mixing and maintain crisp edges. Additionally, understanding color accuracy can help you choose the right paints and techniques for vibrant, true-to-life designs. These tips will help you create professional-looking, crisp designs on a budget.
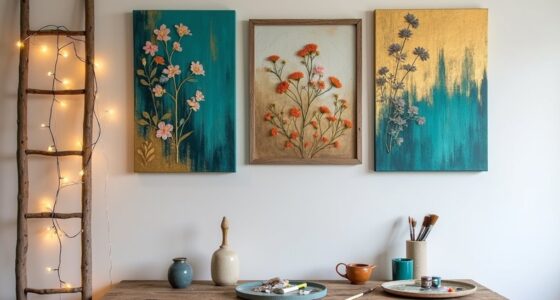
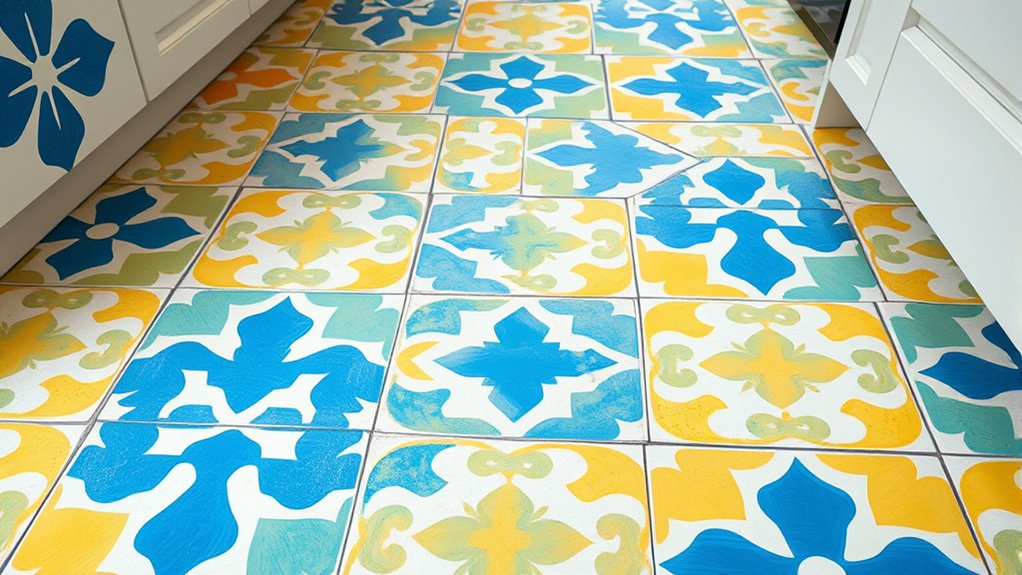
Creative Design Ideas to Personalize Your Floor
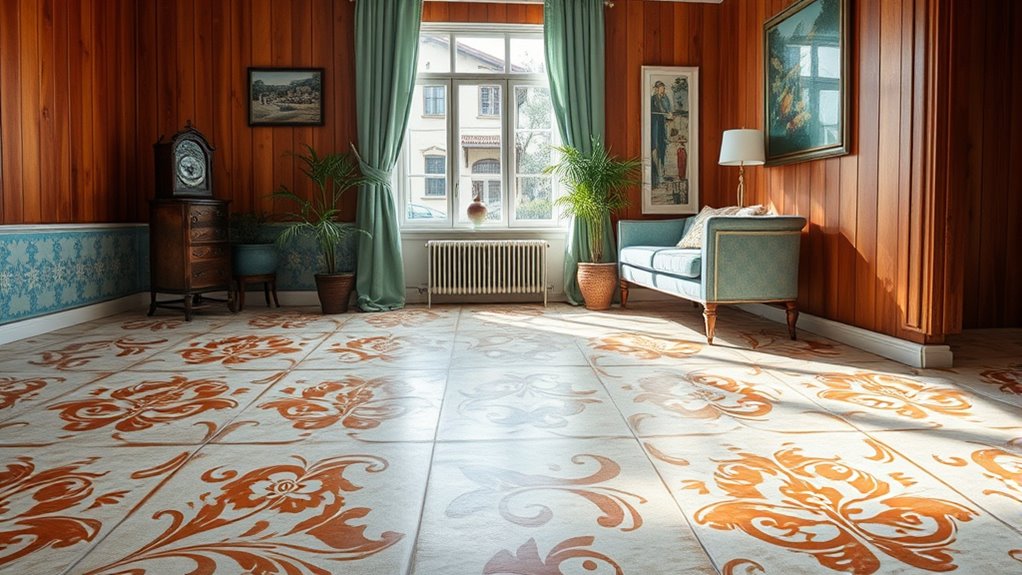
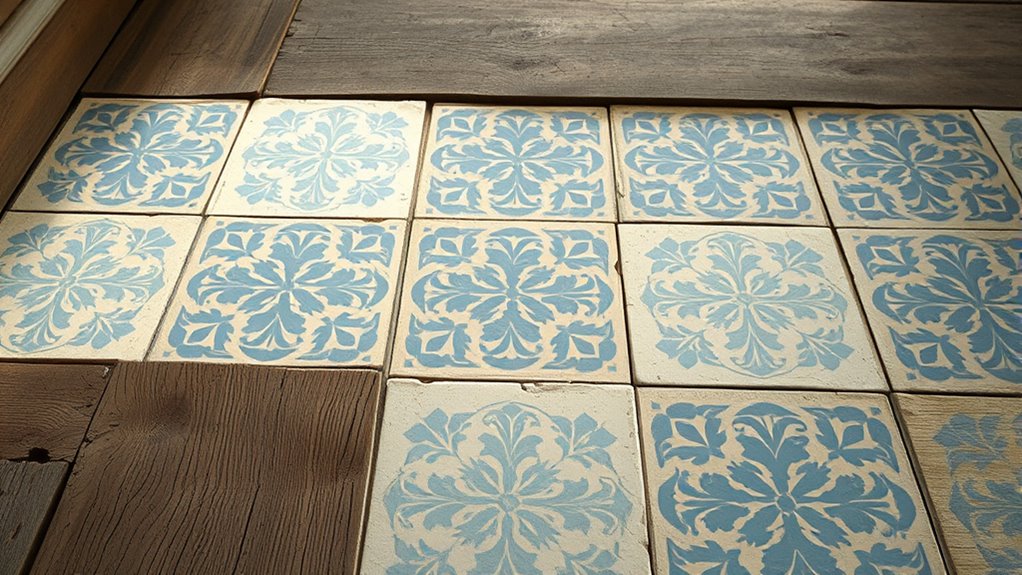
Adding personal touches to your stenciled floor can transform a simple design into a unique statement piece. Experiment with different patterns and motifs to reflect your style—geometric shapes, floral designs, or abstract art can all add character. Play with various color combinations to make your floor stand out; bold contrasts create a striking look, while subtle hues lend an elegant vibe. Mix and match patterns for a playful, eclectic feel, or keep it uniform for a more cohesive appearance. Consider repeating motifs in a grid or creating a focal point with a central design. Personalizing your floor with these creative ideas will make it truly yours, giving your space a one-of-a-kind charm that reflects your personality. Additionally, exploring safe paint options can ensure your design remains durable and long-lasting.
Maintaining and Caring for Your Stenciled Floor
To keep your stenciled floor looking its best, establish a regular cleaning routine with gentle, non-abrasive products. Applying a protective sealant helps prevent scratches and stains, extending the life of your design. Consistent maintenance guarantees your floor stays vibrant and beautiful for years to come. Additionally, using appropriate cleaning techniques can further preserve your floor’s appearance and prevent damage over time.
Regular Cleaning Routine
Regular cleaning is essential to keep your stenciled floor looking its best and to preserve the design over time. Consistent floor cleaning prevents dirt buildup and makes stain removal easier. To maintain your floor, sweep or vacuum regularly to remove debris. Use a mild detergent mixed with water for routine mopping, avoiding harsh chemicals that could damage the stencil. For stubborn stains, gently scrub with a soft-bristle brush and a mixture of baking soda and water. Always dry the surface thoroughly to prevent water spots. Remember these tips:
- Sweep or vacuum daily
- Use gentle cleaning solutions
- Address stains promptly
- Avoid abrasive tools
- Dry thoroughly after cleaning
- Regular maintenance can help prevent damage to appliance finishes and prolong the life of your flooring.
Protective Sealant Usage
Applying a protective sealant is a crucial step in maintaining the beauty and durability of your stenciled floor. Choosing the right sealant types, such as water-based or solvent-based options, depends on your floor’s material and usage. Water-based sealants are easy to apply, low odor, and eco-friendly, while solvent-based sealants offer stronger protection for high-traffic areas. When applying, use clean tools like brushes or rollers and follow the manufacturer’s instructions carefully. Confirm your floor is thoroughly cleaned and dry before sealing. Apply the sealant evenly in thin coats, allowing each layer to dry completely before adding the next. Proper application techniques help prevent streaks, bubbles, and uneven coverage, prolonging your floor’s vibrant appearance.
Common Mistakes to Avoid During the Process
Avoiding common mistakes can make or break your stenciled floor project. One major error is neglecting proper surface prep, which affects stencil durability. Make sure the floor is clean, smooth, and free of debris before starting. Failing to plan your color coordination can result in clashing or dull designs; choose colors that complement each other. Rushing the painting process can cause smudges or uneven coverage—work patiently in thin layers. Using the wrong brush or roller can damage the stencil edges, so select tools suited for detail work. Finally, skipping the sealant step may lead to fading or chips over time. Keep these tips in mind to create a beautiful, long-lasting design that’s budget-friendly and visually appealing.
Budget-Friendly Alternatives for Finishing Touches
If you want to add finishing touches without breaking the bank, there are several options to contemplate. DIY stenciling techniques let you customize your floors with minimal cost, while repurposed materials can give your space a unique look at a fraction of the price. Affordable decorative accents also enhance your design without overspending.
DIY Stenciling Techniques
Stenciling your floor tiles can be an affordable way to add a personalized touch without breaking the bank. To achieve professional-looking results, focus on simple stencil patterns and effective paint techniques. First, clean and prime your tiles for smooth application. Use painter’s tape to secure your stencil and prevent smudges. When applying paint, dab gently with a sponge or brush to avoid bleeding. For sharp edges, remove the stencil immediately after painting. Experiment with different color combinations and layering techniques for unique designs. Here are some ideas to get you started:
- Use geometric stencil patterns for modern appeal
- Try ombre paint techniques for subtle shading
- Incorporate metallic paints for a luxe touch
- Create a distressed look with dry brushing
- Mix and match colors for a vibrant effect
Repurposed Material Options
Using repurposed materials for finishing touches can substantially cut costs and add unique character to your tiled floors. Upcycled wood, such as reclaimed pallets or scrap planks, can be transformed into custom borders or accents, giving your floor a rustic, eco-friendly vibe. Recycled glass, like old bottles or broken dishes, can be embedded as decorative insets or used to create colorful grout lines. These options not only save money but also lend your space a distinctive, personalized touch. Incorporating upcycled wood or recycled glass reduces waste and emphasizes sustainability, making your project environmentally friendly. With a little creativity, these repurposed materials become stylish, budget-conscious finishing elements that enhance your stenciled floor tiles’ charm and character.
Affordable Decorative Accents
Enhancing your tiled floor with affordable decorative accents doesn’t have to break the bank. You can add personality and style using simple touches like colorful accessories or small details. Focus on choosing striking color combinations that complement your stencil patterns and overall decor. Here are some budget-friendly options:
- Brightly painted borders around the tiles
- Colorful throw rugs that highlight stencil designs
- DIY painted accents on walls or furniture
- Coordinated decorative vases or pottery
- Creative wall art that echoes your tile patterns
These accents help tie the space together without overspending. By mixing vibrant color combinations and carefully selecting stencil patterns, you’ll create a cohesive, stylish look that’s uniquely yours—all on a budget.
Inspiring Before-and-After Transformations

Transforming plain or outdated floors into eye-catching features can dramatically change the look of a space. Before-and-after photos showcase stunning results with minimal effort and budget. When planning your stencil project, focus on color coordination to guarantee the new design complements your decor. Choosing the right pattern is key—simple geometric designs can create a modern vibe, while intricate motifs add elegance. Seeing a dull floor turn into a vibrant focal point inspires confidence in your DIY skills. Below is a quick comparison to motivate you:
| Before | Transformation | After |
|---|---|---|
| Worn, faded tiles | Fresh stencil with matching hues | Bright, inviting floor |
| Cluttered, dull space | Thoughtful pattern selection | Stylish focal point |
| Outdated design | Modern stencil update | Trendy, budget-friendly look |
Your own transformation awaits!
Frequently Asked Questions
How Long Does a Stenciled Floor Last With Everyday Wear?
You wonder how long a stenciled floor lasts with daily wear. Durability testing shows that with proper sealing and maintenance, stenciled floors can last 2-5 years. Material comparison indicates that acrylic paints might fade faster, while epoxy-based paints offer better longevity. To extend your floor’s life, clean spills promptly and reseal periodically. Proper care and selecting durable materials make certain your stencil design stays vibrant longer.
Can I Remove Stenciled Designs if I Want to Change Them Later?
Changing your mind is like turning a page; you can easily rewrite your story. Yes, you can remove stenciled designs with stencil removal techniques, much like peeling away a layer of peelable paint. If you decide to update your look later, simply use a gentle solvent or heat to carefully lift the stencil without damaging your flooring. It’s a flexible way to keep your space fresh and personalized over time.
What Are the Best Cleaning Methods for a Stenciled Floor?
To keep your stenciled floor looking great, follow a gentle cleaning routine using a soft broom or vacuum to remove dirt and debris. Use a damp mop with mild soap and water, avoiding harsh chemicals that can damage your design. Sealing techniques help protect your tiles from stains and wear, making cleaning easier. Regular maintenance guarantees your stenciled floor stays vibrant and beautiful over time.
Is It Possible to Stencil Over Existing Tiles Without Damage?
Yes, you can stencil over existing tiles if you properly prepare the surface. Start with thorough cleaning to make certain the tile is free of dirt and grease. Lightly sand or etch the surface to improve stencil adhesion and enhance stencil durability. Use a high-quality, flexible stencil adhesive or painter’s tape to keep the stencil in place. With careful preparation, you avoid damage and achieve a clean, professional look.
How Do I Fix Mistakes or Smudges During the Stenciling Process?
Imagine a painter’s hand steadying after a shaky stroke. When you make a mistake or smudge, gently lift the stencil if needed, then use a small brush with matching paint for correction. Seal the area with proper sealing techniques afterward to prevent further smudges. For larger errors, consider stencil correction by reapplying paint carefully, blending edges seamlessly. Patience guarantees your design stays crisp and beautiful.
Conclusion
With a little creativity and effort, you can turn your floor into a stunning centerpiece without breaking the bank. Stenciling offers a budget-friendly way to add personality and charm to any space. Remember, Rome wasn’t built in a day, so be patient and enjoy the process. Before long, you’ll have a beautiful, customized floor that proves good things come to those who wait—and work. Get ready to impress everyone with your DIY masterpiece!