To create dishwasher-safe mug designs with Sharpie markers, start by choosing a ceramic mug and cleaning it thoroughly. Decorate with high-quality, oil-based Sharpie markers, then let the ink dry completely. Seal your design with a dishwasher-safe clear coat and bake the mug at 350°F for about 30 minutes to set the artwork. Properly sealed and baked mugs can withstand top-rack dishwasher cycles. For more tips on perfecting your mug art, keep exploring the details below.
Key Takeaways
- Use high-quality, permanent oil-based Sharpie markers designed for ceramics to ensure vibrant, waterproof designs.
- Properly clean, dry, and lightly sand or prime the mug surface before decorating for better ink adhesion.
- Seal the completed design with a dishwasher-safe clear sealant or mod podge to protect it during washing.
- Bake the mug at 350°F (175°C) for about 30 minutes to permanently set the Sharpie ink.
- Hand wash with mild soap and avoid dishwasher cleaning to preserve the design’s longevity.
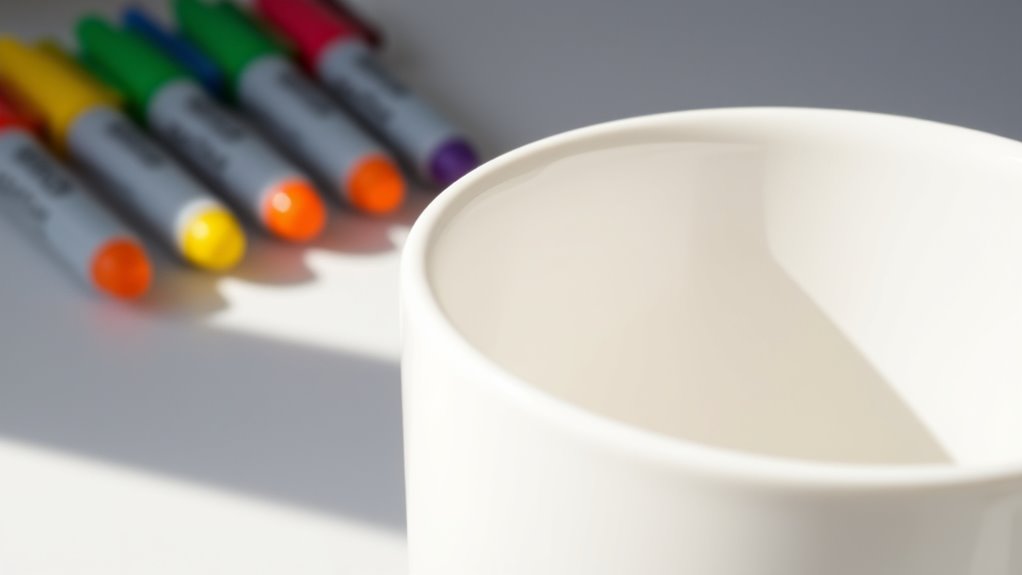
Choosing the Right Mug and Markers for Your Design
To create a durable, dishwasher-safe mug design, you need to choose the right mug and markers. Start by considering the mug material; ceramic mugs work best because they withstand heat and washing cycles. Avoid plastic or glass, as they may not hold the design as well. When selecting markers, opt for permanent, oil-based Sharpie markers designed for ceramics. These markers adhere better to the mug’s surface and resist fading after washing. Make sure to select markers with vibrant, waterproof ink that won’t smudge or peel off easily. Your choice of mug material combined with the right marker selection guarantees your design stays intact through repeated dishwasher cycles, giving you a lasting, personalized mug. Durable materials are essential for ensuring your design remains vibrant and intact over time.
Preparing Your Mug for Decoration
Before you start decorating, making sure to properly prepare your mug guarantees your design adheres well and lasts through washes. Begin by cleaning the mug thoroughly with soap and water to remove any dirt or oils that could hinder paint adhesion. Dry it completely before proceeding. To enhance paint adhesion and ensure durability, lightly sand the surface with fine-grit sandpaper or use a glazing technique like applying a thin layer of clear primer or sealant designed for ceramics. This step creates a smoother surface, helping your Sharpie designs stick better and resist chipping. Color accuracy is also an important factor in achieving vibrant and true-to-life designs. Avoid skipping this preparation, as it’s essential for long-lasting, dishwasher-safe results. Properly prepared mugs provide a solid foundation for vibrant, durable designs that withstand regular washing.
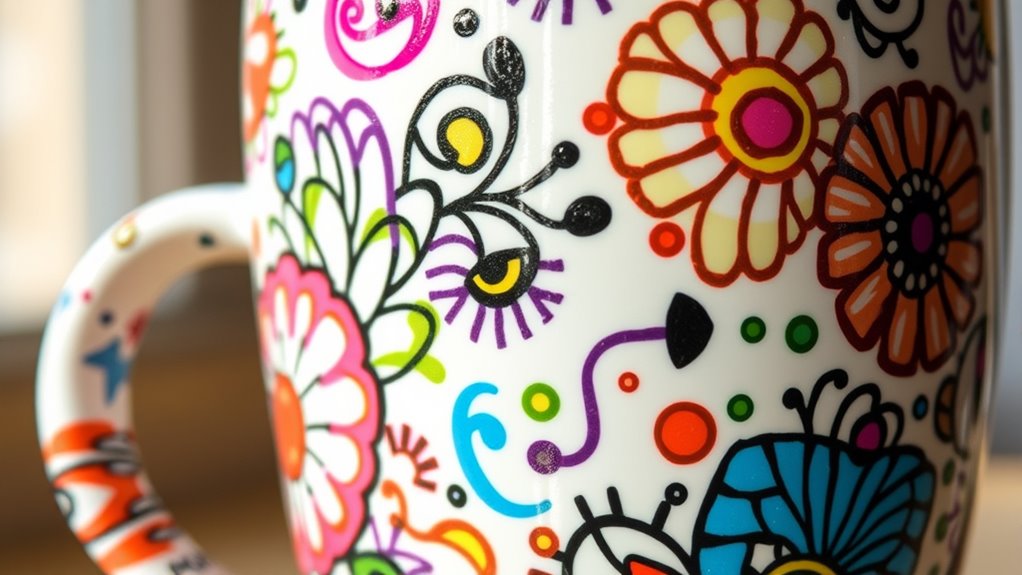
Designing With Sharpie Markers: Tips and Techniques
To create vibrant, lasting designs, start by choosing the right Sharpie markers that won’t smudge or fade. Make certain your mug’s surface is properly prepared so your artwork sticks and stays sharp. Once you’re finished, sealing your design guarantees it survives the dishwasher and daily use. For added durability, consider eco-friendly options made from sustainable materials to ensure your custom mug remains environmentally conscious.
Choosing the Right Markers
Choosing the right markers is essential for creating durable and vibrant designs on your mug. Start by considering different marker types, such as permanent markers, oil-based markers, or specific Sharpie varieties designed for ceramic surfaces. Each type offers unique benefits; for example, oil-based markers often produce more vivid, long-lasting colors. Your mug selection also matters—look for plain, smooth, and heat-resistant surfaces to ensure your design adheres well and withstands washing. Avoid cheap, low-quality markers that may smear or fade quickly. Instead, opt for high-quality, dishwasher-safe markers suited for ceramic and glass. This guarantees your artwork remains vibrant and intact through repeated washes, giving your mug a professional, lasting finish. Additionally, understanding material compatibility can help you choose markers that bond better with ceramic surfaces, ensuring your design endures over time.
Preparing Your Surface
Ensuring your mug’s surface is properly prepared is key to achieving clean, lasting designs with Sharpie markers. Start by cleaning the mug thoroughly to remove any dirt, grease, or residue. For ideal paint durability, consider applying a ceramic coating or a primer designed for ceramics, which helps create a smooth, even surface. Lightly sanding the mug with fine-grit sandpaper can also enhance adhesion by creating a slightly rough texture. After cleaning and prepping, wipe the surface with a damp cloth to remove dust. Avoid using oils or waxes that could interfere with marker adhesion. Proper preparation ensures your Sharpie designs will not only look vibrant but also withstand washing and daily use, giving your mug a professional, long-lasting finish. Preparing the surface properly can also help prevent smudging and bleeding of the marker ink during the decorating process.
Sealing and Fixing Designs
After completing your design with Sharpie markers, sealing your artwork is essential to preserve its vibrancy and prevent smudging or fading during washing. To fix imperfections or enhance marker blending, lightly heat-set your design with a craft gun or oven, which helps seal the ink onto ceramic textures. Applying a dishwasher-safe clear sealant or mod podge offers extra protection, locking in colors and preventing smudging. For best results, test your sealing method on a small area first. Remember, blending sharp lines and smooth progressions creates a professional look, especially on textured ceramic surfaces. Proper sealing guarantees your creative mug withstands daily use while maintaining vivid, lasting color. Incorporating protective finishes can further prolong the lifespan of your design and keep it looking vibrant over time.
Letting Your Artwork Dry and Setting It Properly

Once you’ve finished decorating your mug, it’s essential to let your artwork dry completely before handling or washing it. This step guarantees your design stays vibrant and prevents smudging. During this drying period, you can find artistic inspiration in observing how your colors blend naturally, creating unique effects. To encourage proper setting, avoid touching the design and keep the mug in a safe, flat spot. Rushing this process might cause colors to smudge or fade. Be patient and give your Sharpie artwork adequate time to set. Remember, a well-dried design is key to achieving a professional look and durability. With proper drying, your mug will be ready for the next step in making it dishwasher safe, ensuring your creative effort lasts. Additionally, using the right air quality considerations can help prevent any unintended damage to your artwork from environmental factors.
Baking Your Mug to Make the Design Dishwasher Safe
To guarantee your design becomes dishwasher safe, you need to bake your mug correctly. You should follow proper techniques by setting the right temperature and baking it for the appropriate amount of time. Getting these details right will help your artwork last through many washes. Additionally, understanding heat transfer principles can improve the durability of your design during the baking process.
Proper Baking Techniques
Baking your mug properly is essential to making your design dishwasher safe. To achieve even color blending, choose markers with vibrant, heat-set ink designed for ceramic surfaces. Carefully select your marker colors to guarantee smooth transitions and avoid harsh lines. When applying your design, work in thin, overlapping layers to help the colors blend seamlessly. Before baking, let the ink dry completely to prevent smudging. Place the mug in a cold oven, then set the temperature as recommended—usually around 350°F (175°C)—to ensure the ink bonds well. Avoid rushing the process, as proper baking time is vital for durability. By paying attention to marker selection and applying your design with precision, you’ll create a dishwasher-safe mug that looks great and lasts. Proper baking techniques are crucial for ensuring the design remains durable through multiple washes.
Temperature and Timing
Setting the right temperature and timing during baking guarantees your design bonds properly and becomes dishwasher safe. To achieve this, consider the design’s color contrast and complexity. Using local tips can help you customize the process based on your specific design. 1. Bake at 350°F (175°C) for 30 minutes to ensure the Sharpie ink sets securely without fading. 2. For intricate or detailed designs, reduce baking time slightly to prevent smudging or blurring, especially on complex patterns. 3. Let the mug cool completely before washing to allow the design to fully set, enhancing durability in dishwasher cycles. Adjusting temperature and timing based on your design’s color contrast and complexity helps prevent color bleed and ensures your mug remains vibrant after multiple washes.
Testing Your Mug’s Durability After Baking

After you’ve baked your mug, it’s essential to test its durability to confirm it remains safe and functional. Gently wash the mug and inspect the design for any cracking or fading. Next, perform a simple scratch test with your fingernail to check if the Sharpie ink stays intact. This step helps you evaluate color blending and design layering effectiveness. Visualize the mug’s surface as shown below:
| Surface Condition | Result |
|---|---|
| Color blending | Colors stay vibrant |
| Design layering | No peeling or cracking |
| Ink adhesion | Ink remains intact |
| Fading after wash | Minimal or none |
| Durability test | Passed or needs touch-up |
This process ensures your custom mug keeps its eye-catching appeal through daily use and cleaning.
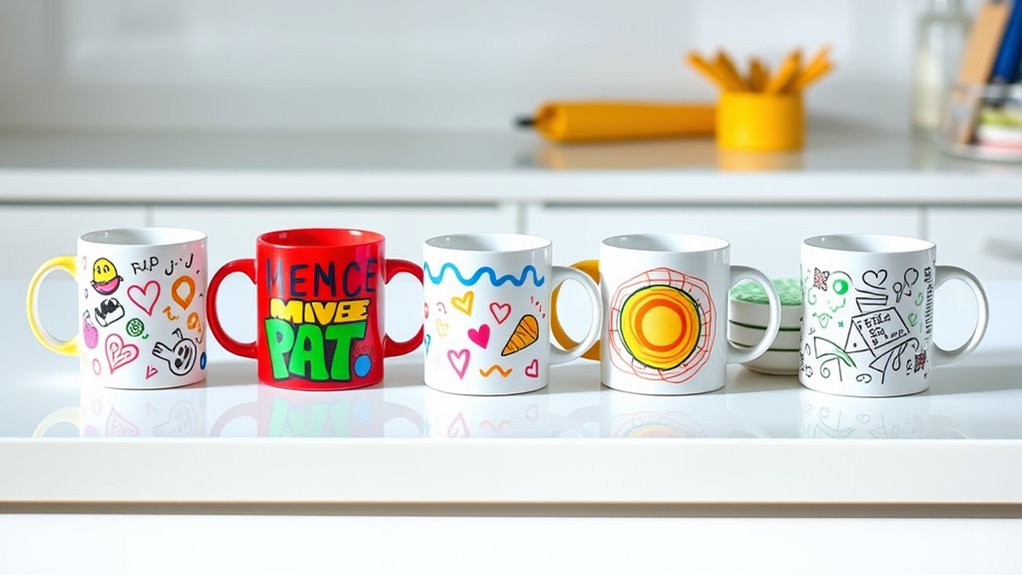
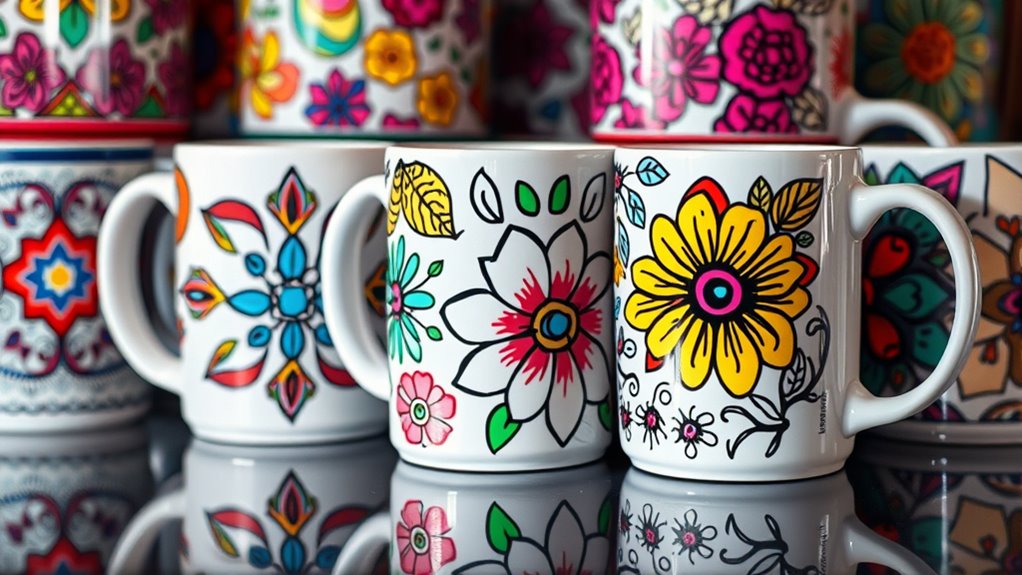
Creative Ideas for Personalized Mug Designs
Get creative with your mug designs by personalizing them to reflect your personality or favorite themes. Use different mug materials like ceramic or glass to enhance your artwork. To make your design stand out, consider these ideas:
- Quotes or sayings – Write inspiring or funny quotes using Sharpie brands for bold, lasting ink.
- Doodles or illustrations – Sketch simple images or patterns that match your style, making sure to choose the right mug material for the best results.
- Colorful accents – Add pops of color with metallic or neon Sharpie markers, which work well on smooth mug surfaces.
Troubleshooting Common Issues With Sharpie Mug Art
Despite Sharpie markers being popular for mug art, issues like smudging, fading, or ink rubbing off can still occur if you’re not careful. The mug material, like ceramic or glass, affects ink adhesion. Using the right marker brands, such as oil-based Sharpies, helps prevent problems. To troubleshoot, consider this table:
| Issue | Cause | Solution |
|---|---|---|
| Smudging | Inadequate drying | Let ink dry completely before handling |
| Fading | Low-quality markers | Use high-quality, oil-based Sharpies |
| Ink rubbing off | Improper sealing or curing | Bake mug after decorating or apply sealant |
| Material incompatibility | Mug material not suitable | Choose ceramic mugs designed for art |
| Sharpie bleeding | Excessive ink application | Use light layers and let dry between coats |
Always test markers on your mug material first to avoid issues.
Maintaining Your Custom Mug for Long-lasting Use
To guarantee your custom mug stays vibrant and intact over time, proper maintenance is essential. Your mug personalization will last longer if you follow these simple steps. First, avoid soaking or scrubbing the design harshly, as this can wear down the Sharpie techniques used. Second, hand wash your mug gently with mild soap and water, rather than using a dishwasher. Third, store your mug in a safe spot to prevent scratches or chips that could damage the artwork. These practices help preserve the vividness of your Sharpie designs and ensure your mug remains functional. Regular care not only protects your mug’s appearance but also keeps your mug personalization looking fresh for years to come. Proper maintenance is the key to long-lasting, beautiful custom mugs.
Safety and Care Tips for Dishwasher-Safe Decor
To keep your dishwasher-safe decor looking great, you need to follow proper cleaning techniques. Hand washing is usually recommended to prevent damage, and it’s important to avoid abrasive scrubbers. By taking these simple steps, you’ll protect your design and extend its lifespan.
Proper Cleaning Techniques
When cleaning your dishwasher-safe mug, it’s important to follow proper techniques to maintain the design and ensure safety. To preserve color blending and marker longevity, avoid abrasive scrubbers that can damage the design. Instead, follow these steps:
- Use a soft sponge or cloth to gently wash the mug, preventing scratches that could fade the artwork.
- Opt for mild dish soap and lukewarm water, avoiding harsh chemicals that may degrade the marker ink.
- Place the mug on the top rack of your dishwasher or hand wash to prevent excessive heat exposure, which can cause colors to fade or bleed.
Hand Wash Recommendations
While dishwasher-safe mugs are designed for easy cleaning, hand washing is often recommended to preserve the design and guarantee safety. When you hand wash, use a soft sponge and mild detergent to avoid damaging the ceramic texture. Abrasive scrubbers can scratch the surface and disrupt the sharpie artwork, especially where color blending occurs. Gentle cleaning helps maintain the vibrant colors and sharp lines, preventing fading over time. Avoid soaking the mug for long periods, as prolonged exposure to water can weaken the decoration. Rinsing thoroughly ensures no detergent residue remains, which could affect the design. By handling your mug with care and avoiding harsh scrubbing, you help preserve its unique design and ensure it stays safe and beautiful for everyday use.
Avoiding Decor Damage
Even though dishwasher-safe decor is designed for durability, you still need to handle it carefully to prevent damage. To protect your mug’s ceramic durability and ensure marker longevity, follow these tips:
- Avoid scrubbing the decorated surface harshly, which can cause the design to fade or chip.
- Use gentle dishwashing techniques, such as hand washing when possible, to minimize wear.
- Don’t expose the mug to extreme temperature changes, as rapid shifts can crack the ceramic or weaken the design.
Frequently Asked Questions
Can I Use Other Types of Markers Besides Sharpie for Dishwasher-Safe Mugs?
You wonder if you can use other markers besides Sharpie for dishwasher-safe mugs. Yes, alternative marker options like porcelain or ceramic markers work well, offering good ceramic marker durability. These markers are specifically designed for mugs, ensuring your designs stay vibrant through multiple washes. Just follow the instructions for proper curing, and you’ll enjoy your custom mug without worrying about fading or peeling.
How Many Times Can I Safely Wash a Sharpie-Drawn Mug?
You can usually wash a Sharpie-drawn mug about 3 to 5 times before the design’s dishwasher durability starts to fade. The marker longevity depends on how carefully you wash it, ideally by hand to extend its life. If you use the dishwasher, avoid high heat and harsh detergents. Keep in mind, repeated washes will gradually reduce the design’s durability, so handle with care to preserve your artwork.
Are There Specific Dishwasher Settings to Preserve the Mug’S Design?
When it comes to preserving your mug’s design, you need to mind the details. Stick to a gentle dishwasher cycle and keep the temperature settings low—hot water can be the straw that breaks the camel’s back. Use a delicate or hand-wash cycle if possible, and avoid high heat. This way, your design stays bright and intact, and you won’t be caught flat-footed when you want to enjoy your favorite mug.
Can I Add Multiple Layers or Colors to My Sharpie Mug Design?
You can definitely add multiple layers or colors to your design by using layering techniques and color blending. Start with light colors and build up gradually, allowing each layer to dry before adding the next. Use fine tips for details and blend colors while they’re still wet for smooth shiftings. Just remember to set your design properly with baking to make it durable, especially if you’re planning to wash the mug.
Is It Safe to Microwave a Dishwasher-Safe Sharpie Mug?
You might wonder if your dishwasher-safe Sharpie mug is microwave safe. Typically, these mugs are designed for dishwasher durability, but their microwave safety can vary. To keep your mug in top shape, check the manufacturer’s instructions. Generally, if it’s labeled microwave safe, you can use it without worries. However, avoid extreme heat to prevent color fading or damage, ensuring your mug remains both microwave and dishwasher durable.
Conclusion
With these tips, your Sharpie mug will transform into a masterpiece that outshines even the brightest stars! Just follow the steps carefully, and your personalized design will stay vibrant and dishwasher-safe for ages. Remember, with a little patience and creativity, you’re crafting a one-of-a-kind treasure that’ll make your friends wonder if you’ve created a magic potion. So go ahead—doodle, bake, and enjoy your stunning, long-lasting mug!