
To avoid ruining your projects, choose the right sanding grit for each stage. Start with coarse grit to quickly shape or remove imperfections, then move to medium and fine grits for smoothness. Use proper technique, follow the grit progression, and inspect your surface for smoothness before finishing. Proper tool maintenance and patience are key. If you want to learn detailed steps to perfect your sanding, keep exploring these tips.
Key Takeaways
- Use coarse grit (40-80) for initial shaping and removing imperfections, then progress to finer grits for smoothness.
- Always follow a logical grit progression (e.g., 80, 120, 220+) to prevent deep scratches and surface damage.
- Avoid applying excessive pressure; let the abrasive do the work to prevent gouging and uneven surfaces.
- Keep the surface clean between grit changes to prevent debris scratches and ensure a smooth finish.
- Properly maintain tools and sandpaper to maximize efficiency and avoid unnecessary damage during sanding.
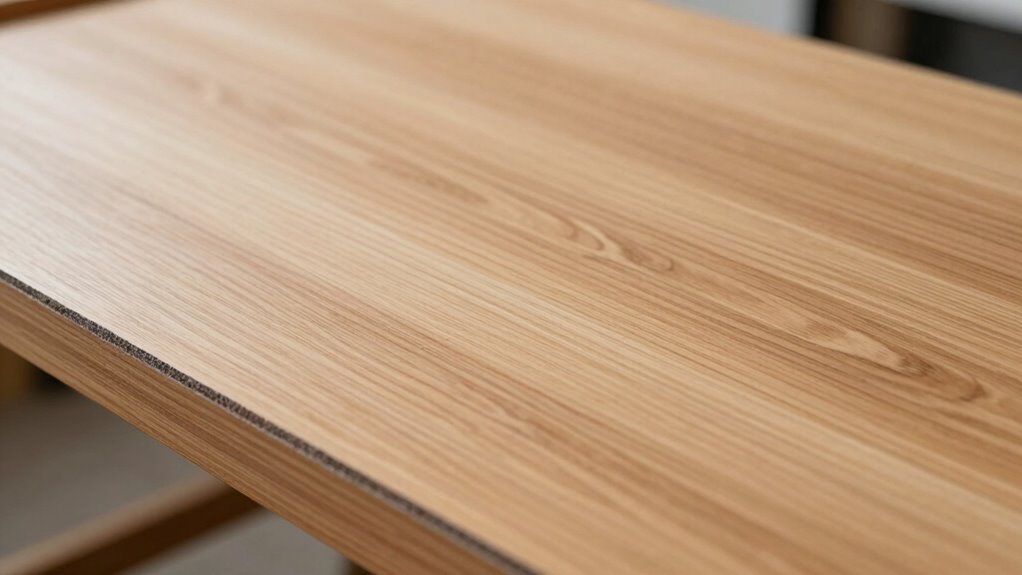
What Is Sanding Grit and Why Does It Matter?
Have you ever wondered how the roughness of a sanding grit affects your project? Grit measurement refers to the size of abrasive particles on the sandpaper or pad. Coarser grits, with lower numbers, have larger particles that remove material quickly but leave a rougher surface. Finer grits, with higher numbers, contain smaller particles, producing a smoother finish. Understanding abrasive differences is key to choosing the right grit for your task. Using too coarse a grit can damage your material or create unnecessary scratches, while too fine a grit might not remove enough material or prep the surface properly. Grasping what sanding grit is helps you select the appropriate abrasive for each step, ensuring your project turns out smooth, professional, and damage-free. Recognizing the subtopic 1: Air Purifier Maintenance Dos and Don’ts and the importance of proper cleaning can also help extend the lifespan of your tools and maintain optimal performance. Being aware of the essential oils for surface preparation can also assist in creating ideal conditions for finishing your project. Recognizing the comparative advantage of different grit sizes allows for more efficient and effective sanding processes. Additionally, understanding the abrasive material composition can influence the overall quality and durability of your finish, making your project more successful in the long run. Moreover, mastering the selection of appropriate grit sequence ensures a progressive and controlled material removal, reducing errors and improving the final appearance.
How Does the Grit Scale Work? From Coarse to Fine

The grit scale measures abrasive particle size, guiding you from rough to smooth finishes. As you progress through the grit sizes, the abrasive materials become finer, reducing scratches and imperfections. Coarse grits, like 40 or 60, remove material quickly and shape surfaces. Moving to medium grits, such as 100 or 150, refines the surface further, smoothing out coarse scratches. Fine grits, like 220 or higher, produce a polished, smooth finish ideal for finishing touches. The grit progression ensures controlled material removal, preventing damage and achieving the desired surface quality. Understanding how the grit scale works helps you select the right abrasive materials at each stage, ensuring efficient sanding without ruining your project. Proper grit sequencing is key to professional-looking results. Proper grit sequencing is essential for achieving optimal surface quality and durability.
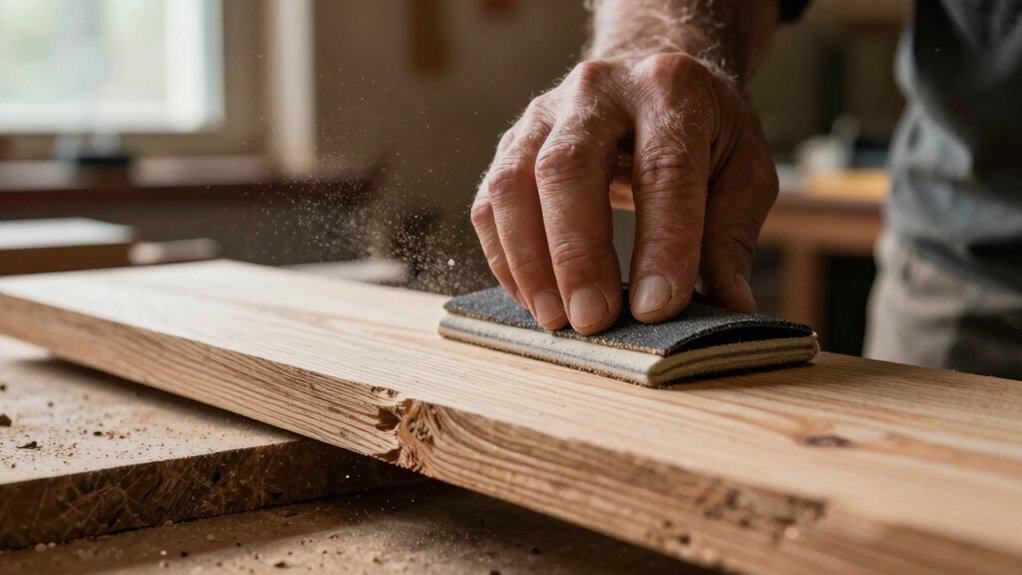
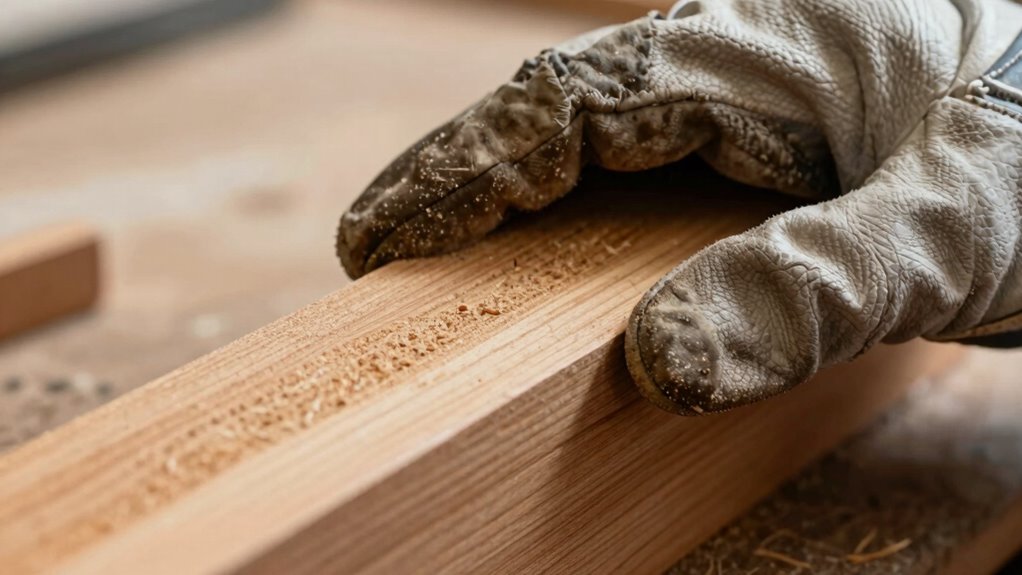
When Should You Use Coarse Grit for Initial Sanding?
Use coarse grit during initial sanding when you need to remove surface imperfections or shape raw material quickly. It’s also crucial for preparing the surface for finer finishing layers. Knowing when to switch to a finer grit ensures a smooth, professional result. Incorporating sound vibrations into your sanding process can even enhance surface smoothness by reducing microscopic roughness. Additionally, understanding piercing care and hygiene helps prevent complications that could affect your project’s outcome.
Remove Surface Imperfections
When you need to remove surface imperfections like deep scratches, dents, or stubborn paint drips, starting with coarse grit sandpaper is essential. Use it to level out uneven areas quickly and effectively. Focus on maintaining the correct grain direction to prevent creating new scratches and ensure a smooth finish. As you sand, be mindful of dust removal; coarse grit produces a lot of debris, so regularly clear away dust to keep your workspace clean and avoid clogging the sandpaper. This initial stage helps you strip away imperfections efficiently, setting a solid foundation for finer sanding. Proper technique and understanding abrasion principles can significantly improve your sanding outcomes. Additionally, using proper safety precautions ensures you protect yourself from dust and debris during aggressive sanding. Being aware of the different grit sizes helps you choose the right starting point for various projects, making your work more effective and less frustrating. Recognizing how material hardness affects abrasive selection can also optimize your results and reduce unnecessary wear on your tools. For best results, consider the compatibility with your project type to select the most suitable grit for your specific material and finish goals.
Shape Raw Material
Ever wonder when coarse grit sandpaper is necessary for shaping raw material? You should use coarse grit when you need to remove a lot of material quickly or reshape the wood’s form. It’s especially useful when working with rough or uneven wood grain, where finer grits won’t cut it. Coarse grit helps level out the surface and correct major imperfections before you focus on finer details. Pay attention to your sanding patterns—apply even pressure and work with the grain to avoid scratches or gouges. Using coarse grit too late can damage the wood, so reserve it for initial shaping. Once the shape is defined, switch to finer grits to smooth out the surface and prepare for finishing.
Prepare for Finishing
Wondering if coarse grit sandpaper is appropriate as you prepare for the final finish? Use coarse grit when removing old paint, heavy imperfections, or rough surfaces that could interfere with wood stain or paint adhesion. It’s ideal for smoothing out deep scratches or shaping raw wood before moving to finer grits. Starting with coarse grit helps create a clean, even surface, ensuring the finish adheres properly and looks smooth. Proper initial sanding sets the stage for a flawless, professional-looking finish. Additionally, understanding seasonal maintenance can help you decide the best time for such prep work to ensure long-lasting results. Recognizing surface preparation techniques can further enhance the durability and appearance of your project, much like the careful planning involved in professional craftsmanship. Proper sanding techniques are essential to achieve a high-quality finish and prevent damage to your workpiece, especially when considering connected home technology that can monitor or automate parts of your project.
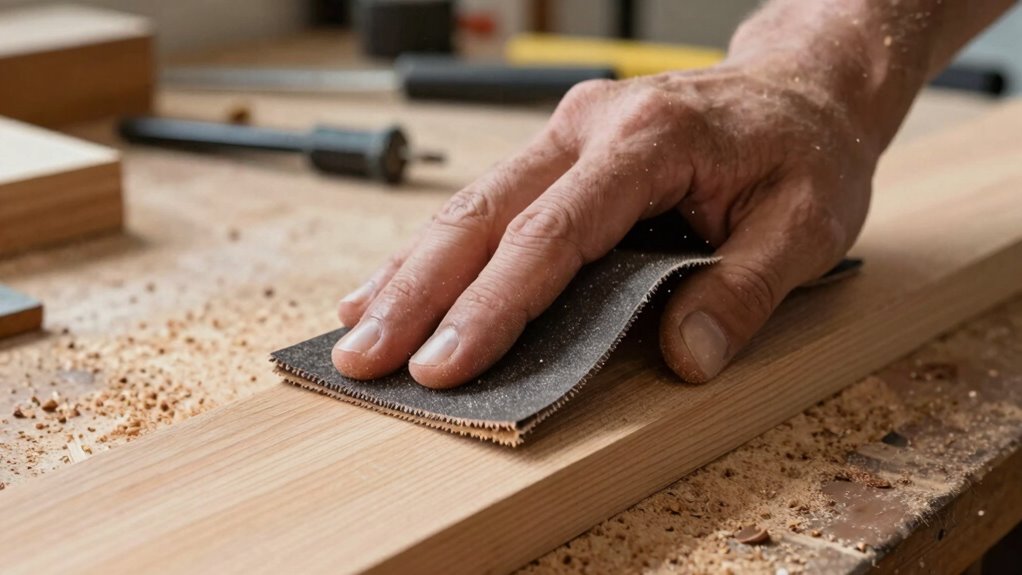
How Medium Grit Helps Smooth Your Wood Surface
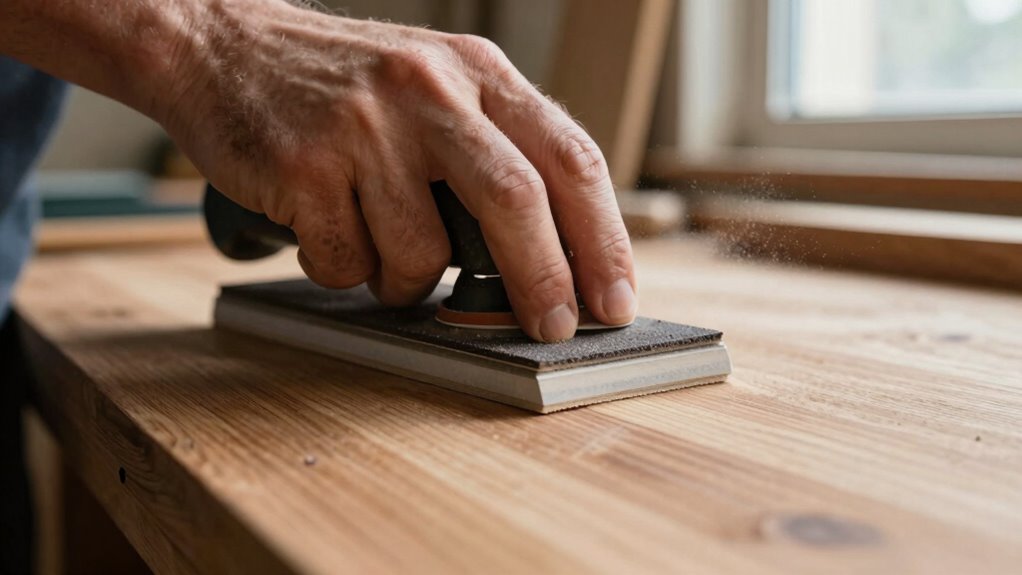
Medium grit sandpaper plays a crucial role in refining your wood surface after initial sanding. It helps remove scratches left by coarse grits and prepares the wood for a smoother finish. To achieve ideal results, always follow the grain direction, which minimizes marks and ensures an even surface. Applying moderate sanding pressure—too much pressure can gouge the wood, while too little won’t effectively smooth it out—along with proper sanding technique, is essential for a professional-looking result. Use consistent, even strokes to maintain a uniform texture. This grit level effectively balances material removal and surface refinement, making it easier to move on to finer grits later. Additionally, understanding the Free Floating nature of sandpaper can help you maintain control and achieve a more consistent finish. Paying attention to pressure application and proper technique ensures a smooth, professional-looking surface that’s ready for finishing. Developing a steady hand and understanding sanding pressure can significantly impact the quality of your project. Remember, patience and attention to grain direction and pressure are key to creating a smooth, professional-looking surface that’s ready for finishing. Incorporating proper sanding techniques can prevent imperfections and improve overall results.
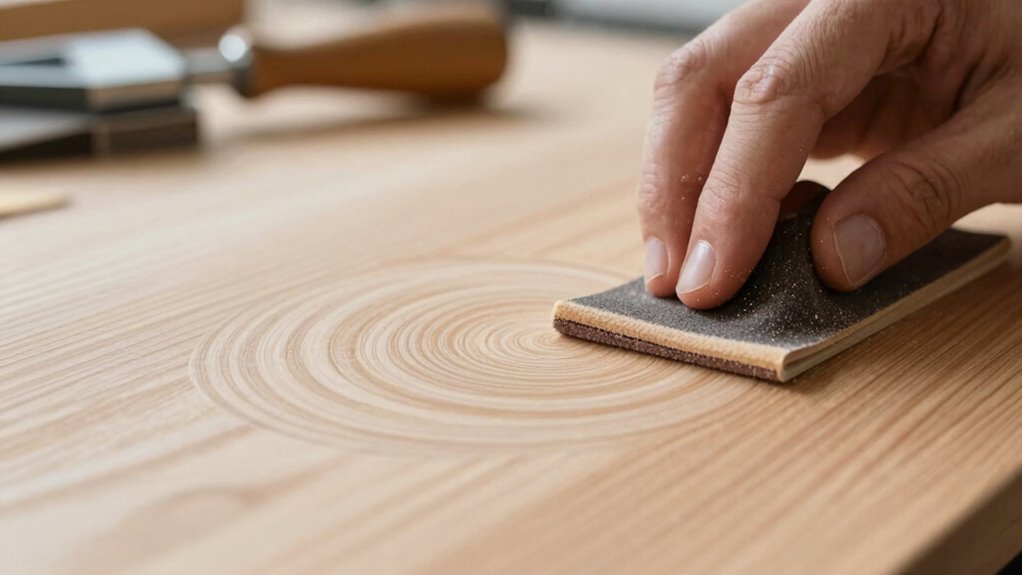
How Fine Grit Creates a Professional, Smooth Finish
After using medium grit to smooth out surface scratches, applying fine grit sandpaper takes your project to the next level. This step refines the surface, preparing it for a polished, professional look. Effective sanding techniques with fine grit help eliminate tiny imperfections and create a smooth, even finish. As you progress, use light, consistent pressure and follow the grain to avoid gouges or uneven spots. The finishing touches made with fine grit are vital for a sleek appearance and maximum paint or stain application. Remember, patience and attention to detail during this stage guarantee your project looks professional and feels smooth to the touch. Proper use of fine grit ultimately enhances the quality and durability of your completed work. Sanding techniques are essential for achieving a flawless, durable finish that stands the test of time, especially when you focus on craftsmanship and meticulous preparation. Additionally, understanding the types of sandpaper grit can help you select the ideal paper for each phase of your project.
Common Grit Mistakes That Can Ruin Your Woodwork
Using the wrong grit can quickly ruin your project’s finish. If you start with too coarse a grit, you’ll leave scratches that are hard to fix. Also, rushing the edges or ignoring grain progression can cause uneven results that compromise your work’s quality.
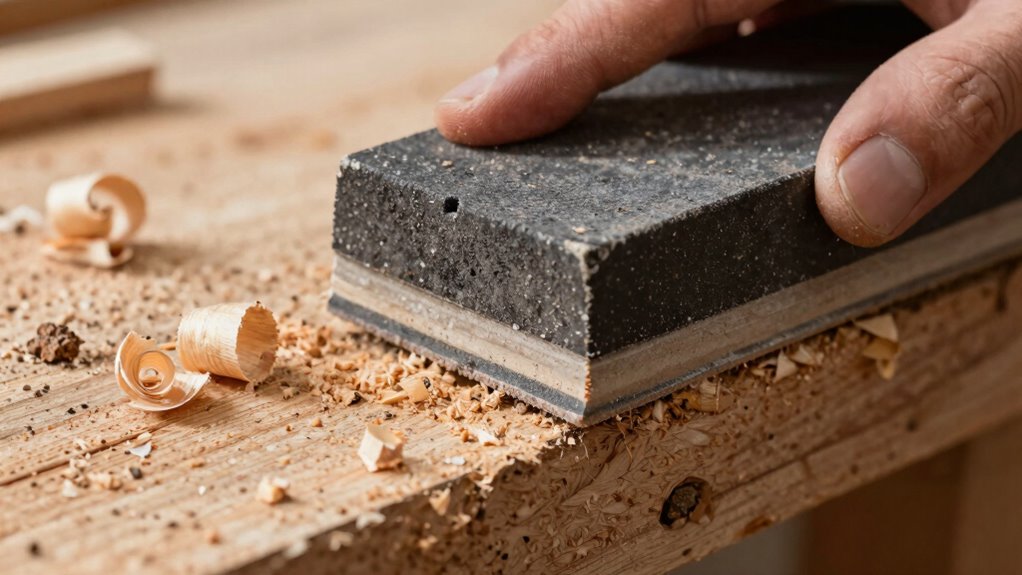
Using Too Coarse Grit
Choosing a grit that’s too coarse can quickly sabotage your woodworking project. When you use overly abrasive materials, you risk removing too much material or creating deep scratches that are hard to fix. Proper grit selection is essential for achieving a smooth finish without damaging your workpiece. Starting with a coarse grit might seem efficient, but it often leads to uneven surfaces and more work in the long run. Instead, choose a grit appropriate for your task—finer grits for finishing and coarser ones only when removing heavy material or leveling. Using the wrong grit not only damages your wood but also prolongs your project, increasing frustration and the chance of mistakes. Always match your abrasive materials to the task at hand to ensure a flawless finish.
Over-Sanding Edges
Over-sanding edges is a common mistake that can severely damage your woodworking project. When you focus too much on sanding edges, you risk over sanding, which removes too much material and disrupts the grit layer. This edge over sanding can lead to uneven surfaces and compromised structural integrity. It’s tempting to smooth every corner perfectly, but excessive sanding strips away the necessary grit layer, reducing the effectiveness of future finishes. To avoid this, sand edges carefully and sparingly, maintaining the original contours and details. Use light pressure and check frequently to ensure you’re not removing more material than needed. Remember, preserving the grit layer on edges helps achieve a smoother, more durable finish without risking damage to your project.
Ignoring Grain Progression
Ignoring the progression of grain when sanding can lead to visible scratches and an uneven finish. To achieve a smooth, professional look, you must follow the proper sanding sequence aligned with the grain progression. Start with coarser grits and work gradually to finer ones, always sanding with the grain rather than against it. Skipping this order can cause scratches that are difficult to remove later. Additionally, switching grit directions randomly disrupts the grain’s natural flow, making imperfections more noticeable. Pay close attention to the grain pattern as you sand, moving in the same direction throughout each grit stage. This disciplined approach guarantees your finish is flawless, free of visible scratches, and highlights the natural beauty of your woodwork.
How to Progress Grits Properly During Sanding
To achieve a smooth, polished finish, you need to progress through grit levels methodically during sanding. Start with a coarse grit to remove rough imperfections and shape the surface, then gradually move to finer grits. Proper grain progression guarantees you don’t reintroduce scratches or damage to the workpiece. When selecting grit, follow a logical sequence—typically moving from around 80 to 120, then 220, and beyond if needed. Each step removes the scratches left by the previous grit, refining the surface. Avoid skipping grits, as this can compromise the finish. Pay attention to the grit progression, and always clean the surface between grits to prevent debris from causing scratches. This disciplined approach results in a smooth, professional-looking finish.
Tips to Save Time and Material When Sanding

Efficient sanding not only improves your project’s quality but also helps you save both time and materials. To achieve this, prioritize sanding safety by wearing proper gear and working in well-ventilated areas to reduce dust and environmental impact. Use the right grit and avoid excessive pressure—this prevents unnecessary material waste and speeds up the process. Reusing or recycling sandpaper can also cut costs. Proper technique ensures smoother surfaces with fewer passes, conserving resources. Here’s a quick emotional overview:
| Motivation | Technique | Result |
|---|---|---|
| Save money | Use correct grit | Less waste, faster results |
| Protect the environment | Reuse and recycle sandpaper | Reduced environmental impact |
| Ensure safety | Wear protective gear | Confidence and peace of mind |
| Work efficiently | Avoid over-sanding | Time saved, project perfected |
| Stay conscious of impact | Prioritize safety & eco-friendliness | Satisfaction in your craft |
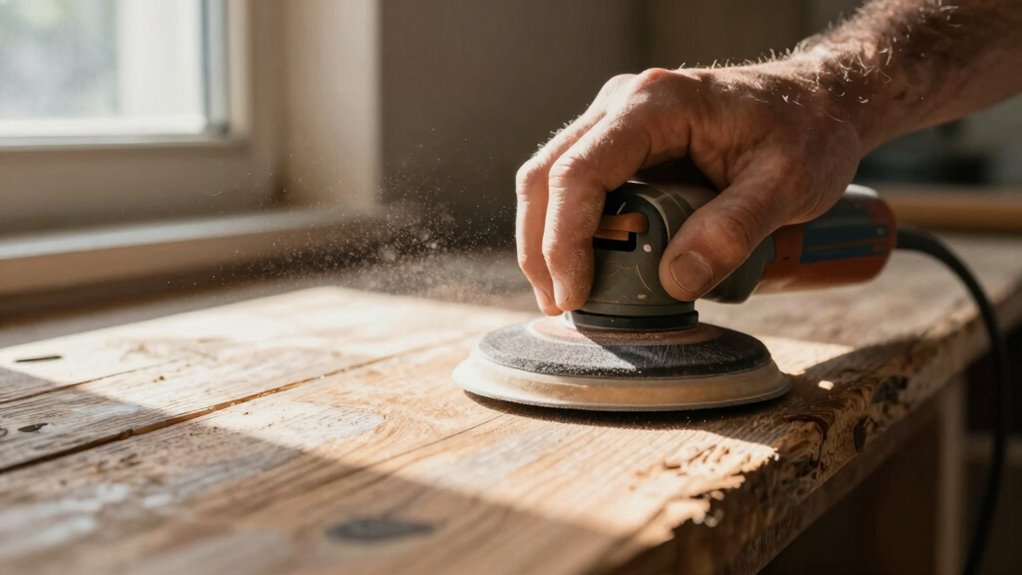
What Tools and Techniques Make Sanding More Effective?

Choosing the right sanding tools and techniques can make a big difference in your results. Using proper tools and preparing surfaces correctly helps you sand more efficiently and achieve a smoother finish. Let’s explore how selecting the right equipment and methods can improve your sanding process.
Proper Sanding Tools Selection
Selecting the right sanding tools can considerably improve your results and make the process smoother. Start by choosing the appropriate sandpaper grit for your project—coarser grits remove material faster, while finer grits give a smoother finish. Use tools designed for your surface, like handheld blocks for detailed work or power sanders for larger areas. Always prioritize sanding safety: wear masks and goggles, and work in well-ventilated areas. Proper tool maintenance is essential; keep your tools clean and in good condition to ensure effective sanding and prevent accidents. Regularly inspect your equipment for wear or damage, replacing worn parts promptly. By selecting suitable tools and maintaining them well, you’ll achieve better results with less effort and avoid costly mistakes.
Correct Sanding Techniques
Using the right tools and techniques can substantially improve your sanding results. Keep your movements steady, applying even pressure to avoid gouging or uneven surfaces. Always prioritize sanding safety by wearing a mask and goggles, especially when working with dust that impacts the environment. Use a sanding block for flat surfaces and an orbital sander for larger areas to boost efficiency. Maintain your tools regularly to prevent overheating and damage.
| Technique | Tool Type | Focus Area |
|---|---|---|
| Use light, consistent strokes | Hand or power sander | Prevent gouging and reduce dust |
| Keep the surface clean | Dust brush or vacuum | Minimize environmental impact |
| Sand along the grain | Hand tools | Achieve smooth finish |
| Change grit progressively | Grit-specific tools | Avoid deep scratches |
Surface Preparation Tips
Proper surface preparation is essential for achieving a smooth, professional finish. To optimize your sanding, focus on these key techniques:
- Always follow the grain direction to prevent scratches and ensure even removal.
- Adjust your sanding speed—slower speeds give you better control and reduce gouging.
- Use the right grit to gradually refine the surface, starting coarse and moving to finer abrasives.
- Keep consistent pressure, avoiding excessive force that can create uneven spots.
How Can You Tell When Your Surface Is Ready for Finishing?
Knowing when your surface is ready for finishing is essential to achieve a smooth, professional look. You can tell if it’s prepared by checking the grain direction; the surface should feel smooth and consistent without scratches or rough spots. Dust removal is vital—any dust or debris left can ruin your finish. Run your hand gently across the surface; it should feel even and silky. Inspect the surface in good lighting to see if the grain appears uniform and free of swirl marks. If you notice any uneven areas, sand lightly along the grain again. Here’s a quick guide:
| Indicator | Action |
|---|---|
| Smooth feel | Ready for finishing |
| Dust-free surface | Fundamental before applying finish |
| Consistent grain | Indicates proper sanding |
Frequently Asked Questions
Can I Reuse or Clean Sanding Paper for Multiple Projects?
You can reuse or clean sanding paper for multiple projects, especially if you have reusable sandpaper. To do this, gently brush off dust and debris after each use, or clean the sanding grit with compressed air or a damp cloth. Keep in mind, the grit may wear down, so inspect it regularly to guarantee effective sanding. Proper cleaning extends the life of your sandpaper and saves you money on replacements.
How Does Humidity Affect Sanding Grit Effectiveness?
Imagine your sanding grit as a tiny mountain range, waiting to smooth rough terrain. Humidity causes moisture impact on the grit, making it clog and lose effectiveness. Environmental factors like high humidity turn your grit into a damp sponge, slowing down the job and risking scratches. To keep your project on track, work in dry conditions or let your sandpaper dry thoroughly between uses, ensuring it stays sharp and efficient.
Is There a Difference Between Sanding Grit for Wood and Other Materials?
Yes, there’s a difference between sanding grit for wood and other materials. You need to take into account material compatibility and grit variation to get the best results. For wood, you often use coarser grits initially, then switch to finer ones for a smooth finish. For metals or plastics, you might need finer or specialized grits. Always match the grit to the material to avoid damaging it and achieve a professional look.
How Do I Choose the Right Grit for Delicate or Soft Woods?
Choosing the right grit for delicate or soft woods is like walking a tightrope—you need balance. Start with a fine grit, around 180 to 220, to avoid gouging the grain type. Use a gentle sanding technique, applying light pressure and slow strokes. This prevents scratches and preserves the wood’s softness. Gradually move to finer grits if needed, ensuring a smooth finish without damaging the material.
What Are the Signs That My Sanding Grit Is Worn Out or Ineffective?
You’ll notice your sanding grit is worn out when the surface feels rougher instead of smoother, and you see less visible grit particles on the surface. If you’re sanding a surface and it’s not improving, or the grit seems dull, it’s time to switch. Ineffective grit won’t cut properly, leaving scratches or uneven spots, especially when grit visibility diminishes. Keep an eye on these signs to make certain smooth, professional results.
Conclusion
By understanding sanding grit and using the right progression, you’ll avoid ruining your projects. For example, if you start with too fine a grit, your surface may not be properly prepared, leading to a rough finish. Instead, follow the grit scale carefully, and you’ll achieve smooth, professional results every time. With patience and the right tools, sanding becomes quicker and more satisfying, making your woodworking projects look their best and last longer.