
To refinish a small side table, start by thoroughly cleaning and sanding the surface for better paint adhesion. Choose your paint technique, like brush strokes for a matte finish or sponging for texture. Apply several thin coats of paint, letting each dry fully. Seal with a protective topcoat to guarantee durability. Add decorative details if desired for a personalized touch. Once you master these steps, you’ll discover how to create a beautiful, custom piece that enhances your space.
Key Takeaways
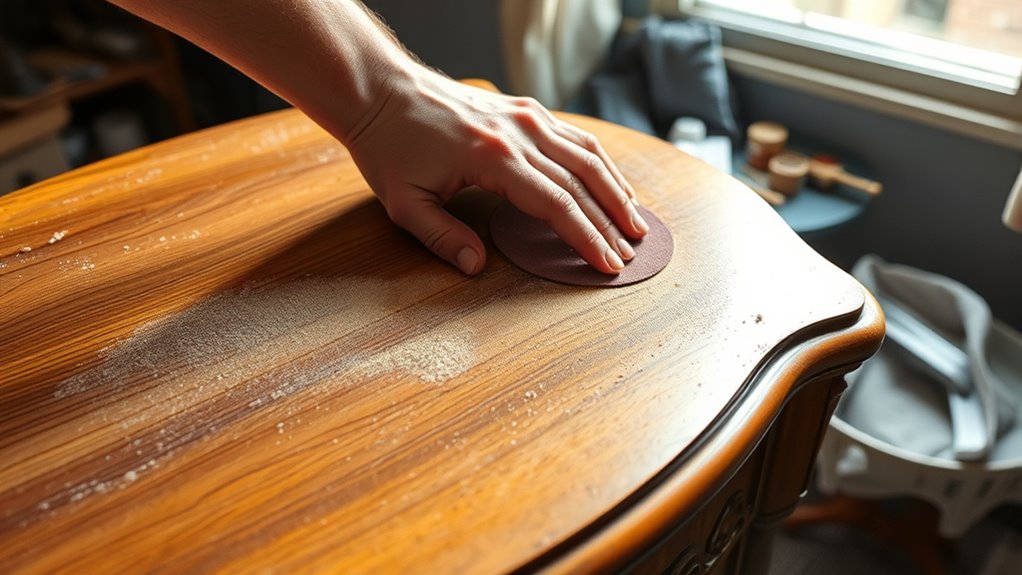
- Clean and sand the table thoroughly to ensure a smooth, adhesive surface for the new finish.
- Choose and apply a primer if needed, then use thin, even coats of paint with quality brushes or rollers.
- Add decorative techniques like distressing or stenciling for a personalized, vintage, or textured look.
- Seal the painted surface with a clear topcoat to protect against wear and enhance durability.
- Allow sufficient drying time between coats and after sealing to achieve a professional, long-lasting finish.
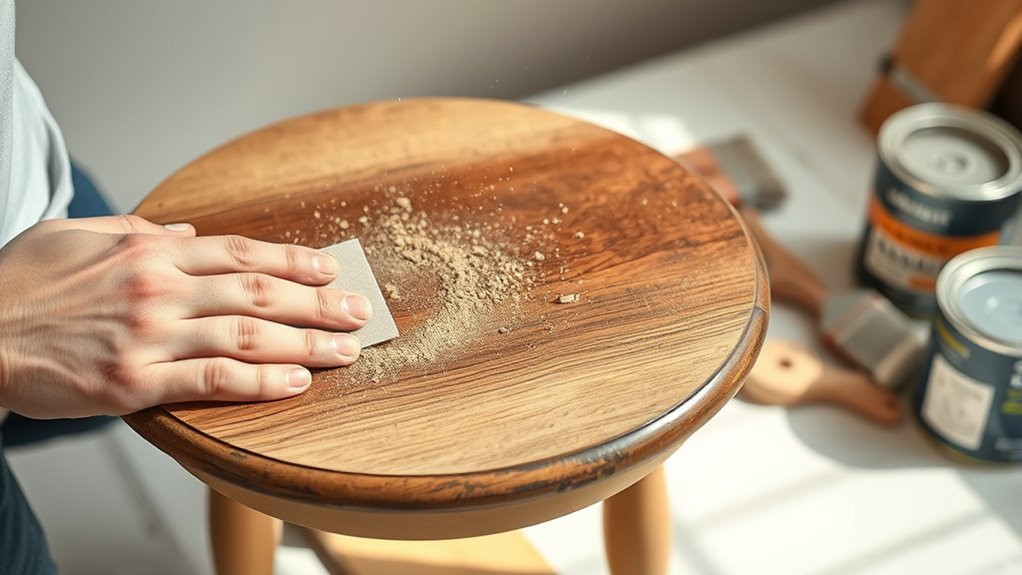
Ever wondered how to give your small side table a fresh new look? Rejuvenating furniture is a rewarding project, and with the right approach, you can transform a tired piece into something stunning. The first step is understanding DIY paint techniques, which can profoundly influence the final appearance. Whether you prefer a smooth, glossy finish or a more textured, rustic look, your choice of techniques will set the tone. For example, you might opt for a simple brush stroke to create a soft, matte finish or experiment with sponging or ragging to add depth and character. Sanding the surface beforehand allows the paint to adhere better and creates a smoother result, especially if you’re working with a piece that has existing paint or varnish. Use fine-grit sandpaper and be sure to remove all dust before applying any primer or paint. Additionally, considering paint techniques can help you achieve different aesthetic effects tailored to your style.
Choosing the right finish is just as vital as the paint technique itself. Think about how you plan to use the table and what style fits your home decor. If you want a sleek, modern look, a high-gloss or semi-gloss finish works well because it’s durable and easy to clean. For a more vintage or shabby-chic vibe, a matte or satin finish might suit better, especially if you’re aiming for a softer, more muted appearance. You might also consider distressing the paint for a worn-in feel or using a clear protective topcoat to seal and safeguard your work. The finish not only impacts aesthetics but also determines how well the table holds up over time, especially in high-traffic areas or if the table gets frequent use.
Choose a finish that complements your style and usage, balancing durability with aesthetic appeal.
Once you’ve chosen your paint and finish, it’s time to prep the surface. Clean the table thoroughly to remove dirt, grease, or old wax. Apply a primer if you’re working with a light or dark contrasting paint, or if the surface is uneven or stained. When applying paint, use quality brushes or foam rollers for a smooth, even coat. Multiple thin layers are better than one thick layer, allowing each to dry completely before applying the next. After painting, evaluate whether you want to add extra decorative touches, such as stenciling, decals, or hand-painted details, to give your table a personalized flair.
Finally, seal your work with a protective topcoat suited for your chosen finish. This step guarantees your DIY effort withstands daily wear and tear. With patience and attention to detail, your small side table will not only look refreshed but also become a unique piece that adds charm and character to your space.
Frequently Asked Questions
What Tools Are Essential for Refinishing a Small Side Table?
For refinishing your small side table, you’ll need essential tools like sandpaper or a sander, paintbrushes or rollers, and a putty knife for repairs. Tool selection is vital for a smooth finish. Don’t forget safety gear—wear gloves, goggles, and a mask to protect yourself from dust and fumes. These tools and safety precautions help you achieve a professional-looking result safely and efficiently.
How Long Does the Refinishing Process Typically Take?
Refinishing a small side table can feel like a race against time, but it usually takes about 1 to 3 days. You’ll need to account for drying time between coats and the curing process, which guarantees the finish hardens properly. Patience is key, as rushing can ruin your work. Expect the entire process to span roughly a weekend, giving the paint or stain enough time to set and cure perfectly.
Can I Refinish a Table With Existing Paint or Stain?
Yes, you can refinish a table with existing paint or stain. First, you’ll need to remove the old paint through paint removal techniques like sanding or chemical stripping. Once you’ve prepped the surface, you can blend new stain or paint for a seamless look. Just make certain you buff out any rough spots and follow proper drying times, so your new finish looks smooth and professional.
What Type of Protective Finish Is Best for Durability?
For durability, you should choose a protective finish like polyurethane, polycrylic, or epoxy, depending on your needs. Polyurethane offers excellent durability and water resistance, making it ideal for high-traffic areas. Polycrylic dries quickly and is easy to clean, perfect for a small side table. Epoxy provides a tough, glossy finish that resists scratches. Consider the durability factors like moisture, wear, and exposure to select the best protective finish for your table.
How Do I Repair Scratches or Dents Before Refinishing?
Ever wondered how to make scratches and dents disappear? You should start with furniture repair by filling dents with wood filler or putty. Once it dries, sand the area smoothly for surface prep. For scratches, use a matching wood stain or touch-up pen. Is your surface ready for refinishing? Proper repair and prep guarantee your small side table looks flawless and new, giving your project a professional finish.
Conclusion
Refinishing your small side table is like giving it a fresh new outfit—transforming its look and extending its life. With patience and a few simple steps, you can achieve a professional finish that enhances your space. Remember, the process is rewarding, and your effort shines through in the end. Just like a well-kept piece of jewelry, your table will now stand out and add charm to any room, ready to be admired for years to come.