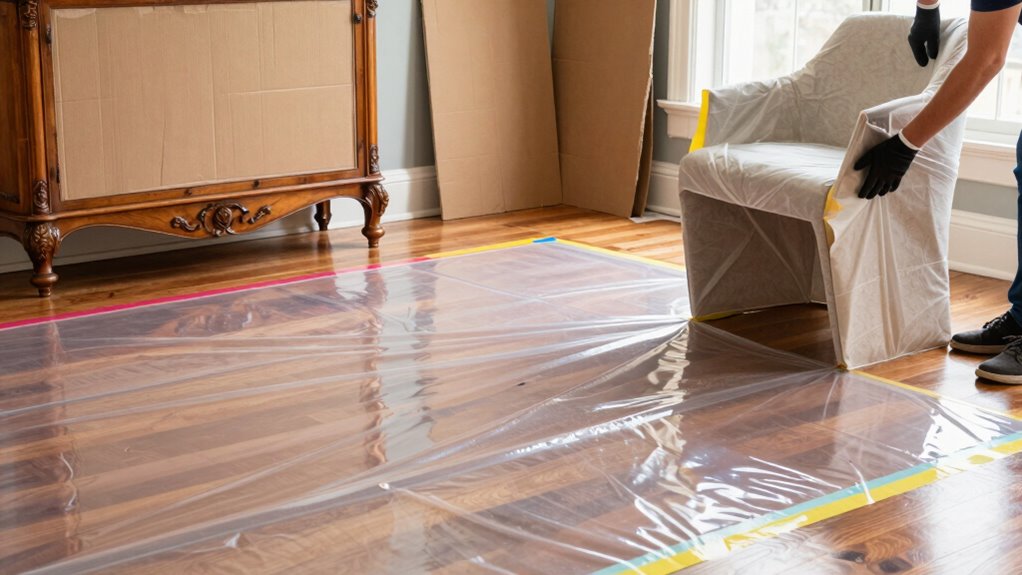

To protect your floors and furniture during larger DIY projects, start by clearing and covering surfaces with drop cloths or plastic sheeting. Tape off edges to prevent splashes and scratches. Sweep or vacuum the area to remove dirt, reducing damage from tools. Keep tools organized and make certain they’re in good shape. Use personal protective equipment, especially when sanding or cutting, and maintain a tidy workspace. Staying vigilant with safety practices helps guarantee you avoid costly damage—continue to explore effective tips for a smooth project.

Get furniture and decor delivered free — and shop member deals
- Fast, free delivery on millions of items
- Access to Prime Big Deal Days deals on October 6–7
- Prime Video, Amazon Music and more included
Key Takeaways
- Cover surfaces with drop cloths or plastic sheeting to prevent dust, paint splatters, and damage.
- Tape off edges and trim to shield baseboards and furniture from spills and splashes.
- Sweep or vacuum the floor thoroughly before starting to remove debris that could cause scratches.
- Keep tools organized and away from edges to prevent accidental falls or surface damage.
- Use protective equipment and dust collection systems to minimize airborne debris and surface contamination.
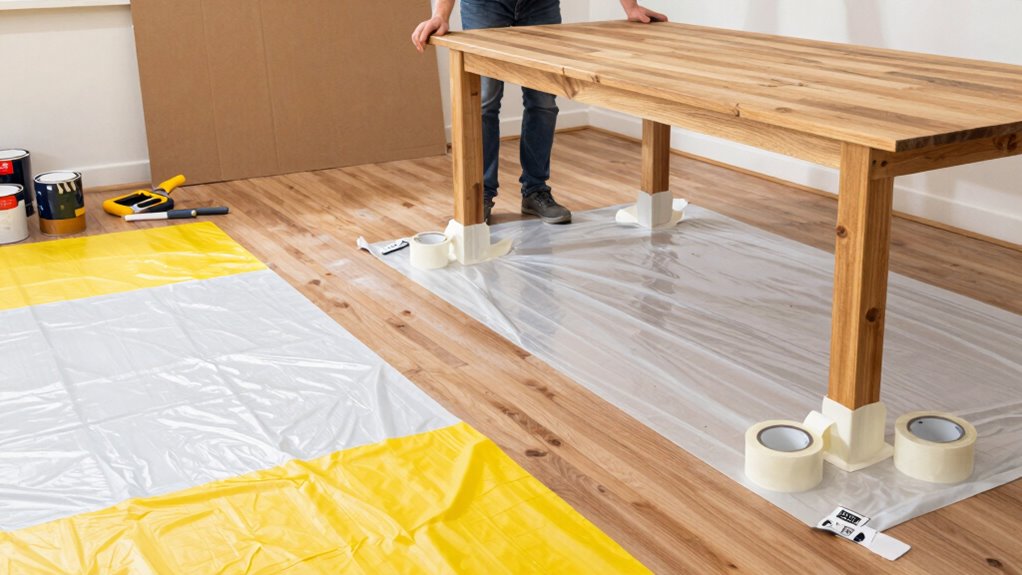
Starting DIY projects can be exciting, but without proper precautions, you might end up damaging your floors and furniture. The key to avoiding costly mishaps begins with thorough surface preparation. Before you start any task, clear the area of all furniture and fragile items. Cover remaining surfaces with drop cloths or plastic sheeting to shield them from dust, paint splatters, or debris. Sweep or vacuum the floor to remove dirt and loose particles, which helps prevent scratches when moving tools or materials. If you’re working with paint, adhesives, or other liquids, tape off edges and trim to protect baseboards and furniture from accidental splashes. Taking these steps ensures your workspace is ready for action, reducing the risk of damage during your project.
Equally important is practicing tool safety. Always read the manufacturer’s instructions before using new equipment, and double-check that your tools are in good working order. Keep sharp or power tools away from children and pets, and never bypass safety features like blade guards or safety switches. When handling power tools, wear appropriate personal protective equipment, such as goggles and gloves, to shield your eyes and skin. Make sure your workspace is well-lit to see what you’re doing clearly, and keep cords out of walkways to prevent tripping or accidental unplugging. Disconnect power tools when not in use, especially when changing blades or bits, to avoid accidental activation. Proper tool safety not only protects you but also minimizes the chances of damaging surfaces or furniture. Incorporating proper storage methods can also help keep your workspace safe and organized, reducing accidental damage. Additionally, organizing your tools and materials effectively can streamline your workflow and prevent unnecessary accidents or mishaps. Paying attention to maintenance and upkeep of tools ensures they perform safely and reliably throughout your project.
During larger DIY projects, surface preparation and tool safety go hand in hand. If you’re sanding, plan your movements carefully and use dust collection systems or masks to prevent inhaling debris. When cutting or drilling, mark your measurements precisely to avoid slips that could cause scratches or gouges on your floors or furniture. Keep your workspace organized, so tools are within reach but not cluttered, reducing the risk of knocking over items or damaging surfaces. Regularly inspect your tools for damage or wear, replacing any that could malfunction during use. Additionally, maintaining your tools ensures they perform safely and effectively, reducing the risk of accidents. Taking these precautions makes your work safer and more efficient, and it helps protect your home’s interior from unintended harm. Consistent safety checks can help catch potential issues before they lead to accidents, ensuring a safer environment for your DIY efforts. By combining diligent surface preparation with vigilant tool safety, you’ll create a secure environment for tackling larger projects while safeguarding your floors and furniture from damage.
As an affiliate, we earn on qualifying purchases.
Frequently Asked Questions
What Are the Best Protective Materials for Delicate Surfaces?
For delicate surfaces, you should choose protective materials like surface adhesives and protective tapes. Surface adhesives create a secure barrier, preventing scratches or stains, while protective tapes are easy to apply and remove without leaving residue. Make sure to select tapes designed for delicate finishes to avoid damage. Always test a small area first, ensuring the adhesive won’t harm your surfaces, and replace any worn or damaged protection promptly.
How Can I Prevent Paint Splatters on Furniture?
Think of your furniture as a canvas waiting for protection. To prevent paint splatters, you should prioritize paint splatter prevention by using painter’s tape and plastic sheeting for furniture masking. Cover surfaces thoroughly, especially edges and intricate details. Keep brushes and rollers controlled, and work slowly. These steps act as a shield, safeguarding your furniture from unintended paint marks, allowing your project to unfold smoothly without unnecessary worry or damage.
Are There Eco-Friendly Options for Floor Protection?
Yes, there are eco-friendly options for floor protection. You can use eco-friendly alternatives like biodegradable floor mats made from recyclable materials, which are designed to be reusable and reduce waste. Recyclable materials such as cardboard or paper-based drop cloths are also great options—they’re affordable, easy to dispose of responsibly, and minimize environmental impact. These choices help protect your floors sustainably while supporting environmentally conscious practices during your DIY projects.
How Do I Remove Protective Coverings Without Damage?
You want to remove protective coverings without causing damage, so take it slow—don’t rush in. Carefully lift furniture masking and surface prepping tapes or films, starting from one corner and gradually peeling back. Use a plastic scraper if needed, and avoid pulling too hard. This way, you prevent tearing or leaving residue, ensuring your surfaces stay pristine. Patience is key when removing coverings after a project.
Can Protective Measures Be Reused for Future Projects?
Yes, protective measures like reusable coverings and protective tape with good durability can be used for future projects. Reusable coverings are designed to withstand multiple uses if cleaned properly, while protective tape with high durability resists tearing and adheres well over time. You just need to store these items carefully after each project and inspect them for wear before reapplying, ensuring your surfaces stay protected efficiently.
Conclusion
By taking these simple steps, you’re effectively shielding your home from chaos, much like a knight guarding their castle. With a little preparation, you can navigate your DIY projects confidently, knowing your floors and furniture are protected. Remember, a well-prepared space is like a fortress—ready to withstand the storm of tools and paint. So, gear up, stay vigilant, and turn your renovation dreams into reality without the worry of damage.
Fall Picks
fall essentials
As an affiliate, we earn on qualifying purchases.