
To pour soy candles at home, start by melting soy wax gently in a double boiler or microwave, stirring often and allowing it to cool slightly before adding scent oils. Attach a wick securely to your container’s bottom and keep it centered with a wick centering device or pencil. Pour the wax slowly to avoid bubbles, maintaining the wick’s position. Let the candle cool and cure undisturbed for best scent and burn quality. If you want more tips, keep exploring the process!
Key Takeaways
- Use a properly sized and secure wick, attaching it with a wick sticker or hot glue, and keep it centered during pouring.
- Melt soy wax gently using a double boiler or microwave, stirring regularly, then cool slightly before adding scent oils.
- Measure and mix fragrance oils precisely (6-10% of wax weight) in a glass container before blending into the melted wax.
- Pour the wax slowly into prepared containers, maintaining the wick’s position, to reduce air bubbles and achieve a smooth surface.
- Allow the candles to cool undisturbed for hours or overnight to develop scent and ensure a well-set, attractive candle.
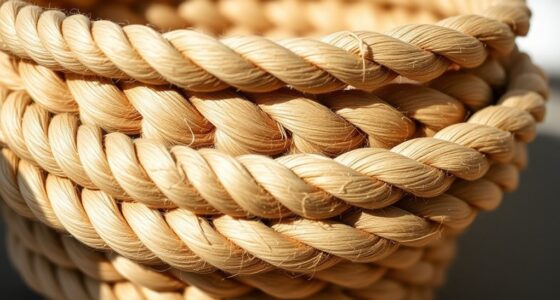
Pouring soy candles at home is a rewarding process that allows you to create personalized, fragrant candles with ease. The first step is selecting the right wick, which is vital for achieving an even, clean burn and maximizing scent throw. You’ll want to choose a wick size that matches your candle’s diameter—too small, and the flame won’t stay steady; too large, and it may produce excess soot or burn too quickly. Cotton wicks are popular for soy candles because they burn cleanly and are easy to work with. You might also consider wicks with metal or paper cores if you prefer a sturdier option. Once you’ve picked the right wick, attach it securely to the bottom of your container using a wick sticker or hot glue. To keep the wick centered during pouring, you can use a wick centering device or tie it to a pencil laid across the top of the container.
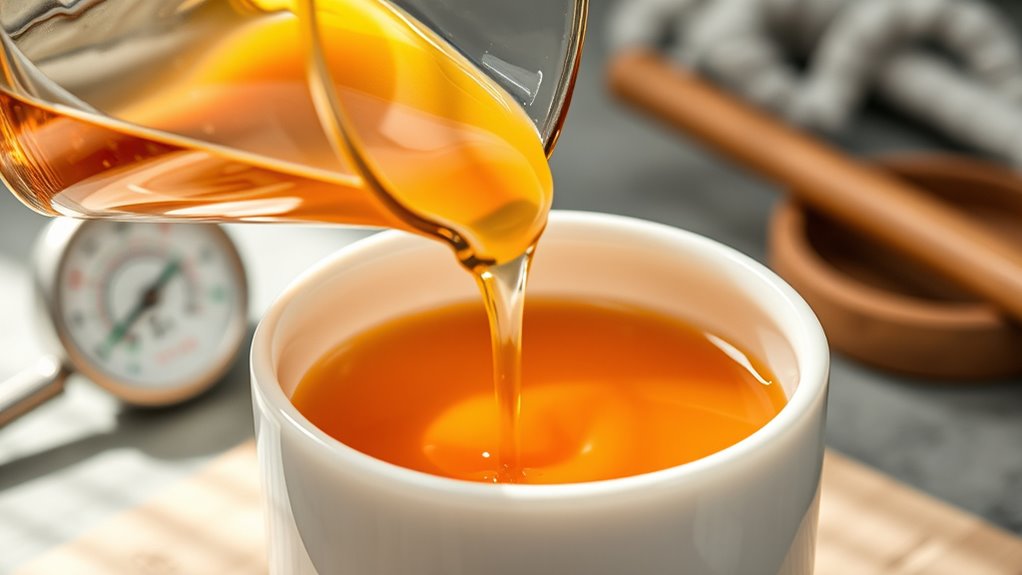
Next, scent blending is where your creativity truly shines. Soy wax is known for its excellent fragrance-holding capacity, so take advantage of that by experimenting with different scent combinations. Start with small test batches to identify your preferred blends, mixing essential oils or fragrance oils in a glass container before adding to your melted wax. Remember, the type and strength of your scent oils will influence the overall aroma, so measure precisely—usually around 6-10% of your wax weight. When blending scents, consider how different aromas interact; some pair beautifully, like vanilla and cinnamon, while others might clash. Take notes on your blends, adjusting ratios until you find a harmonious combination. This process not only personalizes your candles but also guarantees you’re happy with the scent intensity and overall fragrance profile.
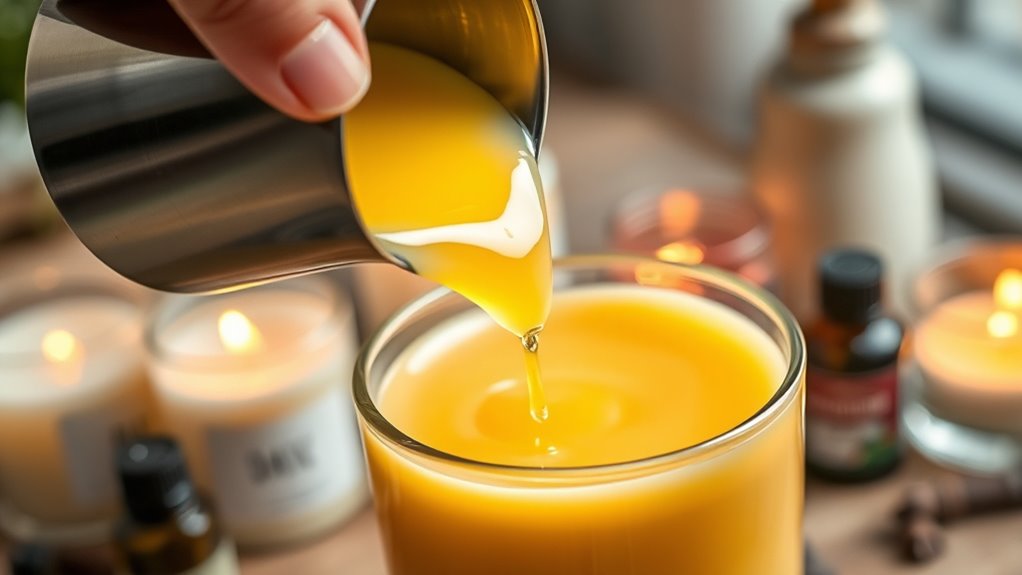
As you melt your soy wax, do so gently using a double boiler or microwave in short bursts, stirring regularly to prevent overheating. Once melted, let the wax cool slightly before adding your chosen scent blend, ensuring you don’t lose volatile fragrance oils due to excessive heat. Pour the wax carefully into your prepared containers, maintaining the wick’s position and centering it if necessary. Pour slowly to avoid creating air bubbles and to ensure a smooth surface. Allow the candles to cool and cure undisturbed for several hours or overnight, which helps the scent fully develop and the wax to set properly. By paying attention to wick selection and scent blending, you’re on your way to creating stunning, personalized soy candles right in your own home.
Frequently Asked Questions
What Safety Precautions Should I Take When Pouring Soy Candles?
When pouring soy candles, you should prioritize safety by working in a well-ventilated area to avoid inhaling fumes and reduce fire hazards. Always keep a fire extinguisher nearby and never leave the melting process unattended. Use heat-resistant containers, handle hot wax carefully, and wear protective gloves and goggles. Ensuring proper ventilation and understanding fire hazards help keep you safe throughout your candle-making process.
How Do I Prevent Bubbles in My Soy Candles?
Oh, the irony of trying to prevent bubbles in soy candles—bubbles form naturally due to surface tension, even if you’re meticulous. To minimize bubbles, pour your wax slowly and steadily, keeping the temperature consistent. Give the container a gentle tap or swirl after pouring to release surface tension. These simple tricks help reduce bubbles formation, ensuring a smooth, professional-looking candle without the need for magic.
What Type of Wick Is Best for Soy Candles?
You should choose a cotton or wood wick for soy candles, as these wick materials burn cleanly and evenly. Consider your candle size when selecting the wick; larger candles need thicker wicks to prevent tunneling and guarantee a proper melt pool. Always test different wicks with your specific candle jar to find the best combination for an even burn and minimal soot, guaranteeing a safe and enjoyable candle experience.
How Long Should I Wait Before Trimming the Wick?
Think of candle maintenance like tending a garden; you need to prune at the right time. You should wait until your soy candle has cooled completely, usually about 2 hours after extinguishing, before trimming the wick. This prevents uneven burning and soot. Trimming the wick regularly, about ¼ inch, ensures a clean, safe burn. Rushing this step can lead to issues, so patience is key for *best* candle performance.
Can I Add Fragrances or Colors to My Soy Candles?
Yes, you can add fragrances or colors to your soy candles. For fragrance blending, mix different essential oils or fragrance oils to create unique scents, but guarantee the total fragrance load stays within recommended limits. For candle colorants, use specific candle dye chips or liquid candle colorants designed for soy wax. Always add these after pouring the wax and before it cools to ensure even distribution and vibrant color.
Conclusion
Pouring soy candles at home is a rewarding experience that lets you create personalized, eco-friendly fragrances. Did you know that soy candles burn 50% longer than traditional paraffin candles? By following these simple steps, you not only enjoy the craft but also benefit from a cleaner, greener burn. So, get your supplies ready and start pouring—your cozy, homemade candles await! Happy candle making!