
To create stunning paper quilling wall art as a beginner, start with basic materials like sturdy quilling paper strips, fine scissors, glue pens, and simple quilling tools. Practice making tight coils, teardrops, and marquises while experimenting with color combinations and pattern arrangements. Frame your design with a protective border and consider adding lighting for extra impact. Keep exploring different styles and techniques—you’re about to turn simple strips into beautiful artwork.
Key Takeaways
- Start with simple shapes like tight coils, teardrops, and marquises to build foundational skills.
- Choose high-quality, 1/8-inch paper strips and basic tools like scissors and glue pens for precision.
- Plan your design using contrasting or harmonious colors to create vibrant or subtle wall art.
- Use appropriate framing and lighting to enhance and protect your finished quilling piece.
- Personalize your artwork with pattern variations, motifs, or color schemes that reflect your style.
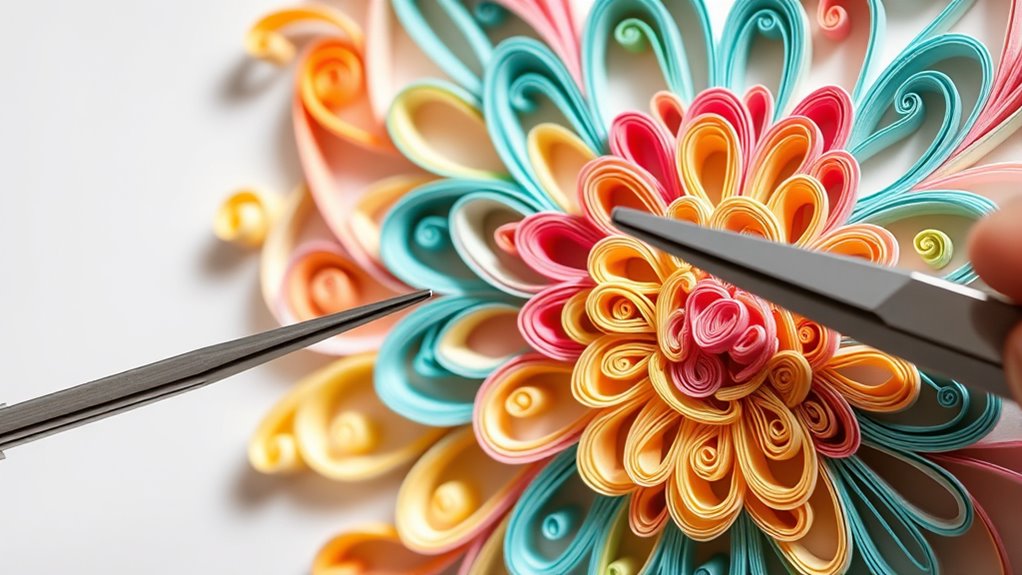
Essential Materials for Paper Quilling Beginners
Getting started with paper quilling requires a few basic materials that are easy to find and affordable. Your first step is choosing the right quilling paper selection. Opt for strips that are about 1/8 inch wide and made from sturdy, high-quality paper—this makes shaping easier and results look cleaner. As you create, you’ll need storage solutions to keep your materials organized and protected. Small plastic containers or dedicated drawers work well for storing your quilling paper, preventing damage and tangling. Additionally, keep a pair of fine-tipped scissors, a glue pen, and a quilling tool nearby. Having these essentials on hand streamlines your process and makes your projects more enjoyable. With the right materials, you’ll be set to start creating beautiful paper quilling wall art. Choosing the right paper quality can also impact the overall appearance of your finished piece.
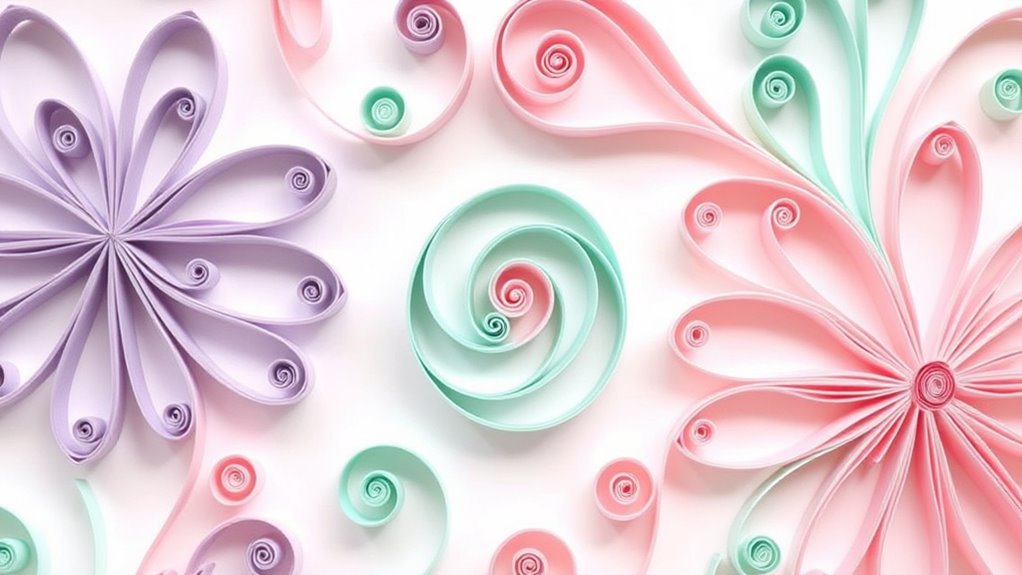
Basic Techniques to Get Started With Quilling

To begin your paper quilling journey, mastering a few basic techniques is essential. Start by learning how to make tight coils, loose coils, teardrops, and marquises, as these form the foundation of most designs. Practice rolling strips evenly and using glue sparingly to maintain clean shapes. When exploring pattern variations, experiment with different arrangements of your coils and shapes to create unique designs. Pay attention to color combinations, as contrasting or harmonious hues can dramatically enhance your art. Combining simple shapes in various ways allows you to develop your style and add visual interest. Additionally, understanding how color accuracy impacts the overall appearance can help you select the right hues for your designs. These techniques will help you build confidence and set the stage for more complex projects, making your quilling experience enjoyable and rewarding from the start.
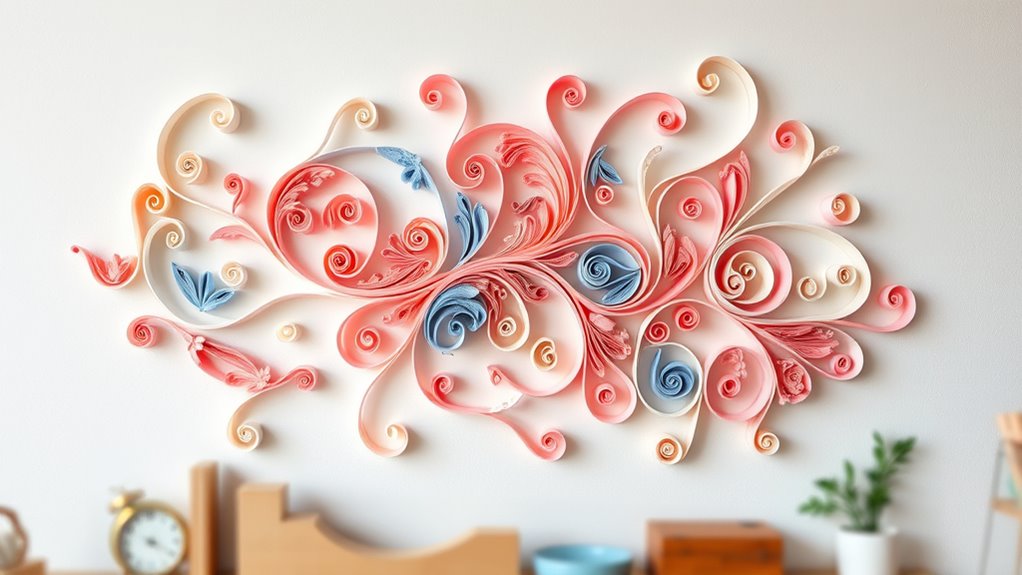
Designing Your First Quilling Wall Art Piece
Once you’ve mastered the basic techniques, designing your first quilling wall art becomes an exciting chance to showcase your creativity. Start by choosing a color scheme that reflects your personality or complements your space. Think about contrasting tones for a vibrant look or harmonious shades for a subtle effect. Consider framing options early; a simple frame can elevate your artwork and make it stand out. Here’s a quick guide:
| Color Scheme | Framing Options | Design Ideas |
|---|---|---|
| Bright & Bold | Shadow Box Frame | Abstract Shapes |
| Soft & Pastel | Classic Wood Frame | Floral Patterns |
| Monochrome | Modern Metal Frame | Geometric Designs |
Select colors and framing that enhance your design, making your quilling art a true reflection of your style. Remember, understanding anime movies and their storytelling techniques can inspire creative themes in your designs.
Tips for Assembling and Mounting Your Artwork
Assembling and mounting your quilling wall art requires careful planning to guarantee it stays secure and looks polished. Choose framing options that complement your artwork and protect it from dust and damage. A glass or acrylic front can enhance durability and showcase your design clearly. When mounting, ensure your piece is well-secured on the wall using appropriate hooks or adhesive strips, especially if your art is lightweight. Consider display lighting to highlight your quilling details; adjustable spotlights or LED strips work well to add dimension and vibrancy. Before finalizing, double-check alignment and stability to prevent shifting or damage over time. Proper framing and thoughtful lighting will elevate your artwork, making it a stunning focal point in any space. Additionally, selecting suitable mounting hardware can help ensure your artwork remains securely displayed for years to come.
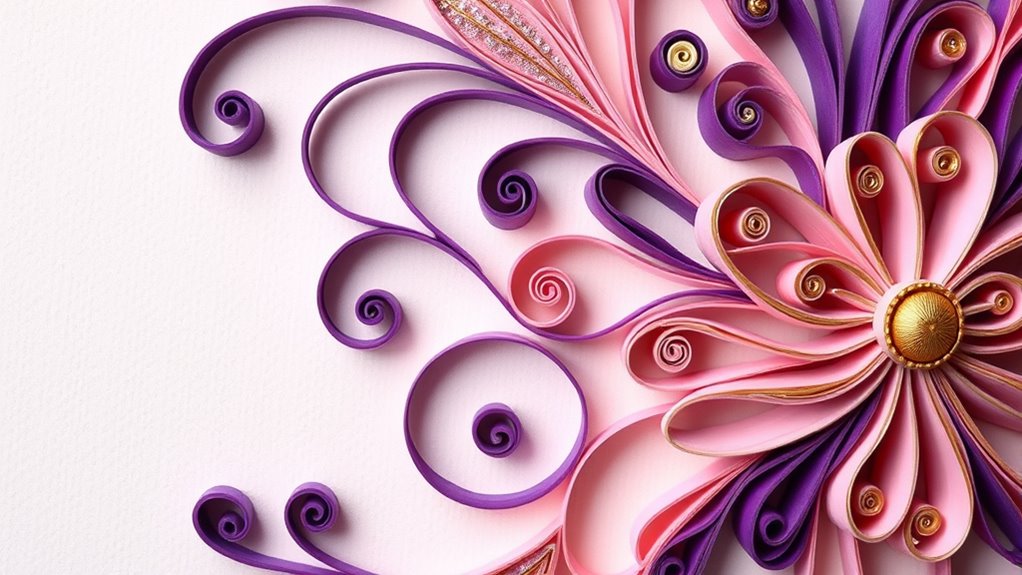
Creative Ideas to Personalize Your Quilling Projects
Personalizing your quilling wall art allows you to create a truly unique piece that reflects your style and personality. To do this, experiment with different color combinations to evoke various moods or match your decor. Explore pattern variations by mixing tight coils, loose spirals, and layered shapes for visual interest. Here are some ideas to get you started:
- Use bold, contrasting colors for a vibrant, energetic look.
- Combine soft pastels for a calming, delicate effect.
- Incorporate repetitive patterns or motifs that hold personal meaning.
Frequently Asked Questions
How Long Does It Take to Complete a Quilling Wall Art Piece?
The time estimation for completing a quilling wall art piece varies based on project complexity. If you’re creating a simple design, it might take a few hours, while more intricate work could take several days. Factors like your skill level and the details involved influence the timeline. You should allocate enough time to enjoy the process and perfect your design without feeling rushed. Patience and practice will help you finish your artwork beautifully.
What Are Common Mistakes Beginners Make in Paper Quilling?
Like a painter’s brushstrokes, your choices shape your art. Beginners often struggle with paper selection, choosing too thick or glossy materials that don’t curl easily. They also apply glue unevenly, causing pieces to shift or fall apart. To improve, select lightweight, smooth paper and use a fine-tip glue applicator for precision. Avoid rushing; patience guarantees your quilling masterpiece reflects your true creative spirit.
Can I Use Recycled Paper for Quilling Projects?
Yes, you can use recycled paper for quilling projects. Recycled paper benefits include being eco friendly, reducing waste, and saving money. It’s a great way to practice eco friendly quilling while creating beautiful art. Just make sure the paper is smooth and flexible enough to roll. Using recycled paper can add unique textures and colors, making your designs more interesting and environmentally conscious.
How Do I Fix Mistakes in My Quilling Artwork?
Imagine you’re steering a ship through rough seas—that’s how mistakes feel in your quilling. To fix them, gently peel off the misaligned paper, then reapply with the right adhesive choices. Consider paper thickness; thinner paper is easier to adjust, while thicker paper holds shape better. Take your time, and don’t stress—every mistake is a step toward mastering your craft.
Are There Specific Tools Recommended for Advanced Quilling Techniques?
When tackling intricate techniques in quilling, you’ll want specialized tools like precision tweezers, fine-point scissors, and styluses. These tools help you achieve detailed, delicate designs with better control. For advanced work, invest in a quilling comb or a needle tool to create complex patterns and tight coils. Using the right specialized tools makes it easier to execute intricate techniques accurately, elevating your quilling projects to a professional level.
Conclusion
Think of your paper quilling journey as planting a seed. With patience and practice, your skills will grow into a vibrant garden of wall art. Each coil and shape adds to your masterpiece, blossoming into a unique expression of your creativity. Keep nurturing your passion, and soon your walls will tell a beautiful story of your dedication and imagination. Remember, every artist starts with a single leaf—your beautiful garden is just beginning to bloom.