To paint a plastic mirror frame, start by cleaning it thoroughly with denatured alcohol and lightly sanding the surface to guarantee proper paint adhesion. Next, apply a plastic primer, then choose a high-quality spray paint designed for plastic. Keep the spray can 6-12 inches away and apply several light coats, allowing each to dry fully to avoid drips. Protect the mirror edges with painter’s tape to prevent overspray. Finally, consider sealing your work for extra durability. This simple DIY project not only refreshes your frame but also elevates your space. You’ll find even more useful tips ahead! Once you’ve completed the painting process, allow the frame to cure fully before re-hanging the mirror to ensure that the paint adheres properly and withstands wear. If you’re curious about how to paint a mirror frame creatively, consider adding decorative elements like stenciling or textured finishes to personalize your design further. With a little patience and creativity, you can transform your space and turn an ordinary mirror frame into a stunning focal point.
Key Takeaways
- Clean the frame thoroughly with denatured alcohol and lightly sand the surface for better paint adhesion.
- Use a plastic primer before applying your chosen paint to ensure a smooth and durable finish.
- Apply several light coats of chalk or spray paint, allowing each coat to dry fully for an even look.
- Tape off mirror edges to prevent splatters and ensure a clean paint application.
- Seal the painted frame with a water-based polyacrylic sealant to protect against scratches and wear over time.
Project Overview
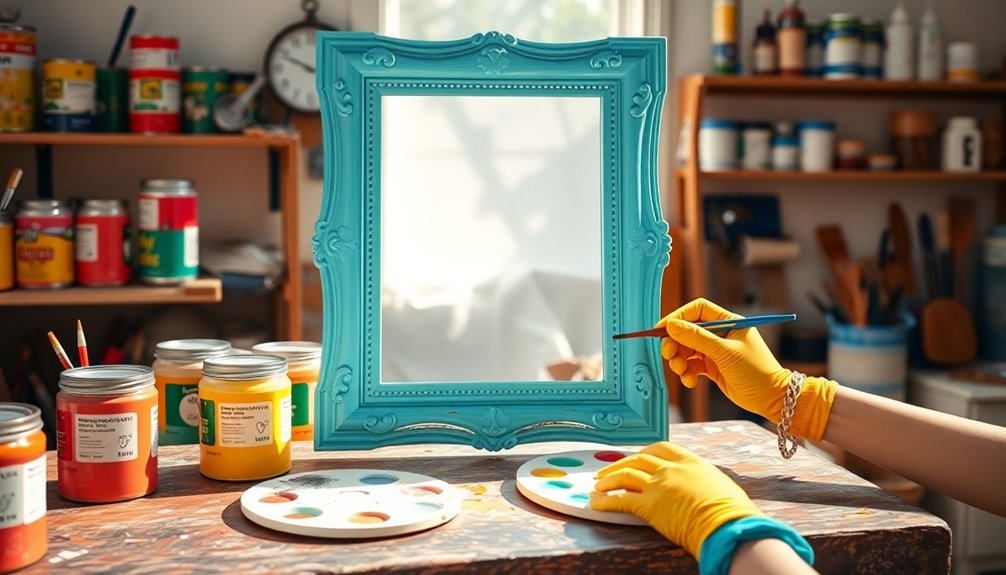
When you decide to give your plastic mirror frame a makeover, you'll not only boost its visual appeal but also save money compared to buying new decor.
This DIY project allows you to express your creativity and customize the look of your mirror. You can choose various paint colors and techniques, achieving finishes from sleek and modern to rustic wood-like appearances.
Before you start painting, make sure to clean the frame thoroughly and lightly sand its surface to improve paint adhesion.
Using a primer designed for plastic is essential for a long-lasting result. Opt for high-quality paints, like chalk or spray paint specifically made for plastic, and apply several light coats for even coverage.
This rewarding project suits both beginners and experienced crafters alike.
Recommended Paint Types
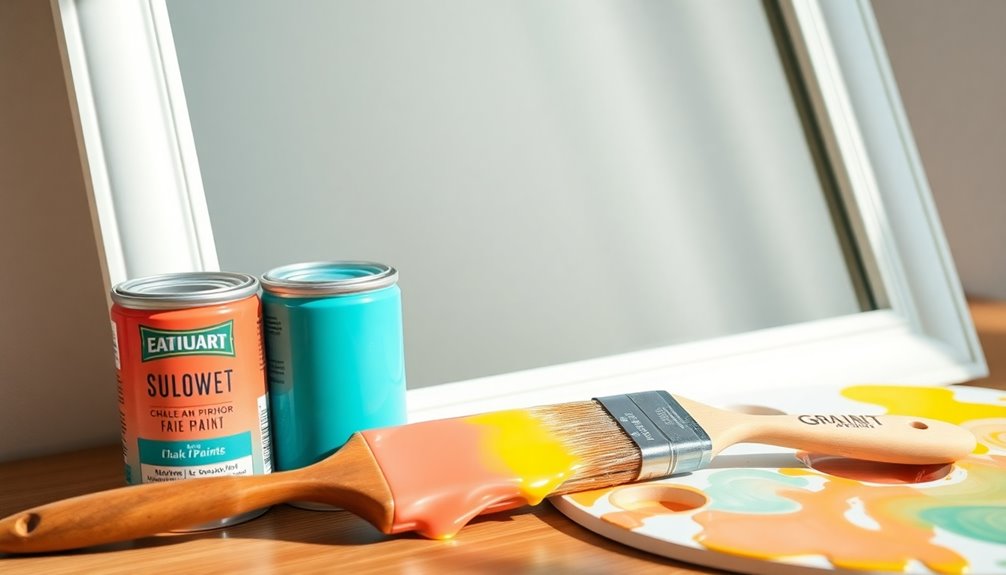
Choosing the right paint type is essential for achieving a beautiful finish on your plastic mirror frame. Chalk paint is a fantastic option, offering excellent coverage and a matte finish with minimal prep work. It adheres well to plastic surfaces, making it a popular choice.
If you prefer a smoother look, opt for spray paint specifically formulated for plastic, like Krylon. This type guarantees a durable finish that sticks well to the frame. All-purpose spray paint can also work, giving you a variety of color and finish choices.
For added protection, consider applying a water-based polyacrylic sealant over your chalk paint to enhance durability and guard against wear.
Preparation Steps
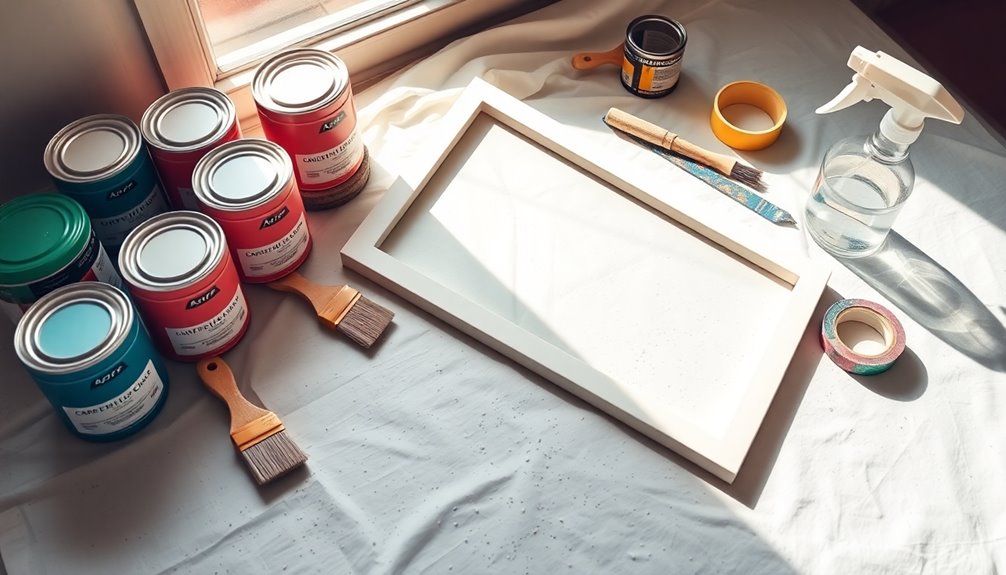
Now that you've selected the right paint type, it's time to prepare your plastic mirror frame for a successful makeover.
Start by cleaning the frame thoroughly with denatured alcohol to remove any dust or grease that could impact paint adhesion.
Next, lightly sand the surface to create texture, enhancing the bond between the plastic and the paint for a smoother finish.
If the plastic is glossy or worn, consider applying a plastic primer for better adhesion and to prevent peeling.
Don't forget to use painter's tape to cover the mirror edges, protecting it from any overspray.
Finally, gather all necessary materials like paint, brushes, sandpaper, and a clear sealant to guarantee a smooth workflow during your preparation steps.
Application Techniques
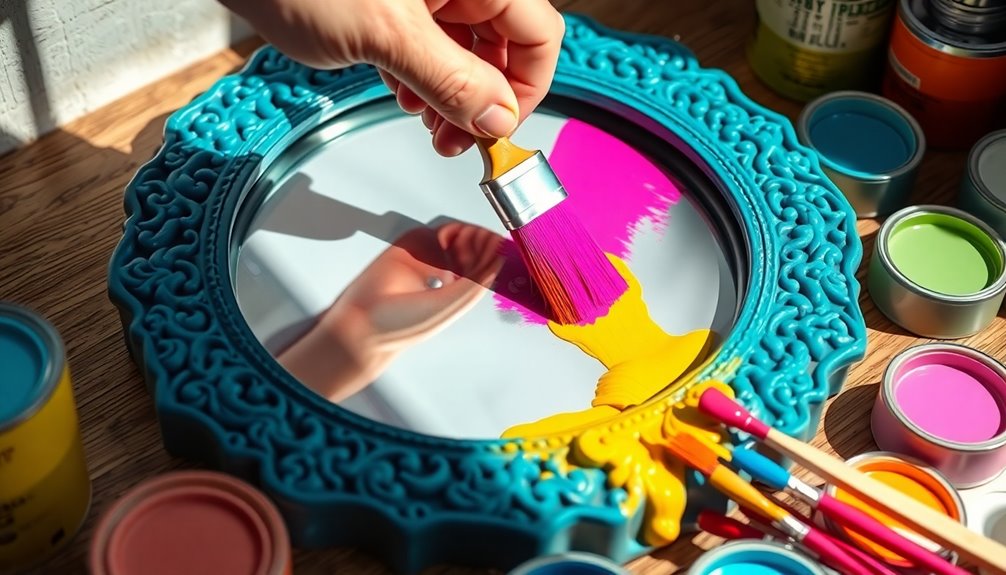
When you're ready to apply paint, remember that proper spray technique is key to achieving an even finish.
Hold the spray can 6-12 inches away from the surface and apply several light coats instead of one heavy coat for the best results.
Layering your paint can also create depth, so don't hesitate to experiment with different colors and brush strokes for added texture.
Proper Spray Technique
Mastering the proper spray technique is essential for achieving a flawless finish on your plastic mirror frame.
Start by holding the spray can 6-12 inches away from the surface to guarantee even coverage and prevent runs. Apply several light coats of spray paint, allowing each layer to dry completely before adding the next. This method helps create a smooth finish without heavy buildup.
Always spray in a well-ventilated area to minimize fume inhalation and improve drying times. Move the can in a steady, sweeping motion across the frame to avoid concentrating paint in one spot.
Finally, use painter's tape to protect areas like the mirror edges, guaranteeing clean lines and preventing overspray.
Layering for Depth
To create a visually appealing plastic mirror frame, layering your paint is essential for adding depth and texture. Instead of applying a single heavy coat, you'd want to use multiple thin layers, allowing each to dry completely before adding the next.
For a realistic wood-like effect, utilize a sponge or brush to create texture, mimicking natural wood grain patterns. Incorporate contrasting colors—start with a lighter base, then add darker stains or glazes.
If you're going for floral designs, layer colors by applying a base tone first, then add highlights and shadows. Experiment with techniques like dry brushing and stippling for more intricate details.
Additionally, consider using natural materials such as wood and metal to complement the overall aesthetic of your painted frame. These methods will enhance the overall complexity of your painted frame, achieving true layering for depth.
Common Mistakes to Avoid
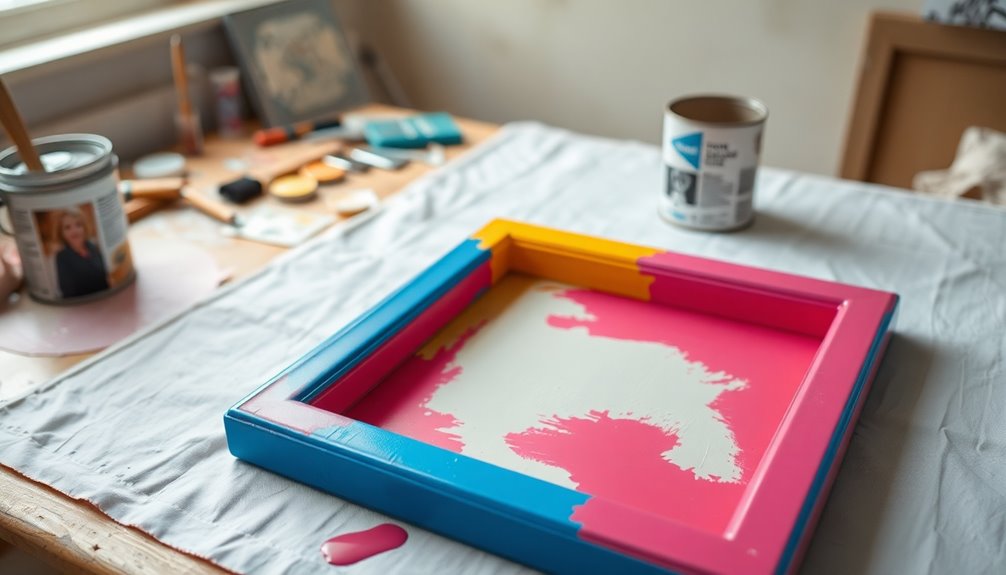
What common pitfalls should you steer clear of while painting a plastic mirror frame? Avoiding these mistakes can save you time and frustration:
- Neglecting to tape off the mirror edges: It's essential to cover the glass to prevent unwanted paint splatters that can be hard to clean.
- Applying heavy coats of paint: Instead, use several light coats. This method helps you achieve a smooth finish and avoids drips.
- Skipping the cleaning step: Always clean the plastic surface before painting to guarantee proper adhesion. If you skip this, the paint may peel or chip.
Painting Process

Before diving into the painting process, it's important to prepare your plastic mirror frame properly. Start by applying a plastic primer; this'll enhance paint adhesion and guarantee a smooth finish.
Next, use chalk paint or spray paint designed for plastic. Remember to apply several light coats instead of one heavy coat to avoid runs and uneven texture. Allow each coat to dry completely, typically a few hours, to achieve an even finish.
If you want to take it a step further, consider using a water-based stain for a wood-like effect after the paint dries.
Finally, seal the surface with a clear polyacrylic or wax to protect the paint and make it look more vibrant and durable.
Wax Application
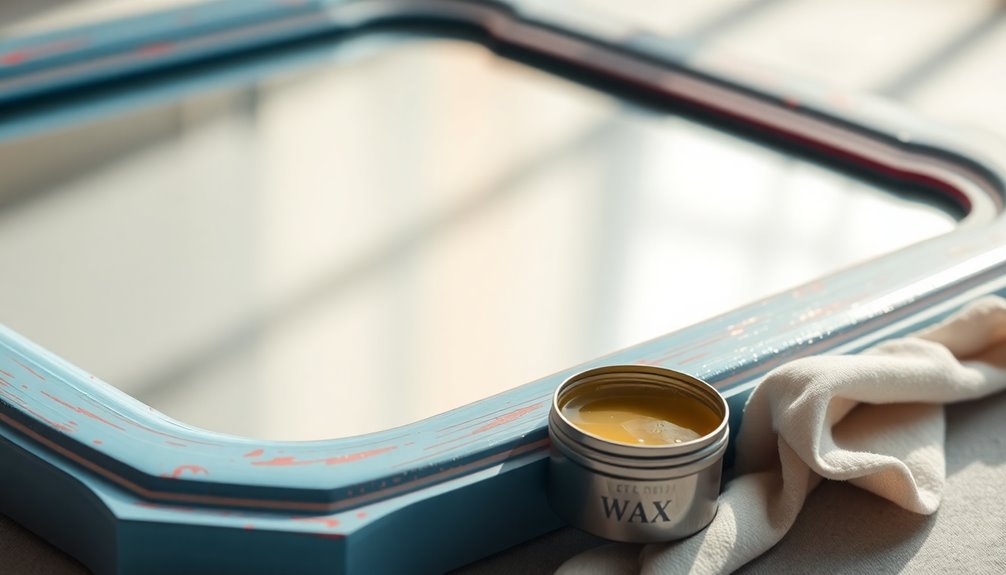
Now that your frame is painted, it's time to apply the wax.
Start with a clear wax for a smooth base, then work in a brown tinted wax using a stiff brush to highlight the details.
Remember to let the wax dry completely before buffing for that perfect sheen.
Wax Application Techniques
To achieve a rich, textured finish on your painted plastic mirror frame, applying wax correctly is essential. The right wax application techniques can make your frame look amazing. Follow these steps for best results:
- Start with clear wax: This gives you better control over the tinted wax and helps you adjust the color intensity.
- Use a stiff brush: Work the brown tinted wax, like Annie Sloan's Dark Wax, into the frame's details for even coverage, avoiding clumps.
- Check and touch up: Regularly inspect your wax finish for wear and touch it up as needed to maintain its polished look.
Allow the wax to dry completely for durability, enhancing the overall appearance of your frame.
Wax Drying Time
Achieving the perfect finish on your painted plastic mirror frame hinges on understanding wax drying times. After applying brown tinted wax, let it dry for at least 30 minutes to an hour before buffing.
For ideal durability, allow the wax to cure for 24 to 48 hours. When you're applying wax during your bathroom renovation, remember to use a thin layer and check for dryness before adding more. This guarantees an even application without clumps.
If you're using clear wax as a topcoat, you can apply it right after the tinted wax has dried. Finally, avoid exposing your newly waxed frame to moisture for a week, allowing the wax to fully set for maximum longevity.
Sealing and Maintenance
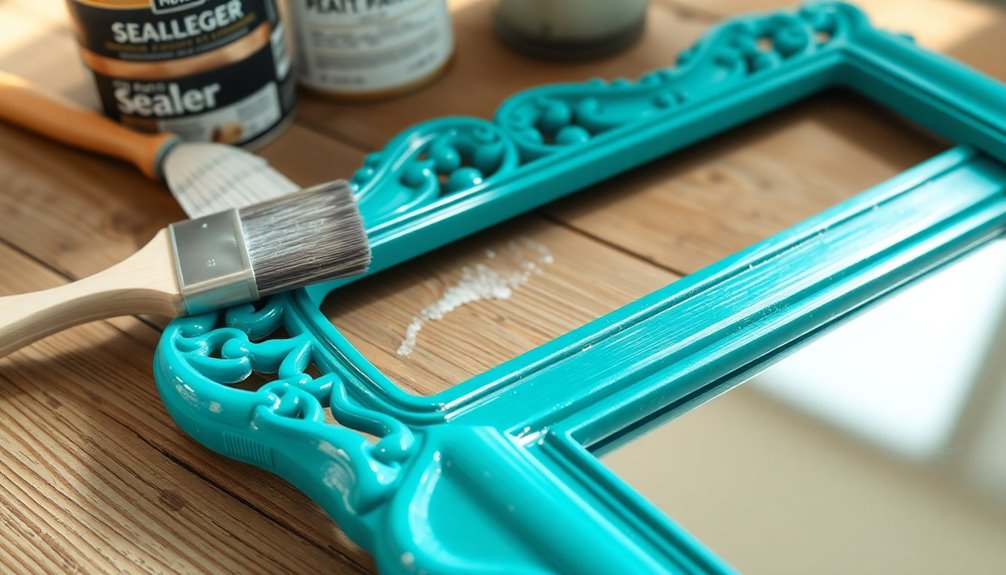
Although sealing your painted plastic mirror frame isn't mandatory, doing so can considerably enhance its durability and appearance.
Applying a water-based polyacrylic sealant over chalk paint helps protect against scratches and wear. If you skip sealing, be mindful that the surface might chip or fade over time.
To maintain the frame's look, follow these tips:
- Clean regularly with gentle cleaners; avoid harsh chemicals.
- Inspect the frame periodically for signs of wear and touch up paint as needed.
- Store the mirror in a dry, temperature-controlled environment to prevent damage.
Design Considerations
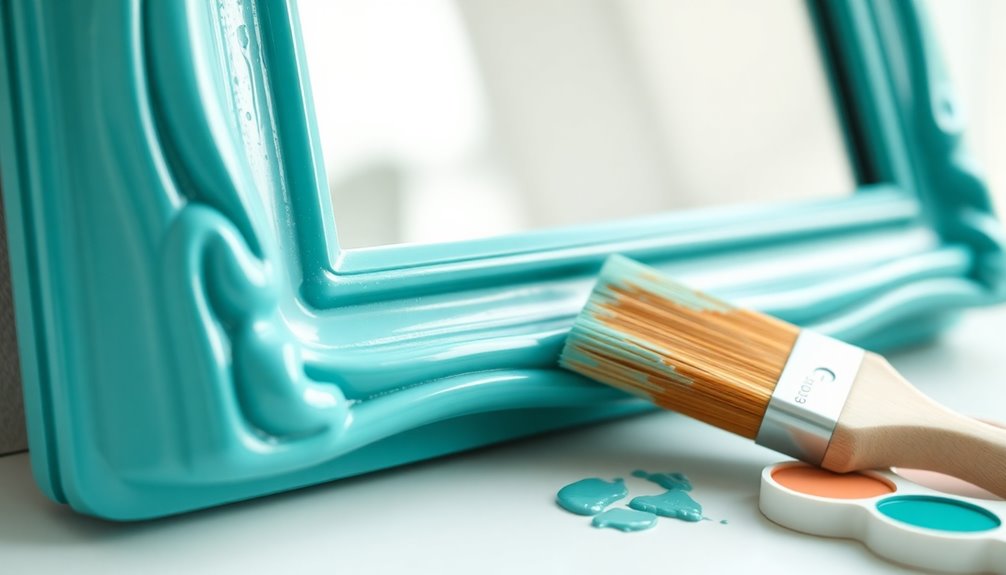
When you're choosing a color palette for your plastic mirror frame, think about how it fits with your existing decor.
Matching the style and theme of your room can create a seamless look that enhances your space.
Consider your frame's size and shape to guarantee your design elements work harmoniously.
Color Palette Selection
Selecting the right color palette for your plastic mirror frame can greatly enhance the overall look of your space. For effective color palette selection, consider these tips:
- Use neutral tones: Shades like tan or brown mimic wood and complement various decor styles.
- Incorporate contrasting colors: Pair lilac with sage green walls for visual interest and harmony.
- Add depth with multiple shades: This works especially well for floral or vine designs, creating dimension.
Don't forget to test color samples in your room's lighting to verify they match the ambiance.
Also, look at existing decor and fixtures to maintain a cohesive theme, guaranteeing your mirror frame enhances your space instead of clashing with it. Additionally, consider how smart home device integration can enhance the functionality of the space around your mirror, ensuring a modern and cohesive design.
Style and Theme Matching
Finding the right paint color for your plastic mirror frame goes beyond just picking a favorite shade; it's about ensuring that the frame fits seamlessly within the overall style and theme of your room.
Consider how the color complements your existing palette. Aim for shades that either harmonize or contrast well with your walls and decor. Don't forget to incorporate design elements from other fixtures, like matching the frame's finish to your light fixtures.
Pay attention to the frame's style—whether modern, rustic, or vintage—and select colors that enhance its character. Personalize the frame by adding decorative accents, such as stenciled patterns or floral designs, to strengthen its connection to the rest of your decor and elevate your room's aesthetic. Combining these elements with durable materials can help ensure that the frame maintains its appeal over time.
Reader Feedback
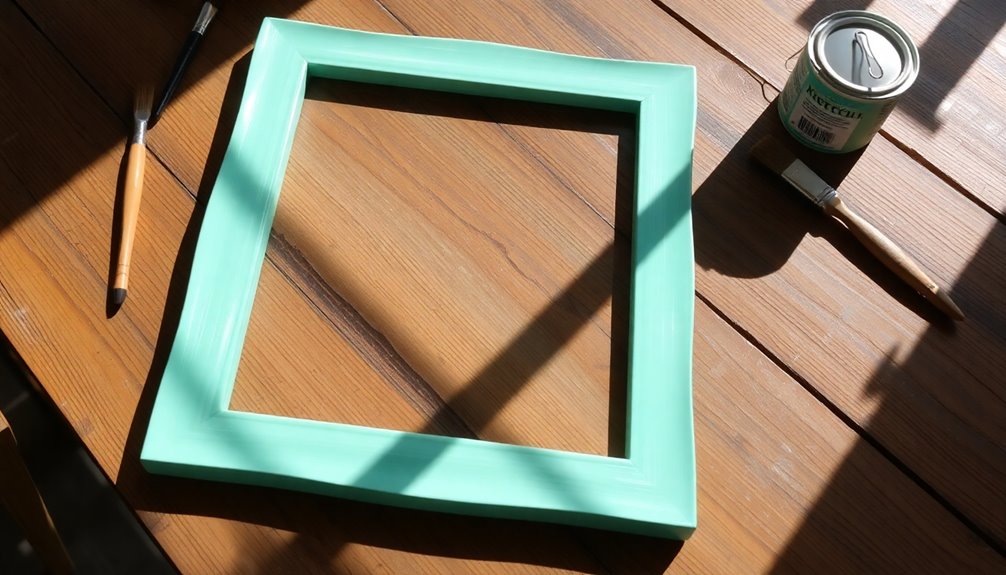
How do readers feel about transforming their plastic mirror frames? Many express excitement about the high-end look achieved through painting. In addition to the elegant finish, many readers enjoy incorporating personal touches by using hand tracing drawing techniques to create unique designs on their frames. This adds a layer of creativity and individuality, turning a simple DIY project into a statement piece that reflects their personality. As a result, they not only enhance the aesthetic of their space but also find joy in the artistic process.
They love how it enhances their home decor and often mention:
- The ease of the painting process, which makes DIY projects accessible.
- The realistic wood-like finish that looks great and motivates further creativity.
- Varied opinions on wax application, balancing between matte and polished finishes.
Frequently Asked Questions
What Kind of Paint Do You Use on a Plastic Mirror Frame?
When you're looking to paint a plastic mirror frame, you've got a few great options.
Chalk paint works well, giving you a matte finish and strong adhesion. Alternatively, you can use spray paint specifically formulated for plastic, like Krylon, which guarantees a smooth finish.
All-purpose spray paint is fine too, just make sure it's compatible with plastic. For durability, consider sealing chalk paint with a water-based polyacrylic once it's dry.
How Do You Paint a Plastic Picture Frame to Look Like Wood?
To transform a plastic picture frame into a wood-like masterpiece, start by gently scuffing the surface to help the paint stick.
Apply a plastic primer and let it dry completely.
Choose a warm tan or brown base color, layering it on for depth.
To mimic wood grain, try a wood grain spray or a water-based stain with a rag.
Finish with a brown tinted wax for added richness and protection, creating an inviting look.
How to Paint a Mirror Frame Without Getting It on the Mirror?
To paint a mirror frame without getting paint on the mirror, start by using painter's tape to mask the edges carefully.
You might wanna apply a thin layer of wax or petroleum jelly along the edges before taping, which makes cleanup easier.
Always work in a well-ventilated area, hold the spray paint can 6-12 inches away, and apply several light coats instead of one heavy coat to avoid drips.
What Kind of Paint Will Stick to Mirrors?
So, you wanna paint a mirror? That's like trying to feed a cat a bath!
But if you insist, you'll need a paint that sticks. You can't just grab any old can; you'll want spray paint made for plastic or chalk paint.
Don't forget to prep the surface first! A little cleaning and sanding goes a long way.
Always check labels for compatibility, or you might end up with a reflective disaster.
Conclusion
To sum up, painting a plastic mirror frame can truly transform your space, but it's crucial to choose the right materials and techniques. Some people believe that plastic can't hold paint well, but with the right preparation and products, you'll see just how effective it can be. Give it a try and see for yourself! You might just end up with a stunning new focal point that breathes fresh life into your room.


