
Creating cork wall decor is a fun, simple DIY project. Start by measuring your wall and cutting a 4 x 8 feet cork sheet to fit. Secure a thin plywood panel to your wall for support using screws. Apply rubber cement to the plywood and carefully press your cork sheet down. Use a level to guarantee it's straight, and finish with decorative tacks for a polished look. Regular maintenance is easy; just dust and clean as needed. With these steps, you'll create a stylish, functional decor piece. Want to explore more creative ideas? There's plenty of inspiration ahead!
Key Takeaways
- Measure the wall area accurately and mark stud locations for secure installation of cork sheets.
- Use a level to ensure straight alignment when applying cork panels to the wall.
- Adhere cork sheets with rubber cement and secure with decorative tacks spaced every 1.5-2 feet.
- Cut any excess cork at the top for a clean finish that aligns with the ceiling.
- Regularly maintain the cork surface by dusting and inspecting for wear or damage.
Project Overview
When you decide to tackle this DIY cork wall decor project, you'll find it not only budget-friendly but also quick to complete.
With an estimated cost of about $85, you can transform a bare wall into a functional space in just one hour. The project involves a 4 x 8 feet cork sheet that's 6mm thick, ensuring durability.
First, you'll prepare by measuring your wall area and marking the studs for support. After securing a thin plywood panel with around 40 screws, you'll apply rubber cement on both the cork and plywood.
Carefully align the cork, then smooth it out with a rolling pin for a flawless finish. Finish off by trimming the edges to match your baseboards and adding decorative tacks.
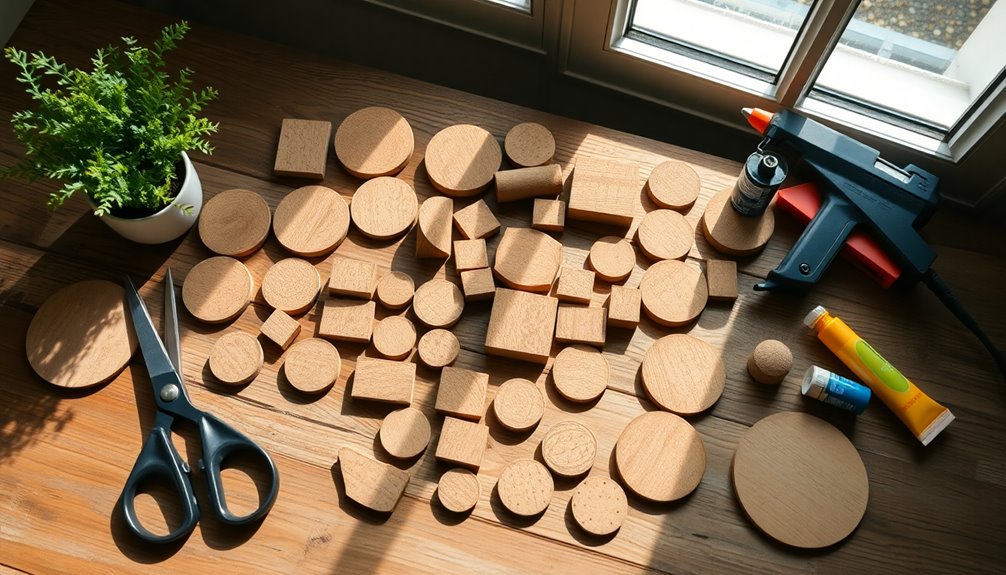
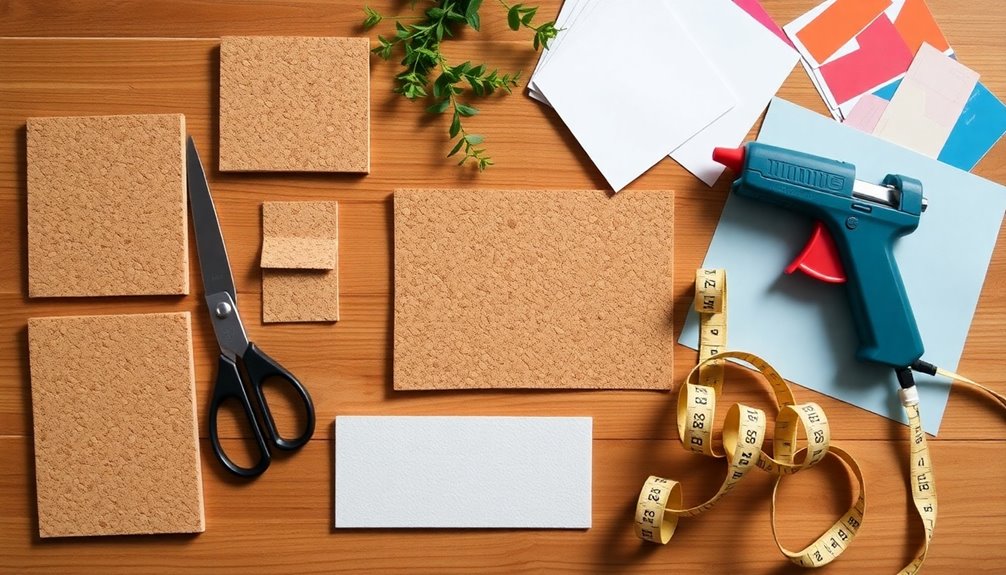
Required Materials
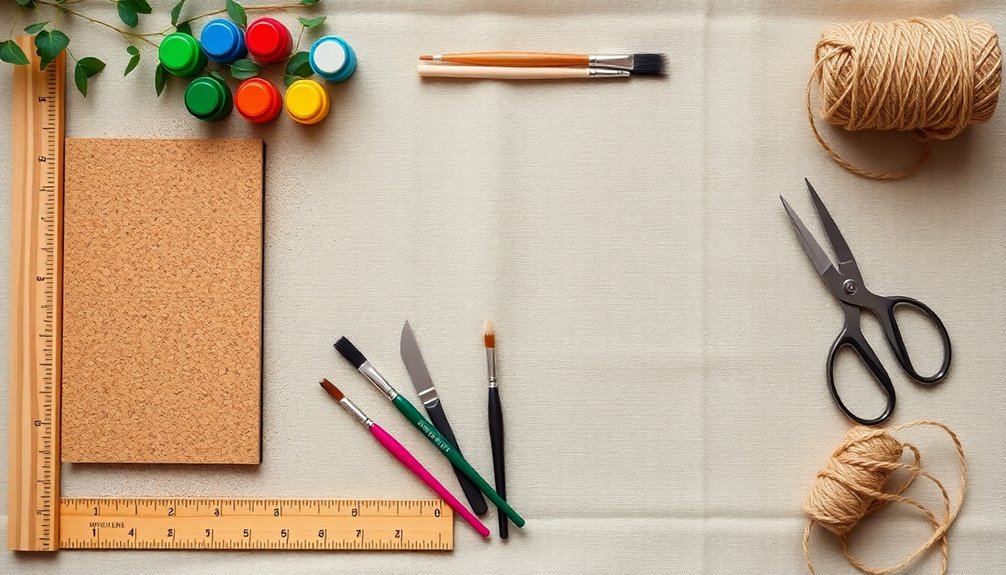
To kick off your cork wall decor project, you'll need a few essential crafting supplies.
Start by choosing the right cork type and gathering the tools for installation. This will guarantee your project runs smoothly and looks great when it's finished.
Essential Crafting Supplies
Creating your own cork wall decor requires a few essential crafting supplies that'll make the process smoother and more enjoyable.
Start with cork sheets or rolls, ideally 1/4 inch thick and larger in size to minimize seams. You'll also need thin plywood or paneling (4 x 8 feet) for a sturdy backing, which typically costs around $10.
For adhering the cork to your surfaces, rubber cement in a gallon size is recommended; it offers better coverage and costs approximately $8.
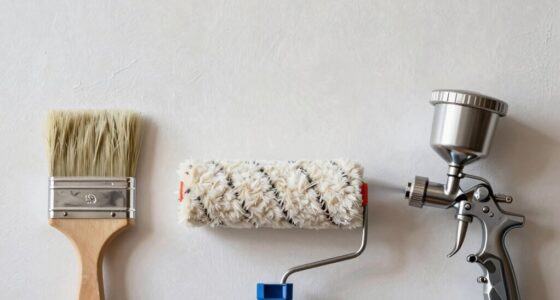
Don't forget tools like a paint roller ($3), a plastic paint tray ($0.50), sharp scissors for cutting the cork, and a level for alignment.
Finally, choose extra long brass tacks that match the cork for a polished finish.
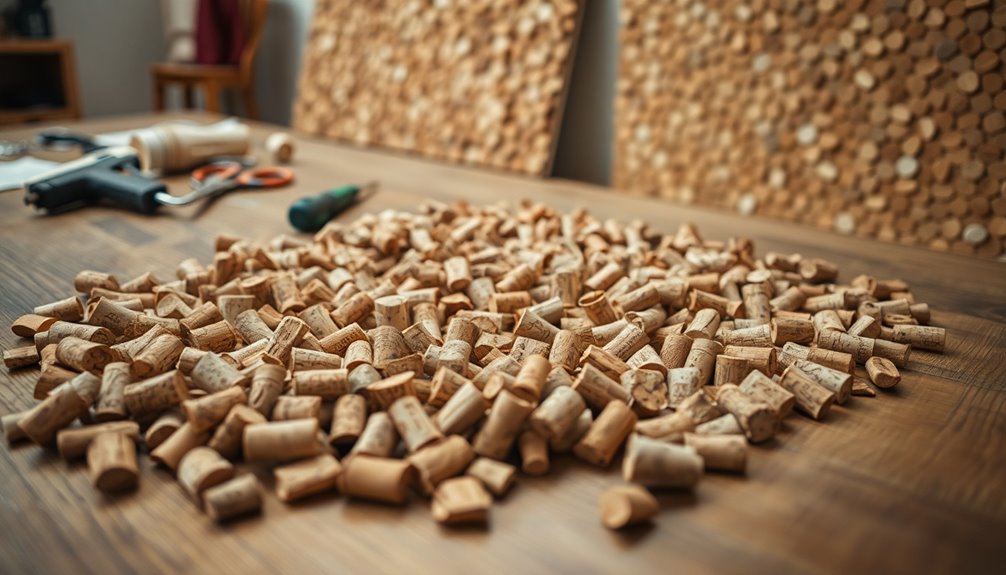
Choosing Cork Types
Choosing the right type of cork for your wall decor can greatly impact both the look and durability of your project. For the best results, consider these options when applying cork to the wall:
- Cork sheets: A 4 x 8-foot sheet with a thickness of 6mm provides ideal sturdiness and coverage.
- Cork boards and rolls: Larger rolls minimize seams, giving you a more seamless installation.
- Durability: Choose cork tested for wear and tear to guarantee longevity in your decor.
To secure your cork to the wall, use extra long brass tacks that match the color of the cork for a polished finish.
Sharp scissors are essential for clean cuts, preventing jagged edges that could detract from your design.
Tools for Installation
Having the right tools on hand can make your cork wall installation a breeze. Start with sharp scissors to cut your cork cleanly, and grab a hammer for inserting decorative tacks or nails.
A level is essential for ensuring your cork rolls align straight, giving you that seamless appearance you want. Don't forget a paint roller for evenly applying rubber cement to both the cork and the birch panel before sticking them together.
A measuring tape is vital for accurately marking your desired cork board area and making precise cuts. Finally, consider using a nail gun for attaching trim post-installation; it speeds up the process and makes it more efficient than hand-nailing.
With these tools for installation, you'll be ready to create your beautiful cork wall decor!
Preparation Steps
Before you immerse yourself in your DIY cork wall decor project, it's essential to prepare the space and materials properly.
Start by rolling out the roll of cork to flatten it, making sure it's ready for installation. Next, measure the area on the wall where you want the cork board, marking the location of wall studs for added support.
Here's a quick checklist to help you get organized:
- Clean and smooth the wall surface for better adhesion.
- Secure a birch panel to the wall with about 40 screws for a sturdy backing.
- Gather your materials, including the cork sheet, rubber cement, plywood, and tools like a paint roller and scissors.
These steps will set you up for a successful project!
Installation Process
Once you've gathered your materials and prepared the wall, the installation process can begin.
Start by measuring the width of the cork roll and the wall to guarantee proper placement. Use a level to draw a vertical line for guidance, beginning from the center of the wall.
Roll the cork up or down as needed, securing it with tacks spaced every 1.5-2 feet for stability. Use sharp scissors to cut excess cork at the top, guaranteeing clean edges flush with the ceiling.
Maintain leveling and alignment throughout the process. For easier future removal, consider using nails instead of adhesives, as this method offers secure attachment without complications.
Enjoy your new cork wall decor!
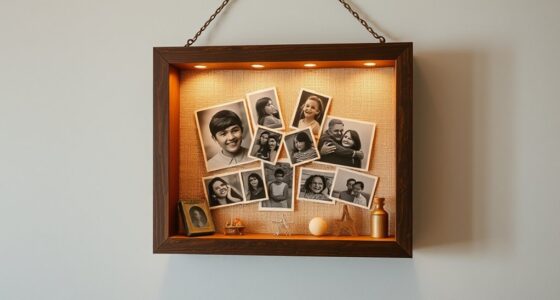
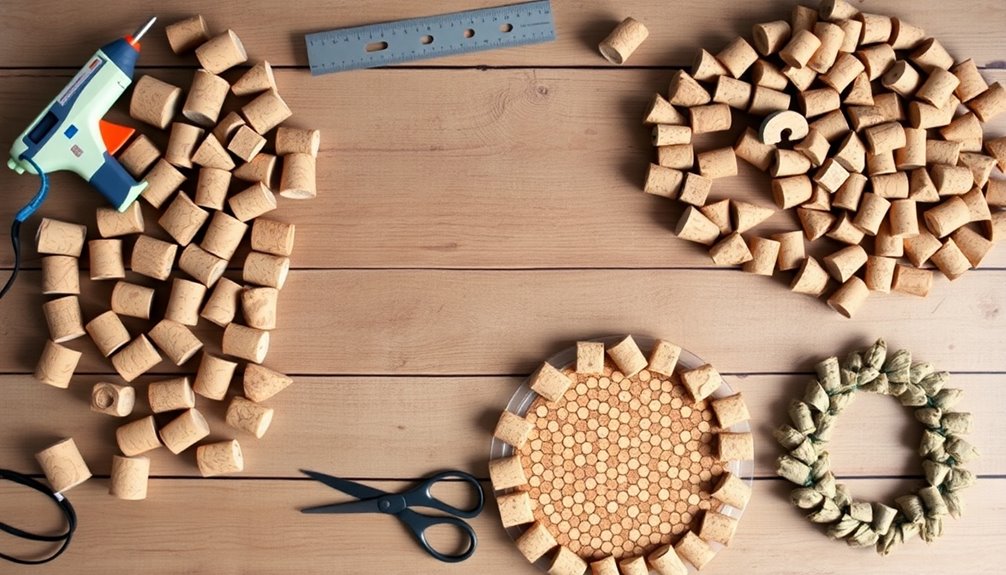
Creative Cork Decor Ideas
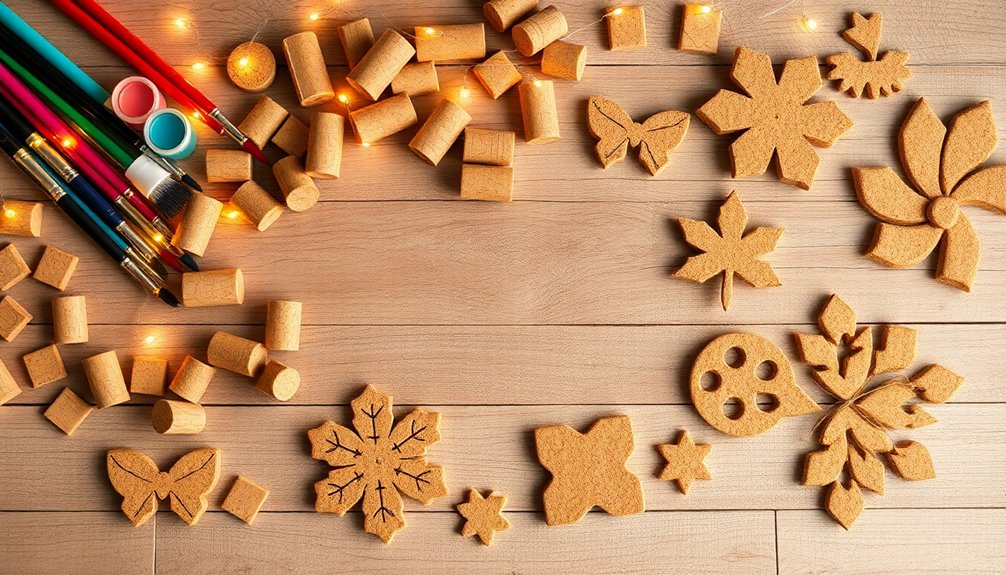
If you're looking to spruce up your walls, cork offers a fantastic canvas for unique art and functional crafts.
You can arrange wine corks into creative patterns or transform them into bulletin boards to keep your notes organized.
Plus, with a splash of paint or a touch of greenery, your cork creations can become stunning focal points in any room.
Unique Wall Art Ideas
Creating unique wall art with cork can transform your space into a personalized haven.
You can make your decor truly stand out by experimenting with different cork projects. Here are a few ideas to inspire you:
- Artistic Patterns: Arrange wine corks into shapes like hearts or letters for a custom touch.
- Colorful Accents: Paint corks in various colors, then arrange them on a canvas or wall for a vibrant statement piece.
- Rustic Wreath: Glue corks onto a foam or cardboard base to create a charming cork wreath.
These projects not only showcase your creativity but also allow you to make sure your decor reflects your style.
Functional Cork Crafts
There's something satisfying about turning simple cork into functional decor that enhances your home. You can make cork trivets to protect your surfaces from hot dishes, adding a rustic touch to your kitchen.
If you've got some wine corks lying around, why not make personalized keychains? They're unique and eco-friendly! Repurposing cork stoppers for kitchen use not only reduces waste but also brings charm to your culinary space.
Additionally, crafting cork drawer liners creates a non-slip surface that keeps your utensils organized. For the readers out there, making cork bookmarks combines sustainability with practicality, giving a personal flair to your reading experience.
These functional cork crafts not only serve a purpose but also add character to your home.
Maintenance and Care
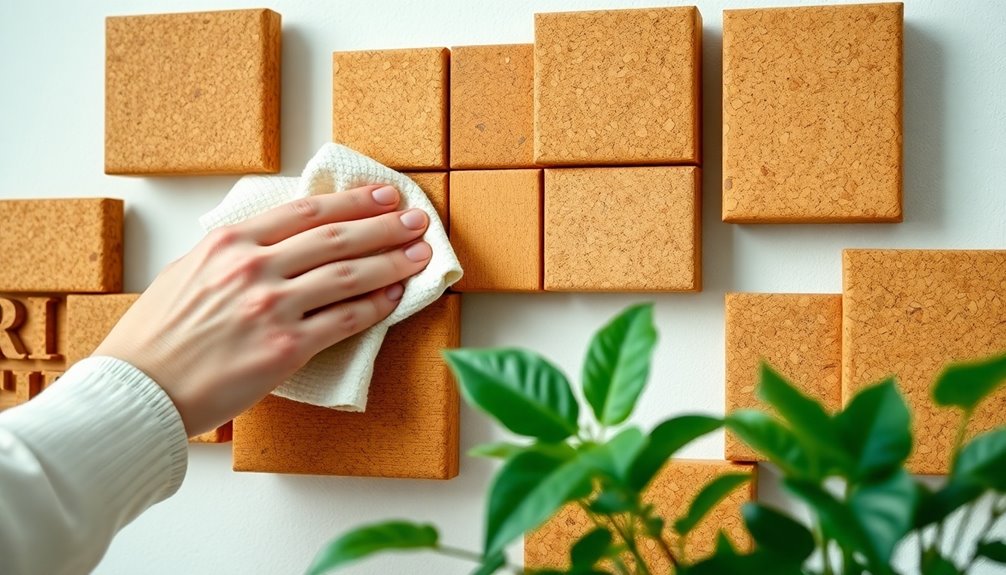
To keep your cork wall decor looking its best, regular maintenance is essential. Here are some simple steps to follow:
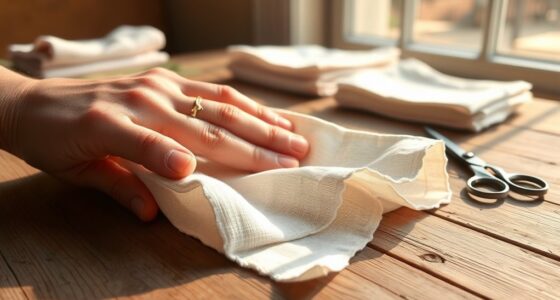
- Dust the cork surface regularly with a soft cloth or light vacuum to prevent dirt buildup.
- Inspect the cork periodically for signs of wear; spackle any small holes from tacks as needed.
- Clean spills or stains quickly with a damp cloth to avoid long-term damage.
Additionally, guarantee decorative tacks are evenly spaced for a neat look.
If sections of the cork begin to loosen over time, consider reapplying adhesive to maintain stability.
Frequently Asked Questions
How to Hang Cork on a Wall?
To hang cork on a wall, start by measuring the cork sheet and the wall area for proper alignment.
Use a level to mark a vertical line for guidance.
Begin applying the cork from the center, securing it with tacks every 1.5 to 2 feet.
Make sure the edges are even for a polished look.
If needed, trim any excess cork at the top for a clean finish, ensuring a neat appearance around outlets.
What Is a Cheap Alternative to Cork Board?
You might think cork boards are the only way to display your notes, but surprise! Foam board, which you can snag for about $10, offers a lightweight surface for pinning items.
Cardboard, often free from packaging, is another sturdy option. If you're feeling crafty, try fabric-covered boards using plywood or MDF.
And don't overlook repurposed crates or DIY pegboards; they're not just cheap, they're also creative and unique!
How to Make a Wall Out of Cork?
To make a wall out of cork, start by measuring your desired area and locating wall studs for support.
Use a birch panel as a stable base, securing it with screws.
Apply rubber cement to both the cork and birch, ensuring even coverage.
Align the cork from the center, smoothing it down, and trim any excess after it dries.
Finally, attach matching trim for a polished finish that enhances your space.
What Can I Use to Stick Cork to the Wall?
It's funny how you can stick cork to the wall without it sticking around forever, right?
You've got options! Rubber cement's a great choice for easy application and removal; just grab a gallon for larger projects.
If you want permanence, nailing works well too.
And if you're feeling adventurous, try pressure mounting for a unique twist.
Mixing adhesives and nails offers a secure hold while giving you the flexibility to adjust later.
Conclusion
Incorporating cork wall decor into your space isn't just a project; it's like adding a personal touch to a blank canvas. With just a few materials and a sprinkle of creativity, you can transform any wall into a stunning focal point. So, roll up your sleeves and let your imagination run wild. Your home deserves a unique flair, and cork is the perfect medium to express your style. Happy decorating!