
To install shelves straight without fancy tools, start by using household items like a level, straightedge, or even a piece of string as guides. Measure carefully, mark your spots with a pencil, and double-check with a level to keep everything aligned. Secure brackets firmly, ensuring they’re level before attaching the shelf. If you stick to these simple tricks, you’ll achieve professional results—keep going to discover even more easy tips.
Key Takeaways
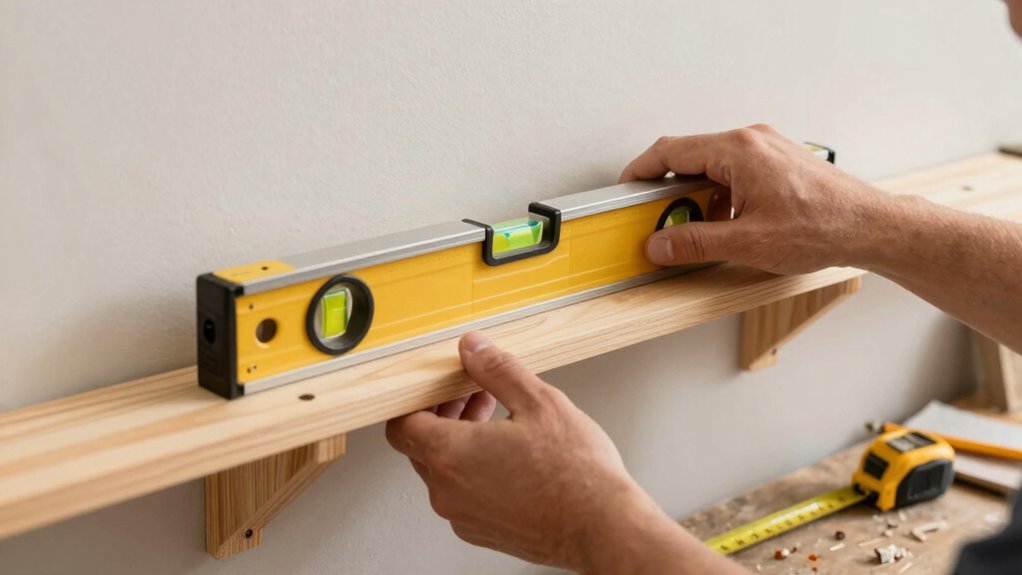
- Use a simple bubble level or a straightedge along the wall to mark a straight, level line as a guide.
- Measure equal distances from the wall edges to position brackets precisely.
- Mark bracket placement points carefully with a pencil, double-checking with a level for accuracy.
- Secure brackets firmly, ensuring they are flush against the wall and level before installing shelves.
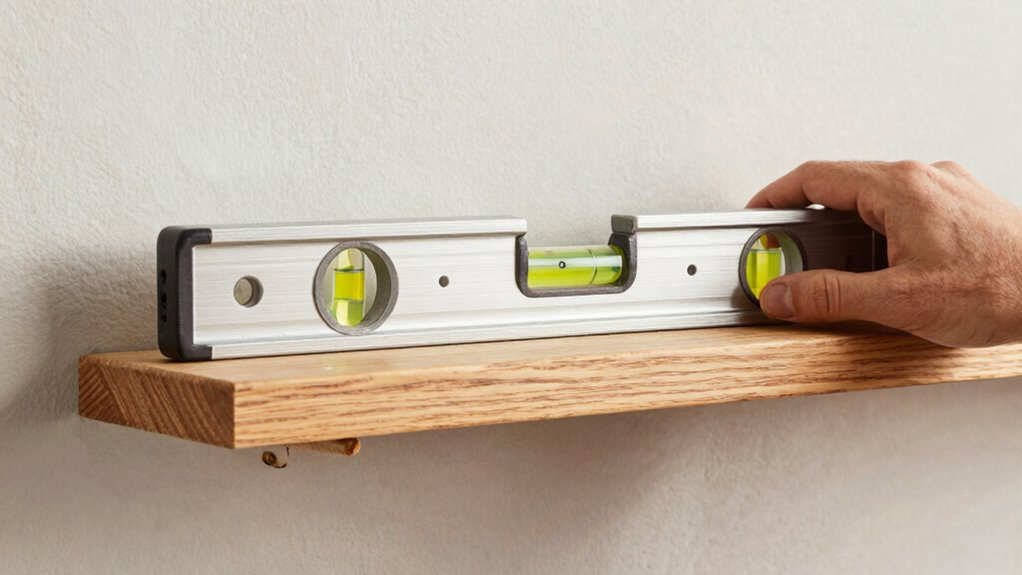
- Verify the shelf’s straightness after installation with a bubble level, adjusting as needed for a polished look.
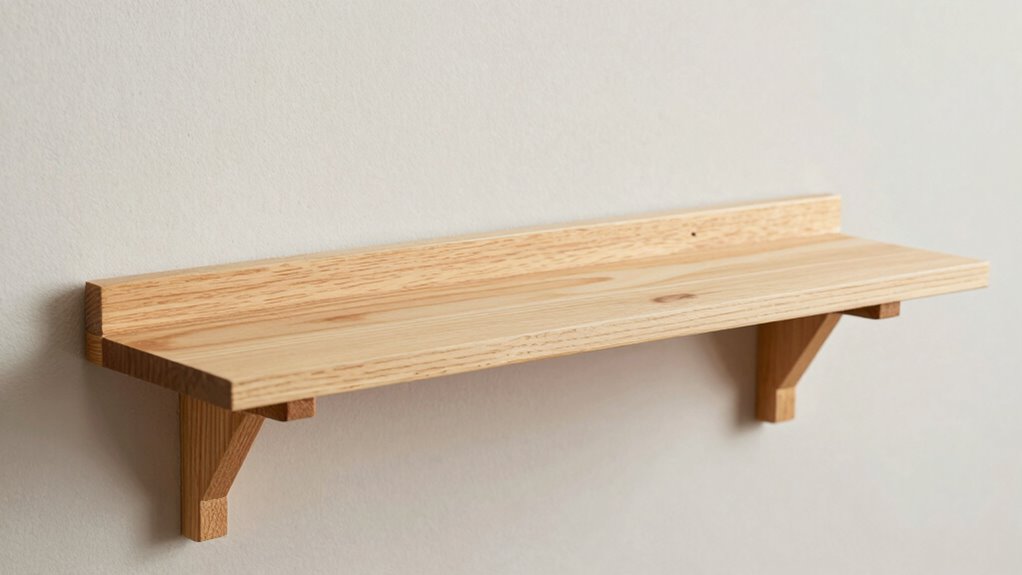
Why Proper Shelf Placement Makes Your DIY Look Professional

Proper shelf placement is essential because it instantly elevates the overall look of your DIY project. When you position shelves thoughtfully, they become the perfect spot for decorative accents that enhance your space. Consider your wall color choices—lighter walls can make shelves stand out, while darker tones add depth. Aligning shelves at the right height creates visual balance and harmony, making your room feel more polished. Avoid placing shelves too high or low; instead, aim for a placement that complements your furniture and wall decor. Precise placement highlights your attention to detail, giving your project a professional touch. When your shelves are properly aligned, they seamlessly integrate with the room’s aesthetic, making your DIY effort look intentional and stylish.
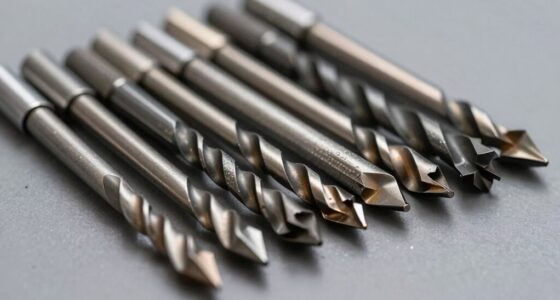
Tools and Materials You Already Have for Easy Shelf Installation

You might be surprised to find that many tools and materials needed for easy shelf installation are already in your toolbox or around your home. A simple drill, for example, is essential, but you can often use what you already own—just remember drill safety to avoid accidents. Wall anchors are another common item, especially if you’re installing shelves into drywall; they provide extra support and prevent the shelf from pulling out. No fancy tools are needed—just a few basic supplies. You may also have a pencil for marking, a level for keeping your shelf straight, and screws or nails. Additionally, understanding media literacy can help you interpret online sources for DIY tips more critically. Being aware of DIY safety precautions ensures you avoid common hazards during installation. Using essential oils like lemon or lavender can create a calming atmosphere in your workspace, making the installation process more enjoyable. Recognizing common household tools can help you identify what you already have on hand to streamline the process. Plus, understanding creative storytelling can inspire you to personalize your shelves with decorative elements that reflect your style. With these readily available materials, you can confidently proceed, knowing you’re well-equipped for a straightforward, professional-looking shelf installation.
Measuring and Marking Your Wall the Simple Way
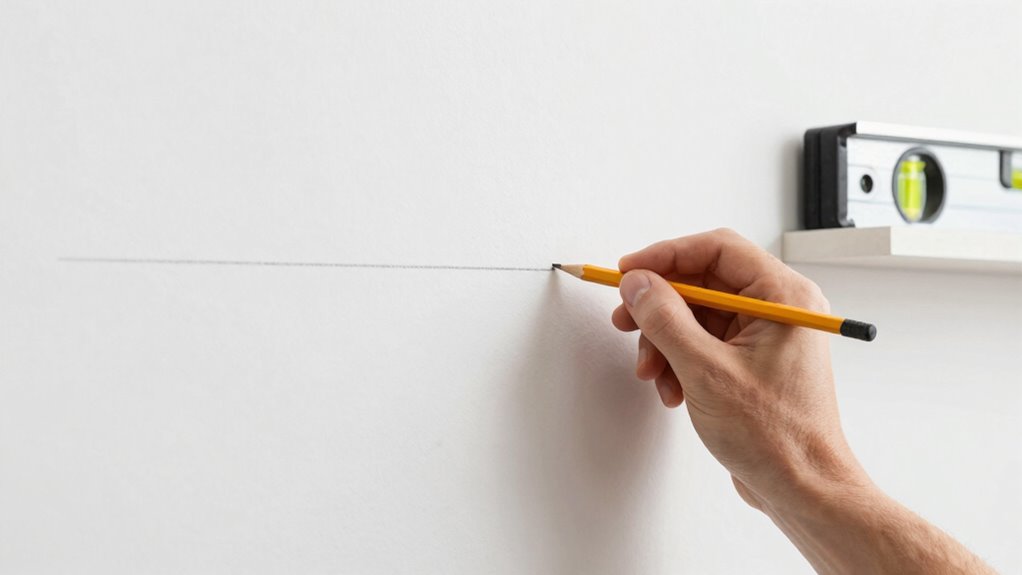
Start by grabbing a level tool to make certain your marks are straight. Mark your anchor points carefully, then double-check your measurements before proceeding. This simple step keeps your shelf perfectly aligned and secure. Using adhesive strips can provide additional stability, especially for lightweight decor. Incorporating proper wall anchors ensures your shelf can support heavier items without issue. Additionally, verifying your measurements with a measuring tape helps prevent mistakes and ensures precise placement. Remember, understanding the wave and wind dynamics can be helpful when choosing the best wall location to avoid areas prone to vibrations or drafts.
Use a Level Tool
Using a level tool is the easiest way to guarantee your shelf will hang straight. A traditional plumb line helps establish a perfect vertical reference, while a laser level provides an effortless way to create a straight, even line across your wall. If you have a laser level, turn it on and project a horizontal line at your desired height. For a more manual approach, place a level bubble on your marked line to ensure it’s perfectly horizontal. When using a plumb line, hold it against the wall to verify vertical alignment. Combining these tools helps you double-check your measurements, making sure your shelf stays level and straight. Additionally, energy-efficient technology integrated into modern tools can enhance accuracy and ease of use. Many digital levels now feature backlit displays and Bluetooth connectivity for even more precise adjustments. These precision tools are designed to improve your accuracy, so you avoid guesswork and get professional-looking results without any fancy equipment. Incorporating proper calibration ensures your tools remain accurate over time, giving you confidence in your measurements. Using these measuring techniques can also help you avoid common mistakes and ensure a perfect installation every time.
Mark Anchor Points
Once your wall is marked and verified with a level, it’s time to identify where the anchors will go. Properly marking your anchor points ensures your shelf stays straight and secure. Here’s how to do it simply:
- Measure the distance between your shelf brackets and transfer those measurements onto the wall, marking the spots for wall anchors.
- Use a pencil to mark the exact spots for each anchor point, making sure they’re level.
- Double-check your markings with the level to keep everything straight.
- Prepare your wall anchors by pre-drilling small holes at the marked points, ready for installation.
Double-Check Measurements
Even after marking your anchor points, it’s essential to double-check your measurements to make sure everything lines up perfectly. Measure the distance between your decorative brackets and compare it to your shelf length, ensuring they’re level and evenly spaced. Use a tape measure or a straight edge to verify that the marks are accurate and consistent. Check the height of your wall anchors to confirm they align with your marked spots. Small miscalculations can lead to crooked shelves, so take a moment to re-measure if needed. Confirm that all marks are level before drilling. Properly placed wall anchors and precise measurements will make installing your shelf straightforward and ensure it stays straight and sturdy. Additionally, understanding micro-mobility solutions can help you select the most effective and sustainable transportation options for your space.
How to Level Shelves Without Fancy Gadgets

You can level your shelves easily with just a bubble level and a pencil. Place the level on the shelf or wall, then mark where the bubble indicates a straight line. Measure from the edges to guarantee your marks are even before installing. To ensure long-term stability, consider the proper placement of supports to prevent sagging or shifting over time. Using a leveling technique can help you achieve perfect results without the need for fancy tools. Additionally, ensuring the correct weight distribution of your shelves will contribute to their stability and longevity. Remember that using the appropriate yarn for scarves can help you create decorative shelf liners or accents if you’re inclined to craft. Employing a reliable measuring method can further enhance your precision and help you avoid common mistakes.
Use a Bubble Level
Using a bubble level is one of the simplest and most effective ways to guarantee your shelves are perfectly straight. First, place the bubble level on your shelf or the wall where you plan to install it. Then, follow these steps:
- Check the bubble to see if it’s centered; if not, adjust the shelf or wall accordingly.
- Mark the wall at the level’s ends to create wall markings, ensuring your shelf will be straight.
- Move the bubble level along the length of the shelf to verify consistency.
- Keep the bubble centered as you make your final wall markings to maintain perfect alignment.
This method helps you visually confirm the wall markings are level, preventing crooked shelves and saving you time.
Mark With a Pencil
Once you’ve verified the shelf’s position with a bubble level, it’s time to transfer your measurements onto the wall. Use your pencil to mark the wall at the points where the shelf brackets will sit. Carefully measure the distance from the level line to each bracket location, ensuring accuracy by double-checking your wall measurement. Light pencil marks make it easy to see where to drill without cluttering your wall. Keep your pencil marks clear and consistent, so you can easily align the brackets later. If needed, use a straightedge or ruler to connect marks for a precise line. This simple step ensures your shelf will be level and aligned perfectly, all without fancy gadgets—just careful pencil marking and accurate wall measurement. Remember, art care begins with precise placement to preserve your artwork’s integrity over time.
Measure From Edges
Wondering how to guarantee your shelf is perfectly level without fancy tools? The key is measuring from the edges of the wall. Here’s how:
- Use a measuring tape to mark the same distance from the edge of the wall on both sides where you plan to put the wall anchors.
- Make small pencil marks at these points, ensuring they’re level by eyeballing or using a simple level if you have one.
- Measure between the marks to double-check they’re equal, adjusting if needed.
- When installing, align your shelf brackets with these marks, which act as guides for level placement.
- Remember, simple tools like a bubble level can help verify your measurements and ensure accuracy.
This method keeps your shelf straight without complicated gadgets, relying on careful measuring and common wall anchors.
Keeping Shelves Straight During Installation With Common Items
Keeping shelves straight during installation can be simple when you leverage common household items. Use a level, a straightedge, or even a book to verify your shelf aligns correctly. If your wall material makes standard tools tricky, a simple pencil or painter’s tape can serve as visual guides. For example, tape a level or straightedge along the wall at the desired height, then mark the spots for brackets. This helps maintain shelf aesthetics by preventing crooked placement. You can also use a piece of string or a long ruler stretched across the wall as a reference line. These items are inexpensive, easy to find, and don’t damage your walls. Utilizing basic measuring tools can further improve accuracy and ensure your shelves are perfectly aligned. Additionally, proper measurement techniques are essential for achieving professional-looking results. Using reliable tools or advice from trusted local resources can also help you find reliable tools or professional guidance if needed. By working carefully with what you have, you’ll keep your shelves perfectly straight and visually appealing.
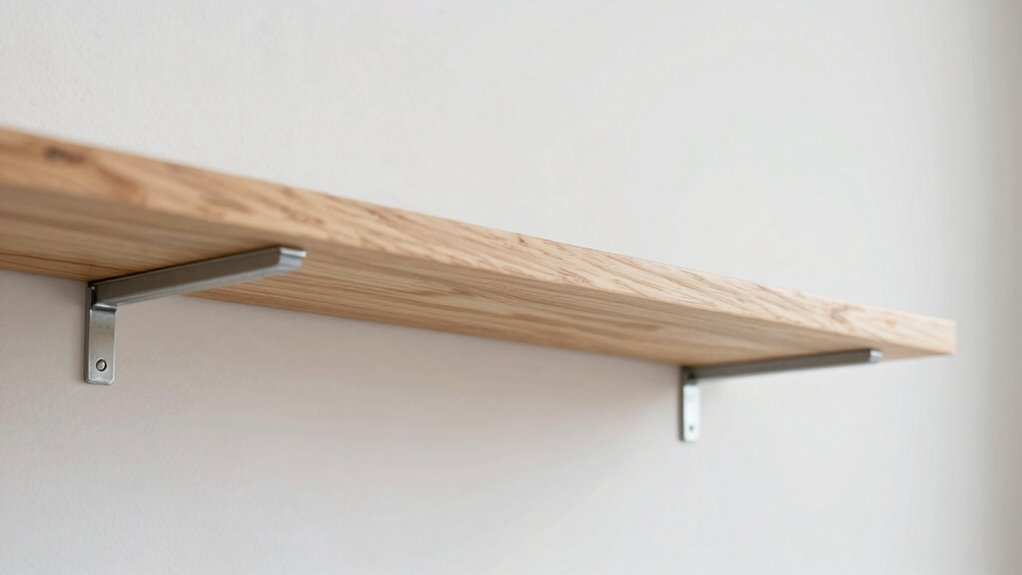
Securing Shelves Properly to Prevent Wobbling or Crookedness
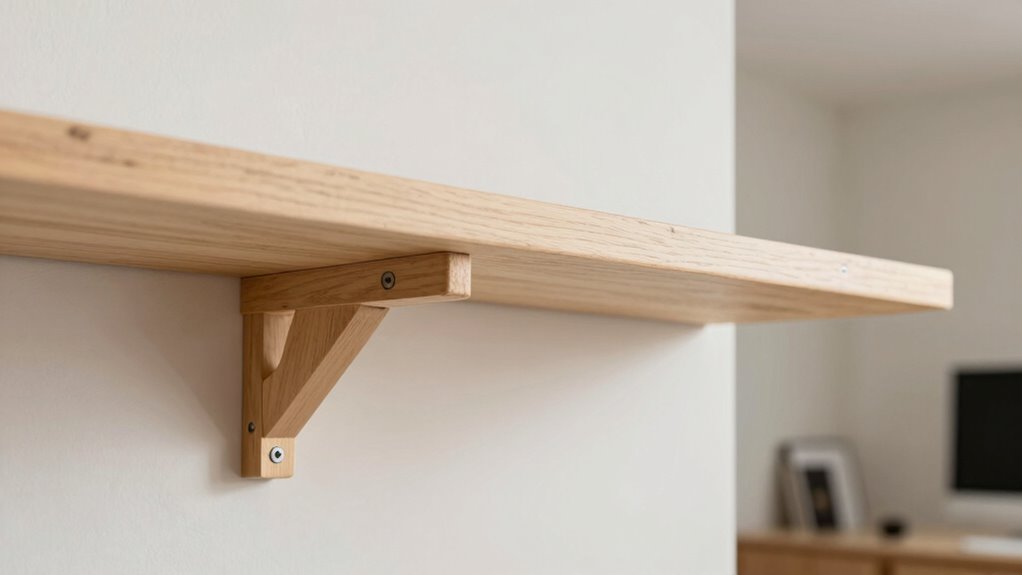
After marking where your brackets will go, the next step is to secure your shelves firmly to prevent wobbling or crookedness. First, attach mounting brackets securely to the wall using wall anchors if needed, ensuring they are level. Second, double-check that brackets are flush against the wall to avoid tilt. Third, firmly tighten all screws into the brackets and wall anchors, avoiding over-tightening that could crack the wall. Finally, gently test the stability by applying slight pressure to the shelf; if it wobbles, re-tighten or add extra wall anchors. Using quality mounting brackets and wall anchors makes a significant difference in preventing crookedness. Properly secured shelves stay straight and stable, giving your space a neat, professional look.
What to Do When Shelves Are Not Level or Aligned?
When shelves are not level or aligned, the first step is to identify the cause. Check if the decorative brackets are properly secured and evenly spaced. Sometimes, uneven brackets or misplaced wall anchors cause misalignment. Use a level to determine exactly where the problem lies. If brackets are uneven, loosen and reposition them, ensuring they sit flush against the wall. For shelves that wobble or tilt due to wall anchors, consider replacing or adjusting the anchors for better support. Small shims or washers can help level the brackets temporarily, but for a long-term fix, re-secure the brackets with proper wall anchors that hold firmly. Taking these steps will help you correct misaligned shelves without needing fancy tools.
Tips for Maintaining Perfectly Level Shelves Over Time
To guarantee your shelves stay perfectly level over time, regularly check their alignment with a level tool, especially after heavy use or wall modifications. Maintaining shelf styling involves simple upkeep to prevent sagging or tilting. Here are four tips:
- Tighten decorative brackets periodically to keep shelves secure.
- Inspect for loose screws or wall anchors and tighten as needed.
- Avoid placing uneven weight that could cause warping or imbalance.
- Reassess the level after rearranging décor to ensure the shelf remains straight.
Extra Tricks for a Flawless Shelf Installation Using Household Items
Using household items can make your shelf installation more precise and easy to manage. For example, you can use decorative accents like small picture frames or ornaments to mark exact spots for brackets, ensuring consistent placement. If your wall has a textured surface, a simple strip of painter’s tape can act as a guide, helping you align brackets straight across uneven surfaces. A level isn’t always necessary—you can use a smartphone app or even a common ruler to check that your shelf is perfectly horizontal. These household tools are quick, inexpensive, and effective for achieving a flawless, professional look. By leveraging everyday items, you’ll streamline the process and create a clean, polished display that highlights your decorative accents beautifully.
Frequently Asked Questions
Can I Install Shelves Without Drilling Into the Wall?
Yes, you can install shelves without drilling into the wall by using adhesive mounting or tension supports. Adhesive mounting involves strong, wall-safe adhesives that hold your shelf securely, perfect for lightweight items. Tension supports use adjustable poles or brackets that rely on pressure between the floor and ceiling or wall to stay in place. Both options avoid damage to your walls and are easy to set up, making them ideal for quick, damage-free shelf installation.
What’s the Best Way to Hide Shelf Brackets?
To hide shelf brackets, opt for concealed brackets or floating shelves. Concealed brackets are hidden inside the shelf, giving a sleek, modern look. Floating shelves appear to hover without visible supports, creating a clean, minimalist style. You simply install the brackets inside the shelf or use hidden mounting hardware. This way, your shelves look seamless and stylish, showcasing your items without distraction from visible brackets.
How Do I Prevent Shelves From Sagging Over Time?
Imagine discovering your shelves sagging just when you thought everything was perfect. To prevent this, you should focus on shelf reinforcement and material selection. Use sturdy, high-quality wood or metal, and add support brackets or a center brace for extra strength. Proper reinforcement distributes weight evenly, reducing sag over time. Choosing the right materials and reinforcement techniques guarantees your shelves stay level, durable, and functional for years to come.
Are There Weight Limits for No-Fancy-Tool Shelf Installation?
Yes, there are weight limits for no-fancy-tool shelf installations. You should always verify the weight capacity specified by the shelf’s material strength and mounting method. Generally, lighter shelves made from sturdy wood or metal can hold more weight, but overloading them risks sagging or falling. To ensure safety and durability, avoid exceeding the recommended weight limits, and distribute weight evenly across the shelf.
Can I Remove and Reposition Shelves Easily Later?
You can absolutely remove and reposition your shelves easily later—it’s as simple as a breeze! Using removable brackets makes this process super convenient, allowing you to switch up your space whenever you want. Adjustable shelves give you even more flexibility, letting you change heights to fit different items. With these features, your shelving system becomes a dynamic piece that adapts to your needs, no tools or fuss required.
Conclusion
With these simple tips, you’ll turn your wall into a masterpiece of perfection—so straight, so flawless, it’ll make professional installers jealous. No fancy tools needed—just common household items and a little know-how. Imagine your shelves standing like soldiers, perfectly aligned and unwavering, defying gravity itself. Before long, your DIY skills will outshine even the most polished professionals, transforming your space into a showcase of flawless craftsmanship that’ll leave everyone in awe.