
To fix uneven stain without starting over, first assess and mark the blotchy or dark areas. Lightly sand those spots, then use a matching diluted stain or touch-up pen to blend the tones. Wipe excess stain gently for even coverage, and apply thin coats, allowing each to dry properly. Sealing with a clear coat can help even out color and protect your work. Keep in mind, proper techniques can often correct most issues—discover more tips to achieve a flawless finish.
Key Takeaways
- Lightly sand and clean the uneven areas to promote better adhesion for touch-up stains.
- Use a matching stain or touch-up pen to carefully blend and even out blotches or dark spots.
- Apply thin, successive coats of stain, allowing proper drying between layers for uniform color.
- Gently blend the repaired areas with a clean cloth to smooth transitions and reduce visible patches.
- Seal the surface with a clear finish to lock in the stain and ensure a consistent, professional look.
Why Does Staining Become Uneven and How Can You Prevent It?
Uneven staining often occurs when the surface isn’t prepared properly or the stain isn’t applied consistently. The wood grain plays a big role in how the stain absorbs, causing some areas to soak up more color than others. If the surface is rough, dusty, or dirty, the stain won’t settle evenly, leading to blotchy patches. Similarly, applying stain unevenly or in thick layers results in inconsistent color. To prevent this, sand the wood smoothly, removing any debris or previous finishes, and wipe it clean before staining. Testing the stain on a small area helps you understand how the wood grain absorbs color, which is essential for a uniform finish. Proper surface preparation and application technique are crucial for achieving a professional-looking finish. Additionally, understanding how sound vibrations influence cellular regeneration can inspire innovative approaches to stain application, ensuring an even and durable coat. Using techniques such as controlled application can help distribute stain more evenly across the surface.
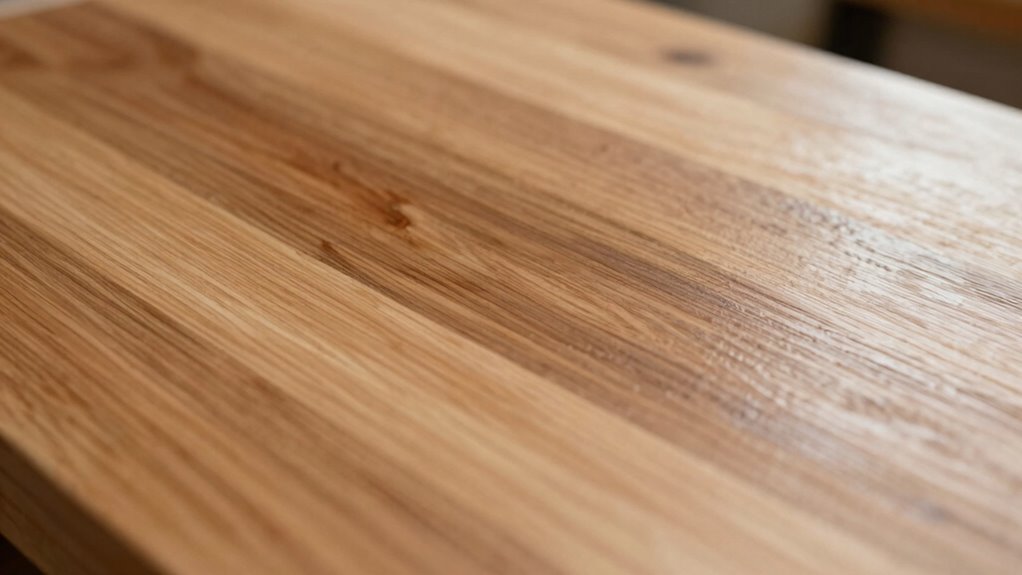
How to Spot and Assess Uneven Stains on Your Wood
Look closely at your stained wood to identify visible variations in color and texture. Inconsistent color depth often signals uneven application or absorption issues. Recognizing these signs helps you accurately assess where the stain needs correction. Additionally, understanding energy-efficient techniques can lead to more sustainable refinishing practices. Being aware of proper surface preparation ensures a more uniform stain application and long-lasting results.
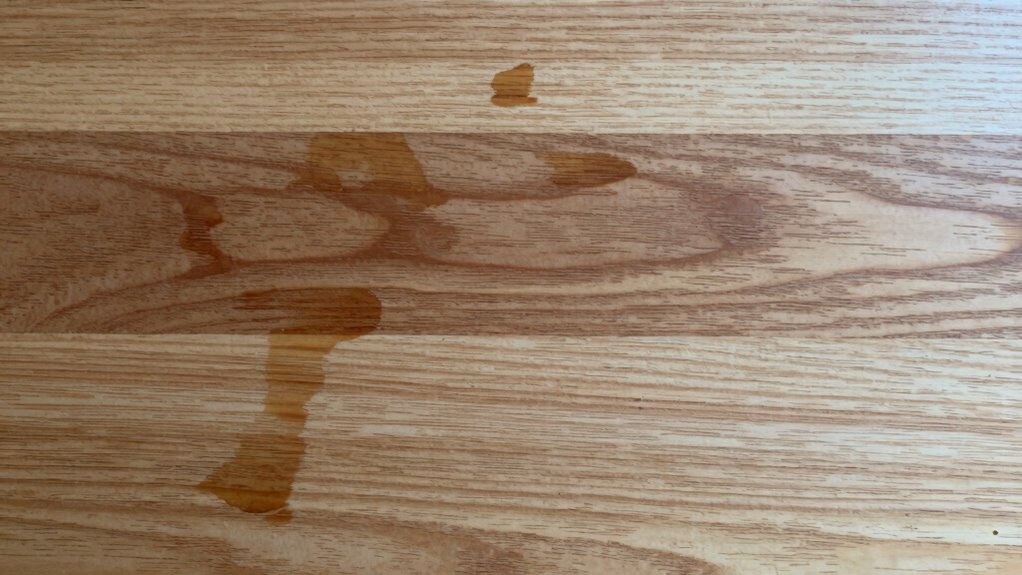
Visible Stain Variations
When examining stained wood, you might notice areas where the color appears inconsistent or patchy. These visible stain variations can be caused by uneven stain application, poor color blending, or incomplete stain layering. To identify these issues, look for spots where the stain looks darker or lighter than surrounding areas. A thorough assessment can help you determine the best approach to achieve a uniform finish, especially since stain layering can significantly impact the final appearance. Additionally, understanding how wood grain affects stain absorption can help in diagnosing uneven staining. Recognizing stain penetration issues is also crucial, as uneven absorption can lead to inconsistent color distribution across the surface. Being aware of application techniques can further assist in correcting and preventing uneven stain results. Moreover, proper surface preparation plays a vital role in ensuring an even stain application and avoiding unwanted variations.
Inconsistent Color Depth
To effectively assess inconsistent color depth on your stained wood, you need to carefully examine the surface under good lighting conditions. Look for areas where the stain appears darker or lighter than surrounding sections, indicating uneven absorption or application. Pay attention to how the color varies across the surface, affecting overall finish uniformity and color consistency. Fact-checking & media literacy can help you distinguish between natural wood variations and actual uneven staining. Check for spots that seem more saturated or faded. Observe how light reflects differently across the surface. Identify areas with abrupt color shifts. Compare stained sections to adjacent bare or lighter wood. Note any patchy or blotchy appearance. Understanding these signs helps you pinpoint uneven stain absorption and decide whether touch-ups or additional coats are necessary to achieve a cohesive, uniform finish. Recognizing these visual cues is essential for accurate assessment and ensuring a professional-looking result. Additionally, being aware of wood grain patterns can help you determine whether color variations are natural or caused by uneven staining. Incorporating visual inspection techniques will improve your ability to evaluate the stain’s evenness effectively, especially when considering the influence of wood grain on stain absorption and appearance.
Prep Your Surface: Sanding and Cleaning for Better Results
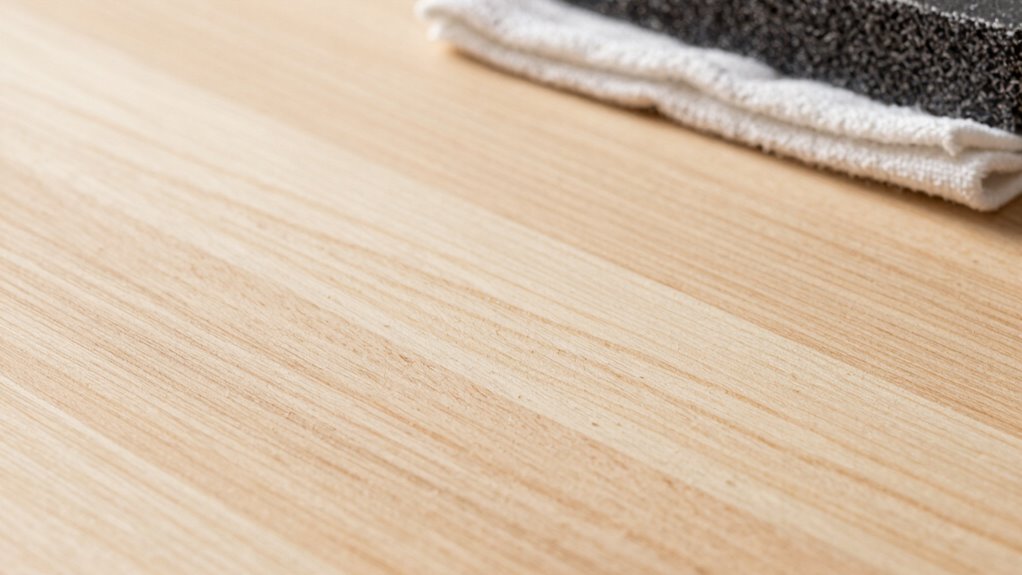
Before you apply any stain, it’s essential to prepare your surface thoroughly. Start by sanding the area to achieve surface smoothing, which helps the stain absorb evenly. Use a fine-grit sandpaper and go with the grain of the wood, applying gentle pressure. Once sanding is complete, focus on dust removal—use a vacuum or a tack cloth to wipe away all particles. Dust lingering on the surface can cause uneven stain absorption and blotchy results. Additionally, proper surface preparation ensures the stain adheres evenly and maintains its intended color. Make sure the surface is completely clean and free of debris before proceeding. Proper sanding and dust removal create a smooth, clean surface that promotes even color application. Taking these steps ensures your stain will adhere better and result in a more uniform finish, saving you the trouble of fixing uneven spots later. Additionally, consider ventilation considerations to ensure proper curing and safety during the staining process. Proper surface preparation, including surface cleaning, is crucial for achieving consistent and professional-looking results. Moreover, understanding wood grain can help you choose the best technique for sanding and staining your project. For optimal results, adjusting your techniques based on the type of wood can further enhance the evenness of your stain.
Use Wood Conditioner to Achieve Consistent Color
After thoroughly sanding and cleaning your surface, applying a wood conditioner helps guarantee the stain penetrates evenly. It reduces the contrast caused by the wood grain, ensuring a more uniform color match. The conditioner neutralizes differences in porosity, making your staining process smoother and more predictable. Proper application of conditioner is essential for achieving consistent color, especially on woods with varied grain patterns. This step prevents dark spots or uneven patches that can ruin your finish. Use a brush or rag to evenly spread the conditioner, focusing on areas with prominent grain. Allow it to penetrate and dry before staining. This preparation step gives you greater control over the final look and guarantees even stain absorption across the entire surface. Additionally, selecting the right field recording techniques can further improve the staining results. Considering wood grain characteristics during application can also help achieve optimal results and promote consistent stain absorption throughout your project. Paying attention to wood porosity differences ensures a more uniform finish and reduces the need for touch-ups later.
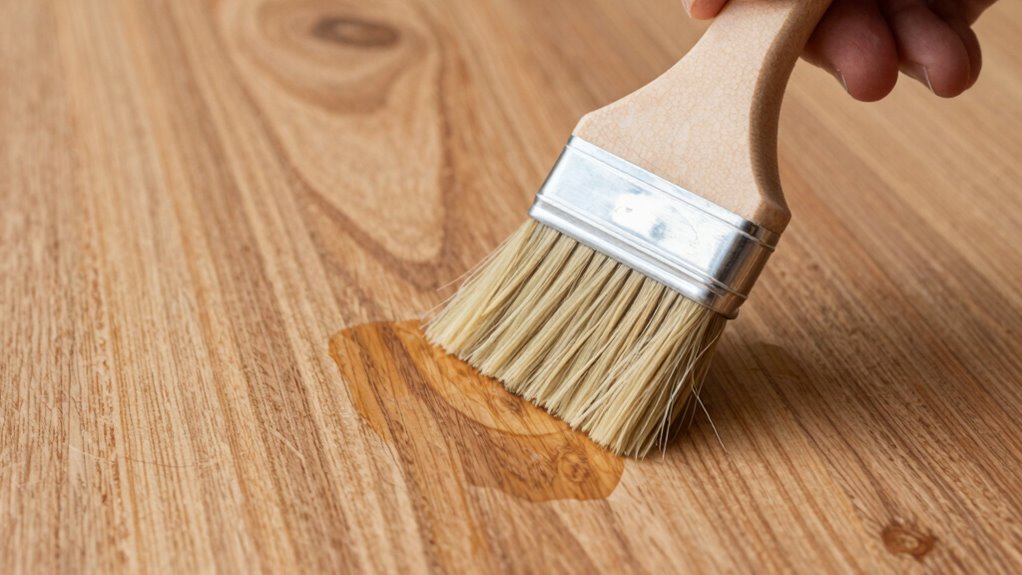
How to Apply Stain Correctly for a Smooth, Even Finish

To get a smooth, even stain, you need to start with a properly prepared surface. Make sure to apply the stain evenly using the right tools, like a quality brush or cloth. Paying attention to these steps helps you achieve a professional-looking finish without uneven patches.
Prepare the Surface Properly
Ensuring the surface is properly prepared is essential for achieving a smooth, even stain application. The grain pattern and wood species influence how the stain absorbs, so prepping correctly helps avoid uneven color. Start by sanding the surface thoroughly with fine-grit paper to remove rough spots and open the grain. Clean off all dust with a tack cloth or vacuum. If dealing with oily or sticky residues, use a wood conditioner compatible with your wood type to promote uniform absorption. Always test stain on a hidden area to anticipate color differences. Properly preparing the surface reduces blotchiness and guarantees the stain highlights the wood’s natural beauty.
- Sand uniformly along the grain pattern
- Choose the right grit for your wood species
- Remove all dust and debris
- Use a wood conditioner if needed
- Test stain before applying broadly
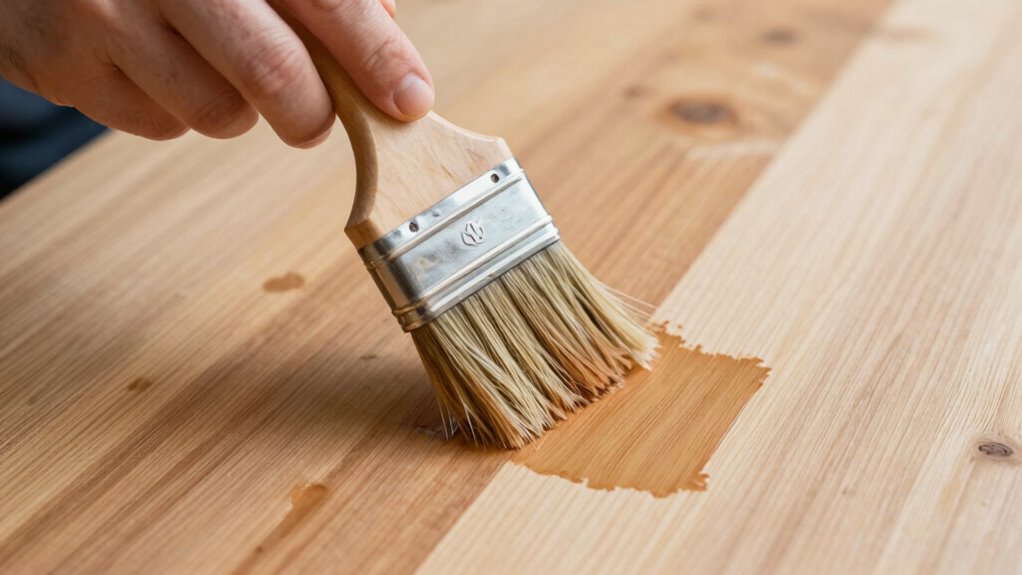
Apply Stain Evenly
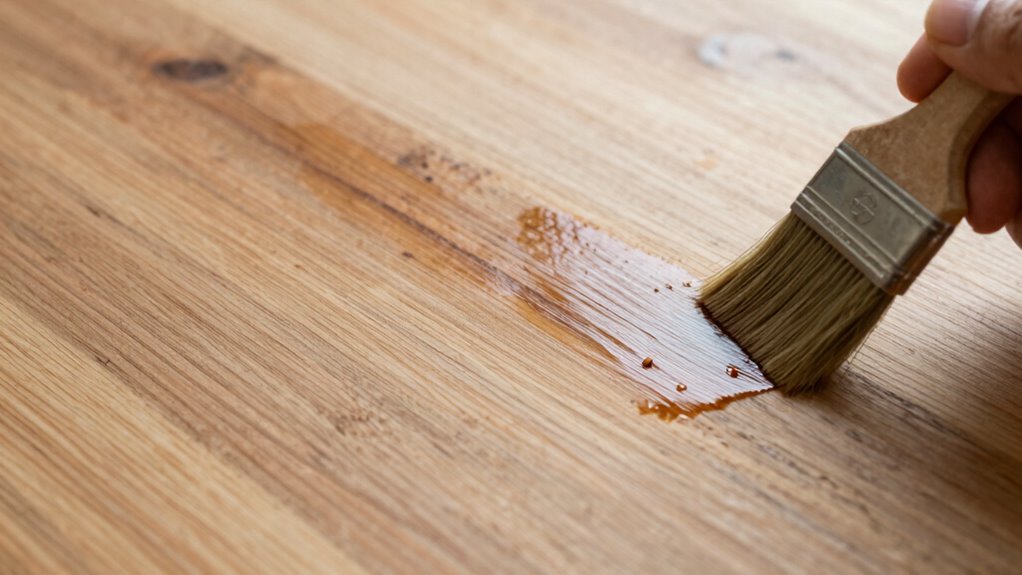
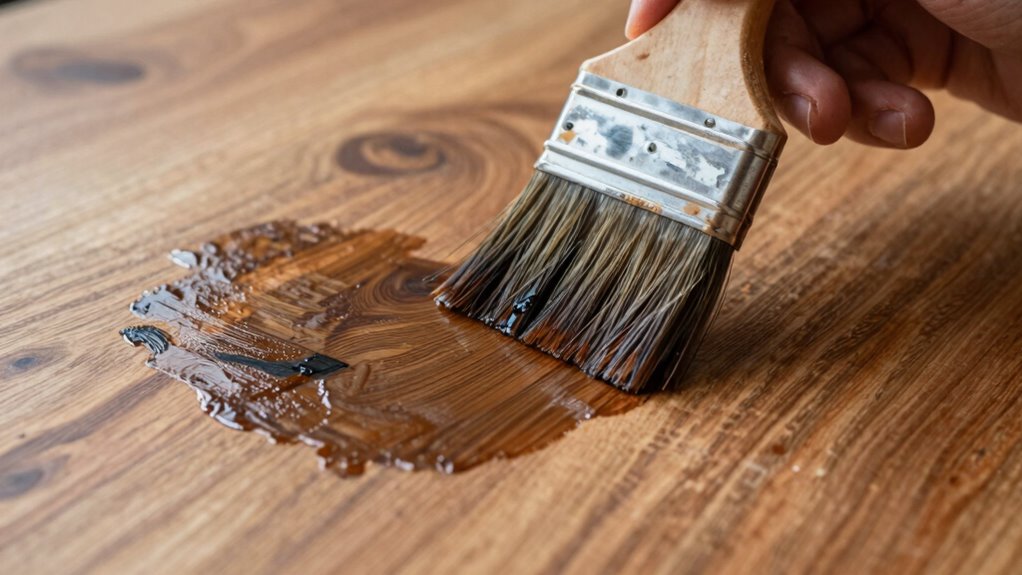
Once your surface is properly prepared, it’s time to apply the stain evenly. Use smooth brush techniques, working with the grain of the wood to guarantee a uniform coat. Avoid pressing too hard or overloading your brush, which can cause streaks or uneven patches. Apply the stain in long, even strokes, overlapping slightly to blend each pass seamlessly. Keep a steady hand to prevent streaks and maintain consistency. Pay attention to stain drying times between coats; rushing can lead to blotches or uneven color. If you notice streaks or pooling, lightly feather the stain with your brush to smooth out the finish. Taking your time and using proper brush techniques will help you achieve a smooth, even stain that looks professional.
Use the Right Tools
Using the right tools is essential for achieving a smooth, even stain finish. Proper tools help you control application, prevent streaks, and guarantee consistent color. Start with high-quality brushes or foam applicators, which allow for better brush techniques and smoother coverage. Always mix your stain thoroughly to achieve uniform color and avoid uneven spots. Use a clean, lint-free cloth or applicator to prevent debris from marring the surface. Keep a rag handy for wiping excess stain or blending edges. Remember, the right tools enable you to work efficiently and accurately, reducing the risk of uneven stain absorption and blotchiness. Investing in good equipment is key to a professional-looking, flawless finish that lasts.
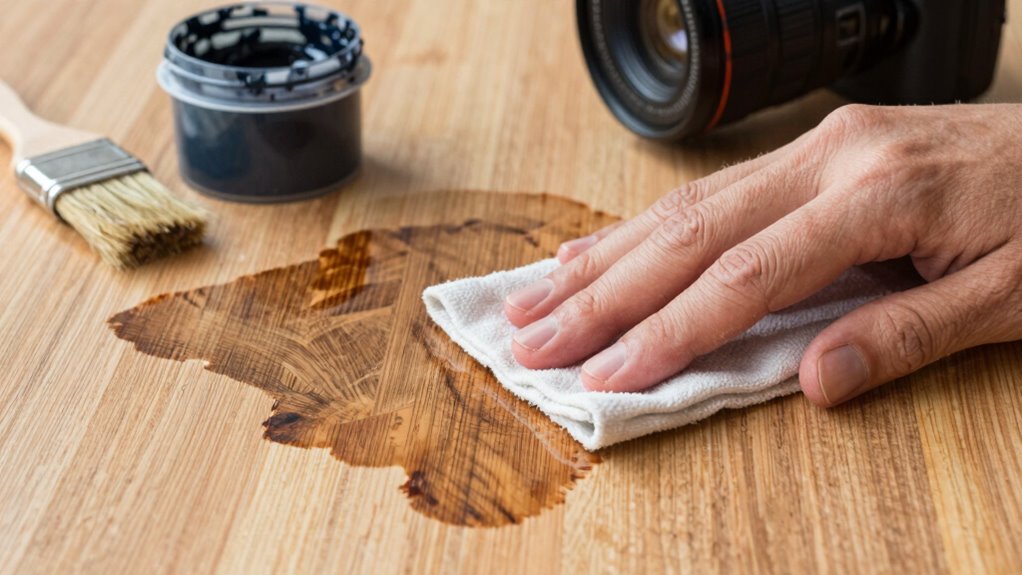
How to Fix Dark Spots and Blotches in Your Stain

Dark spots and blotches can mar the appearance of your stain, but with the right approach, you can minimize or eliminate them. First, assess the stain blotchiness carefully. To fix dark spots, try gently applying a diluted wood stain or a color-matching touch-up pen that closely resembles your original stain color. Lightly dab the solution onto the blotched area, blending outward to even out the tone. If the dark spots persist, you may need to lightly sand the affected area and reapply stain, ensuring better color matching. Always test on a hidden spot first to prevent further unevenness. Patience is key—building up thin layers of stain gradually helps blend the dark spots seamlessly, creating a more uniform, polished finish.
Sealing and Finishing for a Uniform Look
After addressing uneven staining and blending colors, sealing and finishing your project is the final step to achieving a smooth, uniform appearance. Proper sealing accentuates the grain pattern, highlighting its natural beauty, while also guaranteeing color consistency across the surface. Use a high-quality sealant suited for your material, applying thin, even coats. Sand lightly between coats to smooth out imperfections and promote adhesion. Finishing with a clear topcoat or polyurethane protects your work from damage and maintains the uniform look. Remember, patience is key—allow each coat to dry thoroughly. This process seals in your stain, blending any remaining inconsistencies and providing a cohesive, professional finish.
- Emphasizes the natural grain pattern
- Enhances overall color consistency
- Ensures long-lasting protection
- Promotes smooth, even surfaces
- Achieves a professional, uniform look
Troubleshooting Common Staining Mistakes and Fixes
Staining mistakes are common, but many can be fixed with prompt and proper action. If your stain is uneven or mismatched, don’t panic. For color matching issues, you can often blend or touch up with a slightly darker or lighter stain. For stubborn stains or accidental spills, stain removal techniques like blotting with a damp cloth or using a commercial stain remover work well. Here’s a quick guide:
| Mistake | Fix | Tip |
|---|---|---|
| Uneven color | Reapply stain in thin layers | Build gradually for uniformity |
| Stain bleeding | Use a stain remover or sand | Prevents spreading, matches better |
| Overly dark spots | Lighten with a wood bleach or sanding | Restores balance to the project |
Address each mistake quickly for best results.
Tips to Prevent Uneven Staining in Future Projects
To guarantee a smooth and even stain application, preparation is key. Start by selecting a stain color that matches your desired finish, ensuring proper color matching from the start. Prepare your surface by sanding it evenly; this enhances grain visibility and promotes uniform absorption. Use a high-quality brush or applicator to apply the stain consistently, working with the grain to enhance grain features. Test your stain on a hidden area first to see how it reacts with the wood. Keep a wet edge to avoid lap marks and uneven color buildup. Regularly stir the stain for consistent color and grain enhancement. By paying close attention to these details, you’ll reduce the risk of uneven staining and achieve professional results.
Frequently Asked Questions
Can Uneven Staining Be Fixed Without Sanding the Entire Surface?
Yes, you can fix uneven staining without sanding the entire surface by using touch-up techniques. First, lightly sand the affected area to smooth out the surface. Then, apply a compatible stain or dye, blending the color carefully to match the surrounding area. Use a damp cloth or a small brush for precise color blending, and feather the edges to create a seamless finish. This approach saves time and preserves your original surface.
What Are the Best Tools for Correcting Uneven Stain Application?
You might think high-tech tools can fix uneven stain, but often, simple brush techniques and blotting methods do the trick. Use a clean, stiff-bristled brush to blend the uneven areas gently, then employ a damp cloth to blot and even out the stain. Ironically, your best tools are often the basics—your brush and cloth—proving that sometimes, simplicity outperforms fancy gadgets in achieving a smooth, uniform finish.
How Long Should I Wait Between Stain Coats for Optimal Results?
You should wait about 4 to 6 hours between stain coats, allowing the stain to dry completely. Pay attention to the stain drying time indicated on the product label, as it can vary. A proper coat application interval guarantees the stain adheres well and prevents unevenness. Rushing this step can result in a blotchy finish, so give each coat enough time to dry thoroughly for the best results.
Is It Necessary to Use a Wood Conditioner on All Types of Wood?
You don’t need a wood conditioner on all types of wood, but it’s highly recommended for uneven stain results. Proper wood prep improves stain compatibility, especially with softwoods like pine or blotchy woods that tend to absorb stain unevenly. Using a conditioner helps achieve a more uniform finish. Always check your wood type and stain compatibility before applying, and prep the surface thoroughly for the best staining outcome.
Can I Apply Stain Over a Previously Stained and Dried Surface?
Yes, you can apply stain over a previously stained and dried surface. To guarantee a seamless look, start with proper surface prep and match the new stain color carefully for color matching. Use stain blending techniques to blend the new stain with the old, avoiding harsh lines or uneven patches. Apply thin coats and let each dry fully, then assess if additional coats are needed for a consistent finish.
Conclusion
Think of staining as painting a flowing river—you want the water to glide smoothly without abrupt eddies. By understanding common pitfalls and applying the right techniques, you can steer your project towards a flawless finish. Remember, even if a ripple or dark spot appears, you have the tools to smooth it out and keep the journey flowing seamlessly. With patience and care, your wood will shine like a calm, beautifully stained lake.