
Faux-marble painting involves preparing your surface, applying base colors, and creating realistic veins with swirling motions, variations in thickness, and depth through shading. You blend colors carefully, add highlights and shadows to mimic natural light, and incorporate subtle details for authenticity. Sealing the finish guarantees durability and shine. If you follow the process step-by-step, you’ll master creating stunning, lifelike marble effects that transform any space. Keep exploring to reveal all the secrets of this technique.
Key Takeaways
- Prepare a smooth surface with primer, then apply a base color for a realistic marble background.
- Use swirling, irregular veins with varying thickness and color to mimic natural marble veining.
- Blend highlights and shadows smoothly to create depth and a three-dimensional appearance.
- Incorporate subtle gradients, specks, and streaks to replicate mineral deposits and natural variation.
- Seal the finished piece with a clear protective coat for durability and authentic marble look.
Gathering Materials and Setting Up Your Workspace

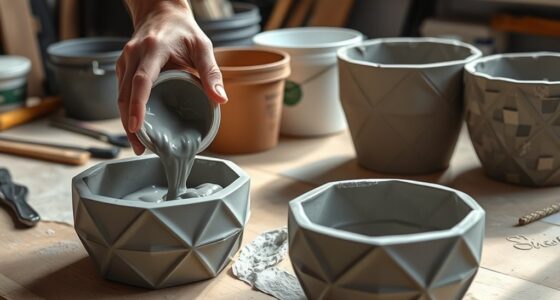
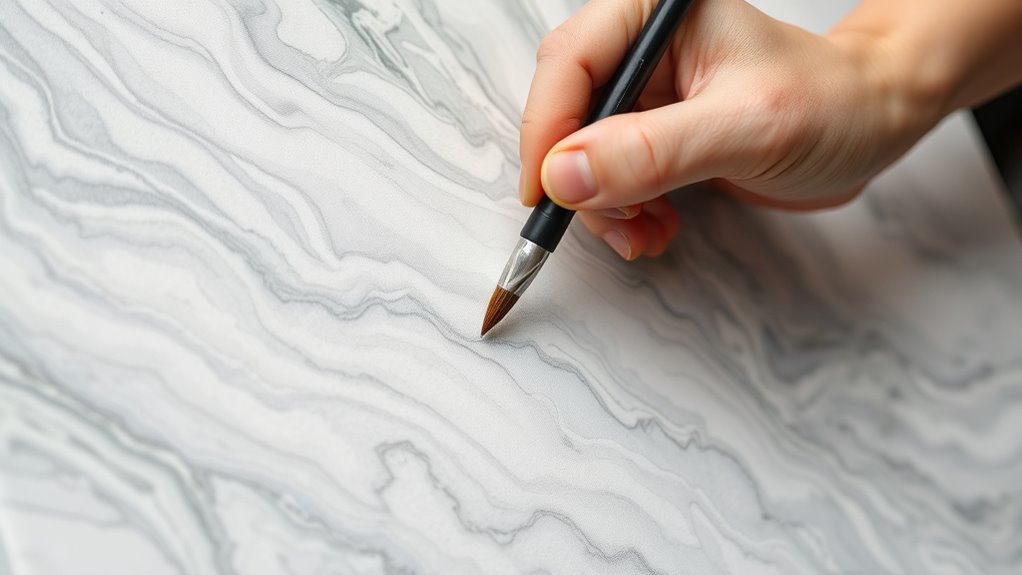
Before you begin your faux-marble painting project, it’s essential to gather all the necessary materials and set up a well-organized workspace. Start by collecting quality brushes suited for creating realistic marble effects, such as fan, detail, and flat brushes. Proper workspace organization helps you work efficiently and prevents mistakes. Arrange your paints, brushes, rags, and water within easy reach, and clear your area of clutter. Familiarize yourself with brush techniques beforehand, so you can smoothly apply layers and blend colors. A tidy, dedicated space minimizes distractions and allows you to focus on your brushwork. Keeping everything organized ensures you can work confidently, making your faux-marble finish look as authentic as possible. Additionally, understanding the different painting techniques involved can greatly enhance your results.
Preparing the Surface for Faux-Marble Painting

Starting with a properly prepared surface guarantees your faux-marble painting looks realistic and lasts longer. Begin by cleaning the area thoroughly to remove dust, grease, or previous finishes, ensuring a smooth base. Lightly sanding the surface helps improve adhesion techniques and creates a better bonding surface for the paint. Use a fine-grit sandpaper and wipe away any dust afterward. If the surface is glossy or non-porous, apply a primer or bonding agent to enhance adhesion. Proper surface preparation minimizes peeling and chipping over time, resulting in a professional-looking finish. Additionally, understanding automation in business can help you streamline your painting process and reduce manual effort. Remember, the key to a successful faux-marble effect is a clean, smooth, and well-prepared surface that supports durable adhesion. Taking these steps guarantees your painting project will stand the test of time.
Choosing the Right Color Palette for Realistic Effects
Selecting the right color palette is essential to achieving a convincing faux-marble effect, as it sets the foundation for realism and depth. Focus on color harmony by choosing shades that naturally blend and complement each other, such as subtle grays, whites, and earthy tones. These harmonious colors create a cohesive look, mimicking real marble’s intricate patterns. Incorporate color contrast thoughtfully to add visual interest and depth, using darker veining against lighter backgrounds. Avoid overly vibrant or clashing colors, which can compromise realism. Instead, opt for muted, natural hues that reflect the subtle variations found in genuine marble. By carefully balancing color harmony with strategic contrast, you’ll craft a more authentic and visually appealing faux-marble surface. Additionally, understanding color theory can help you select the most effective shades to enhance realism and visual appeal.
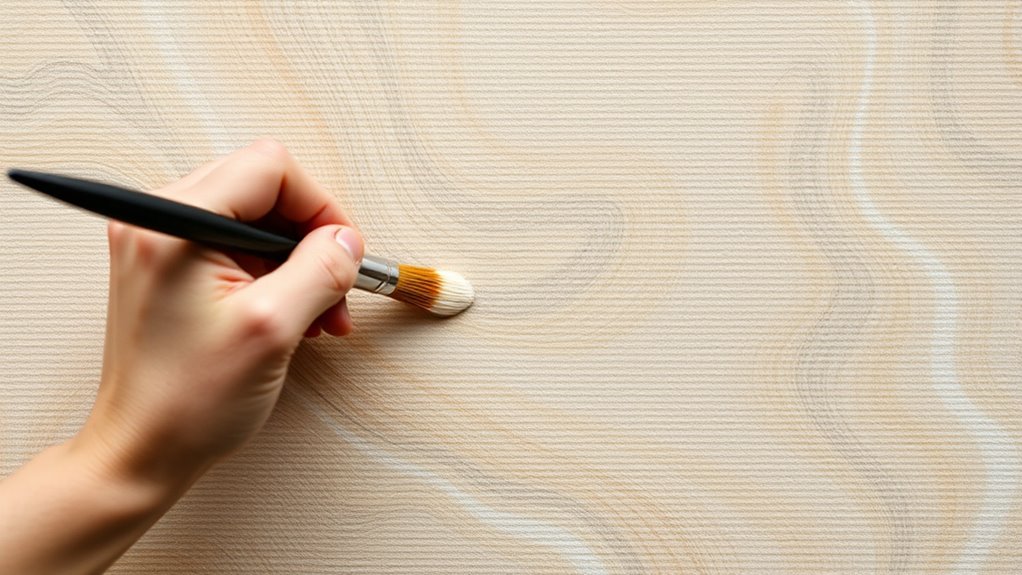
Creating the Base Coat and Initial Color Layers
Once you’ve chosen a harmonious color palette, you can begin creating the base coat and initial layers that form the foundation of your faux-marble effect. Start by carefully mixing your base colors to guarantee smooth, even tones. Choose a brush that suits your project—larger, flat brushes work well for broad strokes, while smaller brushes help with detailed areas. Apply the base coat evenly across your surface, using confident strokes to avoid streaks. Once dry, layer in subtle variations of your initial colors to add depth. Remember, the goal is to establish a realistic marble foundation, so keep your color mixing consistent and your brush selection appropriate. This creates a seamless base for the subsequent swirling veins and intricate details. Additionally, incorporating natural materials like linen or wood into your workspace can inspire a more authentic and textured marble effect.
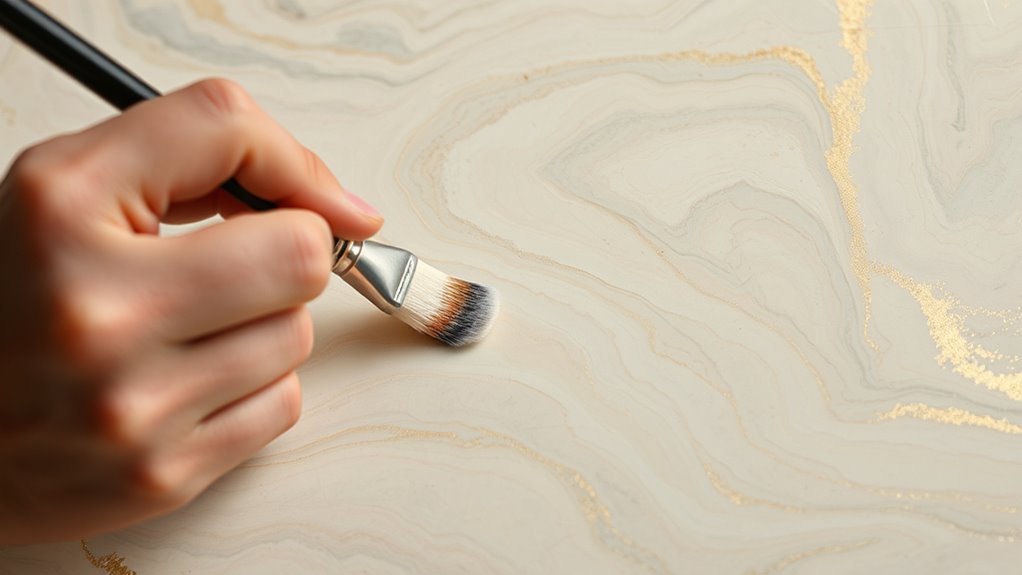
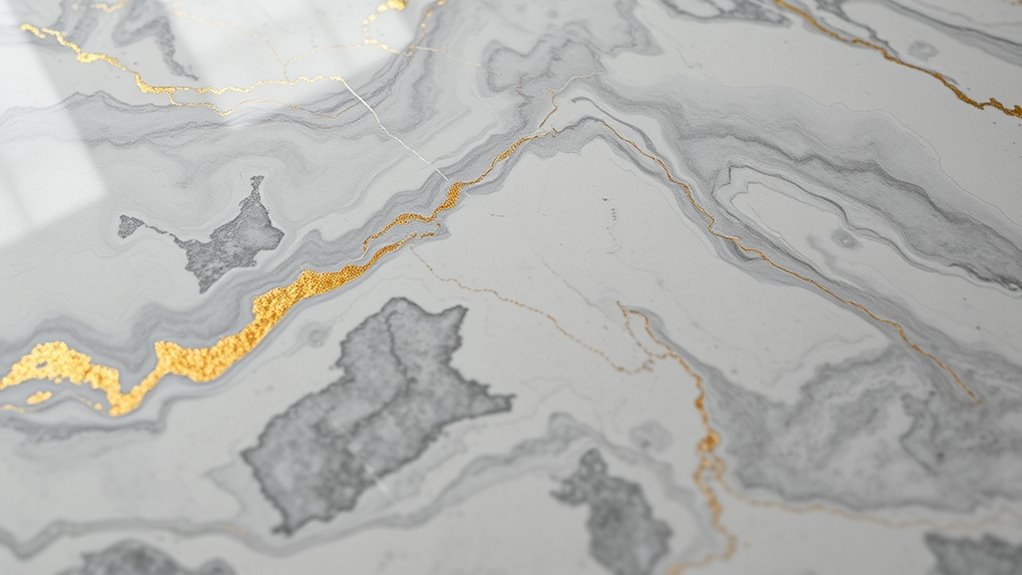
Mixing and Applying the Swirling Marble Veins
To create realistic marble veins, you need to blend your colors smoothly so they flow naturally into each other. Use a swirling motion to form organic patterns that mimic real stone. With practice, you’ll develop a keen eye for making the veins look authentic and dynamic. Understanding color blending techniques can further enhance the realism of your faux-marble finish.
Blending Colors Seamlessly
Achieving seamless blending of colors is essential for creating realistic marble veining. To do this, focus on maintaining color harmony by choosing shades that complement each other. Use smooth brush techniques to blend the colors smoothly, avoiding harsh lines. Keep your brush lightly loaded with paint and work quickly to blend edges seamlessly. Incorporate proper layering techniques to build depth and achieve a more natural swirl effect. Consider these tips: – Use gentle, circular motions to merge colors naturally. – Keep your brush moist to prevent streaks and maintain consistency. – Work in layers, gradually building up the depth and swirling effects.
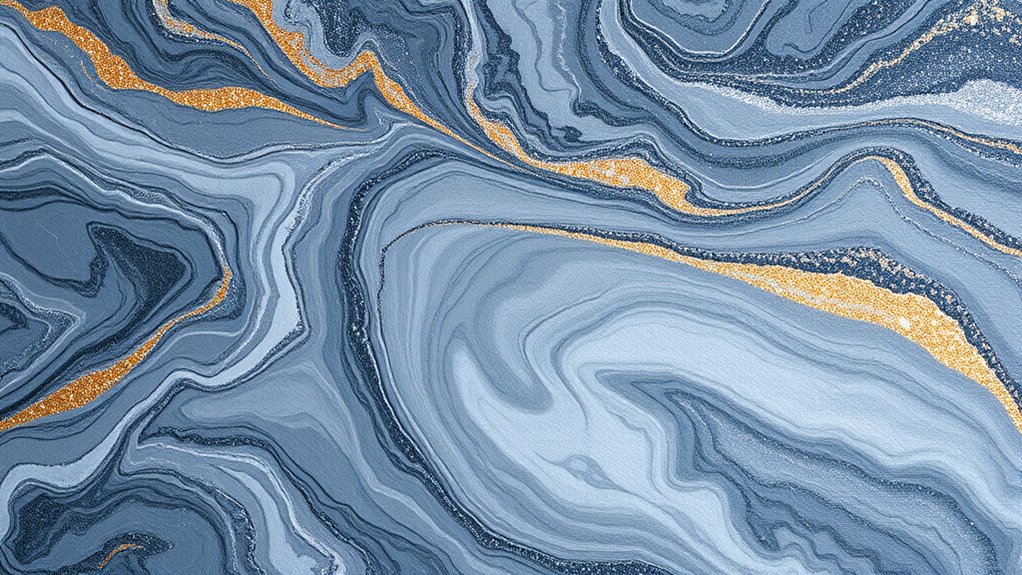
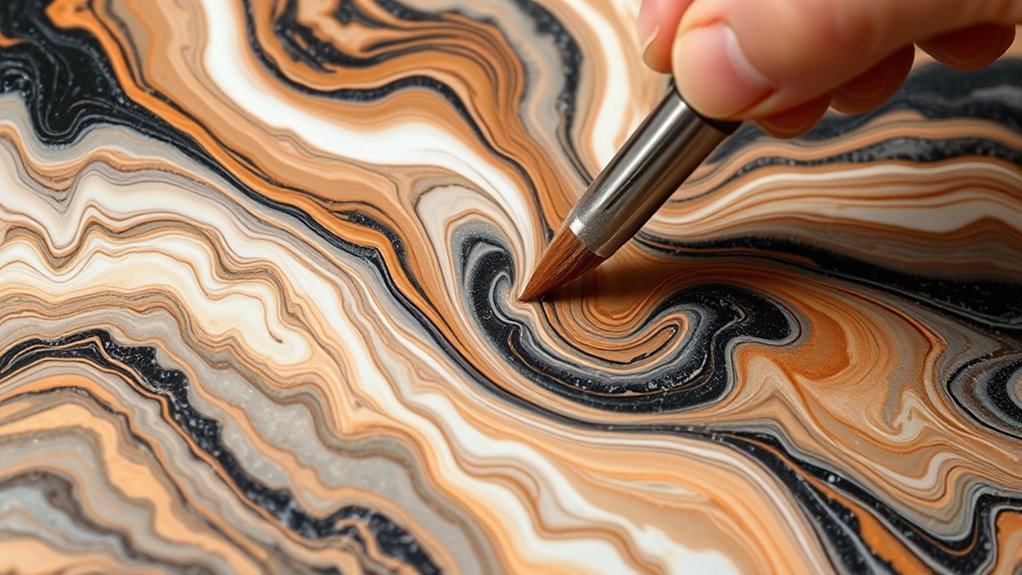
Creating Organic Vein Patterns
Creating organic vein patterns involves mixing and applying swirling lines that mimic natural marble. To achieve a realistic marble pattern, you’ll want to focus on creating an organic flow with varied, fluid veins. Use a fine brush or a comb tool to draw irregular, spontaneous lines, avoiding uniformity. Vary the thickness and direction of your veins to enhance authenticity. Experiment with color contrasts to add depth and dimension, blending subtle shades into the veins for a more natural appearance. Keep the veins loose and unpredictable, mimicking the unpredictable movement of real marble. Additionally, paying attention to color blending techniques can significantly improve the realism of your faux-marble finish. Below is a table illustrating common vein styles:
| Style | Description |
|---|---|
| Thin, delicate | Light, subtle lines for finesse |
| Bold, sweeping | Wide, dramatic veins for impact |
| Curved, flowing | Smooth, organic curves |
| Jagged, irregular | Sharp, unpredictable lines |
Techniques for Blending and Softening the Veins
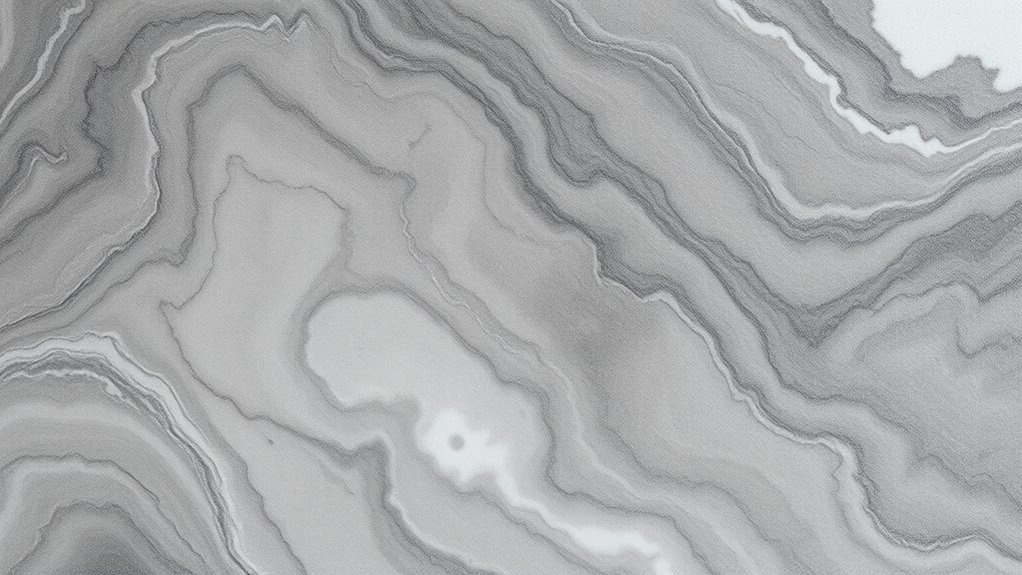
Blending and softening the veins is essential for achieving a realistic marble effect, and it requires careful manipulation of your paint and brush techniques. To create seamless gradations, focus on color mixing to keep your hues subtle and harmonious. Use gentle, feathered brush techniques to blend the veins into the background, avoiding harsh lines. Keep your brush light and use soft, sweeping motions to soften the edges of the veins. Here are some tips to help you master this process:
- Mix colors gradually for smooth transitions
- Use a dry or damp brush for gentle blending
- Work in thin layers, building up softness gradually
- Pay attention to color harmony to ensure your veins integrate naturally with the background
Practicing these techniques will help you achieve natural-looking veins that enhance the overall realism of your faux-marble surface.
Adding Depth With Highlights and Shadows
To add realistic depth, start by identifying your light source and applying highlights where the light hits the surface. Use contrast techniques to emphasize shadows in the right areas, making the marble appear more three-dimensional. Blending these highlights and shadows smoothly will help your faux marble look authentic and lifelike. Incorporating color theory can also enhance the realism by guiding your shadow and highlight placement for a more natural appearance.
Light Source Placement
Have you ever wondered how to make your faux-marble surface look more realistic? The key is proper light source placement, which influences lighting effects and shadow placement. Decide where your light hits the surface—top, side, or overhead—to create natural highlights and shadows. This decision affects how depth is perceived, making the marble appear three-dimensional. To achieve this:
- Focus highlights where light naturally hits
- Shade areas where shadows would fall
- Guarantee shadow edges are soft or sharp, depending on light intensity
Understanding light direction is essential for controlling the realism of your faux-marble finish.
Contrast Techniques Use
Using contrast techniques is essential for adding depth and realism to your faux-marble surface. By applying color contrast, you highlight the differences between light and dark areas, making the marble appear more three-dimensional. Use darker shades to create shadows in the crevices and along the veins, while lighter highlights bring out the raised surfaces. Pattern variation also plays a key role; varying the intensity and placement of your patterns helps mimic natural marble’s unpredictable veining. Strategically placing highlights and shadows emphasizes the illusion of depth, making the surface look more authentic. Focus on contrasting tones and irregular pattern flow to avoid a flat appearance. This careful manipulation of contrast enhances visual interest and creates a convincing marble effect.
Blending for Realism
Adding depth to your faux-marble surface relies heavily on effective blending of highlights and shadows. Proper blending creates a realistic sense of dimension, making your marble appear lifelike. Focus on maintaining color harmony by choosing shades that complement each other, ensuring smooth gradation. When blending, select brushes that suit your technique—soft, round brushes work well for seamless gradients. Remember to work gradually, layering lighter and darker tones for depth. Keep these tips in mind:
- Use a consistent color palette to unify the hues
- Choose brushes that allow for smooth, controlled blending
- Blend in small, circular motions to avoid harsh lines
Sealing and Protecting Your Faux-Marble Surface
Sealing and protecting your faux-marble surface is essential to guarantee its durability and maintain its realistic appearance. Applying a quality protective finish, such as a clear polyurethane or acrylic sealer, creates a barrier against scratches, stains, and moisture. Make sure to choose a finish suitable for your surface type and follow the manufacturer’s instructions carefully. Regular maintenance tips include cleaning with gentle, non-abrasive cleaners and avoiding harsh chemicals that can damage the sealant. Reapply the protective finish periodically to preserve the shine and integrity of your faux-marble. Proper sealing not only prolongs the lifespan of your project but also keeps it looking fresh and authentic over time. Taking these simple steps ensures your faux-marble remains beautiful and protected for years to come.
Tips for Achieving Realistic Textures and Patterns

To create convincing faux-marble, you need to master color blending techniques that mimic natural variations. Pay close attention to veining and detailing to add authenticity, and use layering to build depth and dimension. These tips will help you achieve a realistic, professional-looking marble effect.
Color Blending Techniques
Mastering color blending is essential for creating realistic marble textures, as subtle shifts between shades give the illusion of depth and movement. To achieve this, focus on maintaining color harmony by choosing pigments that complement each other. Use soft, gradual strokes to blend colors seamlessly, avoiding harsh lines that can break the illusion. Keep your brush moist to facilitate smooth transitions. When selecting pigments, opt for shades with similar undertones to ensure cohesion. Additionally, experiment with layering thin washes of color to build complexity and depth. Here are some tips to enhance your blending:
- Mix a small amount of each pigment on your palette before applying
- Use a clean, damp brush to blend edges softly
- Adjust pigment saturation for more natural variation
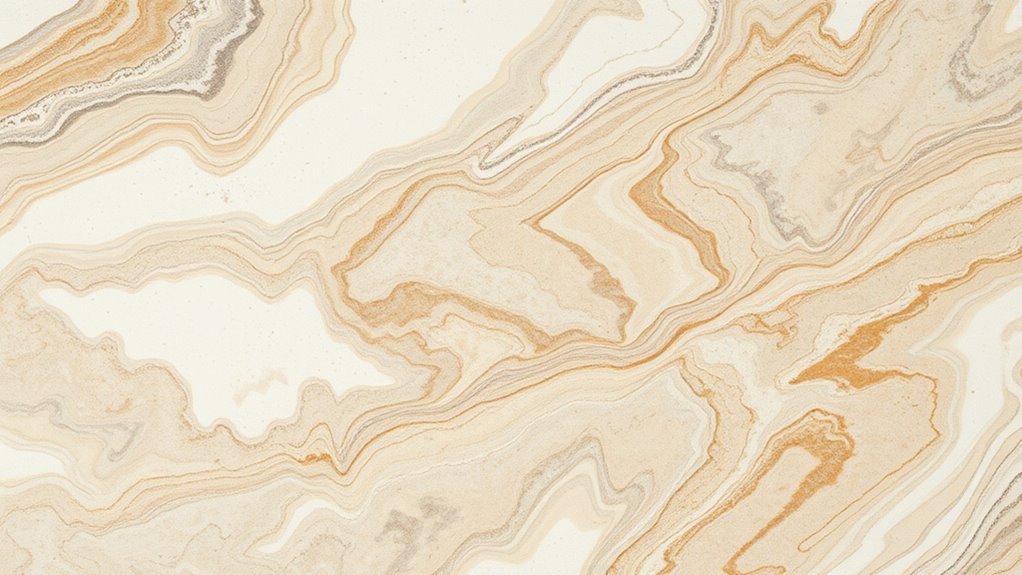
Veining and Detailing
Have you ever wondered how artists create the intricate veining and patterns that make marble look so realistic? Achieving a convincing marble pattern relies on mastering vein variation. Use a fine brush or a detail tool to draw irregular, flowing lines that mimic natural veins. Vary the thickness, length, and direction of each vein to avoid uniformity, which helps create a more authentic appearance. Add subtle color gradients within the veins to give depth and dimension. Incorporate tiny specks and irregular streaks to replicate mineral deposits. Remember, real marble veins are unpredictable, so embrace spontaneity. By carefully controlling vein variation and detailing each line, you’ll craft a convincing faux-marble surface that captures the beauty of real stone.
Layering for Depth
Building realistic marble surfaces involves more than just drawing veins; layering different shades and textures adds depth that makes the pattern come alive. To achieve this, focus on effective color layering, gradually building up the marble pattern with subtle variations. Use lighter shades as your base, then add darker tones for veins and shadows, creating a sense of dimension. Remember to blend carefully to avoid harsh lines, which can flatten the appearance. Here are some tips:
- Start with a smooth, even base coat to set your marble pattern.
- Layer multiple thin coats of color, allowing each to dry before adding the next.
- Incorporate small strokes and dabs to mimic natural textures and veins.
This approach helps your faux-marble painting look more authentic and three-dimensional.
Common Mistakes to Avoid and Troubleshooting Tips
Even experienced artists can encounter issues when creating faux-marble finishes, so being aware of common mistakes can save you time and frustration. One mistake is poor color matching, which can make your marble look unnatural or dull. To avoid this, test your colors on a scrap surface before applying them to the main piece. Another common error is using the wrong brush selection; a stiff or bulky brush can disrupt the delicate veining. Opt for fine-tipped or detail brushes to achieve realistic lines. Additionally, rushing the process or overworking the paint can cause smudges or uneven textures. Take your time, let each layer dry properly, and keep your tools clean. Paying attention to these details helps ensure a more realistic and polished faux-marble finish.
Frequently Asked Questions
How Long Does Faux-Marble Paint Typically Last Outdoors?
Faux-marble paint typically lasts outdoors around 5 to 10 years, depending on weather resistance and maintenance. Exposure to harsh weather can cause fading and chipping, but using high-quality, weather-resistant paints helps extend its lifespan. To guarantee color longevity, regularly clean the surface and apply a protective sealant. Proper upkeep and choosing durable materials will keep your faux-marble finish looking vibrant and fresh for years to come.
Can Faux-Marble Painting Be Done on Curved Surfaces?
Yes, you can definitely do faux marble on rounded objects using curved surface techniques. When working on curved surfaces, you’ll want to adapt your brush strokes and layering techniques to follow the contours, ensuring a realistic marble look. Practice on smaller rounded items first, like vases or bowls, to get comfortable with faux marble on rounded objects. This approach helps achieve a seamless, natural appearance on curved surfaces.
Is Special Ventilation Needed During the Painting Process?
You should consider ventilation requirements and air circulation when painting faux-marble on surfaces. Proper ventilation helps disperse fumes from paints and sealants, ensuring your safety. If you’re working indoors, open windows and use fans to improve air flow. For better air circulation, wear a mask and take breaks outside if possible. Good ventilation minimizes health risks and guarantees a smoother, more professional finish.
How Do I Fix Mistakes Without Damaging the Finish?
Did you know that 85% of DIY painters successfully correct mistakes with proper touch-up techniques? To fix errors without damaging your faux marble finish, use gentle sanding tips to smooth out flaws. Carefully apply matching paint or glaze, blending edges seamlessly. Patience is key—allow each layer to dry. This approach guarantees your finish remains flawless and durable, avoiding costly rework or damage.
What Are Eco-Friendly Alternatives to Traditional Faux-Marble Paints?
If you’re looking for eco-friendly alternatives to traditional faux-marble paints, you should consider using natural pigments instead of synthetic dyes. These pigments are derived from earth, plants, or minerals, making them safer for the environment. Pair them with biodegradable sealants to protect your finish without harmful chemicals. This approach not only reduces your ecological footprint but also gives your project a unique, authentic look.
Conclusion
With patience and practice, your faux-marble masterpiece will come to life like a river flowing with natural elegance. Remember to take your time, experiment with colors, and don’t be afraid to make mistakes — they’re just stepping stones to perfection. Keep your workspace organized, and trust your eye for detail. Soon, you’ll transform any surface into a stunning marble illusion that’s sure to impress everyone, including yourself.