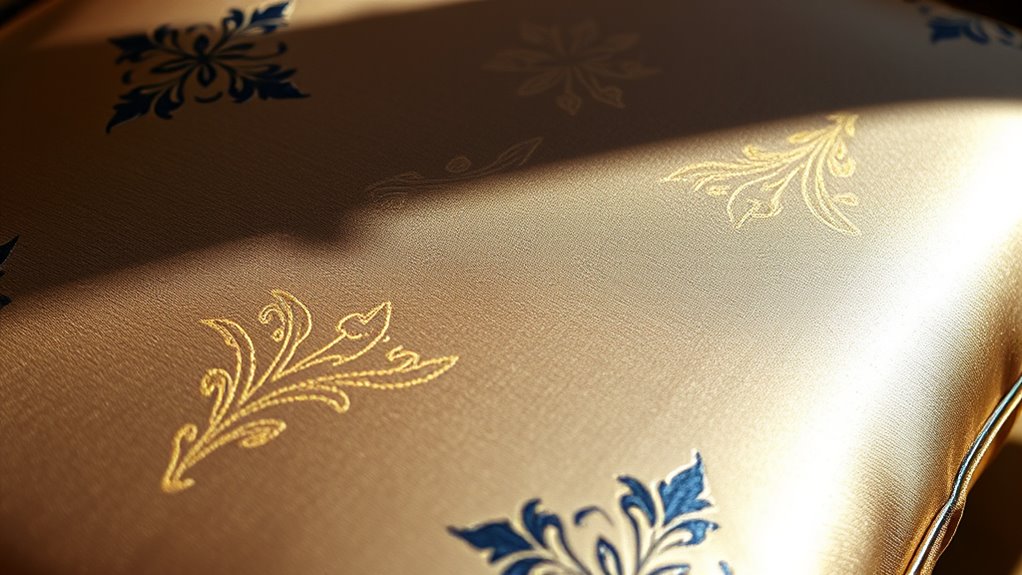

To create luxurious high-end pillows with fabric stenciling, choose high-quality fabrics like silk or velvet for a polished look. Prepare your workspace, make certain your fabric is smooth and secured, and select elegant stencil designs that complement your style. Use precise techniques with fabric paints, applying thin layers and allowing each to dry completely. Finish by sealing and caring for your pillows properly. Keep exploring for expert tips to elevate your stenciling skills and add a sophisticated touch to your decor.
Key Takeaways
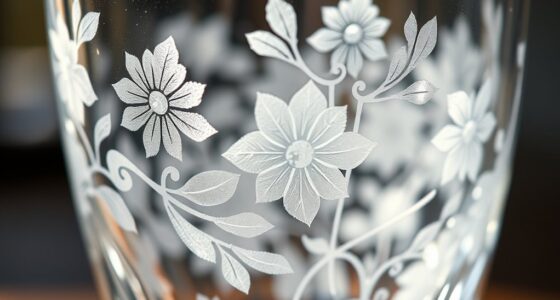
- Choose high-quality, tightly woven fabrics like silk or velvet for crisp stencil details and elegant finishes.
- Prepare fabric by washing, ironing, and applying a suitable primer to ensure smooth application and long-lasting results.
- Use professional-grade stencils and gentle dabbing with sponge or stencil brushes to achieve sharp, detailed designs.
- Secure fabric properly and work in a clean, well-lit space to prevent shifting and ensure precise application.
- Allow painted designs to fully dry, then seal with fabric sealant before washing or use to maintain their high-end appearance.
Selecting the Perfect Fabric and Supplies
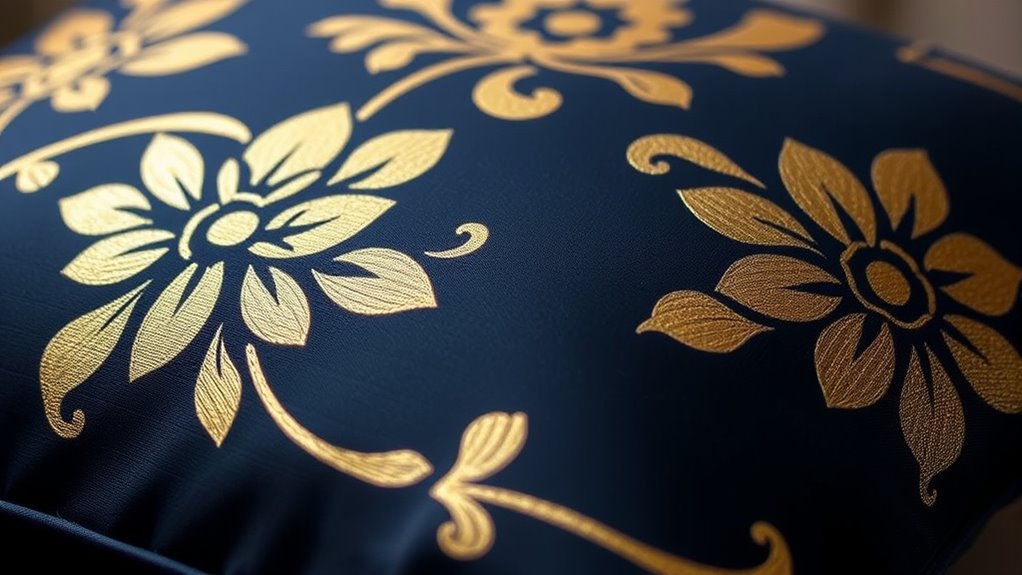
When selecting fabric for high-end pillows, choosing the right material is essential to achieve a luxurious look and feel. You want fabric that offers excellent durability, so your pillows maintain their beauty over time. Look for high-quality materials like silk, linen, or velvet, which provide both elegance and resilience. Consider pattern complexity as well; intricate patterns can add sophistication, but make sure the fabric’s weave supports detailed stenciling without bleeding or distortion. Smooth, tightly woven fabrics are ideal because they hold paint well and showcase your design crisply. Also, double-check that your fabric choice complements your decor and personal style. By focusing on durability and pattern complexity, you set the foundation for beautiful, high-end pillows that stand out. Additionally, fabric quality plays a crucial role in ensuring your stencil designs look sharp and professional.
Preparing Your Workspace and Materials
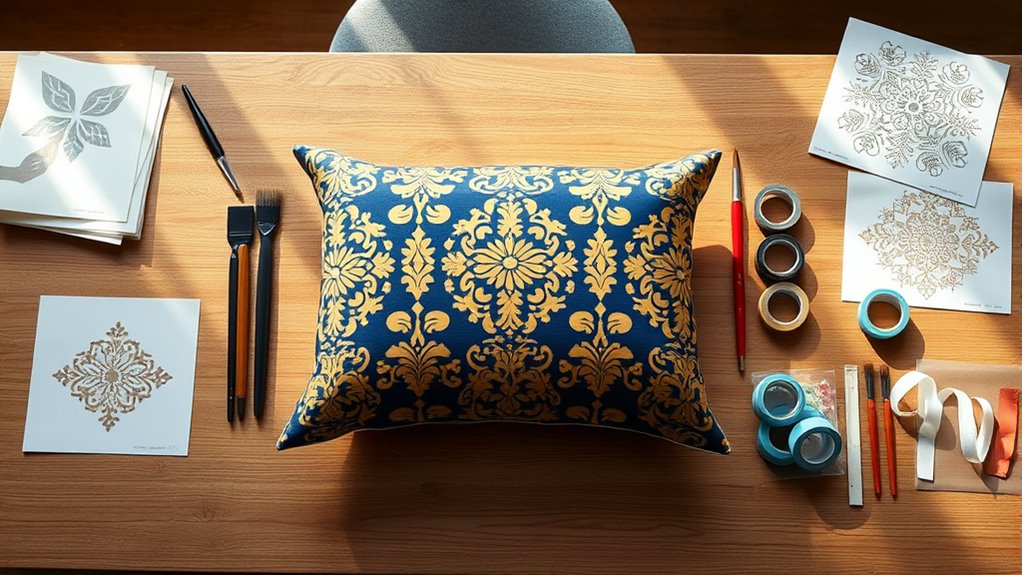
To make certain clean, professional stenciling results, you need to prepare your workspace and gather all necessary materials before you start. Clear a flat, well-lit area to prevent accidents and spills. Lay down protective coverings like newspapers or plastic sheets. Gather fabric dyeing supplies, such as brushes, sponges, and stencils, ensuring they’re clean and ready to use. Keep sewing techniques tools nearby, including needles, thread, and pins, in case adjustments are needed. Organize your fabric pillow cover to lie flat and smooth out wrinkles. Have a clean cloth or paper towels on hand for quick cleanup. Having everything within reach minimizes interruptions and helps maintain precision during your stenciling process, ensuring your high-end pillow design turns out flawless. Additionally, understanding proper material preparation can significantly improve the quality of your finished project.
Choosing and Customizing Your Stencil Design
Start by selecting a pattern that complements your pillow’s style, whether bold or subtle. Then, consider customizing the design to make it uniquely yours, like adding personal details or adjusting size. Finally, choose colors and styles that enhance your overall aesthetic and match your decor. Incorporating sound design techniques can also inspire creative approaches to visual patterns, ensuring your pillow stands out.
Selecting the Perfect Pattern
Have you ever wondered how to pick the perfect stencil pattern that elevates your pillow design? Start by exploring pattern inspiration from various sources like nature, art, or textiles. Conduct trend analysis to identify current design movements, ensuring your pillow stays fashionable. Consider the scale of the pattern—larger designs create bold statements, while smaller motifs add subtle elegance. Think about the overall aesthetic you want—modern, vintage, or minimalist—and select patterns that match. Here are some tips:
- Draw inspiration from trending color palettes
- Analyze popular motifs in interior design
- Mix different styles for a personalized touch
- Focus on patterns that complement your fabric choice
- Choose patterns that balance complexity with simplicity
Additionally, understanding color accuracy can help you select patterns that translate well onto your fabric, ensuring your pillow looks vibrant and true to your vision.
Customizing for Uniqueness
Customizing your stencil design is essential for making your pillow truly one-of-a-kind. You can start by experimenting with fabric dyeing techniques to add depth and unique color variations that enhance your stencil’s design. Incorporating embroidery accents around or within the stencil pattern adds texture and a personalized touch, elevating the overall look. Consider combining different fabric dyeing methods, such as tie-dye or dip-dye, to create subtle nuances that make your pillow stand out. When adding embroidery, choose stitches and thread colors that complement your stencil design, ensuring a cohesive finish. Personalization allows you to infuse your personality into the pillow, making it a true reflection of your style and craftsmanship. Variety of materials available to suit personal preferences ensures your high-end pillow remains distinctive and memorable.
Color and Style Choices
Choosing the right colors and styles for your stencil design can dramatically influence the final look of your high-end pillow. To achieve a polished appearance, consider color harmony by selecting shades that complement your existing decor. Focus on style coordination by matching your stencil design with your pillow’s overall aesthetic—whether modern, classic, or eclectic. Think about contrast to make your design pop, or subtle tones for elegance. Pay attention to details like line thickness and pattern complexity to ensure visual balance. Additionally, consider the fabric’s texture, as it affects how colors appear once stenciled. Incorporating preparing your workspace can also help ensure clean lines and a professional finish. These choices will help create a cohesive, sophisticated look that elevates your pillow’s design and aligns perfectly with your style preferences.
Properly Prepping the Pillow Fabric

Before you start stenciling, make sure to wash and dry your pillow fabric to remove any sizing or residues. Choose an appropriate primer to guarantee the paint adheres smoothly and lasts longer. Finally, iron the fabric to create a flat, smooth surface for precise stenciling. To ensure consistent moisture during the process, consider self watering plant pots that maintain optimal humidity levels.
Wash and Dry Fabric
To guarantee your stenciled pillow looks polished and lasts through use and cleaning, it’s essential to properly wash and dry the fabric beforehand. Proper fabric care ensures the surface is clean, soft, and free of residues that could interfere with stencil adhesion. Start by washing the fabric in cold water to prevent shrinking and color bleeding. Use a gentle detergent that aids in stain removal without damaging fibers. After washing, dry the fabric thoroughly on a low heat setting or air dry to avoid wrinkles and distortions. In addition, check for lingering stains and treat them promptly. – Use a mild, fabric-specific detergent – Avoid fabric softeners that may hinder paint adhesion – Iron fabric if needed to smooth out wrinkles – Test wash on a scrap piece to confirm stain removal and fabric behavior
Select Appropriate Primer
Have you selected the right primer to guarantee your stenciled design adheres smoothly and lasts? Primer selection is vital for ensuring ideal surface adhesion on your pillow fabric. Choose a primer designed specifically for fabric or textiles to improve paint bonding and prevent peeling or cracking over time. Consider the fabric type—some primers work better on natural fibers, while others suit synthetic materials. Applying an appropriate primer creates a uniform surface, reducing bleed-through and enhancing color vibrancy. Always test the primer on a small, hidden area first to check compatibility and adhesion. Properly primed fabric provides a stable base, ensuring your stencil application remains crisp and durable. Taking the time to select the right primer sets the foundation for a high-end, professional finish.
Iron and Smooth Surface
Ensuring your pillow fabric is smooth and wrinkle-free is essential for precise stenciling. Proper surface preparation enhances the fabric’s texture, making it easier to achieve clean, crisp designs. Start by setting your iron to the appropriate heat for your fabric type. Use a pressing cloth if needed to avoid scorching delicate textiles. Carefully iron out any wrinkles or folds, focusing on seams and edges. To improve surface preparation, consider pinning or taping the fabric to a flat, sturdy surface. This prevents shifting during stenciling. Additionally, check for any residual creases or lint that could interfere with application. Taking these steps guarantees a smooth surface, resulting in professional-looking stenciled pillows with sharp details. Proper fabric care practices can also extend the lifespan of your finished project.
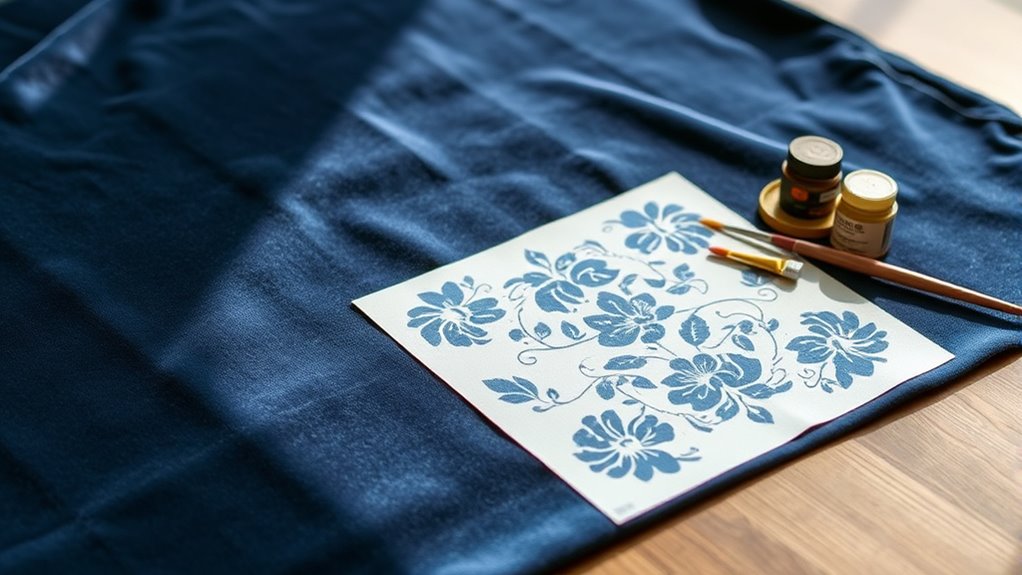
Techniques for Applying Fabric Paints and Stencils
Applying fabric paints and stencils requires careful preparation and technique to achieve crisp, professional-looking designs. Start by securing your fabric and ensuring it’s clean and smooth. When working with fabric dyeing, test your colors on scrap material to prevent surprises. Use a sponge or stencil brush to apply paint, dabbing gently to avoid bleeding or smudging. Keep a steady hand for precise placement. Regular stencil maintenance is essential; clean your stencil thoroughly between uses to prevent paint buildup, which can cause blurred edges. Apply paint in thin, even layers rather than thick coats, allowing each to dry before applying the next. This careful approach ensures your pillow designs look sharp, vibrant, and polished, elevating your craft to a professional level. Proper preparation is key to achieving the best results.
Achieving Sharp, Clean Edges and Designs
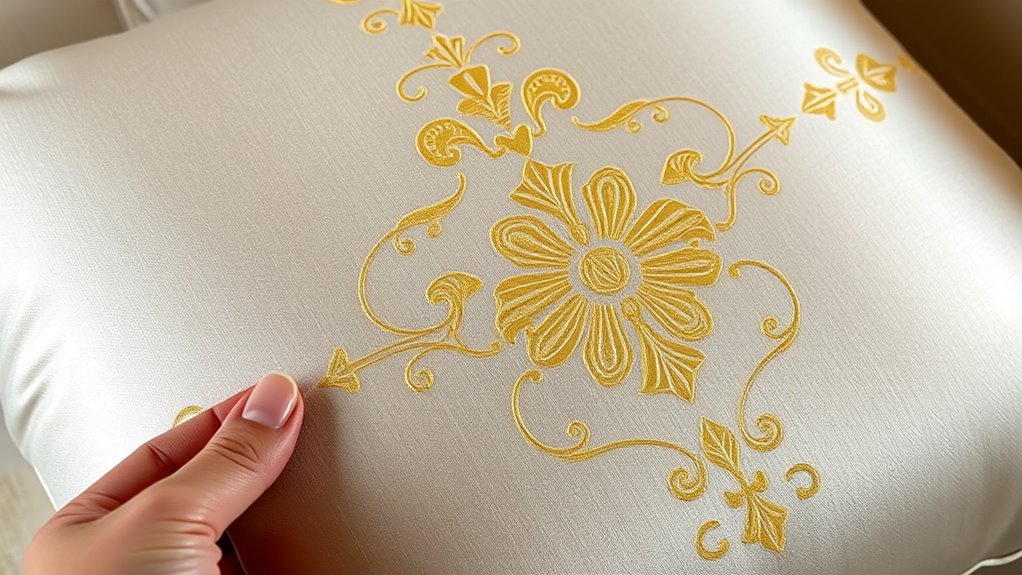
To achieve sharp, clean edges and designs, focus on controlling how your paint interacts with the stencil. Proper application prevents bleeding and ensures crisp lines. Use high-quality fabric dyeing techniques beforehand to prepare an even surface, reducing uneven absorption. When applying paint, work with minimal excess and dab gently rather than dragging the brush. Secure the stencil firmly to avoid shifting. Incorporate sewing techniques that help reinforce fabric stability around the design. Consider using painter’s tape or adhesive spray for extra hold. Additionally, test your process on scrap fabric to refine your approach. Be patient, and avoid rushing through the steps. Precision in these details results in professional-looking, high-end pillows with sharp, clean edges and intricate designs.
Allowing Paint to Dry and Setting the Design
Once you’ve applied the paint to your stencil, it’s crucial to let it dry completely before moving on. This step ensures your design sets properly and prevents smudging. During drying, avoid touching the painted area to maintain sharp, clean edges. If you plan to create pattern repetition, wait until the first layer is fully dry before re-stenciling; this helps achieve consistent color blending and a seamless look. Rushing this process can cause uneven paint transfer or accidental smudges, which compromise the high-end finish. For best results, use a fan or gentle air circulation to speed up drying. Once dry, you can carefully set the paint with heat or fabric sealant if desired, but always ensure the paint is thoroughly dry first.
Finishing Touches and Care Tips for Your Stenciled Pillows
After finishing your stenciled design, taking proper care of your pillows will keep them looking polished and vibrant. To maintain fabric durability and stain resistance, handle them gently and follow these tips:
- Avoid direct sunlight to prevent fading of the paint and fabric.
- Spot clean with a damp cloth, avoiding harsh detergents that can damage the design.
- Use a fabric sealant to protect against stains and enhance durability.
- Wash on a gentle cycle with cold water to preserve colors and fabric integrity.
- Air dry instead of machine drying, which can cause cracking or peeling of the paint.
Implementing these care tips ensures your high-end pillows stay beautiful and last longer, retaining their fresh appearance and vibrant colors.
Creative Ideas for Incorporating Stenciled Pillows Into Decor
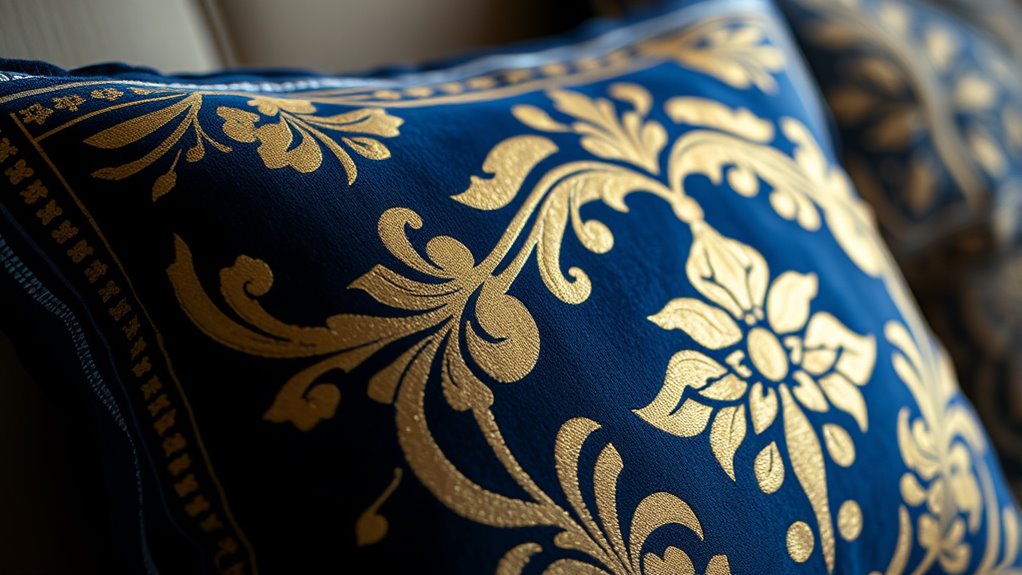
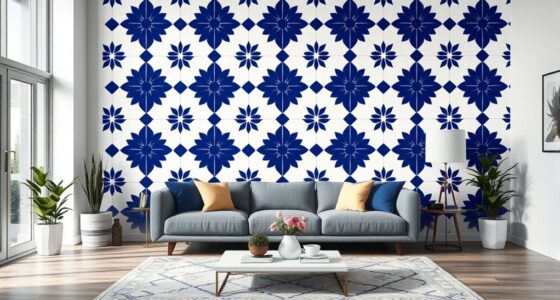
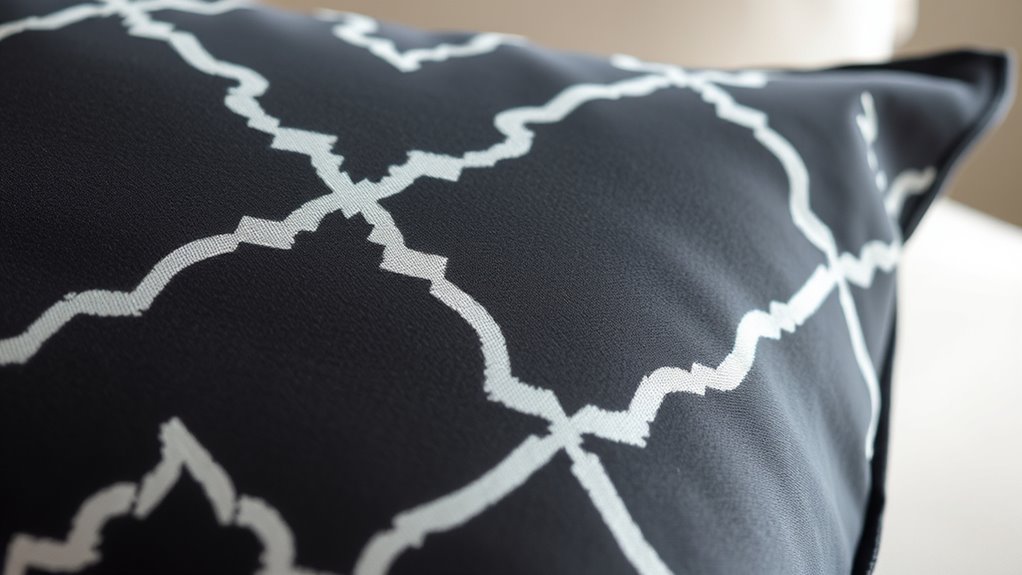
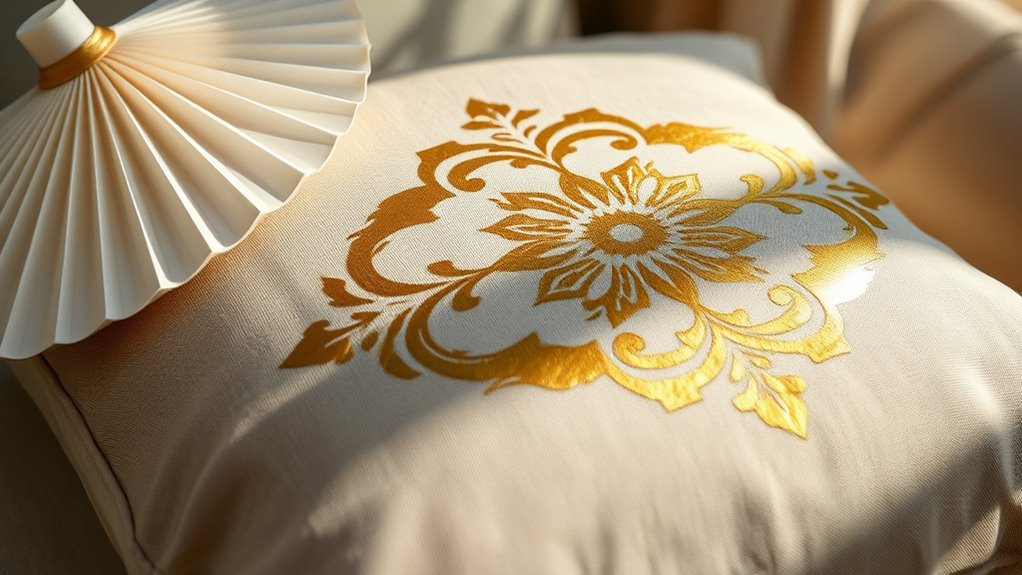
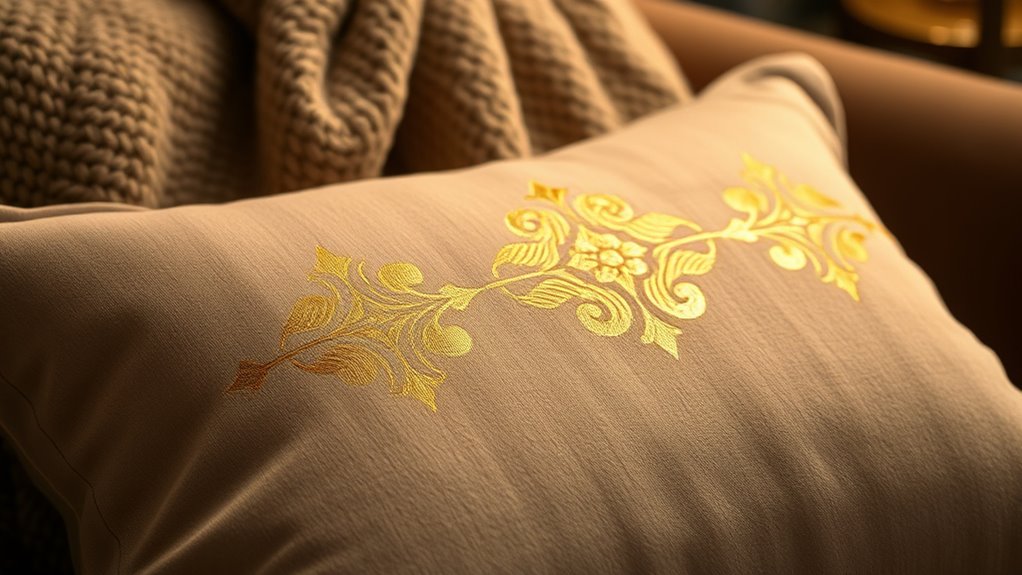
Stenciled pillows can transform any space by adding personalized style and a pop of color. To enhance your interior themes, choose pillow designs that complement your overall decor. For a modern look, opt for bold, geometric patterns in a monochrome color palette. If your space features a cozy, traditional vibe, soft floral or damask stencils in warm tones work beautifully. Mixing stenciled pillows with solid-colored ones creates visual interest, especially when coordinating with existing accent colors. Consider placing them on sofas, beds, or window seats to add texture and personality. You can also create a cohesive look by repeating similar patterns or colors throughout your room. These creative ideas help you seamlessly incorporate stenciled pillows into your decor, making each space uniquely yours.
Frequently Asked Questions
How Long Does Fabric Stenciling Typically Last on High-End Pillows?
You might wonder how long fabric stenciling lasts on high-end pillows. Generally, with proper care, the fabric longevity of stenciled designs can range from 3 to 5 years. The key is design durability, which depends on the quality of paint and application techniques. To extend the life, avoid harsh washes and direct sunlight. Regular gentle cleaning helps keep the design vibrant and intact over time.
Can Stenciled Designs Be Washed Without Damaging the Paint?
Imagine your pillow as a delicate canvas, where careful washing is like a gentle breeze that keeps it pristine. You can wash stenciled designs without damaging the paint if you take care. Use cold water, mild detergent, and avoid scrubbing. This preserves paint durability, allowing your beautiful design to stay vibrant and fresh, just like a masterpiece that endures time’s touch.
What Are Common Mistakes to Avoid During Stenciling?
When you’re stenciling, avoid common mistakes like rushing, which causes paint bleeding and uneven edges. Make sure to secure your stencil firmly to prevent shifting, and use a dab-and-dot technique instead of brushing, to keep lines crisp. Don’t overload your brush or sponge, as excess paint drips and blurs details. Taking your time and practicing on scrap fabric helps you achieve clean, professional-looking designs without mistakes.
Are There Eco-Friendly or Non-Toxic Paint Options Suitable for Pillows?
Think of eco-friendly paints and non-toxic options as a gentle breeze, invigorating your creative process without harm. You can find these safe choices in craft stores or online, made from natural or water-based ingredients. They’re perfect for pillow projects, ensuring your designs stay beautiful and safe for everyone. By choosing eco-friendly paints, you’re not just creating art—you’re also caring for the environment and your loved ones.
How Can I Repair or Touch up a Faded or Damaged Stenciled Design?
When your stenciled design starts to fade or gets damaged, you can perform fabric paint touch-up to restore its look. Use stenciling repair techniques like gently layering matching fabric paint and carefully blending it into the existing design. Make sure to clean the area first and use a fine brush for precision. With patience, your pillow’s design will look fresh and vibrant again, maintaining its high-end appeal.
Conclusion
Just like an artist completes a masterpiece, your stenciled pillows can transform your space into a gallery of style. With patience and creativity, you’ve crafted designs as unique as a signature, turning everyday decor into a work of art. Remember, each pillow is a blank canvas waiting for your personal touch—so go ahead, showcase your artistry and let your home tell a story as timeless as a classic painting.