To make an etched glassware gift in 30 minutes, start by gathering all your materials and prepping your workspace, ensuring cleanliness and safety. Choose a simple design, secure your stencil firmly, and carefully apply it to the glass. Use etching cream or a diamond-tip pen to create your pattern, then rinse and dry. Finish by adding personal touches like small charms or notes. Keep going, and you’ll discover how to craft a memorable gift quickly and beautifully.
Key Takeaways
- Choose quick and simple designs, such as initials or geometric patterns, to complete the etching within 30 minutes.
- Use pre-cut adhesive stencils or contact paper for fast, clean application on the glass surface.
- Prepare the glass thoroughly with cleaning and light sanding beforehand to streamline the etching process.
- Opt for a fast-acting etching cream or diamond-tip etching pens for rapid and precise results.
- Keep all materials organized and work efficiently to finish and clean the glassware within the 30-minute timeframe.
Gathering Materials and Preparing Your Workspace

Before you begin etching your glassware, it’s essential to gather all the necessary materials and set up a clean, organized workspace. Prioritize safety precautions by wearing gloves and eye protection, and ensure your area is well-ventilated. Carefully select the right tools; a steady hand and fine etching tools, like a diamond-tip pen or etching cream, are vital for precise results. Keep your workspace free of clutter to prevent accidents, and lay out all supplies within easy reach. Double-check that you have everything, including stencils or templates if needed. Proper preparation helps you work efficiently and safely, minimizing mistakes. Taking the time to gather your materials and set up properly ensures a smoother, more enjoyable etching process. Additionally, understanding the best free keto diet app can help you stay on track if you decide to incorporate a low-carb diet into your routine.
Designing Your Etching Pattern
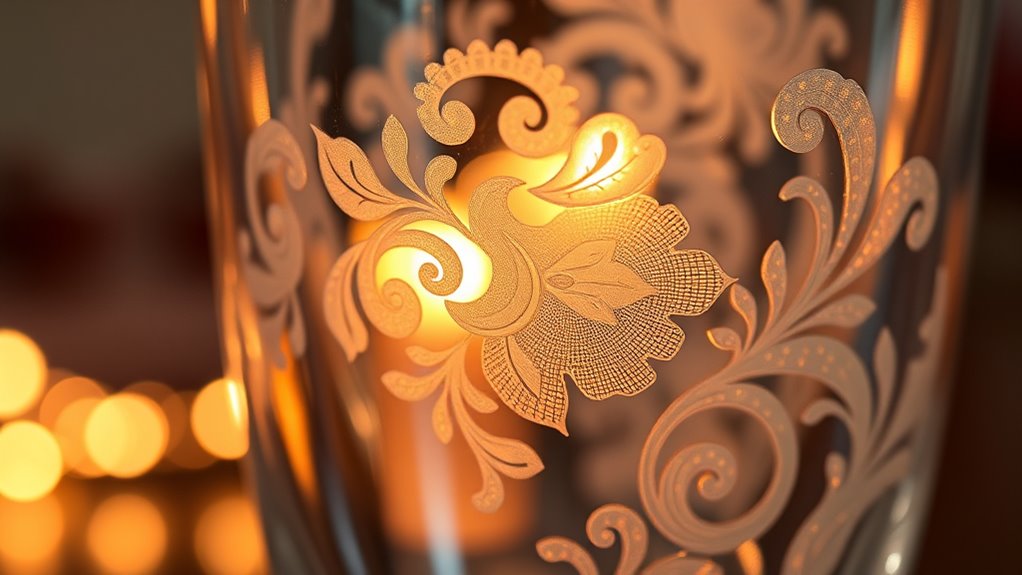
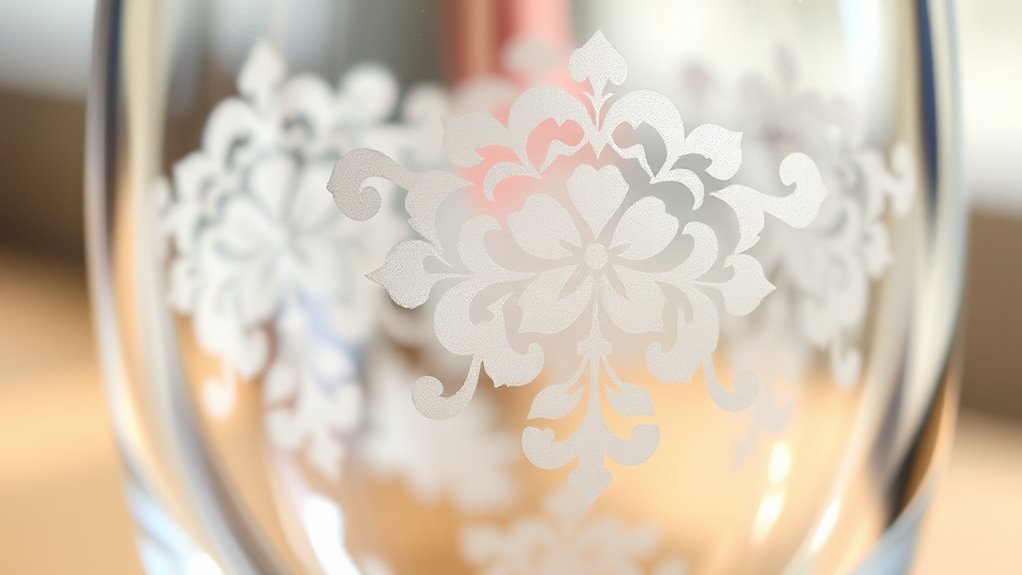
Creating a compelling etching pattern starts with brainstorming ideas that reflect your style or the occasion. Think about glass patterns that suit the gift’s purpose—whether elegant floral designs, geometric shapes, or personalized initials. Use your inspiration to sketch rough designs, keeping in mind the etching techniques you’ll use. Consider how different patterns will look on the glass surface and how detailed you want your design to be. Simpler patterns often work best for quick projects, while more intricate designs can add uniqueness. Remember, your goal is to create a pattern that’s visually appealing yet manageable within your time frame. Focus on clear lines and contrast, which will translate well during the etching process, making your finished piece stand out. Additionally, design planning can help ensure your pattern aligns with your overall aesthetic and makes the most efficient use of your time.
Applying the Stencil to the Glassware
Before applying the stencil, make sure it’s clean and dry so it sticks well. Secure the design firmly onto the glassware, using tape if needed, to prevent shifting. Proper preparation and securing are key to achieving a clean, professional look in your etched glassware. Additionally, consider the natural materials used in farmhouse decor, which can inspire your choice of tools or accessories to complement your project.
Preparing the Stencil
Have you ever wondered how to guarantee your stencil stays perfectly in place on the glass? Start by choosing the right stencil materials, like adhesive vinyl or contact paper, to make certain it adheres smoothly. Use design software to create or customize your design, then print and cut it precisely. Before applying the stencil to the glass, clean the surface thoroughly to remove dust and oils. Carefully cut out your design, leaving the edges clean. Peel off the backing and position the stencil on the glass, smoothing out any air bubbles or wrinkles. Proper preparation of the stencil materials and accurate design setup help make sure your stencil stays secure and results look professional. Additionally, selecting the appropriate stencil material can prevent peeling or lifting during the etching process, ensuring a clean and crisp design. Taking these steps makes your etching process smooth and successful.
Securing the Design
Once your stencil is cut and ready, it is vital to securely apply it to the glassware to guarantee clean, precise etching. Use painter’s tape or a similar adhesive to firmly hold the stencil in place, ensuring no edges lift during laser engraving or etching. If you’re using protective coatings, apply a thin layer over the stencil to shield surrounding areas and improve detail. This step prevents laser or acid etching from spreading beyond your design, resulting in sharp lines. Press down firmly to eliminate air bubbles and wrinkles, which can cause uneven etching. Properly secured stencils and coatings help achieve professional-looking results while protecting the glass surface. Taking your time to ensure everything is aligned and sealed before proceeding to the etching process is crucial for a flawless finish. Additionally, understanding best practices for applying stencils can further enhance your etching precision.
Etching the Glass: Step-by-Step Process

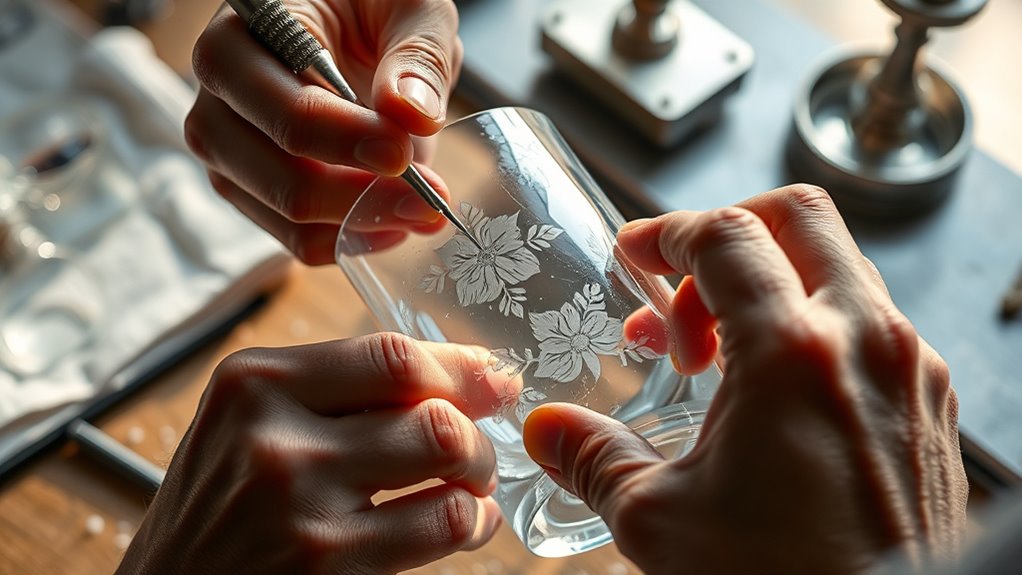
To start etching your glassware, you first need to prepare the surface properly by cleaning it thoroughly. Once it’s dry, you can carefully apply your etched design or stencil. With the design in place, you’re ready to move on to the actual etching process.
Preparing the Glass Surface
Before you start etching, it’s essential to prepare the glass surface properly. Proper etching preparation ensures your design will come out clean and sharp. Begin by washing the glass thoroughly with warm water and mild soap to remove any dirt, grease, or fingerprints. Rinse well and dry completely with a lint-free cloth to prevent streaks or smudges. Next, lightly sand the glass surface with fine-grit sandpaper or a gentle abrasive pad to create a slightly rough texture. This helps the etching cream adhere better and results in a more precise etch. Once the surface is clean and textured, wipe it down again with isopropyl alcohol or vinegar to remove any remaining residues. Proper preparation guarantees a smooth, even etching process. Additionally, understanding AI-enhanced techniques in surface preparation can further improve your results.
Applying the Etching Design
Start by transferring your chosen design onto the prepared glass surface. Use a pencil or transfer paper to trace your stencil onto the glass if necessary. Next, apply the stencil carefully, ensuring it sticks firmly without any air bubbles or wrinkles. Proper stencil application is key to achieving clean, crisp edges in your glass etching. Secure the stencil with painter’s tape if needed to prevent shifting during the etching process. Once in place, double-check that all parts of the design are properly adhered. This step ensures that the glass etching will be precise and neat. Take your time during stencil application to avoid smudges or misalignments, setting a solid foundation for a beautiful etched glassware gift. Using high-quality stencils can also make a significant difference in the final outcome.
Finishing Touches and Clean-Up
Once you’ve finished etching your glassware, it is vital to give it a thorough clean to reveal the final design. Use gentle cleaning techniques, such as rinsing with lukewarm water and mild soap, to remove any residual etching cream or debris. Avoid abrasive scrubbers that could damage your design. After cleaning, carefully dry the glass with a soft cloth. Before considering the job complete, perform a final inspection, checking for any spots or uneven areas that may need touch-up. Make sure the etched pattern is crisp and clear. Taking these finishing touches ensures your glassware looks professional and polished, ready to be gifted or displayed. Proper clean-up not only enhances your design but also preserves the quality of your etched glassware. Additionally, employing data analytics can help you evaluate the effectiveness of your technique and improve future projects.
Tips for Personalizing and Presenting Your Gift
After cleaning and inspecting your etched glassware, it’s time to add a personal touch that makes your gift truly special. Consider personalization ideas like engraving initials, special dates, or meaningful symbols to make it unique. Use contrasting colors of paint or etching to highlight these details. When it comes to presentation tips, think about pairing the glassware with a matching gift box or wrapping it in elegant tissue paper for a polished look. Adding a handwritten note or a small charm can also enhance the gift’s personal feel. Remember, the goal is to make your recipient feel valued and appreciated. Incorporating active listening into your presentation can help you better understand what personal touches might resonate most. Keep your presentation simple yet thoughtful, and your personalized etched glassware will be a memorable and cherished gift.
Frequently Asked Questions
Can I Etch Glassware With Intricate Designs Quickly?
You can etch glassware with intricate designs quickly by using the right etching tools and quick design tips. Focus on simplifying your design for faster execution, and use stencils or templates to save time. With precise etching tools like diamond-tipped or acid-based kits, you can achieve detailed patterns efficiently. Practice these quick design tips, and you’ll be able to create beautiful etched glassware in less time.
What Safety Precautions Should I Take During Etching?
Think of safety as your shield in the glass etching journey. You should always wear protective gear like gloves and goggles to guard against sharp shards and fumes. Make sure your workspace is well-ventilated, like a gust of fresh air in a storm, so fumes don’t build up. Keep your area organized and away from children or pets. These precautions turn your craft into a safe, creative adventure.
Is It Possible to Reuse Stencils for Multiple Projects?
Yes, you can reuse stencils for multiple projects if you maintain them properly. To do this, carefully clean the stencil after each use, avoiding harsh chemicals that could damage it. Proper stencil maintenance guarantees durability and keeps the design crisp. When planning your projects, consider how often you’ll reuse a stencil to decide if it’s worth investing in quality materials, saving time and effort in future etching sessions.
How Durable Is the Etched Design Over Time?
Think of your etched design as a delicate dance on glass’s surface, resilient yet gentle. Its glass longevity depends on using high-quality etching materials and proper care. While etched designs are generally durable, they can fade if exposed to harsh chemicals or scratches. With good maintenance, your etching resistance remains strong, ensuring your artwork stays vibrant and beautiful over time, like a cherished memory etched in time.
Can I Etch Different Types of Glass or Only Specific Ones?
You can etch various glass types, including wine glasses, vases, and jars, using different etching methods. The key is to select the right technique for each glass type to guarantee precision and safety. Some glass types are more fragile, so handle them carefully. Experimenting with various etching methods allows you to customize designs on different glass surfaces, making your creations unique and personal.
Conclusion
With just 30 minutes, you’ve transformed plain glassware into a personalized masterpiece, turning a simple gift into a treasured keepsake. Your creativity has painted a lasting impression, like a brushstroke on a blank canvas. Now, your etched glassware stands ready to shine at any occasion, a heartfelt gift that speaks volumes without saying a word. So, grab your finished piece and enjoy the proud feeling of turning ordinary into extraordinary in no time!