You can craft stunning DIY spheres that bright up your space and showcase your creativity. All you need are budget-friendly materials like Styrofoam balls, cardboard, and simple adhesives. Consider following a drywall orb or paper mache tutorial for step-by-step guidance. These spheres are perfect for any occasion, allowing for personal flair with color and embellishments. Plus, you save money while working on a rewarding project. By engaging in this creative outlet, you'll not only enhance your decor but also develop new skills. Discover unique ideas and tips to elevate your DIY sphere game further!
Key Takeaways
- Choose budget-friendly materials like Styrofoam balls, paper, and adhesives to create your DIY sphere decor piece.
- Follow step-by-step tutorials, such as the drywall orb or paper mache orb, for easy crafting.
- Personalize your sphere with seasonal themes or unique embellishments to enhance its charm.
- Utilize sustainability by reusing materials from past projects and incorporating natural elements.
- Share your completed projects online to inspire others and connect with the DIY community.
Overview of DIY Sphere Project
When you commence on the DIY sphere project, you open the door to creating one-of-a-kind decorative pieces that can enhance any space.
These DIY projects allow you to design unique spheres for your home decor or special events using affordable materials like paper and chipboard. With a variety of online templates, you can easily guide your assembly, adapting sizes and designs to fit your vision.
As you cut and connect the shapes, think of it as a complex jigsaw puzzle that requires patience and attention to detail.
Once complete, you can hang your spheres using ribbon or fishing line, adding a modern touch and sparking conversation. This project also encourages experimenting with colors, making it a fulfilling creative outlet.
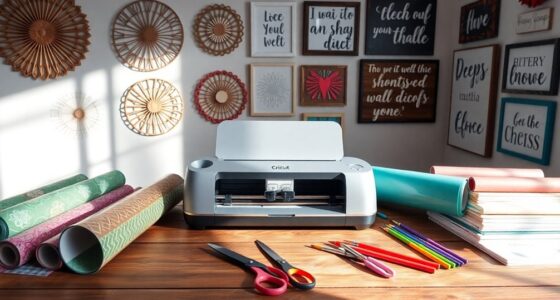
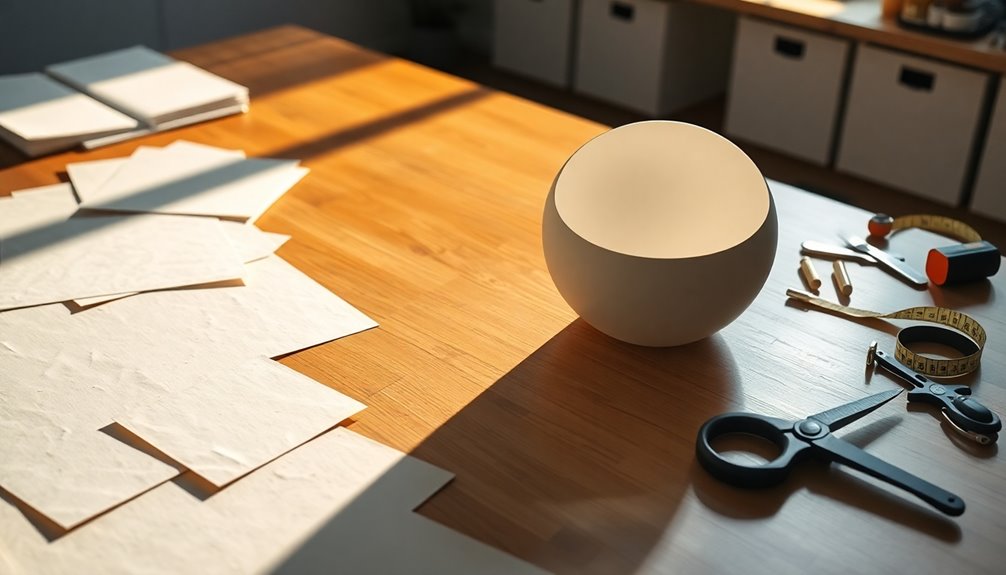
Essential Materials for Crafting
To create your own modern decor spheres, you'll need some essential crafting supplies.
Think budget-friendly options like Styrofoam balls, paper, and adhesives that won't break the bank.
Plus, don't forget to contemplate decorative elements like paint and ribbons to personalize your project. Additionally, consider using airless sprayers to apply paint for a smooth and even finish on your spheres.
Required Crafting Supplies
Creating your DIY spheres requires a few essential materials to guarantee a successful crafting experience. Start by gathering various types of paper, scissors, adhesive, and a ruler for measuring. A template for the sphere structure is vital for accurate design. Here's a quick reference table for your required crafting supplies:
| Supplies | Purpose |
|---|---|
| Card stock/Construction paper | Sphere construction |
| Scissors | Cutting shapes |
| Adhesive (glue/tape) | Assembling pieces |
| Ruler | Measuring for precision |
| Template | Design reference |
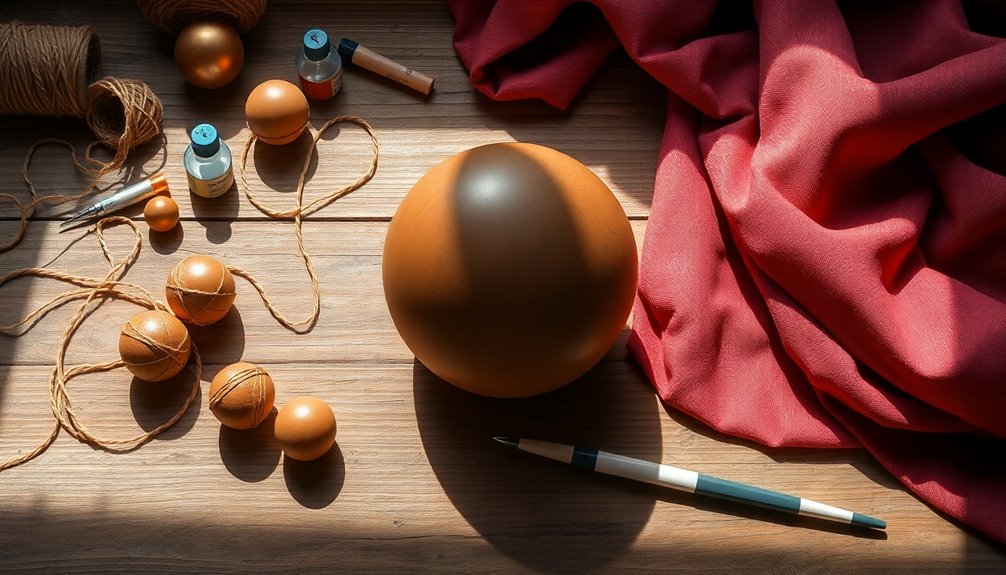
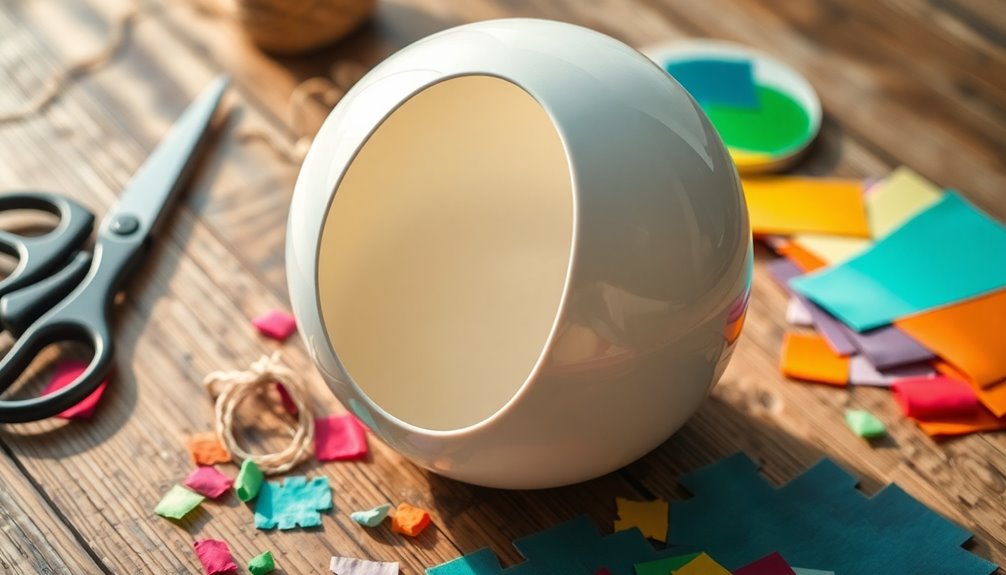
Budget-Friendly Material Options
Because crafting doesn't have to break the bank, you can easily find budget-friendly material options for your DIY spheres.
Styrofoam balls are a fantastic choice, typically available at dollar stores for about $1 for 3-6 balls. If you're looking for alternatives, consider using tennis balls, ping pong balls, or wiffle balls, which offer versatile styles for your projects.
You'll need essential adhesives like hot glue, tacky glue, or Mod Podge to secure your decorative materials. To enhance your sphere's look, craft paints in various colors, including spray paint for around $3, can add that professional finish.
Plus, reusing materials like fabric scraps from previous crafts can help keep costs down while promoting sustainable crafting practices. Additionally, incorporating natural exfoliants such as glycolic acid can enhance the aesthetics of your decor by ensuring your crafting surfaces are clean and ready for application.
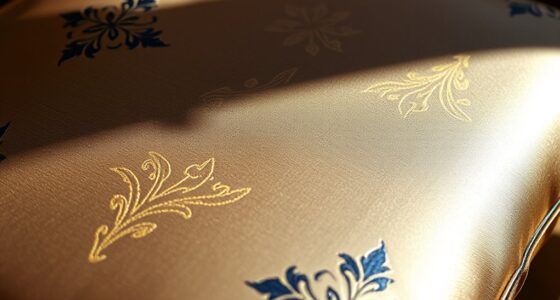
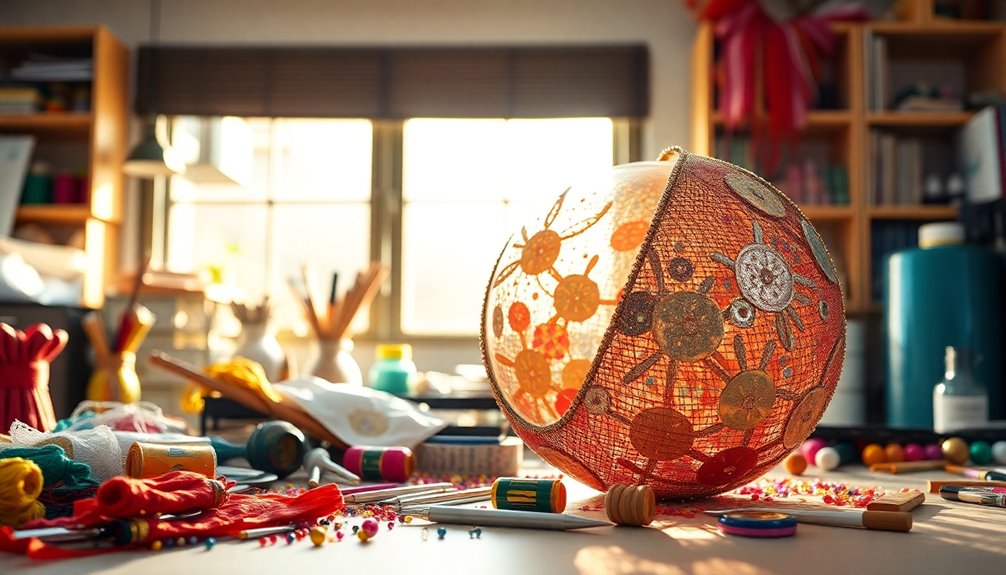
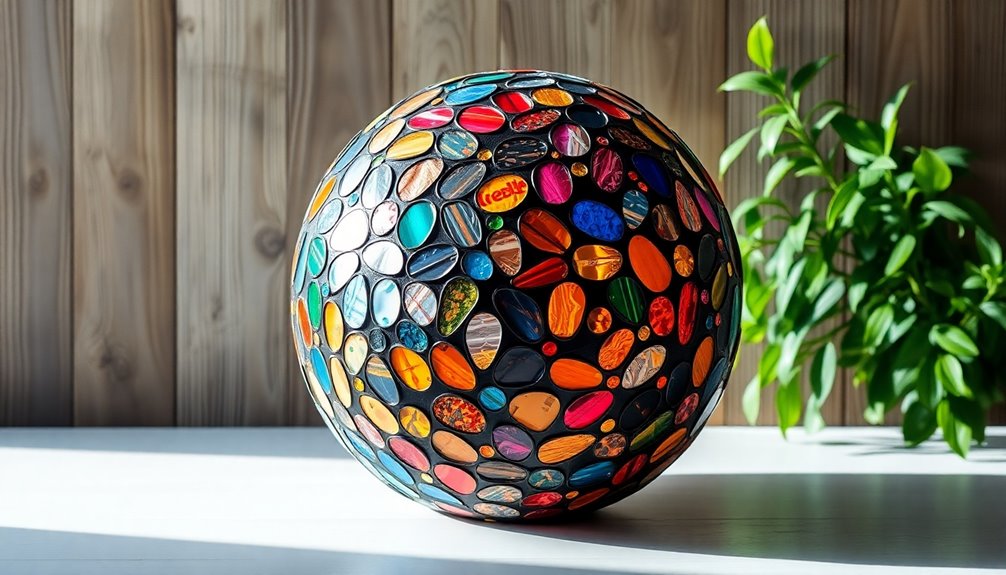
Decorative Elements Ideas
Decorating your DIY spheres opens up a world of creative possibilities. Start by using craft paints in various colors to give your spheres a vibrant base. Spray paint, costing around $3, offers a quick and versatile application.
Next, consider adding decorative additions like glitter, sequins, twine, or dried flowers to enhance their visual appeal. You can even use whole coffee beans for a unique touch. To secure these elements, essential adhesives like hot glue or mod podge are key.
Remember to explore bold colors for accent walls as they can inspire your color choices and overall design aesthetic for your DIY project.
Step-by-Step Drywall Orb Tutorial
To craft a stunning drywall orb, start by prepping your thrift shop candlestick. Sand its surface to create a rough texture, which helps the drywall mud adhere better.
Next, use a butter knife to apply drywall mud generously over the candlestick for even coverage. While the mud is still wet, insert a birch turned finial to create a support hole.
Attach a Styrofoam ball to the candlestick with Gorilla Glue, ensuring it sticks well to the drywall mud. Once everything is assembled, spray the structure with a rust-colored primer for a unified look.
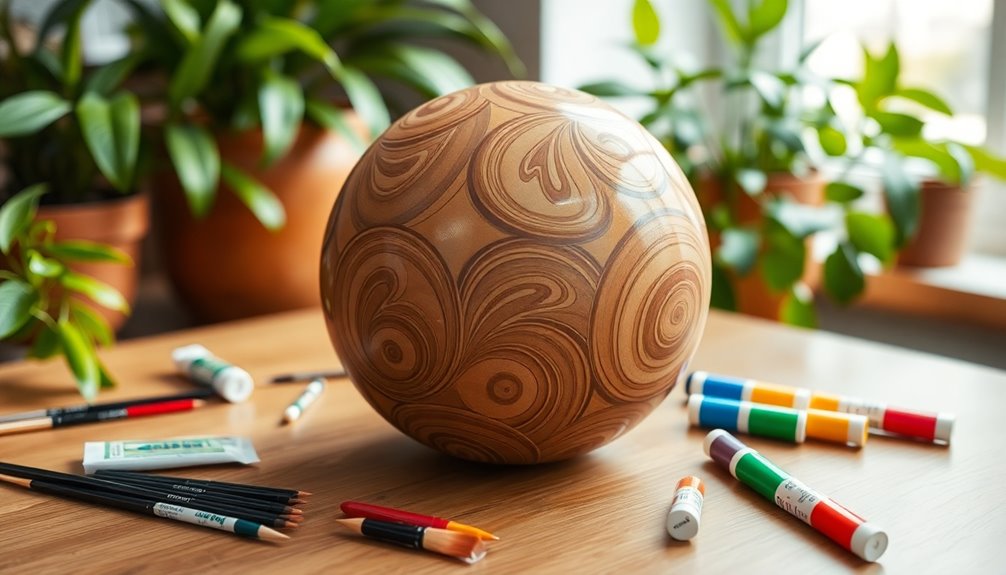
Finally, add decorative details using assorted acrylic or metallic paints, and allow sufficient drying time for stability and longevity. Enjoy your beautiful creation!
Step-by-Step Paper Mache Orb Tutorial
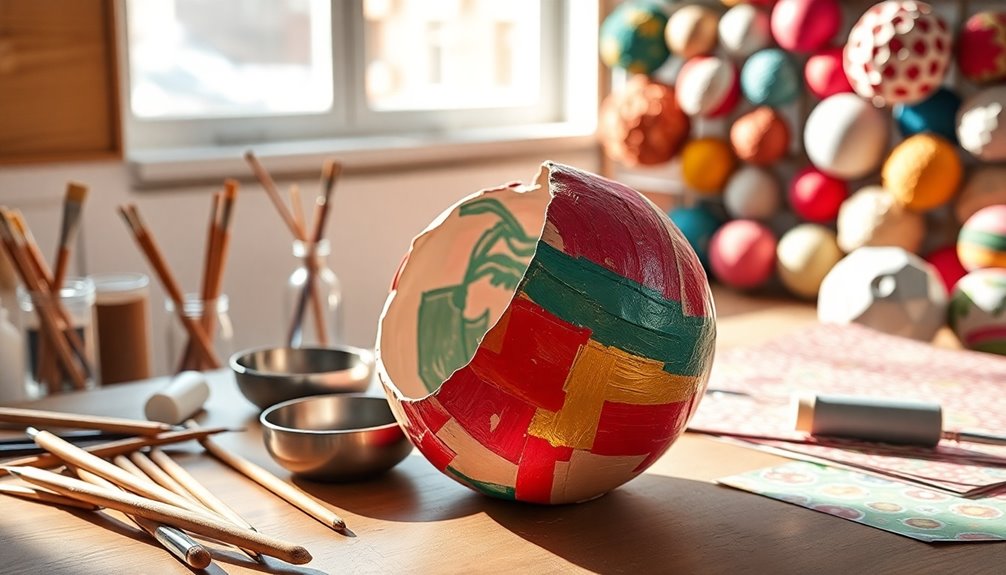
After creating a beautiful drywall orb, you might want to explore another enchanting technique: making a paper mache orb. Start by sanding a candlestick to guarantee better adhesion. Cut newspaper into leaf shapes and use a decoupage medium to adhere them to a larger Styrofoam ball, layering until it's fully covered. Use pins to support the newspaper while it dries, keeping everything in place. Once the decoupage medium has dried, attach the decorated orb to the candlestick securely and prime the whole assembly for painting. Finally, paint the orb in your favorite colors for a personalized touch. Remember that using high-quality materials can enhance the overall durability of your decor piece, just as using low-quality wax can negatively impact candle making.
| Step | Description |
|---|---|
| Sanding | Create a rough surface for adhesion |
| Decoupage | Apply leaf shapes with decoupage medium |
| Painting | Add color for a creative finish |
Creative Decoration Ideas
You can easily elevate your sphere decor by incorporating seasonal themes that reflect holidays or special occasions. Personalizing your spheres with initials or unique embellishments adds a special touch that makes them truly yours. Get creative and experiment with different materials and colors to keep your decor fresh and exciting year-round! Consider incorporating vintage accessories to enhance the rustic charm of your spheres and create a cohesive farmhouse aesthetic.
Seasonal Theme Variations
As you explore seasonal themes for your DIY sphere decor, you'll find endless possibilities to reflect the spirit of each holiday.
For festive Halloween spheres, use orange and black paper, enhancing them with spiderweb patterns or cut-out shapes for that spooky vibe.
Shifting to Christmas, design spheres in red and green, adding glitter, sequins, or mini ornaments for a cheerful touch.
In spring, opt for pastel colors and adorn your spheres with floral patterns or dried flowers, bringing freshness to your decor.
As autumn approaches, create spheres with earthy tones and seasonal motifs like leaves, perfect for Thanksgiving.
Finally, celebrate Independence Day with red, white, and blue paper, incorporating star motifs or stripes.
Additionally, consider using color coordination to enhance the overall visual impact of your seasonal spheres.
Enjoy crafting!
Personalization and Custom Touches
Whether you're crafting for yourself or creating a heartfelt gift, personalizing your DIY sphere decor adds a unique touch that elevates its charm.
Start by incorporating a mix of craft paints in vibrant colors to match your home decor style. Use decorative elements like glitter, sequins, or twine to add texture and interest, making your sphere truly one-of-a-kind.
Don't forget to experiment with seasonal themes; adjust your color palette and decorative elements to celebrate holidays like Christmas or Halloween. You can even personalize your sphere further by adding initials or names with paint or stickers.
For a rustic touch, consider using natural materials like dried flowers or leaves, creating a beautiful nature-inspired decor piece that reflects your personality. Additionally, using sustainable materials in your crafting process not only enhances the aesthetic but also aligns with eco-friendly practices.
Cost-Effective Crafting Tips
Crafting on a budget can be both fun and rewarding, especially when you know where to look for materials. Start by visiting dollar stores, where you can find supplies that'll cut your costs by 50-70% compared to store-bought decor.
Reuse items from previous projects, like fabric scraps and decorative elements, to maximize your budget and reduce waste. Consider bulk purchasing of supplies, such as paint and adhesive, for additional savings.
Team up with friends for a crafting session; sharing costs and materials makes it more affordable and enjoyable. Plus, you likely have simple tools like scissors and glue guns at home, making it easy to engage in your DIY sphere project without extensive investment.
Additionally, exploring natural materials can enhance the rustic appeal of your creations, echoing the charm of modern farmhouse decor.
Happy crafting!
Benefits of DIY Crafting
Engaging in DIY projects not only saves you money but also brings a host of benefits that enrich your life. DIY crafting fosters your creativity and provides a therapeutic outlet, enhancing your mental well-being and reducing stress. You'll develop practical skills like measuring, cutting, and assembling, which boosts your confidence and problem-solving abilities. Plus, many projects encourage sustainability by repurposing materials, contributing to environmentally friendly practices. Additionally, embracing self-care practices through crafting can significantly improve your emotional health and overall wellness.
| Benefit | Description |
|---|---|
| Cost Savings | Save 50-70% on decor costs |
| Creative Expression | Foster creativity and artistic skills |
| Skill Development | Enhance practical skills and problem-solving |
Community Engagement Opportunities
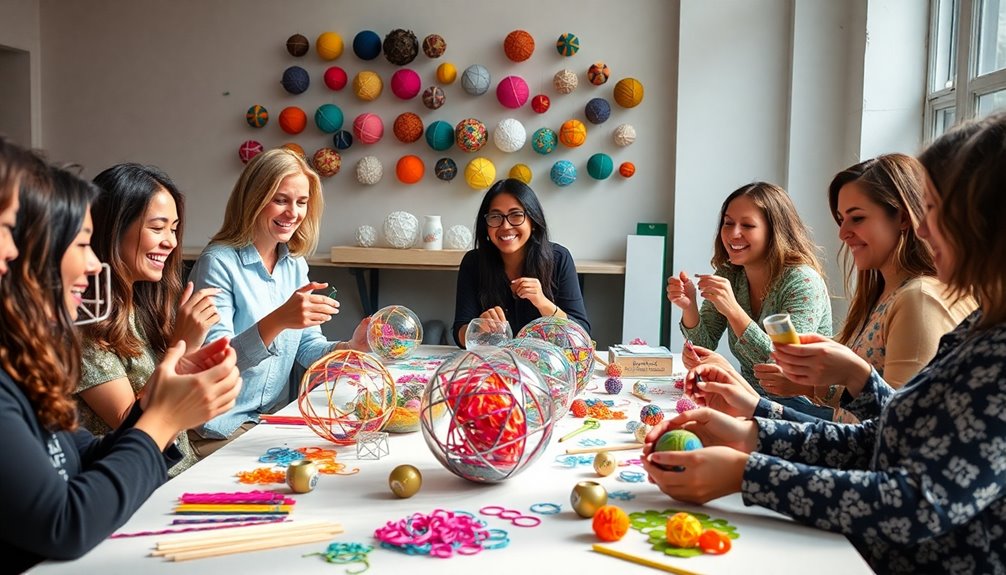
How can you make the most of your DIY journey while connecting with others? Engaging with the community is key.
Share your completed projects online, linking to others' posts for increased visibility and inspiration. Participate in seasonal events like the DIY Show Off Fall Festival to showcase your work and discover fresh ideas from fellow crafters.
Join online platforms like BlogFrog to connect with other DIY enthusiasts, exchange tips, and gather feedback on your projects.
Don't forget to explore social media; use hashtags to reach a broader audience and connect with like-minded creators.
Finally, attend local craft fairs to promote your handmade items, network with fellow crafters, and gain insights into the latest trends in DIY decor. Additionally, consider organizing a community camping event to share your DIY projects and enjoy the outdoors together.
Alternative Decor Projects to Explore
With your DIY projects thriving through community connections, it's time to explore alternative decor ideas that can elevate your creative expression.
Here are some fun projects you can try:
- Decorative Spheres: Use tennis balls, ping pong balls, or wiffle balls as bases for unique spheres.
- Seasonal Ornaments: Craft holiday-themed ornaments using upcycled items and fabrics for a festive touch.
- Geometric Patterns: Tape off sections on your spheres to create modern designs that add visual interest.
- Natural Decor: Incorporate upcycled items like old DVDs or natural materials like pine cones for eco-friendly decor.
Engaging with crafting communities can also inspire your alternative decor projects and help you discover new techniques.
Frequently Asked Questions
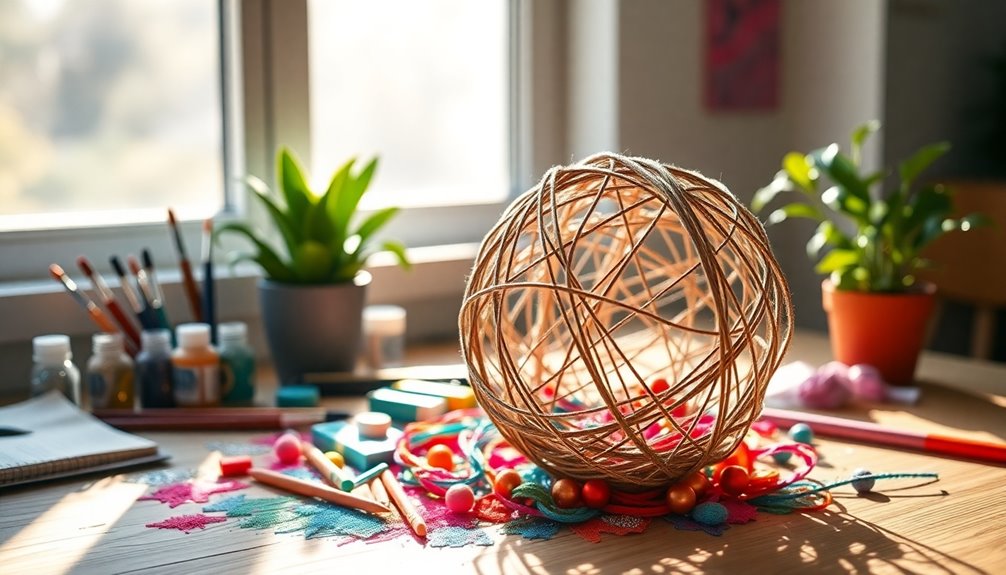
How to Make a Ball Out of String?
To make a ball out of string, you'll need string, a balloon, and a glue-water mixture.
Inflate the balloon to your desired size, then coat it with the glue mixture for better adhesion.
Wrap the string around the balloon randomly, leaving a small opening at the bottom.
Once you've got enough layers, let it dry completely.
Finally, pop the balloon and remove it, revealing your string ball that you can decorate as you like!
What to Put Decorative Balls In?
Imagine you've just returned from a trip, bringing back colorful decorative balls.
To showcase them, you could place them in a clear glass vase. This lets their vibrant hues shine through, creating a modern centerpiece for your dining table.
You can also arrange them in groups of three or five within a wooden tray. This not only adds balance but also allows you to switch them out seasonally for added flair.
How to Wrap Twine Around a Balloon?
To wrap twine around a balloon, start by inflating the balloon to your desired size. Secure it tightly to prevent air from escaping.
Cut a length of twine, about 10-15 feet long. Apply a thin layer of craft glue on the balloon's surface, then begin wrapping the twine around, overlapping strands for even coverage.
Make sure the glue is evenly distributed. Once you've wrapped it fully, let the glue dry completely before popping the balloon.
Conclusion
Crafting your own DIY sphere is a fun and rewarding project that adds a personal touch to your space. Whether you opt for drywall or paper mache, you'll love seeing your creation come to life—like finding a hidden gem in a thrift store! Plus, the skills you gain can pave the way for even more creative projects. So grab your supplies, let your imagination run wild, and enjoy the journey of making something uniquely yours!