
To create your own picture ledge shelves, you’ll need simple materials like wood boards, brackets or cleats, and basic tools such as a saw, drill, and level. Measure your space, cut and sand the wood, then attach the brackets or cleats securely into wall studs for stability. Once mounted, you can display photos, artwork, or decor along the ledges, instantly updating your room’s look. Keep exploring to find out more tips and ideas for perfect DIY shelves.
Key Takeaways
- Measure and cut wood to desired length, then sand for smooth edges.
- Attach wall-mounted brackets or cleats securely into wall studs for stability.
- Position shelves on brackets or cleats, ensuring they are level before securing.
- Finish shelves with paint or stain to match your decor and protect the wood.
- Arrange photos and décor on the ledges to create a personalized, stylish display.
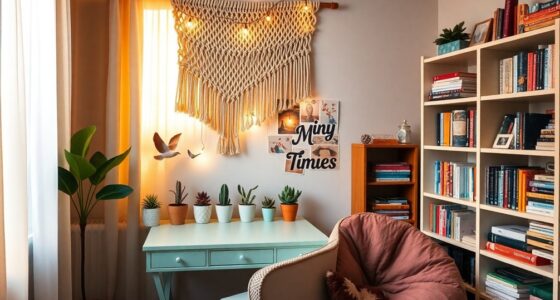
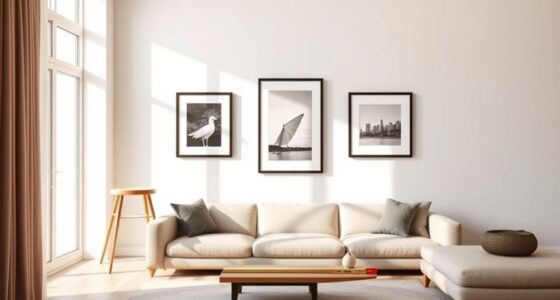
Creating your own picture ledge shelves is a simple and affordable way to display artwork, photos, or decorative items while adding a stylish touch to any room. These shelves serve as versatile wall décor, allowing you to showcase your favorite pieces in a way that’s both functional and visually appealing. When you build your own, you gain the flexibility to customize the length, depth, and finish to match your personal style and the room’s aesthetic. Plus, DIY picture ledge shelves are a practical storage solution, helping you organize and display items without cluttering your space.
Create stylish, customizable picture ledge shelves for your home—perfect for displaying artwork, photos, and decorative items effortlessly.
To get started, you only need a few basic materials: wood boards, a saw, a level, a drill, brackets or cleats, and some paint or stain if you want to add a finishing touch. First, measure the length you want your shelves to be, considering the space available and the size of items you plan to display. Cut your wood accordingly, making sure the edges are smooth and clean. If you prefer a polished look, sand the wood to remove splinters and uneven surfaces before painting or staining. This step not only enhances the appearance but also helps the shelves withstand daily use.
Next, you’ll want to attach the brackets or cleats to the wall. Using a level ensures your shelves will hang straight, creating a neat, professional look. If you’re using brackets, secure them into wall studs for added stability. Alternatively, you can install a sturdy cleat system by attaching a wooden strip to the wall and then resting your shelf on it. This method offers a clean, minimalist appearance and makes it easier to remove or reposition the shelves in the future.
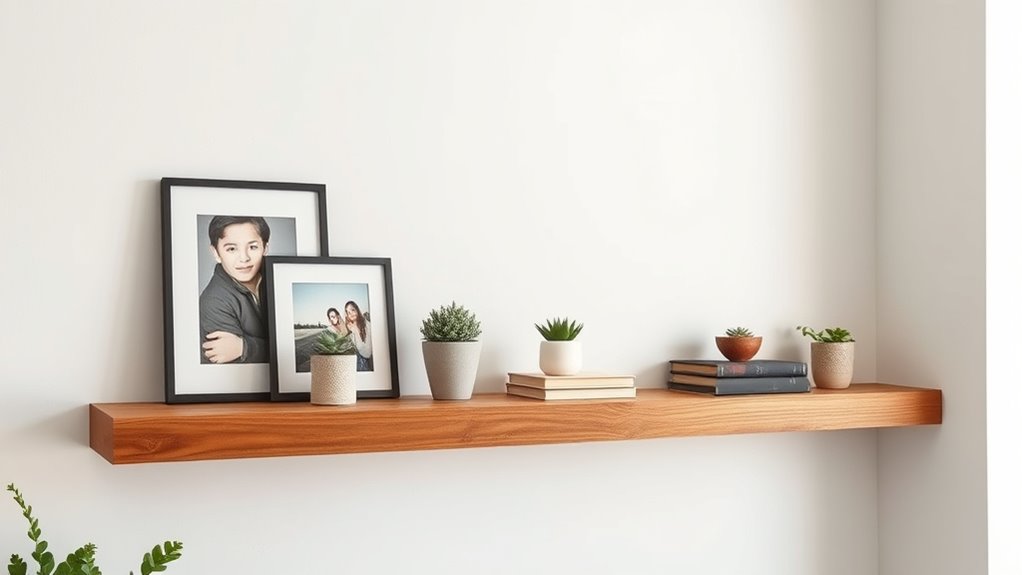
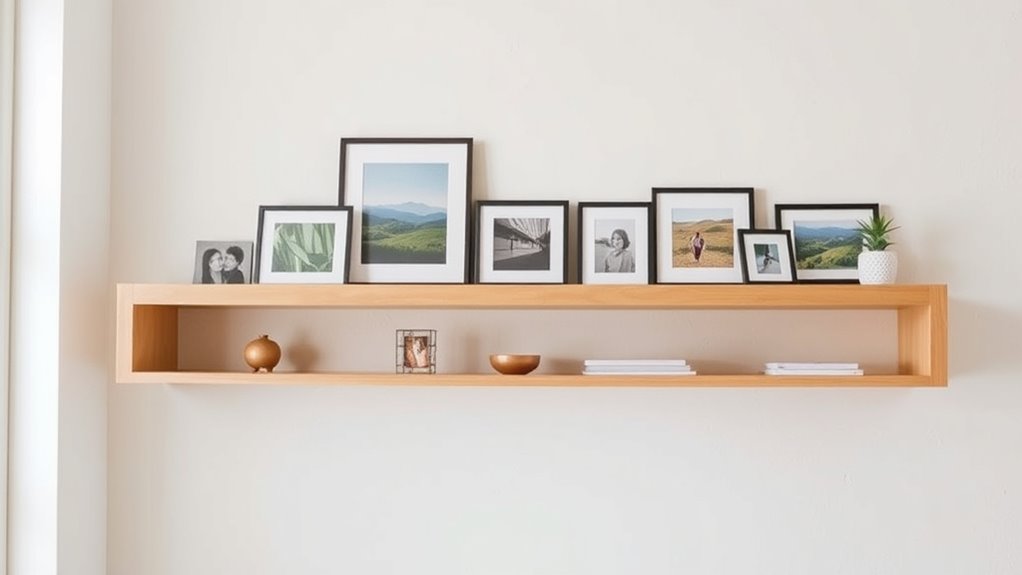
Once the brackets or cleats are in place, position your wood boards on top. Secure the shelves to the brackets or cleats with screws, making sure they’re level and firmly attached. Now, you have a custom-built ledge shelf ready to display your favorite wall décor. You can arrange picture frames, small plants, or decorative objects along the ledge, creating a dynamic display that’s easy to update. This approach not only enhances your room’s visual interest but also provides practical storage solutions for everyday items.
Building your own picture ledge shelves is an empowering project that transforms a blank wall into a curated gallery. It’s affordable, customizable, and straightforward. With just a little effort, you’ll create a beautiful feature that showcases your personality while keeping your space organized and stylish. Whether you’re sprucing up a living room, bedroom, or hallway, DIY picture ledge shelves are a smart way to blend functionality with design.
Frequently Asked Questions
What Tools Are Essential for Building Picture Ledge Shelves?
To build picture ledge shelves, you’ll need a few essential tools. A drill helps with hanging techniques, making it easier to secure brackets or supports. A saw is vital for cutting shelf length planning, ensuring your shelves fit perfectly. A measuring tape and level keep everything straight and even. Finally, a pencil helps mark placement accurately. With these tools, you’ll create sturdy, well-placed shelves that beautifully display your photos.
How Much Does It Typically Cost to Make DIY Shelves?
Think of building shelves like planting a garden—you get what you invest. Typically, DIY shelves cost around $20 to $50, depending on your material sourcing and design. Budget planning helps you choose affordable wood or repurpose materials, keeping costs low. You might find bargains at thrift stores or sales, making your project not only budget-friendly but also uniquely personalized. With careful planning, you can create stylish shelves without breaking the bank.
Can These Shelves Support Heavy Picture Frames?
Yes, these shelves can support heavy picture frames if you use proper mounting techniques. Focus on the weight capacity of the materials you choose, like sturdy wood or brackets. Secure the shelves into wall studs with strong anchors or screws, ensuring they can handle the load. Proper mounting technique is key, so take your time to measure and double-check your work for safety and stability.
What Are the Best Wood Types for Durability?
Imagine your shelves as the fortress of your wall art—sturdy and resilient. You should pick hardwoods like oak or maple, known for their tight wood grain and durability. They handle wear and tear better, especially with various finish options that highlight their natural beauty. Softwoods might crack or warp over time, so if you want your picture ledges to stand the test of time, go for the tough stuff.
How Long Does It Take to Complete a DIY Picture Ledge Shelf?
You can complete your DIY picture ledge shelf in about 2 to 4 hours, depending on your skill level and how much shelf decorating you plan to do. Start by measuring and cutting the wood, then use proper wall mounting techniques to guarantee stability. Taking your time with precise measurements and secure wall mounting will give you a polished look and make your shelf perfect for displaying photos or artwork.
Conclusion
Now that you’ve built your own picture ledge shelves, you’ve turned a simple idea into a stylish display. Remember, a picture is worth a thousand words, and your new shelves will showcase your favorite memories beautifully. With a little effort, you’ve created a space that’s both functional and personalized. Keep in mind, Rome wasn’t built in a day—so enjoy adding new touches over time and watch your space truly come alive.