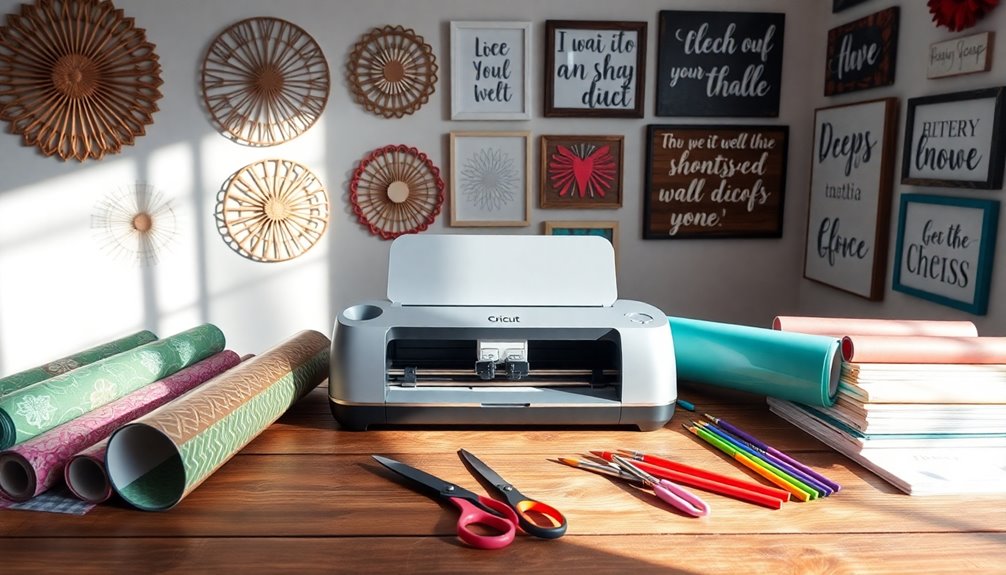

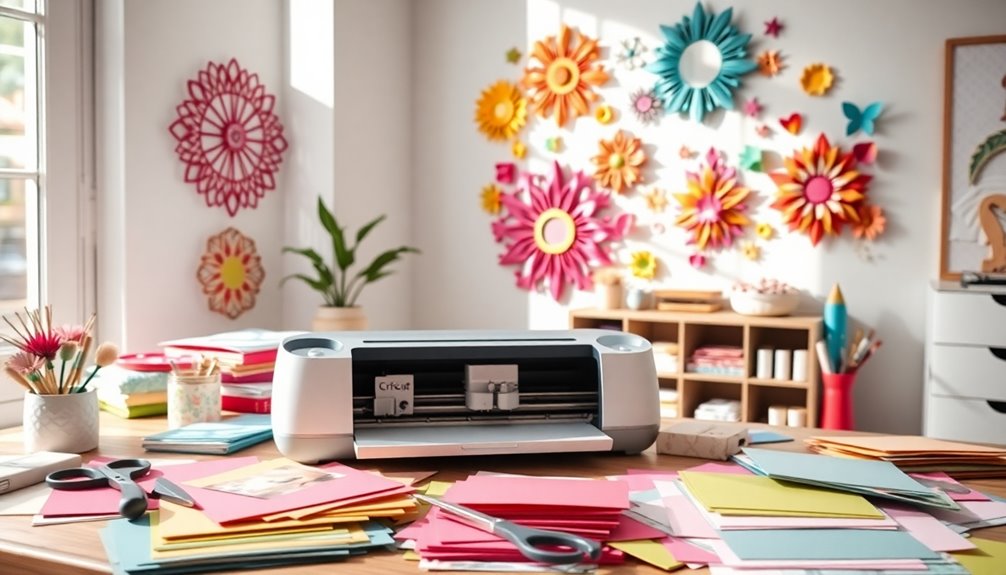
You can easily create beautiful wall decor with your Cricut by following a few simple steps. Start by selecting a theme and designing your art in Cricut Design Space. Choose the right materials and set your cutting preferences for precision. After cutting, weed out excess vinyl carefully for a clean finish. Use transfer tape for smooth application on your wall, ensuring everything's aligned perfectly. Don't forget to experiment with different techniques, like making felt flower wreaths or custom windmill hangings. There's a world of creativity waiting for you, and discovering additional tips will elevate your DIY projects even further.
Key Takeaways
- Select a cohesive theme and color scheme to guide your wall decor project for a polished look.
- Utilize Cricut Design Space for designing, customizing, and preparing your wall art.
- Choose compatible materials like Smart Vinyl and adjust settings for accurate cuts.
- Master weeding techniques to ensure clean and professional-looking vinyl applications.
- Assemble and apply your designs carefully, using tools like transfer tape for smooth installation.
Designing Your Wall Art

When you're ready to design your wall art, keep in mind that selecting the right design is essential to achieving a cohesive look.
Start by choosing a theme that resonates with your style—be it modern, vintage, or abstract. Explore Cricut Design Space for a vast library of designs, and don't hesitate to customize them to fit your space. Utilizing layers can help you organize different elements of the design effectively.
Consider your room's color scheme, following the 60-30-10 rule for balance. Adding personal touches, like names or special dates, can elevate your art's meaning.
This thoughtful approach will guarantee your wall art not only looks great but also feels personal and inviting, making it a true reflection of your personality.
Cutting Decals With Precision

When cutting decals, selecting the right materials is essential for achieving crisp designs. Vinyl rolls are available in various colors and types, allowing for endless customization options in your projects. You also need to set your cutting preferences accurately to guarantee the machine performs at its best. Finally, mastering weeding techniques will help you remove excess vinyl cleanly, making your decals look professional.
Selecting Appropriate Materials
To achieve precise cuts for your decals, selecting the right materials is essential. Start by choosing Smart Vinyl for better compatibility with your Cricut machine, and opt for brands like HTV Rond for intricate designs. Avoid vinyl with paper backing to prevent slipping. Remember, thicker elements are easier to handle, so go for those when possible. Additionally, using fresh, sharp blades is crucial for maintaining accuracy in intricate cuts.
Here's a quick reference table to help you select your materials:
| Material Type | Recommended Brands | Important Tips |
|---|---|---|
| Smart Vinyl | HTV Rond | Avoid paper backing |
| Adhesive Quality | N/A | Use thicker fonts |
| Cutting Tools | N/A | Keep your mat clean |
Setting Cutting Preferences
Setting cutting preferences is vital for achieving precise and clean decals with your Cricut machine.
Start by selecting the right material settings in Design Space; choose "Browse All Materials" to find the specific vinyl you're using. This is especially important when working with prepped surfaces to ensure optimal adhesion.
Don't forget to adjust the pressure and speed based on material type for ideal cuts.
When preparing your design, upload SVG files tailored for cutting, and verify all layers are correctly set up.
A clean cutting mat is important, so keep it free from debris.
Regularly check your blade's condition and clean it to avoid drag.
Finally, experiment with different settings to find what works best for intricate designs, guaranteeing consistent results every time you cut.
Weeding Techniques Explained
Weeding is an essential step in the decal-making process, as it allows you to remove excess vinyl and reveal your design's intricate details.
Start by preparing your workspace with good lighting and a light source, like a Cricut BrightPad, to see cut lines clearly. Use a weeding tool or craft knife, and begin at a corner, gently peeling back the vinyl. For efficiency, create a weeding box in Cricut Design Space to separate images. Cut away large chunks to keep your workspace tidy, and collect small scraps with double-sided tape.
Using a weeding tool like a weeder or hook, makes it easier to handle small pieces and ensures a clean finish. Always inspect your design after weeding to ascertain it's free of excess vinyl before transferring it to your wall or project surface.
Happy crafting!
Applying Vinyl Wall Words
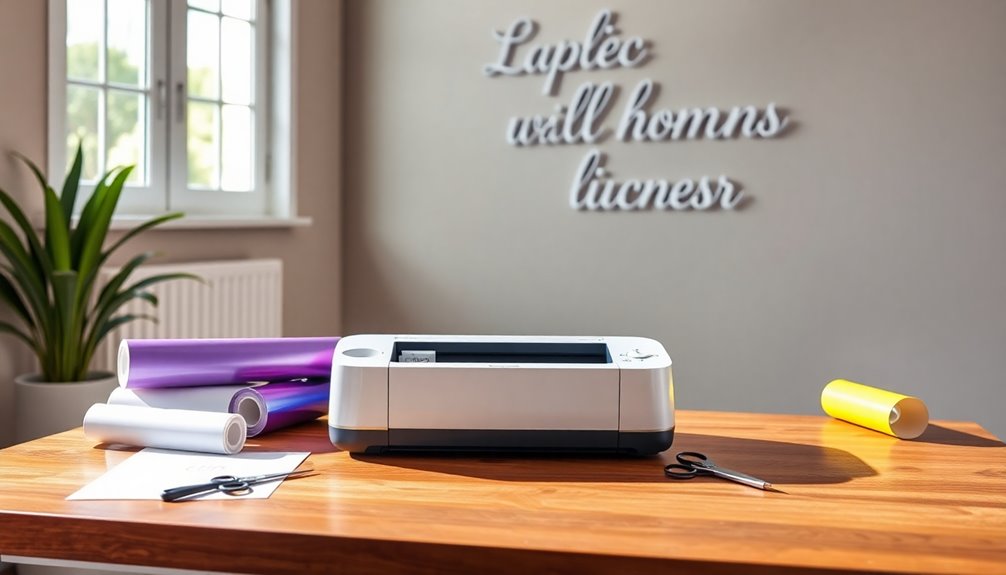
Once you've cut your vinyl letters, it's time to prepare them for application.
Make certain you position them correctly on the wall by marking level lines for guidance. This step guarantees your wall words will look polished and professional when you're done. Additionally, consider using Cricut Transfer Tape to help apply the vinyl letters smoothly and accurately.
Preparing Vinyl Letters
To prepare your vinyl letters for application, start by designing your wall words in Cricut Design Space. Choose a design that fits your style, and if needed, adjust the project copies.
Select your vinyl material and set the material dial to Vinyl. Load the design onto the cutting mat or directly into the Cricut machine, then start cutting as the on-screen prompts indicate.
Once the cutting's complete, unload the mat and peel away the excess vinyl surrounding the letters. Use a Cricut weeding tool to remove any small pieces inside the letters.
Finally, cut the text into manageable strips, ensuring everything's aligned and ready for transfer tape application. Your letters are now prepped for a flawless installation! Additionally, make sure to split the design into two sections if your text exceeds the target width for cutting.
Positioning on Wall
Positioning your vinyl wall words accurately can make all the difference in achieving a polished look. Start by measuring the wall to determine the ideal height and width for your design. Mark level lines with a pencil to guide placement.
Choose a font size that fits these dimensions, ensuring no excess vinyl is cut. When preparing transfer tape, cut it slightly longer than your text sections and burnish it to the vinyl. Additionally, ensure you have the right cutting tool for various materials to achieve clean and precise results.
Align the tape with your guidelines, double-checking for accuracy. After pressing the vinyl onto the wall, peel the tape away slowly to avoid damage.
Finally, wipe away any pencil marks, check for air bubbles, and admire your beautifully positioned wall decor!
Crafting 3D Wall Art
Creating stunning 3D wall art can elevate your home decor and showcase your creativity.
Start by gathering materials like heavy chipboard, vinyl, and foam adhesive. Use Cricut Design Space to design your piece, selecting chipboard as your material and the Knife Blade for cutting. Incorporating bold cardstock can further enhance the visual impact of your design.
Once your design is cut, use transfer tape to apply vinyl smoothly to wood panels. Assemble your art by adding yarn or fabric for texture, securing everything with foam adhesive.
For a polished look, wash your canvas in a light off-white before attaching the fabric. Finally, hang your masterpiece using drawing pins or hot glue, and feel free to customize with various materials for a unique touch!
Creating Felt Flower Wreaths
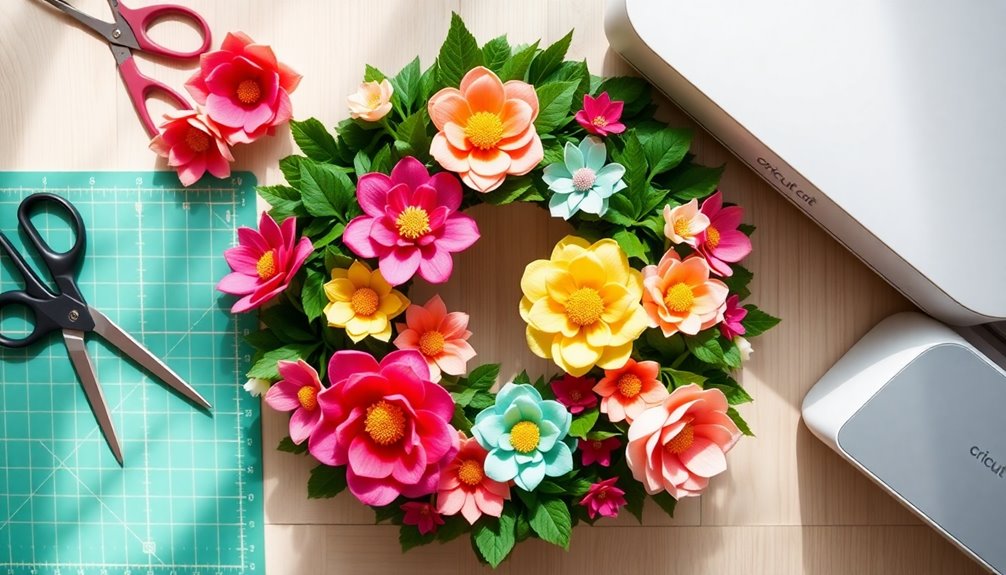
After mastering 3D wall art, you might want to explore another charming project: felt flower wreaths.
Start by gathering your materials, including craft felt in various colors, a Cricut machine, and a hot glue gun. Cricut provides felt samples for crafting, making it easier to get started with your project.
Use the Cricut with a rotary blade to cut out flower shapes; remember to adjust the settings for felt.
Roll the felt into spirals, securing them with glue, and fluff them to create a natural look.
Arrange the flowers on an embroidery hoop or wreath form, starting with the largest in the center.
Once you're happy with the layout, glue everything in place, add a ribbon for hanging, and display your beautiful wreath proudly on your door or in a cozy nook!
Custom Windmill Hangings
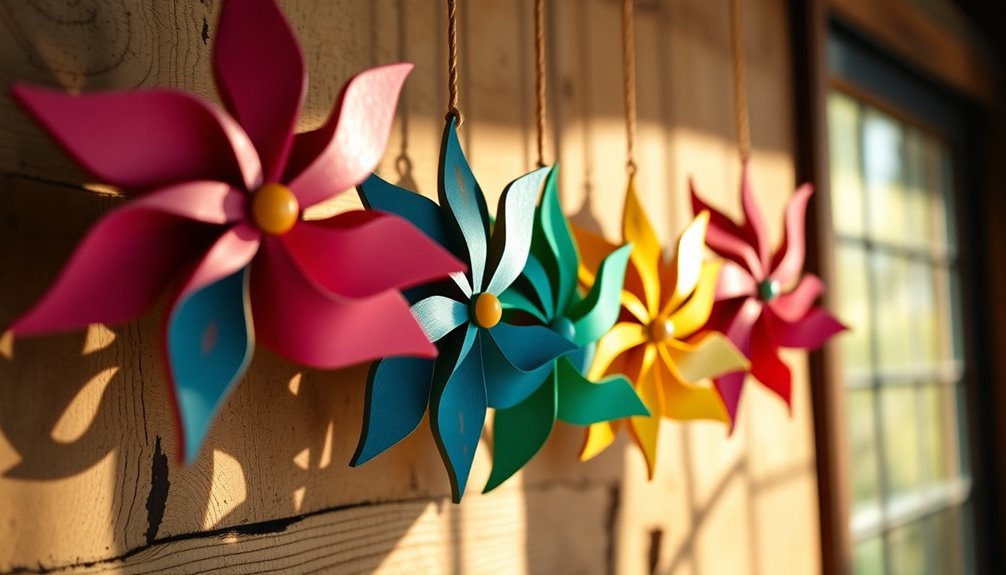
Custom windmill hangings can add a playful touch to your outdoor space or home decor. To create your own, start by gathering materials like 8-inch sublimation wind spinner blanks and infusible ink sheets. Additionally, these spinners attract and deter wildlife, enhancing both aesthetics and functionality in your garden.
Upload your chosen design, like the Tree of Life SVG, to Cricut Design Space, ensuring you mirror the design for symmetry. Once you've cut it out on a LightGrip cutting mat, bend the outer rings to create a dynamic look.
For hanging, use swivel clips and consider adding a motor for automated spinning. You can even daisy-chain multiple spinners for a stunning display.
Hang your custom windmill indoors or outdoors, and enjoy the vibrant movement it brings to your space!
Making Hexagon Patterns
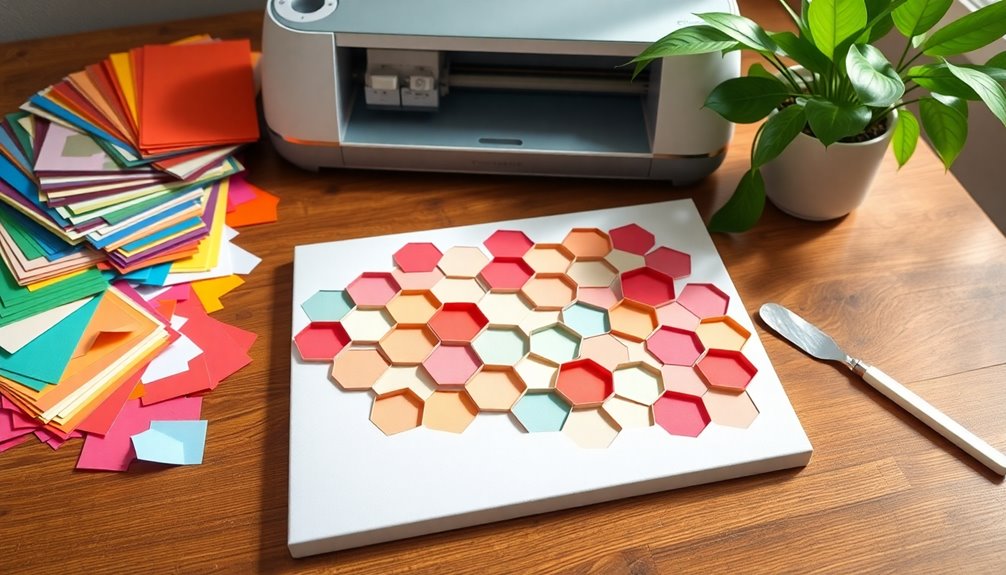
Hexagon patterns can transform your DIY wall decor into a stunning visual statement. To get started, use Cricut Design Space to cut out your hexagons. Here's how:
- Search for hexagon shapes: Add them to your canvas and customize the size to fit your design.
- Duplicate and align: Create multiple hexagons, ensuring they align perfectly with the guide lines.
- Choose the right material: Use light grip mats for paper or fabric, adjusting settings for precise cuts. Additionally, make sure to have Cricut Maker on hand, as it is essential for cutting and assembly.
Once your hexagons are cut, you can assemble them into eye-catching patterns.
Whether you choose to sew them, fold for 3D effects, or even use stencils, these geometric shapes will elevate your wall decor to the next level!
Vintage Mirror Decorations

Incorporating vintage mirrors into your DIY wall decor can add a touch of elegance and character to any space. Start by choosing antique, ornate, or tarnished mirrors from thrift stores or yard sales. Look for unique frames and intricate details that stand out.
Create a gallery wall by mixing these mirrors with other decor items, enhancing depth and interest. Use mirrors to bounce light, making your room feel larger and brighter. Variety in mirror designs can also help complement various styles in your decor.
Personalize your vintage mirrors with custom quotes using Cricut vinyl or cover imperfections for a polished look. Layer mirrors creatively and respect their historical context for added charm.
With these tips, you can effortlessly transform your walls into a stunning vintage display.
Frequently Asked Questions
What Tools Are Necessary for Cricut Wall Decor Projects?
For Cricut wall decor projects, you'll need several essential tools.
Start with a Cricut machine and various cutting blades for different materials. Get adhesive vinyl and transfer tape for applying your designs smoothly.
Don't forget weeding and scraping tools to clean up your cuts. Additional accessories like strong grip mats and measuring tools will help guarantee precision.
With the right tools, you can create stunning wall art effortlessly!
Can I Use My Own Images for Designs?
Did you know that 70% of crafters prefer using personal images for their designs?
Yes, you can definitely use your own images for Cricut projects! Import formats like SVG, PNG, or JPEG into Cricut Design Space, and customize them to fit your needs.
Just make sure your image's resolution is high enough for cutting, and check that it's compatible with your chosen material.
With a little editing, you're all set to create something unique!
How Do I Clean My Cricut Machine?
To clean your Cricut machine, start by turning it off and removing any blades or tools.
Use canned air to blow out dust from every corner, and wipe surfaces with baby wipes.
Don't forget to clean under the star wheels and the blade carriage.
Finish by using a round-bristle brush for the clamps and pen adapter.
Once everything's clean, let it dry and buff with a microfiber cloth for a polished look.
What Is the Best Adhesive for Vinyl Wall Decor?
Did you know that 68% of renters prefer removable wall decor?
For vinyl wall decor, standard adhesive vinyl is often your best choice. It adheres well to smooth surfaces, making it easy to apply and remove without damaging your walls.
If you're dealing with textured surfaces, consider textured substrates for better adhesion. For low-energy surfaces, extreme tack vinyl offers superior strength.
Always choose the adhesive that matches your surface for the best results!
How Long Does Vinyl Wall Art Last?
Vinyl wall art typically lasts between 10 to 20 years, depending on several factors.
If you use high-quality materials and install them properly, you could even exceed that lifespan.
Environmental conditions, such as humidity and sunlight, can affect durability, so be mindful of where you place your decor.
Regular maintenance, like cleaning gently and avoiding harsh chemicals, will also help prolong its life, especially in high-traffic areas.
Conclusion
Now that you've revealed the secrets to jaw-dropping wall decor with your Cricut, your walls are destined to become the envy of everyone who steps into your home! With just a few materials and a sprinkle of creativity, you can transform any dull space into a vibrant masterpiece. So grab your Cricut, set free your inner artist, and watch as your friends gasp in awe at your incredible DIY creations. Who knew wall decor could turn you into a design legend?