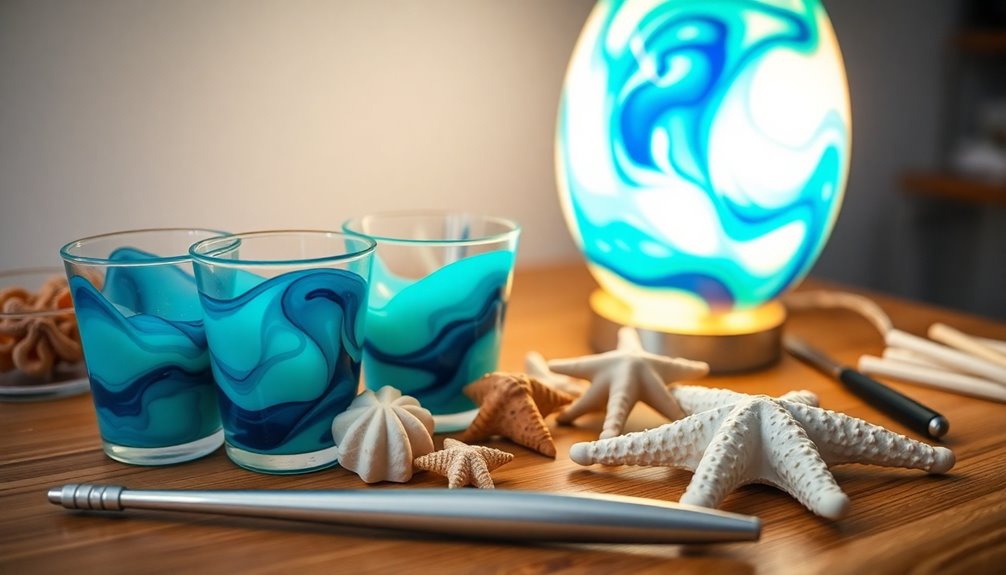
Crafting your own ocean-themed lamps is a fun way to bring a piece of the sea into your space. Start by creating molds with foam for unique shapes, like waves or marine silhouettes. Once your mold's ready, mix epoxy carefully, ensuring to follow ratio instructions to avoid air bubbles. Enhance your design with seashells, sand, and oceanic colors, like blues and greens. Finish by polishing your lamp to a smooth shine and secure it on a sturdy base. With these basic steps, you'll create a stunning piece. Keep exploring for more tips to elevate your crafting experience!
Key Takeaways
- Create a foam mold by cutting shapes that mimic ocean waves or marine silhouettes for a thematic lamp design.
- Choose a color palette of blues, greens, and whites, and incorporate natural elements like seashells and driftwood for added texture.
- Mix epoxy correctly by following the resin to hardener ratio, stirring gently to prevent air bubbles, and allowing it to cure properly.
- Polish the lamp's surface with sandpaper and apply a protective epoxy layer for enhanced shine and durability.
- Assemble a sturdy wooden base with a groove for LED wires to ensure a neat and safe finish for your lamp.
Mold Creation Techniques
When you're ready to create your ocean-themed lamp, mold creation techniques play an essential role in achieving your vision.
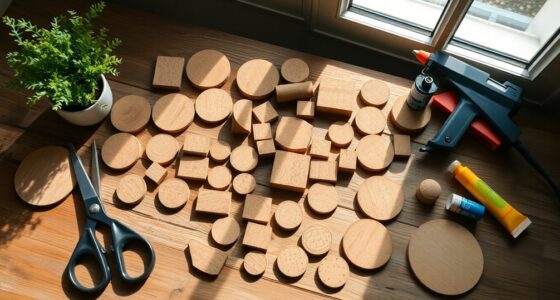
Start with 3mm foam for easy shaping, allowing you to customize molds to fit your design. Measure and cut foam sheets into your desired size and shape—be it square, rectangular, or round—to align with your creative concept.
To guarantee stability during the epoxy pouring process, securely bond foam panels together using silicone caulk.
Don't hesitate to experiment with different mold shapes like wave-like curves or marine-inspired silhouettes to enhance the ocean theme.
Finally, make sure your mold is smooth and well-fitted to prevent leaks or imperfections in the final product, ensuring a stunning lamp you'll love.
Applying Epoxy for Finish
After you've created your molds, it's time to apply epoxy for a polished finish on your ocean-themed lamp.
Start by applying a thin layer of epoxy on the wood surface. This helps prevent air bubbles and enhances the lamp's smoothness and shine.
Always follow the resin to hardener ratio specified in the epoxy instructions for ideal curing and durability. Stir the mixture gently for about five minutes to allow trapped bubbles to dissipate.
Once poured into the mold, use a heat gun or torch briefly to eliminate surface bubbles and achieve a flawless finish.
Finally, let the epoxy cure fully according to the manufacturer's guidelines before sanding or polishing for that professional look.
Personalizing Your Lamp Design

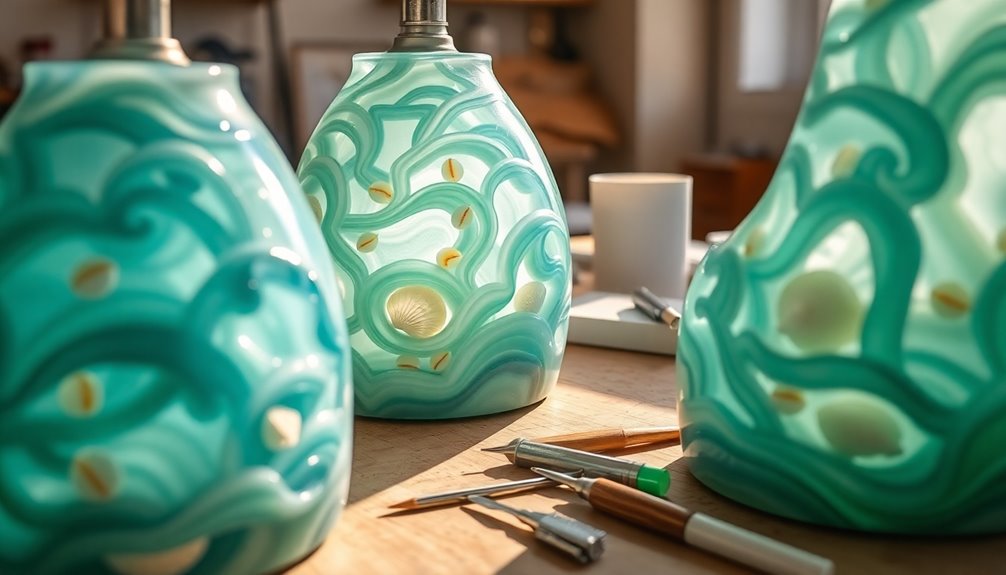
To create a lamp that truly reflects your personal style and passion for the ocean, start by selecting decorative items that resonate with the theme.
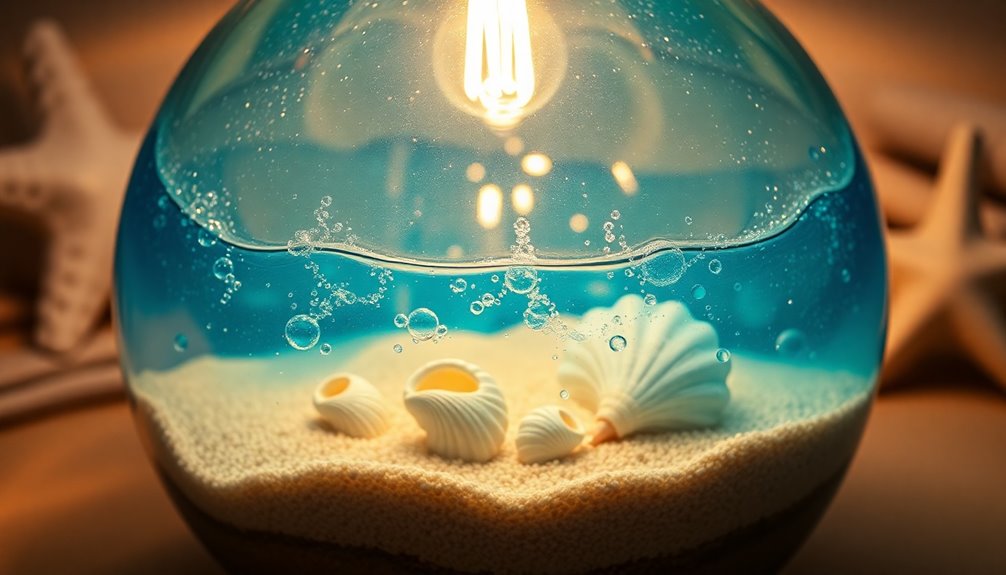
Think about incorporating seashells, sand, or driftwood to craft a unique narrative. Colors like blues, greens, and whites can evoke the essence of the sea—use materials or pigments that capture these hues.
Enhance the oceanic vibe by adding natural elements like dried seaweed or coral for texture. Personalize the shape of your lamp; consider mimicking waves or marine creatures with your foam mold.
Finally, opt for LED lighting that mimics the soothing ambiance of underwater light, making your lamp a stunning focal point while celebrating your love for the ocean.
Mixing Epoxy Correctly
Creating an ocean-themed lamp isn't just about the design; the materials you use play a significant role in achieving the ideal look.
To start, always maintain the correct resin to hardener ratio as specified in your epoxy instructions. This guarantees maximum curing and performance. Use a measuring cup with clear markings for accuracy, and stir the mixture thoroughly for about 5 minutes for a uniform consistency.
This step helps release trapped air bubbles, which can mar your finish. After stirring, let the mixture rest briefly—this allows larger bubbles to dissipate naturally.
Remember to avoid rapid stirring, as it introduces more air bubbles, compromising the clarity of your beautiful ocean-themed lamp.
Happy crafting!
Adding Finishing Touches

As you finalize your ocean-themed lamp, adding those finishing touches can greatly elevate its overall appearance and functionality.
Start by polishing the lamp with sandpaper, moving from 150 grit up to 3,000 grit for a smooth, scratch-free surface. Next, apply a polishing compound or a protective epoxy layer to enhance shine and durability.
Don't forget to create a sturdy wooden base with a carved groove for your LED wires, ensuring everything looks neat. Conduct a thorough final inspection to confirm all parts are securely bonded and meet your aesthetic standards.
Finally, consider adding a clear coat over the polished surface for added longevity and resistance to wear. Your lamp will be ready to shine brightly!
Frequently Asked Questions
What Materials Are Best for Creating Ocean-Themed Lamp Molds?
When you're thinking about materials for ocean-themed lamp molds, consider silicone for its flexibility and ease of use.
You'll want to choose durable plastic or metal for sturdiness, especially if you're creating intricate designs.
If you're aiming for a more natural look, resin can provide a beautiful finish.
Don't forget about decorative elements like shells or sand, which can add that perfect ocean touch when embedded in your mold.
Happy crafting!
How Long Does the Epoxy Take to Cure Completely?
The curing time for epoxy can vary, but it generally takes about 24 to 72 hours to fully cure.
You'll want to check the specific product instructions, as some formulations might cure faster or slower.
Make sure you keep the epoxy in a well-ventilated area and maintain the right temperature, as both can affect the curing process.
Patience is key, so don't rush it; your project will turn out better if you wait!
Can I Use Real Shells in My Lamp Design?
Imagine the gentle sound of waves as you create your masterpiece.
Yes, you can use real shells in your lamp design! They'll add a touch of the beach right into your home. Just make sure they're clean and dry before you incorporate them.
The beauty of nature can really elevate your lamp's charm. Let your creativity flow, and your lamp will shine like a beacon of coastal beauty.
Immerse yourself in your project with enthusiasm!
What Type of Base Is Recommended for Ocean-Themed Lamps?
When choosing a base for your ocean-themed lamp, consider materials that evoke a coastal vibe.
You might opt for driftwood, which adds a natural touch, or a glass base that mimics the sea's shimmering surface.
If you're feeling creative, a ceramic base painted in ocean hues can bring your design to life.
Make sure the base is sturdy enough to support your lamp, ensuring it remains both functional and beautiful in your space.
How Do I Safely Light My Lamp With Electrical Components?
To safely light your lamp with electrical components, start by unplugging the lamp before handling wires.
Use insulated tools to avoid electric shock. Connect wires securely, matching colors: black to black and white to white. Confirm the bulb's wattage doesn't exceed the socket's rating.
After assembling, double-check connections and test with a multimeter if possible. Finally, plug it in and switch it on, keeping an eye out for any unusual smells or flickers.
Conclusion
Now that you've crafted your ocean-themed lamp, it's like having a piece of the beach in your home! Each step—mold creation, mixing epoxy, and personalizing your design—has brought your vision to life. Don't forget those finishing touches to make it truly yours. Turn it on and let the soft glow remind you of sunlit waves and tranquil shores. Enjoy your creation and share it with friends; they'll be inspired to plunge into their own DIY projects!