
To make DIY concrete planters in ice cube trays, start by gathering your materials like cement, gravel, water, and sturdy trays made from silicone or plastic. Mix the concrete to a thick, pancake batter consistency and pour it into clean trays, smoothening the surface and adding drainage holes if needed. Let the concrete cure for several days before gently removing the planters and finishing with decoration or sealing. Keep going to discover tips for perfecting your project.
Key Takeaways
- Choose sturdy, mold-compatible ice cube trays made from silicone, plastic, or metal for easy planter removal.
- Prepare a thick, well-mixed concrete with proper water-to-cement ratio for durable planters.
- Pour concrete evenly into trays, tapping gently to remove air bubbles and ensure smooth surfaces.
- Cure the concrete by keeping molds moist and undisturbed for several days to achieve optimal strength.
- Carefully loosen and remove planters, then drill drainage holes and finish edges for usability and aesthetics.
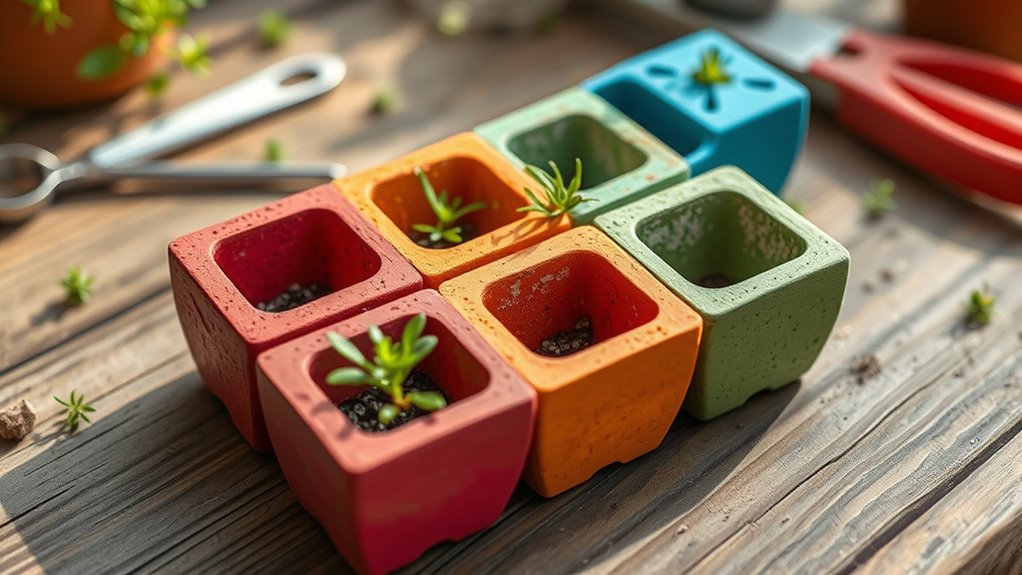
Gathering Your Materials and Tools
Before you begin making your concrete planters, it’s essential to gather all the necessary materials and tools. Material safety should be your top priority, so verify you have gloves, a mask, and eye protection to avoid concrete dust and chemical exposure. Choose storage solutions like plastic containers or buckets to mix and hold your concrete safely. Keep your tools organized—spatulas, stirring sticks, and molds—so you don’t waste time searching. Double-check that you have enough materials, including cement, gravel, and water, to complete your project without interruptions. Proper preparation helps you work efficiently and safely. Having everything ready beforehand streamlines the process and minimizes hazards, keeping you focused on creating your unique concrete planters. Additionally, understanding the essential oils for various health benefits can help you incorporate natural elements into your gardening space if desired.
Preparing the Concrete Mix
How do you guarantee your concrete mix is just right for your planters? First, focus on achieving the right mix consistency. You want a mixture that’s neither too wet nor too dry, resembling thick pancake batter. Use a measuring container to add water gradually, mixing thoroughly each time. Proper consistency ensures your planters hold their shape and avoid cracks. Remember to follow safety precautions: wear gloves, a mask, and eye protection when handling concrete to prevent skin irritation and inhalation of dust. Mix the dry ingredients well before adding water, then combine until smooth. Avoid overmixing, which can weaken the concrete. Additionally, understanding the importance of toilet maintenance can help you prevent issues that might disrupt your DIY projects. With the right consistency and safety measures, you’ll create sturdy, beautiful planters that last.
Selecting and Preparing Ice Cube Trays
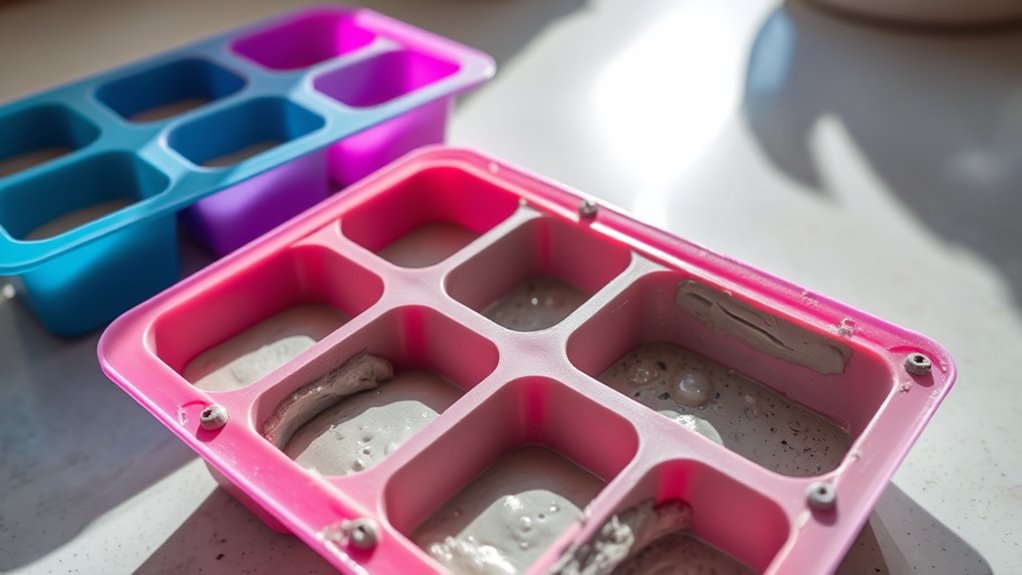
Start by choosing sturdy ice cube trays that won’t crack easily under weight. Make sure to clean them thoroughly to remove any dirt or residue before use. Also, pick trays in sizes that suit your planters, whether small or large. For added durability, consider selecting high-quality materials that can withstand the weight of wet concrete.
Choosing Durable Trays
Choosing the right ice cube trays is crucial to guarantee your concrete planters turn out durable and well-shaped. You want trays made from materials with high durability to withstand the concrete’s weight and weight fluctuations. The tray material affects the tray’s flexibility, ease of removal, and longevity. Look for trays made of silicone, sturdy plastic, or metal, as these often offer better material durability. Consider the following when selecting your trays:
- Flexibility of the tray material for easy demolding
- Resistance to cracking or warping over time
- Non-stick properties for smoother removal
- Compatibility with concrete’s weight and chemical properties
Selecting trays with these qualities helps ensure your planters maintain their shape and last longer.
Cleaning Thoroughly Before Use
Before using ice cube trays for your concrete planters, it’s essential to clean them thoroughly to remove any dust, residues, or manufacturing oils that could affect the concrete’s adhesion and finish. Proper mold hygiene ensures no contaminants interfere with the curing process or create imperfections on the surface. To achieve this, wash the trays with warm water and mild soap, scrubbing away any residue that may have accumulated during production or transportation. Rinse well to ensure all soap and residues are gone, then dry completely. This step helps prevent any unwanted substances from mixing into your concrete mix. Clean trays promote better mold release, smoother finishes, and a more professional-looking final product. Taking the time for residue removal now saves you trouble later. Additionally, ensuring your mold has color accuracy can help you better assess the final appearance once the concrete has cured.
Selecting Appropriate Sizes
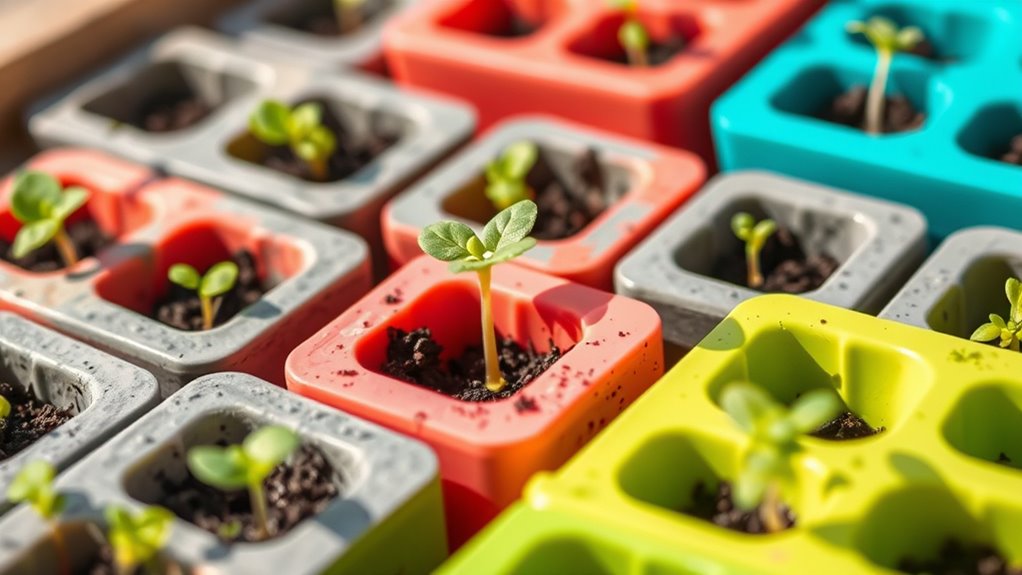
Selecting the right ice cube trays is essential for creating well-sized concrete planters that suit your space and style. Consider size considerations to make certain your planters fit comfortably on shelves or windowsills. Scale selection matters—small trays produce delicate planters, while larger trays create statement pieces. Think about the plants you want to grow and match the tray size accordingly. Incorporate farmhouse-inspired elements to enhance the overall aesthetic of your planters and complement your decor.
- Choose trays with sturdy, thick walls for durability
- Opt for trays with drainage holes or plan to add them later
- Consider shapes that complement your decor
- Ensure the trays are easy to release the cured concrete from
Balancing these factors helps you pick trays that result in beautiful, proportionate planters aligned with your design goals.
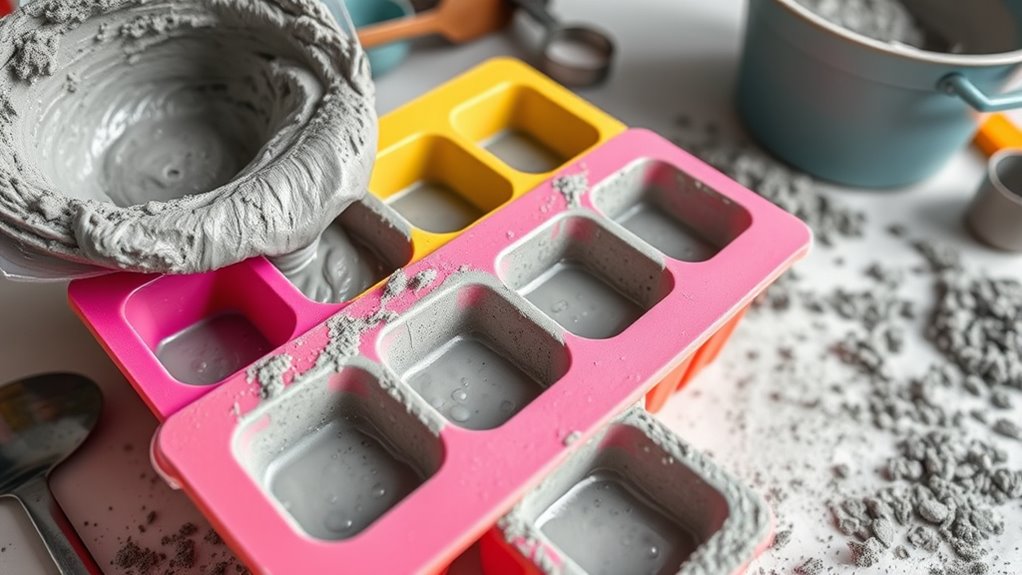
Pouring Concrete Into the Trays
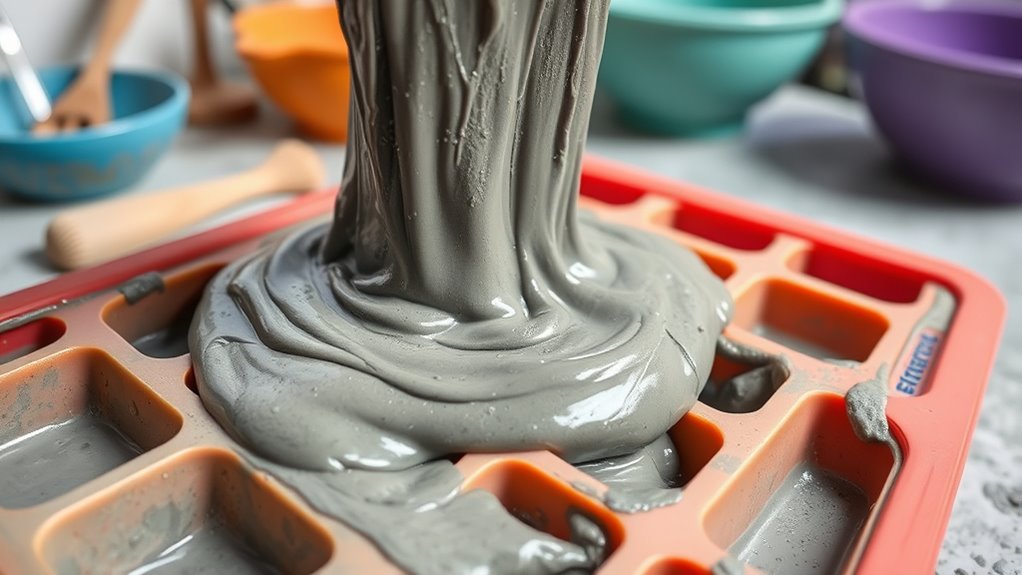
Once your concrete mixture is ready, carefully pour it into the trays, making sure you fill each section evenly. As you work, consider the color options available to customize your planters—adding pigments can create vibrant or subtle hues. Pay attention to the mold shapes, as the design of your ice cube trays influences the final look of your planters. Use a spatula or stick to gently spread the concrete, smoothing the surface and filling all corners thoroughly. Avoid overfilling to prevent spills or excess on the edges. Take your time to ensure each compartment is filled uniformly for consistent results. Once filled, gently tap the trays on a surface to release air bubbles, which helps achieve a smooth, professional finish. Incorporating diverse genres such as fantasy or romance in your project can inspire unique design elements.
Letting the Concrete Set and Cure
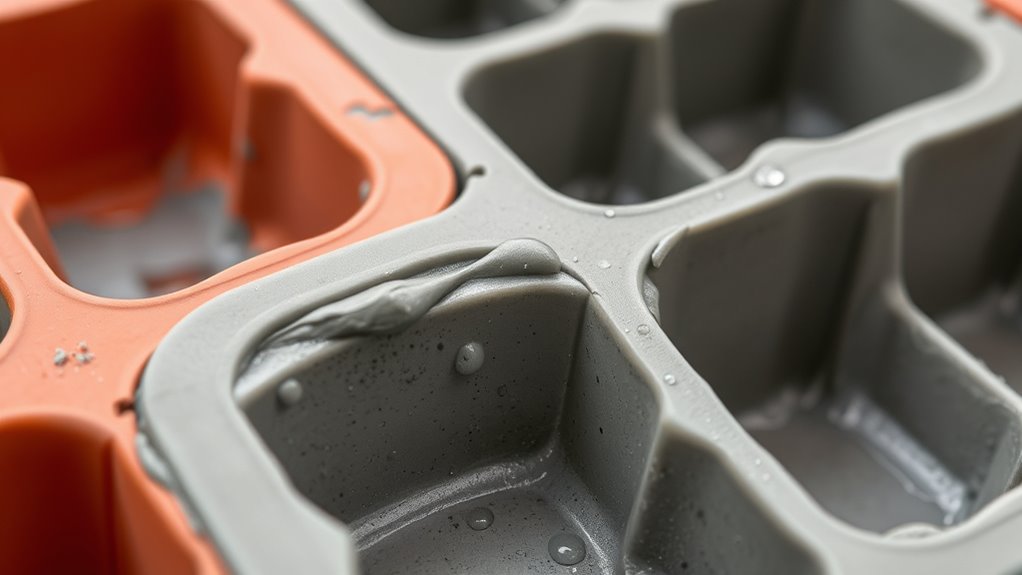
After pouring the concrete into your molds, it is essential to let it set and cure properly. This ensures the concrete hardening process completes, resulting in durable planters. During the curing process, avoid disturbing the molds to prevent cracks or imperfections. Keep the concrete moist by covering it with plastic or damp cloths, which helps maintain proper hydration. Temperature plays a role; aim for a stable, moderate climate to prevent rapid drying or cracking. Patience is key—curing may take several days to reach full strength. Proper curing enhances the concrete’s durability and appearance, making sure your planters last. Remember, rushing this step can compromise the strength and aesthetics of your finished project. Incorporating sound vibrations during curing can even promote cellular regeneration in some healing practices.
- Maintain consistent moisture levels
- Keep the molds in a stable environment
- Avoid direct sunlight or extreme temperatures
- Allow sufficient curing time for maximum strength
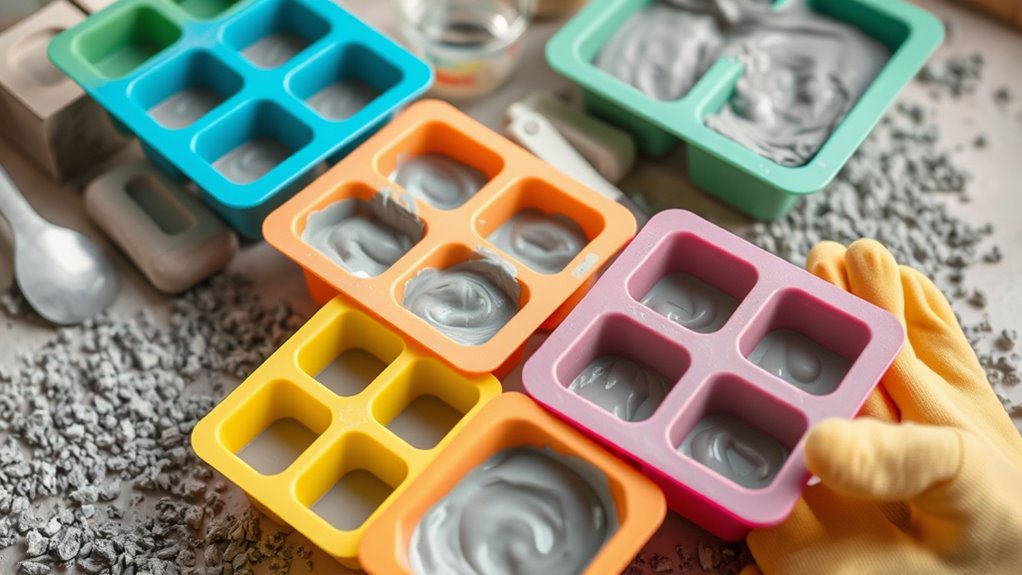
Removing the Planters From the Trays

Start by gently loosening the edges of your concrete planter to prevent cracks. Once it’s loosened, carefully lift it out of the tray, supporting its weight. Taking your time guarantees a clean removal without damaging your new creation. To ensure the best finish and avoid damage, consider proper surface preparation before removal.
Loosen the Edges
To effectively loosen the edges and free your concrete planters from the trays, gently run a rubber spatula or a thin, flat tool around the perimeter. This helps encourage edge flexibility, reducing the risk of cracking. Be mindful of tray expansion; as the concrete slightly contracts during curing, gentle pressure prevents damage. Additionally, dog names can sometimes inspire creative ideas for labeling or personalized touches on your planters.
- Use light, steady pressure to avoid cracking the concrete.
- Work gradually around the entire edge for even separation.
- Avoid forcing the planter if resistance persists.
- Allow a few minutes for the concrete to loosen naturally.
Taking your time ensures the edges stay intact and the planters come out smoothly. Patience and gentle handling are key to a successful, damage-free removal.
Carefully Extract the Planter
Gently grasp the edges of the planter and slowly lift it away from the tray. Take your time to avoid cracking the concrete. If resistance occurs, gently wiggle the planter to loosen it, making sure you don’t damage the surface sealing or the planter’s shape. Check that the plant drainage holes are clear, preventing water from pooling and causing root rot. Once free, inspect the planter for any rough edges or imperfections and smooth them with fine sandpaper if needed. Properly removing the planter helps maintain its integrity and ensures it will hold soil and plants effectively. Careful extraction minimizes damage, making the planter ready for your next steps in planting or sealing for added durability. Additionally, understanding the benefits of automation in business can inspire innovative ways to enhance your gardening projects with modern tools.
Adding Drainage and Finishing Touches
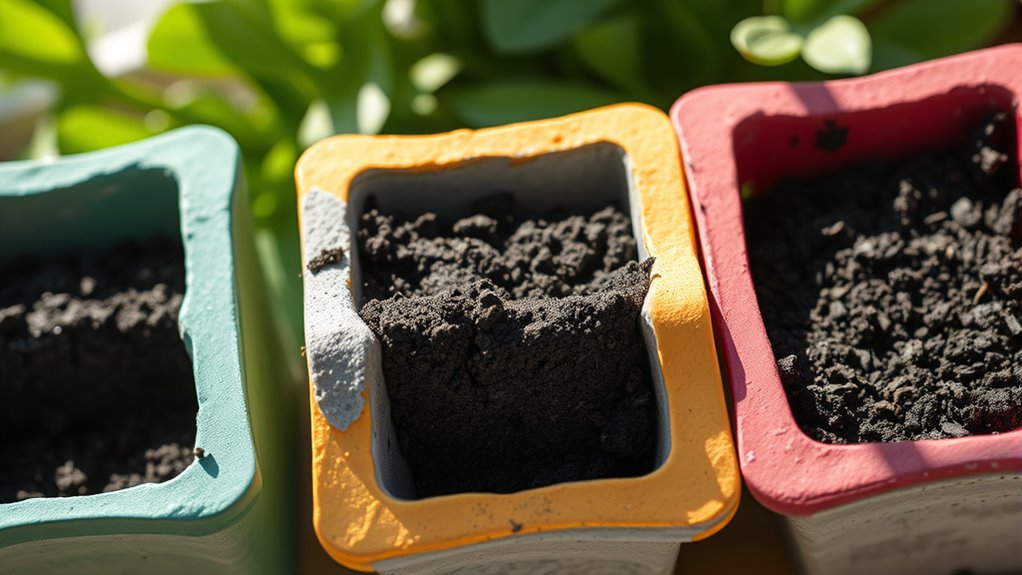
Have you considered how proper drainage can prevent water from pooling and damaging your concrete planter? Adding drainage is essential to keep your plants healthy and extend the planter’s lifespan. To achieve this, you can drill small holes at the bottom of the ice cube tray or insert a layer of gravel before pouring the concrete. Finishing touches, like smoothing rough edges or sealing the surface, improve both appearance and durability.
- Drill drainage holes before pouring
- Insert a layer of gravel for extra drainage
- Sand down rough edges for a clean look
- Apply a concrete sealer for protection
These steps ensure your planter functions well and looks polished, making your DIY project truly stand out.
Decorating and Personalizing Your Planters
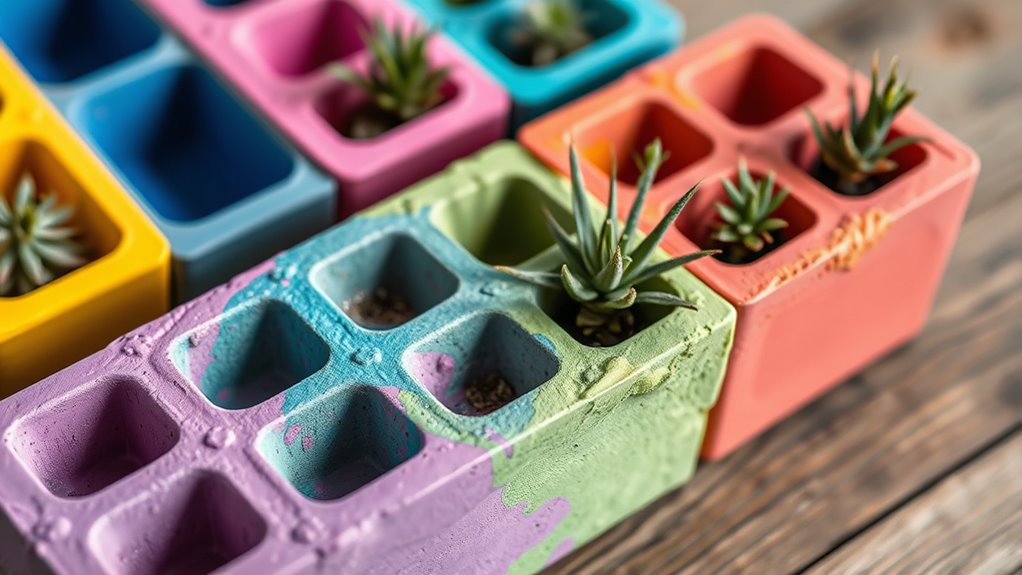
Adding personal touches is the best way to make your concrete planters truly unique. Start by choosing a color scheme that complements your space or reflects your personality. You can paint the exterior with acrylic or chalk paint, or add decorative accents like patterns, stencils, or textured designs. Consider using metallic or bold colors for a modern look, or softer tones for a subtle, elegant feel. Embellishments like mosaic tiles, embedded stones, or even small figurines can add character and charm. You might also experiment with different finishes, such as matte, gloss, or textured surfaces, to enhance your planters’ appearance. Personalizing your planters with these decorative accents transforms simple ice cube tray molds into stylish, one-of-a-kind garden accessories.
Tips for Maintaining Your Concrete Planters
To keep your concrete planters looking their best and guarantee they last, regular maintenance is essential. Proper care helps prevent cracks and keeps plants healthy. Focus on improving soil drainage to avoid water buildup, which can damage the concrete. Choose plants suited for your planter’s size and climate, and avoid overwatering. Clean your planters periodically to remove dirt and algae. Consider sealing the concrete to reduce moisture absorption and extend durability. Inspect for cracks or chips and repair them promptly. Additionally, you can reposition planters to avoid exposure to harsh weather. Maintaining good soil drainage and selecting the right plants are key to prolonging your planters’ lifespan and keeping them attractive. Regular upkeep ensures your DIY creations stay vibrant and functional.
Frequently Asked Questions
How Thick Should the Concrete Walls Be for Durability?
For durability, aim for concrete walls about 1/4 to 1/2 inch thick. To enhance strength, incorporate concrete reinforcement like mesh or rebar, especially for larger planters. Proper curing techniques, such as keeping the concrete moist and covered for at least a week, guarantee maximum strength and reduce cracking. This combination helps your DIY planters withstand weather and daily use, making them last longer and stay looking great.
Can I Customize the Shape of My Ice Cube Tray Planters?
You can definitely customize the shape of your ice cube tray planters by choosing custom tray designs that suit your style. This allows you to create unique, eye-catching planters. Additionally, you can add decorative finishes like paint or stains to enhance their appearance. Just guarantee you select trays that are sturdy enough for concrete molding and handle the finishing touches well, giving your planters a personalized and attractive look.
What Safety Precautions Should I Take During Mixing and Pouring?
Mixing and pouring concrete feels like wielding a force of nature, so safety’s vital! Always wear protective gear like gloves, masks, and goggles to shield yourself from dust and splashes. Make certain ample ventilation safety by working outdoors or in a well-ventilated area to avoid inhaling harmful fumes. Take your time, follow instructions carefully, and you’ll craft beautiful planters without risking your health. Safety makes the process as enjoyable as the final product!
How Do I Prevent Air Bubbles in the Concrete?
To prevent air bubbles in your concrete, focus on air bubble elimination techniques like pouring slowly and tapping the molds gently. Use surface finishing techniques such as smoothing the surface with a trowel right after pouring. Vibrating the mold lightly can also help release trapped air. These steps guarantee a smooth, bubble-free finish, giving your concrete a professional look and stronger structural integrity.
Are There Eco-Friendly Concrete Options Suitable for Planters?
Did you know that eco-friendly concrete options are gaining popularity? You can choose biodegradable alternatives or recycled material options for your planters, making them more sustainable. These eco-friendly concretes reduce environmental impact and often have similar durability to traditional mixes. So, when selecting concrete for your project, look for these sustainable options to enjoy a greener, more responsible gardening experience.
Conclusion
Creating your own concrete planters in ice cube trays is a fun, affordable project that adds a unique touch to your home. Did you know that concrete planters can last up to 50 years with proper care? By following these simple steps, you’ll not only craft charming accents but also enjoy the satisfaction of making something yourself. So, get creative and watch your DIY planters transform your space into a personalized green oasis!