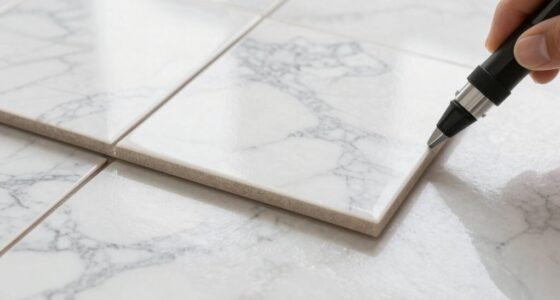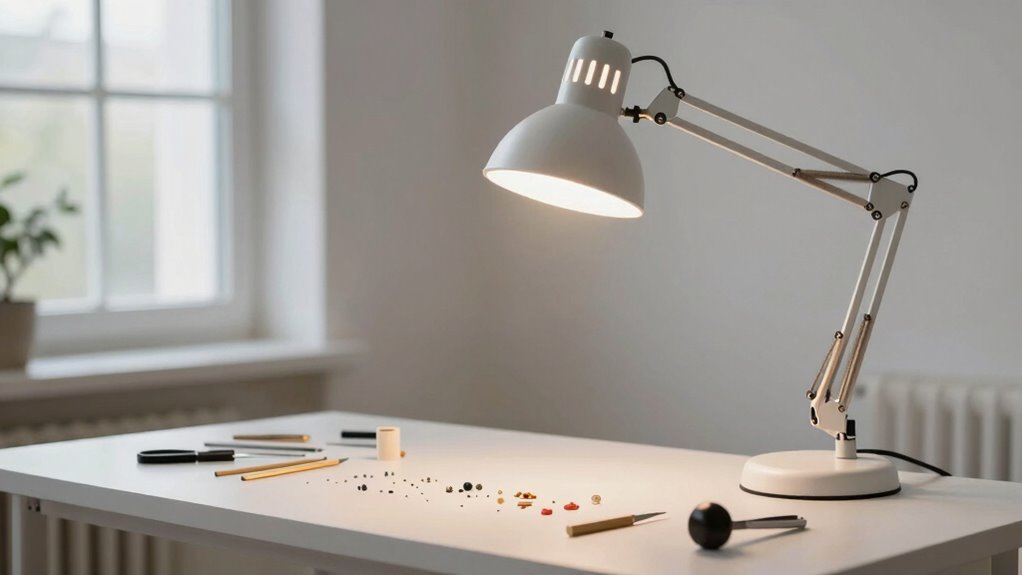

To set up better lighting for precision crafting, position your main light slightly above and to the side to reduce shadows and glare. Use daylight-balanced bulbs around 5000K to 6500K for true color rendering. Incorporate diffusers to soften harsh reflections and add adjustable task lights for detailed work. Regularly check the setup from different angles to guarantee even illumination. Keep experimenting with placement and temperature to optimize your workspace and improve your craft.

Get furniture and decor delivered free with Prime
- Fast, free delivery on millions of items
- Prime Video, Amazon Music and more included
- Member-only deals all year
Key Takeaways
- Use daylight-balanced bulbs (5000K-6500K) for true color rendering and reduced eye strain.
- Position the main light slightly above and to the side to minimize shadows and glare.
- Incorporate adjustable task lights for detailed work and better control of illumination.
- Diffuse light sources with covers or softboxes to create even, shadow-free lighting.
- Regularly check and adjust light placement and temperature for consistent, comfortable workspace illumination.
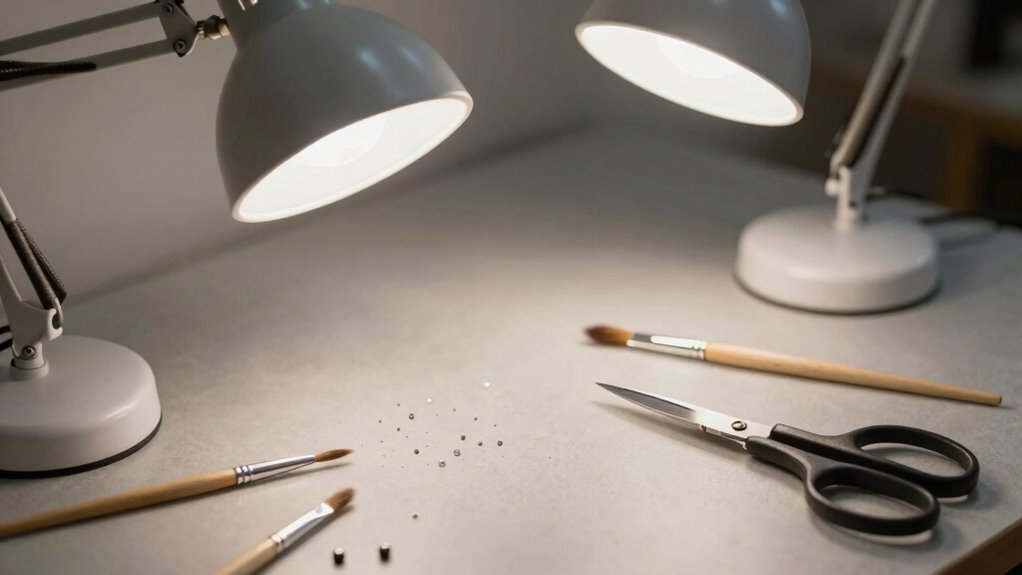
Have you ever struggled to see fine details clearly while crafting? If so, you’re not alone. Proper lighting makes a huge difference in the quality of your work and your comfort during long sessions. The key to effective lighting is understanding how to optimize both color temperature and light positioning. These elements work together to reduce eye strain and improve your ability to distinguish subtle nuances in color and texture.
Proper lighting enhances detail visibility, reduces eye strain, and improves your crafting precision and comfort.
First, consider the color temperature of your light sources. Light temperature, measured in Kelvin (K), influences how colors appear and how comfortable your eyes feel. For crafting tasks that require precision, aim for a neutral white or daylight-balanced light, usually around 5000K to 6500K. This range closely mimics natural daylight, offering true-to-life color rendering and minimizing distortions or shadows that can mislead your perception. Avoid warm-toned lights below 3000K for detailed work, as they tend to cast a yellowish hue that can obscure fine details. Conversely, too cool or bluish lighting above 6500K can feel harsh and cause eye fatigue over time. Additionally, consider the lighting environment to ensure consistent illumination across your workspace. Incorporating appropriate light bulbs with the correct Kelvin rating can also enhance your overall setup.
Next, pay attention to how you position your lights. Proper light positioning is *vital* for reducing shadows and glare that can hinder your view. Place your main light source at an angle that illuminates your workspace evenly, ideally slightly above and to the side of your craft area. This setup prevents direct glare into your eyes and minimizes shadows cast by your hands or tools. If you’re working on intricate, detailed projects, consider adding task lights that are adjustable and directed precisely where you need more illumination. These smaller lights should be positioned to complement your main source, filling in shadows and highlighting fine details without creating new ones. Additionally, diffused lighting can help soften shadows and create a more uniform illumination across your workspace, making it easier to see fine details without distraction. Using light sources with diffusers can also help prevent harsh reflections that may distort what you see. Keep in mind that the overall lighting should be consistent, so avoid overly bright or dim areas that strain your eyes or cause you to squint. Regularly check your setup from different angles to ensure even illumination. Adjusting light positioning and color temperature as needed can make a noticeable difference in how well you see and work on detailed projects. When your workspace is lit correctly, you’ll find it easier to focus, make precise cuts, and see the true colors of your materials, leading to better results and less fatigue. Understanding lighting fundamentals can significantly improve your crafting experience.
daylight balanced LED craft light bulbs 5000K 6500K
As an affiliate, we earn on qualifying purchases.
As an affiliate, we earn on qualifying purchases.
Frequently Asked Questions
What Are the Best Color Temperatures for Crafting Lighting?
For crafting, you should aim for a color temperature between 5000K and 6500K. This range offers bright, neutral white light that enhances lighting accuracy, making it easier to see fine details and true colors. Cooler temperatures, around 6500K, mimic daylight and are ideal for precision work, while warmer tones can create a cozy atmosphere but may distort color perception. Choose the right temperature to improve your crafting accuracy and comfort.
How Do I Prevent Glare on My Work Surface?
Imagine a soft glow gently wrapping your workspace, avoiding harsh flashes that create glare. To prevent glare on your work surface, use diffused lighting, like lamps with shades or adjustable fixtures, focusing on glare reduction. Position lights at an angle rather than directly overhead, ensuring even surface illumination. This setup minimizes reflections, reduces eye strain, and enhances your precision, making crafting both easier and more enjoyable.
Can Natural Light Be Effectively Incorporated Into My Setup?
Yes, you can effectively incorporate natural light into your setup. Position your workspace near windows to maximize daylight, but use LED strips with light diffusers to soften harsh shadows and reduce glare. Combining natural light with LED lighting creates a balanced, consistent environment, ideal for precision crafting. Adjust curtains or blinds as needed to control sunlight intensity, ensuring your workspace remains well-lit and comfortable throughout your project.
What Are Affordable Lighting Options for Beginners?
You can start with affordable lighting options like LED strips and adjustable lamps. LED strips are easy to install and provide consistent, bright light across your workspace, perfect for detailed work. Adjustable lamps allow you to direct light exactly where you need it, reducing shadows and improving precision. Both options are budget-friendly, versatile, and can be easily integrated into your crafting setup, helping you achieve better lighting without breaking the bank.
How Often Should I Replace or Upgrade My Craft Lighting?
You should replace or upgrade your craft lighting every 1-2 years, depending on usage, to guarantee peak brightness and color accuracy. For example, a hobbyist who notices dimmer light or color shifts might need to upgrade sooner. Regular lighting maintenance, like cleaning bulbs and checking connections, extends lifespan. Store unused lights properly in a cool, dry place, following storage tips, to preserve their quality and delay the need for replacement.
Conclusion
By perfecting your lighting setup, you illuminate not just your workspace but also the path to craftsmanship mastery. Think of your lighting as the silent conductor of your creative symphony—guiding every detail with clarity and precision. When you invest in the right illumination, you don’t just see your work better; you elevate it. Remember, in the pursuit of excellence, good lighting isn’t just an accessory—it’s the stage upon which brilliance is born.
Halloween Picks
halloween
As an affiliate, we earn on qualifying purchases.