
To cut plastic and create eco-friendly food wraps, gather tightly woven cotton or linen fabric, wash and dry it thoroughly, then melt beeswax with pine resin and jojoba oil using a double boiler. Apply the warm mixture evenly on the fabric with a brush, then cool and set the wraps flat. For tips on customizing, maintaining, and perfecting your wraps, explore more detailed steps to make your eco swaps last longer.
Key Takeaways
- Beeswax wraps are an eco-friendly alternative to plastic, reducing single-use plastic waste in food storage.
- Use tightly woven, untreated cotton or linen fabrics for better beeswax adherence and durability.
- Melt beeswax with pine resin and jojoba oil, then evenly apply to fabric for effective sealing and water resistance.
- Allow wraps to cool and set fully before testing their flexibility and sealing ability on various foods.
- Reuse and recondition wraps by gentle washing and re-melting with low heat to extend lifespan and cut plastic use.
Gathering Your Materials and Tools
Before you begin making your beeswax food wraps, it’s important to gather all the necessary materials and tools. Start with beeswax sourcing; you can buy beeswax pellets or blocks from craft stores or online suppliers. Choose fabric patterns that appeal to you—cotton works best because it’s breathable and easy to work with. Look for organic or untreated fabrics to avoid chemicals. You’ll also need a paintbrush or sponge for applying the beeswax, a grater if you’re using a block of beeswax, and parchment paper or silicone baking mats for melting and cooling. Having everything ready beforehand will make the process smoother. Proper stove safety is also essential when melting beeswax to prevent accidents or fires. Once you’ve collected these essentials, you’re all set to prepare your fabric and begin crafting eco-friendly, reusable food wraps.
Preparing the Fabric for Wrapping
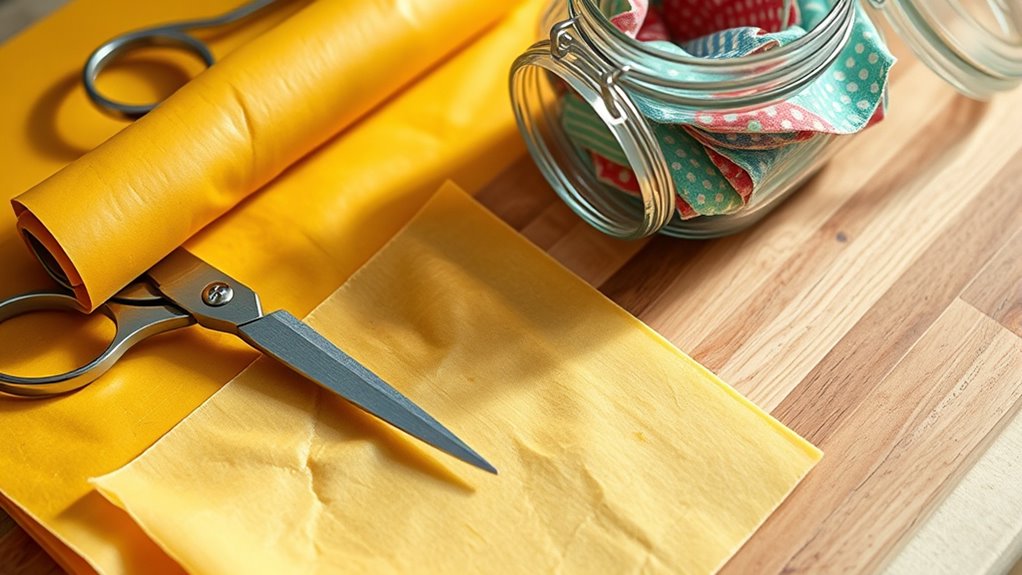
Start by choosing fabrics that are tightly woven and food-safe, like cotton or linen. Make certain to wash your fabric thoroughly with mild detergent and let it dry completely before using. Proper preparation ensures your wraps will stick well and last longer.
Choosing Suitable Fabrics
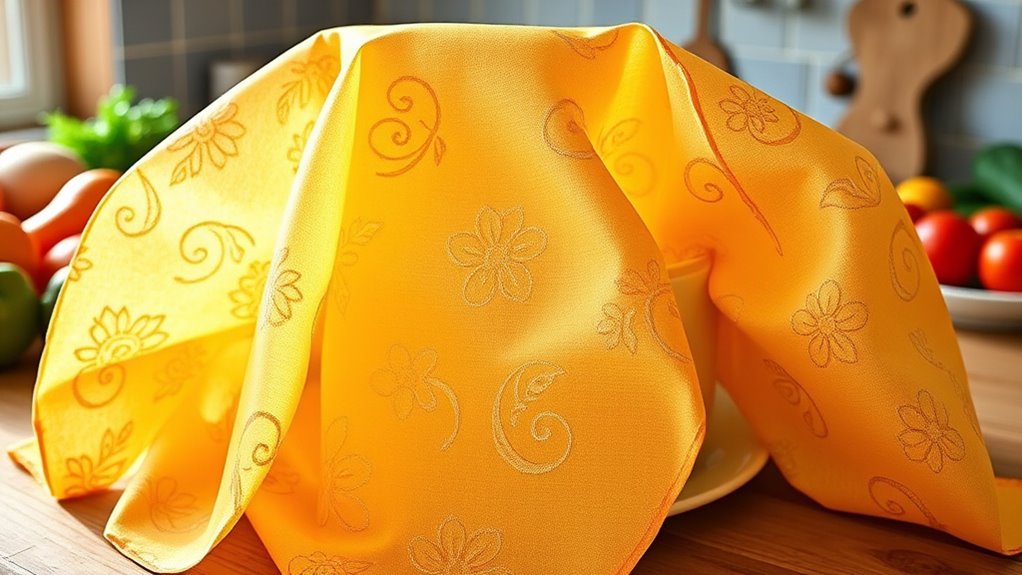
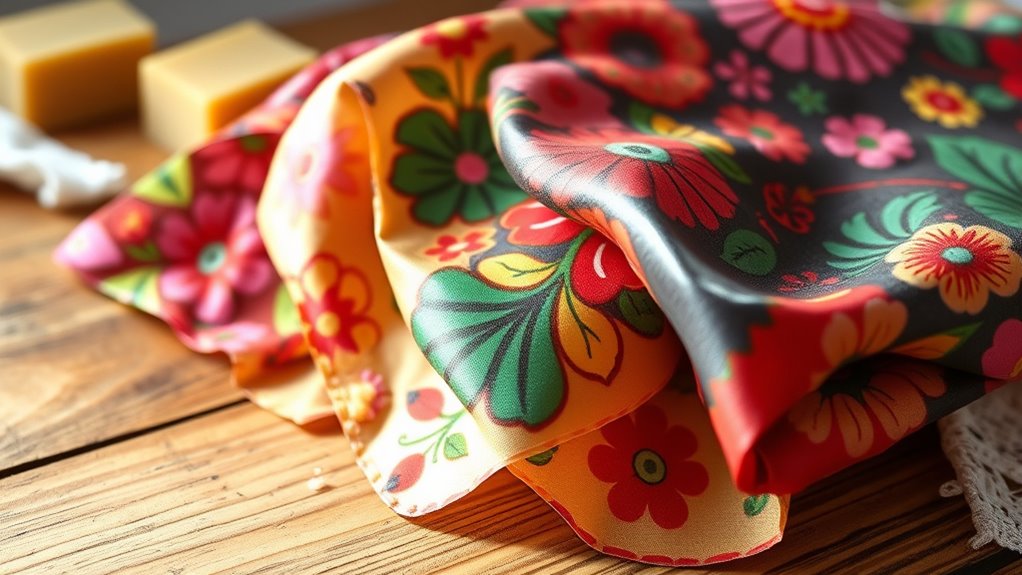
Choosing the right fabric is essential for creating effective beeswax wraps. Look for tightly woven natural fabrics like cotton or linen, as they hold the beeswax well. When selecting fabric patterns, opt for simple designs or solid colors, which distribute beeswax evenly, ensuring a better seal. Avoid fabrics with coarse or loose weaves, as they won’t hold the wax properly. Additionally, consider how you’ll store your wraps; lightweight fabrics are easier to fold and store in your wrap storage space. Bright or patterned fabrics can add a fun touch, but make sure they’re dye-free or colorfast to prevent colors from bleeding into your food. Proper fabric choice results in wraps that are durable, effective, and easy to use daily. Choosing the right fabric can also influence how well your beeswax wraps perform in terms of durability and hygiene.
Washing and Drying Properly
Washing your fabric thoroughly is essential to remove any dirt, sizing, or chemicals that could interfere with the beeswax’s adhesion. Use cold water and a gentle detergent to preserve fabric color options and avoid diminishing the beeswax scent. After washing, air-dry the fabric completely to prevent any moisture from affecting the wax coating. Proper drying ensures the wax adheres evenly and creates a reliable seal. Keep in mind that fabric type and color can influence the final look and scent of your wraps. For best results, avoid fabric with synthetic finishes or dyes that may bleed. Ensuring the fabric is clean and dry helps your DIY beeswax wraps stay fresh, effective, and visually appealing over time.
- Use gentle, natural detergents to preserve fabric color options and beeswax scent
- Avoid fabric with synthetic finishes or dyes that may bleed
- Air-dry in a well-ventilated area for thorough moisture removal
- Check that fabric is completely dry before applying beeswax
Creating the Beeswax Mixture
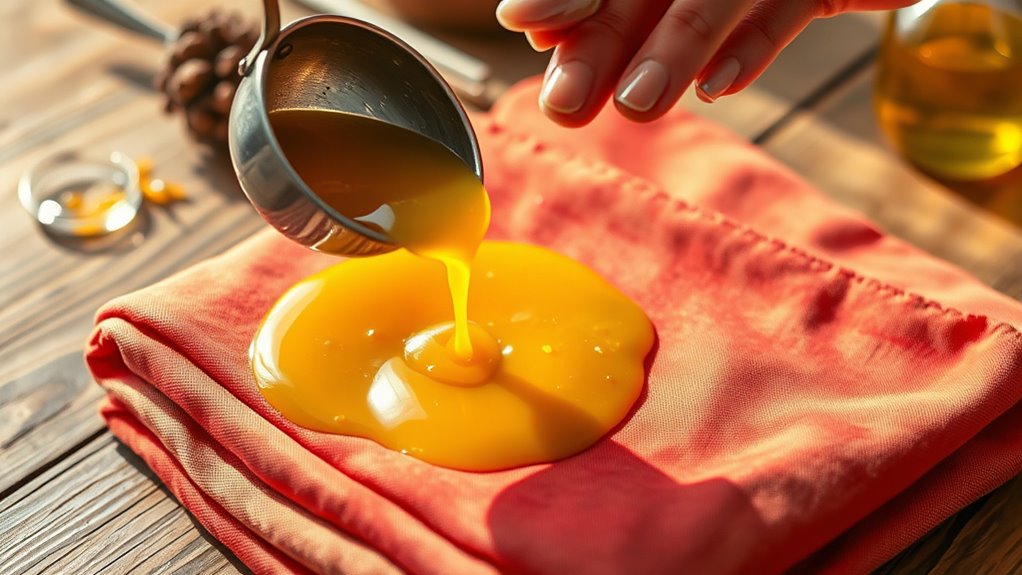
To create a smooth beeswax mixture, you need to melt the beeswax carefully without burning it. Make sure to combine the beeswax with other ingredients like pine resin and jojoba oil thoroughly. When done right, you’ll end up with a uniform, pourable mixture perfect for coating your fabric. Consent management is essential to ensure you understand how cookies and data collection are handled during the process.
Melting Beeswax Properly
How can you guarantee the beeswax melts evenly and smoothly? The key is using appropriate melting equipment, like a double boiler, to prevent direct heat that can scorch the wax. Maintaining the right beeswax consistency is also essential—avoid overheating or leaving chunks unmelting. To achieve perfect results, consider these tips:
- Use a double boiler or a heat-safe bowl over simmering water.
- Stir frequently for uniform melting and consistency.
- Keep the temperature low to prevent overheating.
- Break the beeswax into small pieces for quicker, even melting.
Combining Ingredients Effectively
Once you’ve melted the beeswax smoothly, the next step is to combine it with other ingredients to create a flexible, effective food wrap. Pay close attention to ingredient ratios; typically, use about one part beeswax to one or two parts resin and a small amount of jojoba oil for flexibility. Mixing techniques matter: stir thoroughly to ensure even distribution without clumping. Use a heat-safe container and gently blend the ingredients over low heat or in a double boiler. Stir continuously until the mixture is smooth and consistent. Proper ratios and thorough mixing help your wraps become pliable yet durable, making them easier to mold around containers. Material durability is an important factor to consider in creating a long-lasting wrap. Once mixed well, you’re ready for the next step in creating your beeswax wraps.
Achieving Uniform Mixture
Achieving a uniform mixture is essential for making effective beeswax wraps, and it starts with thorough blending of your ingredients. To guarantee the beeswax melts evenly and combines well with the other components, stir constantly during heating. This process helps you distribute beeswax properties across the mixture, promoting even coverage on fabric and enhancing fabric compatibility. Proper blending prevents clumps and ensures a smooth, consistent coating. Use a double boiler to gently melt the beeswax without overheating. Keep the mixture moving to maintain uniformity. Adjust heat as needed, and wait until all ingredients are fully incorporated before removing from heat. A well-mixed beeswax blend results in wraps that mold easily and last longer, with ideal adherence to various fabrics. Monitoring temperature is also crucial to prevent overheating, which can affect the color accuracy and overall quality of the beeswax mixture.
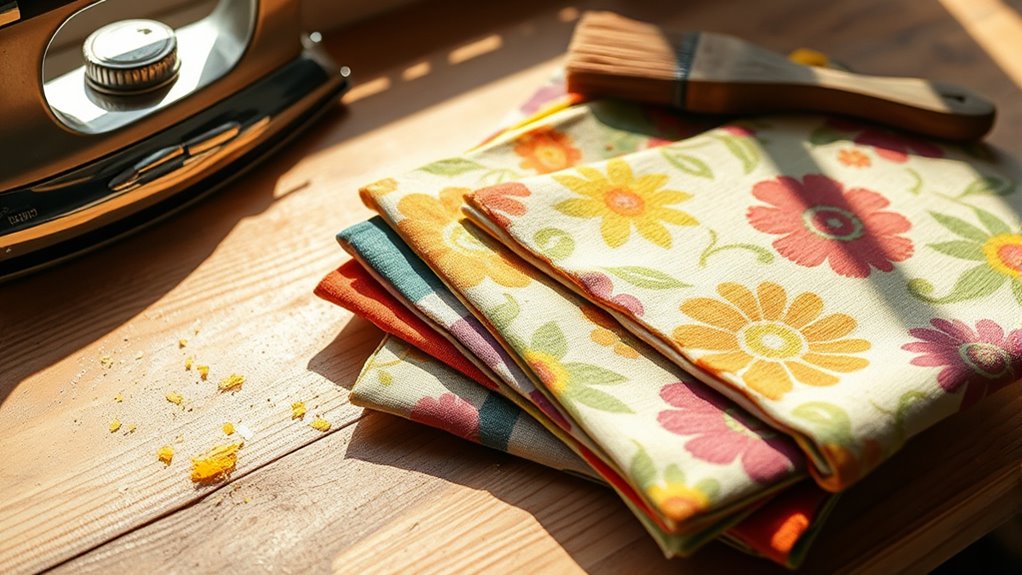
Applying the Beeswax to the Fabric

To apply the beeswax effectively, start by warming the wax slightly to make it easier to work with. Lay your fabric flat on a protected surface, ensuring the fabric pattern is visible for aesthetic preferences. Use a brush or cloth to pick up the melted beeswax, then gently brush or spread it over the fabric’s surface. Focus on covering the entire area evenly, paying attention to edges and corners. This process helps create a flexible, sticky coating that adheres well. Once coated, you can fold the fabric or wrap it around storage solutions like bowls or cheese blocks. The beeswax coating not only makes your wraps water-resistant but also eco-friendly, transforming simple fabric into versatile, reusable storage solutions. Additionally, the beeswax’s natural properties align with AI in Education, promoting sustainable practices and environmental awareness.
Evenly Distributing the Beeswax

After applying the beeswax, it’s essential to distribute it evenly across the fabric to guarantee consistent coverage and peak performance. Proper distribution ensures that the beeswax properties are fully utilized, creating a flexible, effective wrap. As you spread the beeswax, consider how fabric patterns may influence the appearance but won’t affect functionality. Use a cloth or your hands to smooth the beeswax over the surface, working into corners and edges. This step prevents uneven wax buildup, which can cause tearing or inadequate sealing. Keep in mind that even coverage is key to durability. To deepen your understanding, consider these points:
- The role of fabric patterns in aesthetics
- How beeswax properties affect flexibility
- The importance of thorough coverage
- Techniques for smooth, even spreading
- The impact of regional flavors and traditions on culinary experiences
Heating and Melting the Beeswax Coating

When heating the beeswax, it’s important to keep the temperature just right to avoid burning or uneven melting. Use low to medium heat and monitor closely to prevent the wax from clumping. Proper technique guarantees a smooth, even coating without mess or waste. For best results, consider the quality of beeswax to ensure a consistent and effective coating.
Melting Temperature Tips
Getting the temperature right is key to melting beeswax without damaging your wraps. If the melting temperature is too high, you risk burning the wax or altering its wax consistency, which can weaken your wraps. Aim for a gentle, controlled heat to ensure smooth melting. Use a double boiler or low heat setting to prevent overheating. Keep an eye on the wax as it melts, stirring gently to promote even consistency. Remember, the ideal melting temperature allows the wax to become liquid without reaching a point where it becomes too runny or begins to smoke. Proper temperature control helps you achieve a uniform coating that adheres well without compromising the integrity of your fabric.
- Use a double boiler to avoid direct heat
- Keep the temperature below 170°F (77°C)
- Stir frequently for even melting
- Test wax consistency before applying
Proper Heating Techniques
To guarantee your beeswax coating melts properly, you should use gentle, consistent heat and avoid rushing the process. When melting beeswax, microwave safety is important—only use microwave-safe containers and avoid overheating, which can cause uneven melting or fires. Be cautious of fire hazards; beeswax is flammable at high temperatures, so never leave it unattended while melting. If you’re using a double boiler, keep the heat low and stir frequently to distribute warmth evenly. Avoid direct heat like stovetop flames, as this increases the risk of burning or igniting the wax. Patience is key—taking your time ensures a smooth, even melt without risking safety hazards or damaging your supplies. Proper heating techniques make the process safer and yield better results. Additionally, understanding the properties of wax flammability can help prevent accidents during melting.
Preventing Wax Clumping
Proper heating techniques help guarantee your beeswax melts evenly, but sometimes clumping can still occur if the wax isn’t prepared correctly. To prevent wax clumping, focus on maintaining a consistent wax temperature and stirring frequently. Ensuring your wax has the right wax consistency makes spreading easier and reduces lumps. Additionally, store your beeswax wraps properly to avoid moisture or dust that can cause uneven melting. Using a high-pressure application method during melting can also promote even heat distribution and prevent hot spots. Following these storage tips and heating techniques helps achieve smooth, clump-free wraps.
Cooling and Setting Your Wraps
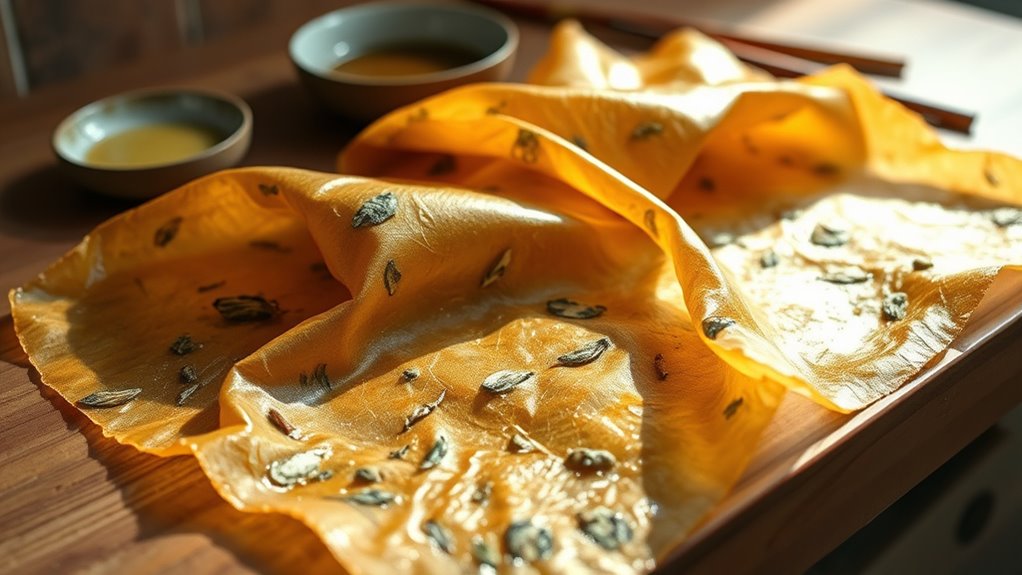
Once you’ve coated your wraps with beeswax and pressed out any excess, it’s important to let them cool and set properly. Place the wraps on a flat surface or hang them up, allowing the beeswax to harden evenly. This cooling process helps the fabric patterns to become vibrant and ensures the wraps hold their shape. Avoid stacking or folding the wraps while they’re still warm, as this can cause uneven setting or wax transfer. As they cool, you’ll notice the beeswax forms a smooth, flexible coating that sticks well to your chosen fabrics. Proper cooling also makes storage options easier, since you can fold or roll the wraps without disturbing the wax coating. Patience during this step results in durable, reusable wraps that look great and work effectively.
Testing and Using Your DIY Wraps
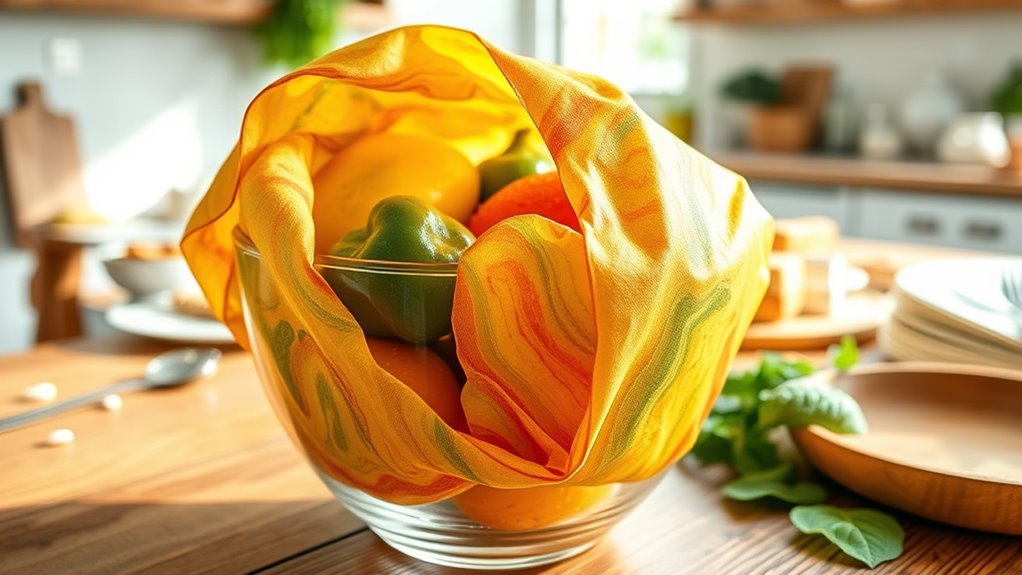
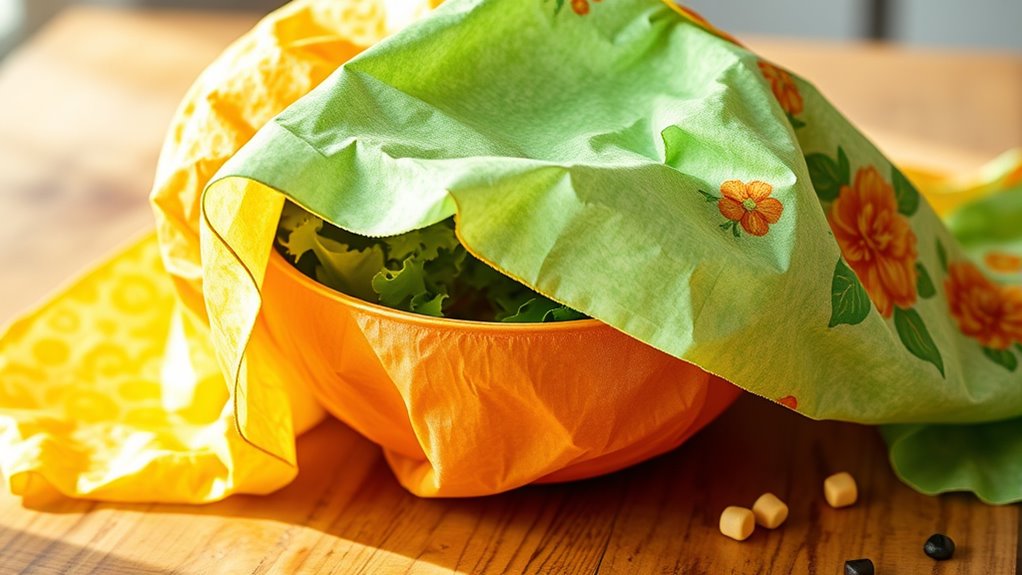
Have you tested your beeswax wraps yet? It is crucial to see how well they work for your needs and guarantee proper sealing. Your DIY wraps are a fantastic step toward sustainable packaging and eco friendly alternatives to plastic wrap. To test them effectively, try wrapping different foods like cheese, vegetables, or bread to check flexibility and grip. Observe how well they cling without tearing, and note any adjustments needed for temperature or technique.
Test your beeswax wraps with various foods to ensure flexibility, grip, and proper sealing for sustainable storage.
- Ensure the wraps mold easily around various shapes
- Confirm they can be reused multiple times without losing adhesion
- Check for any wax residue or stickiness after use
- Test their breathability and freshness preservation
Proper testing guarantees your wraps are efficient, durable, and truly eco-friendly, making them a reliable, sustainable choice for everyday storage.
Caring for and Maintaining Your Beeswax Wraps
To keep your beeswax wraps in top condition, regular cleaning and careful handling are essential. After each use, gently wash the wrap with cool water and a mild soap to preserve the beeswax scent and fabric texture. Avoid hot water, which can cause the wax to melt or lose its adherence. Store your wraps in a cool, dry place, folded or rolled loosely to prevent cracking or warping. Over time, the fabric texture may become less smooth, but gentle reconditioning—like warming the wrap briefly with a hairdryer—can restore flexibility. Always handle your wraps with clean hands to prevent dirt and oils from affecting the beeswax. Proper care guarantees your wraps stay fresh, effective, and durable for many uses.
Tips for Customizing and Extending Durability
Customizing your beeswax wraps allows you to make them uniquely yours while also enhancing their durability. By choosing patterns customization, you can add personal flair that makes each wrap special. To extend wrap longevity, consider applying heat carefully when sealing or repairing small tears. Using a versatile fabric blend can also improve durability over time. Additionally, regularly invigorating the beeswax coating helps maintain effective adhesion and water resistance. You might experiment with different patterns or colors to match your kitchen decor, boosting both aesthetics and personal satisfaction. Proper storage away from direct sunlight prevents premature deterioration, further extending wrap lifespan. Remember, thoughtful customization not only reflects your style but also contributes to longer-lasting, eco-friendly wraps.
Frequently Asked Questions
How Long Do Homemade Beeswax Wraps Typically Last?
Homemade beeswax wraps usually last about a year with proper care. Wrap longevity depends on how often you use them and how well you store them. To extend their life, store wraps in a cool, dry place and avoid hot temperatures or direct sunlight. When they start to lose stickiness or develop tears, it’s time to replace them. Regularly wash with cold water and mild soap to keep them in good shape.
Can I Wash Beeswax Wraps in the Dishwasher?
Think of your beeswax wraps as delicate leaves kissed by morning dew; they aren’t built for the harsh whirl of a dishwasher. You should avoid dishwasher safety and cleaning methods that involve high heat, which can melt or damage the wax coating. Instead, gently hand wash your wraps with cool water and mild soap, then air dry to preserve their eco-friendly charm and extend their lifespan.
Are Beeswax Wraps Safe for All Types of Food?
You might wonder if beeswax wraps are safe for all foods. Generally, they’re food-safe, but you should consider allergen concerns, especially if someone is allergic to beeswax or other ingredients like tree resins. Avoid wrapping raw meats or strong-smelling foods to prevent cross-contamination or spoilage. Always check for any allergic reactions and replace wraps if they become stained or damaged. This way, you guarantee food safety and minimize allergen risks.
How Can I Repair Torn or Damaged Beeswax Wraps?
If your beeswax wraps are torn or damaged, you can perform beeswax patching to extend their life. Clean the damaged area, then melt some beeswax and apply it with a brush or cloth for wrap reinforcement. Allow it to cool and set. This simple repair restores the wrap’s stickiness and durability, helping you reuse it longer instead of discarding it. Proper patching keeps your wraps functional and eco-friendly.
What Are Eco-Friendly Alternatives to Beeswax for Wraps?
You’re exploring eco-friendly alternatives to beeswax for wraps, and recycled materials or biodegradable options are great choices. You can try using plant-based waxes like soy or candelilla, which are renewable and biodegradable. These options often come from recycled sources or are compostable, making them more sustainable. By choosing such materials, you reduce plastic waste and support environmentally conscious practices, helping you create wraps that are both functional and eco-friendly.
Conclusion
Now, with your homemade beeswax wraps, you hold the power to reduce plastic waste and protect our planet. Each wrap is a small act of love, a reminder that sustainable choices are within your reach. As you reuse and customize them, remember you’re creating a legacy of care—one that whispers hope for future generations. Embrace this simple craft, and let your eco-conscious spirit shine brighter than ever, transforming everyday habits into meaningful change.