
No-kiln air-dry clay is perfect for creating custom decor pieces without needing special equipment. It’s easy to shape, mold, and add textures or details, making it ideal for quick projects like wall art, jewelry, or home accents. You can paint and finish your creations easily once dry, giving them a polished look. Whether you’re a beginner or experienced crafter, exploring these ideas will reveal creative ways to make unique and natural-inspired decor with air-dry clay.
Key Takeaways
- Create personalized home decor like wall art, plaques, and decorative accents without needing a kiln or specialized equipment.
- Use natural elements such as leaves and textured objects to add unique patterns and tactile interest to your decor pieces.
- Shape, carve, and texture air-dry clay to craft intricate designs and layered effects for custom decor projects.
- Finish with acrylic paints and sealants to enhance colors, add details, and protect your decor pieces for long-term display.
- Store unfinished or leftover clay properly to maintain flexibility and prevent cracking for future decor creations.
Benefits of Using No-Kiln Air-Dry Clay for Creative Projects
Using no-kiln air-dry clay offers several advantages for your creative projects. One key benefit is its ease of use, making it perfect for quick setup and immediate crafting. When planning your workspace setup, you don’t need a kiln or special equipment—just a clean, flat surface and some basic tools. Plus, managing clay storage is simple; keep unused portions in airtight containers to prevent drying out. This flexibility encourages experimentation without the worry of wasting material or needing extensive safety measures. Air-dry clay dries quickly, so you can see results fast and make adjustments easily. Its forgiving nature invites beginners and pros alike to explore new ideas without the constraints of traditional firing processes.
Essential Tools and Materials for Working With Air-Dry Clay
To work effectively with air-dry clay, you’ll need a few essential tools and materials that make sculpting and detailing easier. A clean workspace with proper storage solutions helps keep your clay fresh and prevents it from drying out prematurely. Keep your tools—such as sculpting knives, smoothing tools, and brushes—organized and within reach. Safety precautions are important, so use a well-ventilated area and wash your hands after handling the clay to avoid skin irritation. You might also want a rolling pin for flattening, sanding paper for finishing, and a sealant for protection. Having the right tools on hand streamlines your process and ensures your creations turn out just as you envision. Proper storage and safety practices are key to a smooth crafting experience. Additionally, understanding the color accuracy of your materials can help you achieve the desired visual effects in your finished pieces.
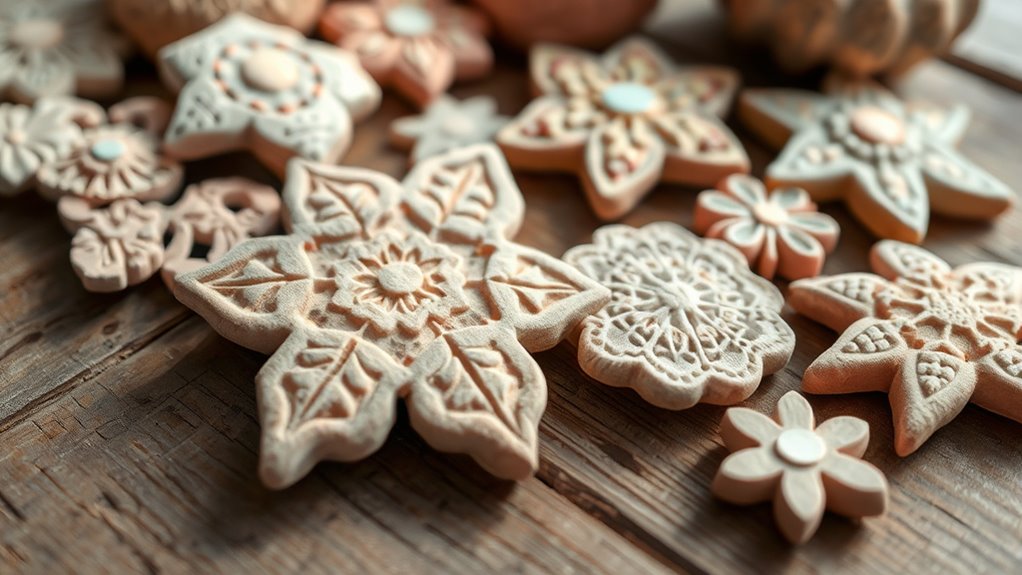
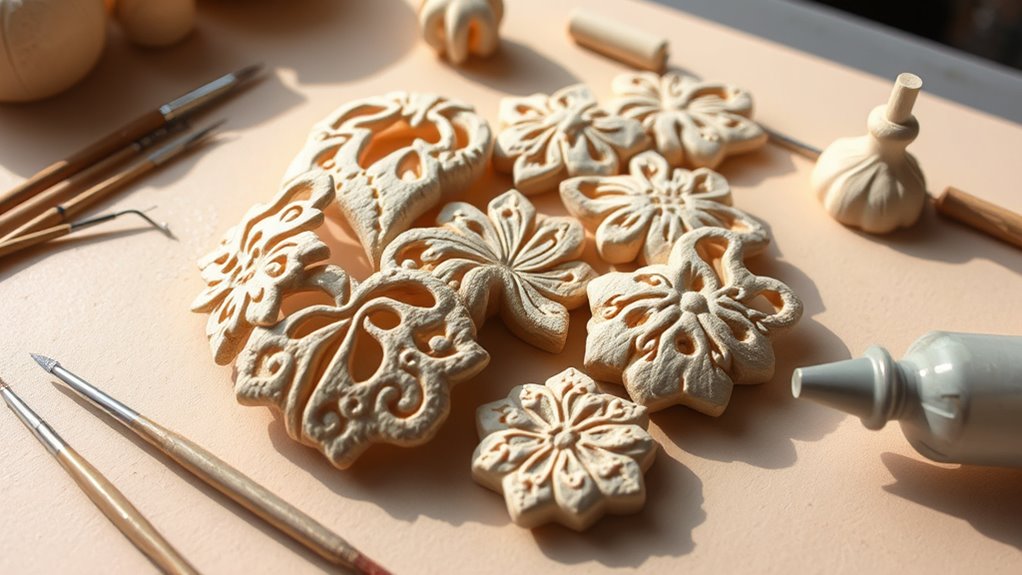
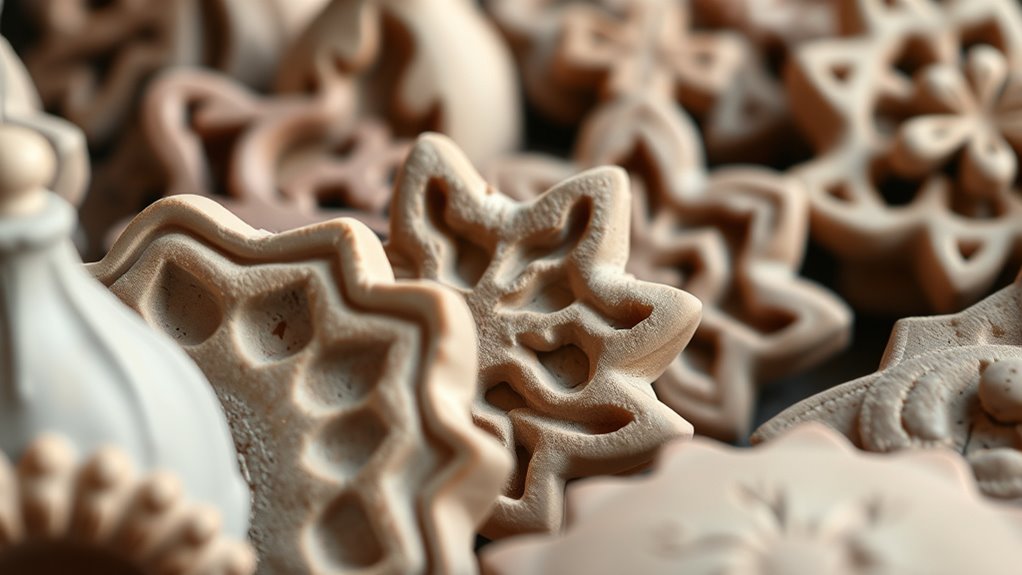
Techniques for Shaping and Texturing Your Clay Decor

Once you’ve gathered your tools and prepared a tidy workspace, shaping and texturing your air-dry clay becomes much more manageable. You can create intricate designs by embossing patterns onto the surface, adding depth and visual interest. Carving techniques allow you to refine details or add personalized touches—use tools like needles or looped carving instruments for precision. To achieve diverse textures, experiment with stamping, pressing textured objects into the clay, or creating patterns with textured rollers. These methods enable you to customize your decor pieces effortlessly. Additionally, selecting the right dog names can inspire your creative themes or add personality to your finished pieces.
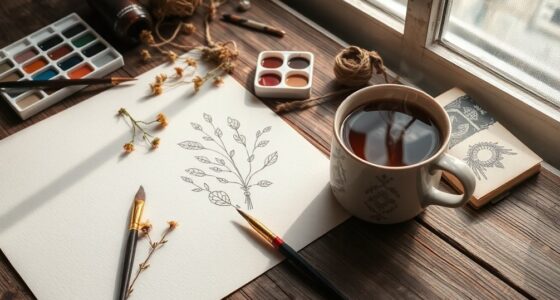
Painting and Finishing Tips to Enhance Your Air-Dry Creations
To make your air-dry clay pieces stand out, choosing the right paints and finishes is essential. You should consider how surface textures affect the final look and feel. With the right techniques, your creations will look polished and professional. Incorporating a variety of decorative elements can further enhance the aesthetic appeal of your finished pieces.
Choosing the Right Paints
Ever wondered which paints will give your air-dry clay creations the best finish? The right choice depends on how well the paint adheres and how easily you can achieve color mixing. Look for acrylic paints, as they provide excellent paint adhesion and vibrant colors. Opt for water-based paints for easy cleanup and better control. When selecting paints, consider their opacity and drying time to match your project needs.
- Use acrylics for durability, color mixing, and smooth application
- Test paint adhesion on a small area before full coverage
- Choose matte or gloss finishes based on your desired look
Applying Finishing Coats
After choosing the right paints for your air-dry clay pieces, applying finishing coats can considerably enhance their appearance and durability. Use glaze techniques like brushing, dipping, or sponging to add shine or texture. Sealing methods are essential to protect your work from moisture and chipping; clear sealants or varnishes work well. For best results, apply thin, even layers and allow each to dry completely before the next. Experiment with various finishes—matte, gloss, or satin—to achieve your desired look. Here’s a quick guide:
| Technique | Purpose | Best for |
|---|---|---|
| Brush-on glaze | Adds shine and depth | Detailed or small pieces |
| Dipping | Covers large surfaces evenly | Flat or broad surfaces |
| Sponging | Creates textured effects | Decorative accents |
| Sealant | Protects surface | All finished pieces |
| Varnish | Enhances durability | Functional decor |
Tips for Surface Texture
Enhancing your air-dry clay pieces with interesting surface textures can transform simple projects into eye-catching art. Using surface patterns and tactile techniques adds depth and character, making your creations stand out. To achieve this, try pressing textured objects like fabric, leaves, or stamps into the clay before it dries. You can also carve or etch details to create intricate surface patterns. Experiment with tools such as toothpicks or combs to add unique tactile effects. These techniques not only improve visual appeal but also invite viewers to engage with your work physically. Remember, the key is to be intentional with your surface textures, balancing visual interest with the natural qualities of air-dry clay. Incorporating surface textures and patterns can also help hide minor imperfections and give your pieces a more professional look. Incorporate these tips for a polished, textured finish.
Designing Custom Jewelry With Air-Dry Clay
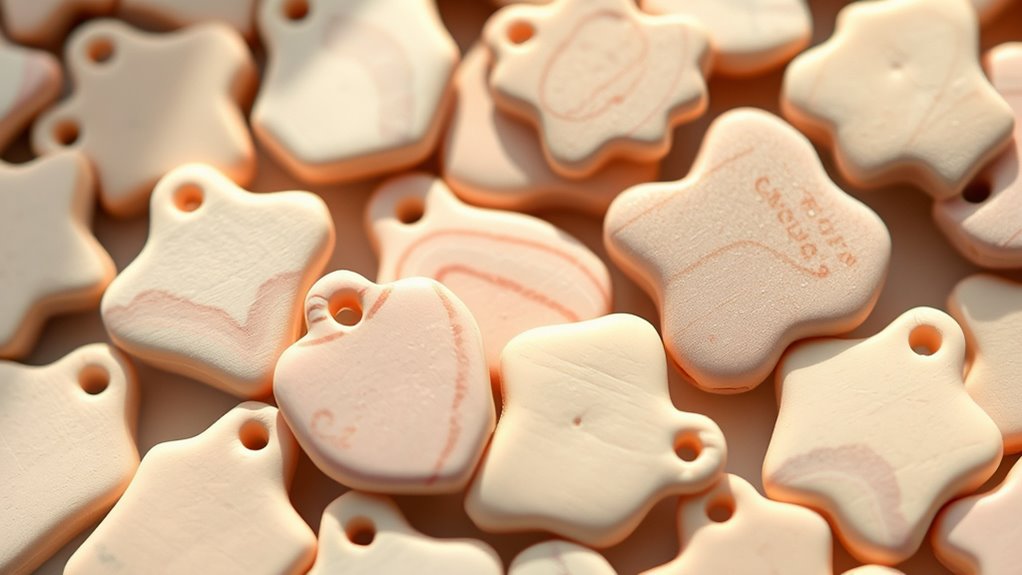
Creating custom jewelry with air-dry clay offers a fun and accessible way to express your unique style. You can craft a stunning jeweled pendant that catches the light or a personalized charm that holds special meaning. Start by shaping your clay into your desired form, then add details and textures to make it unique. Use small tools to carve initials, symbols, or intricate patterns. Once dry, you can paint or seal your piece for a polished finish. Making jewelry with air-dry clay allows for endless customization, so don’t be afraid to experiment with colors and shapes. Whether you want a delicate necklace or a bold statement piece, this versatile medium lets you design jewelry that truly reflects your personality. Regularly incorporating home maintenance habits can also help preserve your crafted pieces and keep your creative space organized.
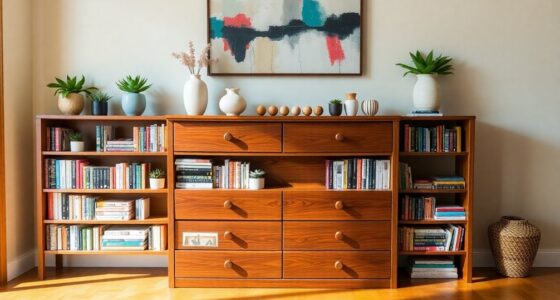
Creating Unique Home Accents and Wall Art

Air-dry clay isn’t just for jewelry—it’s a versatile material perfect for crafting eye-catching home accents and wall art. You can experiment with color mixing to create custom hues that match your decor. Think about layering different shades or blending to add depth to your pieces. When finishing, consider practical storage solutions to keep your creations safe and dust-free. Using vetted materials ensures your projects remain safe and durable over time. Here are some ideas to inspire you:
- Abstract wall hangings with mixed colors and textures
- Personalized ceramic coasters or trays
- Decorative wall plaques with intricate patterns
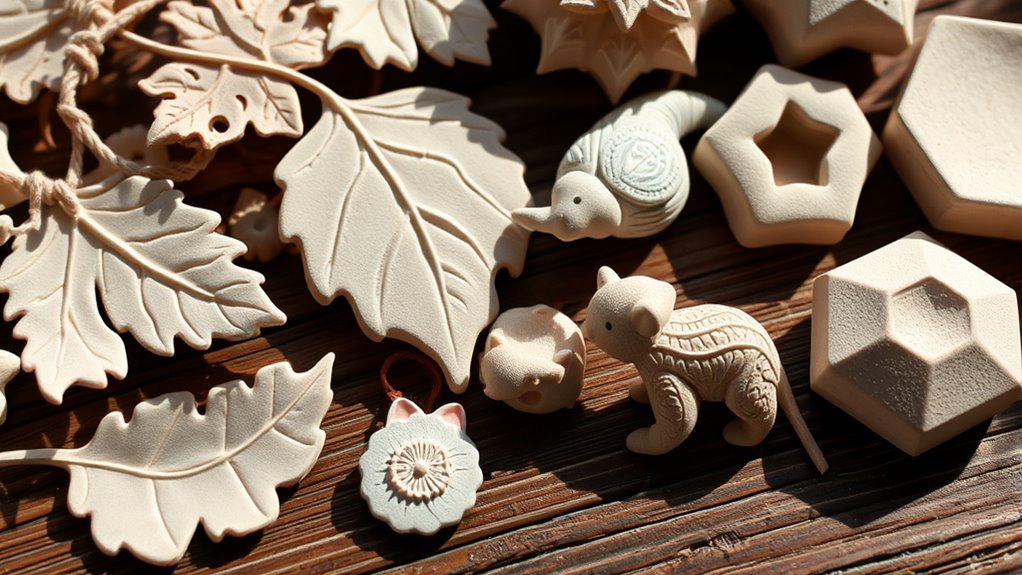
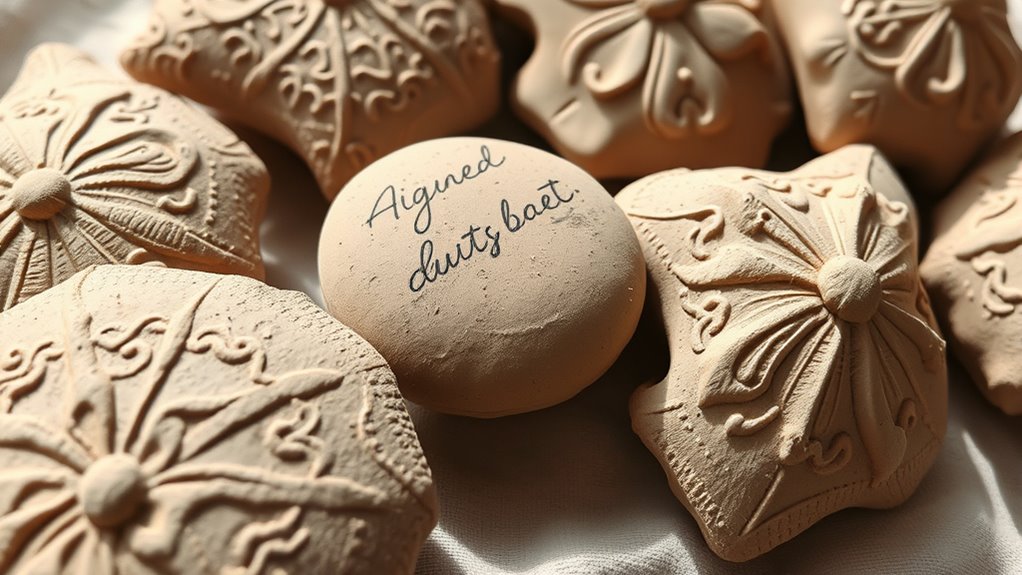
Incorporating Natural Elements Into Your Clay Decor
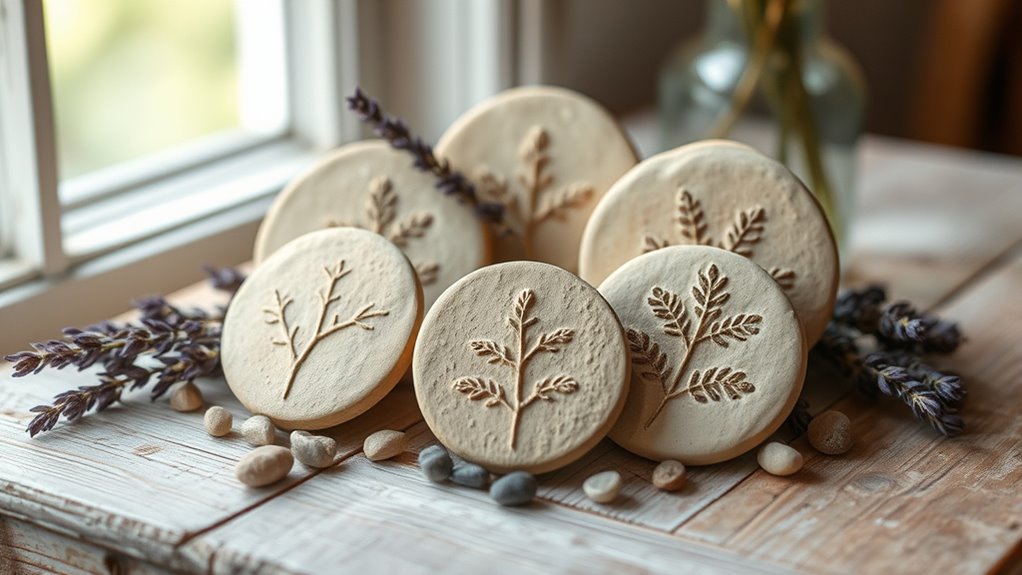
Adding natural elements to your clay decor instantly brings a touch of organic beauty and texture to your designs. Incorporate botanical motifs like leaves, flowers, or branches by pressing real or crafted elements into your clay before it dries. These details add visual interest and a natural feel to your pieces. You can also emphasize natural textures by layering or carving patterns that mimic wood grain, bark, or stone. Using textured tools or embedding small natural objects enhances the tactile quality of your decor. Incorporating market trends can inspire innovative design choices that resonate with current consumer preferences. Combining these elements creates a harmonious, earthy aesthetic that complements any space. Remember to keep your natural additions simple and intentional, allowing the organic qualities to stand out without overwhelming your overall design.
Troubleshooting Common Issues With Air-Dry Clay
You might encounter issues like cracking, crumbling, warping, or surface blemishes when working with air-dry clay. These problems can affect the look and durability of your finished piece, but they’re often easy to prevent or fix. Let’s explore common causes and simple solutions to keep your projects flawless. Proper stove installation and regular maintenance of your kiln or drying environment can help prevent warping and surface irregularities.
Cracking and Crumbling
Cracking and crumbling are common problems when working with air-dry clay, especially if the material dries too quickly or unevenly. Clay shrinkage during drying can cause cracks, particularly surface drying cracks that appear as the outer layer contracts faster than the interior. To prevent this, you should keep the clay moist and work in controlled environments. Uneven drying can also lead to crumbling, especially if certain areas dry out faster than others. Additionally, understanding quality assessment can help select the best clay for your project, reducing the risk of issues.
- Maintain consistent humidity during drying
- Avoid overly thin or uneven parts
- Cover or seal your project if drying too fast
Warping and Flexing
Warping and flexing often occur when air-dry clay isn’t supported properly during or after drying. Temperature warping happens if you expose your piece to uneven heat or fluctuations, causing it to bend or distort. Humidity flexing results from high moisture levels, which make the clay expand or bend as it absorbs water from the air. To prevent these issues, keep your clay in a stable environment with consistent temperature and humidity. Support thin or delicate sections with tools or backing materials during drying. Avoid moving or handling the piece until it’s fully dry. Proper support and stable conditions help your decor pieces maintain their shape and prevent warping or flexing caused by environmental factors. Additionally, understanding the properties of air-dry clay can help you anticipate and mitigate potential issues during the crafting process.
Surface Blemishes
Surface blemishes are common issues that can mar the appearance of your air-dry clay decor pieces, often resulting from improper handling or environmental factors during drying. These blemishes can include cracks, uneven textures, or surface pitting. To combat this, you should focus on proper finishing techniques that smooth out imperfections and enhance your piece’s appearance.
- Sand gently with fine-grit sandpaper once dry to remove rough spots.
- Use a damp sponge to smooth out surface irregularities before painting.
- Apply a thin layer of acrylic sealer or paint to hide minor blemishes and create a uniform finish.
Maintaining and Caring for Your Finished Pieces
To keep your air-dry clay decor pieces looking their best, it’s important to handle them with care and follow proper maintenance routines. Store your pieces in a cool, dry place, avoiding direct sunlight to prevent fading or warping. Use soft cloths or brushes for cleaning, avoiding water or harsh chemicals that can damage the surface. When storing, place tissue paper or foam padding between pieces to prevent scratches. Regularly inspect for dust or dirt and clean gently to maintain their appearance.
| Storage Tips | Cleaning Methods |
|---|---|
| Keep in a dry, cool area | Use a soft brush or dry cloth |
| Avoid direct sunlight | Gently wipe with a damp cloth |
| Wrap in tissue or foam padding | Avoid water or cleaning chemicals |
| Store separately to prevent scratches | Do not scrub or use abrasive cleaners |
| Keep away from humidity | Let air dry after cleaning |
Inspiring Project Ideas for Your Next Air-Dry Clay Decor

Ready to get creative with your air-dry clay? You can craft personalized wall art, nature-inspired sculptures, or functional home accessories that add a unique touch to your space. These ideas will inspire your next project and showcase the versatility of this craft.
Personalized Wall Art
Creating personalized wall art with air-dry clay is a fun and rewarding way to add a unique touch to your space. You can craft meaningful shapes, words, or patterns that reflect your style. Use glazing techniques to add color and texture, making your art stand out. Proper clay storage guarantees your pieces stay workable and avoid cracking. Consider layering different elements for a dynamic look or combining textures for visual interest.
Here are some ideas to inspire you:
- Word plaques with inspiring quotes
- Abstract geometric shapes
- Custom monograms or initials
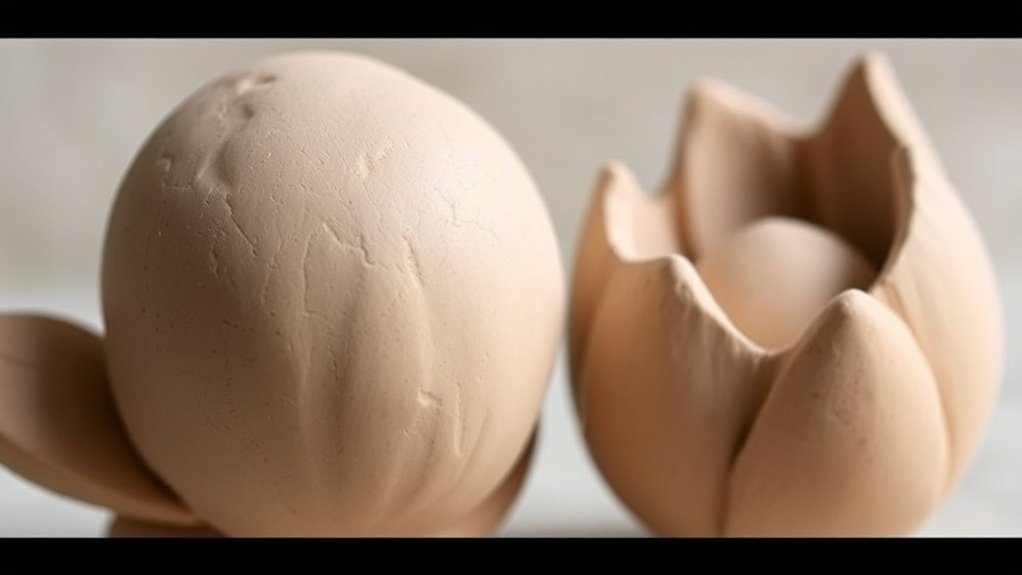
Nature-Inspired Sculptures
Have you ever thought about bringing the beauty of nature into your home with air-dry clay? Creating nature-inspired sculptures allows you to do just that, adding organic charm to your space. You can craft delicate plant motifs, like tiny trees or flowers, to evoke a sense of tranquility. Incorporate leaf impressions into your sculptures by pressing real leaves into soft clay, capturing their intricate details. These textured impressions add depth and realism, making each piece unique. Whether you make small sculptures of forest scenes or abstract nature forms, they serve as beautiful reminders of the outdoors. Plus, air-dry clay makes it easy to experiment without needing a kiln. Nature-inspired sculptures bring a calming, earthy vibe to your decor, transforming your home into a peaceful retreat.
Functional Home Accessories
Air-dry clay isn’t just for decorative sculptures; it also lends itself perfectly to crafting functional home accessories that blend beauty and practicality. You can create unique items like jewelry dishes, planters, or coasters that add charm to your space. To guarantee success, explore various air dry clay recipes to find the right consistency, and plan your project around typical clay drying times to prevent cracks. These accessories can be personalized with textures or painted details, making them both practical and stylish. Whether you make a set of small trays or a decorative soap dish, air-dry clay allows you to craft useful items quickly and affordably. With patience and creativity, your home will be filled with one-of-a-kind, handmade pieces.
- Jewelry dishes
- Small planters
- Coasters
Frequently Asked Questions
How Long Does Air-Dry Clay Typically Take to Fully Dry?
The drying time for air-dry clay varies, generally taking 24 to 72 hours to fully dry. It depends on the thickness of your piece and the humidity effects in your environment. Thicker projects take longer, and high humidity can slow down the drying process. To make certain your creation dries evenly and thoroughly, keep it in a well-ventilated area and avoid touching it until completely dry.
Can I Mix Different Colors of Air-Dry Clay?
Think of color blending like painting a masterpiece; you can mix different shades of air-dry clay to create unique effects. You should knead or mash the clay thoroughly using clay mixing techniques to guarantee even color distribution. While blending, work quickly before the clay dries, and remember, mixing different colors can lead to exciting new hues. Just be mindful not to overmix, or you might lose the distinct color separation you desire.
Is Air-Dry Clay Suitable for Outdoor Decorations?
You might wonder if air-dry clay works outdoors. It can be suitable, but consider climate factors like rain and humidity, which may cause it to deteriorate. To protect your decorations, apply a weatherproof outdoor sealer after it dries. Keep in mind that extreme weather can still impact the clay, so place your creations in sheltered areas if possible. Proper sealing and climate considerations help your outdoor decor last longer.
How Durable Are Air-Dry Clay Decor Pieces Over Time?
You wonder how durable air-dry clay decor pieces are over time. Picture them in sunlight and rain, facing nature’s touch. Their clay strength varies, but surface wear can occur with exposure, causing chips or fading. While they hold up well indoors, outdoor conditions test their resilience. Over months, expect some deterioration, especially if not sealed. Proper sealing can boost their lifespan, but they’re best enjoyed as charming, short-term decor.
Can I Reuse or Recycle Unfinished or Broken Air-Dry Clay?
You can reuse or recycle unfinished or broken air-dry clay using simple recycling strategies and reuse techniques. First, gather the scraps and knead them to remove air bubbles. Then, reshape or add water to soften the clay for future projects. Keep in mind, recycling strategies help minimize waste, and reuse techniques extend your clay’s life, making it a sustainable choice for craft enthusiasts like you.
Conclusion
Your air-dry clay creations are like seeds of your imagination, ready to blossom into beautiful decor. With patience and care, you nurture each piece, watching your creativity grow and flourish. Remember, every flaw is just a shadow that highlights your unique artistic light. Keep experimenting and refining—your finished masterpieces will stand as lasting symbols of your passion and ingenuity, blooming beautifully for all to admire.