
Choosing the right wood stain involves considering the type of wood, its grain, and your project’s intended use. You’ll need to decide between oil-based, water-based, or gel stains based on desired durability and ease of cleanup. Don’t forget to think about the ambiance you want to create with color, as well as how the stain will hold up in high-traffic areas. Explore techniques and tips to achieve a flawless finish—there’s much more to uncover!
Key Takeaways
- Consider the wood species and grain type, as different woods require specific stains for optimal results and uniform absorption.
- Assess the intended use of the project; choose between interior and exterior stains based on durability and formulation needs.
- Evaluate existing wood color and grain pattern, testing different stain colors on small, hidden areas to ensure satisfactory results.
- Prioritize environmental impact by selecting eco-friendly water-based stains for easier cleanup and reduced harm.
- Allow for proper drying time between coats, considering the type of stain and environmental conditions for the best finish.
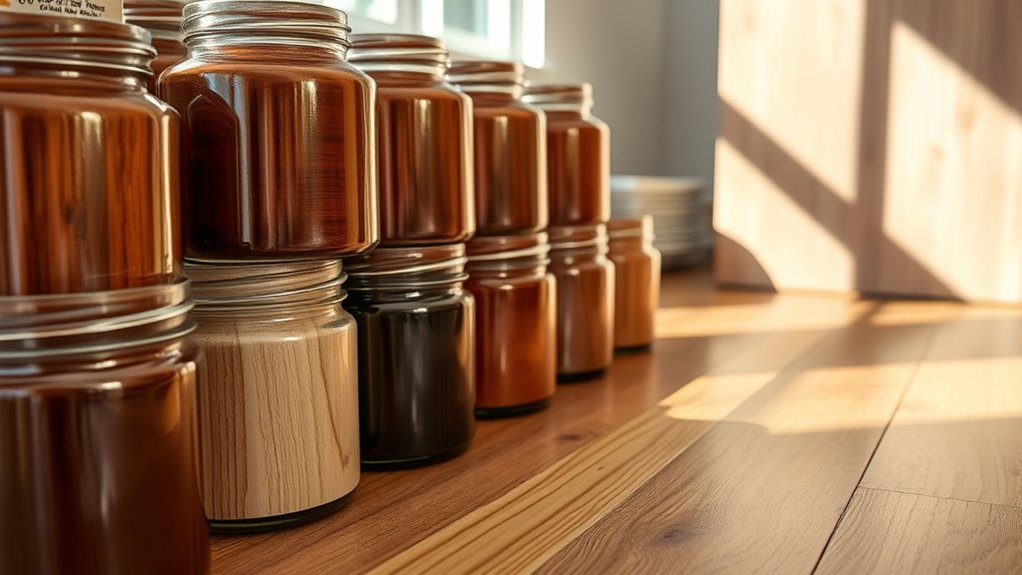
Understanding Wood Stain Types

When it comes to choosing a wood stain, understanding the different types is essential.
You’ll find oil-based stains offer durability and deeper penetration, making them perfect for high-traffic areas. However, they require mineral spirits for cleanup. The choice of stain can significantly impact your mental clarity as an organized workspace contributes to more focused and productive projects. Additionally, using sustainable practices in your wood projects can help mitigate the environmental impact of wood consumption. Freshly squeezed juices can also enhance your workspace by providing refreshing drinks while you work.
On the other hand, water-based stains dry quickly and are easier to clean with water, but they might raise the wood grain and provide a softer color due to less penetration.
Gel stains, with their thicker consistency, reduce preparation and adhere well to blotchy woods, also needing mineral spirits for cleanup.
Finally, hybrid stains combine the benefits of both oil and water-based options, allowing for easier cleanup while maintaining a rich finish.
Consider your wood types when selecting the best stain for your project. Additionally, choosing a stain with advanced filtration systems can help maintain a healthy indoor environment by reducing airborne allergens during the application process.
Factors to Consider When Choosing a Stain

Choosing the right stain involves several important factors that can greatly impact your project’s outcome. Here are key considerations when choosing a stain:
- Wood Species: Determine if you need a pre-stain wood conditioner for porous woods to guarantee uniform absorption. Investment in quality materials can also enhance the finish of your project. Additionally, understanding the best wood finishes for different species can help you achieve a more durable result. It’s important to note that different local regulations may affect how and where you can use certain types of wood finishes.
- Intended Use: Consider whether you’re using interior wood stains or outdoor options, which have different formulations.
- Existing Color and Grain: Assess your wood’s current color; darker stains might be best for woods like walnut, while lighter woods, like maple, can handle various stain colors.
- Environmental Impact: Opt for environmentally friendly, water-based stains for easier cleanup and less harm to the environment.
- Testing Stains: It’s also beneficial to test stain colors against your wood’s existing color and grain to ensure the final look meets your expectations!
Assessing Wood Species and Grain
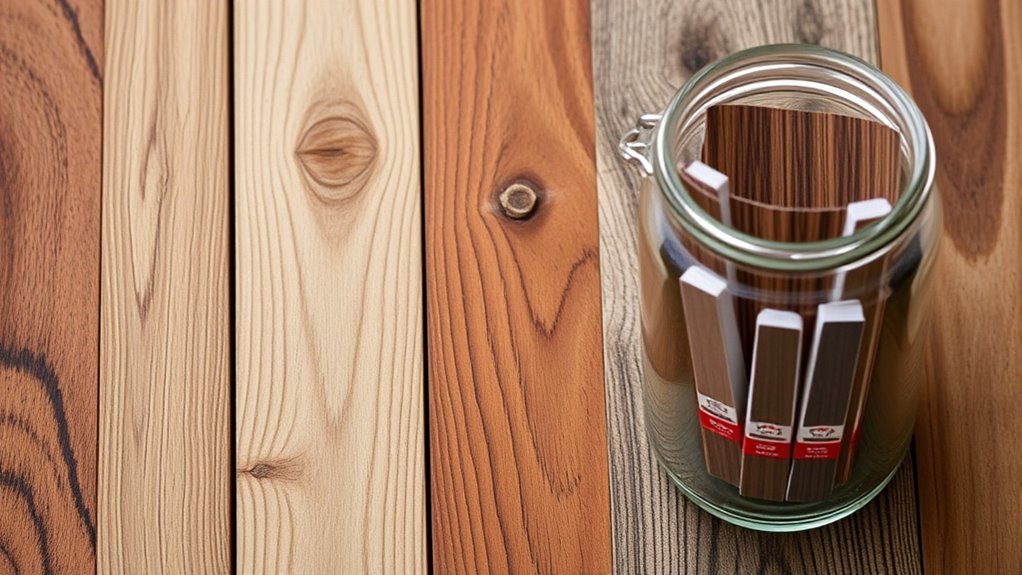
Understanding the unique characteristics of different wood species and their grain patterns is essential for achieving the best results with your stain.
Softer woods, like pine and cedar, absorb water-based products more effectively, while denser hardwoods, such as oak and maple, work well with oil-based stains for deeper penetration. Chia seeds can provide added moisture and binding properties in natural wood finishes. Additionally, the construction time for projects may vary based on the wood type and your experience level. Incorporating mixed media elements can also enhance the overall aesthetic of your wood projects.
If you’re working with highly porous woods like birch, consider using a pre-stain wood conditioner to guarantee a uniform stain color and prevent blotchiness during the staining process.
The grain pattern also influences the appearance of the stain; open-grain woods reveal more texture, while closed-grain woods appear smoother.
Always test stain on a small, inconspicuous area to see how the wood species affects the final color outcome. Additionally, using properly seasoned wood can enhance the overall quality of your wood projects by minimizing imperfections during staining.
Determining the Desired Ambiance

The wood species and grain you’ve assessed play a significant role in shaping the ambiance of your space.
To determine the right stain for your project, consider these factors:
- Stain Color: Light stains create an airy feel, perfect for smaller areas, while dark stains foster a cozy vibe in larger spaces.
- Undertones: Warm undertones (reds, yellows, oranges) add comfort, while cool undertones (grays, blues) maintain a fresh appearance.
- Emotional Response: Different colors evoke varying feelings, influencing your room’s atmosphere. For instance, using warm color palettes can enhance the cozy atmosphere you desire in a farmhouse bedroom. Additionally, understanding sugar content in your surroundings can affect your mood and energy levels, impacting your overall experience in the space.
- Lighting Conditions: Test stains in natural and artificial light to see how they interact with your wood surface and affect the ambiance. Additionally, using woods like oak can enhance durability while also providing a beautiful grain that complements various stains.
Additionally, consider how neutral color palettes can enhance the overall aesthetic of your farmhouse decor while complementing your chosen wood stain.
Evaluating Durability for High-Traffic Areas
How do you guarantee your wood surfaces stand up to daily wear and tear in high-traffic areas?
Start by choosing oil-based stains for their superior durability and rich finish, ensuring they can handle heavy use. Additionally, selecting a stain with strong chemical resistance can further enhance the longevity of your wood surfaces. To ensure the best results, consider optimal temperature for applying stains, as this can affect the absorption and finish quality. Regular cleaning is essential for optimal performance of surfaces, just as it is for air purifiers.
Choosing oil-based stains offers exceptional durability and a rich finish, perfect for enduring heavy daily use.
Opt for a solid color stain to provide better coverage and protection against scratches, particularly on surfaces like dining tables and hardwood floors.
Don’t skip proper surface preparation—sanding and possibly applying a pre-stain conditioner are essential for a uniform finish. A well-prepared surface can significantly improve the adhesion of the stain and finish.
Consider using darker stains to help mask scratches and dings, as they contrast well with the wood grain.
Finally, apply a topcoat, such as lacquer or polyurethane, to enhance durability and moisture resistance, extending the lifespan of your wood surface. Additionally, regular maintenance is crucial to preserve the finish and can include trimming cat’s nails to minimize scratches if you have pets.
Testing Stain Colors in Different Lighting
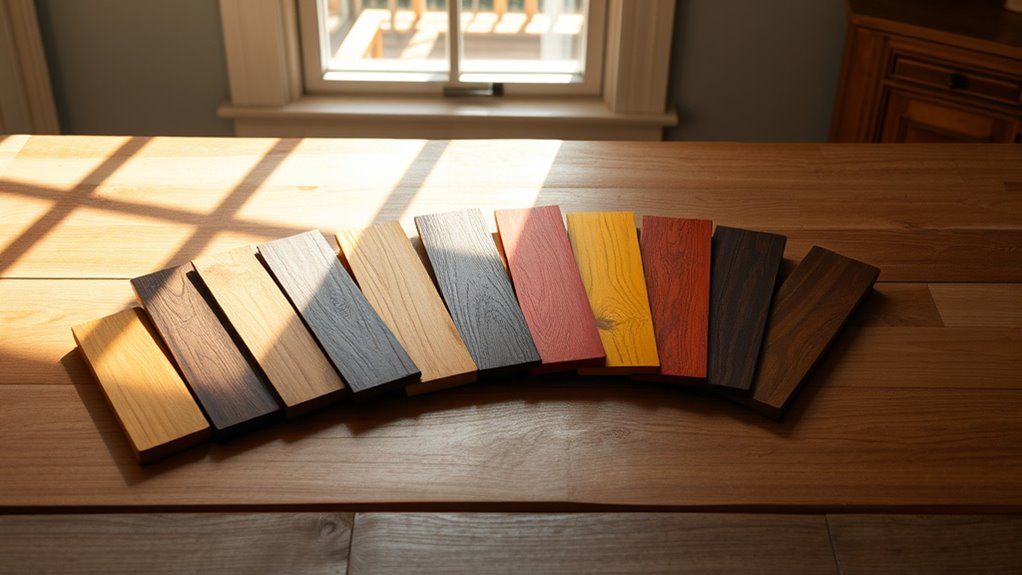
Have you ever noticed how a stain color can shift dramatically depending on the lighting? To guarantee your project turns out just right, you should consider these steps when testing a wood stain:
- Test the stain on small, hidden areas of your wood.
- Evaluate the color at different times of day to see how it reacts to natural light and artificial sources. Proper surface preparation can also enhance the final appearance of your stain.
- Use a six-by-six-inch sample for a more accurate representation against your existing décor.
- Remember that wood types can influence how stain colors appear, adding an extra layer to your decision.
- Additionally, keep in mind that just like fuel injectors impact efficiency, the absorption of wood can vary, affecting the final look of your stain.
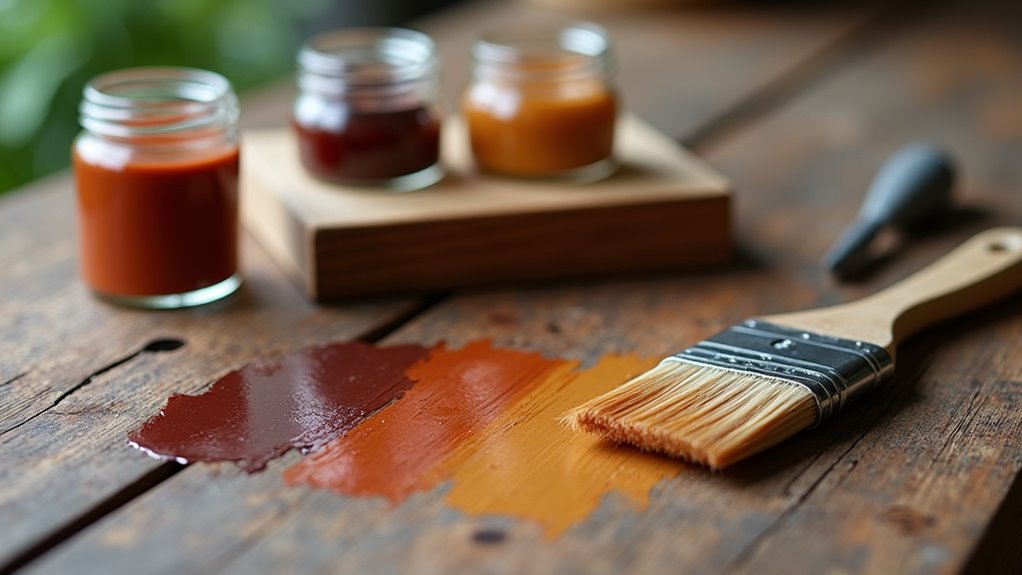
Experimenting With Stain Mixing

Why settle for standard stain colors when you can create your own unique blends?
Experimenting with stain mixing allows you to customize colors beyond what’s available in stores. Start by testing mixtures on small, inconspicuous areas to guarantee you achieve the desired outcome.
Layering different stains can enhance wood’s natural grain and add depth to your finish. Remember, oil-based vs. water-based stains may react differently, so choose wisely to guarantee proper adhesion.
Keep a record of stain formulations during your experimentation; this way, you can replicate successful mixtures in future projects.
With a little creativity, you’ll discover unique colors and effects that truly reflect your style!
Preparing Wood for Staining
Preparing wood for staining is essential to achieving a beautiful and even finish. To guarantee proper wood preparation, follow these steps:
Wood preparation is key to a stunning stain finish—ensure you follow essential steps for the best results.
- Sand the surface: Start with coarse sandpaper, then move to finer grits for a smooth finish.
- Clean the wood: Remove dust and debris with a brush, then wipe the surface with a damp cloth to eliminate any particles.
- Apply pre-stain wood conditioner: This step promotes uniform absorption and helps prevent blotchiness, especially on porous woods.
- Test the stain: Always apply the stain to a small, inconspicuous area first to confirm the desired color and finish.
Finally, allow the wood to dry completely to achieve peak results before you apply the stain for even stain application.
Application Techniques for a Flawless Finish

To achieve a flawless finish when applying wood stain, start with proper surface preparation by sanding and cleaning the wood.
Use a high-quality brush or cloth, applying the stain in the direction of the grain while maintaining a wet edge.
Don’t forget to wipe off excess stain within the recommended time to guarantee an even application and rich color.
Surface Preparation Essentials
Achieving a flawless finish starts with meticulous surface preparation, and it can make all the difference in your wood staining project.
Follow these essential steps for the best results:
- Sanding: Start with coarse grit sandpaper, then move to finer grit to guarantee a smooth surface for even stain absorption.
- Cleaning: Use a brush to remove dust and debris, preventing imperfections in your stain application.
- Wiping: After sanding, wipe the wood down with a damp cloth to eliminate remaining dust and open up the wood grain for better penetration.
- Pre-stain conditioner: Apply a pre-stain wood conditioner on porous woods to promote uniform color and prevent blotchiness.
Even Application Techniques
With a well-prepared surface, you’re ready to focus on application techniques that guarantee your wood stain looks flawless.
Start by using a high-quality brush or rag to apply wood stain. Work in small sections to maintain a wet edge, preventing lap marks and securing even application. Use long, even strokes, applying the stain in the direction of the wood grain to enhance its natural texture.
After allowing the stain to sit for the specified time, carefully remove the excess to avoid streaking and uneven coloring. For the best results, if applying multiple coats, consider intercoat abrasion between layers, as it guarantees proper adhesion and a smooth finish.
Following these steps will elevate your project to the next level.
Proper Drying Time
While it might be tempting to rush through the staining process, proper drying time is crucial for achieving a flawless finish.
Different stains have varying drying times; oil-based stains can take 24-48 hours to cure, while water-based stains dry in about an hour but need more time for hardness.
Here are some tips to keep in mind:
- Always allow sufficient drying time between coats—2-4 hours for water-based and up to 24 hours for oil-based stains.
- Consider environmental factors like humidity and temperature; aim for 50°F to 80°F.
- Apply evenly and wipe excess within the recommended 5-15 minutes.
- Test the stain on a small area to verify the desired finish before proceeding.
Frequently Asked Questions
How Much Stain Do I Need for My Project?
To determine how much stain you need for your project, start by measuring the total surface area you plan to cover.
For small projects, like furniture, a quart should suffice, while larger areas, like decks, typically require a gallon, covering about 200 to 300 square feet.
Consider the wood type; porous woods absorb more stain, so you might need extra.
Always round up in your calculations to guarantee you don’t run out mid-project.
How Do You Match Wood Stain to Wood?
Isn’t wood like a canvas, waiting for the perfect hue?
To match wood stain to wood, start by considering the type and grain of your wood. Notice the undertones—are they warm, cool, or neutral?
Test stain colors on small, hidden areas to see how they absorb and look in different light.
If you’re feeling creative, layer stains for a unique finish that enhances the natural beauty of your wood.
What Color Stain Is Best to Hide Imperfections?
If you’re looking to hide imperfections in wood, darker stains like deep browns or blacks work best. They create contrast that masks blemishes effectively.
Semi-solid or solid stains provide better coverage, offering a more uniform look. Consider a matte or satin finish to diffuse light, minimizing flaw visibility.
If your wood has prominent grain patterns, gel stains can help, as their thicker consistency adheres well and conceals uneven textures.
Always test on a small area first.
How Do You Stain a Woodworking Project?
Staining a woodworking project can feel like an art form, where every brushstroke reveals a hidden beauty within the wood.
Start by sanding the surface smooth and dust-free. Choose your stain based on the wood type and desired finish, then apply it evenly with a brush or cloth.
Wipe off excess to control color depth, and let it dry completely.
Consider adding a protective topcoat for durability, ensuring your masterpiece lasts.
Conclusion
Choosing the right wood stain isn’t just about color; it’s about enhancing beauty, ensuring durability, and creating ambiance. By understanding your wood type, considering your space, and testing colors, you’ll achieve a stunning finish. Prepare your wood properly, apply your stain with care, and enjoy the transformation. With the right stain, you’re not just finishing a project; you’re crafting a masterpiece that reflects your style and lasts for years to come.