To test paint samples without regret, start by choosing well-lit areas with natural or stable artificial lighting, making sure your walls are properly prepared for accurate reflection. Use large swatches or boards to see true color, and evaluate them in different rooms and lighting conditions throughout the day. Organize and compare samples carefully, limiting options to avoid confusion. Following these tips helps you confidently pick the perfect shade—learn more about creating flawless tests that save you time and money.
Key Takeaways
- Test large paint samples in natural and artificial lighting across different times of day to observe true color changes.
- Prepare surfaces thoroughly with cleaning and sanding to ensure accurate reflection of the paint’s true hue and finish.
- Use consistent lighting conditions and compare samples side-by-side in well-lit areas for reliable evaluation.
- Limit the number of colors tested simultaneously and organize samples for efficient, focused comparison.
- Assess colors in the actual room environment, considering lighting, surroundings, and surface finish before making final decisions.
Why Testing Paint Samples Can Save You Money and Frustration
Testing paint samples before committing to a full project can save you both money and frustration. Proper paint sample storage guarantees you keep samples fresh and accessible, preventing waste and repeated purchases. Using effective color matching techniques helps you visualize how a color will look in your space, reducing the risk of costly mistakes. When you test samples first, you catch potential issues with color compatibility or finish early on, avoiding rework and additional expenses later. This process also allows you to see how the paint responds to your lighting and environment, giving you confidence in your choice. Additionally, leveraging innovative cloud solutions can provide digital tools for color visualization and project management. Understanding the importance of contrast ratio in projectors can help you evaluate how different lighting conditions might affect your paint color perception. Proper document organization can help you keep track of your samples and project notes, making the process more efficient. Incorporating lighting considerations ensures that your chosen color looks its best under various lighting scenarios. Paying attention to color longevity and durability can further ensure your investment pays off over time. Ultimately, taking the time to test samples minimizes regrets, saves money, and makes your painting project smoother and more satisfying.
How to Choose the Best Spots to Test Your Paint Samples
Choosing the right spots to test your paint samples is key to making accurate color decisions. Focus on areas with ample natural light to see how the color truly appears. Avoid testing on small or hidden patches, as they don’t reflect the overall look. Use proper brush techniques to apply the paint evenly, ensuring a true color representation. Consider testing near the center of the wall rather than edges, which can look different due to lighting or wall imperfections. Use the color wheel as a guide to pick complementary or harmonious spots, such as adjacent sections with similar lighting. This approach helps you compare shades accurately and prevents surprises once the entire space is painted. Proper spot selection guarantees confidence in your final choice. Additionally, understanding paint application techniques can help you achieve more consistent results across different testing areas. Being aware of home renovation trends can also inform your color choices to match current styles and preferences.
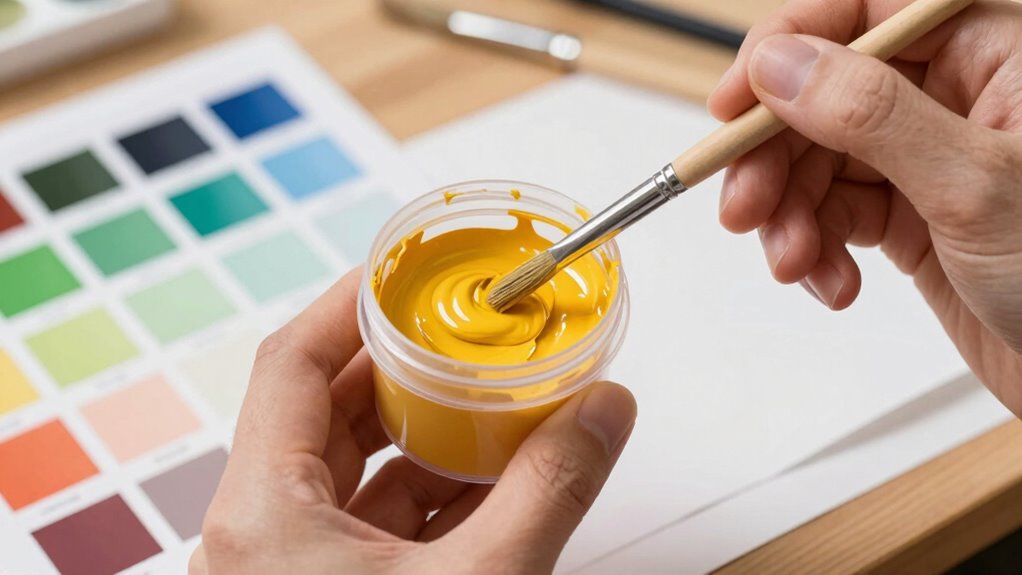
How to Apply Paint Samples for Accurate Color Testing

To get an accurate idea of how a paint color will look, start by preparing the surface properly—clean it and sand any rough spots. Make sure you apply the samples in consistent lighting conditions, ideally in natural daylight, to see the true color. This way, your testing will give you reliable results before making a final decision. Additionally, consider testing in different lighting throughout the day to observe how the color appears in various conditions. Proper surface preparation is essential for an accurate assessment of the paint sample’s true color and finish. Remember that the standardization of testing methods ensures consistency and accuracy in evaluating paint colors across different environments. Keep in mind that AI Ethicist Jobs, such as ensuring ethical standards in AI deployment, can influence how emerging technologies are integrated into industries like home improvement.
Proper Surface Preparation
Before applying paint samples, it’s vital to prepare the surface properly to guarantee an accurate color test. Start by cleaning the area thoroughly to remove dust, grease, or dirt that could affect adhesion or color appearance. Sand any rough spots to create a smooth, even surface, ensuring the paint adheres properly. When selecting brush techniques, use even strokes to avoid streaks and uneven coverage, which can distort your perception of the color. Consider the paint types you’re testing; some finishes, like matte or gloss, reflect light differently, so prepare the surface accordingly to get an honest color comparison. Proper surface preparation minimizes surface imperfections and ensures the paint sample accurately reflects how the color will look once applied broadly.
Consistent Lighting Conditions
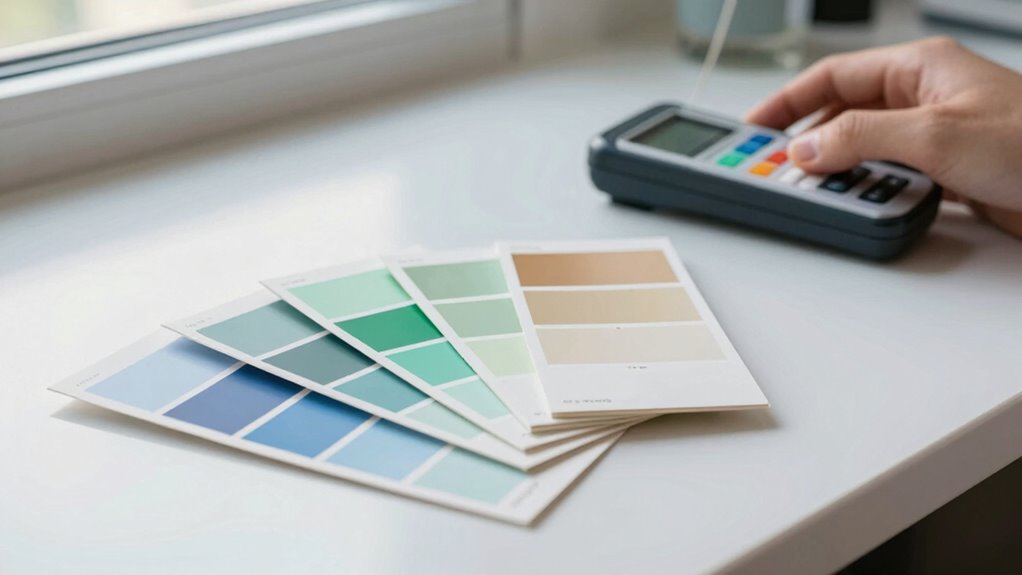
Ensuring consistent lighting conditions is crucial when applying paint samples because light dramatically influences how colors appear. Variations in light impact your perception of color consistency, making it essential to view samples under the same lighting setup throughout testing. Natural daylight offers the most accurate representation, but if you rely on artificial lighting, choose a consistent, neutral light source, such as daylight-balanced bulbs. Avoid changing light conditions during the testing process, as shifts can alter how the color looks, leading to inaccurate assessments. By maintaining stable lighting, you guarantee that your color perception remains consistent, helping you make confident decisions. Remember, light impact is significant—controlling it guarantees that your paint sample evaluations are precise and reliable. Additionally, understanding the effect of lighting on color perception can help you choose the best conditions for accurate testing. To further ensure accurate color matching, consider using a light meter to measure and replicate the same lighting conditions each time you test. Paying attention to lighting conditions in color matching can significantly improve the accuracy of your results and prevent costly mistakes. Being aware of the science behind light and color can enhance your ability to select the ideal testing environment and avoid common lighting errors that skew perception.
How Lighting Changes the Way You See Paint Colors
Lighting has a powerful effect on how paint colors appear, often changing their tone and intensity depending on the environment. Natural light brings out the true vibrancy of a color, making it look brighter and more accurate during the day. Conversely, artificial lighting can alter how a shade looks, sometimes making it seem warmer, cooler, or duller than intended. You might love a paint sample under bright sunlight but dislike it in the evening under warm incandescent bulbs. To get the most precise sense of a color, examine your samples at different times of day and under various lighting conditions. Understanding the lighting environment can help you anticipate how the color will look in your space’s unique lighting. This awareness can help you understand how lighting conditions influence perceived color, so you’ll avoid surprises after painting and ensure the color works in your space’s unique lighting environment. Additionally, testing samples in different lighting scenarios allows you to see how the color responds to changes in the environment, further aiding your decision-making process. Recognizing how ambient lighting impacts color perception enables you to choose shades that truly match your vision. Being aware of lighting effects can also help you select the right color temperature and type of bulbs for your space to maintain consistency.
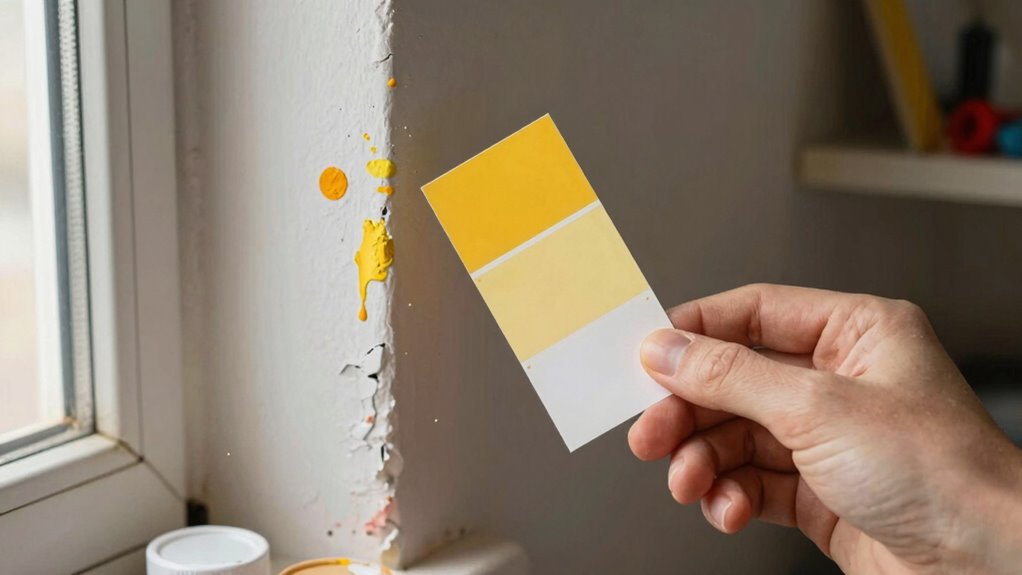
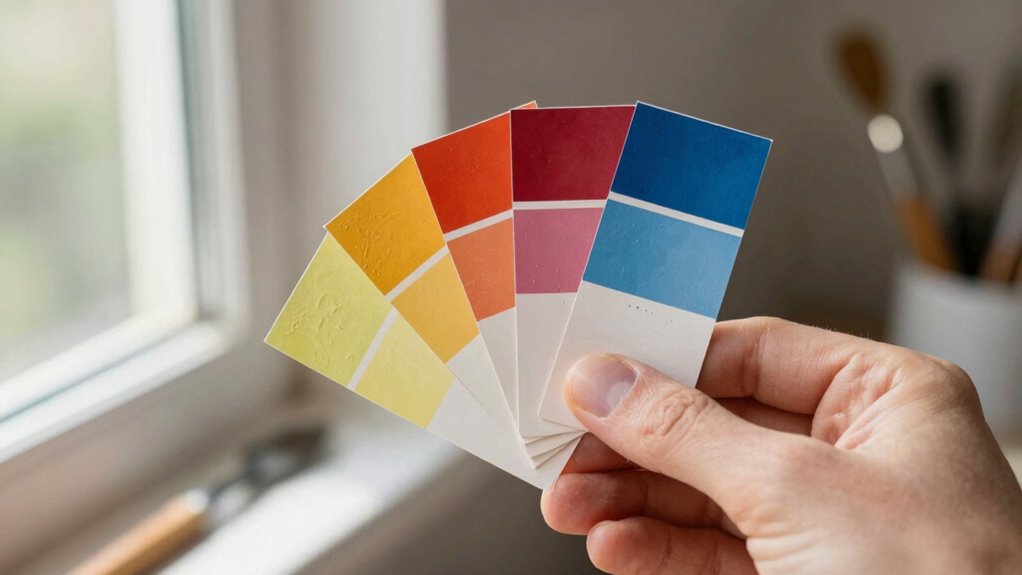
Using Large Swatches or Paint Boards to See True Colors
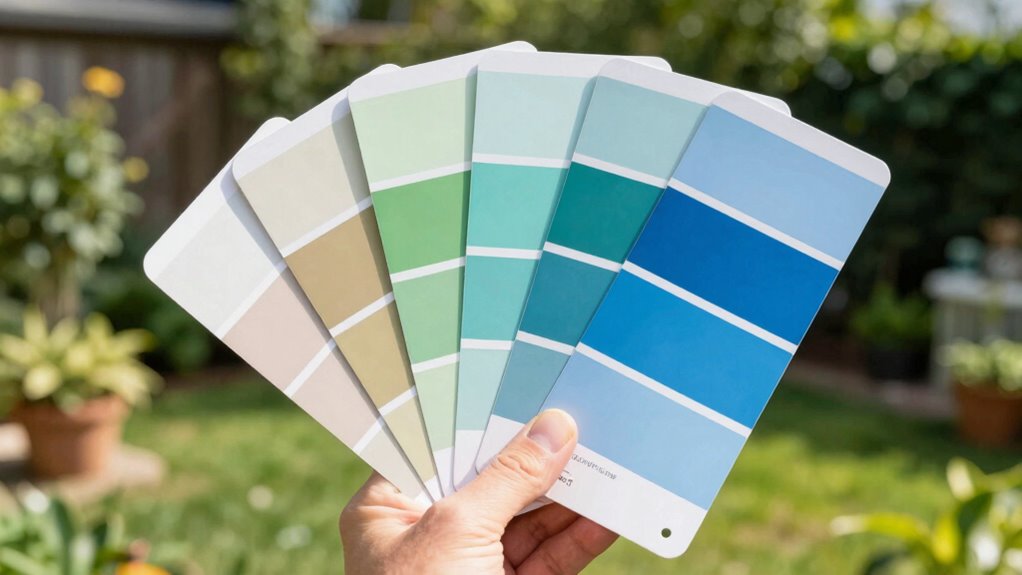
Using large swatches or paint boards helps you see the true color more accurately than small samples. Make sure you view them in proper lighting conditions to avoid misleading shades. This way, you can compare colors side by side and choose the best match for your space.
Large Swatch Benefits
Seeing how a paint color truly looks can be tricky with small samples alone. Large swatches or paint boards give you a better sense of the color’s true appearance across your space. They’re especially helpful for evaluating paint chip durability, as bigger samples reveal how the color interacts with lighting and surrounding elements. Plus, they minimize the risks of misjudging shades that can occur with tiny samples. Using larger samples also helps you compare different hues side by side, ensuring you pick the perfect match. When selecting sample container types, opt for sturdy, flat surfaces like foam boards or poster boards—these hold paint evenly and allow you to see the color in context. Additionally, live music at nearby restaurants can influence your perception of colors, so being able to see how your paint looks in different lighting conditions helps you make better choices. Incorporating color testing techniques like large swatches can significantly reduce your chances of regret. Utilizing visual perception strategies, such as viewing samples at different times of day, further enhances your confidence in your selection. Understanding the importance of lighting conditions can also help you anticipate how the paint will look in various environments.
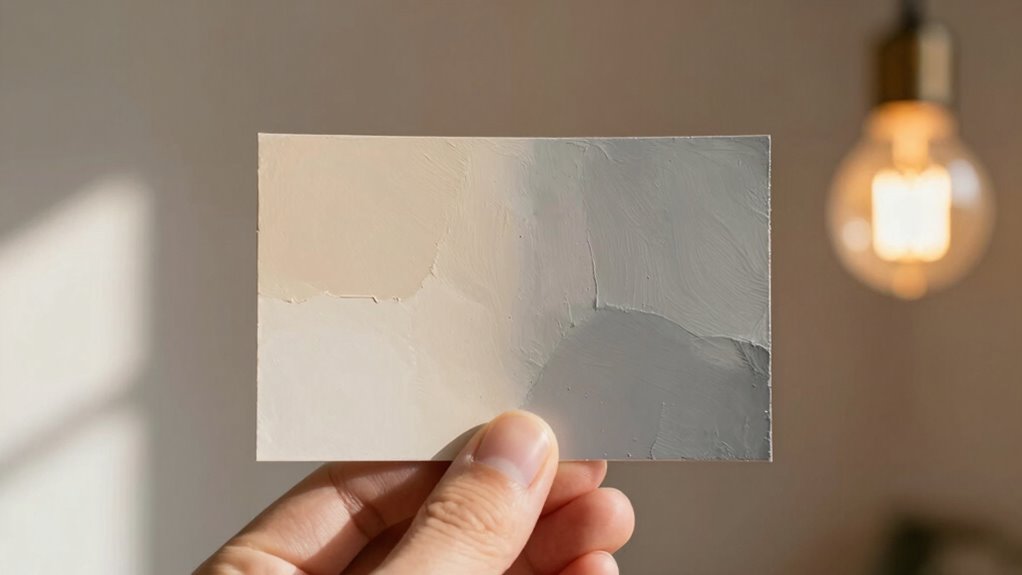
Proper Lighting Conditions
Proper lighting conditions are essential when evaluating large paint swatches or boards because different lighting can dramatically change how a color appears. The key factor is color temperature, which influences whether a color looks warm or cool. Natural light, with its variable color temperature, often reveals the true hue, but it can change throughout the day. Artificial lighting, such as incandescent or LED bulbs, has more consistent color temperature, yet it may misrepresent the color’s true tone. To accurately assess your paint choices, check your samples under both natural and artificial lighting conditions. This approach helps you see how the color behaves in different environments, preventing surprises once the paint is on your walls and ensuring your choice truly fits your space.
Accurate Color Comparison
To accurately compare paint colors, large swatches or paint boards are invaluable tools. They allow you to perform precise color matching and shade differentiation, giving you a clear view of how each hue interacts with your space’s lighting and surroundings. By placing sizable samples side by side, you eliminate the confusion caused by small patches that can appear different under varying conditions. This approach helps you observe subtle differences between similar shades, making it easier to select the perfect color. Using large swatches also reduces the risk of regret, as you can see the true color in context before committing. Overall, these tools provide a more reliable way to compare and choose your paint, ensuring your final choice matches your expectations.
How to Evaluate Paint Colors in Different Rooms and Lighting Conditions

Evaluating paint colors in different rooms and lighting conditions is essential because a shade that looks perfect in one space can appear entirely different elsewhere. Natural light, artificial lighting, and the room’s purpose influence how you perceive color and paint finish. To see how a color truly works, test samples in various lighting situations at different times of day. Consider color psychology—warm tones can create cozy vibes, while cool hues promote calmness. Use a consistent paint finish across samples to guarantee accurate comparisons.
| Room Type | Lighting Conditions | Effect on Color |
|---|---|---|
| Living Room | Bright sunlight | Brightens warm colors |
| Bedroom | Soft artificial light | Muted and soothing tones |
| Kitchen | Fluorescent lighting | Enhances crispness of hues |
| Office | Overhead LED lighting | Alters color perception |
| Bathroom | Mixed natural and artificial | Highlights reflectivity |
Tips for Organizing and Comparing Multiple Paint Samples
Organizing and comparing multiple paint samples effectively guarantees you select the best color for your space. Start by using a dedicated sample storage system, like a labeled box or folder, to keep your samples neat and accessible. This helps prevent mix-ups and makes it easier to review options side by side. When comparing colors, focus on color matching in different lighting conditions and how each shade complements your décor. Arrange samples in natural light to see their true hues, and take notes on your impressions. Group similar tones together for quick comparison, and avoid jumping between mismatched samples. Proper sample storage and systematic comparison streamline your decision-making process, ensuring you choose a color that truly fits your space without second-guessing.
Common Mistakes to Avoid When Testing Paint Samples
One common mistake people make when testing paint samples is not considering the lighting conditions under which they’ll actually see the color. This oversight leads to paint sample mistakes, as colors can look drastically different indoors versus outdoors or under various lighting types. Avoid falling into this color testing pitfalls by evaluating samples in the room where they’ll be applied, at different times of the day. Another mistake is testing too many colors at once, which can cause confusion and decision fatigue. Also, skipping proper surface preparation or ignoring the finish’s impact can skew results. Remember, a quick glance at a sample isn’t enough—observe it closely and in context to ensure your final choice truly matches your vision.
Final Steps to Confidently Pick Your Perfect Paint Color
Once you’ve tested your paint samples in the actual room and lighting conditions, it’s time to make your final decision with confidence. Consider how color psychology influences your mood and the room’s atmosphere—choose hues that evoke the feelings you want. Assess the paint’s durability, ensuring it withstands daily wear and cleaning without fading or chipping. Trust your instincts, but also review how the color looks at different times of day. Bring in a second opinion if needed, but remember, this is your space. Once you’re satisfied with the sample’s appearance and feel assured of its lasting quality, go ahead and commit. Your perfect paint color is within reach when you balance emotional impact with practical durability.
Frequently Asked Questions
How Long Should I Wait After Applying Paint Samples Before Evaluating?
You should wait at least 24 hours before examining your paint samples, as drying time varies depending on the paint type and thickness. Make sure to check the samples under your lighting conditions, as natural and artificial light can affect how the color appears. Avoid assessing the samples immediately after application, since fresh paint needs time to dry fully for an accurate evaluation.
Can Environmental Factors Like Humidity Affect Paint Sample Appearance?
Environmental factors like humidity can greatly affect your paint sample’s appearance. High humidity can cause the paint to dry unevenly, impacting the paint consistency and making color look different. make certain proper surface preparation before testing, and try to evaluate samples in a controlled environment. Waiting at least 48 hours allows the paint to cure, revealing its true color and finish despite humidity influences.
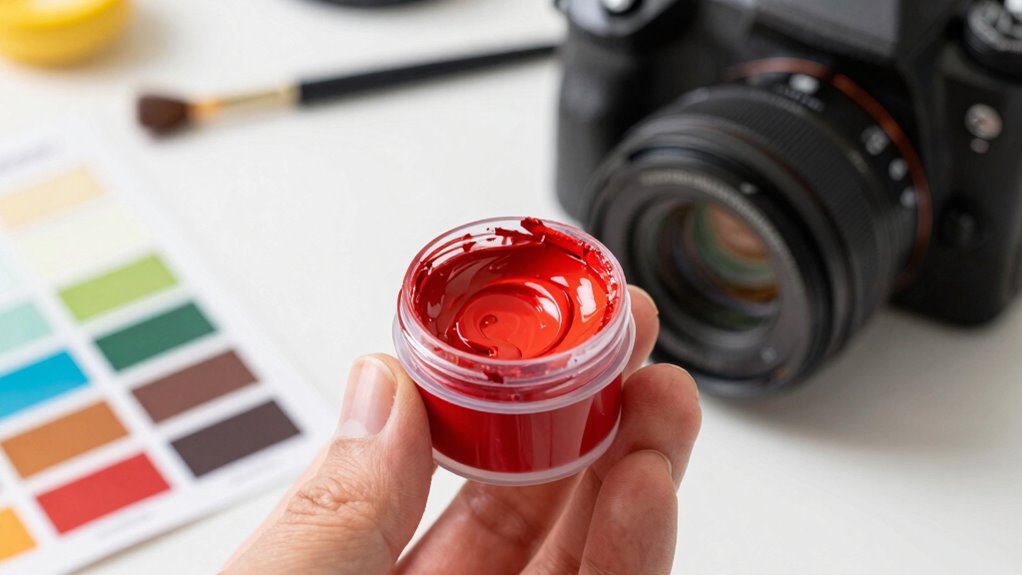
What Tools Are Best for Inspecting Paint Color Accuracy?
Your eyes are your best tool for inspecting paint color accuracy, but don’t rely on them alone—use a color matching tool like a digital colorimeter or spectrophotometer for precision. Always check under different lighting conditions to see how the color truly appears, as lighting can dramatically change perception. These tools guarantee you get a perfect match every time, avoiding surprises that could turn your project into a nightmare.
How Do I Prevent Sample Color From Fading or Changing Over Time?
To prevent your paint sample from fading or changing over time, apply a clear paint sealant to protect it from UV rays and moisture. Keep the sample in an environment with controlled temperature and humidity to minimize environmental effects. Store it away from direct sunlight and harsh conditions, and avoid touching the surface. These steps help maintain your sample’s true color, making your color decision more accurate and lasting.
Is It Necessary to Test Samples on All Walls or Just One?
You only need to test samples on one wall if you guarantee wall consistency and proper sample placement. Choose a wall with similar lighting, texture, and color to your entire space. Applying the sample in a small, discreet area helps you see the true color without influencing nearby walls. This approach saves time and material, giving you a clear idea of how the paint will look across your space.
Conclusion
Remember, a picture is worth a thousand words, but testing your paint samples saves you from costly regrets. Take your time, evaluate under different lights, and compare carefully. When you’re patient and thorough, you’ll find the perfect color that truly suits your space. Don’t rush the process—after all, Rome wasn’t built in a day, and your perfect paint color isn’t either. Trust the steps, and you’ll love the result.