
To design a dress from sketch to reality, start by sketching your ideas, focusing on silhouette and style. Choose fabrics that offer comfort and drape well. Next, create accurate technical specifications, detailing measurements and seam placements. After that, prototype your design to test fit and fabric behavior. Once you've finalized the fit, grade your pattern into various sizes. Calculate the necessary materials, ensuring to account for extras like lining and interfacing. Finally, oversee the stitching and finishing processes to maintain quality. If you follow these steps, you'll be well on your way to mastering dress design. You're just getting started!
Key Takeaways
- Begin with an initial sketch to establish the dress's silhouette, style, and overall concept.
- Select suitable fabrics, prioritizing comfort, drape, and versatility for different occasions.
- Create a prototype to test fit, fabric behavior, and identify any design issues early.
- Document technical specifications, including seam placements and allowances for durability and fit.
- Finalize assembly and perform quality control checks before packaging the dress for market readiness.

Vomavex Closet System with 4 sets, 101.9" Closet Organizer Systems with 6 Drawers & 8 Hanging Rods & Adjustable Shelves, Walk in Closet Standing Closet System, Corner Closet System Set, White
【 4-in-1 Closet System, Custom/DIY as you like】- This Closet System sets includes 4 Separate closet Units: One...
As an affiliate, we earn on qualifying purchases.
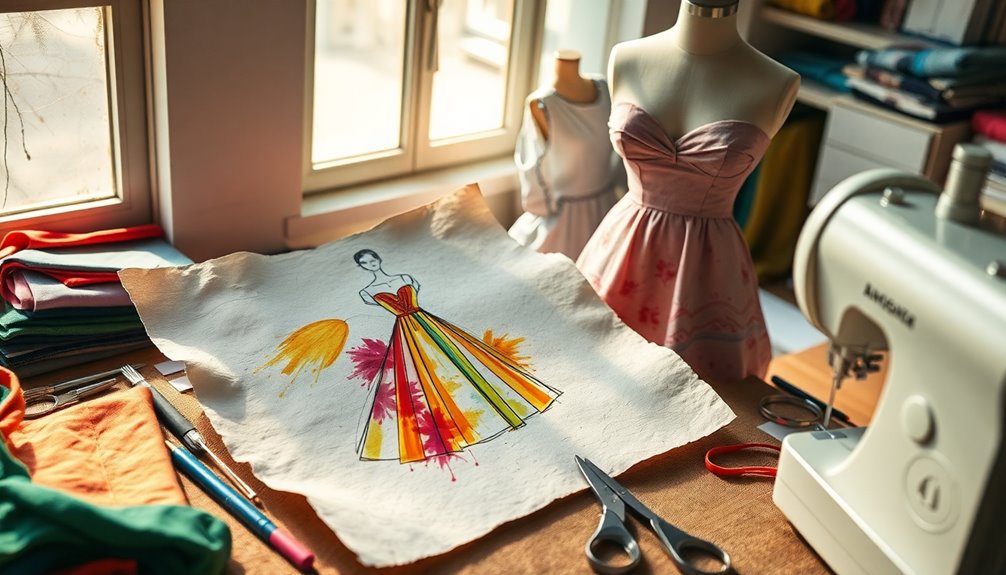
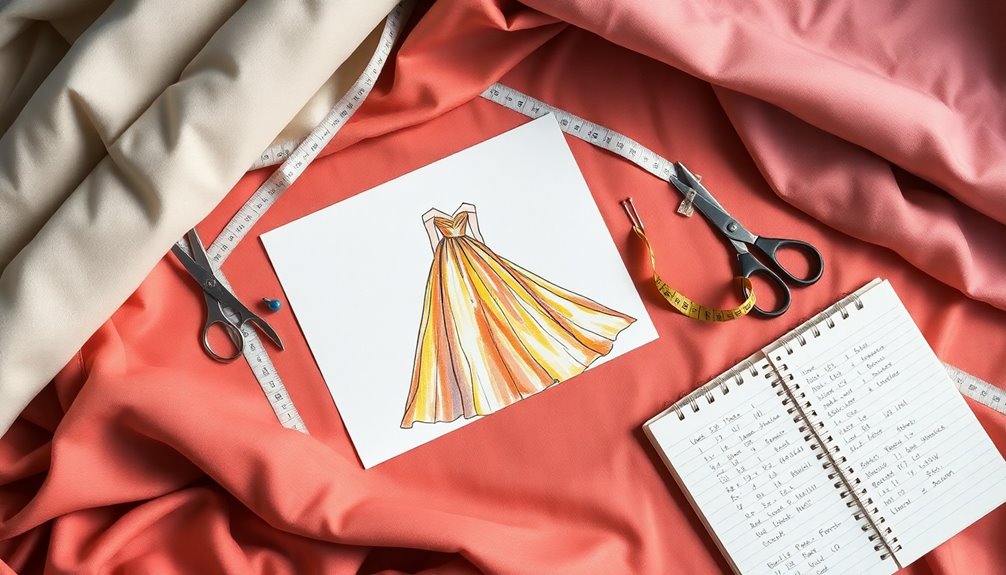
Design Concept Development

When you're developing a design concept for a dress, start with an initial drawing that captures the silhouette and style you envision. This sketch will serve as your visual guide.
Think about comfort and versatility; you want your dress to pair well with different footwear and suit various occasions. Incorporate a relief pattern to enhance the garment's aesthetic appeal and add visual interest.
Selecting the right fabric is essential, so consider its weight for proper drape and fall, as it greatly influences the dress's overall look.
Finally, address comfort by ensuring the garment fits and moves with the body, allowing for ease throughout the day. A well-thought-out design concept lays the foundation for a successful dress.

SUAWY 108 Inch Sectional Sleeper Sofa with Pull Out Bed, U Shaped 7 Seat Modular Sectional Sofa with Storage, Sectional Couches for Living Room, Cloud Modular Couch,Removable Sofa Cover, Dark Grey
Multiple Package Issues: Multiple package may not arrive at the same time. If you have any questions about...
As an affiliate, we earn on qualifying purchases.
Creating Technical Specifications
When you create technical specifications, focus on essential measurement requirements to guarantee every garment fits perfectly.
Pay attention to seam placements and identify reinforcement areas, as these details enhance durability in high-stress zones.
Precision is key, so make certain to document everything clearly to avoid production errors that could affect your final product.
Essential Measurement Requirements
To create a well-fitting dress, you'll need to gather accurate measurements that cover key areas like the bust, waist, hip, and length. These detailed dimensions guarantee a proper fit, making your design more successful.
Don't forget to include reinforcement points in your specifications, especially around the zipper and armholes, to enhance stability and durability.
Quick sketches annotated with your measurements are essential for visual clarity, helping you communicate design elements effectively during the production phase.
Precision is critical; even minor discrepancies can lead to fitting problems and affect the overall quality of your final garment.
Seam Placement Considerations
Accurate measurements set the stage for the next step in your dress design: seam placement considerations.
You should strategically position seams to enhance the garment's fit. Common placements include side seams, shoulder seams, and center back seams, which contour to the body beautifully.
Choose your seam types wisely—French seams or flat-felled seams can greatly impact the finish and comfort of the dress.
Don't forget to document precise seam allowances, typically ranging from 1/4 to 5/8 inch, in your technical specifications for consistency.
Adding annotations on your sketches will facilitate clear communication during pattern development and prototyping, helping you avoid potential construction errors.
It's all about making your design process smooth and effective!
Reinforcement Areas Identification
Identifying reinforcement areas is essential for guaranteeing your dress withstands the rigors of wear.
Focus on spots like seams, waistbands, and armholes, where stress is most concentrated. Use durable materials, such as interfacing or extra fabric layers, in these high-stress zones to boost stability and longevity.
Choose strong stitching techniques, like double stitching or bar tacking, to reinforce these critical areas. Document your specifications clearly in the technical sheet, noting dimensions and placements to maintain consistency during production.
Before finalizing your design for mass production, prototype the reinforced areas to test their effectiveness. This step guarantees your dress not only looks great but also stands the test of time and use.

Aheaplus Closet System with 6 Drawers, 4.5ft Wood Closet Organizer System, Walk-in Closet or Small Closets Wardrobe, Clothes Rack with Hanging Rods, Set of 2, White
【Spacious Closet System with 6 Drawers】 Combining TWO 3-drawer closet units, this wood closet system offers double the...
As an affiliate, we earn on qualifying purchases.
Pattern Creation Process
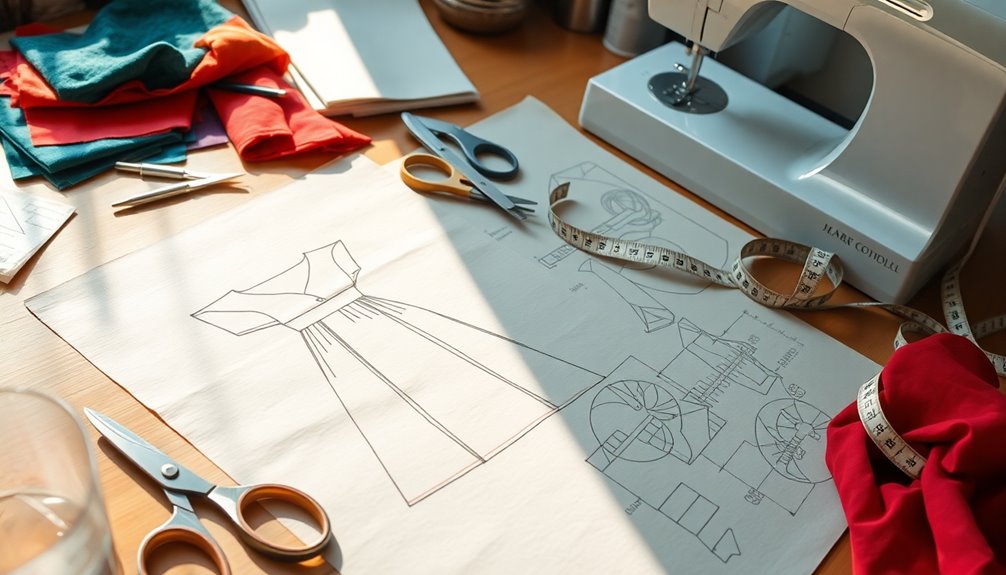
Creating patterns for your dress is an essential step that lays the foundation for the entire design process. Start by drafting detailed paper patterns for each section of the dress, guaranteeing they correspond accurately to the final garment scale.
Don't forget to include seam allowances and cutting directions to guide your fabric cutting and assembly. Make sure to provide thorough sewing indications, detailing stitch types and placements for proper construction.
Before finalizing, test your design with a prototype to assess fit and fabric behavior. After testing, use the grading process to create multiple sizes (S, M, L) by making proportional adjustments while maintaining aesthetic consistency.
This process guarantees your dress will fit beautifully and look polished.
Closet System with 4 Sets, 8–21 FT Closet System with 6 Drawers, 9 Shelves & 8 Hanging Rods, Max 252″ Closet Organizer System for Walk in Closets, Modular Custom Wood Closet Kit with Shoe Racks, White
【Customizable 4-in-1 Closet System】Perfectly fits spaces from 95" to 252" wide. This premium modular closet system includes four...
As an affiliate, we earn on qualifying purchases.
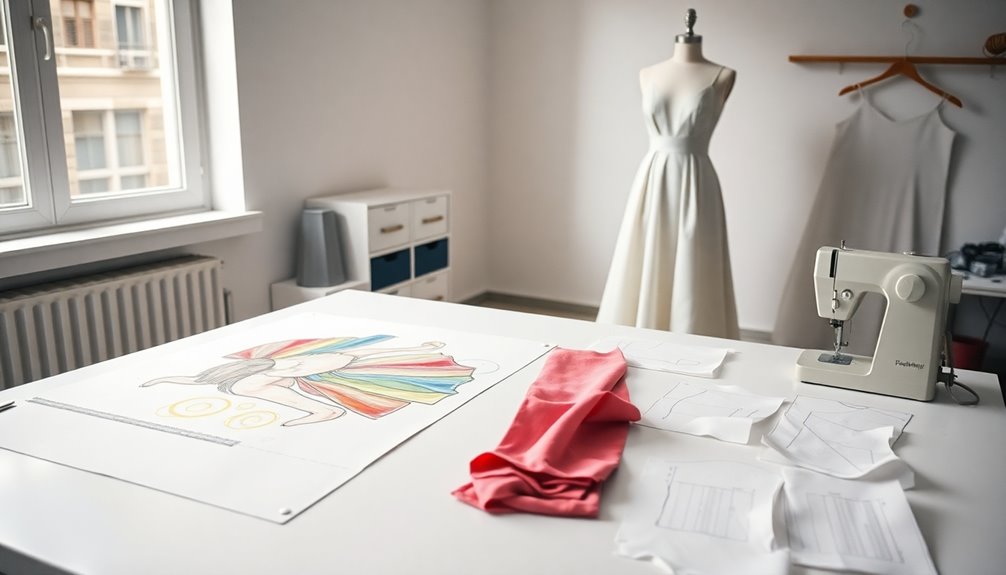
Prototyping the Design

Prototyping your design is essential for testing how your chosen fabric behaves and ensuring a great fit.
By creating a sample garment, you'll spot any issues early and make necessary adjustments to enhance both the look and wearability.
This step not only improves your design but also sets the stage for consistent production.
Importance of Prototyping
When you commence designing a dress, the importance of developing a prototype can't be overstated.
Prototyping lets you test the fit, comfort, and overall aesthetic of your design before moving to full-scale production, which helps minimize costly errors.
It's a chance to assess how the garment performs in real-world conditions, ensuring it meets wearability standards. During this phase, you can make adjustments to dimensions and design elements based on your observations and feedback.
Additionally, prototyping helps identify potential construction issues, allowing you to refine techniques that enhance the final product's quality.
Finally, your prototype serves as a reference for grading the design into multiple sizes, ensuring that proportional adjustments maintain the intended look across all sizes.
Testing Fabric Behavior
To guarantee your dress design performs well, testing the fabric's behavior is essential. Prototyping allows you to create a sample garment and assess how the fabric drapes, stretches, and fits when worn. You'll want to conduct real-world tests to observe how the fabric reacts to movement and temperature changes. Pay close attention to issues like fraying, fading, or pilling that could affect longevity. Documenting your observations will help guide future production decisions. Based on feedback about comfort and functionality, you can make necessary adjustments to confirm your final design meets wearability standards.
| Fabric Type | Drape Quality | Stretch Level |
|---|---|---|
| Cotton | Medium | Low |
| Silk | High | Medium |
| Polyester | Low | High |
| Linen | Medium | Low |
| Wool | High | Medium |
Adjusting Fit and Design
Adjusting the fit and design of your dress is essential for achieving a polished final product.
Prototyping lets you create a sample garment to evaluate your design, fabric choice, and overall fit before final production. You'll conduct real-world testing to see how the fabric behaves when worn, guaranteeing comfort and practicality.
Based on feedback, make adjustments to the prototype, focusing on the waist, hips, and bust for a tailored appearance.
Grading the prototype into sizes like S, M, and L requires proportional adjustments to maintain aesthetic consistency across body types.
Engaging professional pattern makers during this grading process guarantees your final garment meets industry standards for fit and construction, resulting in a beautifully crafted piece.
Grading for Size Variations

Grading for size variations is an essential step in dress design, guaranteeing that each piece fits well across different body types.
You'll adjust the original pattern to create multiple sizes, typically small (S), medium (M), and large (L), while maintaining proportionality for aesthetic consistency.
Professional pattern makers often use a grading rule system, which outlines specific increments based on standard size charts.
Carefully scale each pattern piece, considering bust, waist, hip, and length adjustments.
Precise calculations are critical to guarantee seam placements and fit remain consistent across all sizes, avoiding design distortion.
Prototyping each graded size is important to test fit and functionality before finalizing production, assuring quality in the final garments you'll create.
Material Calculation
When calculating the materials needed for your dress, it's crucial to start with the total fabric length, which usually ranges from 2 to 5 yards depending on the style and size. Don't forget to take into account the fabric width, typically 44/45 or 54/55 inches, as this affects how many pieces you can cut. Always add at least 10% extra fabric for seam allowances, hems, and design features like pleats or ruffles. Additionally, factor in materials for lining, interfacing, and embellishments based on your design complexity. Use the table below to help keep track of your materials:
| Material | Quantity | Notes |
|---|---|---|
| Fabric | 2-5 yards | Based on style/size |
| Lining | 1-2 yards | Depends on dress design |
| Thread | 1 spool | Match fabric color |
| Embellishments | Varies | Based on your design |
Streamlining Production Steps
To streamline production steps effectively, start by calculating the total materials you'll need based on your expected production volume, including fabric, thread, and trimmings. This helps avoid shortages or excess.
Next, utilize a streamlined sewing process with clear assembly instructions to enhance efficiency and minimize errors. Implement a sequential production method where tasks are organized logically, optimizing workflow and reducing assembly time.
Make certain you provide detailed technical specifications, including dimensions and seam placements, to guide your production team and maintain garment quality.
Finally, conduct a thorough review of the prototype to identify any design flaws or fabric issues before moving to bulk production, guaranteeing consistency in the final product. This approach will greatly enhance your production process. Additionally, consider establishing clear savings goals to ensure you have the necessary funds for high-quality materials and production costs.
Final Assembly and Delivery
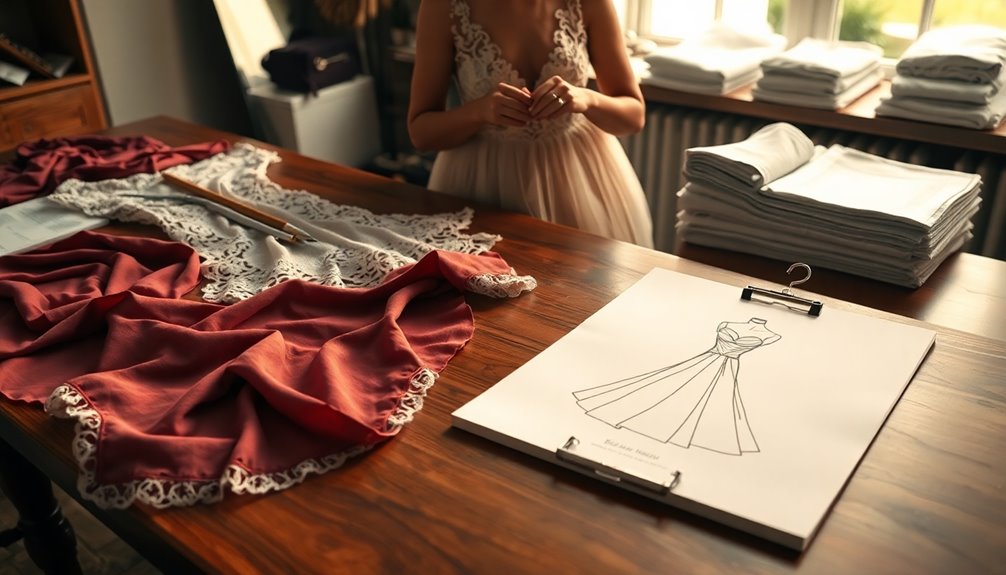
As you move into the final assembly and delivery stages, it's crucial to stitch together all pattern pieces with precision, guaranteeing that seam allowances are followed for a polished finish.
During this process, conduct quality control checks to verify that each garment meets the specified dimensions and design details.
After assembly, press the garments to achieve the desired drape and eliminate any production creases.
Once everything's completed, package the garments according to marketing standards, including labeling and tagging, before dispatching.
In the final delivery stage, manage inventory meticulously to guarantee timely shipment to retailers or directly to consumers, maintaining transparency in stock levels and fulfilling orders efficiently.
This attention to detail guarantees a seamless shift from production to market.
Frequently Asked Questions
How to Design a Dress Step-By-Step?
To design a dress step-by-step, start with your initial sketch, focusing on the silhouette and style elements.
Next, develop detailed technical specifications that outline measurements and fit.
Create unique paper patterns with seam allowances for accurate assembly.
Construct a prototype to test the design, adjusting as needed.
Finally, calculate the materials required for production and order everything in bulk to streamline the sewing process.
You'll be well on your way to creating a stunning dress!
How to Design a Dress by Yourself?
Designing a dress by yourself is like painting a canvas; it starts with your creative vision.
First, sketch your ideas, capturing the silhouette and style you want. Next, choose fabrics that suit your design and comfort.
Create technical specifications to guide your assembly. Make paper patterns for accuracy, then sew a prototype to test fit and fabric behavior.
Adjust as needed, and you'll have a unique dress that reflects your personal style.
How to Do Fashion Designing Step-By-Step?
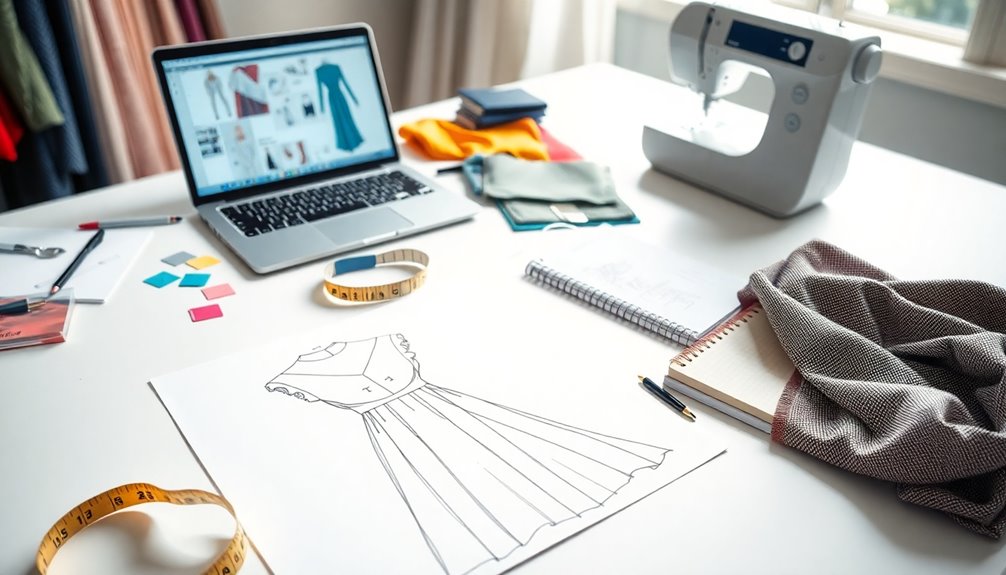
To immerse yourself in fashion designing step-by-step, start by brainstorming your concept and sketching your ideas.
Next, research fabrics and trends to inform your choices.
Create detailed technical specifications to guide your construction.
Develop paper patterns, ensuring they fit well and include seam allowances.
Make a prototype to test the design and fit.
Finally, plan your production process, calculating materials and establishing an efficient workflow for assembly.
Your creativity will shine through!
How Do I Start a Fashion Design Sketch?
Start sketching your sensational style by soaking in inspiration! Gather ideas from fashion magazines, nature, or online platforms.
Next, create a simple outline that highlights key elements like silhouette, fabric, and wearability. Use a dress template or croquis to capture your vision accurately.
Don't forget to add details like seams and stitches. Finally, annotate with measurements and notes to guide your future design decisions.
Your fashion journey begins here!
Conclusion
As you wrap up your journey from sketch to reality, remember that every great dress starts with a spark of inspiration. Coincidentally, the fabric you chose might just be the perfect match for your vision—like fate intervening. Trust the process, embrace the little surprises along the way, and soon enough, you'll see your creation come to life. With each stitch, you're not just making a dress; you're weaving your story into every seam.