Decor
Step-by-Step Guide to Painting Your Mirror
Yearning to transform your mirror? Discover easy steps to paint it beautifully and add a personal touch to your space.
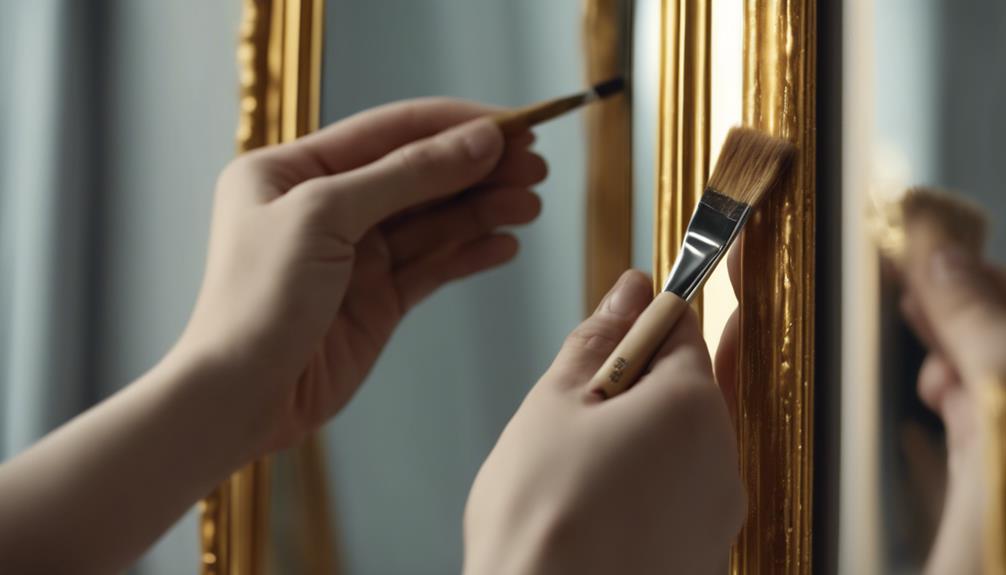
To paint your mirror, gather white acrylic paint, painters tape, light sandpaper, white gesso, and spray paint. Clean the mirror, trace a design, apply gesso, and let it dry. Prime the mirror with gesso using thin layers before painting. Remove dust, apply primer, and spray paint the frame with multiple coats. Use acrylic glass paint, layer dark to light colors, and fix mistakes with Q-tips. Seal the paint with a solvent, wipe off excess, and protect the mirror's surface. Hang it securely at eye level and complement your room's decor. Enhance your space with a painted mirror for a personal touch.
Key Takeaways
- Clean the mirror surface thoroughly before painting.
- Use white gesso as a primer for a smooth finish.
- Apply multiple thin coats of spray paint for even coverage.
- Incorporate intricate details with acrylic paint for a unique design.
- Seal the paint with a non-toxic solvent for longevity.
Gather Painting Materials
Wondering what materials you need for painting your mirror? When starting a project like Painting On Mirrors, it's crucial to have the right supplies ready.
To begin with, white acrylic paint is a must-have for creating a clean and classic look. To guarantee crisp lines and protect areas you don't want to paint, use painters tape on the mirror frame. Before painting, a light sanding of the surface can help the paint adhere better. Applying white gesso as a primer will further enhance the paint's durability and finish. Remember to let each layer dry completely before proceeding to the next step.
When opting for spray paints, choose colors like Valspar Silver or any preferred shade for a modern touch. By having these key components – white acrylic paint, painters tape, light sanding tools, white gesso, and spray paints – you're well-equipped for a successful mirror painting project.
Prepare Mirror Surface
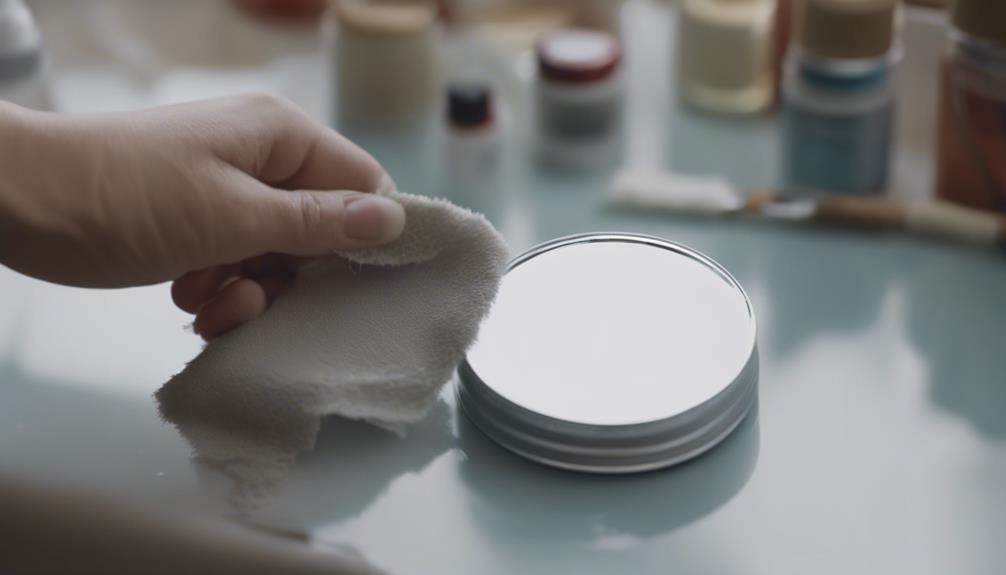
How can you effectively prepare the surface of your mirror for painting? Here are three essential steps to get your mirror ready for a flawless paint job:
- Clean Thoroughly: Begin by wiping the mirror with a damp microfiber cloth to remove any dust and grime that could impact the paint adhesion. For stubborn spots, utilize rubbing alcohol to guarantee a pristine surface for painting.
- Trace Your Design: Use a water-soluble pencil to outline your design directly onto the mirror. This step guarantees precision and helps you visualize the final artwork before painting.
- Apply White Gesso: To create a smooth and paint-friendly surface, prime the mirror with white gesso. This primer will improve the paint's adherence and provide a suitable base for the colors. Allow the gesso to dry thoroughly before applying another layer of paint, such as chalk paint, to achieve the desired finish on your mirror frame.
Prime Mirror With Gesso
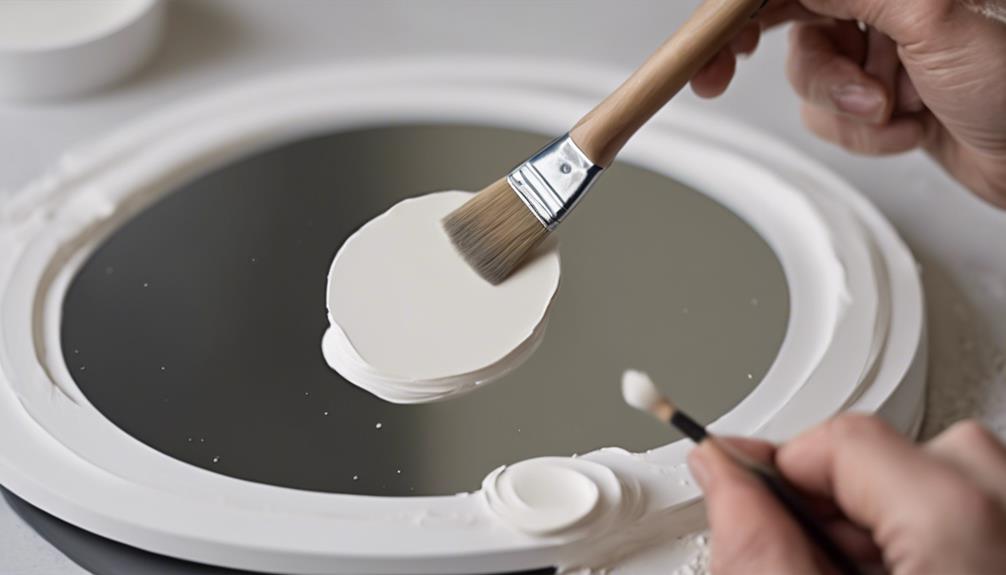
To prime a mirror with gesso effectively, start by applying a thin layer using an inexpensive brush for even coverage. White gesso serves as a primer to prevent paint peeling on mirrors. It is akin to white acrylic paint but possesses a thinner consistency, ensuring a smooth base for your painting project. After applying the gesso, allow it to dry overnight before proceeding to the painting step. This step is vital as priming with gesso guarantees long-lasting results for your mirror. Below is a table summarizing key points on priming your mirror with gesso:
| Key Points | Details |
|---|---|
| Primer Type | White gesso |
| Application Method | Thin layer with an inexpensive brush |
| Drying Time | Overnight |
| Purpose | Prevents paint peeling on mirrors |
| Similar to | White acrylic paint, but with a thinner consistency |
Paint Mirror Frame
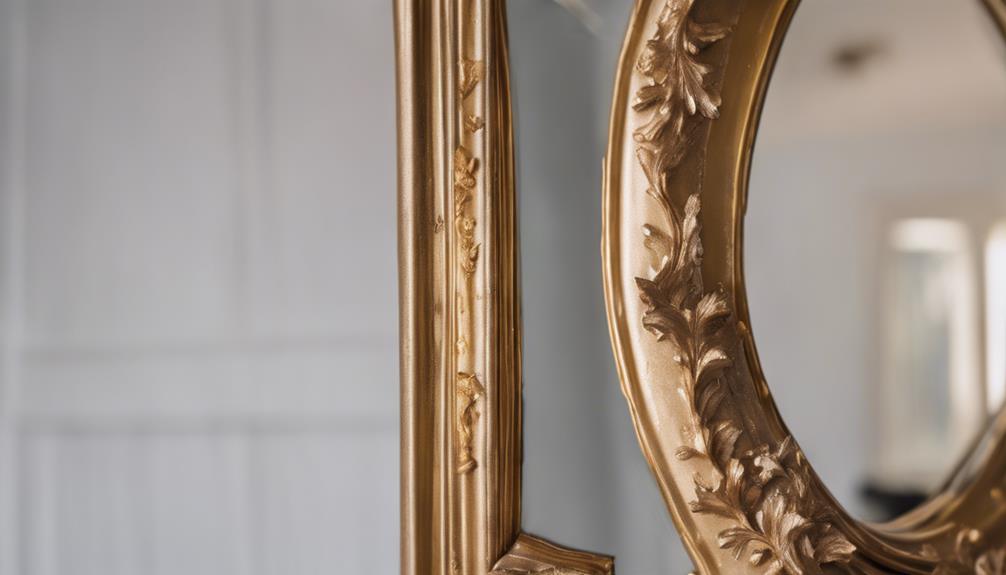
Let's begin by preparing the mirror frame for painting by removing the mirror to prevent any accidental damage.
Here's how to paint your mirror frame effectively:
- Make sure to remove any dust: Before painting, lightly sand the frame and wipe it clean to guarantee proper paint adhesion. This step is essential for a smooth and lasting finish.
- Apply primer: To create a good base for the paint, apply a primer on the mirror frame. The primer helps the paint adhere better and ensures a professional-looking result.
- Use spray painting technique: When spray painting the frame, use smooth strokes for even coverage. Consider applying multiple thin coats of spray paint for better durability and coverage. This technique not only enhances the appearance but also contributes to a long-lasting finish.
Add Color and Details
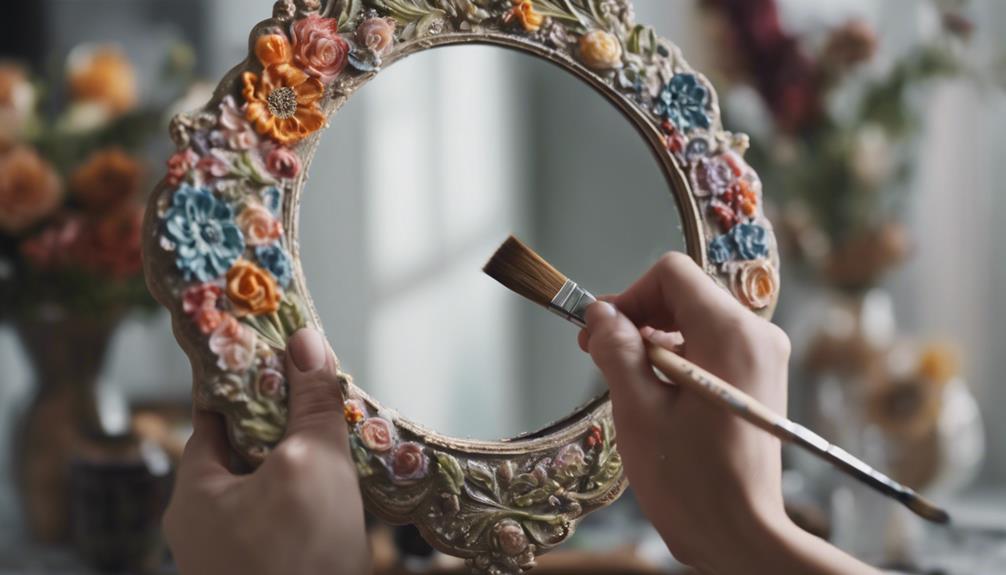
Adding color and intricate details to your painted mirror can elevate its aesthetic appeal and create a personalized touch to your space. When painting a mirror, using acrylic paint formulated for glass painting allows for vibrant colors that adhere well. Begin by painting the darkest areas first and gradually layer lighter colors to achieve a detailed look. To correct mistakes or create precise designs, Q-tips are handy tools for removing excess paint. Experiment with various colors and techniques to craft a unique design that reflects your style. Incorporating intricate details like floral patterns or geometric shapes can enhance the overall beauty of your painted mirror. To help you envision the possibilities, refer to the table below for some color and technique ideas:
| Colors | Techniques |
|---|---|
| Gold | Stippling |
| Teal | Dry brushing |
| Rose Gold | Sponging |
| Silver | Swirling |
Seal the Paint
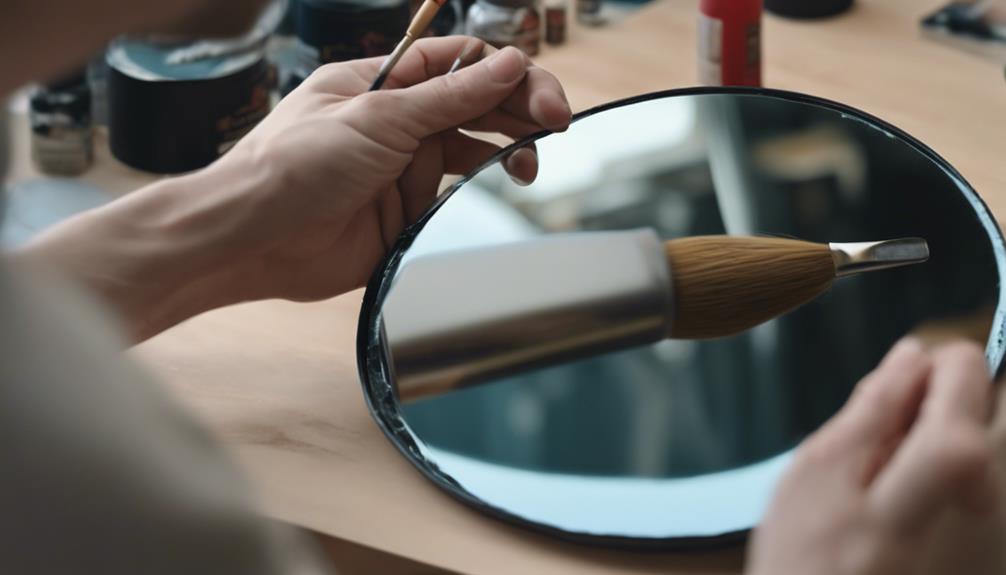
Sealing the paint on our mirror is essential to protect the painted surface and guarantee its longevity. To achieve the best results, follow these steps:
- Use a non-toxic solvent to prep the surface before sealing. This ensures proper adhesion of the sealant and enhances the durability of the paint.
- Wipe off any excess sealant with a soft cloth. This step is vital to achieve a clean and professional finish on your painted mirror, enhancing its aesthetic appeal.
- When using acrylic spray varnish, consider using a paper template to protect the mirror while applying the sealant. This precaution prevents overspray and ensures a flawless finish while preserving the mirror's reflective surface.
Sealing the painted areas of your mirror with a sealant or varnish not only protects the painted surface but also guarantees a long-lasting finish. Following these steps will help maintain the beauty of your artwork and protect it from damage over time.
Display Your Painted Mirror

When it comes to displaying your painted mirror, choosing the right spot is essential. A prominent wall space can make your mirror a focal point, enhancing the room's overall aesthetic.
Consider the lighting and surrounding decor to showcase the painted details effectively.
Mirror Placement Tips
To showcase your painted mirror effectively, consider the surrounding decor and lighting in the chosen display area. When placing your painted mirror, keep in mind the following tips:
- Harmonize with Decor: Guarantee the colors and style of your painted mirror complement the surrounding decor. This cohesion can enhance the overall aesthetic appeal of the space.
- Optimal Lighting: Position the mirror in a well-lit area to maximize its visual impact. Proper lighting can highlight the details of the painted design and create an inviting ambiance.
- Secure Hanging: Hang your painted mirror at eye level to facilitate easy viewing and reflection. Use sturdy hooks or brackets to securely mount the mirror on the wall, ensuring it remains safely in place.
Styling Your Mirror
Let's explore creative ways to showcase your painted mirror within your room decor. When considering styling your mirror, it's crucial to choose a focal point that complements the overall theme of your space. To create a unique look, experiment with different hanging techniques such as using wall hooks or leaning the mirror against a wall. For a more dramatic effect, consider grouping multiple painted mirrors together to achieve a gallery wall effect.
Utilizing natural light can enhance the colors and details of your painted mirror, making it a stunning addition to your room decor. Whether you place the mirror in a frame or leave it frameless, the key is to make sure it stands out in a way that harmonizes with the rest of the room. By following these styling tips, you can transform your painted mirror into an alluring piece that elevates the aesthetic of your space.
| Mirror Styling Tips | |
|---|---|
| Choose a focal point | Consider the style and theme of your room when deciding where to display your mirror. |
| Hanging techniques | Use wall hooks or lean the mirror against a wall for a unique look. |
| Gallery wall effect | Experiment with grouping multiple painted mirrors for a dramatic display. |
| Natural light | Enhance colors and details by placing the mirror where natural light can hit it. |
| Room decor | Make sure the mirror complements the overall aesthetic of your room. |
Frequently Asked Questions
What Kind of Paint Will Stick to a Mirror?
Acrylic enamel paint or glass paint formulated for glass surfaces will adhere well to mirrors. Enamel paint, being more durable than regular acrylic paint on mirrors, is less likely to peel off.
Priming the mirror with white gesso before painting helps the paint adhere better and last longer. A thin coat of white acrylic paint as a base layer can also improve the paint's longevity.
Make sure the mirror surface is clean, dry, and residue-free for effective paint adhesion.
How to Prep a Mirror for Painting?
To prep a mirror for painting, start by cleaning the surface with a damp microfiber cloth to remove dust and residue.
Next, trace your design using a white soluble pencil for visibility.
Apply a thin coat of white gesso as a primer to help the paint adhere better.
Use acrylic paint formulated for glass painting for best results.
Allow the gesso to dry overnight before starting the painting process for improved adhesion.
What Do You Cover a Mirror With When Painting?
When painting a mirror, cover it with paper or a plastic drop cloth to protect it from paint. Secure the covering with painter's tape to prevent seepage. Guarantee that areas like the mirror surface or frame are shielded.
Tightly tape the covering to avoid mishaps during painting. Carefully remove the covering post-painting for the final reveal.
This method safeguards the mirror and guarantees a clean, professional finish.
How to Seal Acrylic Paint on a Mirror?
To seal acrylic paint on a mirror effectively, use a clear sealant or varnish designed for acrylic paint on glass surfaces. Apply thin, even coats to prevent streaks or bubbles. Follow the manufacturer's instructions for drying times to guarantee proper adhesion.
Sealing the paint protects it from damage and peeling, helping maintain vibrant colors over time. Properly sealed acrylic paint on mirrors can last longer and retain its original appearance.
Conclusion
To sum up, painting your mirror can be a fun and creative project to add a personal touch to your home decor.
Just like a blank canvas waiting for an artist's touch, your mirror can be transformed into a unique piece of art with a little time and effort.
So grab your paintbrushes and let your creativity shine through on your newly painted mirror!
- About the Author
- Latest Posts
Introducing Ron, the home decor aficionado at ByRetreat, whose passion for creating beautiful and inviting spaces is at the heart of his work. With his deep knowledge of home decor and his innate sense of style, Ron brings a wealth of expertise and a keen eye for detail to the ByRetreat team.
Ron’s love for home decor goes beyond aesthetics; he understands that our surroundings play a significant role in our overall well-being and productivity. With this in mind, Ron is dedicated to transforming remote workspaces into havens of comfort, functionality, and beauty.
Decor
Creative Glass Globe Ideas for Stylish Home Decor
Bring your home decor to life with these brilliant glass globe ideas, perfect for adding a touch of elegance and charm.
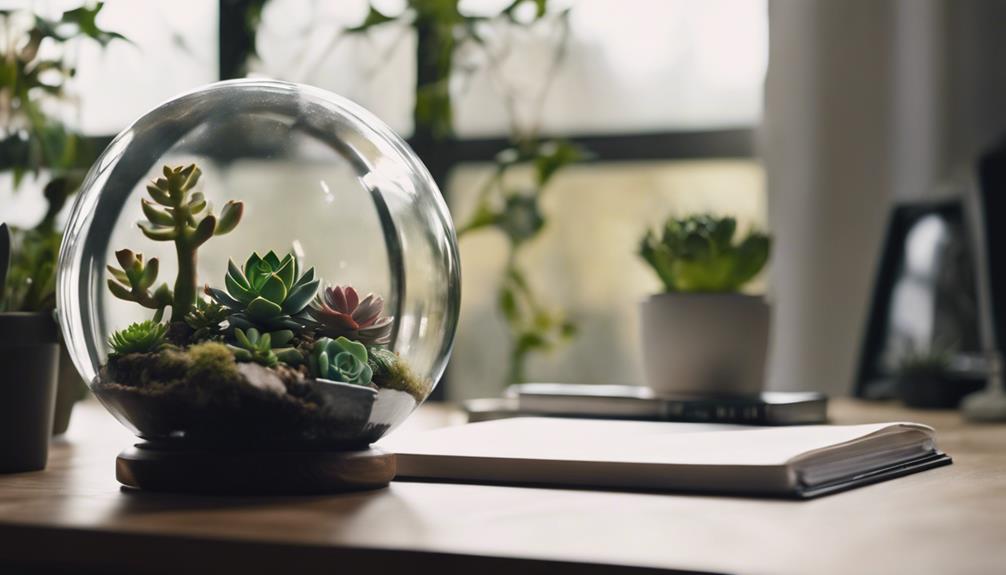
Elevate your home decor with unique glass globe centerpiece ideas. Transform thrift store finds with Mod Podge and decorative elements for a personalized touch. Experiment with silk flowers or figurines for one-of-a-kind designs. Repurpose old globes into snow globes for a creative DIY project. Illuminate your spaces with glass globe solar lights, customizing them with silk flowers or beads. Embrace whimsical decor with DIY snow globes and battery-operated lights. Enhance your home with unconventional globe accents for a stylish touch. Discover more creative glass globe ideas for an exquisite decor upgrade.
Key Takeaways
- Repurpose old globes into stylish DIY centerpieces.
- Customize with Mod Podge and decorative elements.
- Incorporate silk flowers or party figurines for unique designs.
- Illuminate home spaces with whimsical glass globe solar lights.
- Craft mesmerizing snow globes with battery-operated lights.
Glass Globe Centerpiece Ideas
When planning a special event or sprucing up our home, glass globe centerpieces offer a versatile and cost-effective way to add a touch of elegance and creativity to the decor. One budget-friendly option is to scour thrift stores for unique glass globes that can be transformed into stunning centerpieces.
By applying a layer of Mod Podge and your choice of decorative elements such as glitter, fabric, or paint, these thrifted finds can be elevated into personalized pieces that suit any occasion.
Mod Podge, a versatile crafting adhesive, acts as a sealant, glue, and finish all in one, making it ideal for DIY projects involving glass globes. This adhesive can be used to securely attach decorative elements to the surface of the globe, ensuring a cohesive and polished look.
Additionally, Mod Podge aids in protecting the design from wear and tear, ensuring that your centerpiece will remain beautiful for years to come. By incorporating Mod Podge into your crafting process, you can unleash your creativity and design unique glass globe centerpieces that are both stylish and durable.
Globe Craft Decor Ideas
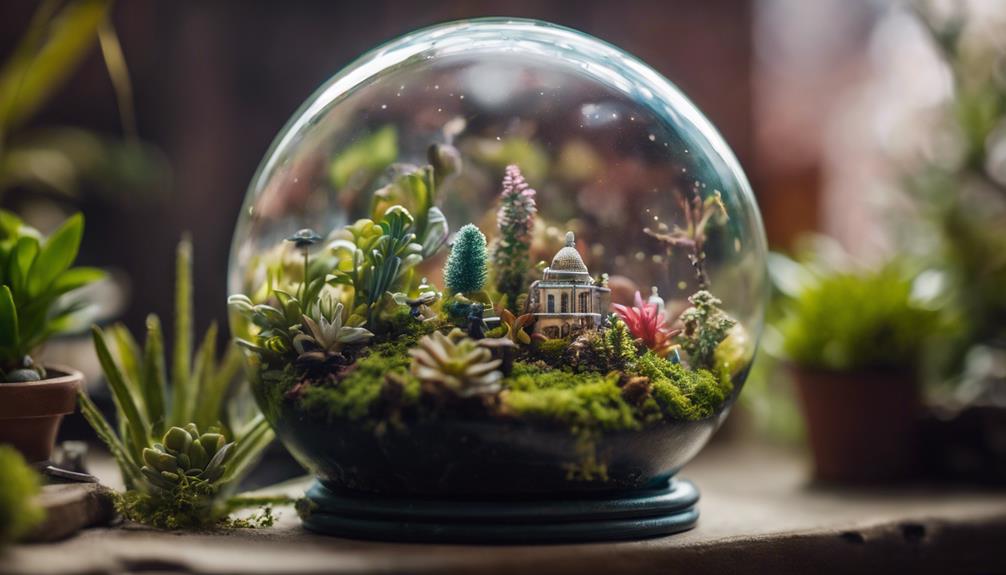
When it comes to globe craft decor ideas, there's a world of creativity waiting to be explored. Unique globe designs offer a touch of individuality to any space, while engaging in DIY globe projects can add a personal and hands-on element to your decor.
Stay updated with the latest globe decor trends to keep your home styling fresh and on point.
Unique Globe Designs
Let's explore creative globe craft decor ideas that offer a unique touch to home decorations. For a distinctive twist, consider incorporating silk flowers into your globe designs. These delicate blooms can add a touch of elegance and charm to any party or wedding decor theme. Imagine a glass globe adorned with vibrant silk flowers, creating a stunning centerpiece that will captivate your guests.
To elevate the ambiance further, consider integrating party or wedding elements into your globe designs. For instance, you could customize a globe with miniature party figurines or tiny wedding accessories to commemorate special occasions. These personalized touches can make your decor truly unique and memorable.
Experiment with different combinations of silk flowers, party elements, and wedding motifs to craft one-of-a-kind globe designs that reflect your style and creativity. Whether you're hosting a festive gathering or celebrating a special day, these unique globe decorations are sure to leave a lasting impression on your guests.
DIY Globe Projects
Exploring DIY globe projects offers a creative and budget-friendly avenue to elevate home decor with personalized touches and unique centerpieces. Crafting snow globes, guest book globes, and one-of-a-kind centerpieces allow for a hands-on approach to decorating living spaces.
Here are three popular DIY globe project ideas to inspire your creativity:
- Snow Globes: Repurpose old globes by transforming them into whimsical snow globes. These charming pieces can add a touch of winter wonderland to your home decor. Online tutorials provide step-by-step instructions on how to create these festive decorations using simple materials like miniature figurines and artificial snow.
- Guest Book Globes: Make your events memorable with guest book globes where attendees can leave heartfelt messages. These interactive globes serve as unique keepsakes from special occasions. Utilize chalkboard paint or decoupage techniques to customize the globe for different events.
- Unique Centerpieces: Elevate your table settings with DIY globe centerpieces. Whether it's a sheet music globe or a chalkboard paint globe, these eye-catching decorations can be tailored to suit various themes and styles, adding a personal touch to your home decor.
Globe Decor Trends
For the latest trends in globe decor, consider incorporating innovative craft ideas to elevate your home's aesthetic appeal.
DIY snow globes using Mason jars or glass ornaments have gained popularity for creating festive winter scenes that add a charming touch to any room.
Unbreakable snow globes made with clear plastic cups offer a kid-friendly crafting option, ensuring both fun and safety.
For a unique twist, illuminated snow globes with battery-operated lights provide a glowing effect that adds a mesmerizing ambiance to your space.
Decorating with glowing snowman snow globes can bring a whimsical and playful element to your home decor, perfect for the winter season.
These snow globes not only serve as delightful tabletop decorations but also create a cozy atmosphere that resonates with the festive spirit.
Embrace these globe decor trends to infuse your living space with creativity and charm.
Glass Globe Solar Lights DIY

Crafting your own glass globe solar lights can be a fun and affordable project. With materials like glass globes, wire, solar lights, and hanging brackets, you can easily create unique lighting accents for your outdoor spaces.
Whether lining your garden paths or adding a whimsical touch to trees, these DIY solar lights offer a creative way to illuminate your home decor.
Solar Light Placement
Let's explore the strategic placement of solar lights within glass globes to illuminate your outdoor space creatively.
When positioning these glass globe solar lights, consider the following:
- Pathway Illumination:
Hang the glass globes along the edges of walkways to provide a charming and functional lighting solution. The soft glow emitted by the solar lights will guide guests safely to your door while adding a touch of elegance to your outdoor landscape.
- Tree Decor:
Use hooks to suspend the glass globes from tree branches, creating a magical ambiance in your garden or backyard. The dappled light filtering through the leaves will cast enchanting patterns on the ground, enhancing the natural beauty of your outdoor environment.
- Seasonal Accents:
Switch out the silk flowers in the globes to match the changing seasons or holidays. Whether it's spring blooms, autumn leaves, or festive ornaments, customizing the contents of the glass globes allows you to easily update your outdoor decor to suit any occasion.
Globe Customization Ideas
We can personalize glass globe solar lights by incorporating various creative elements like silk flowers, decorative beads, or miniature figurines to enhance their visual appeal.
These DIY glass globe solar lights are a cost-effective option, typically requiring under $10 each to make using materials like glass globes, wire, inexpensive solar lights, and hooks.
The process involves coiling wire, securing the handle, and adding silk flowers for seasonal decoration.
This customization has received positive feedback for its creativity, versatility, and affordability, with many considering it a fabulous and simple way to enhance outdoor spaces.
Accessing materials such as glass globes and solar lights is easy, as they're readily available at thrift stores or inexpensive stores, making this project a budget-friendly home decor option.
Snow Globe Making Tutorial

To create a festive snow globe, gather a Mason jar, Christmas figurines, glitter, water, and strong glue. Follow these steps to craft your own unique snow globe:
- Prepare the Base: Start by securing your chosen Christmas figurines to the inside of the Mason jar lid using strong glue. Make sure they're positioned how you want them to appear in your snow globe scene.
- Add Glitter and Water: Sprinkle glitter into the empty Mason jar, creating a sparkling effect when the snow globe is shaken. Fill the jar with water, leaving a small space at the top to prevent overflow.
- Seal the Snow Globe: Apply glue along the inner rim of the jar lid before carefully screwing it back onto the jar. Allow the glue to dry completely to establish a watertight seal for your snow globe.
Whimsical Glass Globe Decor
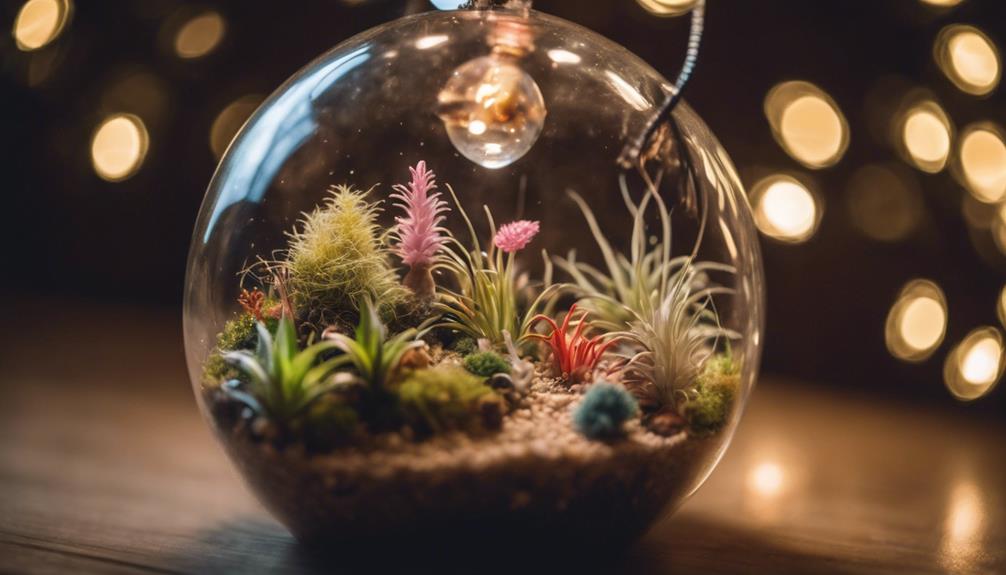
Illuminate your living space with whimsical glass globe decor, adding a touch of enchantment to your home.
DIY snow globes can bring a festive vibe using mason jars or glass ornaments, perfect for seasonal decorations.
For a kid-friendly crafting option, consider unbreakable snow globes made from clear plastic cups, ideal for family activities.
To enhance the winter ambiance, incorporate battery-operated lights into your snow globes, creating a unique and glowing effect.
Take traditional snow globes up a notch by adding lit-from-within decor elements like snowmen, elevating the whimsical charm and visual appeal of your display.
Detailed tutorials are readily available for crafting these various types of snow globes, ensuring a seamless and magical addition to your home decor.
Embrace the magic and creativity of whimsical glass globe decor to infuse your living space with a dash of fantasy and wonder.
Unique Globe Home Accents
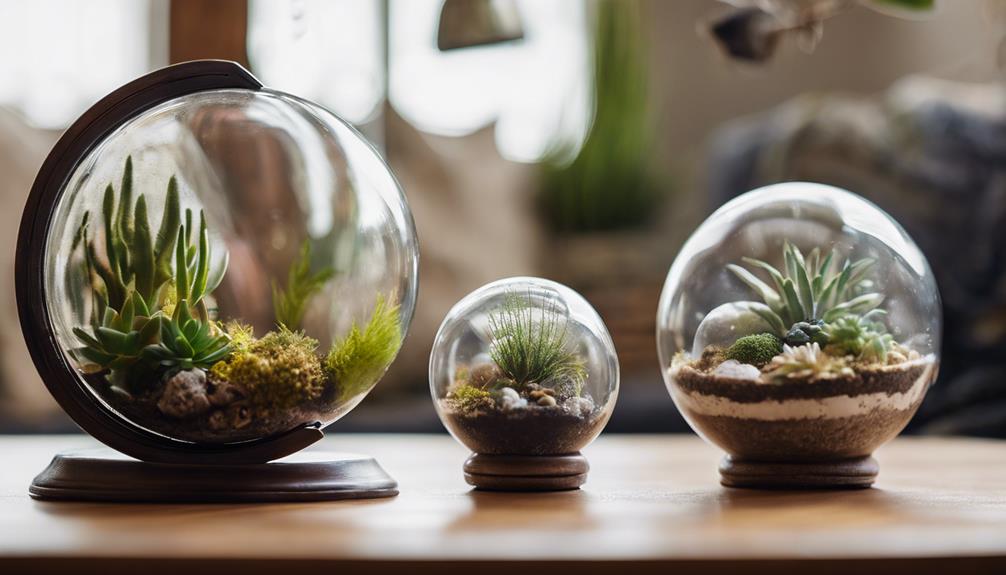
Exploring unconventional glass globe home accents can elevate interior decor with a touch of sophistication and charm. These unique globe accents offer a creative twist to traditional home decorations, adding a whimsical and personalized touch to living spaces.
Here are three distinctive globe home accents worth exploring:
- DIY Snow Globe: Craft your own snow globe using a Mason jar, Christmas figurine, glitter, water, and strong glue. This mesmerizing swirling display brings a magical winter wonderland into your home, perfect for adding a festive atmosphere to any room.
- Glass Ornament Snow Globe: Create a tabletop winter scene with a glass ornament snow globe project. Add faux snow and shrink-art figurines to evoke a joyous winter ambiance, ideal for holiday-themed decor that exudes warmth and cheer.
- Kid-friendly Unbreakable Snow Globes: Engage in a fun crafting activity with children by making unbreakable snow globes using clear plastic cups, holiday figurines, and confetti. These kid-friendly accents provide a safe and enjoyable way to involve the whole family in decorating your home with personalized touches.
Illuminated Glass Globe Designs

Let's shed light on some mesmerizing illuminated glass globe designs that will enhance your living space with a warm and enchanting glow.
One option is a glowing snowman snow globe, radiating a soft light from within its snowy interior, creating a charming seasonal ambiance.
For a unique twist, consider a winter scene glass globe illuminated by battery-operated lights, casting a magical glow throughout the room.
If you're looking for a kid-friendly crafting activity, opt for unbreakable snow globes made from clear plastic cups, allowing children to create their own whimsical designs.
For a festive tabletop decor, adorn glass ornament snow globes with faux snow and miniature shrink-art figurines, adding a touch of winter wonderland to your home.
Lastly, a classic Christmas tree snow globe crafted from a Mason jar, featuring a Christmas figurine and swirling glitter, offers a timeless and elegant display that captures the holiday spirit.
Illuminate your living space with these enchanting glass globe designs for a cozy and inviting atmosphere.
Kid-Friendly Snow Globe Crafts
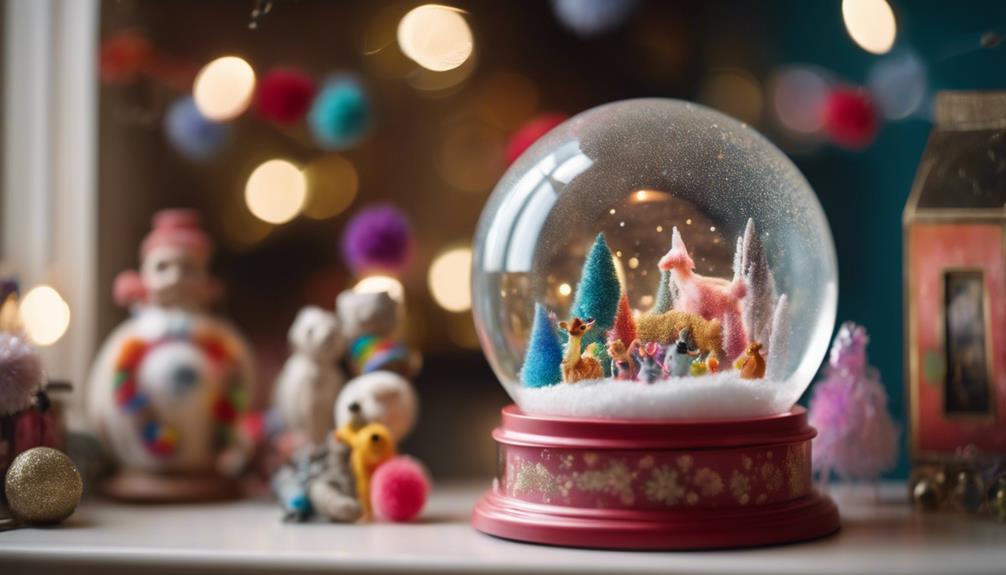
We'll now explore crafting kid-friendly snow globes using clear plastic cups for a safe and enjoyable creative experience.
Here are three key elements to take into account when making these DIY unbreakable snow globes with children:
- Materials Needed: Gather clear plastic cups, holiday figurines, confetti, distilled water, glycerin, waterproof glue, and glitter. These items are essential for creating the perfect snow globe with kids.
- Step-by-Step Instructions: Follow detailed guidance on how to assemble the snow globe. Start by securing the figurine to the inside of the cup using waterproof glue, adding confetti and glitter for a magical touch. Fill the cup with a mixture of distilled water and glycerin before sealing it shut to prevent leaks.
- Personalized Touch: Encourage children to personalize their snow globes by selecting their favorite holiday figurines and colors of confetti. This allows for a unique and creative experience, making each snow globe special.
Frequently Asked Questions
Where to Put a Globe in Your House?
We suggest placing a globe in various locations around your house to add a touch of sophistication and curiosity. Consider the living room for a stylish statement.
The home office could benefit from a worldly ambiance, while the study or library may exude a scholarly vibe with a globe.
Your child's bedroom could be inspired with a love for geography, and the entryway could set the tone for your home decor.
Each placement can enhance the overall aesthetic and atmosphere of your living space.
What to Do With Old Glass Light Globes?
When faced with old glass light globes, we can repurpose them creatively. Consider transforming them into hanging terrariums, chic pendant lights, or unique vases for floral arrangements.
Enhance their charm by filling them with fairy lights or colorful beads. For a festive touch, turn them into personalized snow globes with water, glitter, and figurines.
Alternatively, repurpose them as elegant candle holders to create a warm ambiance in your living space.
How to Repurpose Globes?
When repurposing globes, consider turning them into stylish pendant lights by adding a light fixture inside the globe.
Alternatively, transform them into unique plant holders by cutting a hole at the top and adding soil and a plant.
For a functional twist, repurpose globes as decorative storage containers by attaching them to a wall or ceiling.
These creative ideas can add a touch of elegance and charm to any living space.
What Do You Put in Glass Decor?
When considering what to put in glass decor, the options are vast. Common choices include water, flowers, candles, or figurines.
Glass globes can be used for terrariums, fairy gardens, and DIY snow globes, offering a personalized touch to home decor.
LED lights, crystals, seasonal decorations, and personalized messages can further enhance the visual appeal.
Experimenting with textures, colors, and materials allows for creative and customizable decor pieces that reflect individual style.
Conclusion
To sum up, glass globes offer a versatile and stylish way to enhance your home decor. From centerpiece ideas to DIY projects, these globes can add a touch of elegance and charm to any space.
So why not get creative and experiment with different designs to create a unique and visually alluring atmosphere in your home? As the saying goes, 'The world is your oyster' when it comes to glass globe decor possibilities.
- About the Author
- Latest Posts
Introducing Ron, the home decor aficionado at ByRetreat, whose passion for creating beautiful and inviting spaces is at the heart of his work. With his deep knowledge of home decor and his innate sense of style, Ron brings a wealth of expertise and a keen eye for detail to the ByRetreat team.
Ron’s love for home decor goes beyond aesthetics; he understands that our surroundings play a significant role in our overall well-being and productivity. With this in mind, Ron is dedicated to transforming remote workspaces into havens of comfort, functionality, and beauty.
Decor
A Step-By-Step Guide to Creating an Accent Wall With a Brick Fireplace
Accentuate your space with a stunning accent wall around your brick fireplace – discover the expert steps to elevate your home décor!
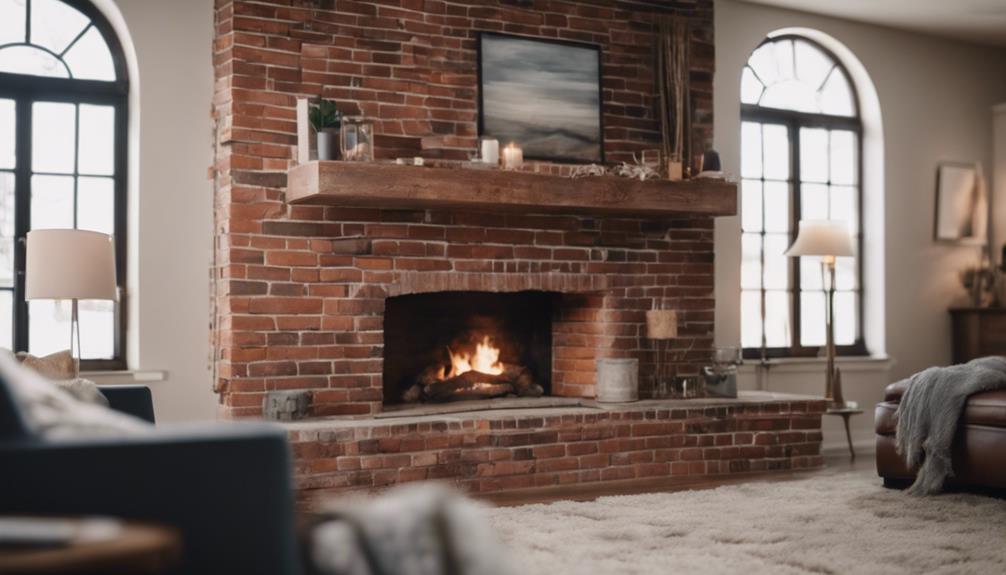
To create an accent wall with a brick fireplace, begin by gathering materials like Slimbrick, Omnigrip, and a trowel. Clean the bricks using a wire brush and Insl-X All-Purpose Citrus Cleaner. Prime the surface with an acrylic latex primer for better adhesion. Choose a paint color that complements the decor. Apply the paint evenly and allow it to dry. Coordinate mantel and trim colors with the brick. Finish with regular maintenance like cleaning and grout touch-ups. Each step is essential for a lasting, professional finish that enhances the room. Additional insights await for a successful accent wall project.
Key Takeaways
- Clean bricks thoroughly with wire brush and cleaner.
- Prime bricks with acrylic latex primer for adhesion.
- Choose paint color to enhance ambiance and decor.
- Apply paint evenly on primed bricks for professional finish.
- Coordinate mantel and trim colors with the brick.
Materials and Tools Needed
To begin creating an accent wall with a brick fireplace, we need specific materials and tools to guarantee a successful project. The materials required include Slimbrick, Omnigrip, grout, a trowel, a level, a saw with a diamond blade, and painter's plastic. These materials are essential for the proper installation of the accent wall. Additionally, specific tools such as a paint stir stick, brick jointer, gloves, a clean 5-gallon bucket, and a grout bag are necessary for a seamless construction process.
The grout bag plays an important role in accurately applying the grout between the bricks, ensuring a clean and polished finish. It allows for precise control over the grout application, resulting in a professional-looking accent wall around the brick fireplace.
When using the grout bag, it's important to maintain a steady hand and consistent pressure to achieve uniform grout lines throughout the project.
Cleaning and Preparing the Bricks
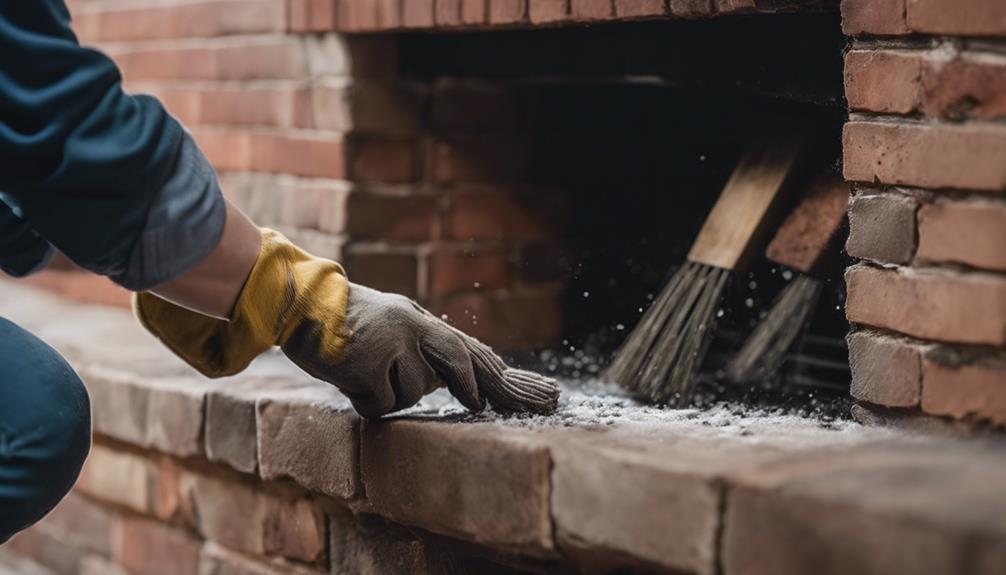
After gathering the necessary materials and tools for the accent wall project, the next step involves cleaning and preparing the bricks of the fireplace for painting. Start by brushing the brick surface with a stiff wire brush to eliminate any debris or loose particles.
Then, thoroughly clean the bricks using a solution of Insl-X All-Purpose Citrus Cleaner or a mixture of soap and water. This step ensures that the surface is free from dirt, grease, and other contaminants that could affect the paint adhesion.
If there are stubborn stains or residue on the bricks, consider using a degreaser for a deeper clean. Once the bricks are cleaned, allow them to dry completely before moving on to the painting stage. Making sure the bricks are fully dry is essential to prevent any issues with the paint application and drying process.
Priming the Surface

Before painting your brick fireplace, it's essential to prime the surface properly to establish a smooth and long-lasting finish.
Surface preparation is key, so start by cleaning the bricks thoroughly with a wire brush and a suitable cleaner to remove any dirt or debris.
Choosing the right primer, such as a high-quality acrylic latex primer, will help the paint adhere better and provide a solid base for your accent wall project.
Surface Preparation Tips
Start by brushing the fireplace with a stiff wire brush to remove debris and loose particles before priming the brick surface. It's crucial to make sure that the brick is clean and free from any contaminants.
Use a solution of Insl-X All-Purpose Citrus Cleaner or a mild soap and water mix to thoroughly clean the brick surface. Once the brick is clean and dry, the next step is to prime it. Choose a high-quality acrylic latex primer such as Fresh Start High-Hiding All-Purpose Primer to provide a good base for the paint to adhere to.
Make sure the primer is applied evenly and covers the entire brick surface. Additionally, if the brick has stubborn stains or grease buildup, consider using a degreaser for deeper cleaning before priming. The key to a successful accent wall with a brick fireplace is proper surface preparation, including priming, to ensure a smooth and lasting finish.
Importance of Priming
Why is priming the surface essential before painting a brick fireplace?
Priming the brick surface before painting is vital for guaranteeing a successful and long-lasting finish.
Here are three reasons why priming is important:
- Enhanced Adhesion: Priming helps the paint adhere properly to the brick surface, preventing peeling or flaking over time.
- Sealing Porous Brick: The primer seals the porous nature of the brick, creating a smooth and uniform base for the paint to adhere to effectively.
- Improved Coverage: By preventing the brick from absorbing too much paint, priming ensures better coverage and a more even finish, enhancing the overall aesthetic appeal of the fireplace.
Choosing the Right Primer
To guarantee proper adhesion and a smooth base for painting the brick fireplace, selecting a high-quality acrylic latex primer like Fresh Start High-Hiding All-Purpose Primer is essential. This primer is specifically designed to adhere well to the brick surface, ensuring a durable and long-lasting finish.
Before applying the primer, it's important to clean the bricks thoroughly to remove any dirt, debris, or grime that could hinder adhesion. The primer acts as a sealant, helping to create a uniform surface by sealing the pores of the brick and mortar. If the bricks have stubborn stains or grease buildup, using a degreaser before priming can improve the overall finish.
Once the primer is applied, allow it to dry completely before proceeding with the painting process. This step is crucial to ensure optimal paint adhesion and a professional-looking result on your accent wall with a brick fireplace.
Choosing the Right Paint Color
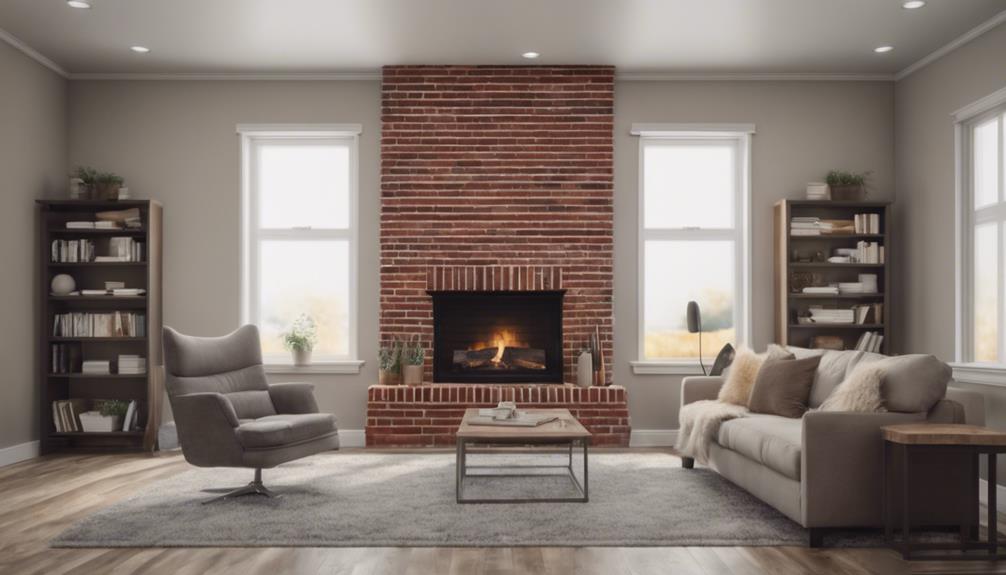
When choosing the right paint color for your brick fireplace accent wall, consider factors like the existing decor in the room and the ambiance you want to create.
Neutral tones like white or gray provide a versatile backdrop that complements various styles, while bold hues such as navy blue or deep red can make a striking statement.
Testing paint samples on a small section of the brick will help you visualize how the color will appear under different lighting conditions.
Color Selection Tips
Consider a range of neutral or bold colors when choosing the right paint color for your brick fireplace accent wall to achieve the desired look and feel in your space.
Here are some color selection tips to help you make the best choice:
- Neutral Colors: Opt for timeless and versatile options like white or gray for a classic finish that complements various decor styles and allows for easy coordination with furniture and accessories. These colors can create a clean and elegant backdrop for your brick fireplace, enhancing its natural texture and warmth.
- Bold Colors: If you prefer a more dramatic and modern look, consider bold hues such as navy blue or deep red. These colors can add a pop of personality and create a striking focal point in the room, making your fireplace accent wall stand out and become a conversation piece.
- Test Samples: Before committing to a color, try paint samples on a small area of the brick to observe how the shade appears under different lighting conditions. This step will help you make sure that the chosen color complements the brick texture and overall ambiance of the space effectively.
Coordinating With Décor
Let's seamlessly connect the paint color of your brick fireplace accent wall with the existing decor scheme by making sure the chosen hue complements the overall style and color palette of the room. When selecting a paint color for your living room's feature wall, take into consideration the room's existing color scheme and furniture.
Light neutrals like white or gray can provide a versatile and timeless look that pairs well with various decor styles. On the other hand, bold colors such as navy, black, or deep green can create a striking contrast and make the fireplace stand out as a focal point in the room.
To make sure the chosen paint color harmonizes with the rest of the space, consider testing paint samples on the brick surface under different lighting conditions. This will give you a better understanding of how the color will appear in your living room.
Additionally, coordinating the paint color of the fireplace with the mantel and surrounding trim will create a cohesive finish that ties the room together seamlessly.
Applying Paint to the Bricks
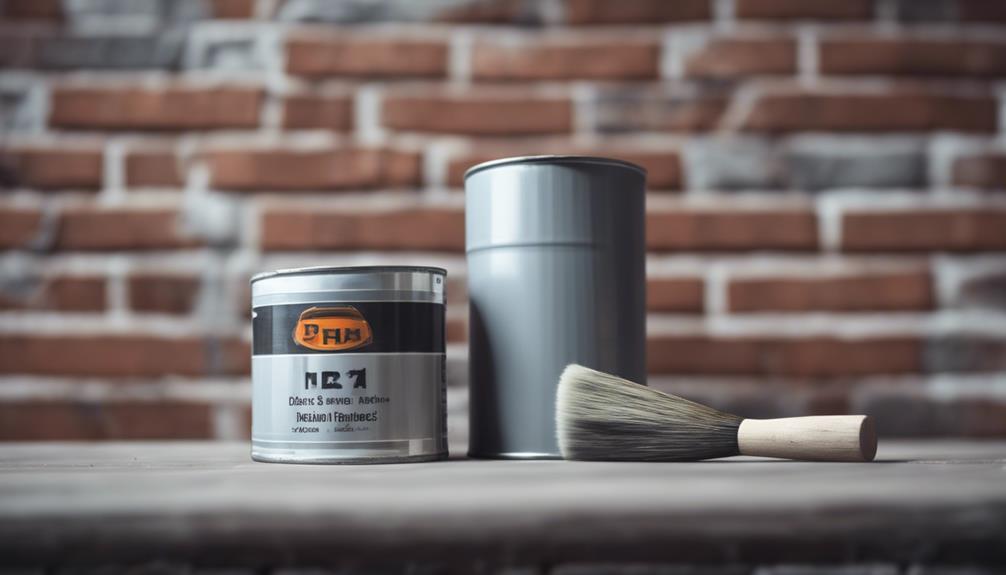
To begin painting the bricks, start by priming them with a high-quality acrylic latex primer for better paint adhesion.
When applying paint to the bricks, follow these steps:
- Brush Mortar First: Use a brush to carefully paint the mortar lines before switching to a roller for the brick faces. This method guarantees that the mortar is adequately covered and helps define the brick pattern.
- Roll the Brick Faces: Once the mortar lines are painted, switch to a roller to apply paint to the brick faces. Roll in a consistent pattern to achieve even coverage and a smooth finish.
- Apply a Second Coat: After the first coat has dried completely, apply a second coat of paint to enhance the color vibrancy and ensure a consistent finish. This second coat will help achieve the desired look and durability.
Coordinating Mantel and Trim Colors
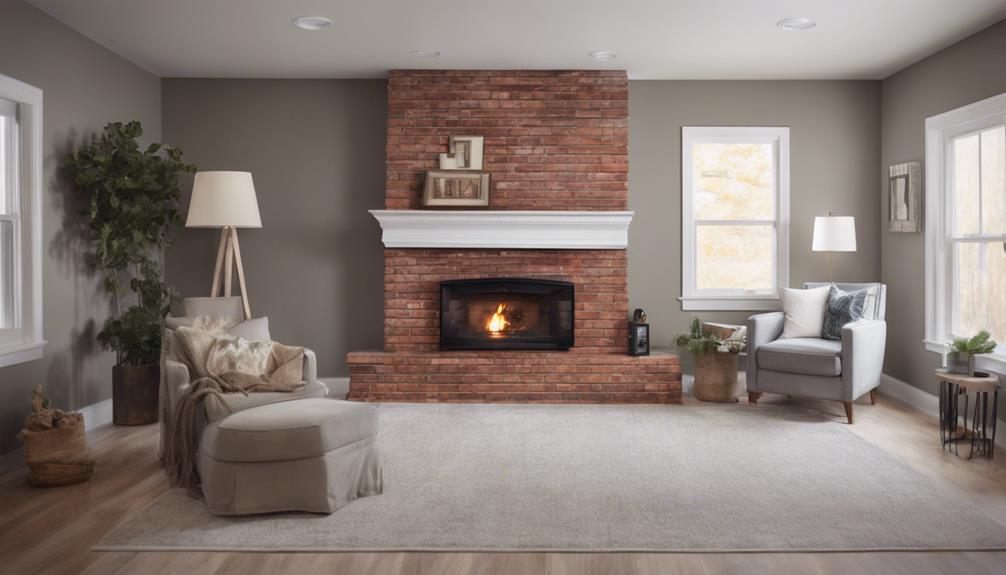
When coordinating mantel and trim colors with a brick fireplace, selecting hues that complement the brick while still making a statement can elevate the overall aesthetic of the room. Choosing a color scheme that harmonizes with the fireplace accent wall is essential for creating a cohesive look.
You can opt for colors that either blend in with the brick to create a seamless appearance or go for contrasting shades to make the mantel and trim stand out as a focal point. Matching the mantel and trim colors to the brick can tie the entire fireplace design together, giving it a polished and unified feel.
Experimenting with different shades and finishes for the mantel and trim can add depth and dimension to the overall look of the accent wall. Ultimately, the goal is to create a well-balanced and visually appealing fireplace area that complements the room's decor while enhancing the accent feature.
Finishing Touches and Maintenance
When maintaining the brick fireplace accent wall, it's essential to regularly inspect for loose bricks or grout to guarantee stability and safety.
Here are some important steps to keep in mind for finishing touches and maintenance of your accent wall:
- Regular Inspection: Check for any loose bricks or deteriorating grout on the accent wall. Secure loose bricks and regrout as necessary to maintain the structural integrity of the brick fireplace.
- Cleaning: Use a mild soap and water solution to clean the brick surface of the accent wall. Avoid harsh chemicals that could damage or discolor the bricks, preserving the natural look of the fireplace.
- Grout Touch-Ups: Keep the accent wall looking fresh by touching up the grout as needed. This maintenance step not only enhances the appearance but also helps to prevent moisture penetration and potential damage.
Frequently Asked Questions
How Do You Accent a Fireplace Wall?
To accent a fireplace wall, the first step is to prep by applying primer for better paint adhesion. It is important to select a high-quality paint that complements the room's decor. Using a brush for the mortar lines and a roller for the brick face ensures even coverage. Applying a second coat of paint increases durability. To tie the look together, consider painting the mantel and trim in coordinating colors. By following these steps, a visually appealing accent wall can be created around the fireplace.
How to Make a Brick Fireplace Look Better?
To enhance the appearance of a brick fireplace, start by cleaning it thoroughly with a wire brush and a citrus cleaner.
Next, prime the brick with a quality acrylic latex primer to guarantee better paint adhesion.
Choose a paint color that complements your room's style, like neutral tones for a modern touch.
Apply two coats of paint, focusing on mortar lines with a brush and using a roller for the brick face.
Consider painting the mantel and trim in coordinating colors for a cohesive look.
How Do You Decorate a Brick Accent Wall?
When decorating a brick accent wall, we should consider adding a wooden mantel for a warm touch.
Enhance the coziness with a large mirror or artwork above the fireplace.
Including greenery on the mantel or near the fireplace can bring a pop of color to the space.
Installing wall sconces or overhead lighting will highlight the brick texture and create a welcoming ambiance.
Decorative items like candles, vases, or sculptures can complement the rustic charm of the brick accent wall.
How to Decorate a Red Brick Fireplace?
When decorating a red brick fireplace, consider painting surrounding walls light colors to make the fireplace pop.
Add a large mirror or artwork above it to create a focal point.
Neutral-toned furniture balances the boldness of the brick.
Incorporate greenery for freshness.
Textures like jute rugs or velvet cushions enhance coziness.
These elements combine to create a well-balanced and visually appealing space centered around the red brick fireplace.
Conclusion
To sum up, successfully transforming a brick fireplace into an accent wall requires careful preparation, strategic color choices, and attention to detail. By following the steps outlined in this guide, you can achieve a stunning focal point in your living space.
Remember to coordinate your mantel and trim colors for a cohesive look, and don't forget to maintain the finish for long-lasting beauty. With patience and the right tools, your accent wall will be a stylish addition to your home.
- About the Author
- Latest Posts
Introducing Ron, the home decor aficionado at ByRetreat, whose passion for creating beautiful and inviting spaces is at the heart of his work. With his deep knowledge of home decor and his innate sense of style, Ron brings a wealth of expertise and a keen eye for detail to the ByRetreat team.
Ron’s love for home decor goes beyond aesthetics; he understands that our surroundings play a significant role in our overall well-being and productivity. With this in mind, Ron is dedicated to transforming remote workspaces into havens of comfort, functionality, and beauty.
Decor
5 Creative Ways to Incorporate Bird Nests Into Home Decoration
Nestle into nature's charm with these 5 creative ways to incorporate bird nests into your home decor – adding a touch of elegance and whimsy.
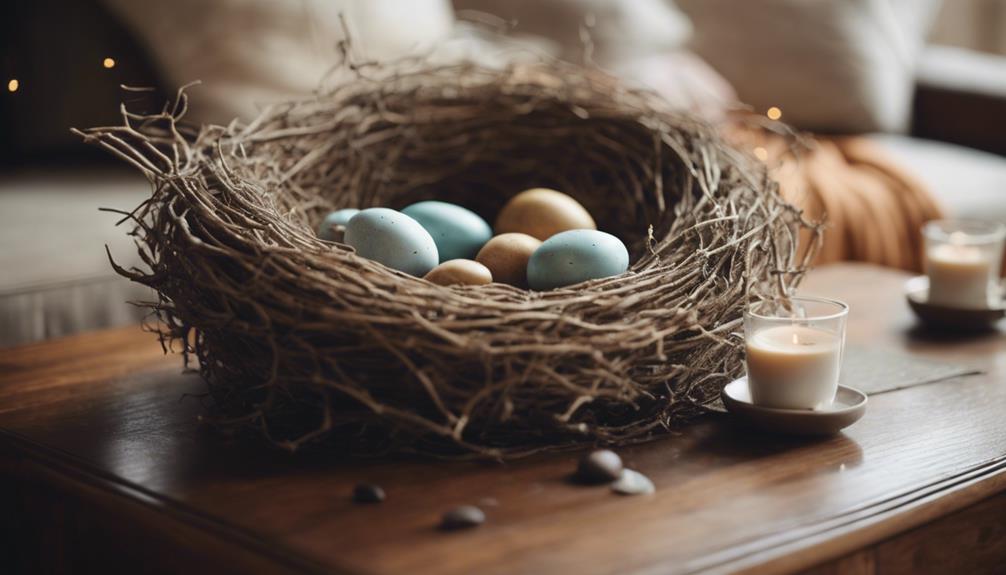
Incorporating bird nests into home decor can add a touch of nature's charm. Explore using bird nests creatively to elevate your living spaces. Consider a Bird Nest Cloche Centerpiece for elegance and showcasing nature's intricacies. Enhance table settings with Table Decor featuring bird nests as rustic centerpieces. Embrace Bird Nest Art Pieces to symbolize themes like rebirth and find them in galleries or online. Bird Nest Jewelry offers delicate connections to nature, symbolizing family and new beginnings. Set off special occasions with Bird Nest Fascinators, adding a charming flair to your outfits. Discover more creative ways to spruce up your home decor with bird nests.
Key Takeaways
- Bird Nest Cloche Centerpiece adds elegance and nature indoors.
- Table Decor with Bird Nests elevates settings with rustic charm.
- Bird Nest Art Pieces symbolize rebirth and nature's beauty.
- Bird Nest Jewelry showcases delicate connections to nature.
- Bird Nest Fascinators offer stylish, nature-inspired headpieces.
Bird Nest Cloche Centerpiece
Creating a bird nest cloche centerpiece adds elegance and charm to home decor with a touch of sophistication. These DIY birds nests under glass cloches bring elements of nature indoors, enhancing the ambiance of any room.
Green moss can be used to line the nest, adding a natural and earthy feel to the centerpiece. The delicate intricacies of the nest are beautifully showcased under the cloche, providing a focal point that captivates the eye.
Table Decor With Bird Nests
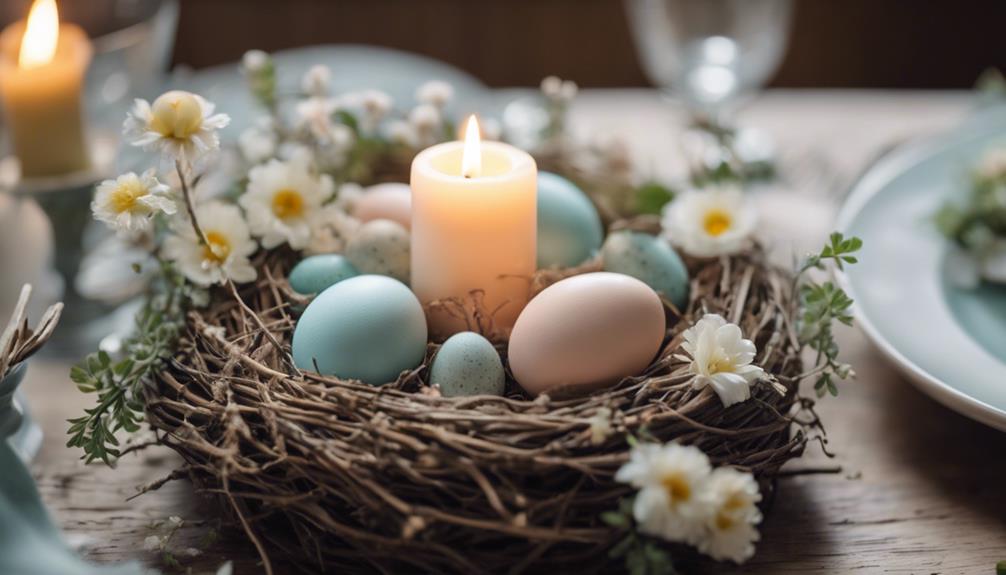
Let's explore how bird nests can be utilized to enhance table decor with a touch of springtime charm and whimsy. Bird nests serve as charming and natural elements that can elevate your table setting. Incorporating bird nests into your decor adds a whimsical and seasonal flair, perfect for both special occasions and everyday use.
Consider the following ways to incorporate bird nests into your table decor:
| Ideas for Table Decor with Bird Nests | Description |
|---|---|
| Bird Nest Centerpieces | Use bird nests as focal points on your table for a rustic and unique look. |
| Individual Place Settings | Place small bird nests on individual settings for a personal touch. |
| Pairing with Decorative Items | Combine bird nests with fresh flowers, candles, or decorative eggs for a cohesive and festive display. |
| Seasonal Spring Theme | Embrace the spring season by incorporating bird nests to bring a touch of nature inside. |
Bird Nest Art Pieces
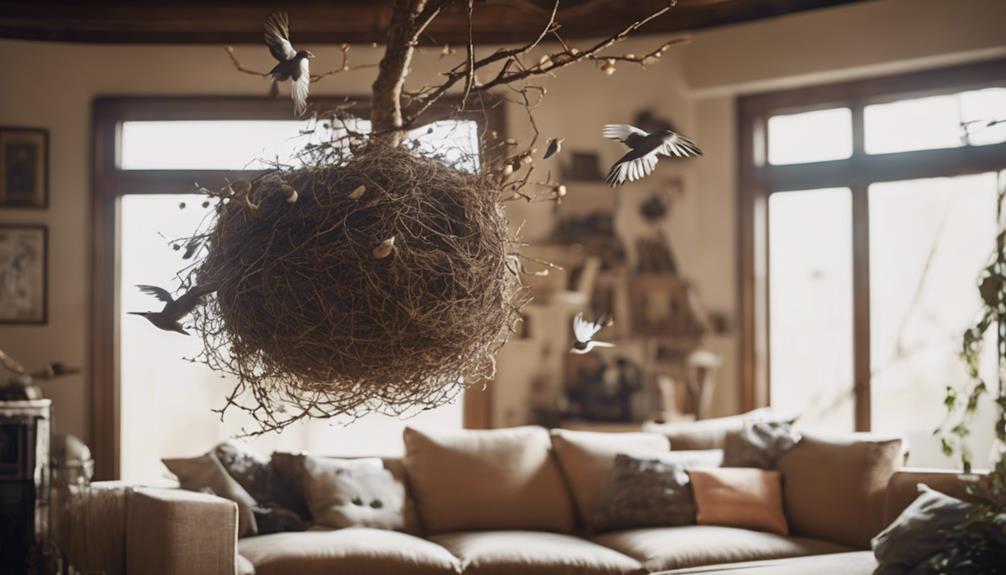
Bird nest art pieces, whether crafted from real nests or replicated using various mediums, offer intricate representations of nature's beauty and symbolism. These art pieces can range from paintings and sculptures to mixed media installations, showcasing the creativity and talent of artists.
Using real bird nests or creating replicas allows for unique interpretations that symbolize themes like nature, rebirth, and the cycle of life.
Artists explore different mediums such as clay, wood, and metal to create these cute little bird nest art pieces, each conveying a story of its own. The attention to detail in these pieces can make them look like something never seen before, capturing the essence of the natural world in a visually appealing way.
Crafting bird nest art can be a much fun and fulfilling process for artists, resulting in pieces that can be found in galleries, exhibitions, and online platforms, providing viewers with diverse interpretations of this symbolic and beautiful art form.
Bird Nest Jewelry

When adorning ourselves with bird nest jewelry, we showcase a delicate and meaningful connection to nature and family. These pieces often feature intricate nests intricately crafted from wire or other materials, sometimes complemented by faux eggs or small bird charms for added detail. Available in various styles such as necklaces, earrings, and bracelets, bird nest jewelry symbolizes themes of family, nature, and new beginnings.
Over the years, many have always loved wearing bird nest jewelry as a unique and meaningful accessory. The intricate design of these pieces captures the essence of spending time watching birds build their nests, evoking a sense of tranquility and appreciation for nature's beauty.
Whether it's a necklace with a nest pendant or earrings that mimic the delicate structure of a nest, bird nest jewelry offers a subtle yet powerful way to carry a piece of nature with us wherever we go.
Bird Nest Fascinators

With their elegant design and whimsical touch, bird nest fascinators are stylish headpieces adorned with small nests filled with decorative elements like feathers, flowers, and faux eggs. These unique accessories add a charming flair to outfits for special occasions such as weddings, tea parties, and garden events. Bird nest fascinators offer a customizable option, allowing individuals to personalize them with various bird species, colors, and embellishments to suit their unique style and preferences. The intricate craftsmanship of these fascinators highlights the artistry and creativity of milliners and accessory designers. Wearing a bird nest fascinator not only makes a fashionable statement but also incorporates nature-inspired elements into one's ensemble.
| Pros | Cons |
|---|---|
| Adds whimsical touch | May be delicate |
| Customizable design options | Requires careful storage |
| Showcases intricate craftsmanship | May not suit all outfits |
| Makes a fashion statement | Might need adjustments |
| Incorporates nature-inspired elements |
Frequently Asked Questions
How to Display a Real Bird's Nest?
To display a real bird's nest, consider placing it in a cloche or glass dome for protection and aesthetic appeal. Nestling it among fresh flowers or greenery in a centerpiece adds a natural touch.
On a bookshelf or mantel, a bird's nest can introduce a whimsical and organic element to home decor. Hanging it on a wall creates a unique piece of natural art.
Enhance the nest with decorative elements like faux eggs or feathers for a personalized display.
How Do You Make a Bird Nest Art?
To make bird nest art, gather twigs, moss, and faux eggs. Weave branches into a circular shape resembling a nest. Enhance the visual appeal by adding dried flowers, moss, and decorative eggs.
Display the art as wall decor, centerpieces, or in wreaths. Personalize it with unique elements like feathers, miniature birds, or fairy lights to stand out.
Bird nest art brings a natural touch to home decor and allows for creative expression.
Where Do You Hang Bird Nesting Material?
When hanging bird nesting material, we aim to provide a safe and inviting space for feathered friends. Placing materials near feeders and birdbaths can attract birds seeking to build nests.
Mesh bags or suet cages are excellent tools for offering yarn, twine, or pet fur. Varying heights in trees or shrubs accommodate different bird species.
Regularly replenishing nesting material guarantees birds have access to fresh supplies for constructing their nests.
How to Make a Nest Activity?
To make a nest activity, gather supplies like branches, moss, twine, and faux eggs. Cut and shape branches into a circular nest structure, weaving them together securely. Add moss, dried flowers, and faux eggs for a natural look.
Use the DIY bird nest as decor. Get creative with variations like mini nests in egg cups or nests with fairy lights. This hands-on project offers a fun and engaging way to create decorative bird nests.
Conclusion
Incorporating bird nests into home decoration can add a touch of nature and whimsy to your living space.
Whether you choose to display them as centerpieces, art pieces, or even wear them as jewelry, bird nests can bring a unique and charming element to your decor.
So go ahead, get creative and let your imagination soar with these fun and inventive ideas!
- About the Author
- Latest Posts
Introducing Ron, the home decor aficionado at ByRetreat, whose passion for creating beautiful and inviting spaces is at the heart of his work. With his deep knowledge of home decor and his innate sense of style, Ron brings a wealth of expertise and a keen eye for detail to the ByRetreat team.
Ron’s love for home decor goes beyond aesthetics; he understands that our surroundings play a significant role in our overall well-being and productivity. With this in mind, Ron is dedicated to transforming remote workspaces into havens of comfort, functionality, and beauty.
-

 Vetted2 weeks ago
15 Best Contact Paper for Kitchen Cabinets to Elevate Your Home Decor
-

 Vetted4 days ago
15 Best Poe Cameras for Home Security – Reviews & Buying Guide
-

 Vetted3 weeks ago
15 Best Leather Restorer Products to Revive Your Furniture and Accessories
-

 Vetted4 weeks ago
15 Best Leg Massagers to Relieve Tension and Improve Circulation – Ultimate Guide
-

 Vetted2 weeks ago
15 Best Drain Snakes to Unclog Your Pipes Like a Pro
-

 Vetted4 weeks ago
15 Best Lawn Games for Adults to Elevate Your Outdoor Gatherings
-

 Vetted2 weeks ago
14 Best Stationery Brands for Your Next Writing Adventure
-

 Beginners Guides7 days ago
Swinger Porch Light Color


