Decor
Can You Bake Acrylic Paint in the Oven
Hoping to elevate your acrylic paint projects? Discover the surprising answer to whether you can bake acrylic paint in the oven.

While we’re in the kitchen, imagining the vivid hues and sleek surface of our acrylic painting endeavor, we’re faced with a curious inquiry – is it possible to harden acrylic paint by baking it in the oven? This concept is captivating, yet there are several aspects we need to think about before moving forward.
Safety precautions, suitable surfaces, temperature and time adjustments, and the benefits versus risks of baking acrylic paint all play a crucial role in the outcome of our artistic endeavor.
Let’s explore the intricacies of this process and uncover the tips and tricks for achieving professional results with our baked acrylic paint projects.
Key Takeaways
- Proper ventilation is essential to prevent inhalation of toxic fumes when baking acrylic paint.
- Using a dedicated oven for baking acrylic paint helps avoid cross-contamination.
- It is important to choose suitable surfaces like ceramics, glass, and certain types of clay for baking acrylic paint.
- Following the recommended baking temperature and time provided by the paint manufacturer ensures the best results.
Safety Precautions When Baking Acrylic Paint

When baking acrylic paint, it’s imperative to ensure proper ventilation in the area to prevent inhalation of fumes. Toxic fumes can be released during the baking process, so it’s crucial to work in a well-ventilated space or use a fume hood.
Additionally, using a dedicated oven for baking acrylic paint is essential to prevent the release of harmful chemicals into an oven used for food. This precaution helps to mitigate the risk of cross-contamination and exposure to toxic substances.
Furthermore, wearing oven mitts when handling hot items is crucial to prevent burns or injuries. The high temperatures required for baking acrylic paint can result in severe burns if proper protective gear isn’t used.
It’s also important to allow the painted items to cool completely before handling them to avoid burns or damage to the paint.
Checking the label of the acrylic paint to ensure it’s suitable for baking and following the manufacturer’s instructions carefully is fundamental to guaranteeing a safe and successful baking process.
Suitable Surfaces for Baking Acrylic Paint
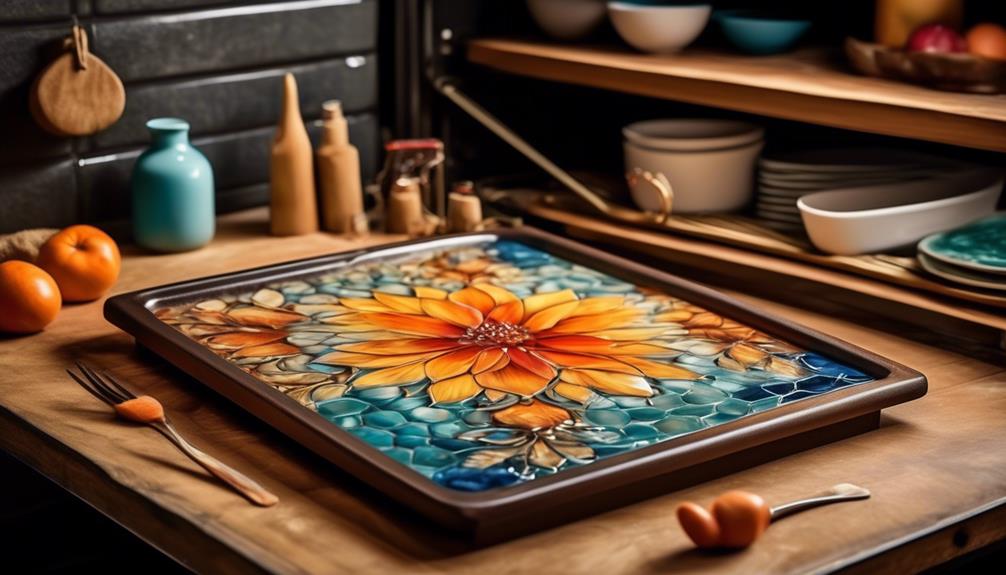
When considering suitable surfaces for baking acrylic paint, it’s important to choose heat-resistant painting bases such as ceramics, glass, and certain types of clay. These surfaces are designed to withstand the high temperatures involved in the baking process, ensuring that the paint adheres properly and maintains its durability.
Additionally, ensuring that the surface is clean and free from any contaminants before applying and baking acrylic paint is crucial for achieving the best results.
Safe Surfaces for Baking
Ceramics and pottery surfaces, as well as certain types of glassware, are suitable for baking acrylic paint. These surfaces produce a durable, dishwasher-safe finish when baked properly. It’s important to ensure that the chosen surface is labeled as oven-safe and does not release toxic chemicals when heated. Non-porous surfaces, such as ceramics and certain types of glass, are best for proper adhesion and durability. Selecting heat-resistant materials that can withstand high temperatures is crucial. Always follow the manufacturer’s instructions for the specific type of paint being used, as different acrylic paints may have varying heat requirements. The general baking process involves placing the painted item in a cold oven, setting the temperature to around 275 degrees F, and allowing it to bake for approximately 30 minutes.
Heat-Resistant Painting Bases
Safe surfaces for baking acrylic paint include ceramics, glassware, clay pots, oven-safe dishes, and heat-resistant tiles, all of which provide durable and long-lasting results when used properly.
- Ceramic and porcelain: Suitable for baking acrylic paint, creating durable and dishwasher-safe finishes.
- Glassware: Can be baked with acrylic paint, providing a permanent and heat-resistant finish.
- Clay pots and pottery: Ideal for baking acrylic paint, ensuring long-lasting and weather-resistant results.
- Oven-safe dishes: Suited for baking acrylic paint, offering a durable and heat-resistant surface for everyday use.
These surfaces can withstand the heat required to bake acrylic paint, typically around 275 degrees Fahrenheit, allowing the paint to cure and form a strong bond to the base. When using these heat-resistant bases, it’s essential to follow proper baking instructions for optimal results.
Baking Temperature and Time for Acrylic Paint
To ensure optimal results when baking acrylic paint, it’s essential to adhere to the recommended temperature and time parameters provided by the paint manufacturer. When using an oven for the bake method, the baking temperature for acrylic paint typically ranges between 300 to 350 degrees Fahrenheit. It’s crucial to note that this temperature range may vary slightly based on the specific instructions provided by the paint manufacturer.
Additionally, the recommended baking time for acrylic paint generally falls within the range of 30 to 45 minutes. However, it’s important to refer to the instructions on the acrylic paint label or packaging for the exact baking temperature and time, as these may differ based on the type of acrylic paint being used.
Furthermore, after the baking process is complete, it’s imperative to allow the baked acrylic paint to cool completely before handling or using the painted item. Adhering to these specific temperature and time parameters is vital for achieving the best results when using the bake method for acrylic paint projects.
Benefits of Baking Acrylic Paint

Baking acrylic paint in an oven offers several advantages, including speeding up the drying process and ensuring a strong bond with the surface for long-lasting results.
- Strong Bond: Baking acrylic paint helps it form a strong bond with the surface, ensuring durability and longevity.
- Faster Drying: Speeds up the drying process, preventing bubbles and cracking, and allowing for painting on a perfectly dry surface.
- Coat Application: Baking between coats of paint can speed up the process, allowing for painting on a perfectly dry surface without waiting for it to dry naturally.
- Versatile Usage: Any acrylic paint can be used, but heavy body acrylic paint is recommended for vibrant colors and better coverage.
Risks of Baking Acrylic Paint

When baking acrylic paint, it’s crucial to be aware of the potential risks involved. High temperatures can lead to the release of toxic fumes, posing health hazards that must be mitigated through proper ventilation.
Additionally, prolonged or excessive heating may cause undesirable changes to the paint’s properties, impacting its appearance and durability.
Paint Fumes
In assessing the risks associated with baking acrylic paint, it’s crucial to acknowledge the potential release of harmful fumes and the precautions necessary to mitigate any health hazards. When baking acrylic paint in the oven, the following considerations are essential:
- Ensure proper ventilation to minimize the inhalation of paint fumes.
- Use a well-ventilated area or a respirator to protect against harmful fumes.
- Test a small sample of acrylic paint before baking a larger piece to observe any color changes or brittleness.
- Ventilate the oven after baking to release any lingering fumes, and refrain from using it for cooking immediately to avoid exposure to harmful chemicals.
It is important to consider the type of oven used for baking acrylic paint, and if unsure, consult the manufacturer or an experienced artist for guidance.
Toxic Fumes
Considering the potential release of harmful fumes and the necessary precautions, it is imperative to address the risks associated with the toxic fumes emitted when baking acrylic paint in the oven. Baking acrylic paint can lead to the release of toxic fumes, posing health risks when inhaled. The chemicals in acrylic paint can vaporize at high temperatures and release toxic fumes, causing dizziness, headaches, nausea, and respiratory irritation. To minimize exposure to these toxic fumes, proper ventilation or air extraction systems are advisable when baking acrylic paint. It’s crucial to carefully consider the potential health risks and take necessary precautions. The table below summarizes the risks and precautions associated with baking acrylic paint in the oven.
Risks Precautions Release of toxic fumes Use proper ventilation or air extraction systems Health risks when inhaling toxic fumes Avoid baking acrylic paint in an enclosed space Chemical vaporization at high temperatures Consider using a dedicated oven for art projects
Steps for Baking Acrylic Paint
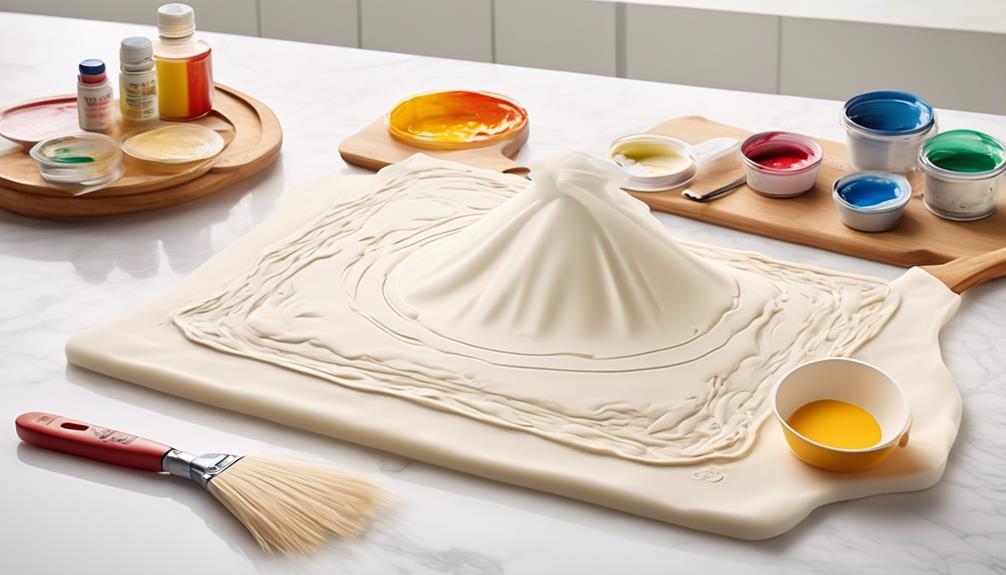
To begin the process of baking acrylic paint, ensure that the painted item is thoroughly dry and has been allowed to air cure for at least 24 hours.
When baking acrylic paint in the oven, follow these steps:
- Preheat the oven to the temperature recommended by the acrylic paint manufacturer, typically between 275°F and 350°F.
- Place the painted item on a lined baking sheet, ensuring that there’s enough space between items for proper heat circulation.
- Bake the item for the specified time, usually around 30 minutes, to allow the acrylic paint to cure and form a strong bond with the surface.
- After baking, allow the item to cool in the oven before removing it to prevent sudden temperature changes that could affect the paint’s finish.
Following these steps for baking acrylic paint will ensure a durable and long-lasting finish on your painted items.
Always remember to maintain proper ventilation and safety precautions when using a household oven for this purpose.
Testing Acrylic Paint Before Baking
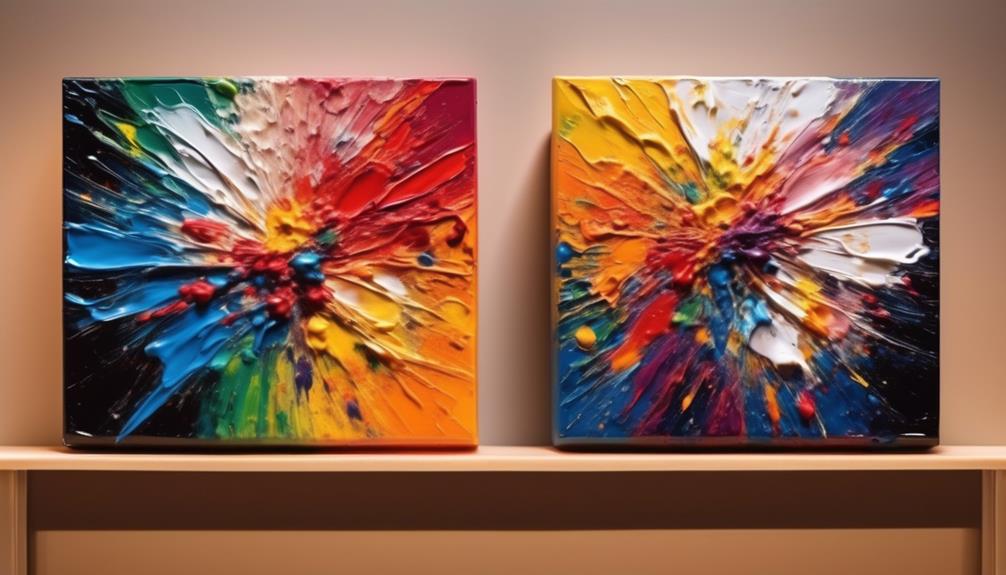
Before baking acrylic paint on ceramics or glass, it’s essential to ensure that the material is oven safe and doesn’t release toxic chemicals. To test the suitability of the paint for baking, a small sample can be painted onto a heat-resistant surface, such as a ceramic tile, and allowed to dry thoroughly.
Once dried, the sample can be baked in the oven according to the recommended temperature and duration. After baking, observe the sample for any changes in color, texture, or adhesion to the surface. If the dried acrylic paint exhibits any adverse effects, such as discoloration or brittleness, adjustments to the baking temperature or duration may be necessary.
It’s crucial to conduct this test before applying the paint to a larger surface to avoid compromising the final result. Additionally, different types of acrylic paint, such as heavy body acrylic paint, may require specific baking methods to achieve the best outcomes.
Baking Acrylic Paint With Multiple Layers

When baking acrylic paint with multiple layers, it’s crucial to ensure that each layer is fully dry before applying the next one. This helps to prevent any potential smudging or blending of colors.
Additionally, heat setting the layers between coats can expedite the drying process, leading to a more durable and vibrant final result.
Layering Acrylic Paint
Layering acrylic paint with multiple coats can enhance the depth and richness of the colors while also strengthening the bond between the paint and the surface. When layering acrylic paint, it’s important to consider the following:
- Use high-quality acrylic paint for the best results.
- Allow each layer to fully dry before applying the next coat to prevent cracking or lifting.
- Consider the viscosity of the paint and adjust it by adding water or a medium to achieve the desired consistency.
- Experiment with different techniques such as dry brushing or glazing to create interesting textures and effects.
Heat Setting Acrylic
To achieve optimal results when heat setting acrylic paint with multiple layers, consider using a heavy body acrylic paint to ensure vibrant colors and better coverage. Heat setting acrylic paint with multiple layers involves a precise process to ensure the layers properly dry and bond. Baking acrylic paint between layers can significantly speed up the drying process, preventing smudging or blending of the paint layers. The table below outlines the recommended steps for heat setting acrylic paint with multiple layers in the oven.
Step Description 1. Apply the first layer of paint 2. Bake the first layer 3. Apply subsequent layers 4. Bake the final layers
Following these steps ensures each layer dries thoroughly and forms a strong bond with the surface, resulting in a professional and long-lasting finish.
Curing Acrylic Paint for Durability
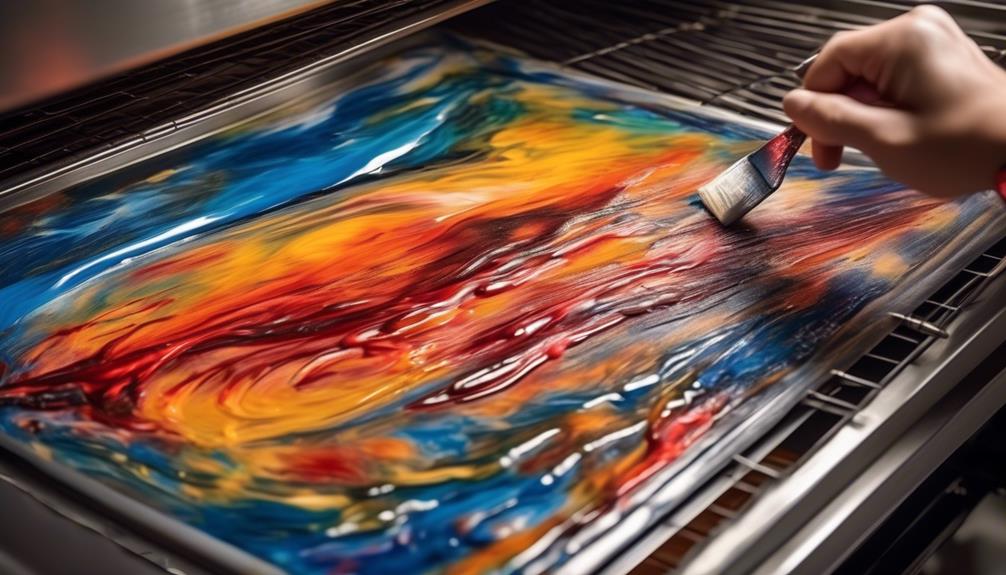
Using a heavy body acrylic paint for baking can significantly enhance the durability of the painted surface. When considering curing acrylic paint for durability, it’s vital to understand the process and its impact. Here are key points to consider:
- Baking acrylic paint helps it form a strong bond with the surface, ensuring long-lasting results.
- Any type of acrylic paint can be used for baking, but heavy body acrylic paint is recommended for vibrant colors and better coverage.
- Baking between coats of paint speeds up the process, allows for painting on a perfectly dry surface, and prevents smudging or blending of paint layers.
- A regular household oven can be used for baking acrylic paint, but it’s important to avoid using the oven for cooking immediately after baking to prevent the release of harmful chemicals, and to air it out before cooking food.
Curing acrylic paint for durability is a crucial step in ensuring the longevity of the painted surface. By following the appropriate guidelines for baking acrylic paint at temperatures suitable for the specific type of paint, the durability and quality of the painted item can be significantly improved.
Cleaning Baked Acrylic Paint

When cleaning baked acrylic paint on ceramics or glass, mild soap and water can be used effectively. It’s important to gently scrub the surface with a soft sponge or cloth to avoid scratching the paint. Rinse the item thoroughly to remove any soap residue and allow it to air dry completely.
Harsh chemicals or abrasive scrubbers should be avoided as they can damage the painted surface. Always handle baked acrylic painted items with care to maintain the quality of the artwork. For glass items, it’s crucial to use a non-abrasive cleaner to prevent scratching. Additionally, consider using a squeegee or a lint-free cloth to ensure a streak-free finish on glass surfaces.
When cleaning ceramics, be mindful of any delicate or intricate areas, and use a soft-bristled brush if necessary. By following these cleaning guidelines, the integrity and longevity of the baked acrylic paint on ceramics and glass can be preserved, allowing the artwork to remain vibrant and durable.
Frequently Asked Questions
How Do You Heat Set Acrylic Paint in the Oven?
We heat set acrylic paint in the oven by following these steps:
- Preheat the oven to 300 degrees Fahrenheit.
- Place the painted item inside the oven.
- Set a timer for 30 minutes.
After baking, we need to let the item cool inside the oven for an hour. This process accelerates drying and helps prevent smudging or blending of paint layers.
It’s important to note that using the appropriate type of acrylic paint suitable for baking is essential. If unsure, it’s always a good idea to consult the manufacturer or experienced artists for guidance.
Can Acrylic Paint Go in the Oven With Polymer Clay?
Yes, acrylic paint can be baked in the oven with polymer clay. By using the oven to cure both the clay and the paint, a strong bond between the two is achieved. This process is essential for creating durable and long-lasting designs on polymer clay surfaces.
However, it’s crucial to follow safety guidelines and ensure proper ventilation when baking acrylic paint in the oven.
Can You Bake All Acrylic Paint?
Yes, all acrylic paint can be baked in the oven. Baking acrylic paint helps ensure a strong bond with the surface. It’s essential for long-lasting results.
Using heavy body acrylic paint is recommended for vibrant colors and better coverage. Baking between coats can speed up the process and prevent smudging.
However, caution is necessary to avoid harmful fumes. Proper ventilation is crucial when using a regular household oven for this purpose.
What Temperature Can You Bake Paint?
We can bake acrylic paint in the oven at 275-300 degrees Fahrenheit, but higher temperatures may cause color changes or make the paint brittle.
It’s crucial to follow the manufacturer’s instructions for the specific acrylic paint being used.
Baking times may vary, but generally, 30 minutes is a good starting point.
After baking, allow the painted item to cool completely before handling.
It’s a delicate process that requires precision to ensure the best results.
Conclusion
In conclusion, baking acrylic paint in the oven is a safe and effective method for achieving vibrant and long-lasting results.
However, it’s essential to exercise caution and ensure proper ventilation to avoid any potential health risks.
Remember, a well-baked acrylic masterpiece isn’t only a work of art, but also a testament to your dedication to the craft.
Happy baking!
- About the Author
- Latest Posts
Introducing Ron, the home decor aficionado at ByRetreat, whose passion for creating beautiful and inviting spaces is at the heart of his work. With his deep knowledge of home decor and his innate sense of style, Ron brings a wealth of expertise and a keen eye for detail to the ByRetreat team.
Ron’s love for home decor goes beyond aesthetics; he understands that our surroundings play a significant role in our overall well-being and productivity. With this in mind, Ron is dedicated to transforming remote workspaces into havens of comfort, functionality, and beauty.
Decor
3 Creative Brick Accent Wall Styling Ideas
Nestle into the world of exposed brick design and discover how to transform your space with three creative styling ideas that will leave you wanting more.
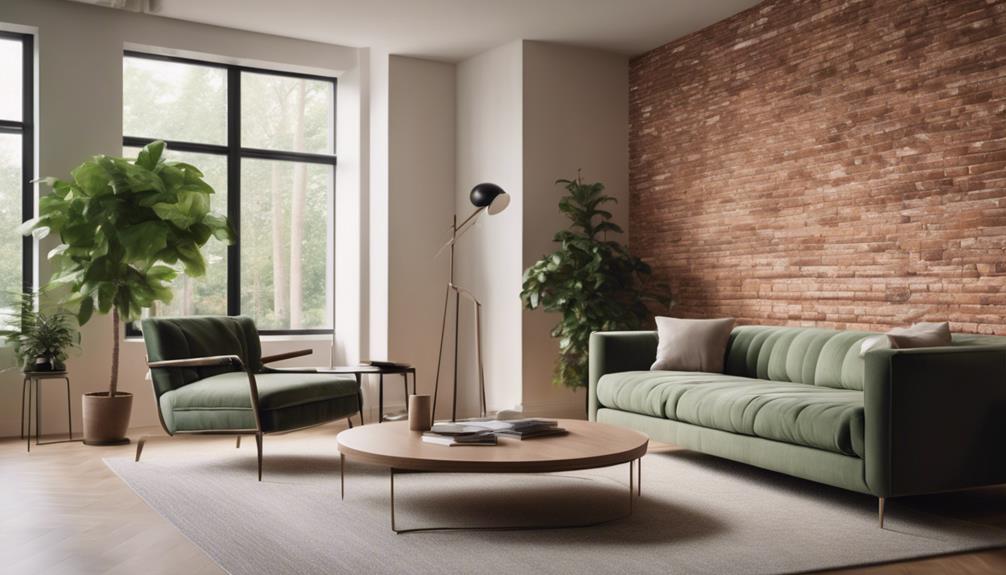
You can enhance your space with a brick accent wall by choosing from a variety of styling options that maximize the unique texture and visual appeal of exposed brick. For a sophisticated look, paint your brick wall in neutral hues like white or gray, which provides a clean canvas for interior design. Alternatively, use your brick wall as a bold backdrop for artwork or combine it with sleek finishes for an industrial-chic-meets-rustic-charm vibe. From elegant neutrals to bold art displays, these styling ideas will help you unleash the full potential of your brick accent wall, and there's more to discover about making the most of this unique design element.
Key Takeaways
• Paint exposed brick walls in neutral hues like white or gray to create a sophisticated backdrop for interior design.
• Use brick walls as a unique canvas for artwork and photographs, adding sophistication to living spaces.
• Combine exposed brick walls with sleek finishes to create a visually dynamic space blending industrial chic with rustic charm.
Exposed Elegance in Neutral Hues
Painting your exposed brick wall in neutral hues like white or gray can transform it into a sophisticated backdrop that sets the tone for a modern and versatile space. This is especially true when creating a brick accent wall, as it allows you to maintain the natural texture of the brick while introducing a fresh, modern twist. Neutral hues provide a clean canvas for your interior design, making it easy to coordinate with various decor styles and furniture choices.
Plus, white-painted brick accent walls can make a room feel lighter and airier, perfect for smaller spaces. Gray brick walls, on the other hand, offer a sleek, contemporary look that blends seamlessly with minimalist and industrial designs. By opting for neutral tones, you'll find it easy to mix and match different color schemes and design elements in your room.
As natural light pours in, your brick accent wall will come alive, adding depth and character to your modern interior.
Bold Brick Backdrops for Artwork
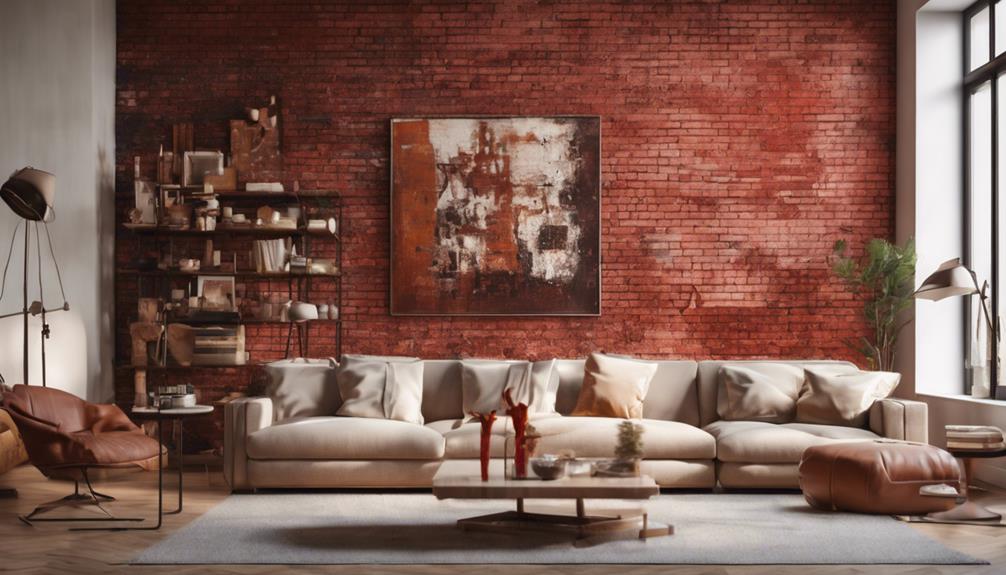
Transform your brick accent wall into a captivating canvas by showcasing your favorite artwork and photographs, and watch how the textured backdrop enhances their visual appeal. A brick wall serves as a unique and enchanting setting for your art collection, adding a touch of sophistication to your Living Rooms with Brick. By incorporating your favorite pieces, you can create a gallery-style setting that draws the eye to the artwork.
Here are some ideas to get you started:
- Neutral hues: Pair your artwork with neutral-hued furniture pieces that stand out beautifully against the textured backdrop of the brick wall.
- Accentuate with lighting: Use lighting to highlight your artwork, drawing attention to the textures and colors of the brick wall.
- Add decorative accents: Incorporate decorative accents, such as vases or sculptures, to add texture and visual interest to the space.
Industrial Chic Meets Rustic Charm
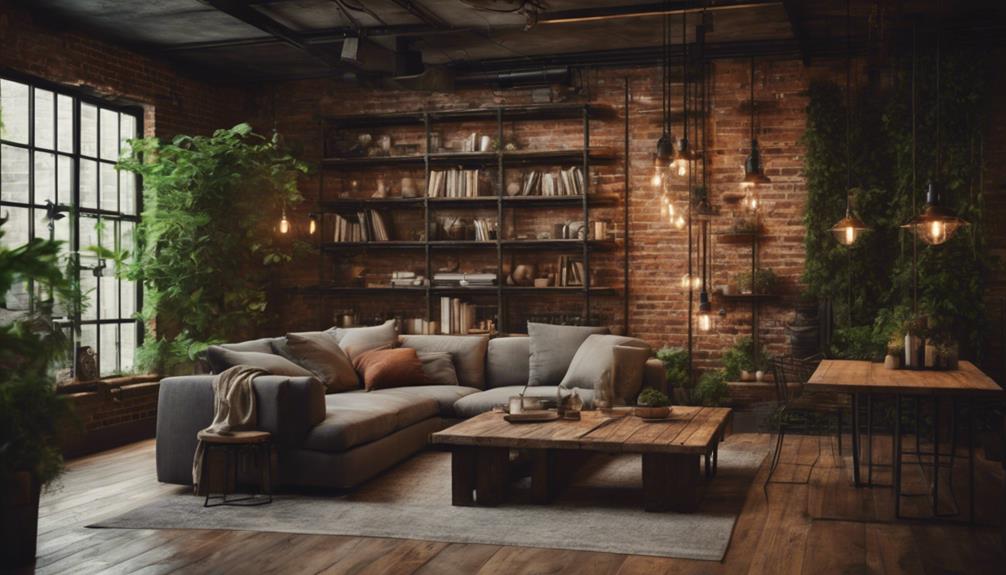
As you combine exposed brick walls with sleek finishes, industrial chic meets rustic charm in a space that's equal parts raw and refined. This unique blend of styles creates a visually dynamic space, where the contrast between industrial elements like metal accents and rustic brick walls adds depth and character.
To enhance the rustic charm, incorporate natural wood furniture pieces, like reclaimed wood tables or wooden benches, which complement the brick walls beautifully. In Rooms with Brick Walls, you can also add wall paneling to create a cozy nook or reading area.
Balance the industrial elements with soft textiles like rugs and throw pillows to create a cozy atmosphere. Mixing vintage decor and modern furnishings adds personality to the space, making it truly one-of-a-kind.
Frequently Asked Questions
How to Decorate a Brick Accent Wall?
You're wondering how to decorate a brick accent wall? Start by adding personal touches like family photos, artwork, or mirrors to create a unique look, and don't forget to balance with greenery or decorative shelves.
How Can I Make My Brick Wall More Attractive?
You can make your brick wall more attractive by adding decorative elements, like shelves and artwork, and strategically placing lighting fixtures to highlight its textures and colors, creating a visually appealing focal point in the room.
What Art Looks Good on a Brick Wall?
You'll find that bold, vibrant artwork, eclectic mixes, and abstract pieces with clean lines and bold colors create a striking visual contrast on a brick wall, drawing the eye and adding depth to the space.
How Do You Dress up a Brick Wall?
You'll be surprised to know that 70% of homeowners consider a statement wall a must-have design element! To dress up a brick wall, you'll want to add some visual interest with floating shelves, framed artwork, or a show-stopping mirror.
Conclusion
Now that you've explored these creative brick accent wall styling ideas, the question is: what's stopping you from building your own masterpiece?
After all, as the old adage goes, 'well-built is well-begun.'
By incorporating exposed elegance, bold backdrops, or industrial chic elements, you'll be well on your way to crafting a space that's uniquely yours.
So, get building – and let your walls do the talking!
- About the Author
- Latest Posts
Introducing Ron, the home decor aficionado at ByRetreat, whose passion for creating beautiful and inviting spaces is at the heart of his work. With his deep knowledge of home decor and his innate sense of style, Ron brings a wealth of expertise and a keen eye for detail to the ByRetreat team.
Ron’s love for home decor goes beyond aesthetics; he understands that our surroundings play a significant role in our overall well-being and productivity. With this in mind, Ron is dedicated to transforming remote workspaces into havens of comfort, functionality, and beauty.
Decor
Achieving Charm With a New White Living Room Reveal and Brick Accent Wall
Oozing with rustic charm, this white living room reveal featuring a brick accent wall is a masterclass in balancing modern and natural elements.
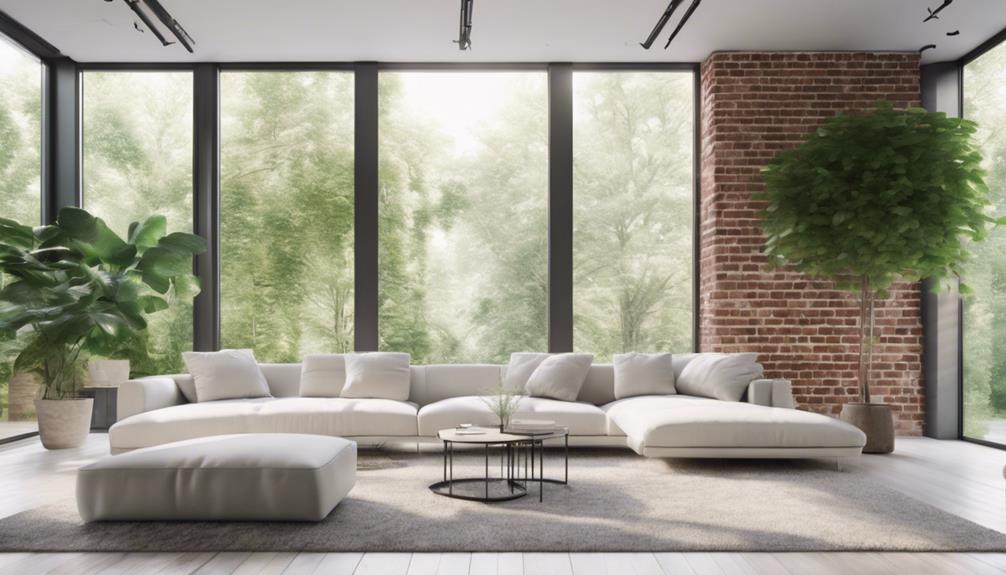
We're excited to share our secrets for achieving charm in a white living room with a brick accent wall. By choosing a mainly white color scheme, we create a neutral backdrop that maximizes natural light and sense of spaciousness. Adding a brick accent wall brings in texture and warmth, while introducing natural elements adds rustic charm. We balance modern and rustic aesthetics by juxtaposing sleek, modern pieces with distressed wood. Strategic lighting enhances the brick wall's texture and color, creating a cozy atmosphere. Now, let's dive deeper into the design elements that bring this look together seamlessly.
Key Takeaways
• A neutral white color scheme provides a versatile backdrop for decorating possibilities and maximizes natural light and a sense of spaciousness.
• Adding texture and depth with delicate prints, touchable textures, and a brick accent wall enhances the space without compromising openness.
• Introducing natural elements, such as the brick accent wall, adds warmth, character, and texture to the white living room design.
• Balancing modern and rustic elements, like sleek furniture and distressed wood, creates a charming and visually appealing atmosphere.
• Strategic lighting, including ambient and task lighting, accentuates the brick accent wall's texture and color, creating a cozy ambiance.
Creating a Neutral Backdrop
In designing our dream living room, we chose a mainly white color scheme to create a neutral backdrop that would offer countless possibilities for decorating and styling our space. We wanted a white living room that would provide a clean slate for our decor choices, allowing us to easily switch up our style without having to worry about clashing colors.
A neutral backdrop also enables us to maximize natural light and creates a sense of spaciousness, making our room feel larger than it is. With a white living room, we can easily coordinate our furniture, accessories, and accent colors, ensuring a cohesive look that's both modern and cozy.
The addition of a brick accent wall adds texture and warmth to our space, balancing out the crispness of the white walls and creating a unique aesthetic that's both modern and inviting. By choosing a neutral color scheme, we've opened ourselves up to a world of versatile decor choices, allowing us to experiment with different styles and trends without committing to a specific look.
Adding Texture and Depth
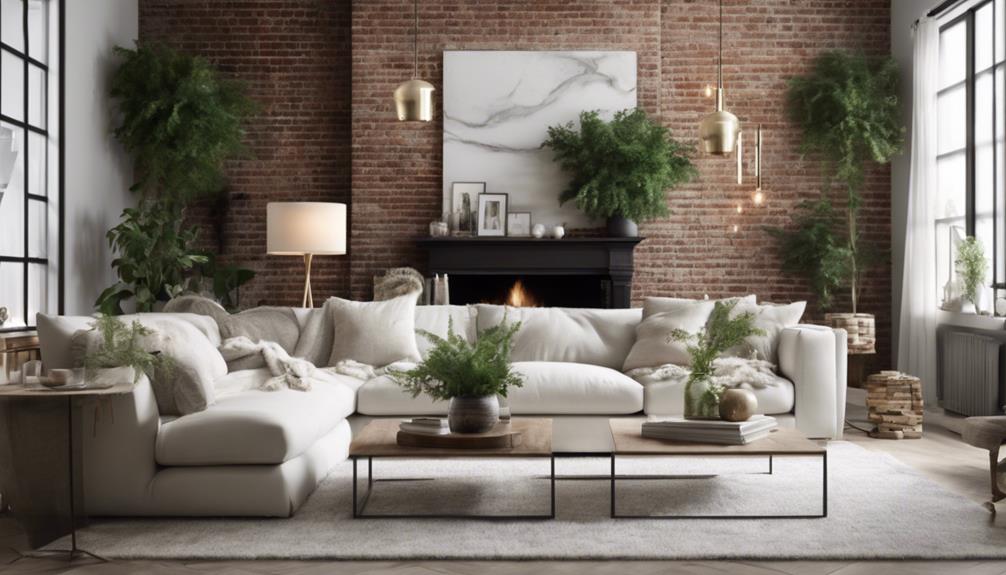
How do we take our white living room to the next level by introducing textures and depths that add visual interest without overwhelming the senses?
We believe that incorporating delicate prints and touchable textures is a great way to enhance our space without relying on vibrant colors. This approach allows us to maintain the sense of openness and space that our white walls provide, while also creating a more engaging atmosphere.
Incorporating fine lines, abstract shapes, and organic textures can elevate the modern aesthetic of our white living room.
We're particularly excited about the addition of a brick accent wall, which will provide a rich, textured element that adds warmth and rustic charm to our space.
The brick wall will also help break up the whiteness of the room, creating a cozy nook that invites relaxation.
Bringing in Natural Elements
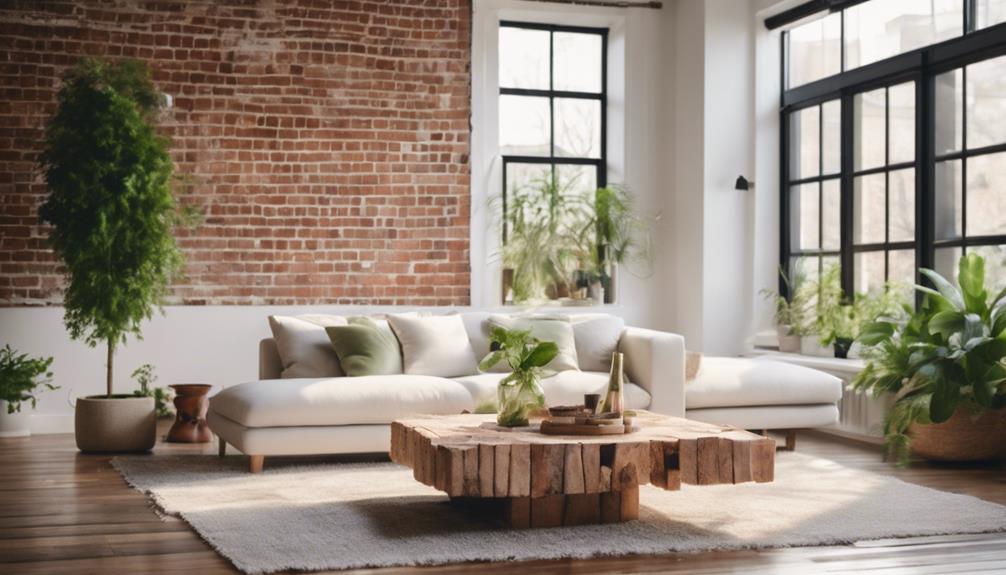
We're bringing the outdoors in by introducing natural elements that add warmth and character to our white living room, starting with the showstopping brick accent wall. This stunning feature not only serves as a focal point but also brings a touch of rustic charm to the space.
The contrast between the white decor and natural brick accents creates a visually appealing and cozy atmosphere, making our living room feel more inviting. By incorporating natural elements like exposed brick walls, we're able to add texture and character to our white living room design.
This unique blend of modern and organic aesthetics creates a harmonious balance, making our living room feel more charming and character-filled. The brick accent wall provides a unique backdrop that enhances the overall charm and character of our white living room, making it the perfect spot to relax and unwind.
Balancing Modern and Rustic
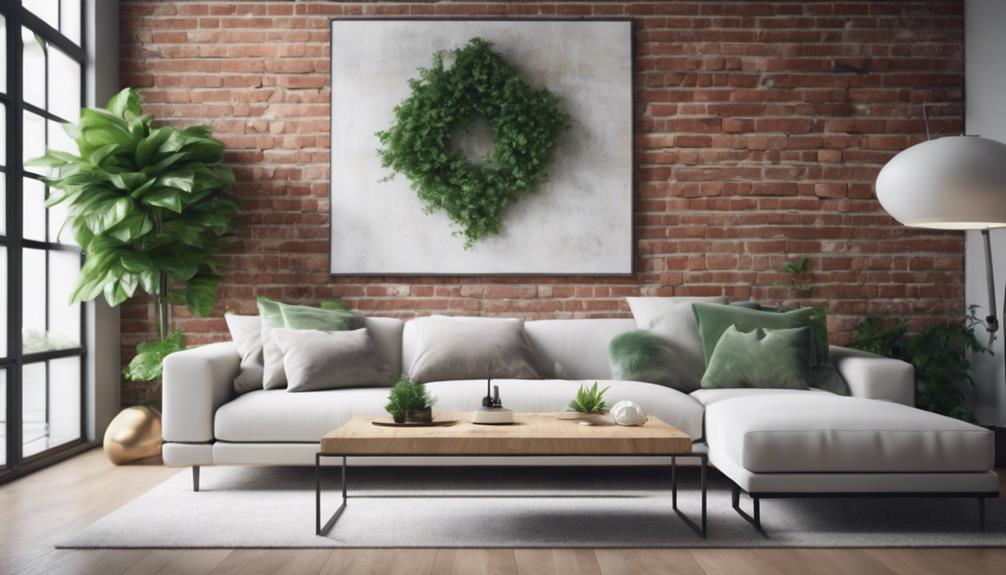
By juxtaposing sleek, modern pieces with the rustic charm of the brick accent wall, we've achieved a harmonious balance that elevates our white living room's aesthetic. This blend of modern and rustic elements creates a charming atmosphere that's both inviting and visually appealing.
| Design Element | Modern | Rustic |
|---|---|---|
| Furniture | Sleek lines, minimalist decor | Distressed wood, natural textiles |
| Accent Wall | – | Brick, exposed brick, natural stone |
| Color Palette | Monochromatic, bold colors | Earthy tones, natural hues |
| Texture | Smooth, glossy | Rough, natural |
| Overall Feel | Contemporary, sleek | Cozy, inviting |
Accentuating With Lighting
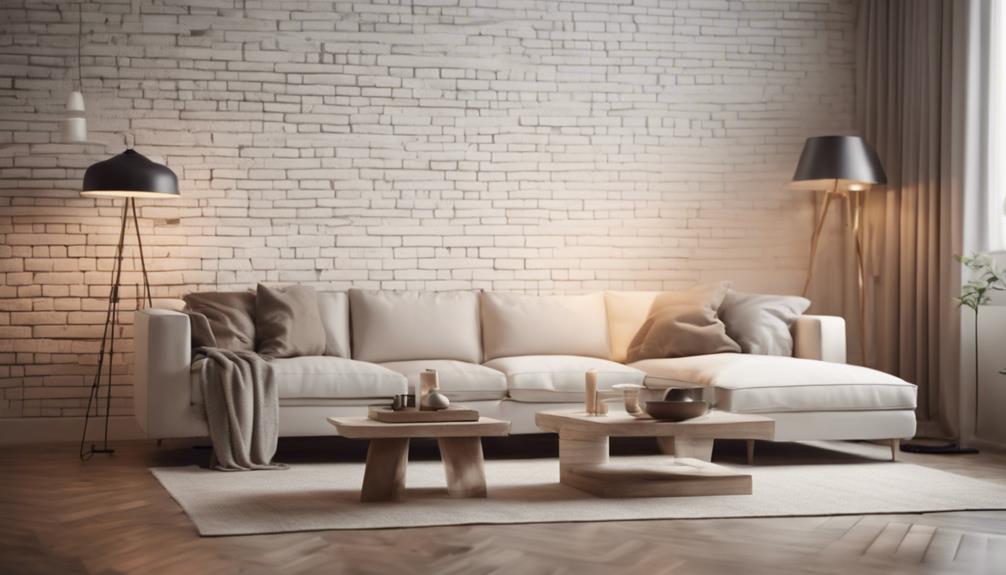
Lighting plays an essential role in our white living room. Strategically placed fixtures can draw attention to the brick accent wall's unique texture and color variations. By incorporating the right lighting, we can create a warm and inviting atmosphere that highlights the best features of our space.
Here are some ways we're using lighting to accentuate our brick accent wall:
- Soft ambient lighting creates a cozy and relaxing atmosphere, perfect for unwinding after a long day.
- Task lighting is used to illuminate specific areas, such as artwork or shelving, on the brick wall.
- Dimmable lighting options allow us to adjust the mood and ambiance of the space to suit our needs.
- Strategically placed lighting fixtures draw attention to the brick wall's unique texture and color variations.
- A combination of warm and cool tones creates visual interest and adds depth to the space.
Frequently Asked Questions
What Art Looks Good on a Brick Wall?
It's evident that selecting the right art for a brick wall can be tricky. When it comes to what looks good on a brick wall, abstract art with bold colors and geometric shapes creates a striking contrast.
Alternatively, vintage or antique pieces add a touch of nostalgia, while black and white photography provides a modern look. Botanical prints or nature-inspired art also harmonize with the rustic feel of brick.
What to Do With an Exposed Brick Wall?
When it comes to an exposed brick wall, we're faced with endless possibilities.
We can leave it in its natural state, allowing the original texture and color to shine. Alternatively, we can add a coat of paint or whitewash to give it a fresh look.
We could also incorporate brick as a design element, creating patterns or archways to enhance the space.
Whatever we choose, an exposed brick wall is sure to add character and charm to any room.
What Is the Best Accent Color for White Walls?
We're on the hunt for the perfect accent color to complement our white walls! But, where do we even start? The options seem endless, and we're not sure which direction to take.
Will we go for a classic, timeless look or something bold and vibrant? The good news is, there's no one-size-fits-all answer.
We'll explore popular choices, from navy blue to emerald green, and consider factors like mood, style, and even color psychology to find the ideal accent color for our space.
How to Modernise Exposed Brick?
We're looking to modernize our exposed brick, and we've got a few tricks up our sleeves!
Painting it a neutral color gives it a fresh look, while minimalist decor and sleek furniture add a modern twist.
Industrial lighting fixtures and mixing textures like wood and metal with brick also create a contemporary vibe.
Conclusion
As we step back to admire our newly revealed white living room, we can't help but feel a sense of pride and accomplishment. The neutral backdrop, textured accents, and natural elements have come together in perfect harmony.
But the real question is, what's the point of creating a beautiful space if not to fill it with love, laughter, and memories?
As we flip the switch and the room comes alive with warm lighting, we're reminded that it's not just about the aesthetics – it's about the moments that make a house a home.
- About the Author
- Latest Posts
Introducing Ron, the home decor aficionado at ByRetreat, whose passion for creating beautiful and inviting spaces is at the heart of his work. With his deep knowledge of home decor and his innate sense of style, Ron brings a wealth of expertise and a keen eye for detail to the ByRetreat team.
Ron’s love for home decor goes beyond aesthetics; he understands that our surroundings play a significant role in our overall well-being and productivity. With this in mind, Ron is dedicated to transforming remote workspaces into havens of comfort, functionality, and beauty.
Decor
Learn How to Repurpose a Vintage Picnic Basket Into a Table
Bringing new life to forgotten treasures, discover the step-by-step guide to transforming vintage picnic baskets into unique, functional tables.
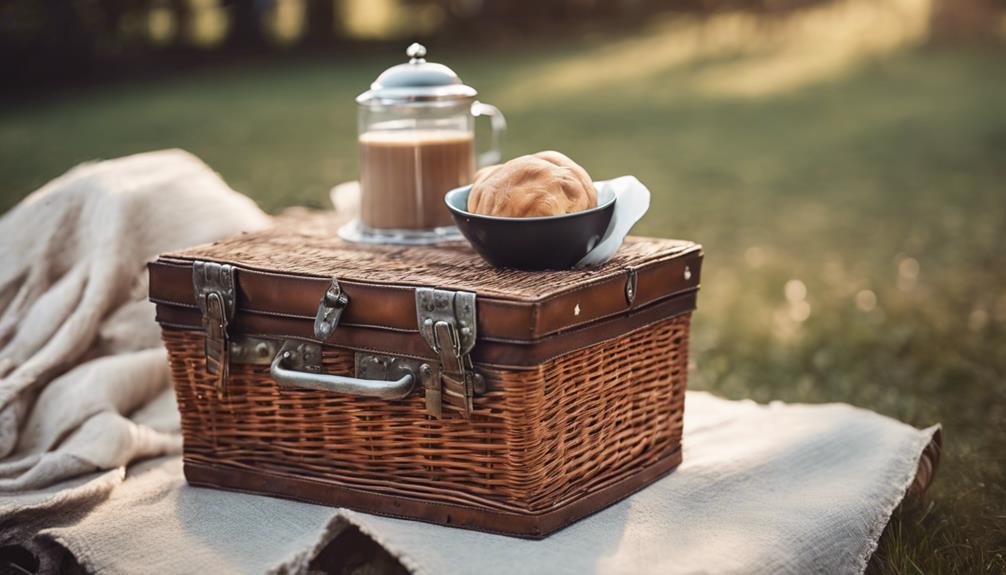
We're transforming vintage picnic baskets into unique tables that blend rustic charm with modern sophistication. To start, we thoroughly clean and prepare the basket, ensuring structural stability and removing old linings. Next, we prime and paint the basket using techniques like faux grain sack stripes to achieve a timeless, sophisticated look. We add a personalized touch with wooden signs and decorative straps, securing them with E6000 glue. Finally, we enhance the aesthetic with Big Mamas Butta and In The Navy Paint. As we explore these creative techniques, we'll uncover the secrets to upcycling a vintage picnic basket into a one-of-a-kind table that showcases individuality.
Key Takeaways
• Clean and prepare the vintage picnic basket by removing old lining, verifying structural stability, and making necessary repairs.
• Apply primer and paint the basket with a timeless, sophisticated design, using techniques like faux grain sack stripes for uniqueness.
• Add a personalized wooden sign that complements the basket, securing it with twine or wire for a touch of personality.
• Attach durable, easy-to-clean pleather straps in a stylish color and texture, using E6000 glue for a strong bond.
• Enhance the aesthetic appeal with a rich, buttery finish using Big Mamas Butta, perfect for rustic or modern design preferences.
Gather Essential Upcycling Supplies
We'll need a variety of essential upcycling supplies to give our vintage picnic basket a fresh new look and functional makeover. Gathering the right materials is important to achieving a successful transformation.
First, we'll need paint and brushes to revamp the basket's exterior and interior. Sandpaper will come in handy to smooth out any rough surfaces. Additionally, decor transfers can add a personal touch to our upcycled table.
We'll also require necessary tools like a screwdriver, pliers, and scissors for any repairs or adjustments needed on the vintage picnic basket. Having these upcycling supplies at our disposal will guarantee a seamless shift from basket to functional table.
Furthermore, considering the surfaces and materials we'll be working with, it's crucial to choose supplies that are compatible and suitable for the task at hand. With our upcycling supplies in check, we'll be ready to tackle the next step in our project: preparing our vintage picnic basket for its new life as a table.
Prepare the Vintage Picnic Basket

Now that we've gathered our upcycling supplies, let's get our hands dirty and prepare our vintage picnic basket for its new life as a functional table.
The first step in repurposing a vintage picnic basket is to thoroughly clean it, removing any dirt or debris that may have accumulated over time. This will give us a clean slate to work with and help us identify any areas that need attention.
Next, we need to verify the basket is structurally sound and stable for use as a table. We should inspect the basket for any weak spots or damage and consider making repairs or reinforcements to make it more sturdy.
Additionally, we'll remove any old or damaged lining from the inside of the basket to create a smooth surface.
Finally, we'll measure the dimensions of the basket to determine the appropriate tabletop size for our repurposed table.
Prime the Basket for Painting
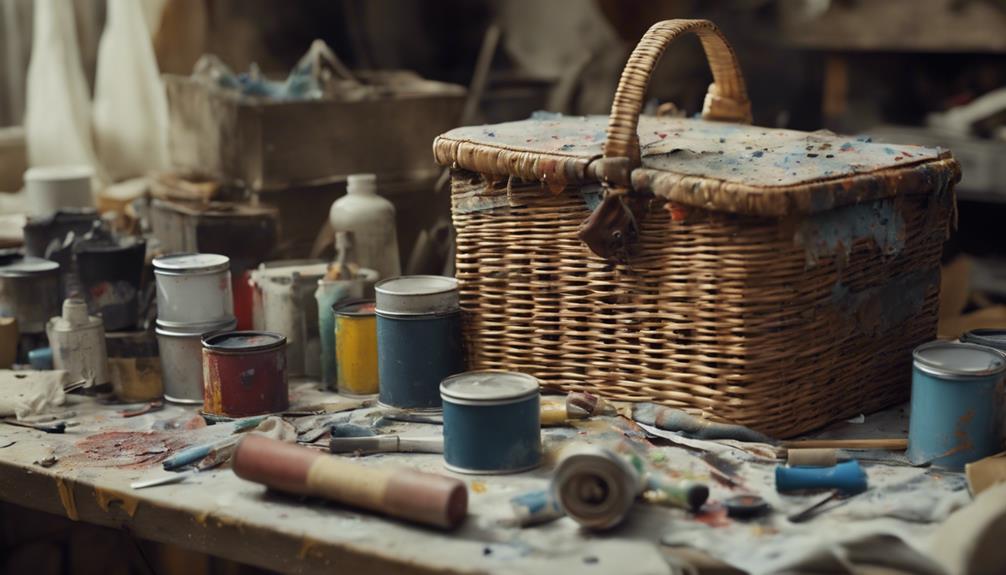
With our vintage picnic basket clean, repaired, and measured, we're ready to prime it for painting, starting by elevating it on paint stands for easy access during the priming process. This allows us to reach all areas of the basket with ease, guaranteeing a smooth and even application of the primer.
Next, we apply a coat of Rustoleum Flat White Primer specifically designed for metal surfaces, using short back-and-forth strokes to achieve even coverage. Choosing a primer that's compatible with the basket's material is crucial to enhance paint adhesion and create a smooth base for the paint.
We make sure the primer is completely dry before moving on to the next step, as this will establish a strong bond between the primer and the paint. By priming the basket, we're setting ourselves up for success, as it helps to create a smooth, even finish that will make our repurposed vintage picnic basket table look amazing.
Add a Faux Grain Sack Stripe

To add a touch of vintage charm to our repurposed picnic basket, let's create a faux grain sack stripe using In The Navy Chalk Mineral Paint. This classic look is reminiscent of traditional farmhouses and will elevate our picnic basket's aesthetic.
We'll start by applying painter's tape to the basket, ensuring precise guidance for our paint strokes. Next, we'll use the navy paint to create the stripe, combining it with light neutral shades to achieve a timeless and sophisticated look.
Attach a Wooden Sign to Basket

As we attach a wooden sign to our vintage picnic basket, we'll explore the crucial points to keep in mind. We'll examine the design elements of the sign itself, such as the type of wood, font, and message, to make sure it complements our basket's aesthetic.
Additionally, we'll discuss the various attachment methods, including the use of twine or other materials, to securely fasten the sign to the basket.
Sign Design Elements
We add a touch of personality to our vintage picnic basket by attaching a wooden sign that echoes the basket's classic style. This design element not only enhances the basket's appearance but also adds a personal touch. To guarantee a cohesive look, we choose a wooden sign that complements the style of the picnic basket.
| Design Element | Description | Tips |
|---|---|---|
| Wooden Sign | A decorative element that adds personality to the picnic basket | Choose a design that complements the basket's style |
| Twine or Wire | Secure the wooden sign to the basket handles | Ensure a sturdy attachment for a polished look |
| Sign Size | Select a size that balances with the basket's dimensions | Avoid overwhelming the basket with a large sign |
Attachment Methods
With our wooden sign chosen, we tie it securely to the picnic basket handles using twine. This attachment method guarantees our sign remains in place, adding a touch of elegance to our repurposed picnic basket table.
To start, we thread the twine through the hole in the wooden sign and the handle of the basket, making sure it's firmly attached. We then tie the twine off tightly to prevent the sign from shifting or falling. To make the process easier, we tape the cut end of the twine, allowing it to glide smoothly through the sign and basket.
We repeat this process on the other side of the basket to ensure our wooden sign is evenly and securely attached. By using this attachment method, we can confidently display our wooden sign on our repurposed picnic basket, adding a touch of rustic charm to our outdoor space.
With the sign securely in place, we can now focus on the final touches, transforming our vintage picnic basket into a unique and functional table.
Add Decorative Pleather Straps

As we continue to repurpose our vintage picnic basket, we're now going to focus on adding decorative pleather straps to give it a stylish and functional touch.
We'll explore the different material options available, the benefits of using pleather straps, and the best ways to secure them to the basket.
Strap Material Options
When updating the vintage picnic basket, incorporating decorative pleather straps can be a stylish and practical choice that effectively revives the classic design.
As we consider the strap material options, pleather straps stand out as an affordable and stylish alternative to traditional leather straps. This material choice offers a durable and easy-to-clean solution, perfect for a repurposed picnic basket turned table.
We can customize the design of our table by selecting pleather straps in various colors, patterns, and textures, allowing us to elevate the overall aesthetic of our upcycled piece. The versatility of pleather straps enables us to add a touch of modernity to the vintage picnic basket while maintaining its classic charm.
Pleather Strap Benefits
We can enhance the aesthetic appeal of our repurposed picnic basket table by adding decorative pleather straps, which not only provide a stylish touch but also offer several practical benefits. One of the most significant advantages of pleather straps is their durability and weather resistance, making them an excellent choice for outdoor use. Additionally, they offer a cruelty-free and budget-friendly alternative to traditional leather straps.
| Benefit | Description | Advantage |
|---|---|---|
| Durability | Pleather straps are more resistant to wear and tear | Longer lifespan |
| Customization | Pleather straps can be easily customized with different colors and textures | Matches desired aesthetic |
| Cruelty-free | Faux leather straps offer a cruelty-free alternative to traditional leather | Aligns with ethical values |
Securing the Straps
Now that we've selected the perfect decorative pleather straps, it's time to securely attach them to our vintage picnic basket. We'll use E6000 glue to guarantee a strong bond between the straps and the basket. To achieve a polished finish, we'll make sure to space the straps evenly and align them precisely.
Before applying the glue, we'll carefully measure and mark the attachment points on the basket. Then, we'll apply a small amount of E6000 glue to the marked areas and carefully place the straps in position. To prevent any movement while the glue dries, we'll clamp the straps in place. This will secure a strong and secure attachment.
With the straps securely attached, our vintage picnic basket is one step closer to becoming a unique and functional table. The addition of decorative pleather straps not only enhances the basket's aesthetic but also adds functionality.
Add a Touch With Big Mamas Butta
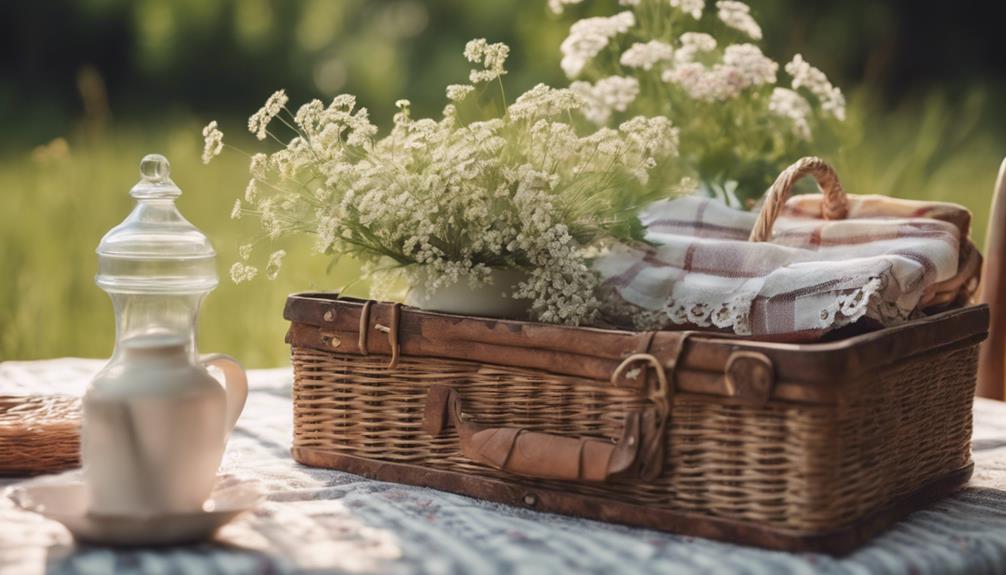
How can we elevate our vintage picnic basket's aesthetic appeal with a single, game-changing product? The answer lies in Big Mamas Butta, a miracle worker that adds a rich, buttery finish to our treasured picnic basket.
By applying it to the basket's surface, we can achieve a luxurious feel and a subtle sheen, instantly elevating its overall look. Not only that, Big Mamas Butta can also work its magic on the pleather straps, darkening them to give our basket a high-end boutique appearance.
We've all seen vintage picnic baskets that have lost their luster over time, but Big Mamas Butta helps revive their exterior, making them more visually appealing and adding a touch of sophistication. By using this amazing product, we can transform our vintage picnic basket into a stylish and elegant table with a beautiful finish.
Whether we're going for a rustic, vintage vibe or a modern, sleek look, Big Mamas Butta is the perfect addition to our repurposing project. With its help, our picnic basket will be the envy of all who lay eyes on it.
Transform With in the Navy Paint
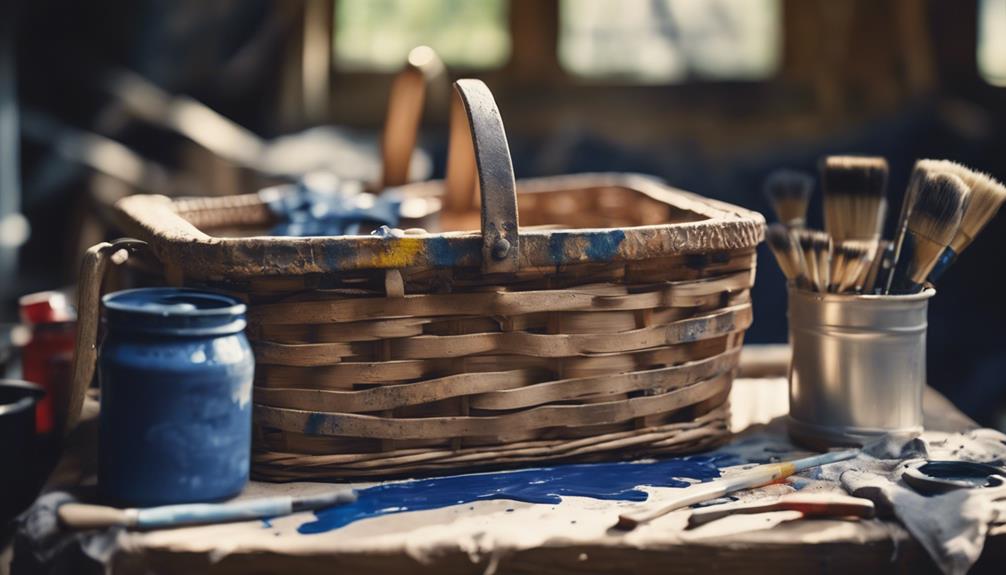
As we transform our vintage picnic basket with In The Navy Paint, we'll cover the basics of working with this rich, dark shade, sharing some essential painting prep tips to guarantee a smooth process.
We'll also explore how to effortlessly transform our basket with this beautiful paint, achieving a unique and charming design.
Navy Blue Basics
With In The Navy Chalk Mineral Paint, we're about to breathe new life into our vintage picnic basket, transforming it into a one-of-a-kind table that exudes rustic charm and sophistication.
We're excited to give this old basket a fresh look, and navy blue is the perfect hue to add a touch of elegance. By using In The Navy Chalk Mineral Paint, we can achieve a rich, deep blue that will be the perfect base for our table.
This vintage picnic basket is the perfect candidate for a makeover, and with this navy blue paint, we can create a unique and eye-catching piece.
We'll combine the navy blue with light neutral shades to enhance the vintage aesthetic and add a touch of sophistication to our repurposed table. By incorporating painting techniques like the faux grain sack stripe, we can create a one-of-a-kind piece that's both rustic and refined.
With a little creativity and some In The Navy Chalk Mineral Paint, we can turn this vintage picnic basket into a stunning table that's sure to be a conversation starter.
Painting Prep Tips
Before we start painting, let's get our vintage picnic basket ready for its transformation by elevating it on paint stands, ensuring easy access from all sides. This will allow us to work comfortably and efficiently, ensuring a smooth painting process.
Next, we'll focus on preparing the surface of our picnic basket for painting. A thorough cleaning is essential to remove any dirt, grime, or old wax that may affect paint adhesion. Once clean, we can start thinking about the design elements we want to incorporate.
For a vintage farmhouse look, we can use In The Navy Chalk Mineral Paint to create a faux grain sack stripe. By combining painter's tape with navy paint and light neutral shades, we can achieve a unique and cost-effective transformation. With the right painting techniques, we can enhance the basket's appearance and give it a fresh, updated look.
Transforming With Ease
We're now ready to add the faux grain sack stripe to our vintage picnic basket using In The Navy Chalk Mineral Paint. This will instantly evoke a charming farmhouse ambiance.
To achieve this look, we'll combine the navy paint with light neutral shades. This creates a classic aesthetic that enhances the vintage charm of our picnic basket.
To guarantee clean lines and precision, we'll use painter's tape to paint the faux grain sack stripe. This technique not only adds a unique touch to our basket makeover but also provides a cost-effective way to create a one-of-a-kind home decor piece.
Add a Personalized Wooden Sign

We add a touch of personality to our repurposed picnic basket by crafting a customized wooden sign that reflects our unique style. This personalized element elevates our upcycled vintage picnic basket into a one-of-a-kind piece that showcases our individuality.
To create the wooden sign, we choose a design or message that resonates with us, whether it's a quote, a name, or a simple phrase. We then attach the sign securely to the basket using twine or wire, adding a rustic touch to the overall aesthetic.
For an extra pop of color, we consider painting the wooden sign with a complementary hue that enhances the overall look of the basket. To take it to the next level, we can embellish the wooden sign with decorative elements like transfers, stencils, or hand-painted designs.
Style Your Upcycled Picnic Basket

Now that our vintage picnic basket has a personalized touch, let's incorporate it into our home decor by selecting a design that seamlessly blends with our interior style. We appreciate the French country vibe of the basket and consider displaying it in different areas of our home.
To enhance its appearance, we add a decor transfer on the wood sign, choosing a design that complements the basket. We secure it with painters tape for a smooth transfer.
As we style our upcycled picnic basket, we make sure it complements our home decor. We opt for a design that blends seamlessly with our interior style, creating a cohesive look. The French country charm of the basket adds a touch of elegance to our space.
Frequently Asked Questions
What Can I Do With a Vintage Picnic Basket?
We're often left wondering, what can we do with a vintage picnic basket? Well, the possibilities are endless!
We can repurpose it as a unique storage container, a decorative centerpiece, or even a planter for plants.
We could also use it as a gift basket or a treasure chest for kids.
With a little creativity, a vintage picnic basket can become a functional and charming piece in our homes.
How Do You Make a Picnic Basket for Kids?
As we begin this adventure, our minds are like empty baskets, waiting to be filled with the perfect picnic essentials for kids!
When creating a picnic basket for kids, we choose durable, kid-friendly designs with playful colors. We opt for smaller sizes, like mini baskets, making them easy for little hands to carry. Compartments and insulated linings keep snacks and drinks organized and fresh.
Conclusion
As we reflect on our upcycling journey, we're reminded that with a little creativity, even the most mundane vintage finds can be transformed into functional works of art.
The once-forgotten picnic basket now boasts a fresh, nautical-inspired aesthetic, complete with a personalized wooden sign and a hint of rustic charm.
It's a demonstration of the power of repurposing, where the old is made new again, and the ordinary becomes extraordinary.
- About the Author
- Latest Posts
Introducing Ron, the home decor aficionado at ByRetreat, whose passion for creating beautiful and inviting spaces is at the heart of his work. With his deep knowledge of home decor and his innate sense of style, Ron brings a wealth of expertise and a keen eye for detail to the ByRetreat team.
Ron’s love for home decor goes beyond aesthetics; he understands that our surroundings play a significant role in our overall well-being and productivity. With this in mind, Ron is dedicated to transforming remote workspaces into havens of comfort, functionality, and beauty.
-

 Vetted2 days ago
15 Best Printers of 2024: Top Picks and Expert Reviews
-
 Vetted4 days ago
15 Best Tile Sealers for Long-Lasting Protection and Shine
-

 Vetted1 week ago
15 Best Smelling Floor Cleaners That Will Leave Your Home Fresh and Inviting
-

 Vetted6 days ago
14 Best Power Scrubbers for Showers That Will Transform Your Cleaning Routine
-

 Mardi Gras Decoration14 hours ago
What Do the Symbols of Mardi Gras Mean?
-

 Appliances4 days ago
5 Best Energy-Efficient Stainless Steel Fridges 2023
-

 Vetted4 weeks ago
Best Mop for Sparkling Clean Floors in 2024
-

 Vetted4 days ago
Best Essential Oil Brand: Top Picks for 2024


