Appliances
Can a Toilet Flush Be Made Stronger
2025
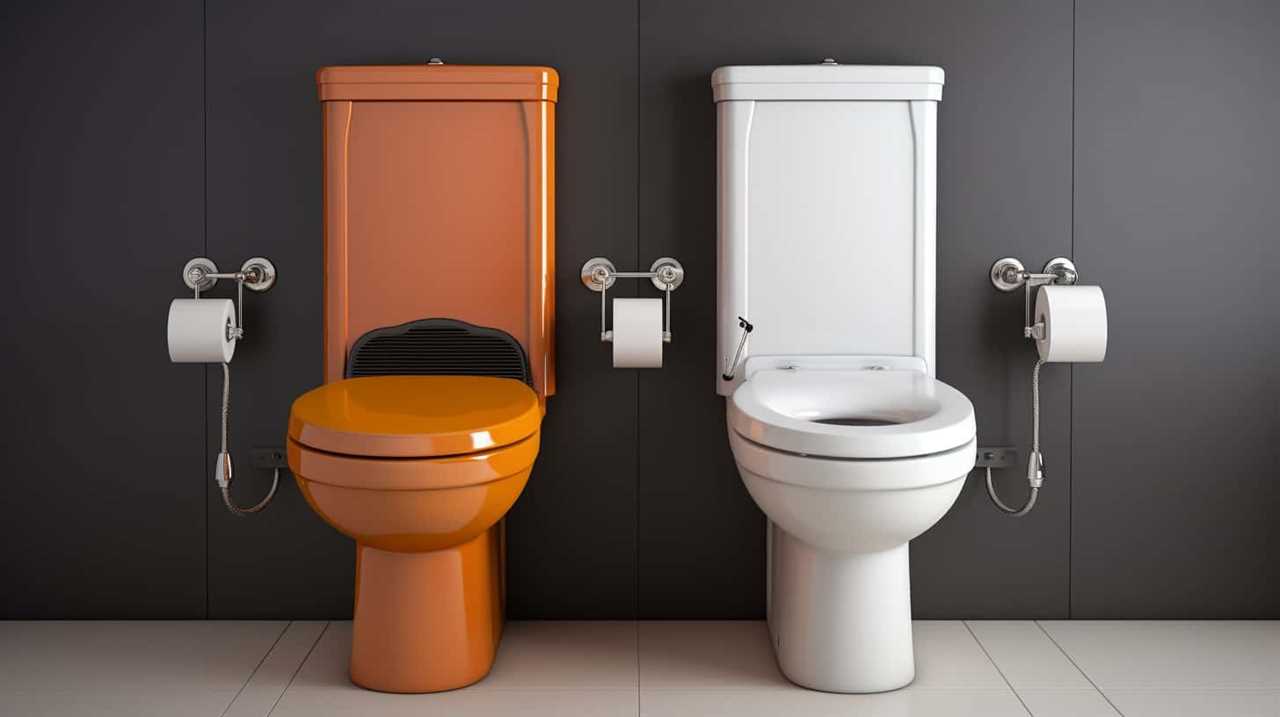
Did you know that on average, a person flushes the toilet approximately 2,500 times a year?
If you’ve ever wondered if a toilet flush can be made stronger, you’re not alone. In this article, we will explore the mechanics behind a toilet flush and discuss factors that affect its strength.
We will also provide practical tips and techniques to improve your toilet’s flush power, as well as advanced technologies and professional assistance for an enhanced flushing experience.
Let’s dive in and master the art of a powerful toilet flush.

Key Takeaways
- The strength of a toilet flush can be affected by factors such as water pressure, volume, and the efficiency of the flapper valve.
- Adjusting the water supply valve and water level in the tank can optimize water pressure and volume.
- Regular maintenance and clearing blockages in the tank or flush valve are essential for maintaining optimal water pressure.
- Upgrading components such as the flush valve, toilet handle, and flush lever can improve the strength of the flush.
Understanding the Mechanics of a Toilet Flush
We will now delve into the mechanics of a toilet flush to gain a better understanding of how it works. To comprehend the intricacies of a toilet flush, it’s essential to comprehend the interplay between the toilet flush mechanisms and the water flow. The fundamental principle behind a toilet flush is the creation of a powerful, directed flow of water that removes waste from the bowl. This process consists of several key components working in harmony.
Firstly, a flush lever or button is pressed, activating the flush valve. The flush valve, typically a flapper, opens up, allowing water to flow from the tank into the bowl. As the water rushes into the bowl, it displaces the air, creating a siphoning effect that propels the waste down the drain.
Understanding water flow in a toilet flush is crucial. The water enters the bowl through strategically positioned rim holes, which direct the flow in a swirling motion. This swirling action helps to cleanse the bowl thoroughly. Additionally, the shape and design of the trapway, which connects the bowl to the drainpipe, play a vital role in facilitating the smooth flow of water and waste.
Factors Affecting the Strength of a Toilet Flush
Water pressure and volume, as well as the efficiency of the flapper valve, are key factors that affect the strength of a toilet flush.
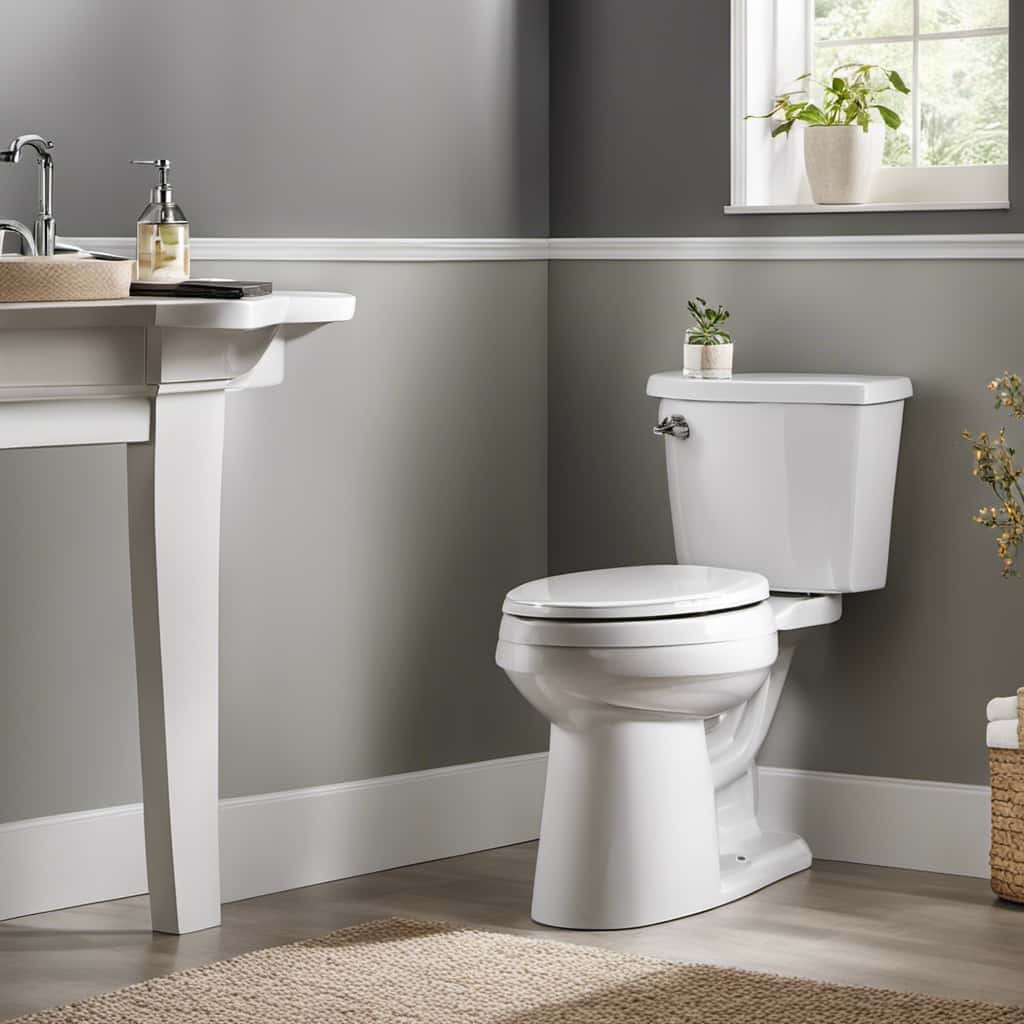
Higher water pressure and increased volume of water in the tank can result in a more forceful flush.
Additionally, a well-functioning flapper valve that opens fully and closes tightly can help maximize the effectiveness of the flush.
Water Pressure and Volume
To maximize the strength of a toilet flush, it’s important to consider the role of water pressure and volume. These factors directly impact the force with which water is expelled from the toilet bowl, ensuring an efficient and effective flush.
Here are four ways to optimize water pressure and volume for a stronger flush:
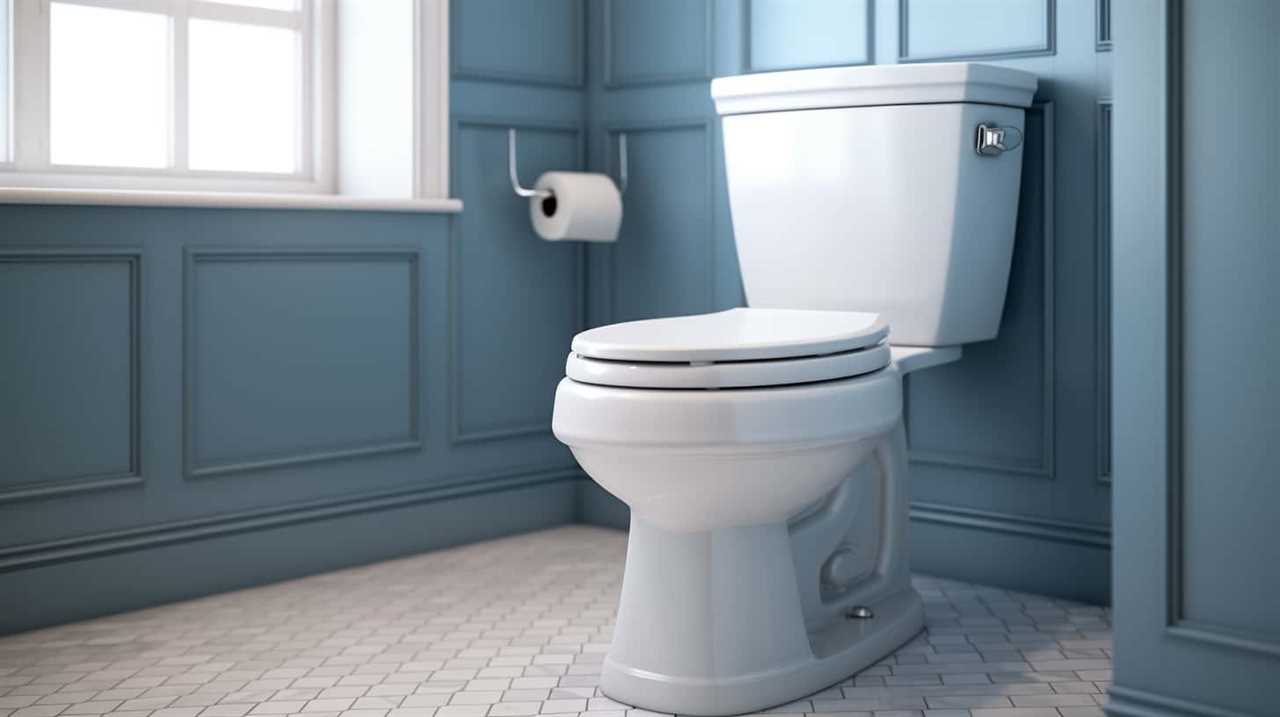
- Increasing water flow: By adjusting the water supply valve, you can increase the flow rate of water into the toilet tank. This allows for a greater volume of water to be released during the flush, resulting in a stronger force.
- Adjusting toilet tank: The water level in the toilet tank can be adjusted to control the pressure exerted on the flush valve. A higher water level provides more pressure, leading to a stronger flush.
- Checking for blockages: Blockages in the toilet tank or flush valve can restrict water flow and decrease the strength of the flush. Regular maintenance and clearing any obstructions can help maintain optimal water pressure.
- Installing a pressure-assisted flush system: These systems use compressed air to increase the pressure and force of the flush, providing a stronger and more thorough cleaning.
Flapper Valve Efficiency
After optimizing water pressure and volume, another crucial factor affecting the strength of a toilet flush is the efficiency of the flapper valve.
The flapper valve is responsible for controlling the flow of water from the tank into the bowl during a flush. If the flapper valve isn’t functioning properly, it can lead to a weak or incomplete flush.
To maintain the efficiency of the flapper valve, regular maintenance is required. This includes cleaning the valve and checking for any signs of wear or damage. If the flapper valve is worn out or damaged beyond repair, it may need to be replaced.
A flapper valve replacement can significantly improve the strength of a toilet flush and ensure optimal performance.

Proper flapper valve maintenance is essential for a powerful and effective flush.
Signs That Your Toilet Flush Is Weak
Experiencing difficulty in achieving a satisfying flush is a common sign of a weak toilet flush. If you find yourself struggling with this issue, it could be an indication that your toilet flush isn’t operating at its optimal level. Here are four signs to look out for:
- Incomplete evacuation: When you flush the toilet, and the water doesn’t completely clear the bowl, leaving behind waste or toilet paper, it’s a clear indicator of a weak flush.
- Weak water flow: If you notice that the water flowing into the toilet bowl during a flush is slow or lacks force, it suggests that your toilet flush may be weak.
- Frequent clogs: A weak flush often leads to frequent clogs, as the water isn’t powerful enough to push waste through the drainage system effectively.
- Multiple flushes required: If you find yourself having to flush the toilet multiple times to get rid of waste, it’s a sign that your flush isn’t strong enough.
Now that we’ve identified the signs of a weak toilet flush, let’s explore some common DIY methods to improve toilet flush power.
Common DIY Methods to Improve Toilet Flush Power
Now let’s explore some common DIY methods to improve the power of your toilet flush.
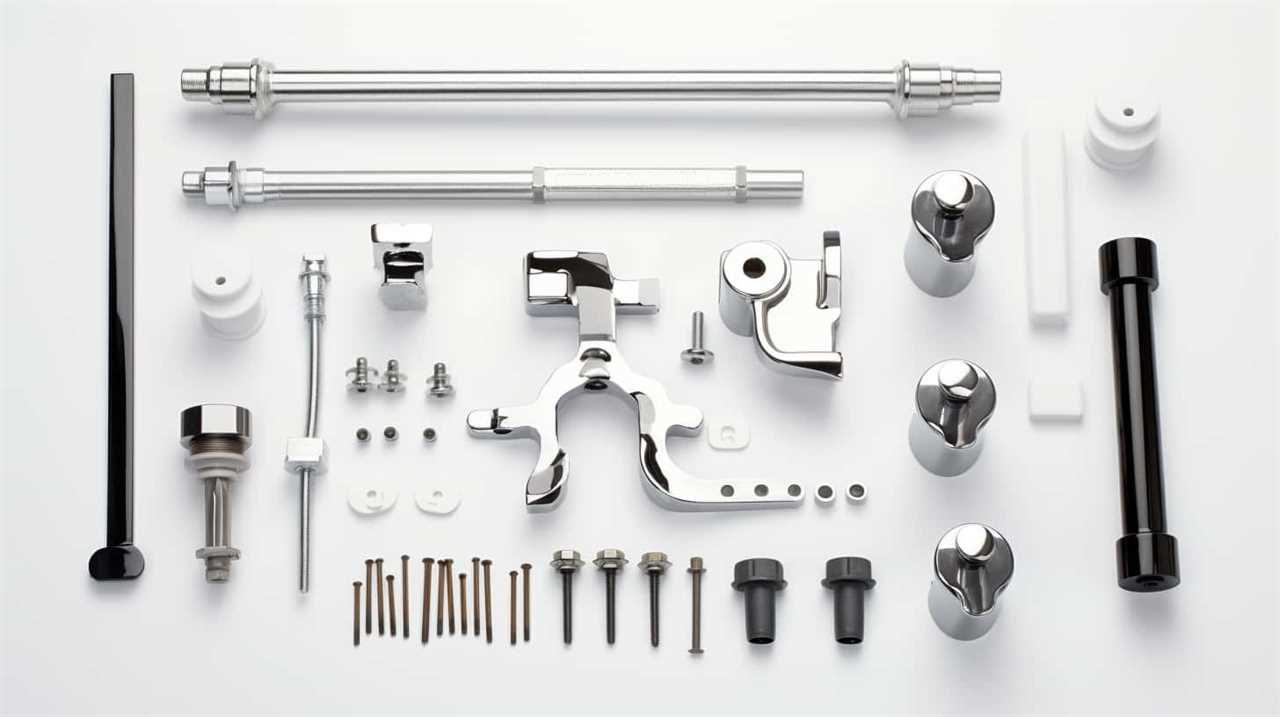
One method is adjusting the water pressure, which can be done by turning the water supply valve either clockwise or counterclockwise to increase or decrease the pressure respectively.
Another method is cleaning the flush valve, which can become clogged with mineral deposits or debris over time, causing a weak flush.
Lastly, upgrading the flapper can help improve the flush power, as an old or worn flapper can prevent a proper seal and decrease the effectiveness of the flush.
Adjusting Water Pressure
To improve the toilet flush power, we can adjust the water pressure using common DIY methods. Here are four simple steps to adjust the water pressure and enhance the flush performance:
- Check the water supply valve: Ensure that the water supply valve, usually located behind the toilet, is fully open. Sometimes, the valve may only be partially open, affecting the water pressure.
- Adjust the fill valve: The fill valve controls the water level in the toilet tank. By adjusting the float mechanism of the fill valve, you can increase or decrease the water pressure. Experiment with different float heights to find the optimal pressure.
- Clean the toilet bowl jets: Over time, mineral deposits and debris can accumulate in the toilet bowl jets, inhibiting proper water flow. Using a toilet bowl cleaner with hydrochloric acid, such as an acidic toilet cleaner, can help dissolve these deposits and restore the water pressure.
- Check the water pressure regulator: If you have a water pressure regulator installed in your plumbing system, ensure it’s functioning correctly. Adjusting the pressure regulator can help increase or decrease the water pressure throughout your home, including the toilet.
Cleaning the Flush Valve
To continue improving the toilet flush power, let’s move on to cleaning the flush valve using common DIY methods.
Cleaning the flush valve is an important step in maintaining optimal flush performance. Over time, mineral deposits, sediment, and debris can accumulate in the flush valve, obstructing the flow of water and reducing the flush power.
To clean the flush valve, start by turning off the water supply to the toilet and flushing the toilet to empty the tank. Next, remove the flush valve by unscrewing it from the bottom of the tank. Use a brush or a cloth to scrub away any buildup or residue on the valve. If necessary, soak the valve in a mixture of vinegar and water for a more thorough cleaning.
Once the valve is clean, reassemble it and turn the water supply back on. This simple cleaning technique can help restore the flush power of your toilet.

If you still experience weak flushes after cleaning the flush valve, further troubleshooting may be required.
Upgrading the Flapper
To continue improving the toilet flush power, we can explore common DIY methods for upgrading the flapper. Here are four steps you can take to upgrade your flapper and enhance the flushing performance of your toilet:
- Upgrade the Toilet Handle: Consider replacing the old handle with a sturdy, high-quality one. A weak handle can affect the pressure and efficiency of the flush.
- Replace the Flush Lever: The flush lever connects the handle to the flapper. Upgrading to a stronger and more durable lever can provide better control and improve the force of the flush.
- Adjust the Chain Length: Ensure that the chain connecting the flush lever to the flapper is properly adjusted. A chain that’s too loose or too tight can hinder the flapper’s movement and weaken the flush.
- Install a Flapper with a Larger Drain Opening: Look for a flapper with a larger drain opening to allow a greater volume of water to pass through during each flush. This can help increase the power of the flush.
By upgrading the flapper and following these steps, you can significantly enhance the flushing capability of your toilet.
Now, let’s explore how you can upgrade your entire toilet for an even stronger flush.
Upgrading Your Toilet for a Stronger Flush
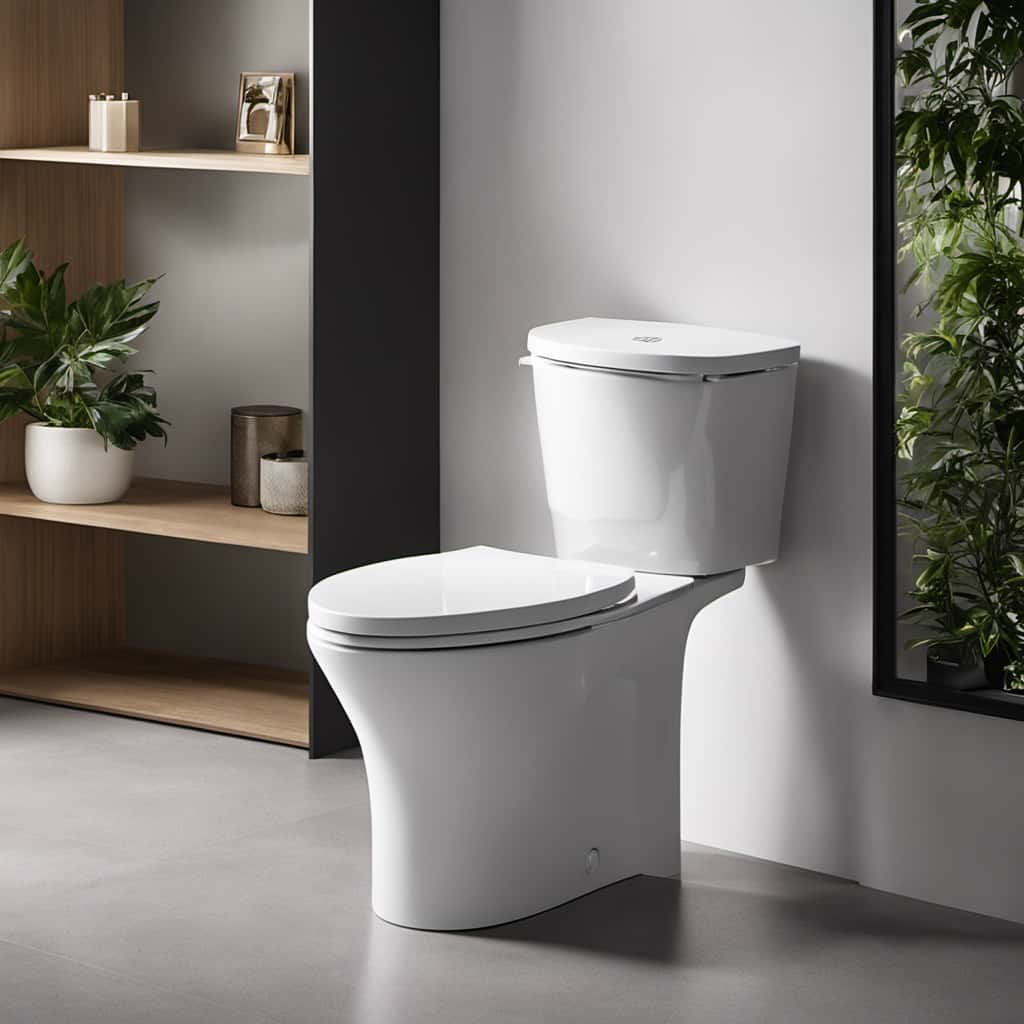
We often find that upgrading our toilets allows us to achieve a stronger flush. When it comes to upgrading your toilet for a stronger flush, there are several options to consider. One of the first things you can do is upgrade the flush valve. The flush valve is responsible for releasing water from the tank into the bowl during a flush. By upgrading to a larger flush valve, you can increase the volume of water that’s released, resulting in a stronger flush.
Another option for upgrading your toilet is to install a pressure-assisted flush system. These systems use compressed air to force water into the bowl, creating a more powerful flush. Pressure-assisted flush systems are especially beneficial in high-use areas where a strong flush is necessary.
In addition to upgrading the flush valve and installing a pressure-assisted flush system, you may also want to consider upgrading other toilet accessories. This could include replacing the fill valve, which controls the water level in the tank, or upgrading the flapper, which seals the flush valve and prevents water from leaking.
If you’re experiencing weak flushes, it’s important to troubleshoot the issue before considering an upgrade. Common causes of weak flushes include clogged drain lines, mineral deposits in the flush valve, or a malfunctioning fill valve. By identifying and addressing these issues, you may be able to improve your toilet’s flushing power without the need for an upgrade.

Exploring Advanced Technology for Powerful Flushes
One option we can explore for achieving a more powerful flush is advanced technology. By harnessing innovative solutions, we can enhance the flushing mechanism to provide a more efficient and forceful flush. However, it’s important to consider the potential limitations that may arise with the implementation of advanced technology.
Here are four key points to consider when exploring advanced technology for powerful flushes:
- Pressure-assisted flushing: This technology utilizes compressed air or water to generate a stronger flushing force. It can effectively remove waste and prevent clogs, providing a more reliable flushing experience.
- Dual-flush systems: These systems allow users to choose between a partial flush for liquid waste or a full flush for solid waste. By optimizing water usage, dual-flush systems offer a powerful flush while promoting water conservation.
- Vacuum-assisted flushing: This technology creates a powerful suction force that efficiently removes waste from the bowl. It’s particularly effective in reducing the likelihood of clogs and improving overall flushing performance.
- Variable flush settings: Advanced toilets can offer adjustable flush settings, allowing users to customize the flushing force according to their needs. This flexibility ensures a powerful flush when necessary, while also promoting water efficiency.
While exploring these innovative solutions, it’s essential to consider potential limitations, such as increased complexity, maintenance requirements, and cost implications. Nonetheless, with careful consideration and implementation, advanced technology can revolutionize the power and efficiency of toilet flushes.
Importance of Proper Toilet Maintenance for Strong Flushes
For optimal flush strength, it’s crucial to regularly maintain and care for your toilet. Proper toilet maintenance plays a significant role in ensuring a strong and efficient flush. To maintain the flush strength of your toilet, there are several tips you can follow.
Firstly, it’s important to keep the toilet bowl clean. Regularly scrubbing the bowl with a toilet brush and using a cleaning solution will prevent any buildup that may hinder the flow of water during flushing. Additionally, make sure to clean the rim and jets of the toilet to remove any mineral deposits or debris.
Secondly, check the water level in the tank. If the water level is too low, it may result in a weak flush. Adjust the fill valve to raise the water level to the appropriate mark indicated in the toilet’s manual.
Another important maintenance tip is to ensure that the flapper valve is functioning properly. A worn-out or defective flapper valve can cause a weak flush. Inspect the flapper valve regularly and replace it if necessary.
Lastly, if you’re experiencing weak flushes, check for any clogs or blockages in the toilet trap or drainpipe. Use a plunger or a toilet auger to remove any obstructions that may be affecting the flush strength.

Seeking Professional Help for an Enhanced Toilet Flush
To achieve an enhanced toilet flush, it’s worth considering seeking professional assistance. While there are some DIY methods to improve flush efficiency, professional plumbing services can provide the expertise needed to optimize your toilet’s flushing power. Here are four reasons why professional help is beneficial for enhancing your toilet flush:
- Expert Diagnosis: A professional plumber can accurately assess the current state of your toilet and identify any underlying issues that may be hindering its flushing performance. They have the knowledge and experience to diagnose problems and recommend appropriate solutions.
- Tailored Solutions: Professional plumbers can offer customized solutions based on the specific needs of your toilet. Whether it requires repairs, upgrades, or adjustments, they can provide the most effective remedies to improve flush efficiency.
- Quality Workmanship: Hiring professionals ensures that the work done on your toilet is of the highest quality. They have the necessary tools and skills to carry out repairs and installations with precision, ensuring long-lasting results.
- Time and Cost Savings: Attempting to fix a toilet flush issue on your own can be time-consuming and may lead to further damage if not done correctly. By relying on professional plumbing services, you can save time and money by avoiding costly mistakes and ensuring the problem is resolved efficiently.
Frequently Asked Questions
How Does a Toilet Flush Work?
A toilet flush works by utilizing a toilet flush mechanism, which consists of a handle or button that activates a chain or lever connected to a flapper valve.
When the handle is pressed, the flapper valve lifts, allowing water from the tank to rush into the bowl.
This sudden rush of water creates a strong force that pushes waste down the drain pipe.
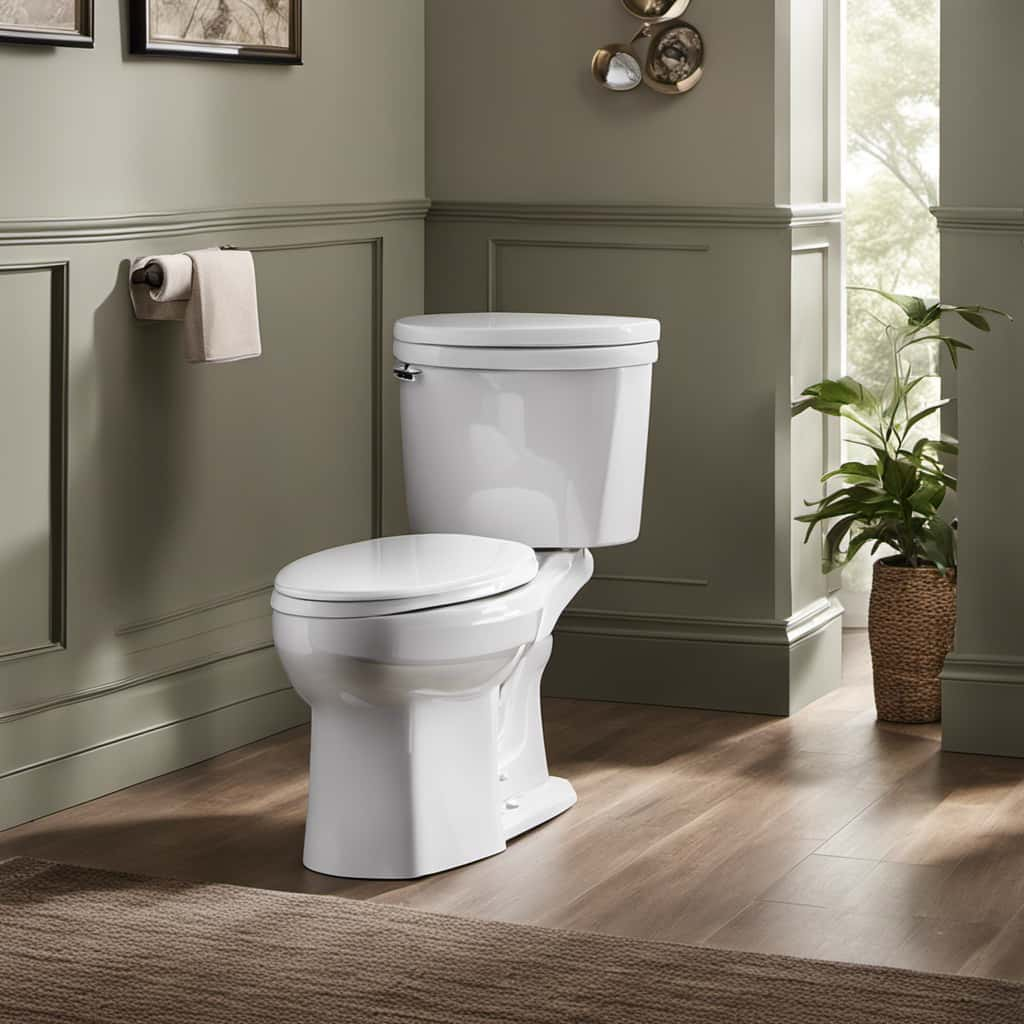
The strength of the flush can be adjusted by manipulating the water pressure.
What Are Some Factors That Can Affect the Strength of a Toilet Flush?
Water pressure and toilet design are key factors that can affect the strength of a toilet flush. Higher water pressure provides more force behind the flush, resulting in a stronger flush.
Additionally, the design of the toilet, including the shape and size of the bowl, the size of the trapway, and the efficiency of the siphoning action, can also impact the strength of the flush.
What Are Some Signs That Indicate a Weak Toilet Flush?
When troubleshooting weak toilet flushes, there are several signs that indicate a lack of power. These include:
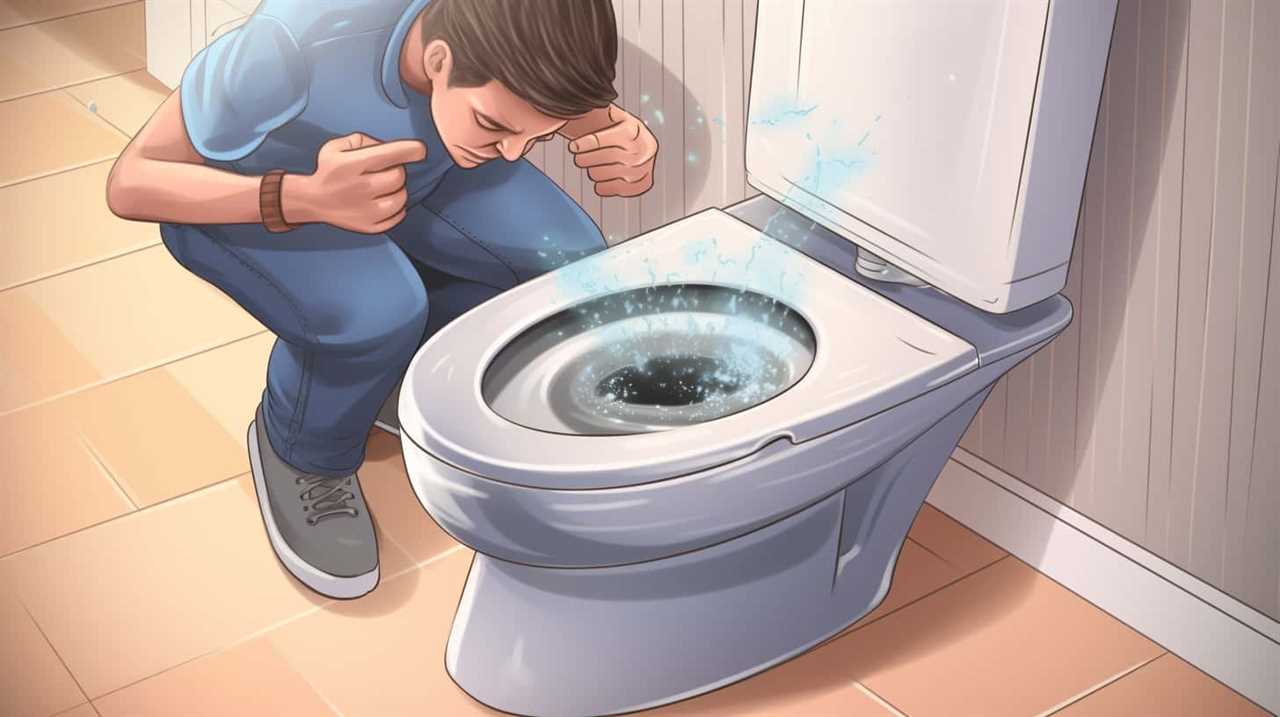
- Incomplete flushing
- Slow and sluggish water flow
- Clogged drains
To improve toilet flush performance, there are a few tips to consider. Firstly, check the water level and adjust if necessary.
Secondly, inspect the flapper valve for proper functioning and replace if needed.
Lastly, ensure that the toilet tank is properly filled and the flush lever is working correctly.
Are There Any Common Do-It-Yourself Methods to Improve the Power of a Toilet Flush?
Toilet flush upgrades can be a DIY project or require professional plumbing assistance. There are various methods to improve the power of a toilet flush, such as adjusting the water level, checking and cleaning the rim jets, or installing a pressure-assist flush system.
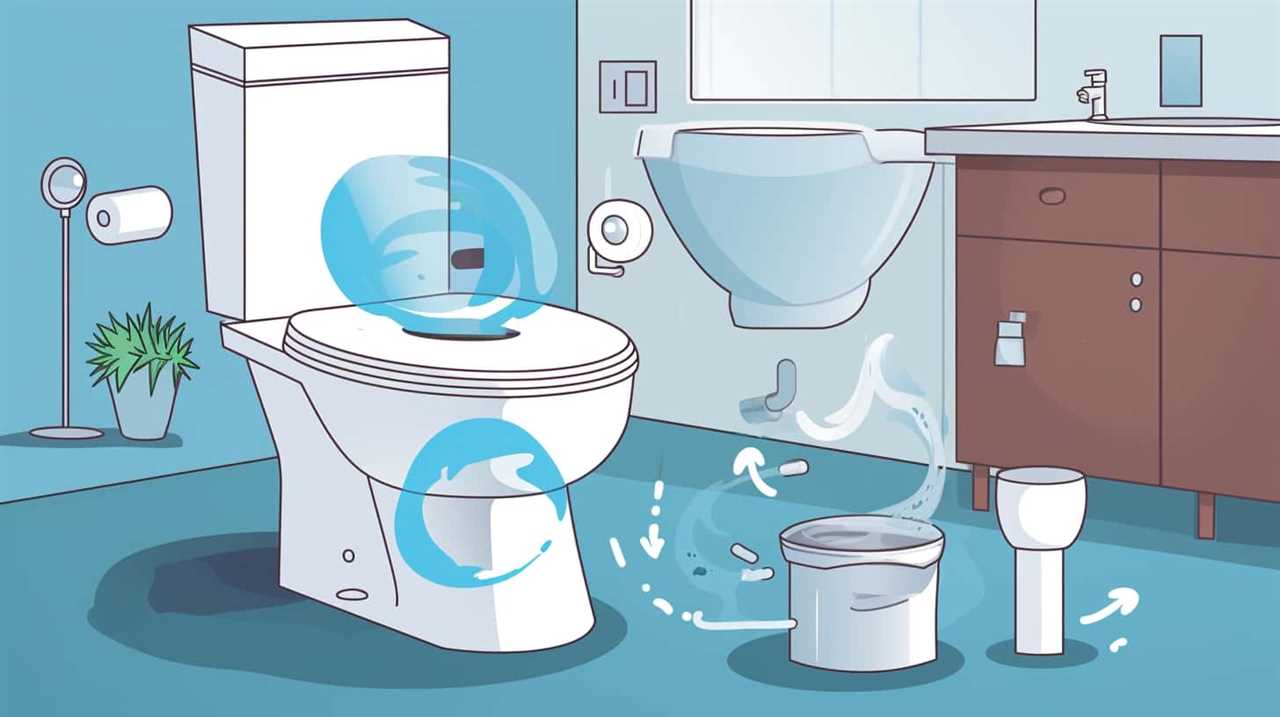
However, it’s important to note that not all toilets are designed to handle increased flushing power, and attempting to make a flush stronger may cause damage. It’s recommended to consult with a professional plumber for guidance.
Can Upgrading My Toilet Help to Achieve a Stronger Flush?
Upgrading your toilet can indeed help achieve a stronger flush. By installing a high-efficiency toilet with a larger trapway and a pressure-assisted flushing system, you can improve the flushing power significantly.
Professional plumbing services can guide you in choosing the right toilet model and handle the installation process.
Upgrading your toilet is a reliable and effective solution to enhance the flushing performance, ensuring efficient waste removal and preventing clogs.

Conclusion
In conclusion, the strength of a toilet flush can be enhanced through various methods.
Some of these methods include DIY improvements, upgrading the toilet, and utilizing advanced technology.
However, it’s crucial to remember the importance of proper maintenance to maintain a strong flush.
Seeking professional assistance can also provide further enhancements.
Just as a powerful ocean wave surges forward with force, a strong toilet flush can effortlessly eliminate waste with its newfound vigor.
- About the Author
- Latest Posts
Introducing Charles, the Editor in Chief at ByRetreat, whose passion for interior design and editorial excellence elevates every remote workspace to new heights. With his keen eye for detail, impeccable taste, and expertise in design, Charles brings a wealth of knowledge and creativity to the ByRetreat team.
As the Editor in Chief of a renowned lifestyle blog, Charles has honed his skills in curating captivating content and staying up-to-date with the latest trends in interior design. His deep understanding of aesthetics and the power of storytelling through design enables him to create remote workspaces that are not only visually stunning but also rich in personality and meaning.
Garage Door Opener
Reset Your Liftmaster Garage Door Opener After Power Outage: 3 Easy Steps
Unravel the secrets to effortlessly resetting your Liftmaster garage door opener after a power outage in just three easy steps.

Let’s address the task of resetting your Liftmaster garage door opener after a power outage with three simple steps. Power outages can disrupt your opener’s programming, but don’t worry, resetting it is possible.
Curious to discover the secrets to regaining control of your garage door opener effortlessly? Stay tuned as we unravel the simple yet effective methods to restore your opener's functionality post-power disruption.
Key Takeaways
- Disconnect the opener, use the emergency release cord, and reattach after power outage for proper functioning.
- Test the opener post-reset to ensure remote and smart device controls work correctly.
- Follow reset steps efficiently to avoid unexpected door openings and maintain garage door functionality.
- Consider preventive measures like backup power sources and regular maintenance to prevent future outages and ensure smooth operation.
Power Outage Impact on Opener
During power outages, Liftmaster garage door openers may lose their settings, requiring manual reconnection for proper functionality. When a power outage occurs, the Liftmaster opener relies on electricity to operate and may disconnect, affecting the garage door's automatic functions.
To address this, it's essential to disconnect the opener from the door manually. Start by locating the emergency release cord, typically hanging from the opener rail. Pull down on the cord to disconnect the opener from the door, enabling manual operation.
After the power is restored, reconnect the opener by guiding the door back into place and pulling the emergency release cord towards the motor. This action will engage the opener back with the door.
Following these proper steps ensures that the Liftmaster garage door opener resumes its normal functioning after a power outage. By promptly addressing the impact of power outages, you can maintain smooth operation of your garage door system.
Resetting the Garage Door Opener

After addressing the impact of a power outage on a Liftmaster garage door opener, the next crucial step is resetting the opener to restore its functionality efficiently.
To Reset Your Garage Door opener, begin by disconnecting it from the door by unplugging it. Then, locate the emergency release cord and pull it to manually open the garage door fully. Ensure the door is closed manually once power is restored before attempting to close it using the opener again. If necessary, reattach the garage door trolley to the opener to guarantee proper operation.
This process is essential in Garage Door Repair to ensure that the opener is synchronized with the door. By following these steps, you can successfully reset your garage door opener after a power outage, allowing you to regain control over your garage door's functionality promptly.
Testing the Reset Opener
To confirm the successful reset of your Liftmaster garage door opener, press the remote-control button and observe the garage door's response. After resetting, pressing the remote-control button shouldn't result in the garage door opening unexpectedly.
It's essential to check that any smart devices previously linked to the opener are also unable to open the garage door post-reset. This step in testing the reset opener ensures that the reprogramming process was effective.
If the garage door still opens unexpectedly after the reset, consult the owner's manual for troubleshooting steps specific to your make and model. Additionally, consider reaching out to a professional for further assistance if needed.
Frequently Asked Questions
How Do I Reset My Liftmaster Garage Door After Power Outage?
When power goes out, we disengage the opener from the door by pulling the emergency release cord. After manually closing the door, we're ready for reconnection.
Once power is restored, we press the button on the opener to close the door. If necessary, we manually reattach the trolley to the carriage for proper functionality.
These steps ensure a safe and effective reset of our Liftmaster garage door opener after a power outage.
How Do I Reset My Liftmaster Garage Door Opener?
When resetting your Liftmaster garage door opener, find the 'Learn' button on the motor unit. Hold down this button for about 6 seconds until the adjacent LED light goes off. This action erases all stored remote-control and keyless entry codes.
Following the reset, reprogram your remotes and keypads to reconnect with the opener. By completing these steps, you can restore your Liftmaster garage door opener's functionality after a power outage.
How Do I Manually Reset My Garage Door Opener?
When manually resetting a garage door opener, we first locate the emergency release cord and disconnect the opener from the door.
Then, we manually operate the door to the desired position.
After power is restored, we re-engage the opener by pulling the release cord towards the door.
It's crucial to ensure the door is fully closed before reconnecting it to the opener for automatic operation.
How Do I Restore the Power to My Garage Door?
When power goes out, restoring it to your garage door is crucial.
Simply plug the opener back in and ensure the door is fully closed using the manual release cord. Then press the opener button to automatically close it.
Check if the trolley needs reattaching to the opener carriage.
Following these steps will help re-engage your Liftmaster garage door opener after a power outage, ensuring your door operates smoothly.
Conclusion
In conclusion, resetting your Liftmaster garage door opener after a power outage is as simple as pressing and holding the Learn button for 6 seconds.
Like a symphony conductor resetting the tempo after a brief interruption, this process ensures that your opener is back in perfect harmony.
Don't forget to also relink any smart devices for a seamless operation.
Follow these steps to keep your garage door opener running smoothly.
- About the Author
- Latest Posts
Introducing Ron, the home decor aficionado at ByRetreat, whose passion for creating beautiful and inviting spaces is at the heart of his work. With his deep knowledge of home decor and his innate sense of style, Ron brings a wealth of expertise and a keen eye for detail to the ByRetreat team.
Ron’s love for home decor goes beyond aesthetics; he understands that our surroundings play a significant role in our overall well-being and productivity. With this in mind, Ron is dedicated to transforming remote workspaces into havens of comfort, functionality, and beauty.
Garage Door Opener
7 Steps to Reset Your Car Garage Door Opener
Hop on the path to garage door opener harmony with 7 essential steps that will transform your frustrating moments into seamless entries.

Picture yourself heading home after a tiring day, only to discover that your garage door opener is misbehaving like a defiant child. We’ve all experienced this frustration at some point. But don’t worry, we have the perfect solution for you.
In this discussion, we'll unravel the mystery behind resetting your car garage door opener in 7 simple steps, ensuring smooth operation and peace of mind every time you arrive home. So, let's get started on this journey to garage door opener enlightenment.
Key Takeaways
- Locate and press the Reset Button on the Garage Door Opener.
- Test the functionality of the remote control after resetting.
- Reprogram remote codes and check batteries for optimal performance.
- Follow troubleshooting tips to ensure smooth operation of your garage door opener.
Locate the Reset Button on Your Opener
To locate the reset button on your garage door opener, first, inspect the motor unit inside the garage for a button labeled 'LEARN' or 'HOME.' This button is crucial for resetting your opener and reprogramming it.
When you find the reset button, press and hold it to initiate the reset process. By doing this, you clear out old codes and unlink any remote devices that were previously connected to the opener.
Resetting your garage door opener is fundamental for ensuring proper functionality and security. After resetting, remember to re-pair each remote with the opener manually to establish a secure and efficient connection. This process allows for a fresh start, enabling you to program your remotes and keypads effectively.
With the reset button located and pressed, you're one step closer to a smoothly operating garage door opener.
Power Off the Garage Door Opener

Before proceeding with the reset process, ensure the garage door opener is powered off by unplugging it from the outlet.
Safety is paramount when dealing with electricity, so make certain there's no power flowing to the garage door opener during the reset. Disconnecting the power source is a critical initial step before attempting to reset the car garage door opener.
It's essential to verify that the garage door opener is completely powered down before moving forward with any reset actions. By ensuring the opener isn't connected to any power sources, you reduce the risk of accidents while performing the reset process.
Reset the Remote Control
Let's ensure your remote control is functioning optimally by following these steps:
- Check the batteries
- Reprogram the codes
- Test its functionality
These steps are crucial in resetting your car garage door opener and maintaining smooth operation.
Check Remote Batteries
Ensure that the remote control batteries are fully powered before proceeding with the reset of your car garage door opener. Weak or dead batteries can cause the remote to malfunction, hindering proper resetting.
To confirm battery power, check the LED indicator on the remote control; a dim or non-existent LED suggests low battery levels. Replace with new batteries, ensuring correct polarity, to guarantee successful reprogramming.
Adequate battery power is crucial for the remote to effectively transmit signals to the opener. By maintaining optimal battery levels, you ensure that the garage door opens seamlessly when you press the button on your remote control.
Reprogram Remote Codes
To reset the remote control for your car garage door opener, locate the LEARN button on the garage door opener unit. Press the LEARN button once to enter programming mode, indicated by the LED light.
Follow the specific instructions for your remote control to enter a new code or PIN. The LED light on the remote control will blink or flash to confirm successful programming.
Finally, test the newly programmed button on the remote to ensure it opens the garage door successfully.
- Press the Learn button
- LED light indicates programming mode
- Enter a new code or PIN
- Remote control LED confirms successful programming
- Test the remote for functionality
Test Remote Functionality
When testing the remote functionality of your car garage door opener, press the programmed button on the remote control to ensure proper communication with the garage door opener.
Check for the LED light on the remote control to blink or flash, indicating it's transmitting a signal.
Verify that the garage door responds by either opening or closing when the button is pressed.
If the garage door doesn't react, troubleshoot by reprogramming the remote control to sync it with the garage door opener. This step is crucial to guarantee that the remote control effectively triggers the garage door's mechanism.
Reprogram the Keypad

Under the keypad cover, you'll find the reset button to reprogram the keypad for your car garage door opener. To ensure smooth functionality, follow these steps to reprogram the keypad:
- Create a Personal Code: Input a new 4-digit code and press Enter to establish a personal access code.
- Set a Temporary Code: Follow the keypad instructions to set up a temporary 4-digit code for limited access situations.
- Follow Instructions: Adhere to the instructions provided under the cover to reset the keypad effectively.
- Save Codes: Finalize the setup process by pressing Enter to save the new codes, ensuring they're properly stored for future use.
- Test Functionality: After reprogramming, test the keypad to verify that the changes have been successfully implemented.
Program Your Car's Opener Button

Let's now address the process of programming your car's opener button and explore troubleshooting tips.
This step involves locating the module above the rearview mirror and erasing system data by pressing specific buttons. Once these initial steps are completed, you can proceed to program the button and ensure smooth garage door operation.
Button Programming Process
To begin programming your car's opener button, locate the garage door opener module above the rearview mirror and press and hold the outside buttons on the module for 30 seconds to erase system data. Once this is complete, follow these steps to program your garage door opener button in your car:
- Press the LEARN button on the opener unit.
- Press the button in the car panel to program.
- Use the remote control by pressing the program button on both the remote and car panel button.
- Ensure you hear two clicks to confirm successful programming of the car's opener button.
Troubleshooting Tips
When troubleshooting issues with your car's opener button programming, ensure all steps have been followed correctly to avoid potential programming errors.
For newer model vehicles, start by resetting the garage door opener by pressing the outside buttons on the module above the rearview mirror for 30 seconds.
Then, locate the Learn button on the garage door opener unit and press it to initiate the programming steps. Next, press the button on the car's panel until you hear 2 clicks, indicating successful programming.
Use the remote to further program by pressing the program button on both the remote and the car panel button. Remember to pay attention to the indicator light and release the Learn button promptly to complete the programming process accurately.
Test the Garage Door Opener

To verify proper functionality, press the programmed button on the remote control to test if the garage door opens. Make sure to pay attention to the following key points:
- LED Light: Check that the LED light on the remote control blinks or flashes when testing the garage door opener.
- Audible Cues: Listen for any audible cues from the garage door opener when testing the remote control operation.
- Smooth Operation: Confirm that the garage door opens smoothly and without any unusual sounds during the test.
- Multiple Controls: Repeat the testing process with multiple remote controls to ensure all are functioning correctly.
Testing the garage door opener is crucial to ensuring it operates as expected. By following these steps and checking for the mentioned indicators, you can ensure that your garage door opener is working efficiently and effectively.
Adjust Opener Settings if Necessary

If the garage door opener requires adjustments, accessing the control panel in the car above the rearview mirror allows for modification of settings like door opening height and closing speed. Using the control panel buttons, you can adjust these settings based on your preferences for a more personalized experience with your modern garage door opener.
It's crucial to follow the manufacturer's instructions to ensure proper adjustments tailored to your specific model. After making the necessary changes, be sure to save them by pressing the designated button on the control panel. To guarantee that the modifications meet your expectations, it's essential to test the operation of the garage door opener.
Frequently Asked Questions
How Do I Reprogram My Garage Door Opener in My Car?
To reprogram the garage door opener in our car, we erase system data by holding the outside buttons on the module for 30 seconds. Then, we press the LEARN button on the opener unit to start programming.
To finalize, press the button in the car panel until you hear 2 clicks for successful programming. Use the remote to program further by pressing the program button on both the remote and the car panel button.
How Do I Reset My Automatic Garage Door Opener?
When resetting an automatic garage door opener, locate the reset button and hold it for at least 6 seconds to clear old codes. Be careful of the door's movement during this process. Use a ladder if necessary to reach the reset button.
After resetting, reprogram your remote controls and keypad for smooth operation. Following these steps ensures your garage door opener works effectively and safely.
How Do I Clear My Garage Door Opener in My Car?
To clear your car garage door opener, press and hold the outside buttons on the module for 30 seconds to erase system data.
Then, press the LEARN button on the opener unit to start reprogramming.
Sync the opener with your vehicle by pressing the designated button on the car panel until hearing 2 clicks.
Finalize the programming by pressing the program button on both the remote and car panel button.
How Do I Reset My Garage Buttons on My Car?
When resetting the garage buttons on our car, we first locate the opener module above the rearview mirror.
Erase system data by holding the outside buttons for 30 seconds.
Then, press the LEARN button on the opener unit and program it by pressing the button on the car panel.
Finally, use the remote control to program it by pressing the program button on both devices.
Listen for two confirming clicks to ensure successful programming.
Conclusion
In conclusion, resetting your car garage door opener is like tuning a musical instrument – it requires precision and attention to detail.
By following the 7 simple steps outlined in this article, you can ensure that your garage door opener is functioning properly and securely.
Remember to test the programming and make any necessary adjustments to settings for smooth operation.
With a little effort, your garage door opener will be back in harmony with your daily routine.
- About the Author
- Latest Posts
Introducing Ron, the home decor aficionado at ByRetreat, whose passion for creating beautiful and inviting spaces is at the heart of his work. With his deep knowledge of home decor and his innate sense of style, Ron brings a wealth of expertise and a keen eye for detail to the ByRetreat team.
Ron’s love for home decor goes beyond aesthetics; he understands that our surroundings play a significant role in our overall well-being and productivity. With this in mind, Ron is dedicated to transforming remote workspaces into havens of comfort, functionality, and beauty.
Garage Door Opener
How to Stop My Chamberlain Garage Door Opener From Beeping Every 30 Seconds
Hungry for a quiet garage? Discover how to silence the beeping on your Chamberlain opener every 30 seconds.

Have you ever wondered how to stop the constant beeping from your Chamberlain garage door opener every 30 seconds? It can be quite annoying, but don’t worry, there are practical solutions we can implement to fix this problem and bring tranquility back to your garage.
By exploring common reasons for the beeping, checking the battery status, resetting the opener, adjusting settings and sensors, and potentially reaching out to Chamberlain support, we can work towards a solution that eliminates the bothersome noise and ensures your opener functions smoothly.
Key Takeaways
- Low battery backup is a common cause of beeping every 30 seconds.
- Solid red LED indicates a completely drained battery that needs replacement.
- Resetting the garage door opener can help troubleshoot and stop the beeping.
- Regular maintenance of sensors and settings prevents beeping issues.
Common Reasons for Beeping
When troubleshooting a beeping Chamberlain garage door opener, understanding the common reasons for the beeping is essential in identifying the issue efficiently.
One prevalent cause of the beeping is a low battery backup. The beeping every 30 seconds serves as a warning signal for this specific issue. Accompanying this alert, a flashing orange light indicates the low battery backup status.
If the LED light on the opener is solid red, it signifies that the battery backup is completely drained. To address this, replacing the battery is necessary to stop the beeping. It's crucial to promptly attend to this matter to prevent the beeping from persisting every 30 seconds.
Check Battery Status

Checking the LED light on the garage door opener is crucial to determine the battery status. When you observe a solid red LED light, it signals a dead battery. This red light, accompanied by beeping every 30 seconds, indicates the urgent need for a battery replacement to address the issue effectively.
Additionally, a flashing orange light on the LED screen signifies low battery power and serves as a warning for an impending battery replacement requirement. By monitoring the LED light colors on your garage door opener, you gain valuable insights into the battery status, enabling you to take proactive steps to prevent the continuous beeping interruptions.
Understanding and responding promptly to these LED indicators play a vital role in maintaining the smooth operation of your garage door system. Remember, being attentive to these LED signals can help you avoid unnecessary disruptions and ensure that your garage door opener functions optimally.
Resetting the Garage Door Opener
To address persistent beeping with your Chamberlain garage door opener, resetting the device can often resolve the issue. Follow these steps to reset your garage door opener:
| Step | Instructions |
|---|---|
| 1 | Locate the 'Learn' button on the garage opener. |
| 2 | Press and hold the 'Learn' button for about 6 seconds until the LED blinks. |
| 3 | Release the button and wait for the LED light to turn off and then back on. |
| 4 | Test the opener by using the remote control to check if the beeping has stopped. |
| 5 | If the beeping persists, check the battery backup or contact Chamberlain support. |
Resetting the garage door opener is a straightforward process that can often eliminate the beeping sound. By following these instructions, you can quickly troubleshoot and resolve the issue. Remember, if the beeping continues, it may be necessary to investigate the battery backup or seek assistance from Chamberlain customer support.
Adjusting Settings and Sensors

Adjust sensor settings on your Chamberlain garage door opener to ensure proper alignment and prevent beeping. Proper alignment of the sensors is crucial for the smooth operation of your garage door opener. Here are some steps to help you adjust settings and sensors effectively:
- Check Alignment: Verify if the sensors are facing each other directly. Misalignment can trigger beeping issues.
- Adjust Sensor Position: Ensure the sensors aren't obstructed and are aligned correctly. Minor adjustments can make a significant difference.
- Clear Obstructions: Remove any debris or objects that might be blocking the sensor's line of sight. Even small items can disrupt the sensor's functionality.
- Regular Maintenance: Periodically inspect and maintain the sensor alignment to prevent beeping problems. This proactive approach can help you avoid interruptions in your garage door opener's operation.
Contacting Chamberlain Support
When reaching out to Chamberlain Support for assistance with beeping garage door openers, it is advisable to have your model number and a brief description of the issue ready. Contacting Chamberlain support can provide valuable insights and solutions to resolve the beeping concern promptly. Whether it's an annoying beep every 30 seconds or a persistent beeping issue, Chamberlain's knowledgeable customer service team is equipped to help. You can reach Chamberlain support at 1-800-528-9131 for technical support, troubleshooting guidance, and warranty assistance related to your Chamberlain garage door opener.
Chamberlain Support Contact Information
| Contact Method | Phone Number | Availability |
|---|---|---|
| Phone | 1-800-528-9131 | 24/7 |
| support@chamberlain.com | Mon-Fri, 8am-6pm CST | |
| Online Chat | Available on Website | Mon-Sun, 24/7 |
Frequently Asked Questions
Why Is My Chamberlain Garage Door Opener Beeping Every 30 Seconds?
We've noticed that your Chamberlain garage door opener beeps every 30 seconds due to a low battery backup status. This is indicated by a flashing orange light.
When the battery is completely drained, a solid red light appears, leading to the continuous beeping.
Promptly replacing the battery backup will stop the beeping and ensure your Chamberlain garage door opener functions correctly.
How Do I Stop My Chamberlain Battery From Beeping?
Sure thing!
To stop the Chamberlain battery from beeping, we need to address the root cause. Check the LED light on the garage door opener. A solid red light means the battery is dead and requires replacement.
Unplugging the opener and removing the battery can temporarily silence the beeping. However, replacing the battery backup promptly is crucial for proper operation and to permanently eliminate the beeping sound.
How Do I Stop My Garage Door From Beeping?
To stop the beeping on your garage door opener, check if it has a low battery backup power. If so, replace the battery to resolve the issue. It's important to address this promptly to prevent further disruptions.
A solid red LED light indicates a completely drained battery, while a flashing orange LED light means the battery level is low. By replacing the battery, you can stop the beeping and ensure smooth operation of your garage door opener.
Why Does My Liftmaster Beep Every 30 Seconds?
We hear the beeping every 30 seconds because the Liftmaster garage door opener is alerting us to a low battery backup status. This warning is crucial for maintaining the functionality of the system.
When the battery is completely drained, a solid red LED light will indicate this. The beeping is a helpful reminder to replace the backup battery promptly to ensure continued operation of the garage door opener.
Conclusion
In conclusion, we've successfully addressed the issue of the Chamberlain garage door opener beeping every 30 seconds. By following the steps outlined, including checking the battery, resetting the opener, and adjusting settings and sensors, we were able to resolve the problem effectively.
Remember, when in doubt, it's always best to reach out to Chamberlain support for further assistance. Keep calm and garage door on!
- About the Author
- Latest Posts
Introducing Ron, the home decor aficionado at ByRetreat, whose passion for creating beautiful and inviting spaces is at the heart of his work. With his deep knowledge of home decor and his innate sense of style, Ron brings a wealth of expertise and a keen eye for detail to the ByRetreat team.
Ron’s love for home decor goes beyond aesthetics; he understands that our surroundings play a significant role in our overall well-being and productivity. With this in mind, Ron is dedicated to transforming remote workspaces into havens of comfort, functionality, and beauty.
-

 Decor3 days ago
Maximalist Decor Explained: Embrace More Style
-

 Vetted3 weeks ago
15 Best Drip Irrigation Systems to Keep Your Garden Thriving
-

 Vetted1 week ago
15 Best Foot Massagers for Neuropathy to Soothe Your Feet and Relieve Discomfort
-

 Vetted2 weeks ago
15 Best Sports Laundry Detergents for Keeping Your Activewear Fresh and Clean
-

 Vetted2 weeks ago
15 Best Tall Toilets for Seniors That Combine Comfort and Safety
-

 Vetted3 weeks ago
15 Best Dish Scrubbers to Keep Your Kitchen Sparkling Clean
-

 Decor3 weeks ago
What Is Eclectic Home Decor
-

 Decor1 week ago
Where the Wild Things Are Nursery Decor


