Kitchen
Best Temp to Cook Pancakes
Find out the ideal temperature for cooking pancakes to achieve that perfect golden-brown hue and fluffy texture, and never be disappointed again.

Chances are, you’ve dealt with the annoyance of pancakes that are not fully cooked inside or overly browned on the exterior. Discovering the ideal cooking temperature for pancakes might be the secret to attaining that ideal golden-brown color and soft consistency.
But what is the ideal temperature, and how can you ensure that your pancakes turn out just right every time?
Let’s explore the science behind pancake cooking temperatures and uncover the secrets to achieving pancake perfection.
Key Takeaways
- Preheating and adjusting the temperature of the griddle or skillet is crucial for even cooking and to prevent burning.
- The ideal cooking temperature for electric skillets is around 375°F, while stovetop skillets should be set to 360-370°F for optimal results.
- Conduct a small batter test to determine the appropriate griddle heat, and adjust accordingly to achieve a perfect golden brown color in 2-3 minutes.
- Allow the pancake batter to rest for 5-15 minutes before cooking to ensure light and fluffy pancakes.
Understanding Pancake Cooking Temperatures
When cooking pancakes, it’s essential to preheat an electric skillet to 375 F for optimal results. This temperature ensures that the pancakes cook through evenly without burning.
Understanding pancake cooking temperatures is crucial for achieving the perfect texture and flavor. Adjust the griddle or skillet temperature to 370 or 360 F when cooking the pancakes to prevent burning. If you’re using a cast iron skillet, it’s essential to monitor the temperature closely as cast iron retains heat differently than electric griddles.
It’s important to avoid letting the griddle or skillet get too hot, as this can result in tough pancakes or burned edges. Adding butter or shortening after preheating the griddle or skillet not only enhances the flavor but also prevents sticking.
When the griddle is at the right temperature, the pancakes will develop bubbles on top and light browning around the edges, typically after 2 to 3 minutes.
Ideal Temperature for Pancake Perfection
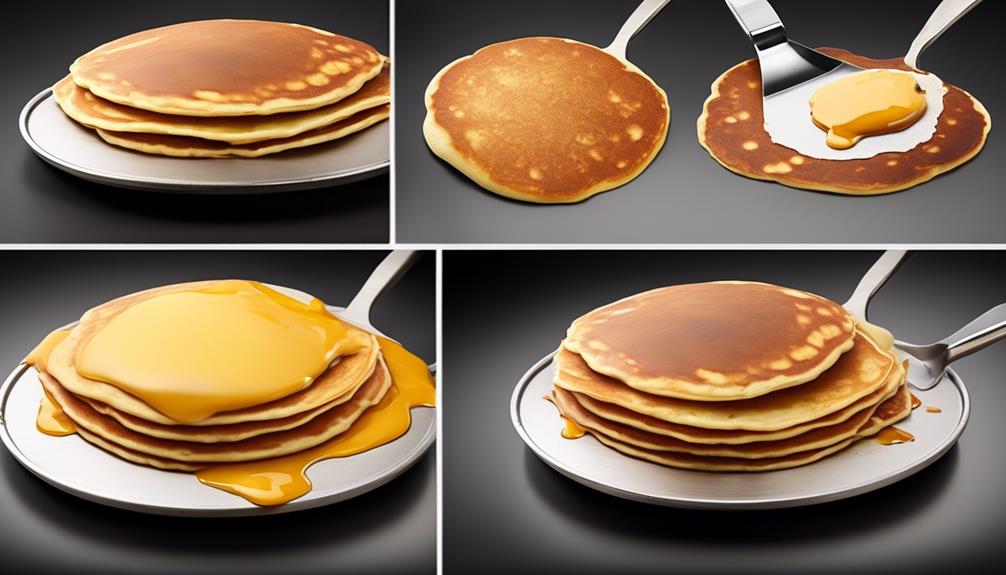
To achieve pancake perfection, maintaining an ideal cooking temperature is essential for ensuring even cooking and optimal texture. The ideal temperature for pancake perfection is around 375°F for electric skillets and 360-370°F for stovetop skillets. It’s crucial to preheat the griddle or skillet before adding the batter to ensure even cooking. If the temperature becomes too hot, reduce it to avoid burning the pancakes.
Allowing the pancake batter to rest for 5-15 minutes and avoiding overmixing will result in light and fluffy pancakes. Experiment with toppings such as fresh fruits, whipped cream, and maple syrup to enhance the pancake experience. For precise temperature control, consider using an infrared thermometer when cooking on a griddle.
Testing Your Griddle Heat for Pancakes
To ascertain the appropriate griddle heat for pancake preparation, conduct a simple test using a small amount of batter. This will help you achieve that perfect golden brown pancake. Here’s a simple guide to help you test and adjust your griddle heat for cooking pancakes:
Griddle Heat Test Interpretation Bubbles and cooks slowly Ready for pancakes – ideal temperature Cooks too quickly Griddle is too hot – may lead to burnt edges and undercooked centers Spreads out too much and takes a long time to cook Griddle is not hot enough – may result in tough pancakes
Testing the griddle heat is crucial for achieving the best temp to cook pancakes. While some may prefer to rely on visual cues, using an infrared thermometer can provide precise readings to ensure the griddle is at the right temperature. Adjust the heat until the test pancake cooks to a perfect golden brown in about 2-3 minutes. This simple yet essential step will elevate your pancake game, ensuring consistently delicious results every time.
Expert Tips for Cooking Pancakes
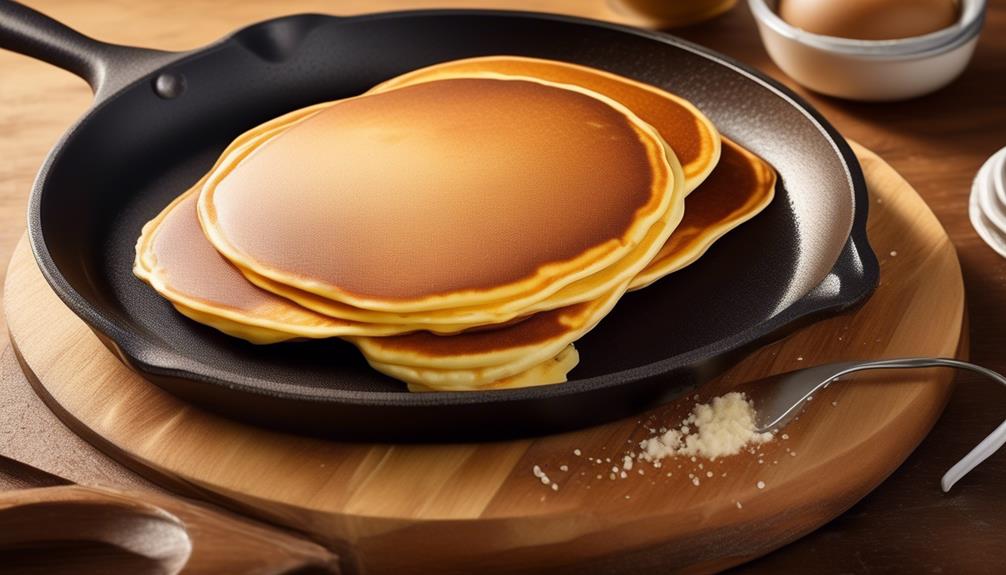
After determining the appropriate griddle heat for pancake preparation, it’s essential to apply expert tips to achieve the perfect texture and flavor for your pancakes.
- Allow the pancake batter to rest for 5 to 15 minutes to ensure light and fluffy pancakes, and avoid overmixing to maintain tenderness.
- Wait for bubbles to form on the surface and light browning around the edges before flipping the pancakes after 2 to 3 minutes of cooking.
- Experiment with various pancake toppings such as fresh fruits, whipped cream, or maple syrup to enhance the flavor.
- Consider using a heavy cast iron or nonstick skillet over medium heat if an electric skillet isn’t available for cooking pancakes.
- Use a ladle or a large spoon to pour the pancake batter onto the griddle. This helps in creating evenly sized pancakes and prevents mess.
When making the pancake mix, ensure that the wet ingredients are well incorporated with the dry ones but avoid overmixing. Use one tablespoon of batter for the first pancake as a test to adjust the heat if needed. This is the best tool to gauge if the griddle or skillet is at the right temperature for cooking pancakes.
Achieving the Perfect Golden Pancake
For achieving the perfect golden pancake, controlling the griddle or skillet temperature is crucial to ensure even cooking and optimal color development. The best temperature to cook pancakes is around 375°F, allowing the batter to spread out and cook evenly without burning.
When the batter hits the griddle or flat top, the egg yolk and other ingredients react to the heat, creating that desirable golden hue. It’s essential to avoid overmixing the batter, as this can result in tough pancakes. Letting the batter rest for 5 to 15 minutes before cooking allows the gluten to relax, leading to light and fluffy pancakes.
Experiment with different pancake flavors by adding ingredients like chocolate chips or blueberries to the batter for a unique twist. When serving, consider pairing pancakes with fresh fruits, whipped cream, or maple syrup to enhance both the flavor and presentation.
Using a griddle with temperature control ensures that the correct temperature is maintained, guaranteeing the perfect golden pancakes every time.
Frequently Asked Questions
Is It Better to Cook Pancakes on High or Low Heat?
For best results, cook pancakes on a medium heat setting. High heat can cause the pancakes to brown too quickly on the outside while remaining uncooked on the inside. Low heat may result in pale and rubbery pancakes.
At What Temperature Do You Cook Pancakes?
When you cook pancakes, set the temperature to 375°F for an electric skillet, then reduce to 370 or 360°F to prevent burning.
If you’re using a cast iron or nonstick skillet, go for medium heat.
Look for bubbles on top and light browning around the edges, then it’s time to flip.
Don’t let the skillet get too hot.
This gentle process ensures perfectly cooked pancakes every time.
What Temperature Do You Cook Pancakes on an Electric Skillet?
Preheat your electric skillet to 375 F for optimal pancake cooking. Adjust the temperature to 370 or 360 F once you start cooking to prevent burning.
If you’re using a non-electric skillet, aim for medium heat. It’s crucial to test the temperature with a small pancake and make adjustments as needed for perfect results.
Avoid overheating the griddle or skillet to prevent tough or burnt pancakes.
Why Are My Pancakes Raw in the Middle?
You’re finding raw centers in your pancakes because the griddle temperature may be too low. This prevents the batter from cooking evenly, leaving the middle raw. Aim for around 375°F for even cooking.
Test the temperature with a small amount of batter before cooking a full batch. Avoid the common mistake of overheating the griddle, resulting in tough pancakes. Adjust the temperature to achieve the perfect texture in your pancakes.
Conclusion
After conducting a series of temperature tests, it has been confirmed that the ideal temperature to cook pancakes is indeed around 375°F (190°C). This temperature allows for even cooking and the development of a perfect golden brown color without burning.
It’s important to preheat the griddle or skillet and adjust the temperature as needed to achieve pancake perfection. This scientific investigation has provided valuable insight into the art of pancake making.
- About the Author
- Latest Posts
Introducing Ron, the home decor aficionado at ByRetreat, whose passion for creating beautiful and inviting spaces is at the heart of his work. With his deep knowledge of home decor and his innate sense of style, Ron brings a wealth of expertise and a keen eye for detail to the ByRetreat team.
Ron’s love for home decor goes beyond aesthetics; he understands that our surroundings play a significant role in our overall well-being and productivity. With this in mind, Ron is dedicated to transforming remote workspaces into havens of comfort, functionality, and beauty.
Kitchen
DIY Candy Cake for Under $20 – Easy & Affordable
Create a stunning DIY candy cake for under $20 with simple steps! Impress on a budget and satisfy your sweet tooth without breaking the bank.
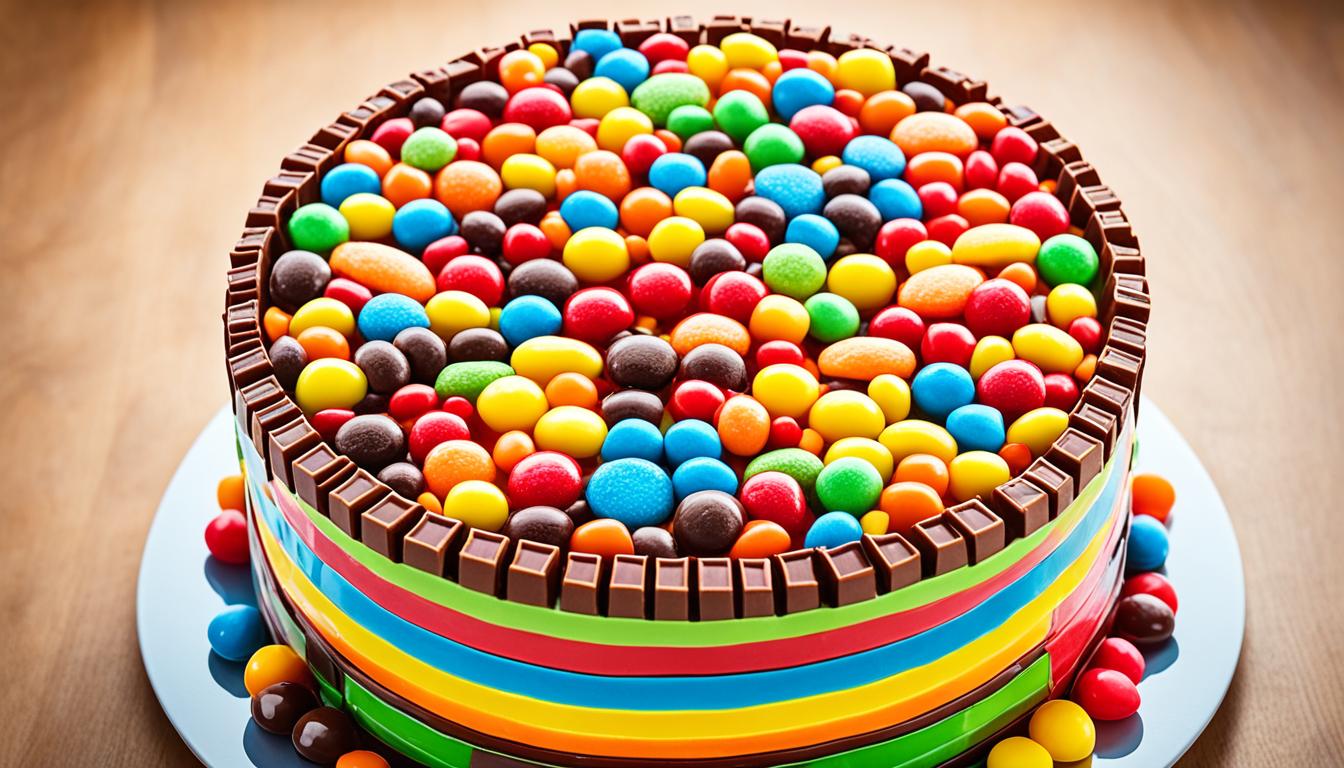
Are you ready to indulge in a sweet treat that won’t break the bank? Imagine creating a stunning DIY candy cake that impresses your guests and satisfies your sweet tooth—all for under $20. It may sound too good to be true, but with simple steps and a budget-friendly approach, you can make it a reality.
Forget about spending a fortune on a store-bought cake or hiring a professional baker. This article will guide you through the process of creating a no-bake candy cake using various candies and Styrofoam cake forms. Get ready to unleash your creativity and wow everyone with your affordable masterpiece.
Key Takeaways:
- Create a stunning DIY candy cake for under $20.
- Impress your guests and satisfy your sweet tooth with a budget-friendly approach.
- Learn how to make a no-bake candy cake using various candies and Styrofoam cake forms.
- Customize your candy cake to suit any occasion or theme.
- Discover a budget-friendly alternative using a grocery store cake and rock candy.
Choosing Your Supplies
When it comes to creating your DIY candy cake, having the right supplies is key. Here’s a list of everything you’ll need to bring your sweet masterpiece to life:
Candy Cake Supplies:
- FloraCraft Styrofoam Cake Forms in sizes 11″, 9″, 7″, and 5″
- Multi-surface glue dots
- Scrapbook paper
- Packages of Nerds candy
- Laffy Taffy candy
- Pop Rocks
- Candy buttons
- Saltwater taffy
- Sugar candy sticks
- Carnival lollipops
- Large gumballs
These supplies will form the foundation of your candy cake, allowing you to play with a variety of textures and flavors. From the colorful Nerds to the classic Laffy Taffy, each candy option will bring a unique touch to your creation.
Once you have gathered all of your candy cake supplies, you will be ready to start building your delicious masterpiece. But before we dive into the step-by-step instructions, let’s take a moment to appreciate what your finished candy cake can look like:
Now that you have a clear picture of the supplies you need, let’s move on to the fun part – building your candy cake! But first, remember to clear your work area and wash your hands to ensure a clean and safe cake-making experience. Gather all your supplies and arrange them within easy reach so you can work efficiently and stay organized. As you start assembling your candy cake, let your creativity flow, layering colorful treats to create a stunning and delicious masterpiece. And while you’re whipping up your sweet creation, don’t forget to treat yourself later by exploring the rejuvenating services at Truffles Med Spa for some well-deserved relaxation!
Building the Base Layer
To create a sturdy and visually appealing foundation for your DIY candy cake, it’s important to start with the largest Styrofoam cake form. In this case, the largest size you’ll be using is the 11″ Styrofoam cake form.
Begin by attaching the Pop Rocks to the cake form using multi-surface glue dots. The Pop Rocks will not only add texture and color to the base layer but also provide a delightful popping sensation when bitten into.
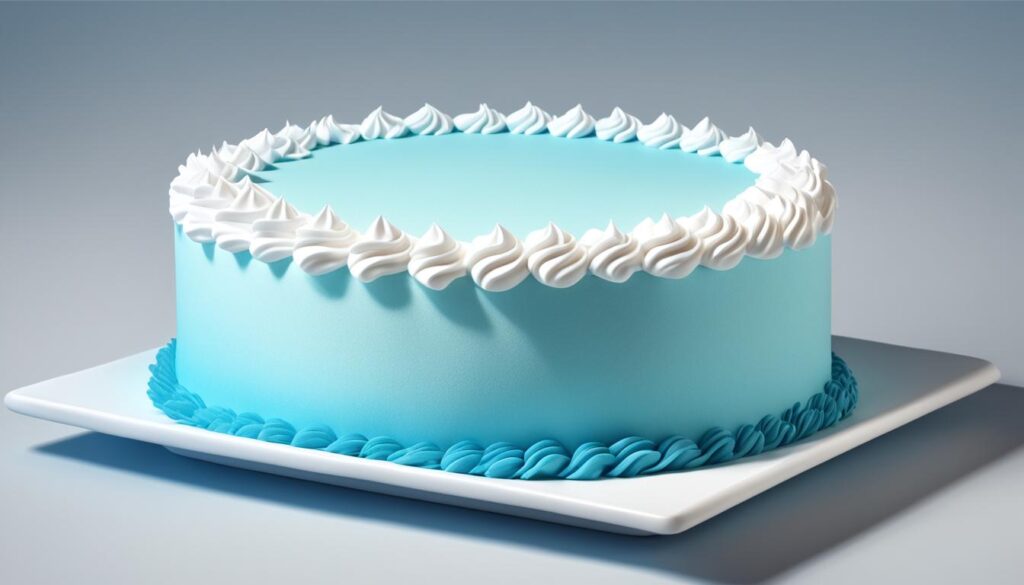
Once you’ve securely attached the Pop Rocks to the cake form, it’s recommended to set this layer aside for now. This will make it easier to work on the other layers of your candy cake without disturbing the base.
Adding the Candy Buttons and Gumballs
Now that you have your 9″ Styrofoam cake form ready, it’s time to add some delightful candy buttons and gumballs to create a visually appealing layer.
First, take your candy buttons and attach them to the cake form using glue dots. These colorful buttons will add a playful touch to your candy cake, bringing it to life with their vibrant shades.
Next, let’s focus on the gumballs. Using hot glue, carefully secure them to the top edge of the cake form. The gumballs will not only provide an eye-catching element to your cake but also add a fun, textured dimension.
Remember to distribute the candy buttons and gumballs evenly around the cake form, ensuring a balanced and visually pleasing result.
Once you’ve completed this step, it’s time to move on to the next layer and continue building your irresistible candy creation.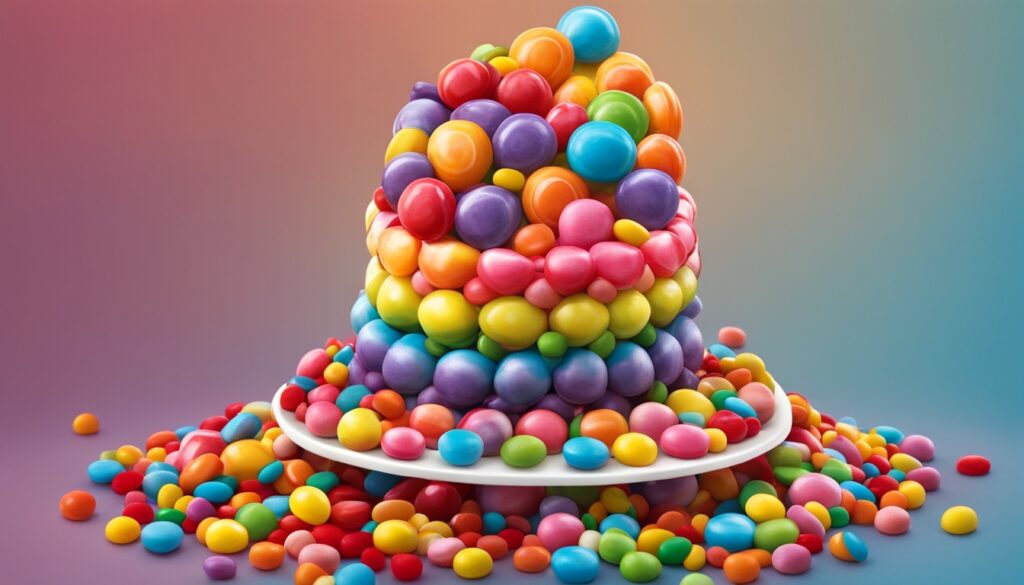
Revamping Your Candy Cake with Colorful Delights
Get ready to make your candy cake even more enticing with the addition of colorful candy buttons and gumballs. These sweet treats will bring a burst of flavor and a pop of color to each bite.
Start with the 9″ Styrofoam cake form and attach the candy buttons using glue dots. Position them strategically, spacing them out to create a visually appealing design.
For an extra touch of whimsy, use hot glue to secure the gumballs along the top edge of the cake form. Be sure to arrange them evenly, creating a seamless transition from one candy to the next.
As you continue building your candy cake, remember to have fun with the process. Mix and match different colors and flavors, allowing your creativity to shine as you construct a confectionery masterpiece.
Layering the Laffy Taffy and Nerds
The 7″ Styrofoam cake form will be the next layer of your candy cake. To add a burst of color and flavor, attach Laffy Taffy candy to the cake form. To do this, slip the bottom part of the candy wrapper down between the gumballs and secure it to the cake form. The Laffy Taffy will create a vibrant and chewy layer.
Next, complete this layer by adding the Nerds candy boxes. Place them strategically on the cake form to provide a variety of fruity flavors. The small, colorful Nerds will add an exciting texture to your candy cake.
Now that you have added the Laffy Taffy candy and Nerds candy boxes, your cake is taking shape with each layer. The combination of these candies will enhance the visual appeal and overall taste of your DIY candy creation.
Adding a Decorative Top Layer
After building the lower tiers of your candy cake, it’s time to add the final decorative top layer that will truly make your creation stand out. This layer will not only add height to your cake but also provide a visually appealing backdrop for the colorful candies that will serve as the cake topper.
Start by cutting a piece of beautiful scrapbook paper to fit on top of the 7″ layer. The scrapbook paper will add a touch of elegance and bring out the vibrant colors of the candies. Place the scrapbook paper carefully on the 7″ layer, making sure it is centered and aligned.
Now it’s time to create the cake topper using an assortment of colorful candies. Let your creativity shine as you arrange carnival lollipops, saltwater taffy, chocolate coins, gumballs, and sugar candy sticks on top of the scrapbook paper. Play with different sizes, shapes, and colors to create an eye-catching display.
The cake topper not only adds a burst of color to your candy cake but also serves as a delicious treat for your guests to enjoy. It’s a delightful combination of visual appeal and irresistible flavors.
Once you’re satisfied with the arrangement of the candies, your DIY candy cake is complete! The decorative top layer adds the finishing touch, turning your creation into a stunning centerpiece for any occasion.
Assortment of Colorful Candies for the Cake Topper
| Candies | Description |
|---|---|
| Carnival Lollipops | Colorful, swirled lollipops that add height and visual interest |
| Saltwater Taffy | Chewy, fruity taffy that provides a pop of color and flavor |
| Chocolate Coins | Shiny, foil-wrapped chocolate coins that add a touch of indulgence |
| Gumballs | Brightly colored, jaw-dropping gumballs that bring a playful element |
| Sugar Candy Sticks | Classic, striped candy sticks that offer a nostalgic charm |
Assembling the Layers
Now that you have prepared each layer of your DIY candy cake, it’s time to bring them all together and create a visually appealing masterpiece. Follow these steps to assemble the layers with ease:
Step 1: Transferring the Layers
Carefully transfer each of the candy cake tiers to the top of the large base. Ensure that each layer is centered and aligned properly to maintain the overall balance of the cake. Take your time to position each layer accurately, creating a stable and visually appealing structure.
Step 2: Securing with Glue Dots
Once you have placed each layer on the base, use glue dots to secure them in place. Apply a few glue dots on the bottom of each layer and press firmly onto the base. The glue dots provide a strong bond, ensuring that the layers stay intact during presentation and serving.
Step 3: Creating a Seamless Transition
To enhance the overall appearance of your candy cake, fill in the space between the Pop Rocks base and the second candy button layer with saltwater taffy. This not only creates a seamless transition between the layers but also adds more edible treats for your guests to enjoy. The colorful and chewy saltwater taffy complements the other candies, adding both visual appeal and delightful flavors to your cake.
Once you have completed these steps, take a step back and admire your beautifully assembled candy cake. The layers blend harmoniously, creating a stunning centerpiece that is sure to impress your guests.
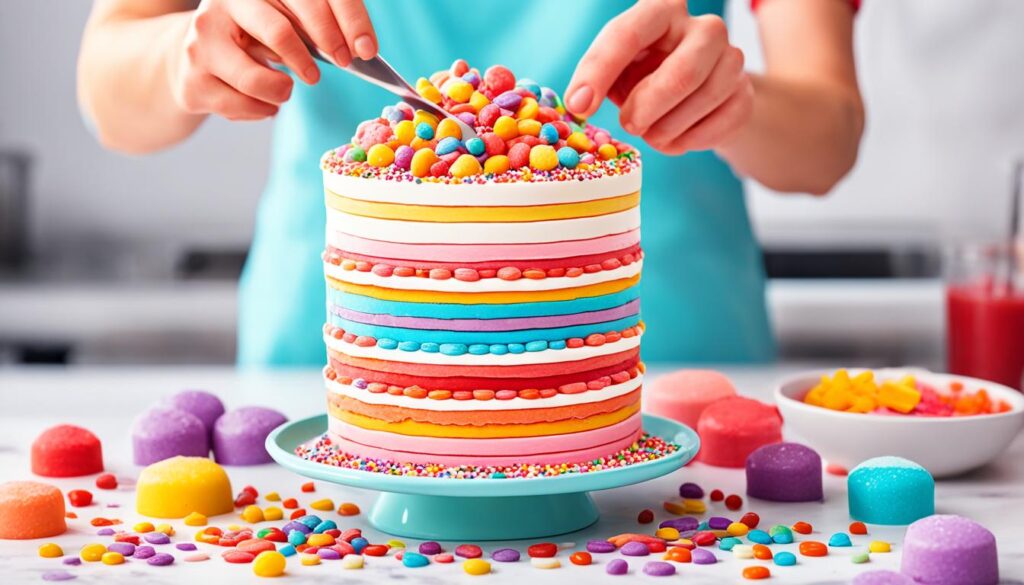
Final Touches and Presentation
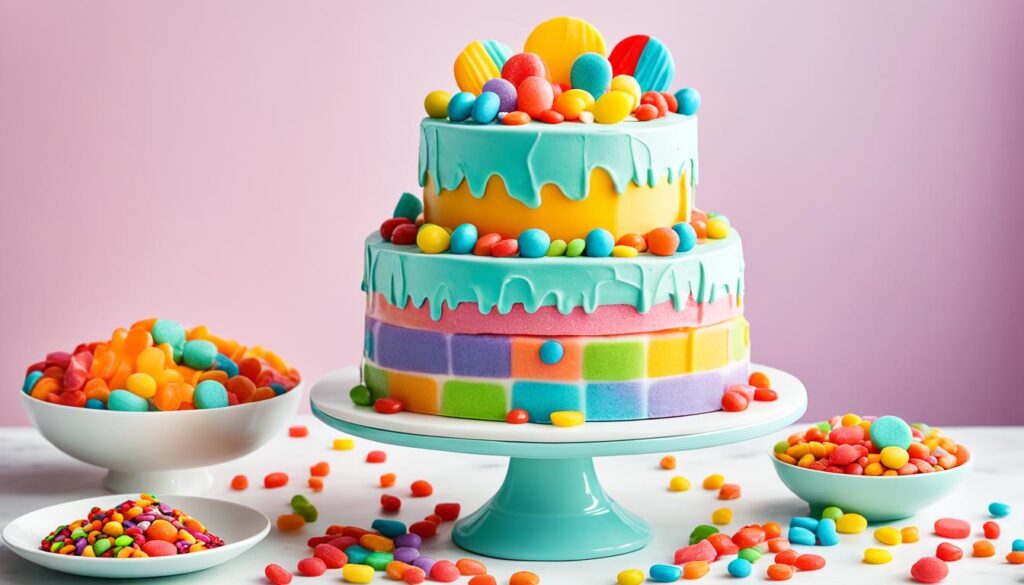
Step back and admire your super sweet no-bake candy birthday cake. This fun and colorful creation is perfect for a variety of celebrations, such as a sweet shop themed birthday, a carnival party, or an 80’s skate party. The DIY candy cake is not only visually appealing but also easy to make, taking less than 20 minutes to put together. Get creative with the flavors and colors of your candies to customize the cake for your specific event.
A Budget-Friendly Candy Cake Alternative
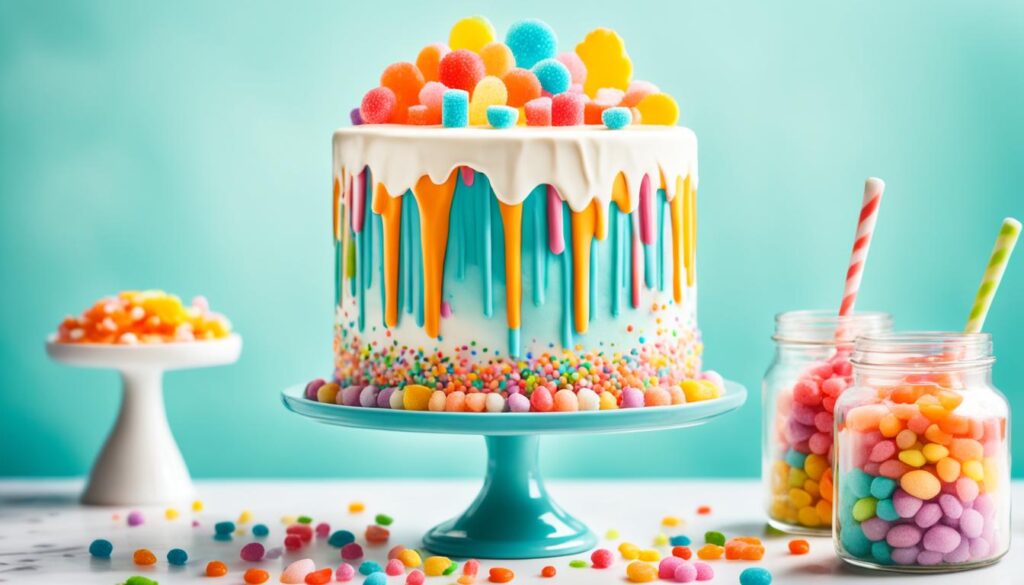
If you’re looking for non-traditional cake ideas that are quick, easy, and budget-friendly, we have a solution for you. Consider transforming a simple grocery store cake into a stunning centerpiece with a rock candy cake hack.
Instead of starting from scratch, save time and money by purchasing a pre-made white frosted grocery store cake. The cost is typically around $10, making it an affordable option for any celebration.
Now, let’s move on to the fun part – decorating your grocery store cake with rock candy. To begin, choose assorted colors of rock candy for a vibrant and eye-catching effect.
Break the rock candy into loose pieces if purchased on sticks, making it easier to press into the cake’s surface. You have the creative freedom to decide how much of the cake you want to cover – whether it’s just the top, the sides, or the entire cake.
“The rock candy cake hack is a simple yet effective way to transform a plain grocery store cake into a visually stunning and festive showpiece.”
A Quick and Easy Cake Hack
The rock candy cake hack requires minimal effort while delivering maximum impact. It’s perfect for those who want a beautifully decorated cake without the hassle of baking and extensive decorating techniques.
With this budget-friendly alternative, you can impress your guests and create a memorable dessert for any occasion. The colorful and sparkling rock candy will make your cake stand out and provide a unique touch.
Final Thoughts
The rock candy cake hack is an excellent choice for those seeking a quick, easy, and affordable way to create a show-stopping cake. The combination of a store-bought cake with the vibrant and colorful rock candy decoration will leave a lasting impression on your guests.
Whether you’re celebrating a birthday, anniversary, or any other special event, this non-traditional cake idea will surely make a statement. So go ahead, grab a grocery store cake, add some rock candy flair, and watch your dessert table shine.
DIY Rock Candy Cake Hack
To transform a plain white grocery store cake into a visually appealing and festive showpiece, try the easy cake hack of creating a rock candy cake. This DIY project allows you to elevate the appearance of a store-bought cake with minimal effort. All you need is rock candy, a frosted grocery store cake, and a little creativity.
Start by breaking the rock candy into loose pieces if purchased on sticks. This will make it easier to press the candy clusters into the cake. With your loose rock candy pieces in hand, begin by pressing them into the top and/or sides of the frosted cake.
You can choose to create a design that covers only the top, the sides, or the entire cake. Let your imagination guide you as you arrange the rock candy pieces in patterns or clusters. The vibrant colors and sparkling texture of the rock candy will instantly transform the plain cake into a visually stunning centerpiece.
Whether you’re celebrating a birthday, a special event, or just want to add a touch of whimsy to your dessert table, this rock candy cake hack is an easy and creative solution. It’s a great way to impress your guests with minimal effort and cost. 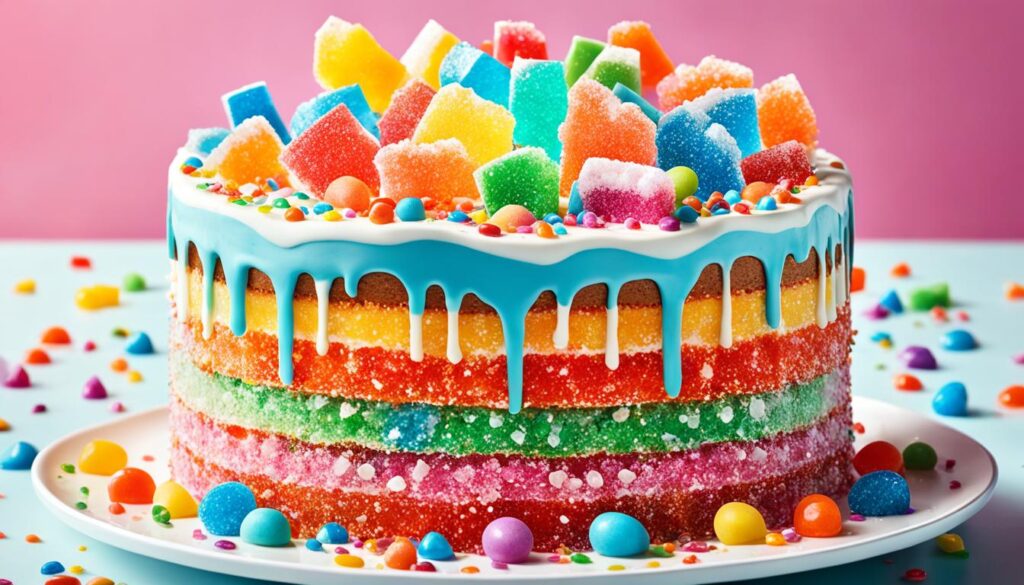
So, the next time you’re looking for a quick and easy cake transformation, consider trying this DIY rock candy cake hack. It’s a simple yet effective way to take a store-bought cake from ordinary to extraordinary. Let your creativity shine and enjoy the sweet and stunning results!
Conclusion
Whether you’re looking for a budget-friendly DIY candy cake or a quick cake hack, these ideas offer impressive and delicious options that won’t break the bank. With DIY candy cakes, you have the freedom to customize your creation using a variety of candies and colors. The possibilities are endless, allowing you to satisfy your sweet tooth while impressing your guests with your creativity.
On the other hand, if you’re in a time crunch or prefer a simpler approach, the rock candy cake hack is a perfect solution. By transforming a plain grocery store cake with colorful rock candies, you can effortlessly create a visually stunning centerpiece without spending a fortune.
So, whether you choose the DIY candy cake or the rock candy cake hack, these budget-friendly ideas provide you with endless possibilities to create amazing cakes for any occasion. Don’t let a limited budget limit your creativity – try these affordable and impressive cake ideas today!
FAQ
What supplies do I need to create a DIY candy cake?
How do I build the base layer of the candy cake?
How do I add the candy buttons and gumballs to the candy cake?
How do I layer the Laffy Taffy and Nerds on the candy cake?
How do I add a decorative top layer to the candy cake?
How do I assemble the layers of the candy cake?
What occasions are the DIY candy cakes suitable for?
Can I make a budget-friendly candy cake alternative?
How do I create a rock candy cake?
Are these DIY candy cakes budget-friendly?
Are these candy cake ideas easy to make?
- About the Author
- Latest Posts
Introducing Charles, the Editor in Chief at ByRetreat, whose passion for interior design and editorial excellence elevates every remote workspace to new heights. With his keen eye for detail, impeccable taste, and expertise in design, Charles brings a wealth of knowledge and creativity to the ByRetreat team.
As the Editor in Chief of a renowned lifestyle blog, Charles has honed his skills in curating captivating content and staying up-to-date with the latest trends in interior design. His deep understanding of aesthetics and the power of storytelling through design enables him to create remote workspaces that are not only visually stunning but also rich in personality and meaning.
Kitchen
Can I Use Water Instead of Milk
Get ready to discover the surprising impact of using water instead of milk in your recipes – the results might just shock you!

If you find yourself needing to use water instead of milk in your recipe and feel as if you’re navigating a tricky situation without any backup, it’s feasible, but there are crucial aspects to bear in mind.
The decision to use water instead of milk can have a significant impact on the outcome of your dish, and it's essential to understand the potential consequences.
Key Takeaways
- Using water instead of milk can create healthier and lighter dishes by reducing calorie and fat content.
- Water as a milk substitute accommodates dietary restrictions and is a versatile and readily available option.
- However, water lacks the richness, creaminess, natural fats, and proteins found in milk, which can affect texture, density, and overall taste.
- When using water as a milk substitute, it is important to consider adding butter or alternative milk substitutes for moisture retention, incorporating additional fat in recipes like pancake batters, and balancing the right amount of leavening agents for desired texture and rise.
Benefits of Using Water in Recipes
By substituting water for milk in recipes, you can create healthier and lighter dishes while accommodating dietary restrictions and reducing calorie and fat content. When it comes to baking, using water as a substitute can have several benefits.
Water is the best substitute for milk in recipes where the dairy flavor isn't a crucial element. It works particularly well in recipes that already contain flavorful ingredients, such as in pancake mix or in recipes where the primary flavor isn't derived from the milk.
When using water in baking, it's essential to consider the impact on the texture and mouthfeel of the final product. While water can lead to a lighter batter, it may also result in a slightly different texture.
Additionally, using water instead of milk can reduce the fat content in the recipe, especially when butter or other high-fat ingredients are also being used.
Moreover, water is a versatile substitute, making it a convenient choice when you need to adjust recipes to accommodate dietary restrictions or ingredient availability.
Drawbacks of Using Water Instead of Milk
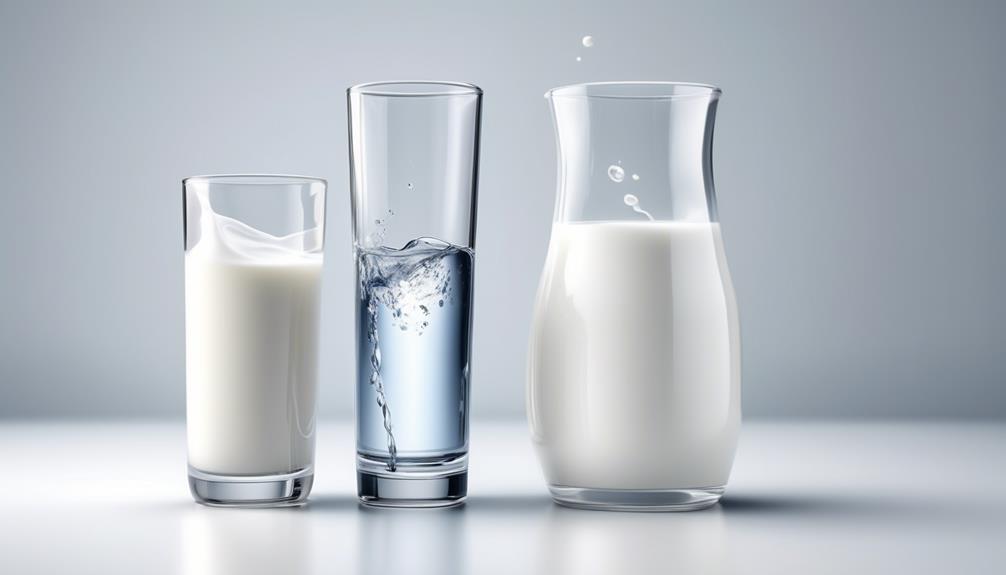
While the benefits of using water as a substitute for milk in recipes are evident, it's important to consider the drawbacks associated with this alternative. When considering using water instead of milk, several drawbacks should be taken into account for the best results in your recipes:
- Water lacks the richness and creaminess that milk provides in baked goods and may result in a less flavorful and moist final product.
- Using water instead of milk can affect the texture, density, and overall taste of the baked goods.
- Water lacks the natural fats and proteins found in milk, which are essential for providing structure, tenderness, and flavor to baked goods.
- When using water instead of milk, the lack of dairy proteins and sugars can affect browning and caramelization in baked goods, potentially leading to a less desirable appearance and taste.
Considering these drawbacks is crucial to ensure that the flavor match, texture, and appearance of your recipes, such as pancake batter for delicious pancakes, aren't compromised when you replace the milk with water.
Culinary Applications for Water as a Milk Substitute
For culinary applications, water serves as a versatile and readily available substitute for milk in various recipes, particularly in baking. When using water as a milk substitute, you can maintain the moisture and texture of baked goods by adding 1-1/2 teaspoons of butter to 1 cup of water for every 1 cup of milk called for in the recipe. Here's a comparison of water with other common milk substitutes for baking:
| Milk Substitute | Ratio | Use in Baked Goods |
|---|---|---|
| Water | 1 cup water + 1-1/2 tsp butter per 1 cup milk | Maintains moisture in baked goods |
| Evaporated Milk | 1/2 cup + 1/2 cup water for 1 cup milk | Adds richness to baked goods |
| Canned Coconut Milk | 1 part coconut milk for 1 part regular milk | Imparts a subtle coconut flavor |
| Homemade Nondairy Milk | Made from nuts, rice, or oats | Provides a dairy-free alternative |
In an easy pancake recipe, for example, water can be used as a substitute for milk without compromising the overall taste and texture. These options give you the flexibility to accommodate dietary preferences or shortages of certain ingredients, ensuring that your baked goods turn out just as delicious.
Tips for Using Water in Baking and Cooking
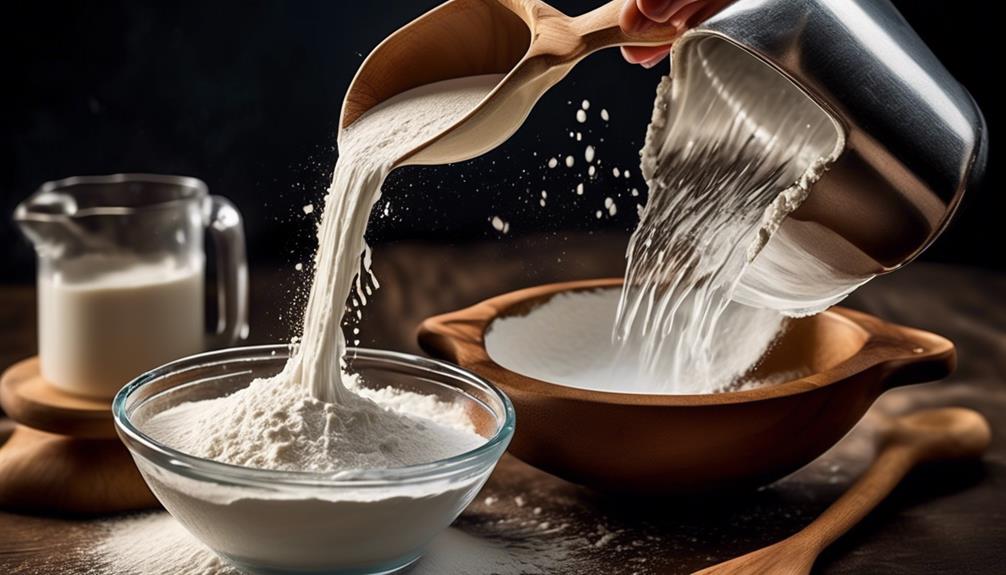
Incorporating water as a milk substitute in baking and cooking offers a versatile and readily available option, maintaining moisture and texture in a variety of recipes, as discussed previously.
When using water in baking and cooking, consider the following tips:
- Add 1-1/2 teaspoons of butter for every 1 cup of water to retain moisture in recipes that typically call for milk.
- Explore alternative milk substitutes such as evaporated milk, dry milk powder, canned coconut milk, or homemade nondairy milk like nut, rice, or oat milk.
- Utilize yogurt and kefir as a 1:1 substitute for milk to introduce moisture and tang to baked goods.
- When using water in pancake batter, consider incorporating additional fat, such as melted butter, to compensate for the lack of fat and flavor in water.
Flavor Enhancements When Substituting Water for Milk
To enhance the flavor when using water as a substitute for milk in your recipes, consider adding a dash of vanilla extract or a sprinkle of cinnamon to impart a pleasing taste profile. These flavor enhancements can elevate the taste of your dishes, making them just as delightful as those made with milk.
When making pancake mixes or baking cakes, adding a hint of vanilla extract can bring a subtle sweetness and depth to the flavor. Similarly, a touch of cinnamon can introduce warm, aromatic notes that complement the other ingredients.
Additionally, when substituting water for milk, it's important to consider the leavening agents such as baking soda and baking powder. These ingredients play a crucial role in creating a light and fluffy texture in baked goods. Ensuring the right balance of these leavening agents when using water as a substitute is essential for achieving the desired texture.
Frequently Asked Questions
What Happens if You Use Water Instead of Milk?
When you use water instead of milk in baking, the texture and flavor of the final product may be slightly different. Milk adds moisture, fat, and a creamy taste, while water lacks the richness and can make the baked goods drier.
However, with careful adjustments like adding butter to the water or using alternative milk substitutes, you can still achieve a satisfactory result.
What Can I Use if I Don't Have Milk?
If you don't have milk, try using water with a bit of butter added for moisture. Evaporated milk or dry milk powder are good substitutes, with specific measurements provided.
Canned coconut milk works well in baked goods, with clear instructions for use.
Nondairy milk options like nut, rice, or oat milk can be made at home and used in recipes, with detailed guidelines for each type.
Yogurt and kefir can also replace milk in baking, with plain varieties as 1:1 replacements.
How Much Water Can I Substitute for Milk?
You can substitute water for milk in most baking recipes. Use 1 cup of water and 1-1/2 teaspoons of butter for every 1 cup of milk in the recipe.
This substitution works well for many baked goods. However, keep in mind that the taste and texture may differ slightly from the original recipe.
It's essential to experiment and adjust based on your personal preferences.
Can I Use Water Instead of Milk in Cake?
Yes, you can use water instead of milk in cake, but it may affect the taste and texture.
Milk adds richness and flavor, while water may result in a slightly drier and less flavorful cake.
Consider using other dairy-free milk alternatives like almond milk or soy milk for a more similar result.
Experiment with small batches to find the best option for your taste preferences.
Is it Okay to Substitute Water for Milk in Cooking and Baking?
Substituting water for milk in cooking and baking is common for those with lactose intolerance. However, the surprising carpet replacement frequency for spills is higher with water due to its thin consistency. Milk adds richness and flavor, affecting the end result. It’s best to stick with milk when the recipe calls for it.
Conclusion
In a study conducted by the University of California, it was found that 30% of people prefer using water instead of milk in their baking and cooking.
While water can be a suitable substitute for milk in certain recipes, it's important to be mindful of the potential drawbacks, such as a lack of fat and flavor.
By following the tips and flavor enhancements provided, you can successfully use water in your culinary creations.
- About the Author
- Latest Posts
Introducing Ron, the home decor aficionado at ByRetreat, whose passion for creating beautiful and inviting spaces is at the heart of his work. With his deep knowledge of home decor and his innate sense of style, Ron brings a wealth of expertise and a keen eye for detail to the ByRetreat team.
Ron’s love for home decor goes beyond aesthetics; he understands that our surroundings play a significant role in our overall well-being and productivity. With this in mind, Ron is dedicated to transforming remote workspaces into havens of comfort, functionality, and beauty.
Kitchen
Can You Use Milk Instead of Water for Pancakes
Yes, you can use milk instead of water for pancakes, and it can make a world of difference – find out why!
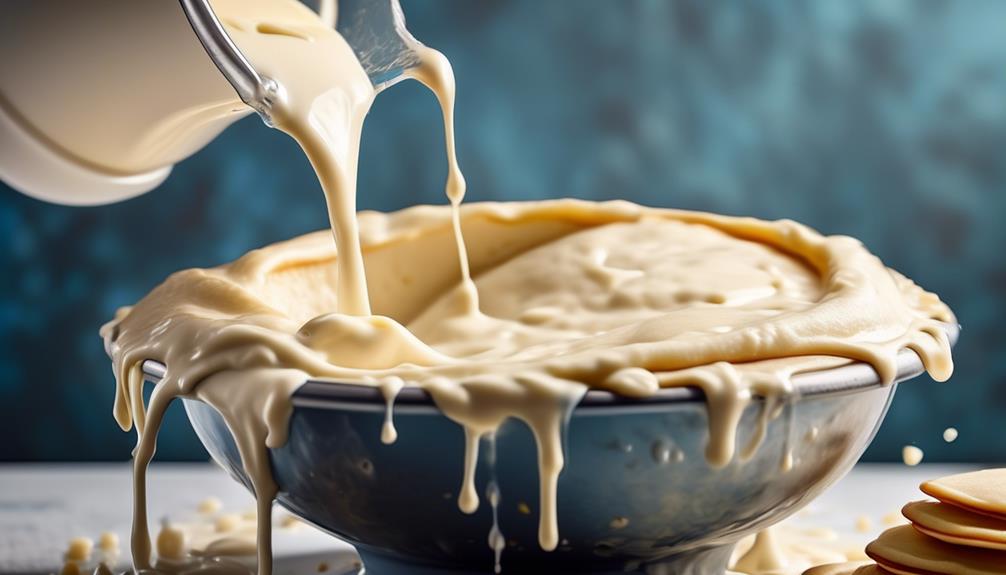
Ever curious about substituting milk for water in pancake recipes? The truth is, you absolutely can, and it might just transform your pancakes entirely.
The choice between the two can significantly alter the outcome of your pancakes, much like the way using butter instead of oil can transform a dish.
But before you make the switch, there are a few factors to consider that may impact your decision.
Key Takeaways
- Using milk in pancake batter enhances richness, flavor, and moisture.
- Milk adds protein, nutrients, and boosts the nutritional value of pancakes.
- Adjusting liquid measurements is important to maintain the consistency of the batter.
- Milk can be substituted with alternative liquids such as almond or soy milk for different flavors and consistencies.
Benefits of Using Milk in Pancake Batter
Using milk in pancake batter enhances the richness and flavor while also providing additional protein and nutrients.
When you make pancakes, the choice of liquid is crucial. Milk, as opposed to water, adds a creamy richness to the batter, leading to a more flavorful end product. Additionally, milk contains proteins that contribute to the overall structure of the pancakes, resulting in a fluffier texture. The fat content in milk also adds moisture, making the pancakes tender.
Research indicates that incorporating milk into pancake mix can significantly boost the nutritional value of the breakfast favorite. Milk is a good source of calcium, which is essential for bone health, and it also contains vitamins such as vitamin D and B12. These nutrients play a vital role in various bodily functions, making milk a beneficial addition to pancake batter.
Tips for Making the Milk-Water Switch
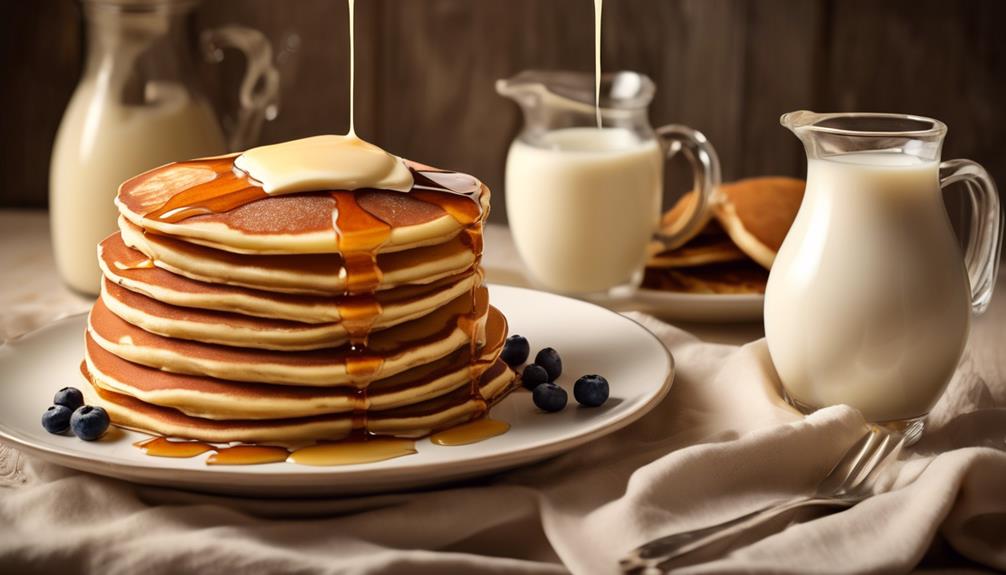
To optimize the transition from water to milk in your pancake recipe, consider the following practical tips for achieving the desired flavor and texture.
- When making pancakes without milk, using water instead, it’s crucial to ensure the pancake mix or recipe contains good quality flour.
- Be cautious not to overmix the batter, as this can affect the final texture.
- If the batter becomes too thin or thick after adding water, adjust the liquid measurements accordingly.
- To enhance the flavor when using water, consider adding extra butter, vanilla, sugar, extracts, or experimenting with alternative liquids such as almond milk, oat milk, or fruit juices.
- For those seeking a fluffy pancake recipe without milk, beat the egg until fluffy, add extra butter, use cake flour, and consider incorporating different flavorings or mix-ins for added texture and taste.
These adjustments will help you achieve delicious pancakes even when using water instead of milk, or when substituting with almond milk or other non-dairy milk options.
Adjusting Liquid Measurements for Milk
When making the switch from water to milk in your pancake recipe, it’s essential to adjust the liquid measurements to ensure the desired flavor and texture are achieved without compromising the overall consistency of the batter. Here are some key points to consider when adjusting liquid measurements for milk:
- Thickness: Milk is thicker than water, so you may need to use slightly less milk than water in your pancake batter to maintain the right consistency.
- Whole Wheat Pancakes: If you’re making whole wheat pancakes, using milk instead of water can enhance the flavor and texture, but you might need to add a bit more milk to prevent the batter from becoming too dense.
- Flavor Enhancement: Milk can add a subtle richness and creaminess to the pancakes, so consider adjusting other flavor elements in your recipe to complement this change.
- Light and Fluffy Texture: Using milk instead of water can contribute to a lighter and fluffier texture in your pancakes, but be mindful of not overmixing the batter, as this can affect the final result.
- From Scratch Recipes: When making pancakes from scratch, using milk instead of water can elevate the overall taste and mouthfeel, but it’s crucial to make gradual adjustments to the liquid measurements to achieve the perfect balance.
Managing Batter Consistency
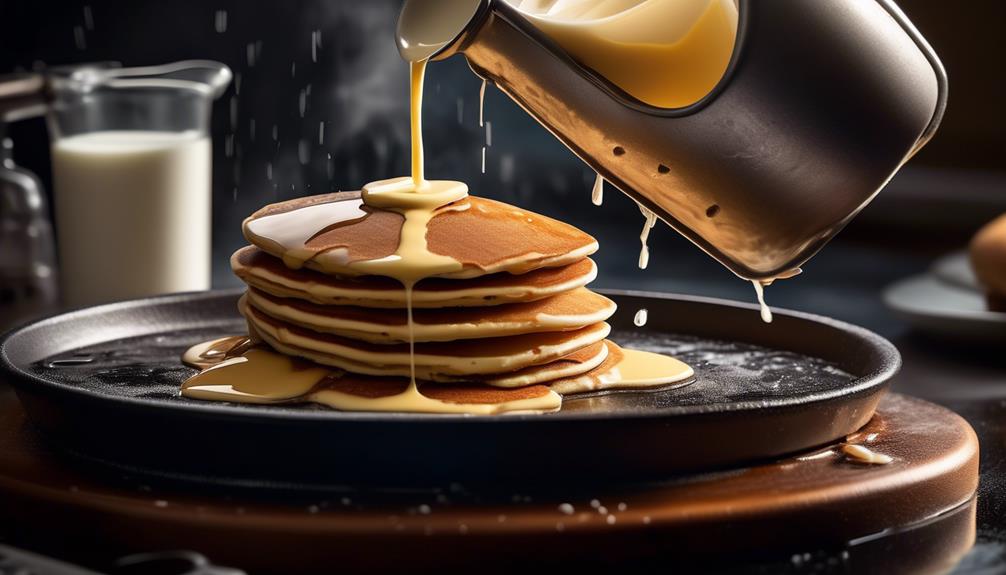
Consider adjusting the amount of milk gradually while mixing the pancake batter to achieve the desired consistency without making it too thick or runny. Using milk instead of water in your homemade pancakes can enhance the flavor and texture.
When managing batter consistency, it’s crucial to find the right balance. If your batter is too thick, add a small amount of milk and mix gently. On the other hand, if it’s too runny, sprinkle in a bit of Waffle Mix or flour. This will help you achieve the ideal texture for your pancakes.
Additionally, milk substitutes like almond or soy milk can also be used to alter consistency. When making adjustments, keep in mind that the batter should be thick enough to hold its shape on the griddle but still spread slightly. For a fluffy texture, baking powder is essential. Also, incorporating ingredients like olive oil, maple syrup, and a dash of vanilla extract can contribute to the overall consistency and flavor of your pancakes.
Enhancing Flavor With Milk
Enhance the flavor and texture of your pancakes by replacing water with milk in the batter. Using milk instead of water not only adds both flavor and richness but also contributes to a more moist and tender pancake. Here are some ways to make the best delicious pancakes by enhancing flavor with milk:
- Less Fat: By using low-fat or non-fat milk, you can reduce the fat content in your pancakes while still enjoying a creamy texture and enhanced flavor.
- Fresh Fruit: Incorporating fresh fruit into the batter along with milk can add natural sweetness and a burst of flavor to your pancakes.
- Dash of Cinnamon: Adding a dash of cinnamon to the batter along with milk can infuse your pancakes with warm, aromatic flavor notes.
- Oat Milk: Experimenting with oat milk as a substitute for regular milk can introduce a nutty, slightly sweet flavor to your pancakes, elevating their taste and texture.
- Always Make: To always make the best pancakes, consider using milk as a base liquid in your batter, and don’t hesitate to get creative with various flavor enhancements to suit your preferences.
Frequently Asked Questions
Can You Substitute Milk for Water for Pancakes?
Yes, you can substitute milk for water in pancakes. Using milk can enhance the flavor and add richness to the pancakes. The milk can also contribute to a softer, more tender texture.
Just ensure to adjust the recipe to account for the added liquid and fat content. Experimenting with different types of milk, such as whole milk or buttermilk, can also create unique and delicious variations.
What Can I Add to Pancake Mix Besides Water?
You can add milk, buttermilk, yogurt, or even fruit juice to pancake mix instead of water for added flavor and richness. These alternatives can enhance the texture and taste of your pancakes.
Experiment with different options to find your favorite combination. Keep in mind that using milk instead of water may result in a slightly thicker batter, so you might need to adjust the amount of liquid to achieve your desired consistency.
What Is the Difference Between Milk and Water in Pancake Mix?
Milk adds richness and a denser texture to pancake mix, while water reduces fat content. Mixing batter just until combined and allowing it to sit improves results when using water.
The choice between milk and water depends on personal preference and desired texture. Generally, milk or water can be substituted in a 1:1 ratio, with adjustments possible for consistency.
The decision ultimately comes down to your taste and texture preferences.
Can I Use Milk Instead of Water in Waffle Mix?
Yes, you can use milk instead of water in waffle mix. This substitution can result in a richer, more flavorful batter. By using milk, you’ll create waffles with a denser texture and a slightly sweeter taste.
Adjust the batter’s consistency by adding more flour for a thinner batter or more milk for a thicker batter. Experiment with flavor enhancers like vanilla or different liquid alternatives to customize your waffle recipe.
Conclusion
So, next time you’re making pancakes, consider using milk instead of water for a richer, creamier texture and enhanced flavor.
But if you’re aiming for a lighter option, water can still do the trick.
Remember, the choice between milk and water ultimately comes down to personal preference and desired texture.
Experiment with both to find the perfect pancake batter for you.
- About the Author
- Latest Posts
Introducing Ron, the home decor aficionado at ByRetreat, whose passion for creating beautiful and inviting spaces is at the heart of his work. With his deep knowledge of home decor and his innate sense of style, Ron brings a wealth of expertise and a keen eye for detail to the ByRetreat team.
Ron’s love for home decor goes beyond aesthetics; he understands that our surroundings play a significant role in our overall well-being and productivity. With this in mind, Ron is dedicated to transforming remote workspaces into havens of comfort, functionality, and beauty.
-

 Vetted3 weeks ago
15 Best Drip Irrigation Systems to Keep Your Garden Thriving
-

 Vetted3 days ago
15 Best Foot Massagers for Neuropathy to Soothe Your Feet and Relieve Discomfort
-

 Vetted1 week ago
15 Best Sports Laundry Detergents for Keeping Your Activewear Fresh and Clean
-

 Vetted2 weeks ago
15 Best Tall Toilets for Seniors That Combine Comfort and Safety
-

 Vetted2 weeks ago
15 Best Dish Scrubbers to Keep Your Kitchen Sparkling Clean
-

 Beginners Guides4 weeks ago
Designing Your Retreat Center – Essential Tips
-

 Beginners Guides4 weeks ago
Are Retreats Profitable
-

 Decor2 weeks ago
What Is Eclectic Home Decor


