Decor
How to Make Fiberglass Resin Aquarium Decor
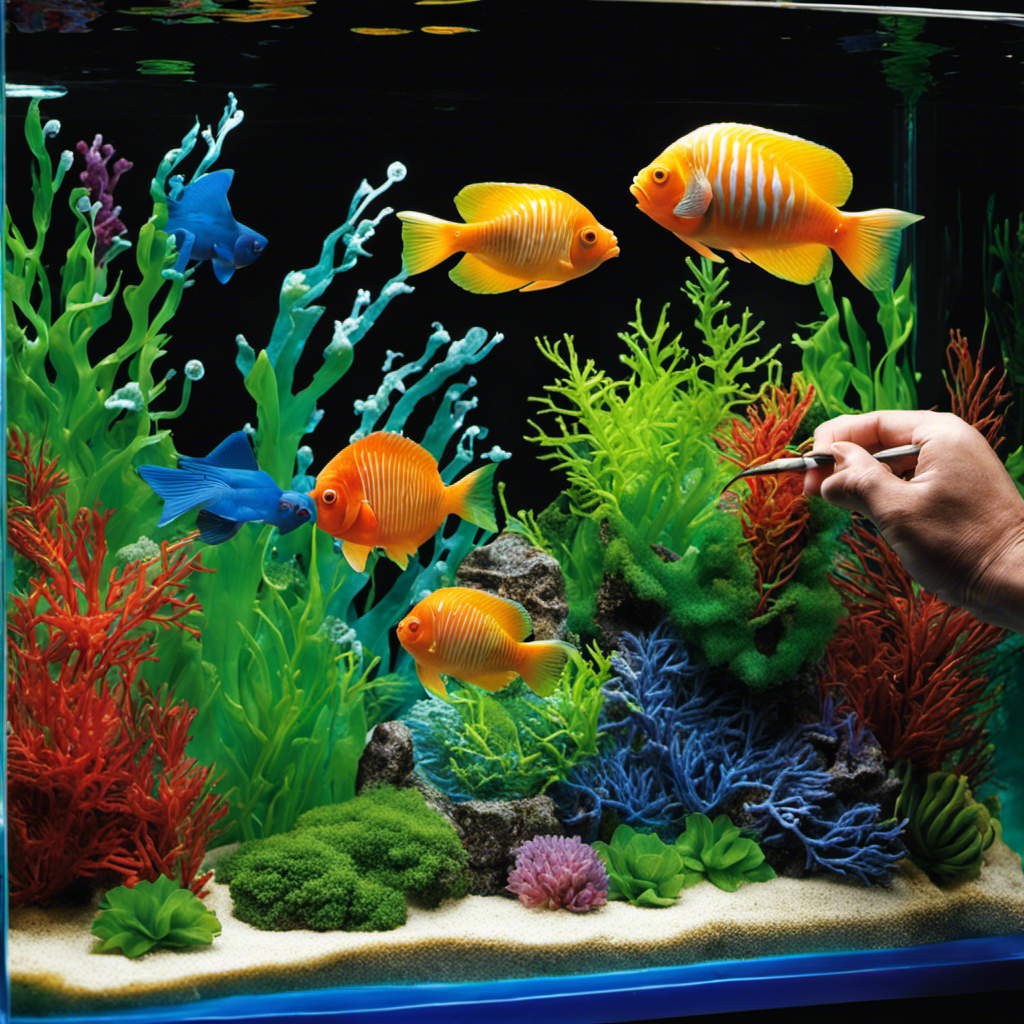
I will demonstrate how to create captivating fiberglass resin decorations for your aquarium that will enhance your underwater world.
By combining my expertise and your creativity, we’ll transform ordinary materials into extraordinary pieces.
With the right materials in hand, we’ll prepare the resin mixture and create a custom mold for our decor.
Then, using precise techniques, we’ll apply the fiberglass resin, adding color and texture for a truly unique look.
Finally, we’ll finish and install the decor, turning your aquarium into a captivating masterpiece.
Let’s dive in!
Key Takeaways
- Proper safety precautions should be followed when working with fiberglass resin, including wearing protective gear and working in a well-ventilated area.
- Choosing the right mold shape and properly cleaning and sealing the mold are essential for creating high-quality and visually appealing decor.
- Applying resin evenly and allowing it to cure completely between coats is important for achieving a smooth finish.
- Adding color and texture to the decor can enhance its appearance, and proper maintenance is necessary to ensure its longevity.
Choosing the Right Materials
When making fiberglass resin aquarium decor, it’s important to choose the right materials.
To begin, selecting the proper tools is crucial. You’ll need a fiberglass resin kit, which typically includes resin, hardener, and a mixing cup. Additionally, you’ll require a brush or roller for application, as well as gloves and protective eyewear for safety.
Proper safety precautions should always be followed when working with fiberglass resin. It’s essential to work in a well-ventilated area to avoid inhaling harmful fumes. Wearing gloves will protect your skin from irritation, and safety glasses will shield your eyes from potential splashes. Taking these precautions will ensure a safe and successful project.
Preparing the Resin Mixture
To start preparing the mixture, you’ll need to gather all your necessary materials.
First, make sure you have your fiberglass resin and hardener. These two components are essential for creating a strong and durable mixture.
Next, grab a clean mixing container and a stir stick or paddle. It’s important to use a container that is large enough to accommodate the amount of resin you’ll be mixing.
Now, let’s talk about mixing techniques. Start by pouring the desired amount of resin into the container. Then, add the required amount of hardener according to the manufacturer’s instructions. Use the stir stick to thoroughly mix the two components together. Be sure to stir gently but thoroughly to avoid introducing air bubbles.
Lastly, safety precautions are crucial when working with resin. Always wear protective gloves, goggles, and a mask to prevent any contact with your skin or inhalation of fumes.
Creating a Mold for the Decor
When creating a mold for fiberglass resin aquarium decor, there are several key points to consider.
First, choosing the right mold shape is crucial in achieving the desired design and functionality.
Next, preparing the mold involves properly cleaning and sealing it to ensure a smooth and flawless finish on the final product.
Finally, applying the resin requires precision and attention to detail to achieve the desired outcome.
These steps are essential in creating high-quality and visually appealing decor for your aquarium.
Choosing the Mold Shape
You can choose the mold shape for your fiberglass resin aquarium decor. When creating resin decor for your aquarium, exploring alternative mold options can open up a world of possibilities. While traditional mold shapes like squares and rectangles are common, don’t be afraid to think outside the box. Consider using silicone molds or even creating your own custom molds using materials like clay or foam. These alternative options can allow for more intricate and unique shapes, adding a touch of personalization to your decor.
If you’re aiming for intricate mold shapes, there are a few tips to keep in mind. First, make sure your mold material is flexible enough to capture all the details of your desired shape. Silicone molds are often a great choice for this purpose. Additionally, consider using release agents like petroleum jelly or mold release spray to ensure easy removal of the mold from your desired shape. Taking the time to create a well-crafted mold shape will ultimately result in beautifully detailed and eye-catching aquarium decor.
Preparing the Mold
Using a flexible mold material, such as silicone, ensures that all the intricate details are captured during the preparation process. This is crucial when making fiberglass resin aquarium decor, as it allows for the creation of realistic and visually appealing pieces.
Choosing the appropriate mold size is also important, as it determines the final dimensions of the decor. It is essential to select a size that fits well within the aquarium and complements the overall aesthetic.
Additionally, ensuring proper ventilation for resin curing is crucial to avoid any potential health hazards. Proper ventilation helps in dissipating any fumes or odors that may be emitted during the curing process.
By following these steps, you can prepare the mold effectively and create stunning fiberglass resin aquarium decor.
Now, let’s move on to the next step: applying the resin.
Applying the Resin
To apply the resin, it’s important to mix it thoroughly to ensure proper curing. Start by wearing appropriate safety gear, such as goggles and gloves, to protect yourself.
Begin by measuring the correct ratio of resin and hardener, as specified by the manufacturer’s instructions. Pour the resin into a clean container and add the hardener. Mix them together using a stir stick, making sure to scrape the sides and bottom to prevent any unmixed resin.
Once thoroughly mixed, apply the resin to the prepared mold using a brush or roller. Take care to spread it evenly, avoiding any air bubbles. The drying time will vary depending on the resin type and ambient temperature, so refer to the manufacturer’s instructions.
During the drying process, ensure proper ventilation and avoid exposure to direct sunlight. Once fully cured, your fiberglass resin aquarium decor will be ready for use.
Applying the Fiberglass Resin
After mixing the fiberglass resin according to the instructions, it’s time to apply it to the aquarium decor. To ensure a smooth application, here are some tips to follow. Firstly, make sure the surface of the decor is clean and free from any dirt or debris. This will help the resin adhere properly. Secondly, apply a thin coat of resin using a brush or roller, making sure to spread it evenly. Avoid applying too much resin as it can cause drips and unevenness. Lastly, allow the resin to cure completely before applying additional coats. This will prevent any issues with the final finish.
Common issues that may arise during the application process include air bubbles and brush strokes. To troubleshoot these problems, gently blow on the surface to remove any air bubbles. For brush strokes, lightly sand the surface between coats to smoothen it out. By following these tips and troubleshooting common issues, you can achieve a professional-looking finish on your fiberglass resin aquarium decor.
| Tips for a Smooth Application | Troubleshooting Common Issues |
|---|---|
| Clean the surface | Remove air bubbles |
| Apply a thin coat | Lightly sand brush strokes |
| Allow resin to cure fully |
Adding Color and Texture
Now that we’ve covered how to apply the fiberglass resin to our aquarium decor, it’s time to add some color and texture to make it truly stand out in our tank.
There are various techniques and types of paint that can be used to achieve different effects. Here are some options to consider:
- Acrylic Paint: This versatile paint can be easily applied and comes in a wide range of vibrant colors.
- Spray Paint: Ideal for achieving a smooth and even finish, spray paint can quickly cover large areas.
- Epoxy Paint: Known for its durability, epoxy paint is great for creating a glossy, waterproof coating.
- Texturing Techniques: To add texture, consider using techniques like stippling, sponging, or dry brushing to create a realistic or unique look.
Finishing and Installing the Aquarium Decor
Once you’ve finished adding color and texture to your fiberglass resin aquarium decor, it’s time to install it in your tank. Proper installation techniques ensure that your decor stays securely in place and enhances the overall aesthetics of your aquarium. Here are some key steps to follow when installing your fiberglass resin decor:
| Step | Technique |
|---|---|
| 1 | Clean the surface of your tank to remove any debris or algae |
| 2 | Position the decor in the desired location within the tank |
| 3 | Use aquarium-safe silicone adhesive to secure the decor to the tank |
| 4 | Allow the adhesive to dry completely before adding water and fish |
Troubleshooting common issues during installation can help ensure a successful setup. If the decor is not adhering properly, make sure the tank surface is clean and dry. Additionally, check if the adhesive is aquarium-safe and suitable for use with fiberglass resin. By following these installing techniques and troubleshooting common issues, you can create a beautiful and functional aquarium display.
Frequently Asked Questions
How Long Does It Take for Fiberglass Resin to Cure?
Fiberglass resin curing time can vary depending on several factors, such as temperature and humidity. It typically takes anywhere from 24 to 48 hours for the resin to fully cure. To ensure the best results, follow the recommended curing times and handle the resin with care.
Can I Use Any Type of Mold for Creating Fiberglass Resin Aquarium Decor?
I can use different types of molds for creating fiberglass resin aquarium decor. Some popular options include silicone molds, latex molds, and even handmade molds. To achieve the desired shape, I can use techniques like layering, sculpting, or using release agents.
What Safety Precautions Should I Take When Working With Fiberglass Resin?
When working with fiberglass resin, it is crucial to prioritize safety. I always wear a respirator to protect my lungs from harmful fumes, and I ensure proper ventilation in the workspace to minimize any health risks.
Can I Use Regular Paint to Add Color to the Fiberglass Resin Decor?
Regular paint is not recommended for coloring fiberglass resin decor. Instead, consider using alternative materials specifically designed for use with resin. Explore different painting techniques, such as using resin dyes or pigments, to achieve vibrant and long-lasting colors.
How Do I Clean and Maintain Fiberglass Resin Aquarium Decor?
Cleaning and maintaining fiberglass resin aquarium decor is crucial for its longevity. To keep it looking its best, regular cleaning with mild soap and water is recommended. Avoid harsh chemicals that can damage the decor.
Conclusion
In conclusion, making fiberglass resin aquarium decor is a rewarding and creative process that can enhance the beauty of your aquarium. By following the steps outlined in this article, you can create unique and durable decorations that will be the envy of other aquarium enthusiasts.
Did you know that a study conducted by the American Pet Products Association found that owning an aquarium can help reduce stress and lower blood pressure? So not only will making your own aquarium decor be a fun and fulfilling hobby, but it can also contribute to your overall well-being.
Dive into this exciting project and watch your aquarium come to life with stunning fiberglass resin decorations.
- About the Author
- Latest Posts
Meet Bethia, the visionary designer at ByRetreat who brings a touch of magic to every remote workspace she creates. With a boundless imagination and an eye for beauty, Bethia is passionate about transforming ordinary spaces into extraordinary havens of creativity and comfort.
Bethia possesses a unique talent for envisioning the perfect combination of furniture, colors, and textures that harmonize seamlessly in a room. She understands that selecting furniture goes beyond mere functionality; it’s about curating pieces that evoke a sense of style and sophistication while enhancing the overall ambiance.
Decor
Curtain Variety Galore for Every Home Style
Kickstart your home decor journey with a kaleidoscope of curtain options to elevate your space and discover the perfect style for your home.
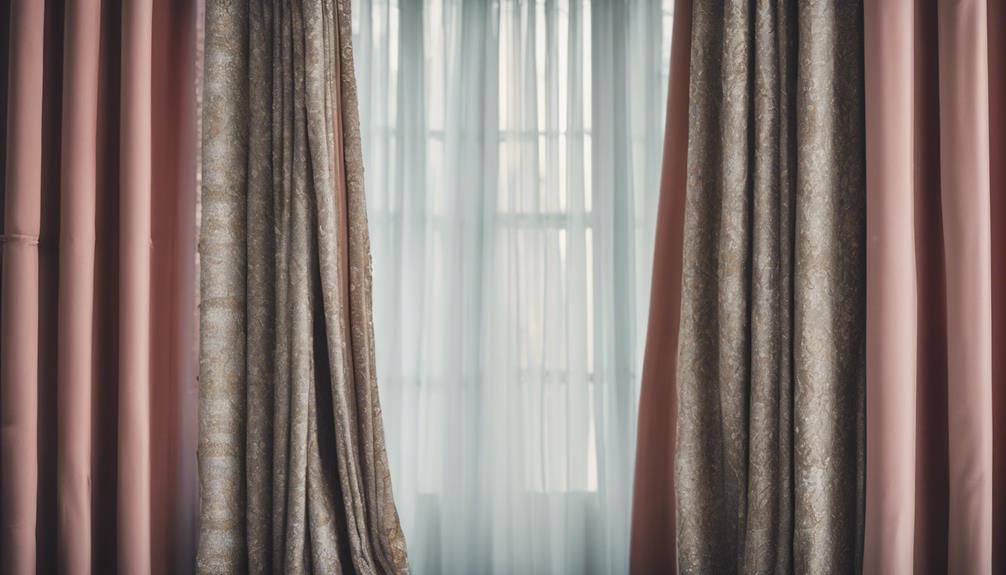
From layered blue check valances to floral panels, plaid, sheer curtains, and unique ruffled styles, you'll discover a variety of curtains to suit every home style. Explore farmhouse options with classic red checks or tulle skirts, elegant floral patterns, and chic plaid designs for a timeless appeal. Embrace sheer and semi-sheer curtains for a delicate touch, or opt for distinctive ruffled sets for a unique look. With different styles and price points, there's a curtain choice for every taste. Find the perfect fit to elevate your home decor and add a touch of flair to your living space.
Key Takeaways
- Farmhouse, floral, plaid, sheer, and unique curtain styles cater to diverse home decor preferences.
- Options include layered check, vintage floral, buffalo plaid, sheer panels, and ruffled curtains for various styles.
- Explore classic, modern, rustic, and elegant curtain designs to complement any home aesthetic.
- Find curtains in different patterns, colors, and lengths to match your personal style and decor theme.
- From simple elegance to intricate details, there are curtains to suit every taste and enhance any room.
Farmhouse Curtain Options
Explore a variety of farmhouse curtain options to add a touch of rustic charm to your home decor. Choose from the Layered Blue Check Window Valance at $44.00 for a classic look or opt for the Neutral Tulle Skirted Window Panel Set of 2 priced at $89.00 for an elegant touch.
The Tucker Stripe Curtain Panel Set of 2 offers a stylish option starting as low as $68.00, while the Classic Farmhouse Red Check Curtain Panels Set of 2 provide a bold statement at $56.00.
For a simpler design, consider the Grain Sack Stripe Prairie Short Panel Curtain Set of 2 priced at $49.00. Enhance your farmhouse aesthetic with these charming curtain choices.
Floral Curtain Panels
Enhance your home decor with a touch of nature by incorporating Floral Curtain Panels into your living space. Add a fresh and vibrant feel to any room with options like the Botanical Pattern Curtain Panel Set for $89.00 or the Country Cottage Vintage Floral Panel Set starting at $36.00.
The Dark Floral Curtain Panels at $76.00 offer a sophisticated and elegant look, while the Classic Floral Curtain Panels provide a timeless charm for the same price.
For a whimsical cottage vibe, consider the Cottage Dreams Floral Print Tier Curtain Set priced at $42.00. Whether you prefer bold blooms or delicate florals, these curtain panels are a lovely way to bring the beauty of the outdoors inside your home.
Plaid and Checkered Curtains
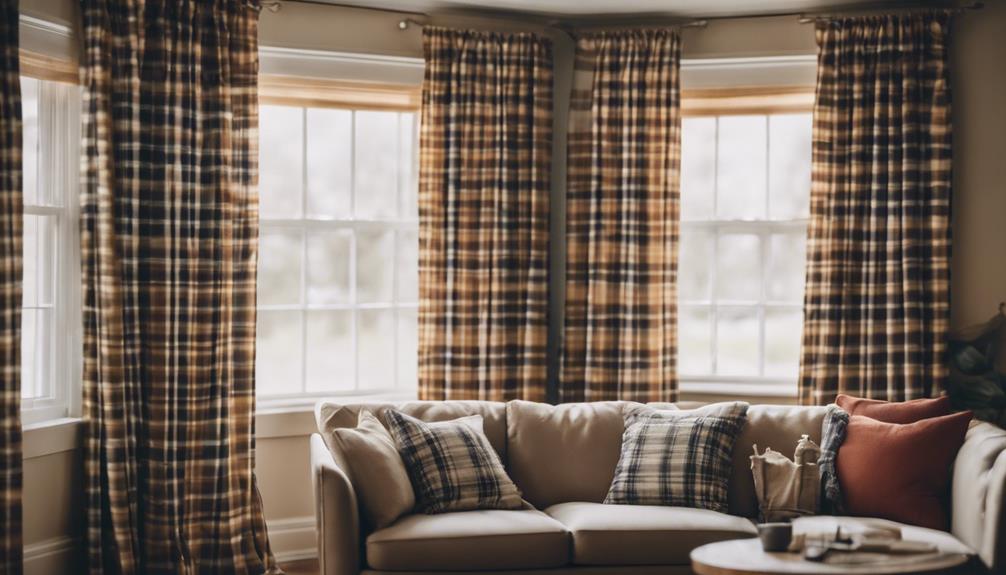
For a cozy and rustic touch to your home decor, consider incorporating plaid and checkered curtains into your living space. These patterns bring a classic and timeless appeal that can complement various interior styles.
Here are some options to inspire your curtain choice:
- Bright Buffalo Check Long Panel Curtain Set of 2: Add a pop of color with this vibrant buffalo check design.
- Buffalo Check Lined Panel Curtain Set of 2: Get the perfect mix of style and privacy with these lined panels.
- Primitive Check Farmhouse Curtain Panel Set of 2: Embrace a farmhouse look with these charming primitive check curtains.
- Nice and Natural Plaid Ruffled Curtain Panel Set of 2: Elevate your decor with a touch of elegance and texture with these ruffled plaid curtains.
Sheer and Semi-Sheer Curtains
To introduce a light and airy feel to your living space, consider incorporating sheer and semi-sheer curtains that offer a delicate touch of elegance and sophistication. These curtains are perfect for filtering sunlight while maintaining privacy.
The Simple Tie Top Semi Sheer Curtain Panel in 52×84 or 52×95 sizes provides a simple yet stylish look. If you prefer a bit of texture, the Natural Ruffled Curtain Panel Set of 2 adds a subtle charm to your windows.
For a more artistic touch, the Ombre Stripe Curtain Panel Set of 2 offers a modern and chic design. Enhance your home with the Sheer Bird on Branches Curtain Panels at 63 inches, bringing a whimsical element to your decor.
Unique Curtain Styles
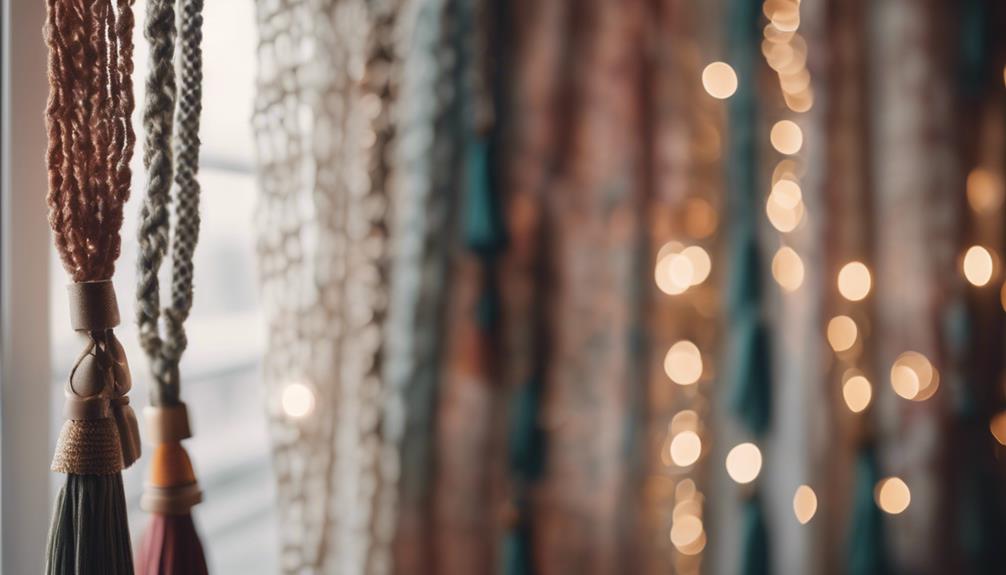
Consider exploring unique curtain styles to add a distinctive flair to your home decor. Here are four options that can elevate the look of your living space:
- Simple Elegance Ruffled Curtain Panel Set of 2:
Add a touch of sophistication with ruffled panels starting at $66.00.
- Country Floral Print Valance:
Bring a charming countryside vibe with a floral print valance priced at $42.00.
- Gold Ticking Stripe Valance With Ruffle 72 inch:
Incorporate a touch of elegance with a gold ticking stripe valance featuring a ruffle detail for $29.00.
- Chambray Curtain With Patchwork Valance Panel Set of 2:
For a unique blend of textures, opt for a chambray curtain set with a patchwork valance starting at $69.00.
Conclusion
So go ahead and let your curtains do the talking in your home!
With a wide array of styles to choose from, you can easily add a touch of personality and charm to any room.
Mix and match patterns, colors, and textures to create a visually stunning space that reflects your unique style.
Let your curtains be the finishing touch that ties your home decor together like a beautiful bow on a present.
- About the Author
- Latest Posts
Introducing Ron, the home decor aficionado at ByRetreat, whose passion for creating beautiful and inviting spaces is at the heart of his work. With his deep knowledge of home decor and his innate sense of style, Ron brings a wealth of expertise and a keen eye for detail to the ByRetreat team.
Ron’s love for home decor goes beyond aesthetics; he understands that our surroundings play a significant role in our overall well-being and productivity. With this in mind, Ron is dedicated to transforming remote workspaces into havens of comfort, functionality, and beauty.
Eclectic Style
Decor Disaster? This Mind-Blowing Style Will Save Your Home and Your Sanity!
Curate a stunning transformation for your decor disasters with upcycling and artistic flair, turning your home into a sanctuary of creativity and style.
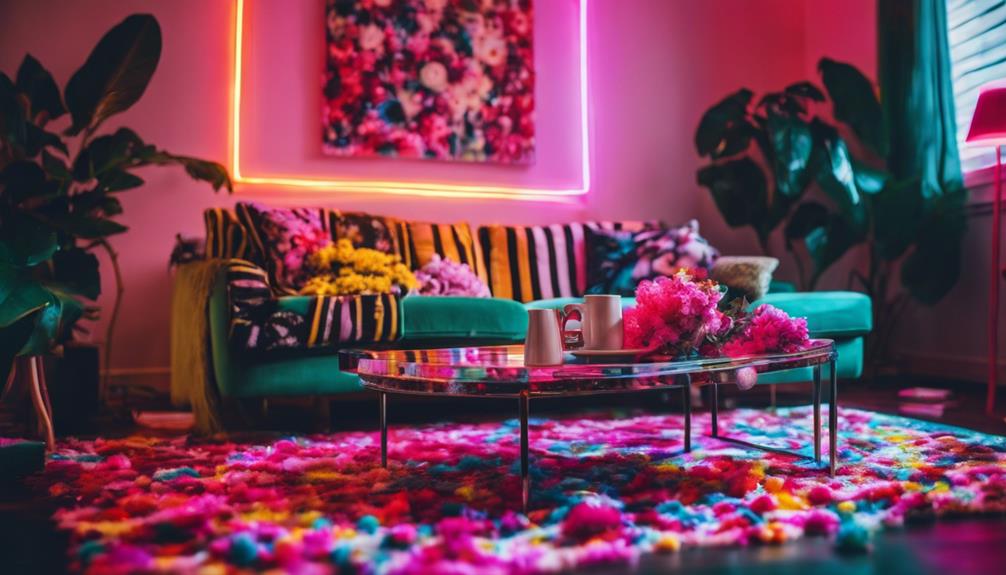
Revamp your decor disasters with upcycling and artistic innovation. Transform old items into unique pieces. Let vintage finds shine by repurposing with creative techniques. Upcycle with transfers and blending for a distinct look. Unique living spaces are just a project away.
Key Takeaways
- Upcycled decor revives old items into stylish pieces, saving your home from disasters.
- Transform thrift store finds with artistic techniques for a unique and personalized touch.
- Mannequin head art showcases creativity, adding a unique style to your living space.
- Use finishing techniques like wax and transfers to enhance decor and protect your creations.
- Embrace upcycling and crafting to turn ordinary items into extraordinary pieces and maintain your sanity.
Creative Upcycled Decor Solutions
Transform your home with Creative Upcycled Decor Solutions that breathe new life into vintage pieces through techniques like painting, waxing, and customization.
Upcycled decor projects involve repurposing old items to create unique and personalized pieces for your living space. By utilizing methods such as decoupage, paint, and wax on shoe forms, you can add a touch of flair and individuality to your home.
Mannequin heads offer a creative canvas for showcasing your personal style through decoupage art pieces. Enhance the appeal of your upcycled decor by incorporating artistic techniques like transfers, stickers, and blending colors.
These methods not only breathe new life into forgotten items but also allow you to express your creativity and transform decor disasters into stunning home solutions. Let your imagination run wild as you explore the endless possibilities of upcycled decor to create a space that truly reflects your unique style and personality.
Innovative Craft Projects for Home
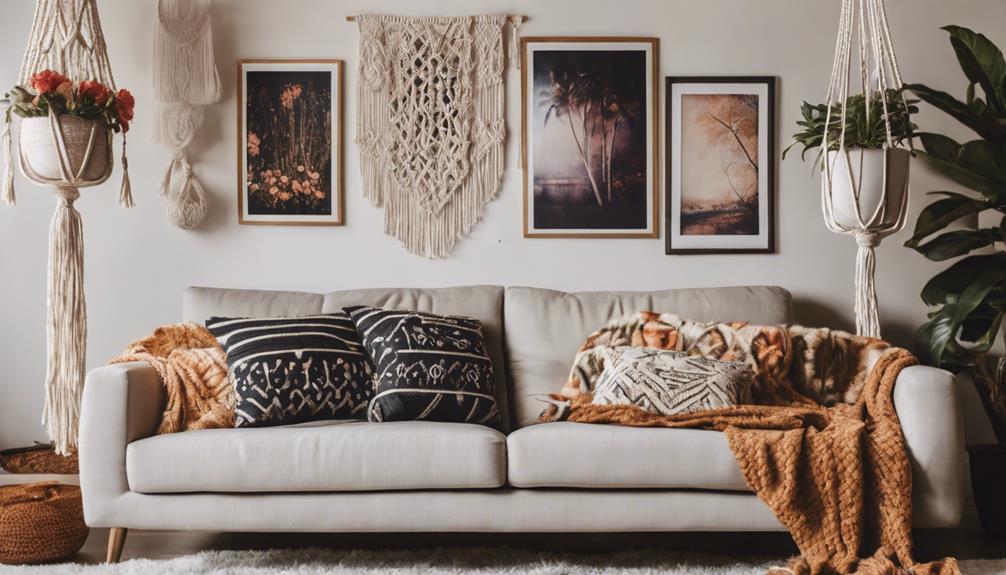
Revamp your living space with ingenious craft projects that breathe new life into everyday items, adding a unique touch to your home decor. One way to achieve this is by transforming thrift store finds into personalized pieces using repurposed vintage items and creative painting techniques. Another fun idea is to repurpose shoe forms for crafting and decorating. By adding decoupage paper, scripting, and unique finishes like dark wax and Fusion paint, you can create stunning and unique decor pieces that reflect your style.
Check out the table below for more innovative craft project ideas:
| Craft Project | Description |
|---|---|
| Vintage Suitcase Shelves | Repurpose old suitcases into stylish shelves by adding brackets for a vintage and functional look. |
| Antique Window Photo Frame | Turn an antique window frame into a charming photo display by attaching photos with mini clothespins. |
| Teacup Bird Feeder | Create a whimsical bird feeder by gluing vintage teacups onto saucers and hanging them in your garden. |
Embrace your creativity and give your home a personal touch with these unique craft projects using repurposed vintage items.
Artistic Mannequin Head Creations

Elevate your home decor with artistic mannequin head creations that serve as unique canvases for expressing your personal style and creativity.
Mannequin head art projects involve using these heads as a canvas for decoupage art, showcasing your individuality. By utilizing scrap decoupage paper and Mod Podge, you can craft one-of-a-kind designs that add a touch of whimsy to your living space.
These unconventional art pieces can be a striking addition to your home decor, blending personality with aesthetics seamlessly.
The process of creating mannequin head art allows you to experiment with various materials, colors, and embellishments, enabling you to achieve the desired look that reflects your artistic vision.
Displaying these art pieces not only adds a unique flair to your surroundings but also encourages creative expression and exploration.
Embrace the opportunity to transform ordinary mannequin heads into extraordinary pieces of art that speak volumes about your creativity and style.
Finishing Techniques for Unique Art
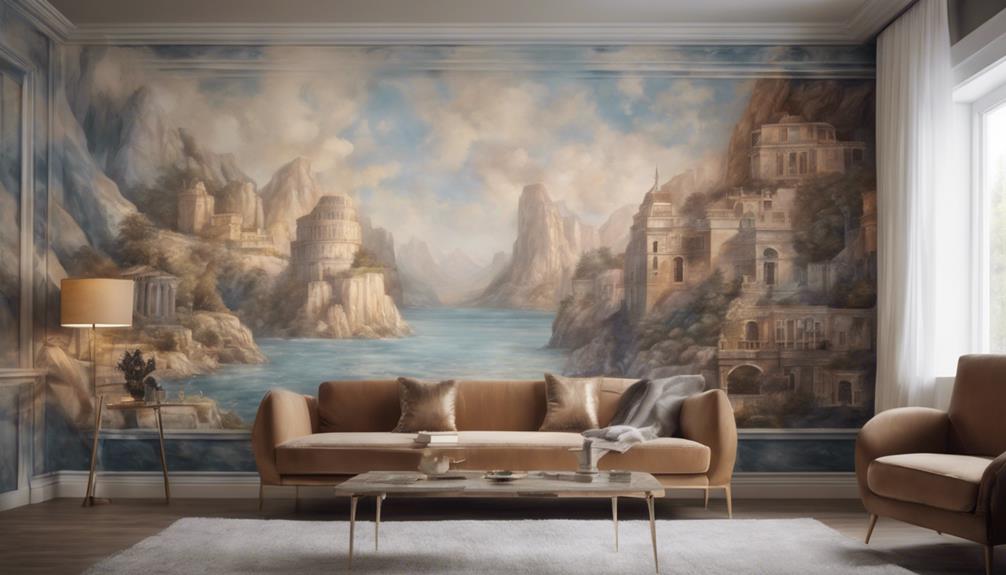
Enhance your unique artwork with a range of finishing techniques that add depth and character to your creations. Seal your artwork with clear wax to protect and enhance the design, ensuring longevity.
To create a distressed and aged look, consider adding black wax to imperfections, giving your piece a unique and weathered appearance. Personalize your art further by using transfers, stickers, and ephemera to add decorative elements that enhance visual appeal.
When attaching finishing touches, opt for Gorilla Glue for a secure and permanent hold. Pay attention to detail and technique during the application process to achieve a polished and professional finish.
For a striking contrast, consider using white paint strategically in your artwork to highlight specific areas and create visual interest.
Inspiration for Creative Expression
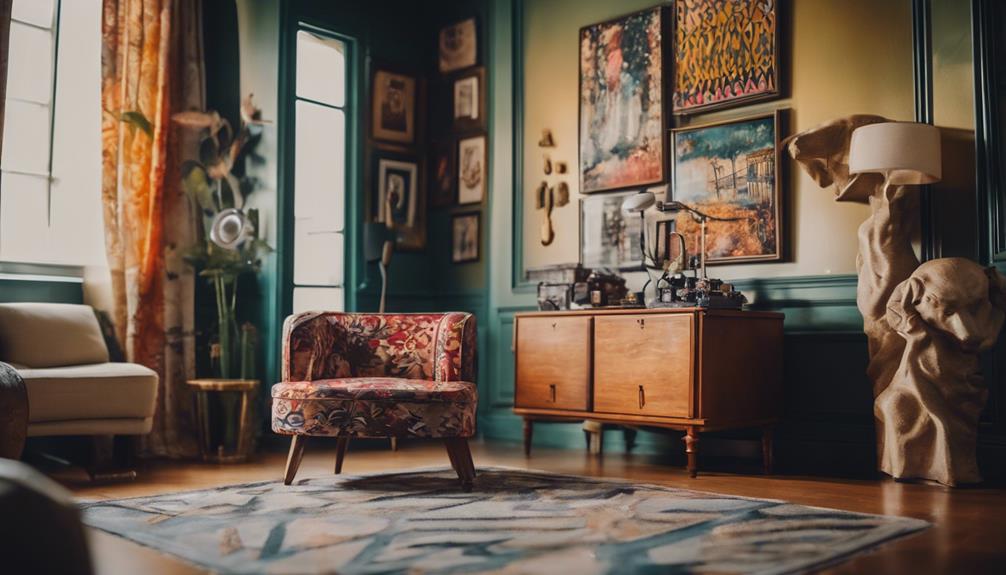
Get ready to release your creativity with inspiring ideas for creative expression in your home decor projects. Embracing the beauty of upcycling and crafting can breathe new life into your living space.
Here are a few simple yet impactful ways to infuse your home with personality:
- Upcycling Magic: Transform your decor disaster by upcycling old items into stylish and unique pieces. Repurposing old furniture or frames can give your space a fresh and eco-friendly touch.
- Shoe Form Creations: Get crafty with shoe forms to create personalized and handmade decorations that add a touch of whimsy to any room. Let your imagination run wild as you turn these ordinary objects into extraordinary pieces of art.
- Mannequin Head Masterpieces: Explore the world of mannequin head art projects to express your individuality and showcase your artistic talent. From quirky sculptures to functional decor pieces, these little things can make a big impact on your home's aesthetic.
Frequently Asked Questions
How to Stay Sane During Renovation?
To stay sane during renovation, plan ahead, set realistic expectations, and communicate openly. Create a relaxation space, stay organized, and stick to your budget. By doing these things, you'll maintain your mental well-being and navigate the process smoothly.
How Do You Decorate a Messy Room?
Start by decluttering and organizing. Use multifunctional furniture for storage. Opt for light colors for openness. Add stylish storage solutions. Personalize with care. Your messy room will transform into a cohesive, functional, and aesthetically pleasing space.
Conclusion
Don't let a decor disaster bring you down. With some creativity and a touch of DIY magic, you can transform your home into a unique and inspiring space.
So roll up your sleeves, grab that paintbrush, and let your imagination run wild. Remember, your home is a reflection of your personality, so why not make it a true work of art?
Embrace the chaos and create something beautiful. The only limit is your imagination.
- About the Author
- Latest Posts
Introducing Ron, the home decor aficionado at ByRetreat, whose passion for creating beautiful and inviting spaces is at the heart of his work. With his deep knowledge of home decor and his innate sense of style, Ron brings a wealth of expertise and a keen eye for detail to the ByRetreat team.
Ron’s love for home decor goes beyond aesthetics; he understands that our surroundings play a significant role in our overall well-being and productivity. With this in mind, Ron is dedicated to transforming remote workspaces into havens of comfort, functionality, and beauty.
Eclectic Style
This House Style Is so Hot, It's Practically Illegal!
Get ready to break all the design rules with a house style so hot, it's practically illegal – where black and gold meet funky furniture and wild textures!
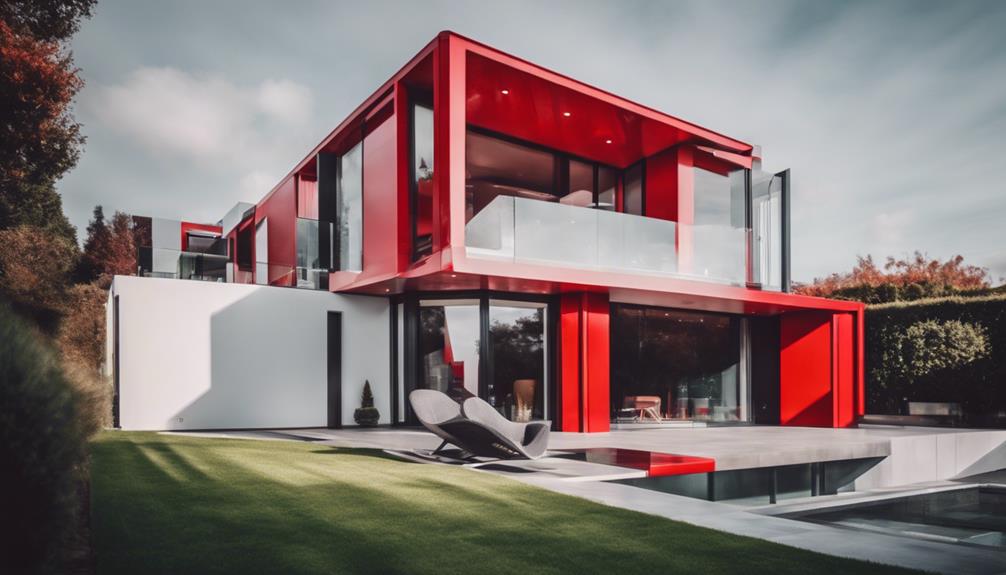
You're in for a treat with a house style that's smokin' hot, almost breaking the design rules entirely! This daring set-up boasts black and gold combos, funky furniture mixes, and wild textures like animal prints. Vintage and modern pieces blend seamlessly for a timeless feel with an extra kick. It's all about embracing your decor individuality while flaunting bold colors and industrial vibes. Get ready to step into a world where creativity knows no bounds – this style is so on fire, it's practically outlawed! Keep exploring for more sizzling design secrets.
Key Takeaways
- Embrace black and gold for a luxurious and elegant atmosphere.
- Mix vintage and modern furniture for a visually stunning space.
- Experiment with bold patterns, textures, and DIY projects for a unique look.
- Break traditional design norms by mixing metals and materials.
- Dare to be creative with unconventional color schemes and design elements.
Unique Color Combinations
When it comes to unique color combinations in interior design, black and gold stand out as a luxurious and elegant choice often favored for high-end decor. The pairing of these two colors creates a sense of opulence and sophistication in any room. It's not a new one, but it's a classic that never fails to impress.
For a first-time decorator, opting for black and gold can be a pretty good starting point to achieve a chic and upscale look. The contrast between the deep richness of black and the shimmering warmth of gold brings a touch of glamour and timelessness to your space.
Stepping into a room adorned with black and gold accents for the first time can create a sense of grandeur and luxury. The combination exudes elegance and refinement, making it a popular choice for those looking to elevate their home decor to a more sophisticated level.
Whether it's through furniture pieces, decorative elements, or even wall colors, black and gold together make a statement that's both striking and tasteful.
Eclectic Furniture Selection
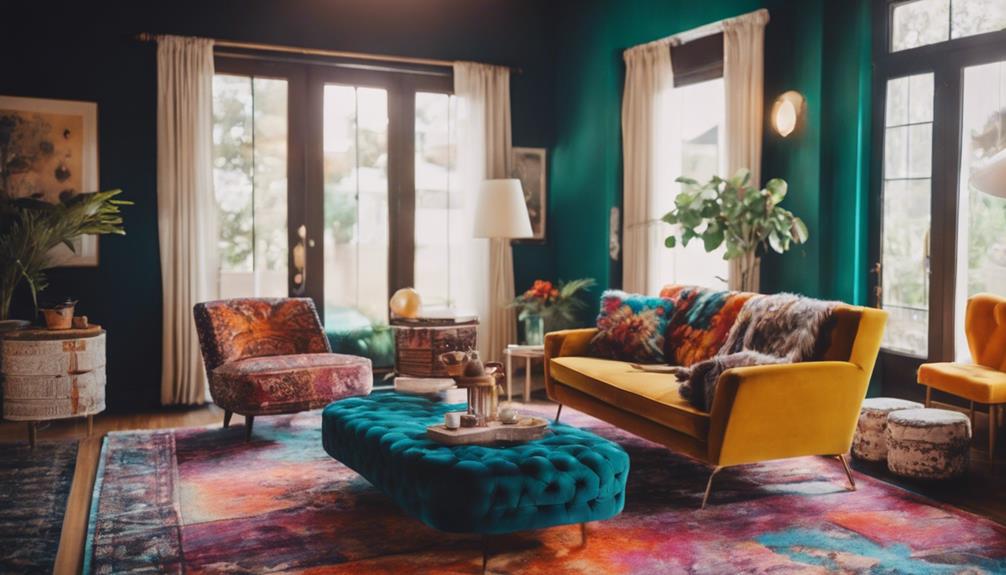
You'll love how eclectic furniture selection allows you to mix and match different styles, creating a visually stunning space.
Embrace bold choices in colors, patterns, and textures to infuse energy and personality into your home.
Get ready to showcase your unique taste and individuality through unexpected pieces that elevate your decor.
Unique Furniture Mix
Creating a unique furniture mix through eclectic selection allows you to infuse your home with personality and charm.
Years ago, you might've stuck to a specific style, avoiding anything that clashed with your least favorite pieces. However, embracing eclectic furniture mix means breaking free from those constraints and combining different styles, periods, and materials.
By blending vintage, modern, traditional, and global pieces, you create a space that truly reflects your individuality and design taste. The beauty of this approach lies in the ability to showcase your creativity and personality through your furniture choices.
Mixing various styles, colors, and textures not only adds visual interest but also creates a dynamic and inviting atmosphere in your home. Embracing eclectic furniture mix transforms your space into a vibrant and eclectic oasis, where each piece tells a story and contributes to the overall charm of the room.
Bold Style Choices
Embrace bold style choices by opting for an eclectic furniture selection that combines various design elements to infuse your space with personality and character.
Eclectic furniture selection involves blending different styles, periods, and textures to create a unique and personalized look. By mixing modern pieces with vintage finds, you can achieve a visually interesting and dynamic interior design.
Adding bold patterns, colors, and materials into your furniture selection adds a touch of individuality and charm to your room. This style choice encourages creativity and a less traditional approach to decorating, allowing you to showcase your tastes and interests in a visually stimulating way.
Ultimately, an eclectic furniture selection can result in a living space that's unconventional yet reflective of your personality. So, don't be afraid to mix and match to create a space that truly speaks to you.
Bold Patterns and Textures
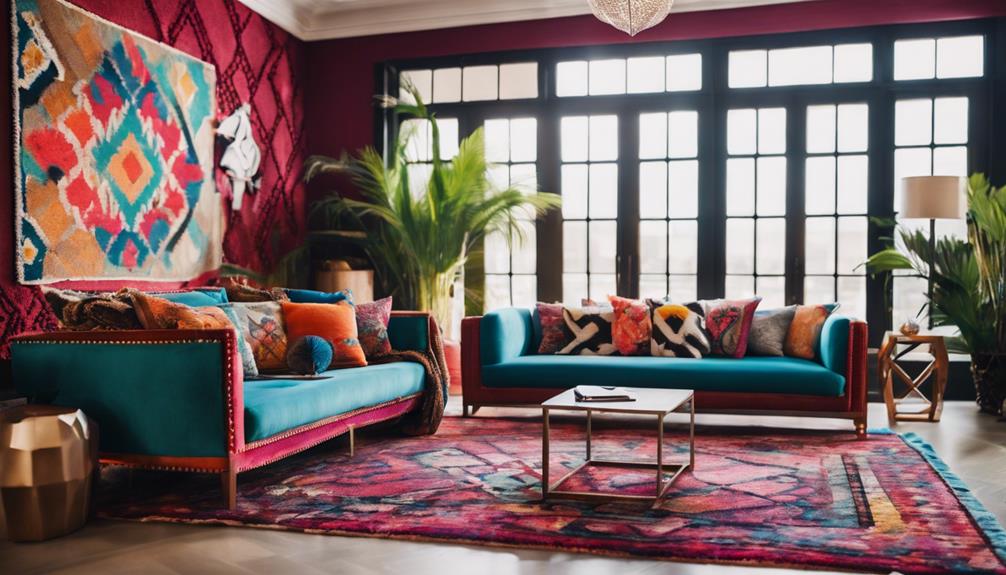
Bold patterns and textures, such as animal prints, geometric designs, and metallic accents, are popular choices for creating a daring and eye-catching interior style. Mixing these elements can bring depth and visual interest to a room, resulting in a dynamic and unique look.
To avoid overwhelming the space, consider incorporating bold patterns and textures in smaller doses through items like throw pillows, rugs, or accent walls. Luxurious textures like velvet, faux fur, and leather can elevate the overall feel of a room, adding sophistication to the bold aesthetic.
When working with these bold elements, remember that balance is essential. By effectively combining contrasting patterns and textures, you can achieve a cohesive and visually stimulating design.
Whether you opt for animal prints or metallic accents, embracing bold patterns and textures can transform your space into a vibrant and stylish haven that exudes personality and flair.
Mix of Vintage and Modern
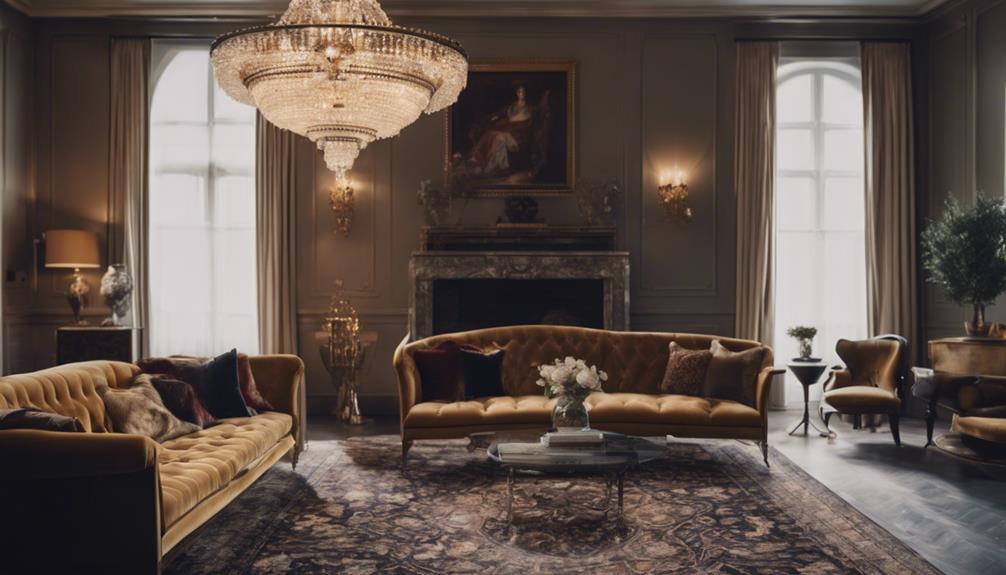
You can elevate your home's aesthetic by embracing the fusion of vintage and modern styles.
Incorporating classic elements like antique furniture with contemporary design features creates a timeless yet fresh look.
Achieve a harmonious balance by blending old-world charm with sleek, innovative touches for a sophisticated and eclectic house style.
Retro Meets Contemporary Design
Incorporating a mix of vintage and modern elements in interior design has become a popular trend, blending the charm of the past with the innovation of the present. By seamlessly merging retro and contemporary styles, spaces are transformed into visually appealing and unique environments. This design approach allows for the coexistence of old-world charm and cutting-edge aesthetics, creating a harmonious balance between nostalgia and modernity.
| Retro Elements | Contemporary Design |
|---|---|
| Mid-century furniture | Minimalist aesthetics |
| Vintage decor | Sleek finishes |
| Antique accents | Clean lines |
The juxtaposition of old and new elements in interior design not only adds character but also allows for personalization and creativity. It offers individuals the opportunity to showcase their unique style by curating a space that tells a story of the past while embracing the current trends. The retro-meets-contemporary design trend is a celebration of history and innovation, resulting in visually striking and harmonious interiors that captivate and inspire.
Fusion of Old-New Styles
The fusion of old-new styles in house decor seamlessly blends vintage charm with modern sophistication, creating a unique and eclectic aesthetic. By combining elements like antique furniture with minimalist design, this style strikes a balance between traditional and contemporary. Traditional materials such as wood and stone are paired with modern finishes like glass and metal, adding depth and contrast to the space.
Mixing old and new styles allows you to showcase your personality and design preferences, resulting in a visually striking and harmonious living environment. The blend of vintage and modern elements in home decor not only adds character but also offers a sense of timelessness and sophistication.
This fusion of styles encourages creativity and personalization in interior design, enabling you to create a home that reflects your individual taste and style while exuding a classic yet modern ambiance.
Embracing Individuality Through Decor
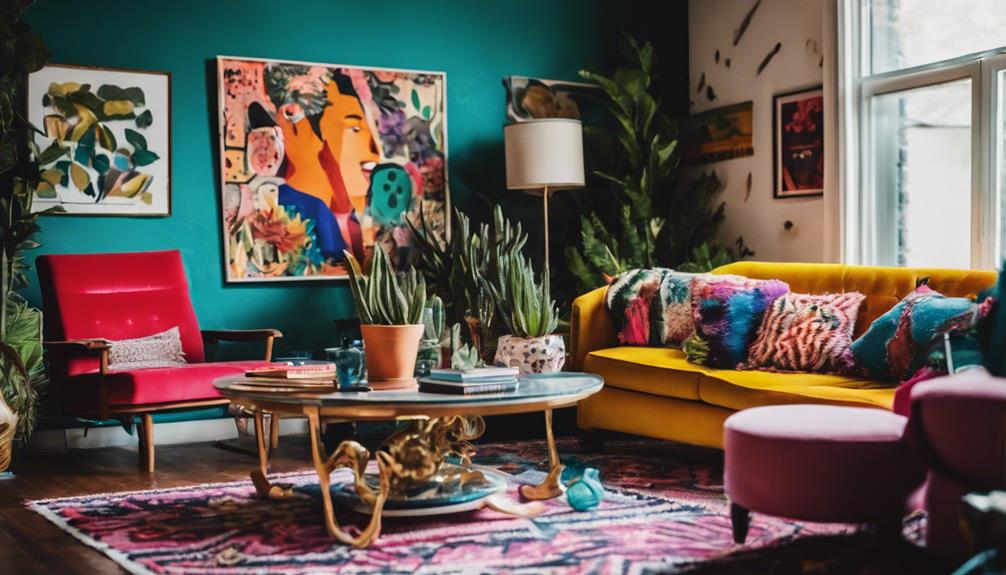
Embracing your unique style through decor allows you to create a space that truly reflects your individuality and personality. By incorporating different design elements and embracing unconventional choices, you can make a bold statement in your home.
Here are some tips to help you embrace your individuality through decor:
- Mix and Match Styles: Combine contrasting styles like bohemian and minimalist to create a visually striking and personalized space.
- Play with Colors and Textures: Use bold colors, patterns, and textures to infuse personality and flair into your decor.
- Get Creative with DIY Projects: Showcase your creativity and originality by incorporating DIY projects and upcycled items in your home decorating.
Breaking Norms in Interior Design
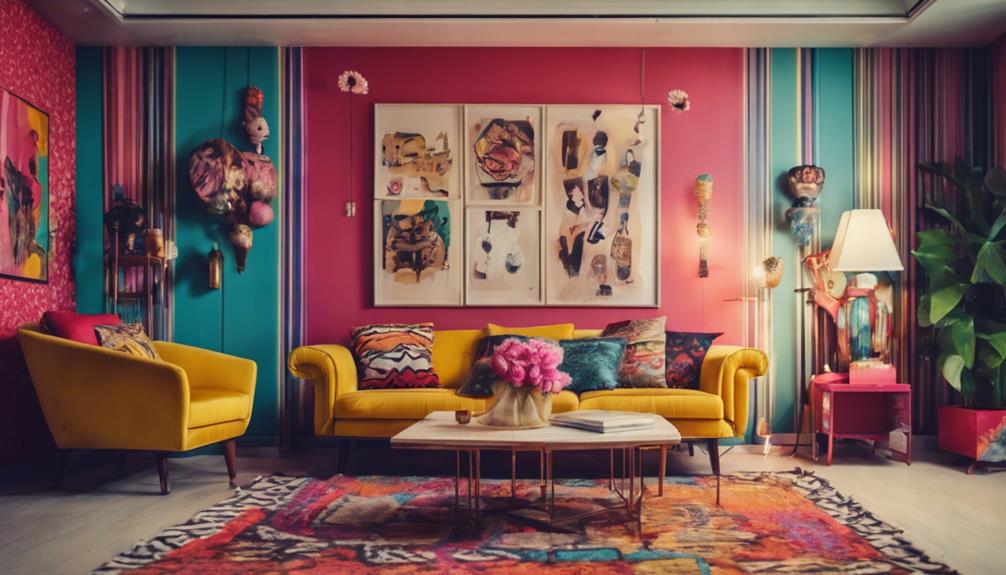
Challenge traditional design norms by mixing metals, embracing bold patterns, and using unconventional materials in your interior decor. Forget the old rule of sticking to one metal finish – in this daring style, gold and silver happily coexist.
Embrace the unexpected with bold prints and patterns, setting aside the conventional wisdom of neutral colors. Concrete, reclaimed wood, and metal accents are the stars here, breaking away from traditional materials.
Open shelving and exposed storage defy the norm of hiding clutter behind closed cabinets. Blend vintage with modern pieces to create a unique look that goes against the typical matching furniture sets.
This style isn't about playing by the rules; it's about rewriting them. So, mix, match, and experiment with confidence – in this house, breaking norms isn't just allowed, it's encouraged.
Daring and Creative Home Aesthetics
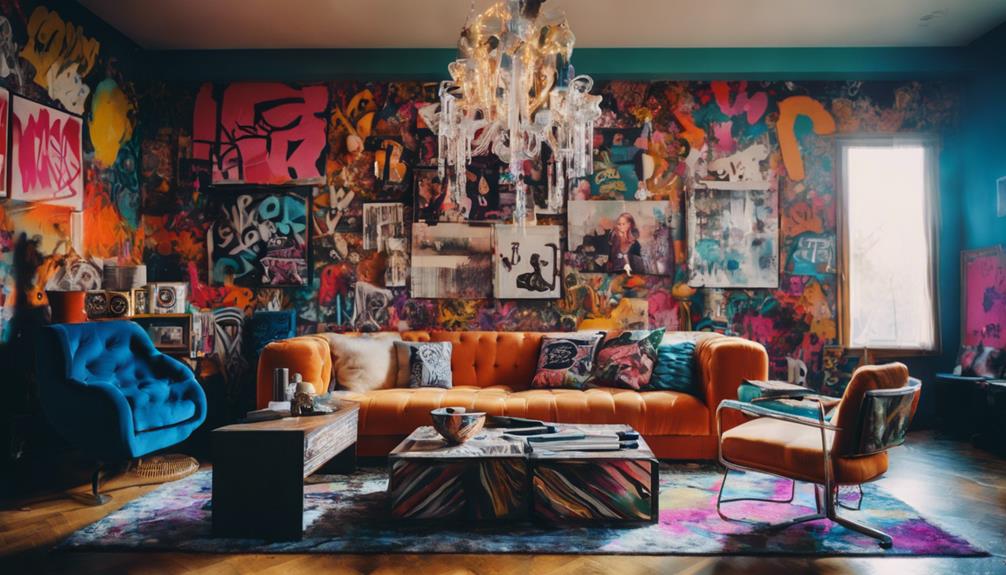
Incorporate daring and creative home aesthetics by experimenting with unconventional color schemes and industrial chic design elements. Plunge into the world of bold choices and unique combinations to elevate the style of your living space.
Embrace the following trends to add a touch of personality and innovation to your home:
- Bold Color Schemes: Step away from the traditional and explore the use of black walls or vibrant neon accents to make a striking statement in any room.
- Industrial Chic Elements: Incorporate exposed brick walls, metal fixtures, and concrete floors to infuse a modern and edgy vibe into your home decor.
- Mixing Design Styles: Combine vintage pieces with contemporary elements to create a harmonious blend that showcases your individuality and creativity.
Frequently Asked Questions
Is 80 Degrees Too Hot for a House in Summer?
Setting your house temperature at 80 degrees in summer can be too hot. HVAC experts recommend keeping it between 75-78 degrees for comfort and cost-efficiency. Higher temperatures can spike energy bills and cause discomfort.
Does Painting Your House a Dark Color Make It Hotter?
Painting your house a dark color can elevate interior temperatures substantially. Studies reveal dark roofs can spike attic temperatures by up to 40 degrees Fahrenheit. Opt for lighter shades to reflect sunlight and lower heat absorption for comfort and energy savings.
Why Are Midrises Banned?
Midrises are banned in some areas due to zoning restrictions that aim to maintain neighborhood character by limiting building heights. This helps prevent overshadowing, maintain privacy, and preserve the area's aesthetic appeal.
How Much Hotter Will My House Be if I Paint It Black?
If you paint your house black, it can get up to 40 degrees Fahrenheit hotter on sunny days. Consider using lighter colors or heat-reflective coatings to reduce heat gain and energy costs for a more comfortable living space.
Conclusion
Step into this house and you'll feel like you've stumbled into a forbidden paradise. The unique color combinations, eclectic furniture selection, and bold patterns create a space that challenges traditional norms in interior design.
Embrace your individuality and let your creative spirit run free in a home that defies expectations. This house isn't just hot, it's practically illegal.
So why not break the rules and create a space that truly represents you?
- About the Author
- Latest Posts
Introducing Ron, the home decor aficionado at ByRetreat, whose passion for creating beautiful and inviting spaces is at the heart of his work. With his deep knowledge of home decor and his innate sense of style, Ron brings a wealth of expertise and a keen eye for detail to the ByRetreat team.
Ron’s love for home decor goes beyond aesthetics; he understands that our surroundings play a significant role in our overall well-being and productivity. With this in mind, Ron is dedicated to transforming remote workspaces into havens of comfort, functionality, and beauty.
-
 Vetted8 hours ago
15 Best Folding Beds for Small Spaces – Space-Saving Solutions for Comfort and Convenience
-

 Vetted4 days ago
15 Best Grocery Carts to Make Shopping a Breeze
-
 Vetted2 weeks ago
15 Best Gravel for Driveway: The Ultimate Guide for a Durable and Stunning Entrance
-

 Vetted2 days ago
15 Best Steam Generators for Showering Bliss: Reviewed & Rated
-

 Beginners Guides3 weeks ago
I Inhaled Vinegar Fumes
-

 Vetted2 weeks ago
15 Best Hot Tubs of 2024: Luxurious Relaxation at Your Fingertips
-
 Vetted4 weeks ago
15 Best Blinds for Bathroom Windows to Enhance Privacy and Style
-

 Vetted4 days ago
15 Best Dripless Caulk Guns for Mess-Free Sealing


