Appliances
Why Ceiling Fan Light Is Not Working
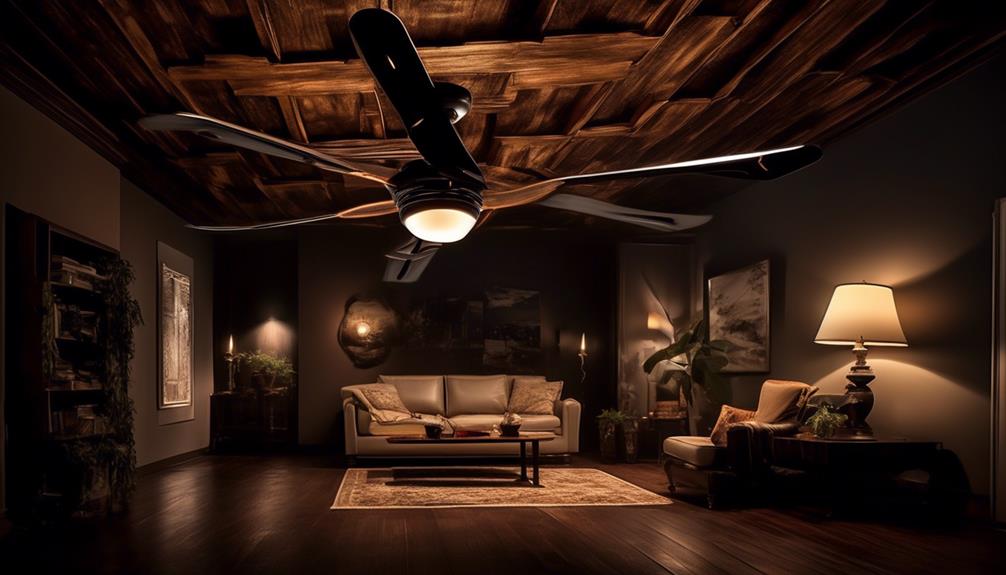
Have you ever been in a scenario where the light on your ceiling fan simply refuses to activate? It’s quite annoying, particularly when you’re in need of that additional light in a space.
In this guide, we will explore the various reasons why your ceiling fan light might not be working. From power supply issues to faulty light bulbs, loose wiring, or even a tripped circuit breaker, we will cover all the potential culprits that could be causing this inconvenience.
So, if you're ready to shed some light on this issue, let's dive in and troubleshoot why your ceiling fan light is not working.
Key Takeaways
- The power switch for the ceiling fan light should be checked and turned on.
- The circuit breaker or fuse for the fan light should be inspected to ensure it is not tripped or blown.
- The wiring connections between the ceiling fan, light kit, and power source should be inspected and secured.
- If the light bulb is faulty, it should be replaced with a new one of the same wattage and type.
Power Supply Issues
We will now address the power supply issues that may be causing your ceiling fan light to not work.
When troubleshooting the power supply of your ceiling fan light, there are a few common causes that you should consider.
Firstly, check if the power switch for the ceiling fan light is turned on. It may seem obvious, but sometimes the switch can accidentally be turned off. Additionally, make sure the circuit breaker or fuse for the fan light isn't tripped or blown. If it is, simply resetting the breaker or replacing the fuse should solve the issue.
Another common cause of power supply issues is loose or faulty wiring connections. Inspect the wiring connections between the ceiling fan, the light kit, and the power source. Ensure all connections are secure and tightened properly. If any wires appear damaged or frayed, they should be replaced.
Faulty Light Bulb
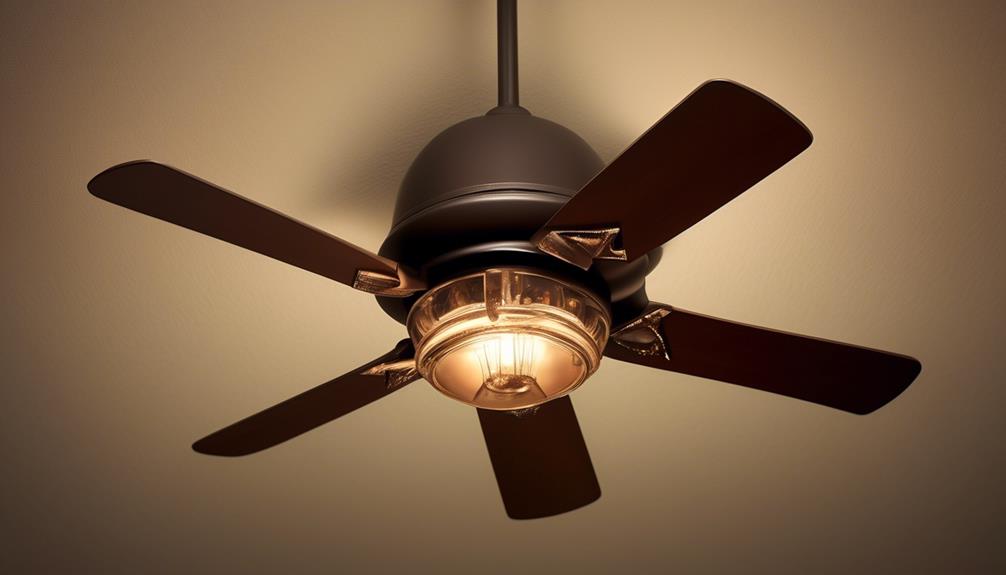
After addressing the power supply issues, the next potential culprit to consider when troubleshooting a ceiling fan light that isn't working is a faulty light bulb.
A faulty light bulb can cause the entire ceiling fan light to stop working or result in a dimming light issue. To determine if the light bulb is the problem, first, turn off the power supply to the ceiling fan.
Next, remove the light bulb from the faulty light fixture and inspect it for any signs of damage or burn marks. If the light bulb appears to be in good condition, try replacing it with a new one of the same wattage and type.
Make sure to securely screw in the new light bulb and restore power to the ceiling fan. If the light still doesn't work, the issue may lie with the light fixture itself.
In this case, it's recommended to consult a professional electrician to diagnose and repair the faulty light fixture.
Loose or Disconnected Wiring
To troubleshoot a ceiling fan light that isn't working, one potential cause to consider is loose or disconnected wiring. When the wiring connections become loose or disconnected, it can interrupt the flow of electricity to the light fixture, resulting in a non-functional light.
To resolve this issue, it's important to check the wiring connections and ensure they're properly connected. Here are the steps to reconnect loose wiring:
- Turn off the power: Before working with any electrical connections, make sure to turn off the power supply to the ceiling fan.
- Remove the light fixture: Carefully remove the light fixture from the ceiling fan, exposing the wiring connections.
- Inspect the wiring: Check for any loose or disconnected wires. If you find any, gently tighten the wire connectors or reconnect the wires if necessary.
- Test the light: After reconnecting the wiring, reattach the light fixture and turn on the power supply. Test the fan light to ensure it's now functioning properly.
If the ceiling fan light still doesn't work after reconnecting loose wiring, it may be necessary to troubleshoot the power supply.
Faulty Pull Chain Switch
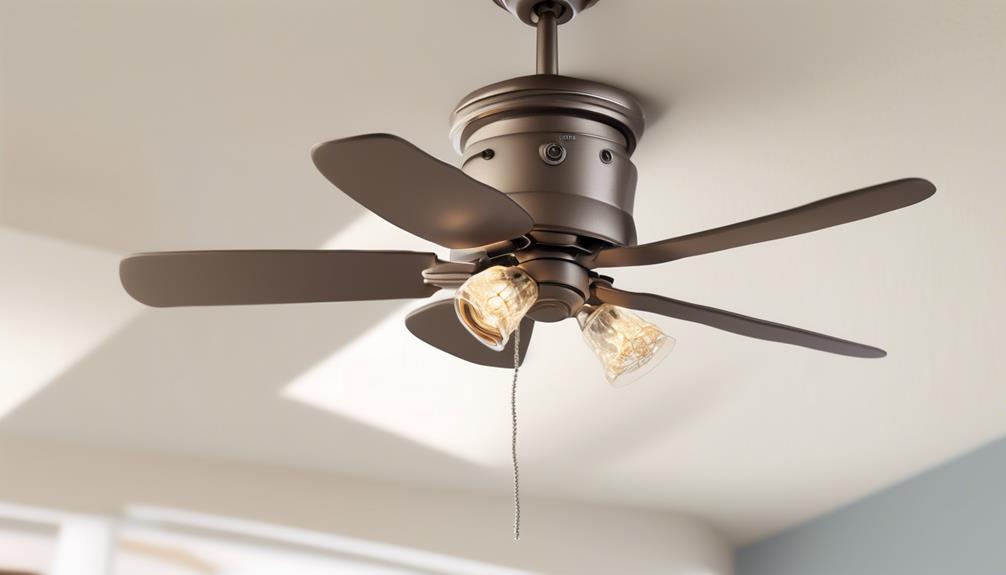
We will now address the next possible cause of a ceiling fan light not working, which is a faulty pull chain switch.
This switch is responsible for controlling the on/off function of the light.
There are two primary points to consider when troubleshooting a faulty pull chain switch: a loose or broken chain, and potential electrical connection issues.
Loose or Broken Chain
The most common cause for a ceiling fan light not working is a loose or broken chain, specifically a faulty pull chain switch. A loose chain can prevent the switch from making proper contact, while a broken chain will render the switch ineffective.
To troubleshoot a loose chain, start by turning off the power to the fan at the circuit breaker. Then, remove the fan housing to access the pull chain switch. Tighten the screws holding the switch in place and ensure that the chain is properly aligned and securely attached.
If the chain is broken, it will need to be replaced. Remove the broken chain and install a new one, making sure to connect it securely to the pull chain switch.
Once the chain is secure, restore power to the fan and test the light.
Electrical Connection Issues
When troubleshooting electrical connection issues with a ceiling fan light, a common culprit is often a faulty pull chain switch. This switch is responsible for controlling the light function of the ceiling fan.
If the pull chain switch isn't working properly, it can result in the light not turning on or functioning correctly. There are several common causes for a faulty pull chain switch. One possible cause is a loose or broken connection within the switch itself. This can occur over time due to wear and tear or improper installation.
Another cause may be a short circuit or electrical overload, which can cause the switch to malfunction. To troubleshoot this issue, it's recommended to first check the pull chain switch for any loose or broken connections. If any issues are found, they should be repaired or replaced accordingly.
Additionally, it's important to ensure that the switch is properly installed and that there are no signs of electrical overload or short circuits. By following these troubleshooting tips, you can identify and resolve any electrical connection issues with your ceiling fan light.
Tripped Circuit Breaker
Let's talk about the potential causes for a tripped circuit breaker.
If your ceiling fan light isn't working, it could be due to a power interruption caused by a tripped circuit breaker. This can happen if there's an overload or a short circuit in the electrical system.
Another possible cause could be faulty wiring, which may trip the circuit breaker as a safety measure.
Power Interruption
Upon experiencing a power interruption, such as a tripped circuit breaker, the ceiling fan light may cease to function. Power outages or power surges can cause the circuit breaker to trip, interrupting the flow of electricity to the ceiling fan light.
To troubleshoot this issue, follow these steps.
Firstly, locate the circuit breaker panel in your home and check if any breakers have tripped. If you find a tripped breaker, reset it by flipping it to the 'off' position and then back to the 'on' position.
If the ceiling fan light still doesn't work after resetting the breaker, it's possible that the power interruption has caused a wiring issue. In such cases, it's recommended to consult a professional electrician to inspect and repair the wiring.
Faulty Wiring
To address a faulty wiring issue, check if a tripped circuit breaker may be causing the ceiling fan light to malfunction. Here are some troubleshooting tips and safety precautions to help you resolve the problem:
- Locate the circuit breaker panel in your home and identify the one labeled for the ceiling fan light. It may be tripped or in the off position.
- Carefully reset the circuit breaker by switching it off and then on again. Ensure that it clicks into place.
- If the circuit breaker continues to trip after resetting, you may have a wiring issue. In this case, it's recommended to seek professional help to avoid potential electrical hazards.
- Remember to always prioritize safety by turning off the power before inspecting or working on any electrical components. Use a voltage tester to confirm that the power is indeed off before proceeding.
Faulty Wall Switch
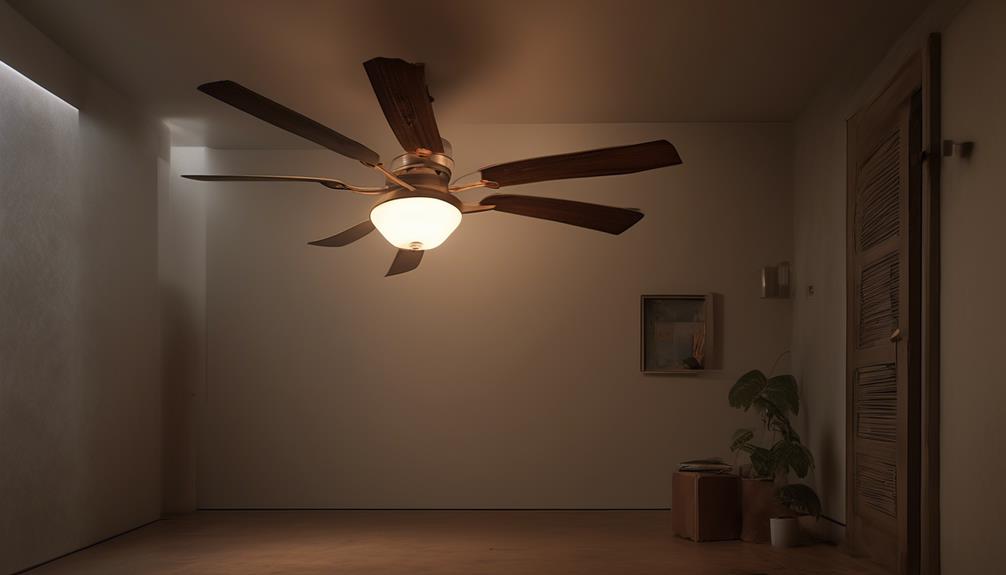
The most common cause of a ceiling fan light not working is a faulty wall switch. When troubleshooting this issue, there are a few tips to keep in mind.
First, check if the wall switch is properly connected to the electrical circuit. Sometimes, loose wiring or a faulty connection can prevent the switch from functioning correctly. In this case, tightening the wires or replacing the switch may solve the problem.
Another common cause of a faulty wall switch is a defective switch mechanism. Over time, switches can wear out or become damaged due to frequent use. In such cases, replacing the switch is the best solution. It's important to choose a switch that's compatible with the ceiling fan light and to follow the manufacturer's instructions for installation.
Additionally, check the circuit breaker or fuse box to ensure that the switch is receiving power. A tripped breaker or blown fuse can cause the wall switch to stop working. Resetting the breaker or replacing the fuse may resolve the issue.
Faulty Fan/Light Remote Control

First, let's check the batteries in the remote control. If the batteries are low or dead, the remote control may not work properly. Replace the batteries with new ones and see if that resolves the issue.
Next, try resetting the remote control by removing the batteries and holding down all the buttons for 5 seconds.
Remote Battery Replacement
Replacing the batteries in the faulty fan/light remote control can often resolve issues with the ceiling fan light not working. Here are four troubleshooting techniques to help you with remote battery life:
- Check the battery polarity: Ensure that the batteries are correctly installed with the positive and negative ends aligned properly.
- Replace the batteries: If the remote control is unresponsive or the range is limited, try replacing the batteries with fresh ones. Make sure to use the correct type and size recommended by the manufacturer.
- Clean the battery compartment: Over time, dust and debris can accumulate in the battery compartment, affecting the connection. Use a soft cloth or cotton swab to clean the compartment before inserting new batteries.
- Reset the remote control: Some remote controls have a reset button or require a specific sequence of buttons to be pressed for a reset. Consult the user manual or manufacturer's website for instructions on how to reset your remote control.
Resetting the Remote Control
To reset a faulty fan/light remote control, follow these troubleshooting steps.
First, ensure that the remote control is within range of the receiver. Check for any obstructions that may be blocking the signal between the remote and the receiver.
Next, remove the batteries from the remote control and press all the buttons to discharge any remaining power. Then, reinstall the batteries and ensure they're properly inserted.
If the remote control still doesn't work, try reprogramming it. Consult the user manual for instructions on how to program the remote control.
If none of these steps resolve the issue, it may be necessary to replace the remote control or contact customer support for further assistance with remote control troubleshooting.
Checking Remote Signal
Now let's focus on troubleshooting the issue of a faulty fan/light remote control by checking the remote signal. If your ceiling fan light isn't working, it may be due to a problem with the remote control. Here are some troubleshooting tips to help you check the remote signal:
- Check the batteries: Ensure that the batteries in the remote control aren't dead or low on power. Replace them if necessary.
- Test the signal: Stand close to the fan and press the buttons on the remote control. Look for a red light on the remote or a blinking light on the receiver. If there's no response, it may indicate a problem with the remote signal.
- Reset the remote: Try resetting the remote control by removing the batteries, pressing all the buttons simultaneously for a few seconds, and then reinserting the batteries.
- Use a different remote: If you have access to another remote control, try using it to see if the fan/light responds. This will help determine if the issue is with the remote or the receiver.
Defective Light Kit
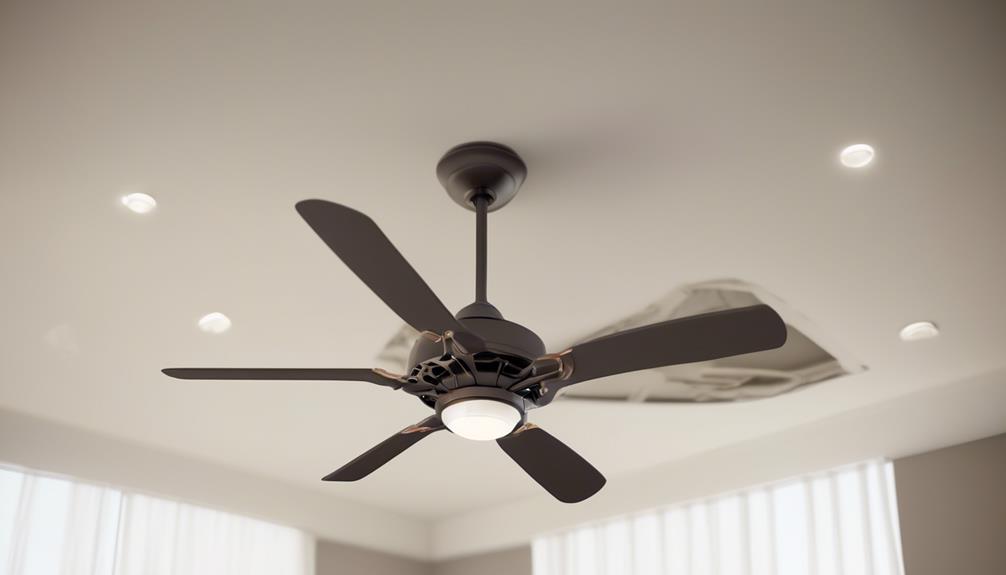
The most common cause of a ceiling fan light not working is a defective light kit. A defective light kit can be due to various issues, such as faulty wiring, a blown fuse, or a malfunctioning switch. To troubleshoot a defective light kit, there are a few tips you can follow.
First, check the wiring connections. Ensure that all wires are securely connected and not loose or damaged. If you find any loose or damaged wires, you may need to replace them or consult a professional electrician.
Next, inspect the fuse or circuit breaker. If the fuse is blown or the circuit breaker has tripped, it can cause the light kit to stop working. Replace the blown fuse or reset the circuit breaker if necessary.
Overheating Issue
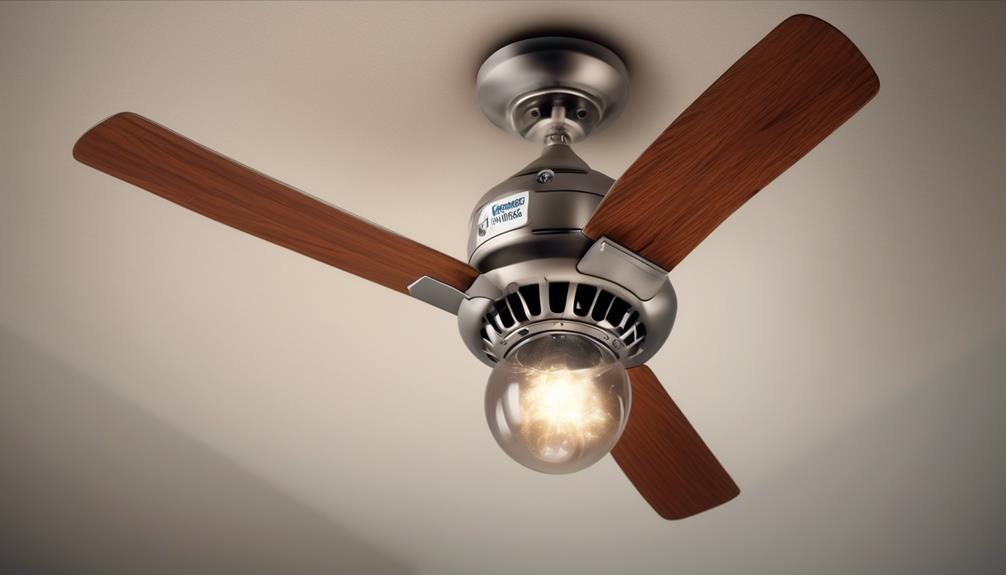
One possible issue to consider when troubleshooting a ceiling fan light that isn't working is the potential for overheating. Overheating can cause the light to stop working or even cause damage to the fan itself. To help you address this issue, here are four troubleshooting methods and repair tips to consider:
- Check for obstruction: Ensure that there are no obstructions blocking the airflow around the light fixture. Dust, debris, or even furniture placed too close to the fan can restrict the airflow, leading to overheating.
- Verify the wattage: Make sure that the light bulbs being used in the ceiling fan are the correct wattage. Using bulbs with wattage higher than what the fan is designed for can generate excessive heat and result in overheating.
- Inspect the wiring: Examine the wiring connections between the light kit and the fan. Loose or faulty connections can cause resistance, leading to overheating. Tighten any loose connections and replace any damaged wiring.
- Consider a thermal cutoff: Some ceiling fan light kits are equipped with a thermal cutoff switch that automatically shuts off power to the light if it reaches a certain temperature. If your fan has this feature, check if it has been triggered and needs to be reset or replaced.
Faulty Capacitor
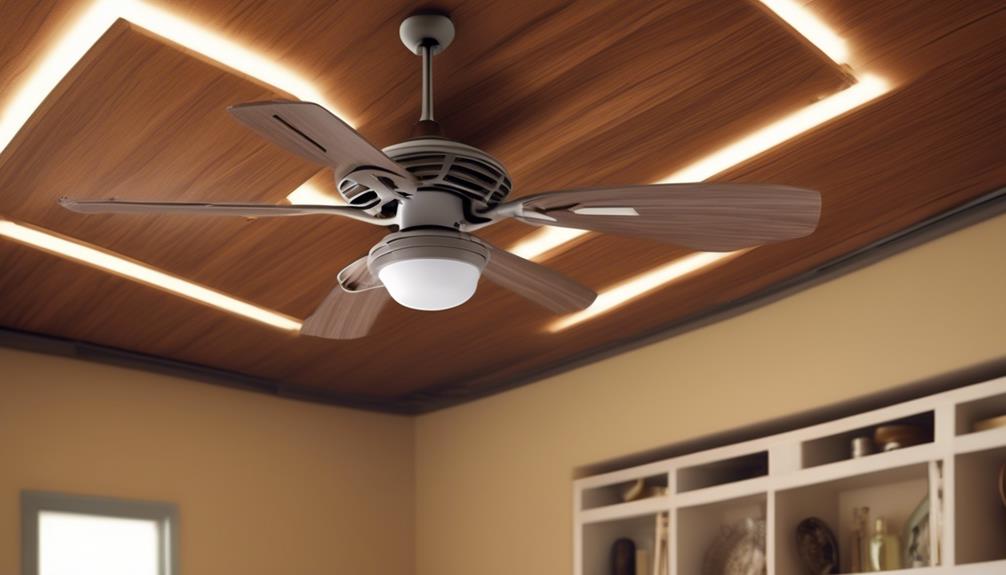
A faulty capacitor can be a potential cause for a ceiling fan light not working. The capacitor is responsible for storing and releasing electrical energy to power the fan motor and its light. When the capacitor becomes faulty, it may fail to provide the necessary power to the light, resulting in its malfunction.
To troubleshoot and fix a faulty capacitor, there are a few techniques to consider. First, you can visually inspect the capacitor for any signs of damage, such as bulging or leaking. If you notice any abnormalities, it's likely that the capacitor needs to be replaced.
Another troubleshooting technique is to use a multimeter to test the capacitance of the capacitor. If the reading is significantly lower than the manufacturer's specifications, it indicates a faulty capacitor. In this case, a replacement is necessary.
Capacitor replacement involves disconnecting the power supply, removing the faulty capacitor, and installing a new one with the same capacitance rating.
Incorrect Installation
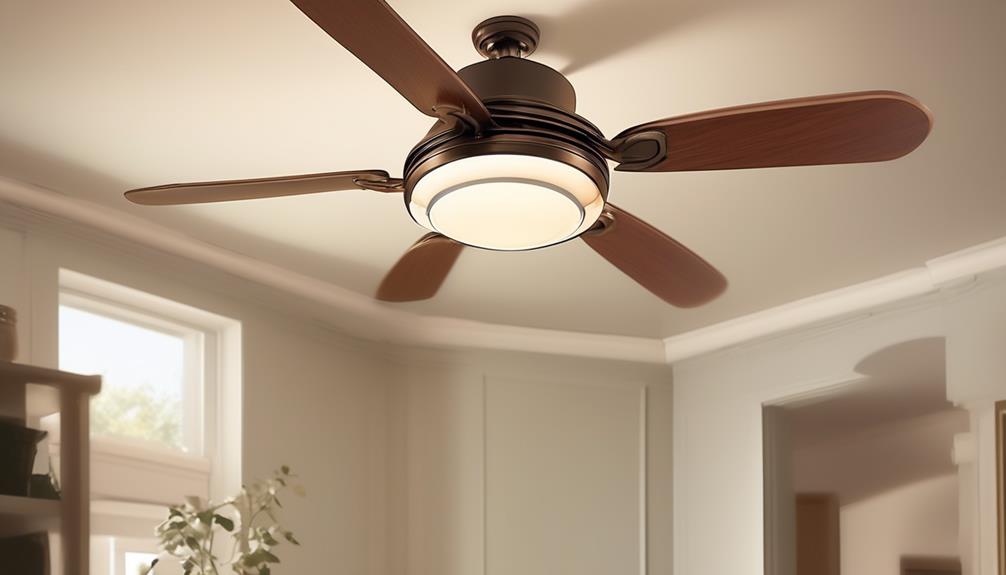
Having identified and rectified a faulty capacitor as a potential cause for a ceiling fan light not working, let's now explore the subtopic of incorrect installation.
Incorrect installation can lead to various issues that prevent the ceiling fan light from functioning properly. Here are four common installation errors to be aware of:
- Inadequate support: If the ceiling fan isn't properly supported, it can cause the light fixture to hang unevenly or become loose over time. This can result in poor electrical connections and ultimately, the light not working.
- Incorrect wiring connections: A common mistake during installation is incorrectly connecting the wires. This can cause the light switch to not function properly, leading to the fan light not turning on.
- Faulty installation of the light kit: If the light kit isn't installed correctly, it may not be aligned properly with the fan, causing the light to flicker or not work at all.
- Loose or damaged connections: If any of the electrical connections are loose or damaged, it can disrupt the flow of electricity to the light fixture, resulting in a non-functioning fan light.
To ensure proper installation and avoid these issues, it's recommended to carefully follow the manufacturer's instructions and seek professional assistance if needed.
Faulty Light Socket
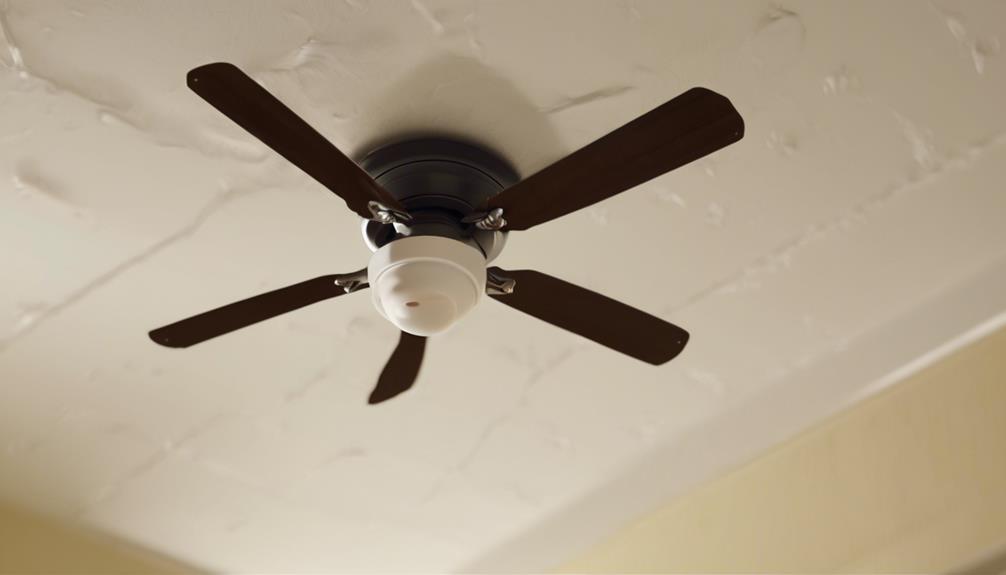
The most common issue that can cause a ceiling fan light to not work is a faulty light socket. A faulty light socket occurs when there's a problem with the wiring or the connections within the socket itself. Faulty wiring can prevent the flow of electricity to the light bulb, rendering the light non-functional. Loose connections can also lead to a faulty light socket, as they can disrupt the electrical circuit and prevent proper functioning.
To troubleshoot a faulty light socket, it's important to first turn off the power to the ceiling fan at the circuit breaker. Then, carefully inspect the wiring and connections within the socket. Look for any signs of damage, such as frayed wires or loose connections. If any issues are found, they should be addressed and repaired. In some cases, it may be necessary to replace the entire light socket to ensure proper functionality.
Burnt-Out Light Socket
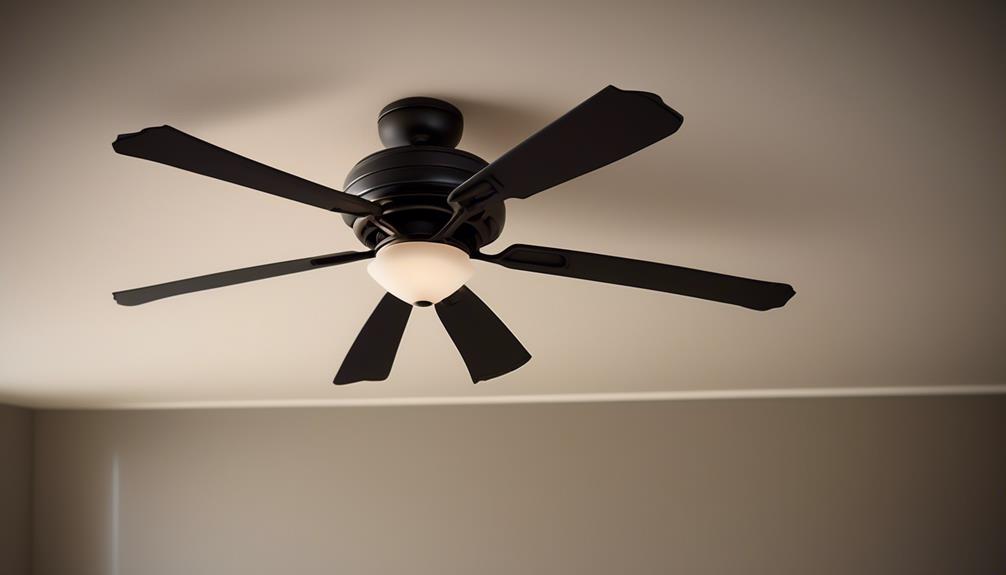
To determine if the ceiling fan light socket is burnt out, follow these troubleshooting steps:
- Turn off the power: Before inspecting the light socket, make sure to turn off the power to the ceiling fan at the circuit breaker. This is crucial to avoid any electrical hazards.
- Inspect the socket: Carefully remove the light bulb from the socket and visually inspect it for any signs of burning or damage. Look for blackened or melted areas, as these indicate a burnt-out socket.
- Check for faulty electrical wiring: Examine the wiring connections inside the socket. Loose or damaged wires can cause a short circuit issue and result in a burnt-out socket. Tighten any loose connections and replace any frayed wires.
- Test with a different light bulb: If the socket appears to be in good condition, try replacing the light bulb with a new one. Sometimes, a faulty bulb can mimic a burnt-out socket. If the new bulb works, then the issue was with the bulb and not the socket.
Faulty Fan/Light Combo Unit
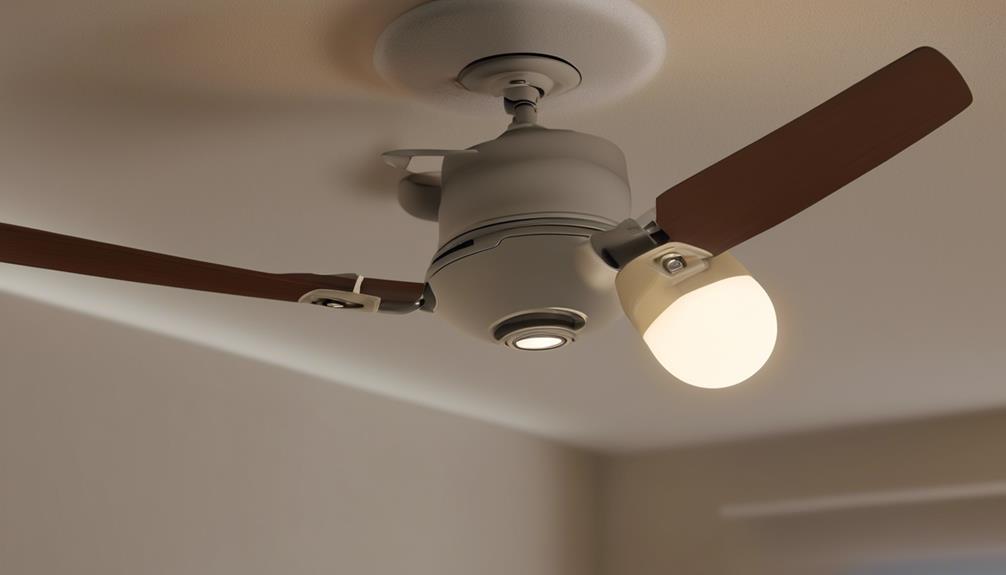
We need to address the issue of a faulty fan/light combo unit.
There are several potential points that could be causing the problem.
One possibility is a broken wiring connection, which may require inspection and repair.
Another potential point is a burned-out light bulb, which can be easily replaced.
Lastly, a faulty pull chain could be the culprit, in which case it may need to be replaced or repaired.
Let's explore these points further to troubleshoot and resolve the issue.
Broken Wiring Connection
After inspecting the ceiling fan/light combo unit, we identified a broken wiring connection as the cause of the light not working. Troubleshooting the ceiling fan light requires careful examination and repair of the broken wiring. Here are four steps to help you fix the issue:
- Turn off the power: Before starting any repair work, ensure the power to the ceiling fan/light combo unit is switched off to prevent electrical accidents.
- Remove the light fixture: Carefully detach the light fixture from the ceiling fan to access the wiring connections.
- Inspect the wiring: Examine the wiring connections for any signs of damage, such as loose or disconnected wires, frayed insulation, or burnt marks.
- Repair the broken connection: If you find a broken wiring connection, use electrical tape or wire nuts to securely reconnect the wires. Ensure all connections are tight and properly insulated.
Burned-Out Light Bulb
The most common issue with a faulty fan/light combo unit is a burned-out light bulb.
When the light bulb stops working, it's important to troubleshoot the problem to determine the cause and find a solution.
First, check if the light bulb is securely screwed into the socket. If it's loose, tighten it carefully.
If the bulb is secure, the next step is to replace it with a new one. Make sure to use the correct wattage and type of bulb recommended by the manufacturer.
If the new bulb still doesn't work, it may be due to a faulty socket or wiring connection.
In such cases, it's advised to seek professional assistance to avoid any potential electrical hazards.
Faulty Pull Chain
If the light bulb is securely screwed into the socket and has been replaced with a new one of the correct wattage and type recommended by the manufacturer, but the light still doesn't work, the next potential issue to troubleshoot is a faulty pull chain in the fan/light combo unit.
To determine if the pull chain is the problem, follow these troubleshooting steps:
- Inspect the pull chain for any visible damage or breakage.
- Gently tug on the pull chain to see if it feels loose or disconnected.
- If the pull chain feels loose or is broken, it will need to be replaced.
- To replace the pull chain, first turn off the power to the fan/light unit.
- Then, remove the fan/light cover and locate the pull chain switch.
- Remove the old pull chain and replace it with a new one, making sure to securely attach it to the switch.
Frequently Asked Questions
How Can I Troubleshoot a Ceiling Fan Light That Is Not Working Due to a Faulty Pull Chain Switch?
When troubleshooting a ceiling fan light that isn't working due to a faulty pull chain switch, there are a few steps we can take.
First, ensure the power is turned off.
Then, remove the switch cover and inspect the connections for any loose or damaged wires.
If necessary, replace the pull chain switch with a new one.
Alternatively, consider using alternative lighting options, such as installing a separate light fixture or using portable lamps, until the issue is resolved.
What Are Some Signs of an Overheating Issue With a Ceiling Fan Light?
When it comes to troubleshooting ceiling fan lights, it's important to be aware of signs that may indicate an overheating issue. Signs of electrical issues can include flickering or dimming lights, burning smells, or excessive heat coming from the light fixture.
These signs may indicate a problem with the wiring or a faulty component. It's important to address these issues promptly to avoid potential hazards and ensure the proper functioning of the ceiling fan light.
Are There Any Common Indicators That a Ceiling Fan Light Is Not Working Because of a Faulty Light Kit?
When a ceiling fan light isn't working, it could be due to a faulty light kit. Common causes include loose wiring connections, burnt-out bulbs, or a malfunctioning pull chain switch.
To troubleshoot, start by checking the light bulbs and ensuring they're properly screwed in. Next, examine the wiring connections to ensure they're secure. If the issue persists, the pull chain switch may need to be replaced.
Following these steps can help identify and resolve the problem with a faulty light kit.
Can a Tripped Circuit Breaker Cause a Ceiling Fan Light to Stop Working?
Yes, a tripped circuit breaker can indeed cause a ceiling fan light to stop working.
When troubleshooting a ceiling fan light, it's important to check for common electrical issues such as a tripped circuit breaker.
This can be easily resolved by locating the electrical panel and resetting the breaker that corresponds to the fan light.
If the issue persists, it may be necessary to further investigate the wiring or consult a professional electrician for assistance.
What Are Some Potential Causes of a Ceiling Fan Light Not Working Due to Incorrect Installation?
When a ceiling fan light isn't working, there could be several potential electrical issues that stem from incorrect installation.
To troubleshoot, start by checking the connections between the light fixture and the fan. Ensure that the wires are properly connected and that there are no loose or damaged connections.
Additionally, verify that the light bulb is securely screwed in and functioning correctly.
If these steps don't resolve the issue, further investigation may be required to identify any other potential causes.
What Could Cause Both the Fan Spinning and the Light Not Working?
If your ceiling fan not producing wind and the light is not working, the issue may be a faulty capacitor, a bad pull chain switch, or a problem with the wiring. It’s important to troubleshoot and fix the problem promptly to avoid potential hazards and ensure the fan’s functionality.
Conclusion
In conclusion, when your ceiling fan light isn't working, it's important to troubleshoot the possible issues. Check the power supply, light bulb, wiring, pull chain switch, circuit breaker, installation, and light socket for any faults.
Remember the saying, 'A stitch in time saves nine,' and address the problem promptly to avoid further complications.
By following these troubleshooting steps, you can fix the issue and enjoy a well-functioning ceiling fan light.
- About the Author
- Latest Posts
Introducing Ron, the home decor aficionado at ByRetreat, whose passion for creating beautiful and inviting spaces is at the heart of his work. With his deep knowledge of home decor and his innate sense of style, Ron brings a wealth of expertise and a keen eye for detail to the ByRetreat team.
Ron’s love for home decor goes beyond aesthetics; he understands that our surroundings play a significant role in our overall well-being and productivity. With this in mind, Ron is dedicated to transforming remote workspaces into havens of comfort, functionality, and beauty.
Appliances
3 Essential Tips for RV-Friendly Portable Washers

- Pros and cons of using eco friendly laundry detergent in a portable washer.
- Tips for preventing detergent residue buildup in a portable washer
Are you exhausted from constantly looking for laundromats during your RV trips? We get it. That’s why we’re here to provide three key tips for RV-friendly portable washing machines.
While you might be thinking, ‘Do I really need a portable washer?’ trust us, having one on your RV can be a game-changer. In this guide, we’ll show you how to choose the right size washer that fits your RV’s limited space, understand the power and water requirements to ensure smooth operation, and provide you with maintenance and cleaning tips to keep your washer running efficiently.
So, let’s dive in and master the art of laundry on the road!
Key Takeaways
- Consider the laundry capacity needed for your RV.
- Look for compact and lightweight options with space-saving features.
- Choose a portable washer with high energy efficiency and water conservation features.
- Regularly maintain and clean your portable washer using recommended cleaning products.
Choosing the Right Size
One of the first considerations when selecting a portable washer for our RV is determining the appropriate size. Portable washer features and space-saving options play a crucial role in making this decision. When it comes to size, it’s important to find a washer that fits well within the limited space of an RV, while still providing enough capacity to meet our laundry needs.
To begin with, portable washers come in a range of sizes, typically measured in pounds of laundry capacity. It’s essential to consider the amount of laundry we anticipate doing on a regular basis. While a smaller capacity may be suitable for individuals or couples, larger families might require a washer with a higher capacity to accommodate their laundry demands.
Additionally, it’s important to consider the physical dimensions of the washer. RVs have limited space, so opting for a compact and lightweight washer can help maximize the available room. Some portable washers are designed with space-saving features such as folding handles, detachable components, or even stackable options that can fit neatly into tight spaces.
Understanding Power and Water Requirements
When considering the power and water requirements for our RV-friendly portable washer, we need to understand the necessary resources for optimal performance.
Energy efficiency is an important factor to consider when choosing a portable washer for your RV. Look for models that have a high Energy Star rating, as this indicates that they consume less energy and can help you save on your electricity bills.

Additionally, portable washer features such as load sensing technology and adjustable water levels can help you conserve water. These features ensure that the washer only uses the amount of water necessary to clean your laundry, which is particularly crucial when you have limited water supply in your RV.
It’s also important to check the power requirements of the portable washer. Make sure that the washer is compatible with the power source available in your RV, whether it’s a standard 120-volt outlet or a 12-volt DC power source.
Understanding the power and water requirements of your RV-friendly portable washer won’t only help you achieve optimal performance but also contribute to energy and water conservation.
Maintenance and Cleaning Tips
Let’s talk about how to properly maintain and clean your RV-friendly portable washer. Taking care of your portable washer is essential to ensure its longevity and optimal performance. Regular maintenance and cleaning will help prevent any potential issues and keep your machine running smoothly. Here are some common troubleshooting tips and recommended cleaning products to keep in mind:
| Common Troubleshooting | Recommended Cleaning Products |
|---|---|
| Leaking water | Vinegar and water mixture |
| Excessive noise | Mild detergent |
| Drum not spinning | Baking soda |
| Error codes | Citric acid |
If you encounter a problem such as leaking water, try using a mixture of vinegar and water to clean the machine’s seals and hoses. For excessive noise, use a mild detergent to clean the drum and remove any debris that may be causing the noise. If the drum is not spinning, try using baking soda to remove any buildup that may be hindering its movement. Lastly, if you receive error codes, using citric acid in the detergent compartment can help clean the sensors and resolve the issue.
Remember to always refer to your portable washer’s manual for specific maintenance instructions and troubleshooting tips. By following these guidelines and using the recommended cleaning products, you can keep your RV-friendly portable washer in great condition and enjoy clean laundry on your travels.
Frequently Asked Questions
How Long Does It Typically Take to Wash a Full Load of Laundry Using a Portable Washer?
Typically, it takes around 30 to 45 minutes to wash a full load of laundry using a portable washer.
However, it’s important to consider the capacity limitations of these machines. Most portable washers have a smaller capacity compared to traditional washers, so it may take longer if you have a larger load.
It’s always a good idea to follow the manufacturer’s instructions and not overload the machine to ensure efficient and effective washing.
Can I Use Regular Laundry Detergent in a Portable Washer, or Do I Need to Use a Specific Type?
Yes, you can use regular laundry detergent in a portable washer. However, there are some pros and cons to consider.
Using eco-friendly laundry detergent in a portable washer is a great option for those who want to reduce their environmental footprint. It can be gentler on your clothes and safer for the environment.
However, some eco-friendly detergents may not be as effective at removing tough stains. To prevent detergent residue buildup, make sure to use the recommended amount of detergent and run an extra rinse cycle if needed.
Is It Safe to Leave a Portable Washer Unattended While It’s Running?
Safety precautions should be taken when using a portable washer unattended. There are potential risks involved, such as water leakage or electrical malfunctions. It’s important to follow the manufacturer’s instructions and guidelines for safe operation.
Some tips to minimize risks include ensuring a stable surface, avoiding overloading the machine, and regularly checking for any signs of damage.
It’s always best to err on the side of caution when it comes to leaving a portable washer running without supervision.
Can I Wash Delicate Fabrics, Such as Silk or Lace, in a Portable Washer?
When it comes to washing delicate fabrics like silk or lace in a portable washer, there are a few things to keep in mind.
Firstly, check the manufacturer’s instructions to ensure that your specific model is suitable for these types of fabrics.
Secondly, use a gentle cycle and cold water to minimize any potential damage.
Lastly, consider placing delicate items in a mesh laundry bag for added protection.
With these precautions, you can safely wash your delicate fabrics in an RV-friendly portable washer.

How Noisy Are Portable Washers When in Operation?
When it comes to the noise level of portable washers, it’s important to consider their energy efficiency as well. These machines are designed to be compact and efficient, so they tend to operate quietly. While they do make some noise during operation, it’s typically minimal and shouldn’t disturb your RV neighbors or disrupt your peaceful campsite.
Plus, their energy efficiency means you can enjoy clean clothes without draining your RV’s power supply.
Conclusion
In conclusion, choosing the right size portable washer for your RV, understanding power and water requirements, and following maintenance and cleaning tips are essential for a smooth laundry experience on the road.
By coincidence, we stumbled upon a fellow traveler at a campsite who’d just purchased a portable washer based on our article. They were thrilled with the convenience and efficiency it provided.
So, take these tips into consideration and enjoy clean clothes wherever your adventures take you!
- About the Author
- Latest Posts
Introducing Charles, the Editor in Chief at ByRetreat, whose passion for interior design and editorial excellence elevates every remote workspace to new heights. With his keen eye for detail, impeccable taste, and expertise in design, Charles brings a wealth of knowledge and creativity to the ByRetreat team.
As the Editor in Chief of a renowned lifestyle blog, Charles has honed his skills in curating captivating content and staying up-to-date with the latest trends in interior design. His deep understanding of aesthetics and the power of storytelling through design enables him to create remote workspaces that are not only visually stunning but also rich in personality and meaning.
Appliances
4 Smart Tips for Extended Commercial Appliance Warranties

Did you realize that nearly 80% of commercial appliance malfunctions happen after the manufacturer’s warranty runs out? As business operators, we grasp the significance of safeguarding our assets and reducing unforeseen costs.
That’s why we have compiled four smart tips for extended commercial appliance warranties that will help you make informed decisions and ensure the longevity of your appliances.
In this guide, we will discuss choosing the right warranty provider, understanding coverage and exclusions, evaluating the cost and value, and maximizing the benefits of extended warranties.
By following these tips, you can have peace of mind knowing that your appliances are protected and your business operations can continue smoothly.
Let’s dive in and master the art of extended warranties!
Key Takeaways
- Choose a warranty provider with a good reputation and track record.
- Understand the coverage details and limitations of the warranty.
- Evaluate the cost and value of extended warranties.
- Maximize the benefits by understanding the claim process and maintaining your appliances.
Choosing the Right Warranty Provider
When selecting a warranty provider for extended commercial appliance warranties, we should consider their reputation and track record in the industry. Identifying reputable providers is crucial to ensure that we’re dealing with a company that has a history of delivering on their promises and providing excellent service to their customers. A reputable provider will have a strong presence in the market and positive reviews from satisfied clients. They’ll also have a proven track record of handling warranty claims efficiently and resolving issues promptly.
In addition to reputation, it’s important to compare warranty terms offered by different providers. We should carefully review the terms and conditions of each warranty to ensure that they meet our specific needs and requirements. This includes understanding the coverage provided, such as if it includes parts and labor costs, and the duration of the warranty. It’s also important to consider any limitations or exclusions that may apply.
Understanding Coverage and Exclusions
To fully understand the extent of coverage and any exclusions, we should carefully review the warranty terms and conditions for our extended commercial appliance warranties. Many people have common misconceptions about what’s covered under these warranties, which is why it’s so important to read the fine print. Here are some key points to consider:
- Scope of coverage: It’s crucial to understand what types of repairs or replacements are included in the warranty. This may vary depending on the provider and the specific appliance being covered. Some warranties may only cover certain parts or components, while others may offer more comprehensive coverage.
- Exclusions: Even though warranties provide coverage, there are often exclusions stated in the terms and conditions. These exclusions may include damage caused by misuse, neglect, or unauthorized repairs. It’s important to be aware of these exclusions to avoid any surprises when filing a claim.
- Duration of coverage: Extended commercial appliance warranties can vary in terms of their duration. Some warranties may provide coverage for a fixed period of time, while others may offer coverage until a certain number of repairs or replacements have been made. Understanding the duration of coverage can help us plan for future maintenance and repairs.
- Claim process: Familiarizing ourselves with the claim process is essential. This includes knowing who to contact, what documentation is required, and any specific procedures that need to be followed to ensure a smooth and efficient claim experience.
Evaluating the Cost and Value
To determine the cost-effectiveness of extended commercial appliance warranties, we need to assess their overall value. When weighing options and considering budget considerations, it is essential to evaluate the benefits and drawbacks of purchasing extended warranties for your appliances. To help you make an informed decision, we have created a table that outlines the key factors to consider:
| Factors to Consider | Benefits | Drawbacks |
|---|---|---|
| Coverage | Extended protection beyond the manufacturer’s warranty period | Additional cost |
| Repair Costs | Potential savings on repair expenses | Warranty cost may outweigh repair costs |
| Peace of Mind | Assurance that your appliances are protected | Limited likelihood of appliance failure |
By considering these factors, you can determine whether the cost of an extended warranty is justified by its value. It is important to note that budget considerations should not be the sole determining factor. While extended warranties may come at an additional cost, they can provide peace of mind and potential savings on repair expenses.
In the next section, we will explore strategies for maximizing the benefits of extended warranties, ensuring that you get the most value out of your investment.
Maximizing the Benefits of Extended Warranties
To maximize the benefits of extended warranties, we can employ strategies that optimize our investment. By understanding the claim process and exploring renewal options, we can ensure that our commercial appliance warranties provide us with the maximum value and protection.
Here are some smart tips for maximizing the benefits of extended warranties:
- Thoroughly understand the claim process: Familiarize yourself with the steps involved in filing a claim. Know the required documentation, such as proof of purchase and warranty information. By being prepared, you can expedite the claim process and minimize downtime.
- Regularly maintain your appliances: Proper maintenance is crucial for the longevity and performance of your commercial appliances. Follow the manufacturer’s guidelines for cleaning, servicing, and inspections. Regular maintenance not only extends the lifespan of your appliances but also helps prevent potential issues that may require warranty claims.
- Research renewal options: When your extended warranty is about to expire, explore renewal options offered by the warranty provider. Some providers offer extended renewal plans with additional coverage, giving you continued peace of mind and protection for your investment.
- Keep warranty documents organized: Maintain a dedicated folder or digital file for all your warranty documents. This ensures easy access to necessary information when filing a claim or renewing your warranty.
Frequently Asked Questions
How Can I Extend the Warranty on My Commercial Appliance if It’s Already Expired?
To extend the warranty on your commercial appliance after it has expired, there are several renewal options available.
You can contact the manufacturer or a third-party warranty provider to inquire about their extended warranty programs. They may offer coverage plans specifically designed for appliances with expired warranty coverage.
It’s important to carefully review the terms and conditions, as well as the cost, of these extended warranty options to ensure they meet your needs and budget.
Are There Any Specific Requirements or Limitations for Obtaining an Extended Warranty for Commercial Appliances?
When obtaining an extended warranty for commercial appliances, it’s important to be aware of the common exclusions in extended warranty coverage. These may include wear and tear, cosmetic damage, and misuse or negligence.
To choose the right extended warranty, consider factors such as the length of coverage, cost, and reputation of the provider.
It’s also crucial to thoroughly read and understand the terms and conditions of the warranty to avoid any surprises down the line.
Can I Transfer My Extended Warranty to a New Owner if I Sell My Commercial Appliance?
Yes, you can transfer your extended warranty to a new owner if you sell your commercial appliance. This ensures that the warranty coverage for used appliances continues with the new owner.
It’s important to check the specific requirements and limitations of your extended warranty to ensure a smooth transfer process. By transferring the warranty, you provide peace of mind to the new owner and protect them against any unexpected repair or replacement costs.
What Happens if My Commercial Appliance Breaks Down Multiple Times During the Extended Warranty Period?
If your commercial appliance breaks down multiple times during the extended warranty period, you may be eligible for claim reimbursement. The repair or replacement timeline will depend on the terms and conditions of your warranty.
It’s important to thoroughly review the warranty agreement to understand the process and any limitations. Our team is here to help ensure that your claims are handled efficiently and that you receive the necessary repairs or replacements in a timely manner.
Is There a Limit to the Number of Claims I Can Make Under an Extended Warranty for My Commercial Appliance?
There are limitations to the number of claims we can make under an extended warranty for our commercial appliance.
However, it’s important to note that extended warranties offer numerous benefits for commercial appliances. They provide peace of mind by covering repairs and replacements, reducing downtime and maintenance costs.
Conclusion
In conclusion, when it comes to extended commercial appliance warranties, there are several crucial considerations to keep in mind.
Firstly, choosing the right provider is essential. It’s important to research and compare different warranty providers to ensure they have a good reputation and offer comprehensive coverage.
Understanding coverage and exclusions is also crucial. Businesses should carefully review the terms and conditions of the warranty to know exactly what is covered and what is not. This will help avoid any surprises or disappointments down the line.

Evaluating cost and value is another important factor. Businesses should consider the cost of the warranty in relation to the potential repair or replacement costs of the appliances. They should also assess the value of the warranty by considering additional benefits such as extended service hours or priority service.
Lastly, maximizing benefits is key. Businesses should take advantage of all the benefits offered by the warranty, such as regular maintenance or discounted repairs. This will help ensure the appliances are well-maintained and any issues are addressed promptly.
By following these smart tips, businesses can make informed decisions that protect their investments. Just like a well-oiled machine, a well-chosen warranty can provide peace of mind and keep the business running smoothly. So don’t leave your appliances vulnerable, take action and secure their longevity today.
- About the Author
- Latest Posts
Introducing Charles, the Editor in Chief at ByRetreat, whose passion for interior design and editorial excellence elevates every remote workspace to new heights. With his keen eye for detail, impeccable taste, and expertise in design, Charles brings a wealth of knowledge and creativity to the ByRetreat team.
As the Editor in Chief of a renowned lifestyle blog, Charles has honed his skills in curating captivating content and staying up-to-date with the latest trends in interior design. His deep understanding of aesthetics and the power of storytelling through design enables him to create remote workspaces that are not only visually stunning but also rich in personality and meaning.
Appliances
3 Essential DIY HVAC Maintenance Tips Unveiled

Ah, the pleasures of tending to our HVAC systems! We understand the excitement of dedicating our valuable time to the upkeep and repair of these marvelous devices. But do not worry, dear reader, as we have revealed the tips to becoming skilled at DIY HVAC maintenance.
In this guide, we will unveil three essential tips that will ensure your HVAC system remains in perfect harmony. Get ready to dive into the world of air filters, thermostat settings, and outdoor condenser units. We will show you how to clean, check, and clear with ease, all while achieving that coveted mastery over your HVAC system.
So, let’s roll up our sleeves and get down to business, shall we?
Key Takeaways
- Regular maintenance, including cleaning air filters and checking thermostat settings, is essential for optimal HVAC system performance.
- Cleaning or replacing air filters prevents clogging and maintains a healthy indoor environment.
- Checking and maintaining thermostat settings ensures accurate temperature control and programming.
- Clearing debris from the outdoor condenser unit improves its performance and prevents airflow restriction.
Cleaning Air Filters Regularly
We recommend cleaning air filters regularly to ensure proper airflow and maintain optimal HVAC system performance. Replacing air filters is a crucial part of HVAC maintenance that often gets overlooked.
Air filters play a significant role in improving indoor air quality by capturing dust, pollen, and other airborne particles. Over time, these particles can accumulate on the filters, causing them to become clogged and obstructing the airflow. This can result in reduced efficiency and increased energy consumption.
By cleaning or replacing air filters on a regular basis, you can prevent these issues and maintain a healthy indoor environment.
Cleaning air filters is a relatively simple task that can be done by the homeowner. Start by turning off the HVAC system and locating the air filter. Remove the filter and inspect it for any visible dirt or debris. If the filter is washable, gently clean it with water and a mild detergent. Allow it to dry thoroughly before reinstalling. If the filter isn’t washable, it should be replaced with a new one. Remember to check the manufacturer’s recommendations for the appropriate filter type and replacement schedule.
Checking and Maintaining Thermostat Settings
To ensure optimal HVAC system performance, it’s important to regularly check and maintain the thermostat settings. The thermostat acts as the control center for your heating and cooling system, allowing you to adjust the temperature and program a schedule that suits your needs.
Start by adjusting the temperature settings to the desired level. This can be done manually or through programming. If you prefer a consistent temperature throughout the day, programming a schedule can help save energy and maintain comfort. Make sure to set different temperatures for when you’re away from home or asleep.
Regularly check the accuracy of your thermostat by comparing it to a separate thermometer. If there’s a discrepancy, recalibrate the thermostat to ensure accurate readings.
Keep the thermostat clean and free from dust and debris. Use a soft cloth to wipe away any buildup that may affect its functionality.
Lastly, check the batteries in your thermostat. Dead or low batteries can cause the thermostat to malfunction. Replace them as needed to ensure proper operation.
Clearing Debris From Outdoor Condenser Unit
Clearing debris from the outdoor condenser unit involves removing any dirt, leaves, and other obstructions that can hinder its performance. It’s important to regularly inspect and clean the condenser coil to ensure optimal functioning of the HVAC system.
To begin, it’s crucial to remove any vegetation that may have grown around the outdoor condenser unit. Plants, shrubs, or trees that are too close to the unit can restrict airflow and reduce its efficiency. Cut back any overhanging branches or foliage that may block the airflow and impede the unit’s ability to cool the air effectively.
Next, inspect the condenser coil for any debris buildup. Over time, dirt, leaves, and other particles can accumulate on the coil, obstructing the airflow and reducing its heat transfer capabilities. Gently brush away any debris using a soft-bristle brush or a vacuum cleaner with a brush attachment. Be careful not to damage the delicate fins of the coil during the cleaning process.
In addition to removing debris, it’s essential to inspect the coil for any signs of damage or corrosion. If any bent fins are detected, use a fin comb to straighten them out carefully. If there’s significant damage or corrosion, it’s recommended to contact a professional HVAC technician for further assessment and repair.
Regularly clearing debris and maintaining the condenser coil will help ensure that the outdoor unit operates efficiently and prolong its lifespan. By following these simple steps, you can optimize the performance of your HVAC system and maintain a comfortable indoor environment.
Frequently Asked Questions
How Often Should I Clean or Replace My Air Filters?
To improve the air quality in our homes, it’s essential to clean or replace air filters regularly. So, how often should we clean or replace them?
It’s recommended to clean or replace air filters every 1 to 3 months, depending on factors like the type of filter, the level of pollutants, and the frequency of HVAC system usage. Regular maintenance ensures that the air flowing through our HVAC system is clean and healthy, promoting a comfortable and safe living environment.
Can I Use Any Type of Air Filter for My HVAC System?
Can we use any type of air filter for our HVAC system?

It’s important to understand that not all air filters are created equal. There are different types of air filters available in the market, each with its own specifications and benefits.
Using the right filter for your HVAC system is crucial in ensuring optimal performance and indoor air quality. It’s recommended to consult with a professional to determine the best filter for your specific system and needs.
Are There Any Specific Thermostat Settings I Should Be Aware of During Different Seasons?
During different seasons, it’s important to adjust thermostat programming to maximize energy efficiency. By setting higher temperatures in the summer and lower temperatures in the winter, you can reduce the workload on your HVAC system and save on energy costs.
Additionally, utilizing programmable thermostats can help automate these adjustments, ensuring optimal comfort and efficiency.
How Can I Determine if the Outdoor Condenser Unit Is Blocked by Debris?
To determine if the outdoor condenser unit is blocked by debris, we can look for certain signs.
One key indicator is reduced airflow coming from the unit. If you notice that the air isn’t flowing as strongly as before, it could be a sign of blockage.
Another sign to watch out for is unusual noises coming from the condenser, which could indicate damage.
Regularly inspecting and cleaning the unit will help prevent any potential issues and ensure optimal performance.
What Are the Potential Consequences of Not Regularly Cleaning the Air Filters or Clearing Debris From the Outdoor Condenser Unit?
Neglecting HVAC maintenance can lead to serious consequences. Regularly cleaning air filters and clearing debris from the outdoor condenser unit is of utmost importance. Failure to do so can result in reduced airflow, decreased efficiency, and higher energy bills.
Additionally, dirty filters can lead to poor indoor air quality and potential health issues. By prioritizing regular HVAC maintenance, we ensure optimal performance, extend the lifespan of our system, and create a healthier and more comfortable living environment.
Conclusion
In conclusion, by regularly cleaning air filters, checking and maintaining thermostat settings, and clearing debris from the outdoor condenser unit, homeowners can ensure optimal performance and efficiency of their HVAC systems.
These essential DIY maintenance tips not only extend the lifespan of the system but also improve indoor air quality and reduce energy consumption.
By taking these simple steps, homeowners can enjoy a comfortable and healthy living environment while saving on utility bills.
- About the Author
- Latest Posts
Introducing Charles, the Editor in Chief at ByRetreat, whose passion for interior design and editorial excellence elevates every remote workspace to new heights. With his keen eye for detail, impeccable taste, and expertise in design, Charles brings a wealth of knowledge and creativity to the ByRetreat team.
As the Editor in Chief of a renowned lifestyle blog, Charles has honed his skills in curating captivating content and staying up-to-date with the latest trends in interior design. His deep understanding of aesthetics and the power of storytelling through design enables him to create remote workspaces that are not only visually stunning but also rich in personality and meaning.
-

 Vetted2 days ago
15 Best Folding Beds for Small Spaces – Space-Saving Solutions for Comfort and Convenience
-

 Vetted20 hours ago
15 Best Waterproof Flooring Options for Your Bathroom – Ultimate Guide & Reviews
-

 Vetted6 days ago
15 Best Grocery Carts to Make Shopping a Breeze
-

 Vetted2 weeks ago
15 Best Gravel for Driveway: The Ultimate Guide for a Durable and Stunning Entrance
-

 Vetted4 days ago
15 Best Steam Generators for Showering Bliss: Reviewed & Rated
-

 Beginners Guides3 weeks ago
I Inhaled Vinegar Fumes
-

 Vetted2 weeks ago
15 Best Hot Tubs of 2024: Luxurious Relaxation at Your Fingertips
-

 Vetted4 weeks ago
15 Best Blinds for Bathroom Windows to Enhance Privacy and Style


