Appliances
Ceiling Fan Noise Explained: Why Do Ceiling Fans Hum
2025
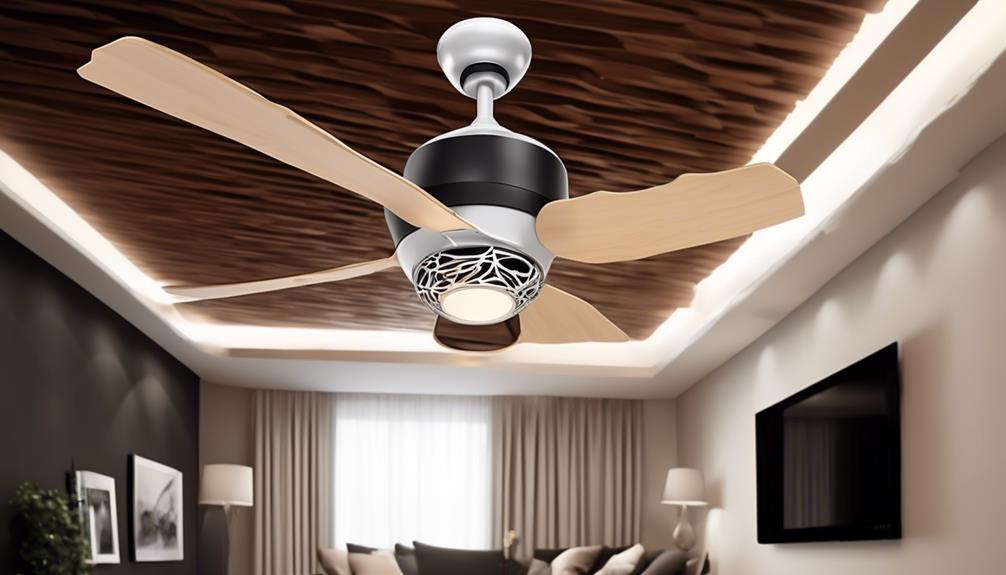
All of us have dealt with the irritating buzzing sound emitted by our ceiling fans. It’s a widespread problem that can interfere with our tranquil surroundings. In this piece, we’ll delve into the different causes of ceiling fan humming and how you can remedy the situation.
From electrical issues to loose components and imbalanced blades, there are several factors that can contribute to this noise. Additionally, motor problems and environmental factors can also play a role in the humming sound.
By understanding the possible causes, you'll be equipped with the knowledge to troubleshoot and resolve this pesky problem. So, let's dive in and uncover the secrets behind why ceiling fans hum.
Key Takeaways
- Power surges can cause ceiling fans to hum, and installing surge protectors can prevent this issue.
- Loose components within the fan assembly, such as screws or bolts, can cause vibrations and humming sounds.
- Imbalanced blades can lead to vibrations and humming noise in ceiling fans, and should be checked and aligned properly.
- Motor problems, such as worn-out bearings or loose motor mounts, can result in humming sounds and should be addressed through regular maintenance or replacement.
Electrical Issues
We will now address the electrical issues related to the phenomenon of a ceiling fan humming.
One potential cause of a humming ceiling fan is power surges. Power surges occur when there's a sudden increase in electrical current, which can cause the fan to vibrate and produce a humming noise. These surges can be caused by lightning strikes, faulty wiring, or the operation of high-powered electrical equipment. To prevent power surges, it's recommended to install surge protectors on the electrical circuit that powers the fan.
Another common electrical issue that can cause a ceiling fan to hum is faulty wiring. If the electrical wiring isn't properly connected or if there are loose connections, it can result in a humming noise. It's important to ensure that the wiring is installed correctly and securely. If there are any signs of faulty wiring, such as flickering lights or burning smells, it's crucial to contact a licensed electrician to inspect and repair the wiring.
Loose Components
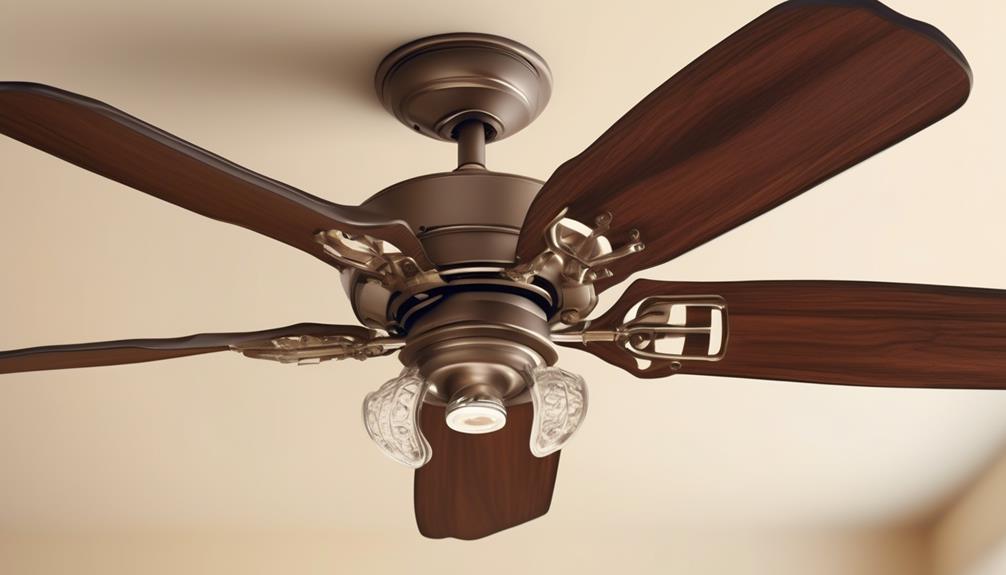
One potential cause for a ceiling fan humming is loose components within the fan assembly. When the fan is operating, the movement of the blades and the rotation of the motor can cause vibrations. These vibrations can loosen various components of the fan, such as screws, bolts, or even the motor itself. As a result, the loose components may start to vibrate, leading to a humming sound.
To identify if loose components are causing the humming, it's important to inspect the fan thoroughly. Start by examining the blades, motor housing, and other visible parts for any signs of looseness or damage. Check if the screws or bolts holding these components in place are properly tightened. If any of them are loose, tighten them carefully using the appropriate tools.
In some cases, the humming may be caused by faulty wiring. If the vibrating motor is connected to the wiring system in a faulty manner, it can result in a humming sound. To address this issue, it's advised to hire a professional electrician to examine and fix any wiring problems.
Imbalanced Blades
Imbalanced blades on a ceiling fan can contribute to the humming sound. When the blades aren't aligned properly, they create an uneven distribution of air, causing the fan to vibrate. This vibration transfers to the motor, resulting in a humming noise.
Blade alignment is crucial for the smooth operation of a ceiling fan. Even a slight imbalance can lead to significant noise and discomfort. To ensure proper blade alignment, it's essential to check each blade individually. This can be done by using a balancing kit or simply by visually inspecting the blades for any signs of misalignment.
If the blades are found to be imbalanced, it's important to address the issue promptly. Failure to do so can result in further damage to the motor. A motor malfunction can occur when the vibrating fan causes excessive wear and tear on the internal components. This can lead to decreased performance and even complete failure of the motor.
To avoid imbalanced blades and potential motor malfunctions, regular maintenance is key. This includes checking the blade alignment periodically and making necessary adjustments. By keeping the blades properly balanced, you can enjoy a quiet and efficient ceiling fan operation.
Motor Problems
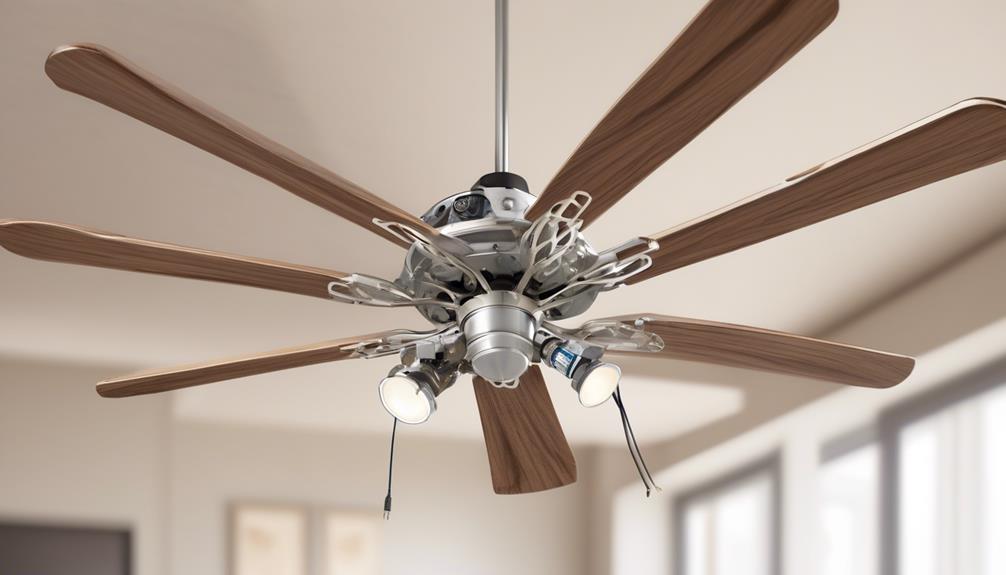
Motor problems can cause a ceiling fan to produce a humming noise. Here are some common motor issues that may lead to this problem:
- Worn-out bearings: Over time, the bearings in the fan motor can wear out, causing friction and generating a humming sound. Regular maintenance, such as lubricating the bearings, can help prevent this issue.
- Loose motor mounts: If the motor mounts become loose, the fan motor may vibrate, resulting in a humming noise. Tightening the motor mounts can eliminate this problem.
- Faulty capacitor: The capacitor is responsible for starting the motor and maintaining its speed. If the capacitor is defective, it can cause the motor to hum. Replacing the faulty capacitor should resolve the issue.
- Overheating concerns: Continuous operation or lack of proper ventilation can cause the motor to overheat, leading to a humming noise. To prevent this, ensure that the fan isn't obstructed and that the motor is adequately cooled.
To maintain a quiet and efficient ceiling fan, it's essential to address these motor problems promptly. Regular maintenance, such as cleaning, lubricating, and tightening, can help extend the lifespan of the fan and prevent humming caused by motor issues.
Environmental Factors
After addressing the motor problems that can cause a ceiling fan to produce a humming noise, it's important to consider the impact of environmental factors on the fan's performance.
Temperature plays a significant role in the humming noise generated by a ceiling fan. As the temperature increases, so does the likelihood of the fan producing a humming sound. This is due to the expansion of the fan's components, which can result in misalignment and friction.
The effect of humidity on ceiling fan noise levels is also worth considering. High levels of humidity can cause the fan blades to accumulate moisture, leading to increased resistance and noise. Additionally, humidity can affect the lubrication of the fan's motor, causing it to work harder and generate more noise.
To minimize the impact of temperature and humidity on a ceiling fan's noise levels, it's recommended to keep the fan in a well-ventilated area and maintain a consistent temperature and humidity level. Regular cleaning and maintenance of the fan can also help reduce the effects of these environmental factors.
Is the Humming Noise from Ceiling Fans Normal or a Sign of a Problem?
The understanding ceiling fan noise is important for homeowners. A slight humming noise from ceiling fans is generally normal, but persistent or loud noises could indicate a problem. Loose parts, unbalanced blades, or motor issues could be the culprit. Regular maintenance and proper installation can help minimize excessive noise.
Frequently Asked Questions
Can Ceiling Fans Be Completely Silent?
Yes, ceiling fans can be completely silent. Noise reduction techniques have been developed to ensure that the operation of ceiling fans is as quiet as possible. By using high-quality materials, such as sound-absorbing blades and motor mounts, manufacturers are able to minimize noise.
Additionally, advancements in motor technology and aerodynamics have contributed to the reduction of fan noise. When selecting a ceiling fan, it's important to look for models that are specifically designed for silent operation.
Are There Any Health Risks Associated With Ceiling Fan Humming?
Ceiling fan humming can have an impact on sleep quality, but it can be reduced without the need to replace the fan.
The constant noise can be disruptive and prevent a restful night's sleep. However, there are methods to mitigate the humming sound.
One option is to tighten any loose screws or bolts on the fan to eliminate vibrations.
Additionally, using rubber pads or dampening materials can help absorb the noise and reduce the humming effect.
Can a Ceiling Fan Hum Because of the Type of Light Bulb Used?
Ceiling fan noise can be influenced by various factors, including the type of light bulb used.
Certain light bulbs, such as incandescent or halogen bulbs, produce more heat, which can cause the fan motor to work harder and potentially generate more noise.
On the other hand, LED or fluorescent bulbs emit less heat and are generally more energy efficient, reducing the likelihood of fan noise.
Therefore, selecting the right type of light bulb can have an impact on minimizing ceiling fan noise.
Is It Possible to Fix a Ceiling Fan Hum Without Professional Help?
When it comes to ceiling fan maintenance, troubleshooting ceiling fan noise can be a daunting task. However, fear not! We've found that fixing a ceiling fan hum without professional help is indeed possible.
Can Ceiling Fan Humming Affect the Overall Energy Efficiency of the Fan?
Ceiling fan humming can indeed impact the overall energy efficiency of the fan. When a ceiling fan hums, it indicates that there may be a problem with the motor or the blade alignment. This can cause the fan to work harder and consume more energy, resulting in decreased efficiency.
Additionally, the noise pollution caused by the humming can disrupt sleep quality, leading to discomfort and restless nights. Therefore, addressing and fixing the ceiling fan hum is crucial for maintaining energy efficiency and ensuring a peaceful environment.
Conclusion
In conclusion, the humming sound produced by ceiling fans can be attributed to various factors such as electrical issues, loose components, imbalanced blades, motor problems, and environmental factors.
To address this problem, it's important to identify and fix the specific cause. Just like a symphony orchestra, where each instrument needs to be in perfect harmony for a beautiful melody, a well-maintained ceiling fan operates silently, creating a soothing breeze that enhances our comfort and relaxation.
- About the Author
- Latest Posts
Introducing Ron, the home decor aficionado at ByRetreat, whose passion for creating beautiful and inviting spaces is at the heart of his work. With his deep knowledge of home decor and his innate sense of style, Ron brings a wealth of expertise and a keen eye for detail to the ByRetreat team.
Ron’s love for home decor goes beyond aesthetics; he understands that our surroundings play a significant role in our overall well-being and productivity. With this in mind, Ron is dedicated to transforming remote workspaces into havens of comfort, functionality, and beauty.
Garage Door Opener
What Makes a 1/3 HP Garage Door Opener Different?
Wondering why a 1/3 HP garage door opener stands out? Discover the unique features that make it a practical choice for specific garage setups.
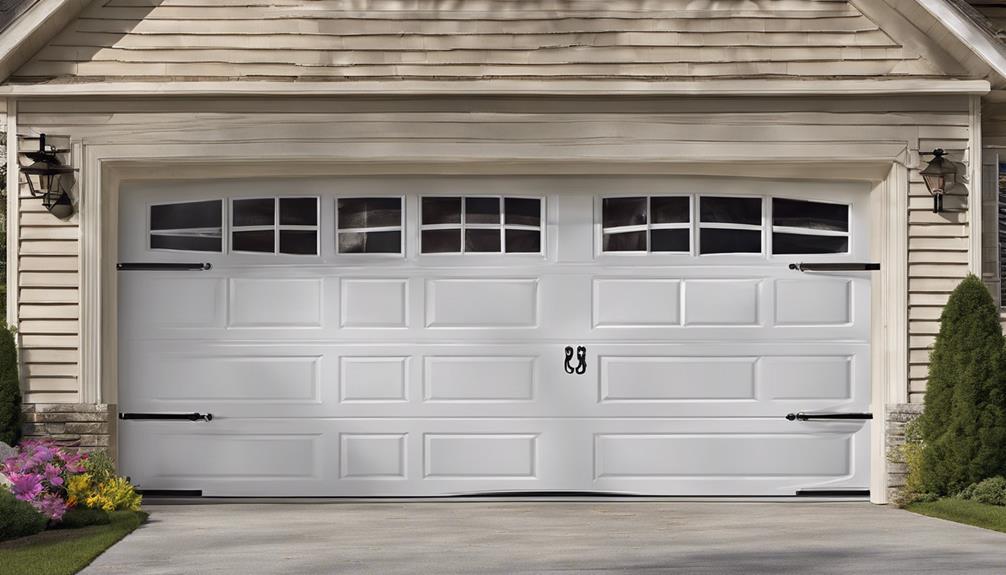
After installing a 1/3 HP garage door opener for a customer with a lightweight single-car garage door, we could immediately notice a difference in performance. The quiet motor and effortless operation piqued our curiosity about what makes this lower horsepower choice stand out.
As we explore the nuances of 1/3 HP garage door openers, let's unravel the unique features that make them a practical choice for certain garage setups.
Key Takeaways
- Designed for single-car steel or aluminum doors, optimizing performance and cost-effectiveness.
- Consumes less electricity, reducing utility bills and promoting environmental friendliness.
- Operates quietly at 60-70 decibels, ideal for noise-sensitive environments.
- Budget-friendly with safety features, easy installation, and positive customer reviews for smooth operation.
Understanding 1/3 HP Garage Door Opener
When considering a 1/3 HP garage door opener, it's essential to understand its suitability for single-car steel or aluminum doors. This type of opener is designed for lighter doors, making it a cost-effective option compared to higher horsepower models. While it may not be as robust as higher horsepower alternatives, the 1/3 HP garage door opener offers a balance between affordability and functionality for those with lighter garage doors.
For those in the market for a garage door opener, the 1/3 HP option is ideal for basic garage door functions on single-car steel or aluminum doors. It's important to note that heavier or oversized doors may require a higher horsepower garage door opener for optimal performance. Understanding the specific needs of your garage door is crucial when considering the horsepower of the opener. The 1/3 HP garage door opener is best suited for those looking for a budget-friendly solution for their lighter garage door.
Power Comparison: 1/3 HP Vs Others
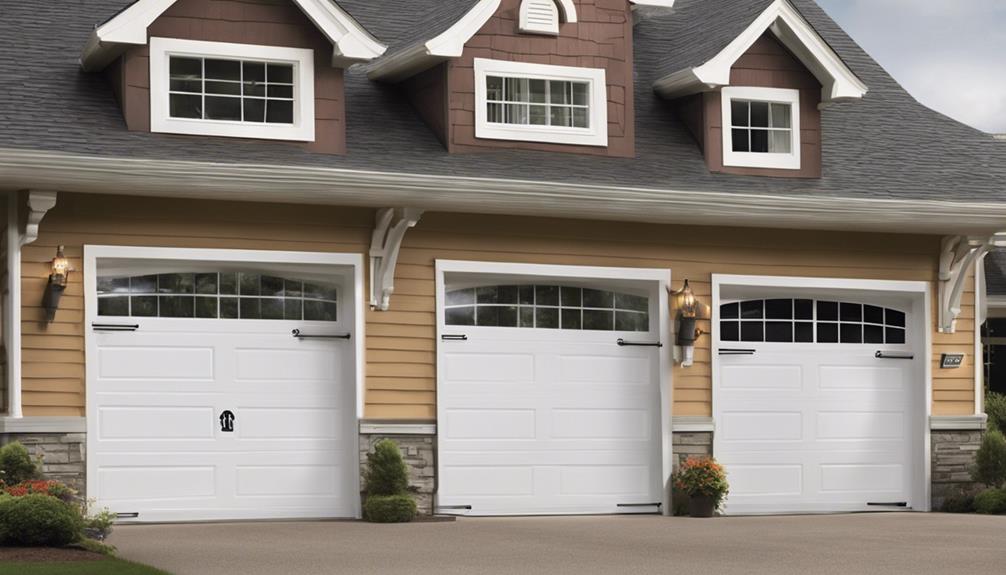
When comparing the power efficiency of 1/3 HP garage door openers to higher horsepower models, it's essential to consider the performance at capacity.
While a 1/3 HP opener may be suitable for lighter garage doors, it may struggle with heavier or insulated doors.
Understanding the power differences can help determine the best option for your specific garage door needs.
Power Efficiency Comparison
In comparing power efficiency, a 1/3 HP garage door opener stands out for its ability to consume less electricity during operation compared to higher horsepower models like 1/2 HP or 3/4 HP options. This efficiency can lead to cost savings over time and a reduced environmental impact.
Here are some key points to consider when evaluating power efficiency in garage door openers:
- Lower energy consumption helps in reducing utility bills.
- Ideal for everyday use without significant power draw.
- More environmentally friendly due to reduced electricity usage.
- Better suited for lighter garage doors, optimizing power usage.
- Provides a balance between power and efficiency for standard garage door operations.
Performance at Capacity
Continuing our analysis from the power efficiency comparison, we now turn our focus to the performance at capacity, specifically examining the power comparison between 1/3 HP garage door openers and higher horsepower models.
A 1/3 HP garage door opener is optimized for single-car steel or aluminum doors, but it may struggle with heavier or oversized doors compared to higher horsepower options.
The performance of a 1/3 HP opener is notably affected when handling larger or insulated doors due to its lower power output. To ensure optimal performance, it's crucial to match the garage door weight and size with the appropriate opener horsepower.
While a 1/3 HP opener is cost-effective, it mightn't be the most suitable choice for heavier or insulated garage doors requiring greater power.
Benefits of 1/3 HP Opener
When considering the benefits of a 1/3 HP garage door opener, it's important to note its power efficiency, allowing for smooth operation without excessive energy consumption.
The quiet operation advantage of this opener ensures minimal noise disturbance, making it suitable for residential areas.
Additionally, the 1/3 HP opener is a versatile choice, compatible with most standard garage doors, providing reliable performance for everyday use.
Power Efficiency Explained
With a 1/3 HP garage door opener, homeowners can benefit from enhanced power efficiency tailored for single-car steel or aluminum doors. This type of opener offers optimized performance for lighter doors, making it a cost-effective option for smaller garage doors. The 1/3 HP motor consumes less energy than higher horsepower models, reducing electricity costs while still providing sufficient power for standard residential garage doors. Additionally, the design of the 1/3 HP opener ensures smooth and efficient operation, enhancing the overall user experience. Its power efficiency makes it an ideal choice for those seeking a reliable garage door opener that combines performance with energy savings.
- Suitable for single-car steel or aluminum doors.
- Optimized performance for lighter doors.
- Cost-effective option for smaller garage doors.
- Reduced energy consumption compared to higher horsepower models.
- Smooth and efficient operation for standard residential garage doors.
Quiet Operation Advantage
The efficiency of a 1/3 HP garage door opener extends to its quiet operation, providing a serene environment for homes with bedrooms or living spaces nearby. This quiet operation advantage significantly reduces noise disruptions, making it an ideal choice for those seeking a peaceful environment.
The design of the 1/3 HP opener ensures smooth and silent door opening and closing, enhancing the overall experience for homeowners. Compared to higher horsepower options, this type of opener offers minimal disturbance, allowing for a more tranquil setting.
Suitable for Most Doors
A 1/3 HP garage door opener's versatility makes it an optimal choice for a wide range of door types and sizes, ensuring efficient performance across various residential setups. When considering a garage door opener for your home, the 1/3 HP model stands out for its suitability in various scenarios. Here are some key points to highlight its compatibility with most doors:
- Suitable for single-car steel or aluminum doors.
- Provides adequate power for most standard garage door sizes.
- Ideal for residential use, balancing affordability and performance.
- Cost-effective solution for lighter doors without compromising functionality.
- Designed to handle the typical weight and size of standard garage doors efficiently.
With a 1/3 HP opener, you can trust that your garage door will operate smoothly and reliably.
Performance Features of 1/3 HP
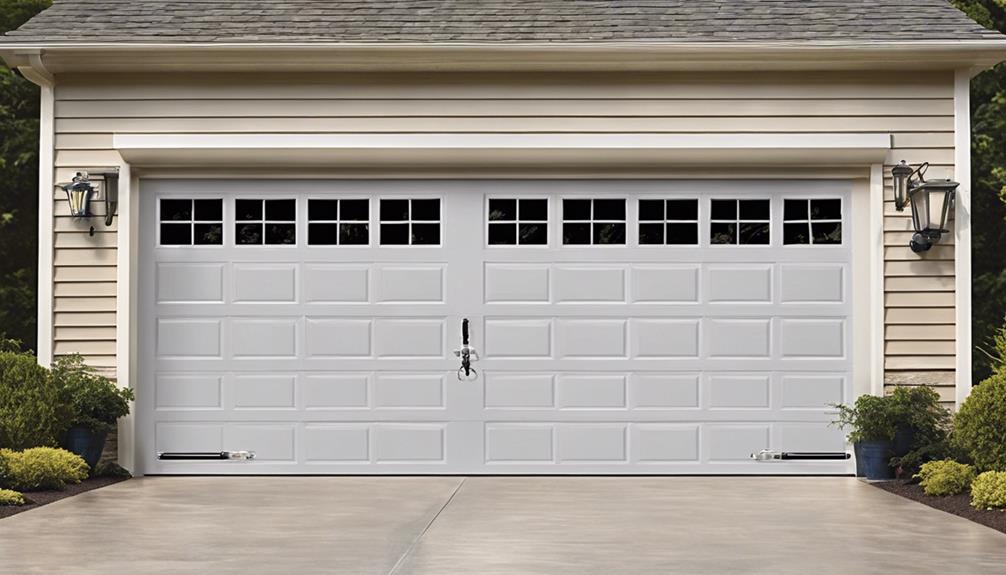
In residential settings, a 1/3 HP garage door opener provides sufficient power for smooth and efficient operation of single-car steel or aluminum doors. This type of opener is a cost-effective solution, particularly for lighter garage doors. It's specifically designed for residential use and is best suited for average weight garage doors.
The 1/3 HP garage door opener offers adequate power to ensure the door operates seamlessly. It's particularly ideal for smaller garage doors with lower weight requirements, making it a practical choice for homeowners looking for a reliable garage door opener that meets their needs without unnecessary power.
The performance features of a 1/3 HP opener are tailored to deliver the necessary power for the smooth and efficient opening and closing of compatible garage doors, providing a practical and effective solution for residential garage door operation.
Noise Level of 1/3 HP Opener
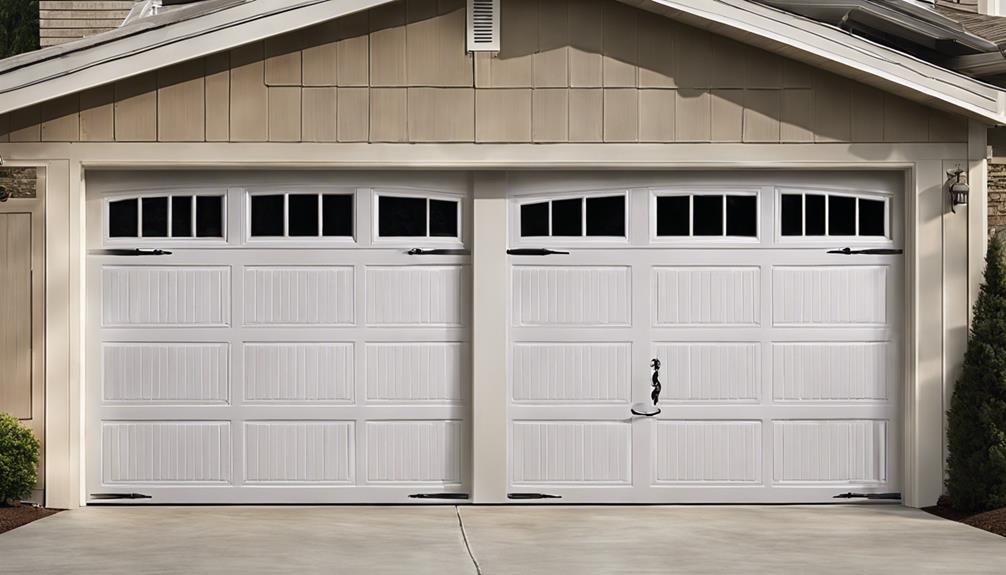
When comparing the noise level of a 1/3 HP garage door opener to higher horsepower models, it becomes evident that the former tends to operate louder.
This increased noise can be particularly noticeable in environments where silence is preferred. Innovations like Quiet Operation Technology aim to mitigate the noise generated by 1/3 HP openers, offering a more serene user experience.
Noise Level Comparison
Comparing the noise levels of different garage door openers can help homeowners make informed decisions regarding the quietness of their garage door operation. When it comes to the noise level of a 1/3 HP garage door opener, here are some key points to consider:
- A 1/3 HP opener typically produces around 60-70 decibels of noise during operation.
- This noise level is comparable to normal conversation or background music in terms of intensity.
- The 1/3 HP opener's noise level is lower than that of larger horsepower openers, offering a quieter operation.
- The reduced noise output makes the 1/3 HP opener suitable for noise-sensitive environments like homes with bedrooms above the garage.
- Choosing a 1/3 HP opener can contribute to a quieter and more comfortable garage door operation experience.
Quiet Operation Technology
The advanced motor technology and sound-dampening features incorporated in a 1/3 HP garage door opener contribute to its quiet operation, making it an ideal choice for noise-sensitive residential environments. With a noise level typically ranging between 60-70 decibels, the 1/3 HP opener offers relatively quiet functionality, especially crucial in homes where minimizing noise disturbances is essential.
This reduced noise level is achieved through a combination of innovative motor technology and strategic sound-dampening mechanisms. The quiet operation of the 1/3 HP opener not only enhances user experience but also ensures a peaceful and comfortable environment within the home.
Homeowners appreciate the smooth and quiet performance of this garage door opener, highlighting its suitability for residential use in close proximity to living spaces.
Durability of 1/3 HP Model
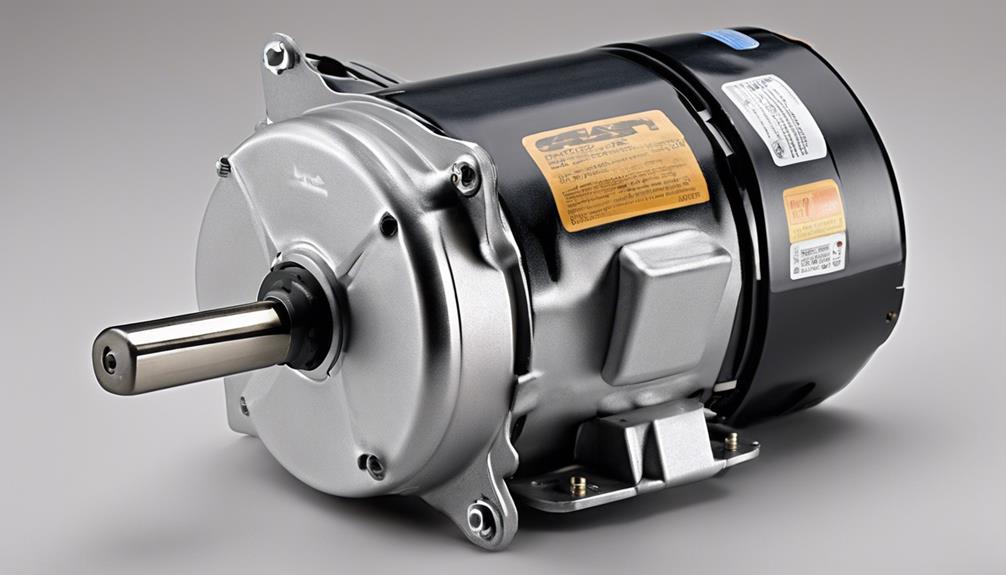
Discussing the durability of the 1/3 HP model entails evaluating its longevity and performance under regular usage conditions. When considering the durability of a 1/3 HP garage door opener, here are some key points to keep in mind:
- Suitability for Steel or Aluminum Doors: The 1/3 HP model is ideal for single-car steel or aluminum garage doors due to its power output.
- Affordability vs. Lifespan: While this model is more budget-friendly, it may have a shorter lifespan compared to higher horsepower options.
- Weight Limitations: Designed for lighter doors, the 1/3 HP opener may struggle with heavier or oversized garage doors, impacting its long-term durability.
- Matching Power to Door Size: To ensure optimal performance and longevity, it's crucial to match the horsepower of the opener to the weight and size of the garage door.
- Longevity Concerns: Although cost-effective, the 1/3 HP model may not offer the same level of durability and longevity as higher horsepower alternatives.
Installation Process for 1/3 HP
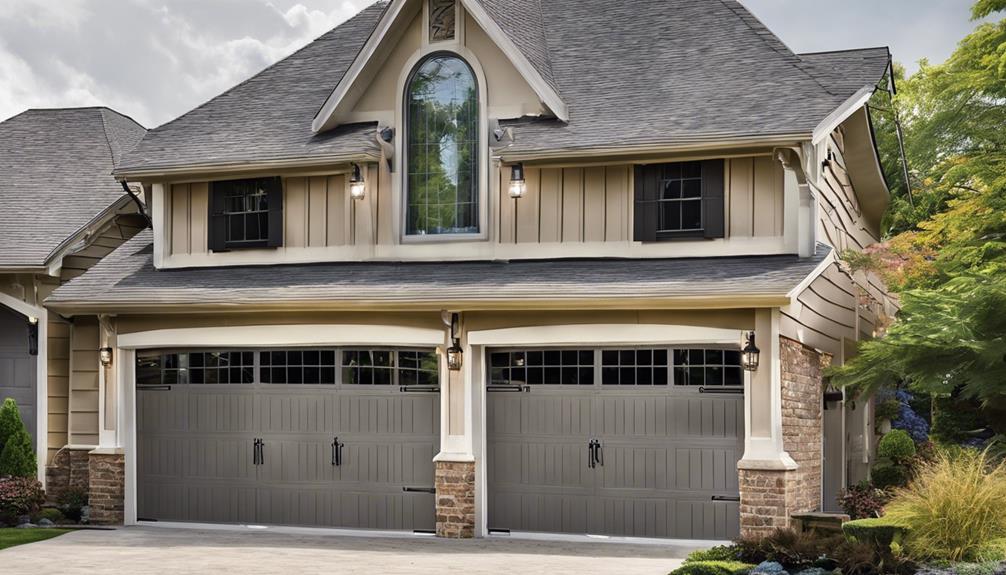
When upgrading to a 1/3 HP garage door opener for better performance, understanding the installation process is essential for a seamless transition. The installation process for a 1/3 HP opener is akin to that of other horsepower options.
Begin by ensuring the power to the garage door opener is disconnected to prevent any accidents during installation. Mount the opener securely to the ceiling, ensuring it's level and well-supported. Next, attach the rail to the motor unit and assemble the trolley before connecting it to the door bracket.
Carefully follow the manufacturer's instructions for setting the limits and force adjustments to ensure smooth operation. Since the 1/3 HP opener provides adequate power for lighter garage doors, it's crucial to test the door's balance and make any necessary adjustments before using the opener regularly.
This installation process offers a cost-effective solution for basic garage door operation while maintaining efficiency and reliability.
Maintenance Tips for 1/3 HP Opener
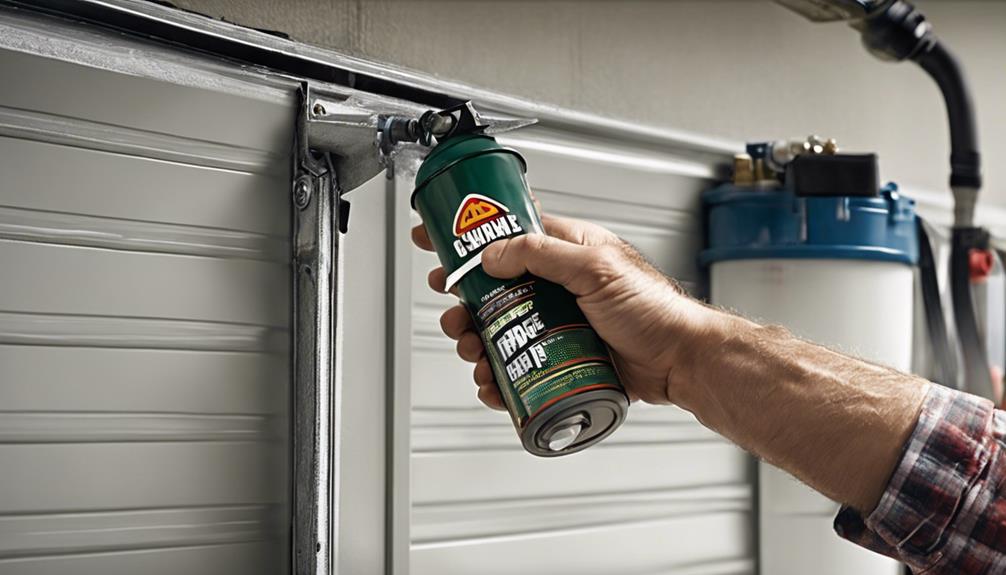
To ensure optimal performance and longevity of your 1/3 HP garage door opener, regular maintenance is key. Proper maintenance not only enhances the efficiency of the opener but also ensures safety during operation.
Here are some essential maintenance tips for your 1/3 HP opener:
- Regular Lubrication: Keep the opener's moving parts well-lubricated to maintain smooth and quiet operation.
- Hardware Inspection: Periodically check and tighten all hardware such as nuts, bolts, and screws to prevent issues caused by loose fittings.
- Safety Feature Testing: Test the safety features of the opener, including the auto-reverse mechanism, to guarantee safe operation and prevent accidents.
- Cleanliness Maintenance: Keep the opener and its surrounding area clean from dust and debris to prevent obstructions that could affect its performance.
- Professional Maintenance: Consider scheduling regular professional maintenance checks to ensure all components are in optimal condition and address any potential issues promptly.
Following these maintenance tips won't only prolong the lifespan of your 1/3 HP opener but also provide you with a reliable and safe garage door operation experience.
Cost Considerations for 1/3 HP
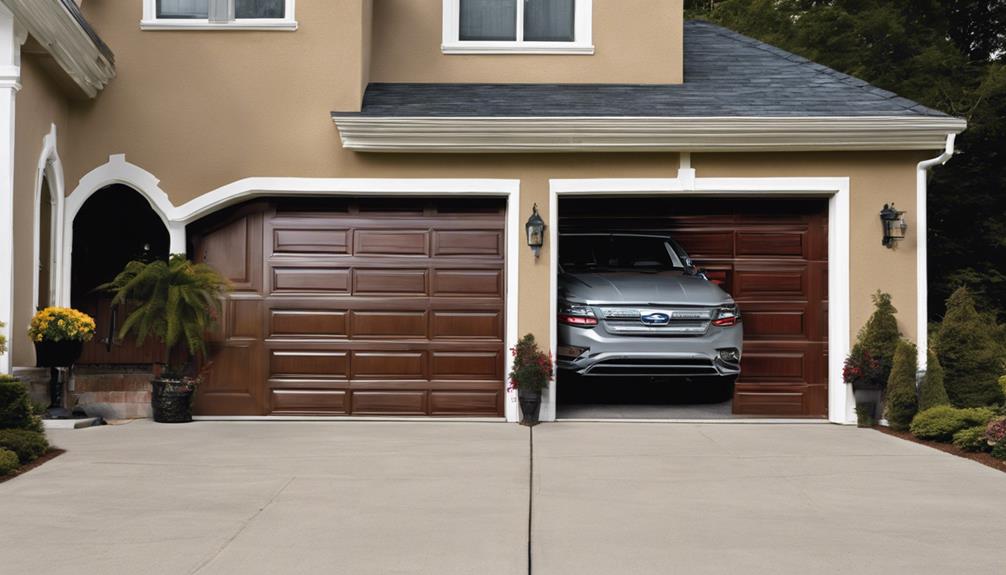
Considering the affordability and suitability of 1/3 HP garage door openers for lighter doors, homeowners with single-car steel or aluminum garage doors may find the cost-effective features of these openers appealing. The lower cost of a 1/3 HP opener makes it a budget-friendly choice for those looking to equip their garage with a reliable opener without breaking the bank.
While these openers may come at a lower cost compared to higher horsepower options, it's essential to note that they're best suited for lighter garage doors due to their lower horsepower. This makes them ideal for homeowners with single-car steel or aluminum doors seeking a practical and economical garage door opener solution.
The budget-friendly nature of 1/3 HP openers can be a significant factor for those looking to invest wisely in their garage door automation without compromising quality or functionality.
Compatibility With Different Doors
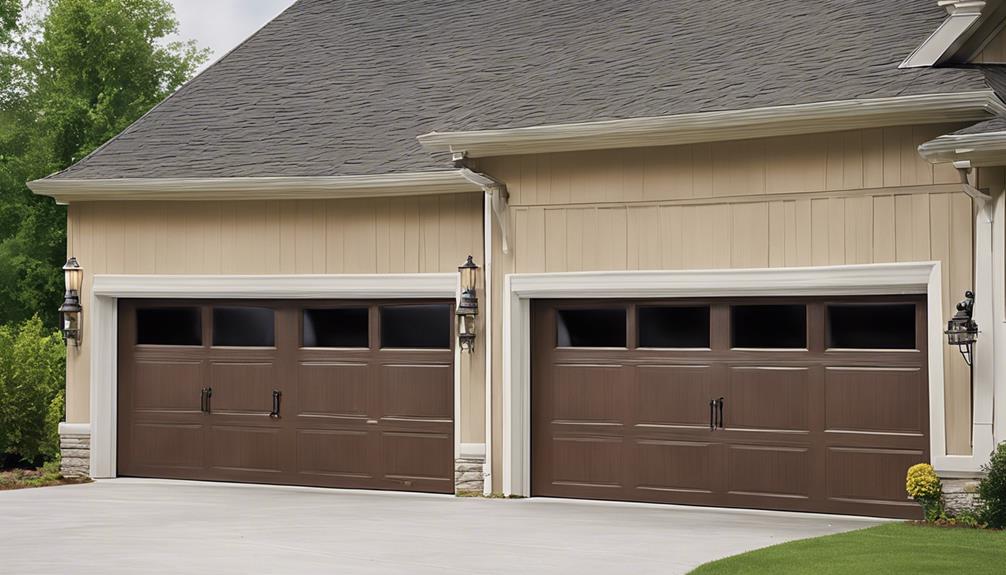
For garage doors made of steel or aluminum, a 1/3 HP opener is a suitable choice due to its compatibility with lighter doors. These openers are specifically designed to work efficiently with single-car doors made of these materials.
Here are some key points to consider regarding the compatibility of 1/3 HP garage door openers:
- Limited Lifting Capacity: Due to its 1/3 HP motor, these openers have a restricted lifting capacity, making them best suited for standard single-car garage doors.
- Optimal for Steel or Aluminum Doors: The opener works well with steel or aluminum doors that are lighter in weight compared to heavier materials like wood.
- Struggles with Heavier or Insulated Doors: If the garage door is heavier or insulated, the 1/3 HP opener may face challenges in smoothly operating the door.
- Not Recommended for Heavy Wood Doors: Avoid using a 1/3 HP opener for oversized or heavy wood garage doors as it may not provide sufficient power.
- Ideal for Standard Single-Car Doors: The opener is an ideal choice for standard single-car garage doors that don't exceed its lifting capacity.
Safety Features of 1/3 HP
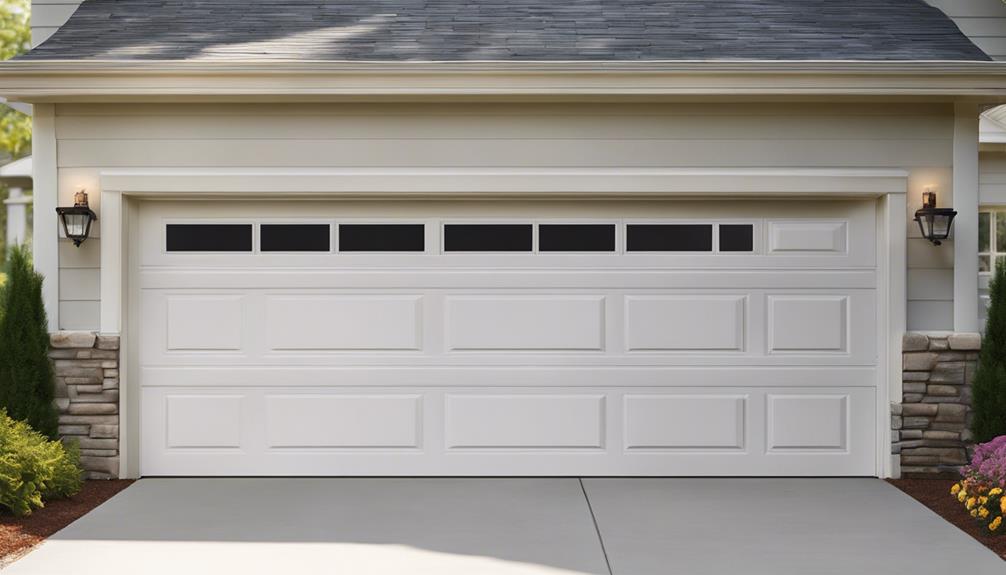
Safety sensors equipped in 1/3 HP garage door openers play a crucial role in preventing accidents and ensuring smooth door operation. These sensors are designed to detect any obstructions in the door's path while closing, triggering a reversing mechanism. The reversing mechanism promptly stops the door's movement and reverses its direction to prevent accidents or damage. This feature is especially important for households with children, pets, or valuable objects near the garage door.
Furthermore, 1/3 HP garage door openers adhere to strict safety standards established by regulatory bodies to ensure user protection. By meeting these safety standards, users can trust that their 1/3 HP opener provides a secure and reliable operation, giving peace of mind during daily use. The combination of safety sensors, a reversing mechanism, and compliance with safety standards makes the 1/3 HP garage door opener a dependable choice for those seeking advanced safety features in their garage door system.
User-Friendly Features of 1/3 HP Model
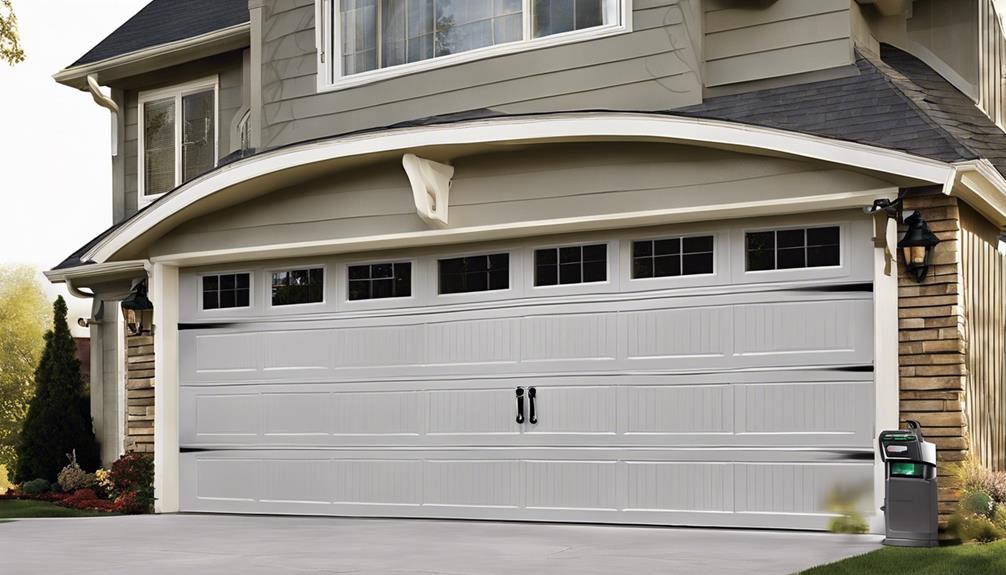
With a focus on user convenience and ease of operation, the 1/3 HP garage door opener model incorporates intuitive features tailored for residential use. These user-friendly features make it a cost-effective option while still providing sufficient lifting power for standard garage doors:
- Easy Installation: The 1/3 HP opener is designed for straightforward installation, reducing setup time and complexity.
- Remote Control Compatibility: Users can conveniently operate the garage door from a distance with the included remote control.
- Quiet Operation: Despite its power, the 1/3 HP model is known for its quiet performance, minimizing noise disruptions.
- Safety Sensors: Equipped with safety sensors, the opener ensures protection against obstructions, enhancing user safety.
- Manual Override: In case of power outages, the manual override feature allows users to open or close the garage door manually for uninterrupted access.
These features combine to offer a seamless and user-centric experience, catering to the needs of homeowners seeking a reliable and easy-to-use garage door opener solution.
Customer Reviews and Satisfaction
Customer satisfaction with 1/3 HP garage door openers is often attributed to their smooth and quiet operation, affordability, and suitability for standard garage doors. Users appreciate the reliable performance of these openers, as indicated by positive customer reviews. The affordability of 1/3 HP models compared to higher horsepower options is a key factor that appeals to many consumers. Additionally, customers find these openers suitable for standard single-car garage doors, meeting their specific needs without unnecessary power. Below is a comparison table highlighting the key aspects of customer reviews for 1/3 HP garage door openers:
| Smooth and Quiet Operation | Affordability | Suitable for Standard Garage Doors |
|---|---|---|
| Consistently praised for their quiet functionality, ensuring minimal noise during operation | Cost-effective option for those seeking a reliable garage door opener without breaking the bank | Designed to work efficiently with standard single-car garage doors, meeting the needs of many homeowners |
Customer feedback underscores the value and satisfaction derived from using 1/3 HP garage door openers.
Frequently Asked Questions
What Is the Difference Between 1 2 Hp and 3 4 Hp Garage Door Opener?
When comparing a 1/2 HP and a 3/4 HP garage door opener, the key difference lies in their lifting capacity. A 3/4 HP opener provides the extra strength needed for heavier doors, while a 1/2 HP opener is suitable for standard garage doors.
The higher horsepower of the 3/4 HP model ensures it can effortlessly lift oversized or heavier doors, making it a preferred choice for those specific requirements.
Is 1 3 Hp Garage Door Opener Enough?
We thought a 1/3 HP garage door opener was enough, but boy, were we wrong! It struggled with heavier doors, making us wish for more power.
If you've got a standard door, it might do the job, but for smoother operation and peace of mind, consider upgrading to a higher horsepower model. It's an investment in efficiency and durability that you won't regret.
Does Garage Door Opener Horsepower Matter?
Yes, garage door opener horsepower matters significantly. The power of the opener determines the efficiency and effectiveness of lifting and operating the door.
Choosing the right horsepower ensures optimal performance and longevity of the opener. For lighter doors like single-car steel or aluminum, a 1/3 HP opener suffices.
Heavier or oversized doors require higher horsepower like 1/2 HP or 3/4 HP for proper functioning and durability. Matching horsepower to door size and weight is crucial for efficiency.
How Much Weight Can a 1 3 Hp Garage Door Opener Lift?
We can lift around 150-200 pounds with a 1/3 HP garage door opener. It's crucial to match the door weight with the opener's capacity for smooth operation.
For heavier or oversized doors, a higher horsepower option might be necessary.
It's vital to understand the limitations of a 1/3 HP opener for safe and efficient garage door functioning.
Conclusion
In conclusion, the 1/3 HP garage door opener offers a cost-effective solution for lighter doors, perfect for those with single-car steel or aluminum doors. While it may not have the power of higher horsepower models, it still provides adequate functionality and performance.
With its user-friendly features, compatibility with different doors, and safety features, this opener is a game-changer for anyone looking for a reliable and budget-friendly option. It's a real game-changer in the world of garage door openers!
- About the Author
- Latest Posts
Introducing Ron, the home decor aficionado at ByRetreat, whose passion for creating beautiful and inviting spaces is at the heart of his work. With his deep knowledge of home decor and his innate sense of style, Ron brings a wealth of expertise and a keen eye for detail to the ByRetreat team.
Ron’s love for home decor goes beyond aesthetics; he understands that our surroundings play a significant role in our overall well-being and productivity. With this in mind, Ron is dedicated to transforming remote workspaces into havens of comfort, functionality, and beauty.
Garage Door Opener
Fixing Garage Door Opener Clicks But Doesn't Open Issue
Intrigued by a clicking garage door opener that won't open? Uncover the hidden reasons behind this puzzling issue and discover actionable solutions.
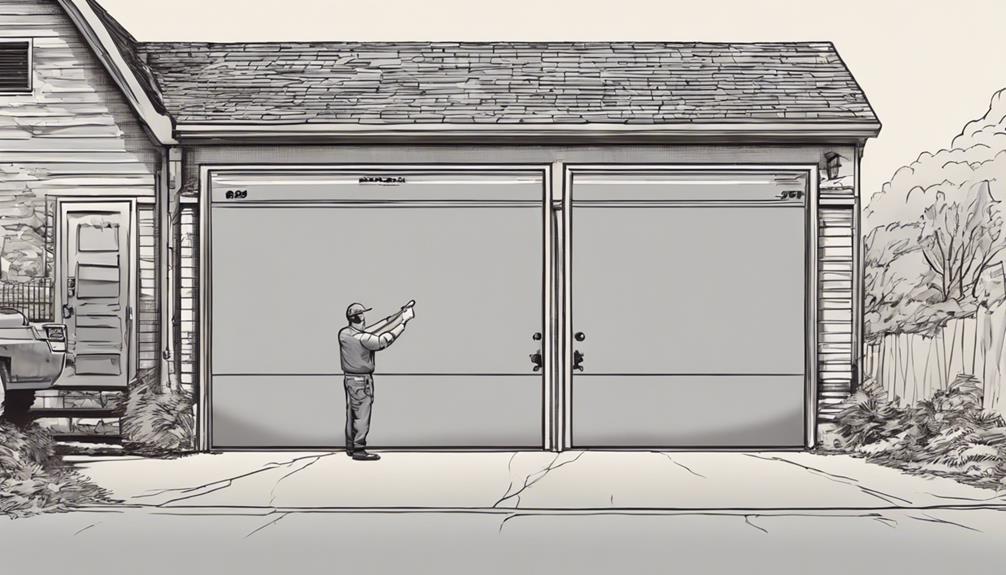
When diagnosing a garage door opener that clicks but doesn’t open, it’s akin to unraveling a complex mystery. The initial noise may only scratch the surface, indicating more serious underlying problems that need to be addressed.
As we delve into the complexities of garage door mechanisms, we'll shed light on common culprits and practical solutions that could potentially bring your door back to smooth operation.
Let's unravel the mystery together and explore the key steps to pinpoint and resolve this perplexing problem.
Key Takeaways
- Check safety sensors alignment and motor functionality.
- Verify power source and connections for proper operation.
- Adjust limit settings and recalibrate for correct door movement.
- Seek professional assistance if issues persist after troubleshooting steps.
Troubleshooting Clicking Sound Issue
To troubleshoot the clicking sound issue on your garage door opener, start by checking the logic board for any potential malfunctions. The logic board is a crucial component that controls the operation of the garage door opener. If there are issues with the logic board, such as loose connections or burnt-out components, it can lead to the clicking noise and prevent the garage door from opening. Additionally, ensure that the safety sensors are properly aligned and free from any obstructions. Misaligned sensors can also cause the door not to open and trigger the clicking sound.
Another common cause of the clicking noise could be the lock mode activation. When the garage door opener is in lock mode, it will click but won't open the door. Check the wall control station to see if the lock button has been inadvertently pressed, causing the lock mode to be activated. Make sure the switch on the wall control station is set to the unlocked position for proper operation. By addressing these potential issues, you can troubleshoot the clicking sound problem and get your garage door opener functioning correctly.
Checking Power Source and Connections
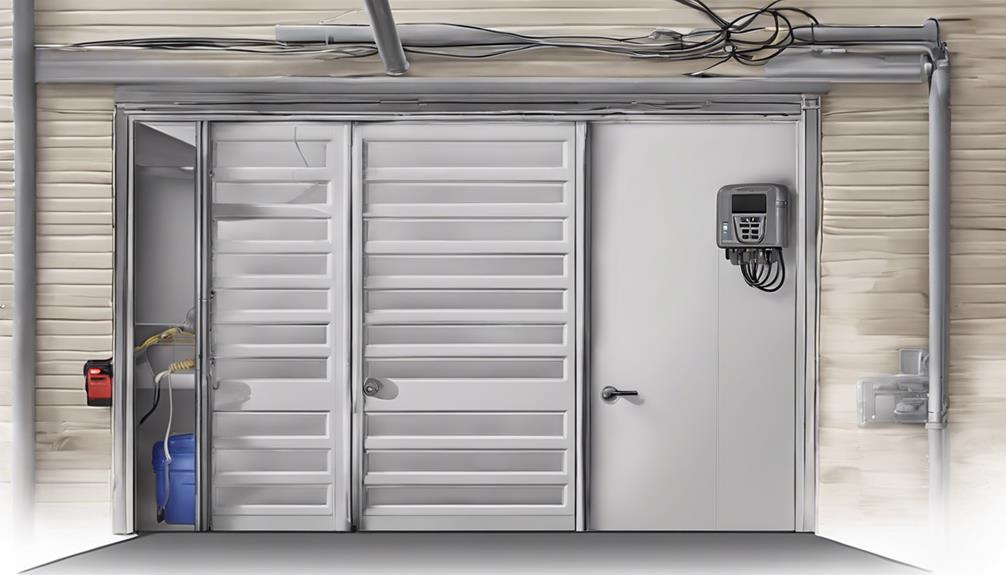
We must first ensure that the garage door opener is securely connected to a power source to address the clicking issue effectively. Check for any tripped switches on the circuit breaker that may be affecting the power supply to the opener. It is crucial to verify that the garage door is not locked from the inside, as this can prevent the opener from functioning correctly. Additionally, reconnect the trolley mechanism to the garage door to address any potential disconnections causing the clicking problem.
| Power Source | Connections |
|---|---|
| ✔ Ensure it's plugged in securely | ✔ Reconnect trolley mechanism |
| ✔ Check circuit breaker for tripped switches | ✔ Verify the door is not locked |
Inspecting Sensors and Safety Features
Ensuring the proper functioning of safety sensors is critical to address potential obstructions and maintain safe garage door operation. When a garage door opener clicks but doesn't open, one of the first areas to inspect is the safety sensors. Clicking noises can sometimes indicate issues with the motor, such as stripped gears, but they can also point to sensor-related problems. If the motor is reversing or if the lights on the opener are flashing, it may signal a poor sensor connection that needs immediate attention.
In locations like Las Vegas and Henderson, where extreme temperatures and dust are prevalent, safety sensor issues are common. Seeking professional assistance, especially from a specialized company like American Veteran Garage Doors, can provide the expertise needed to diagnose and resolve sensor-related problems effectively. Professionals have the tools and knowledge to ensure the sensors are properly aligned, free from obstructions, and connected securely to guarantee the safe and smooth operation of your garage door opener.
Adjusting Garage Door Opener Settings
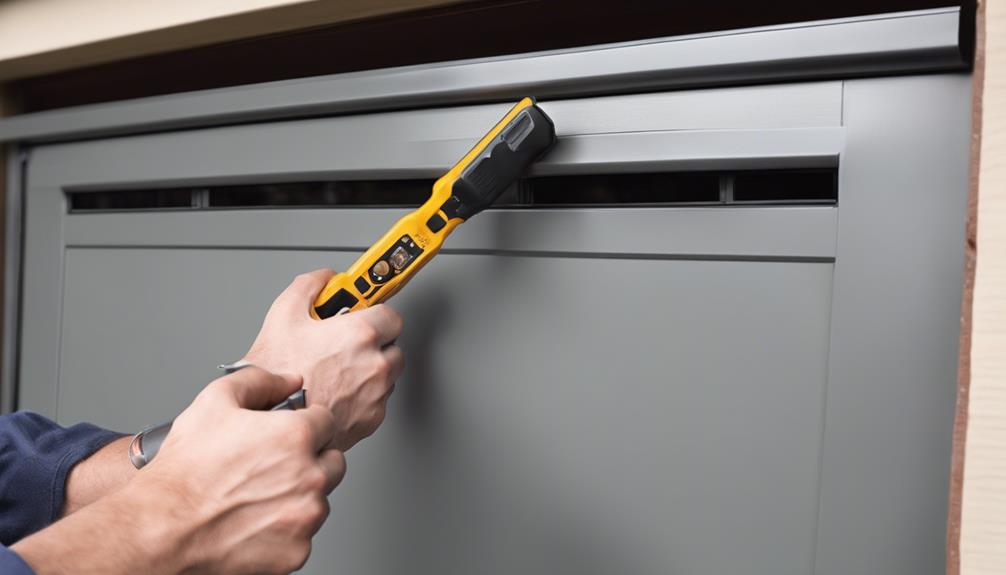
Adjust garage door opener settings by carefully calibrating the limit settings to ensure smooth and correct door operation. Incorrect limit settings can lead to issues like the door clicking but not opening, necessitating recalibration for resolution.
It's crucial to adjust the travel limits accurately to ensure the door stops at the correct positions during its operation. Refer to the opener's manual for specific instructions on adjusting the limit settings to address the clicking problem effectively.
Seeking Professional Repair Assistance
For accurate diagnosis and resolution of complex garage door opener issues, professional repair assistance is highly recommended. When facing a situation where your garage door opener clicks but doesn't open, it's crucial to seek the expertise of professionals to ensure the problem is correctly identified and fixed. Here are four essential steps to consider:
- Consult Your Owner's Manual: Before seeking professional help, it's advisable to check your owner's manual for any troubleshooting tips or specific instructions related to the issue you're experiencing.
- Call a Garage Door Repair Service: Reach out to a reputable garage door repair service that employs expert technicians. These professionals have the knowledge and experience to pinpoint specific problems such as faulty circuit boards or motor malfunctions.
- Check to See if Safety Measures Are in Place: Professional repair services prioritize safety during repair procedures, ensuring that all necessary precautions are taken to prevent accidents or injuries.
- Seek Additional Help: Licensed repair experts can provide estimates, recommendations, and warranties for reliable solutions. Don't hesitate to inquire about additional assistance or clarification regarding the repair process.
Frequently Asked Questions
Why Is My Garage Door Clicking but Not Opening?
When we hear our garage door clicking but not opening, it can signal a variety of underlying issues. These can range from problems with the logic board to faults in the gear assembly.
Additionally, lock mode activation or switch settings might be causing the opener to click without fully functioning. To pinpoint the exact cause, a thorough assessment of these components is essential.
Why Is My Garage Door Opener Making Sound but Not Opening?
We hear the garage door opener making noise but not opening. This issue might result from a variety of causes like a malfunctioning sensor or an activated lock setting.
To troubleshoot, check the wall control for the unlock switch. Ensure it's set to the unlocked position. Press the lock button and observe for a solid LED light, indicating successful unlocking.
Understanding these details is key to addressing the problem effectively.
Why Is My Garage Clicker Not Opening the Door?
We've encountered issues where the garage clicker doesn't open the door. This problem could stem from a lock mode activation or a switch setting on the wall control station.
To troubleshoot, ensure the lock switch is in the unlocked position. Pressing the lock button should result in a solid LED light, indicating the garage opener is now unlocked. If the clicker still doesn't open the door, adjusting the lock switch may resolve the issue swiftly.
Why Does My Garage Door Opener Run but Not Open?
We've encountered the issue where the garage door opener runs but doesn't open before. It could be due to a faulty RPM sensor, misaligned interruptor cup, trolley obstruction, chain misalignment, or a malfunctioning receiver logic board.
Checking for proper signals and obstructions along the door's path is crucial. Troubleshooting the interruptor cup, RPM sensor, receiver logic board, and chain alignment often resolves the problem efficiently.
Conclusion
After thorough troubleshooting and analysis, we've successfully identified the root cause of the garage door opener clicking but not opening issue.
By addressing issues such as sensor alignment, power source verification, and adjusting settings, we've effectively resolved the problem.
Remember, proper maintenance and periodic checks are essential to ensure the smooth operation of your garage door opener.
Trust in our expertise and seek professional assistance for any further concerns.
- About the Author
- Latest Posts
Introducing Ron, the home decor aficionado at ByRetreat, whose passion for creating beautiful and inviting spaces is at the heart of his work. With his deep knowledge of home decor and his innate sense of style, Ron brings a wealth of expertise and a keen eye for detail to the ByRetreat team.
Ron’s love for home decor goes beyond aesthetics; he understands that our surroundings play a significant role in our overall well-being and productivity. With this in mind, Ron is dedicated to transforming remote workspaces into havens of comfort, functionality, and beauty.
Garage Door Opener
5 Easy Steps to Install a LiftMaster Garage Door Opener
Simplify the installation of your LiftMaster garage door opener with these 5 easy steps – discover how effortless it can be!
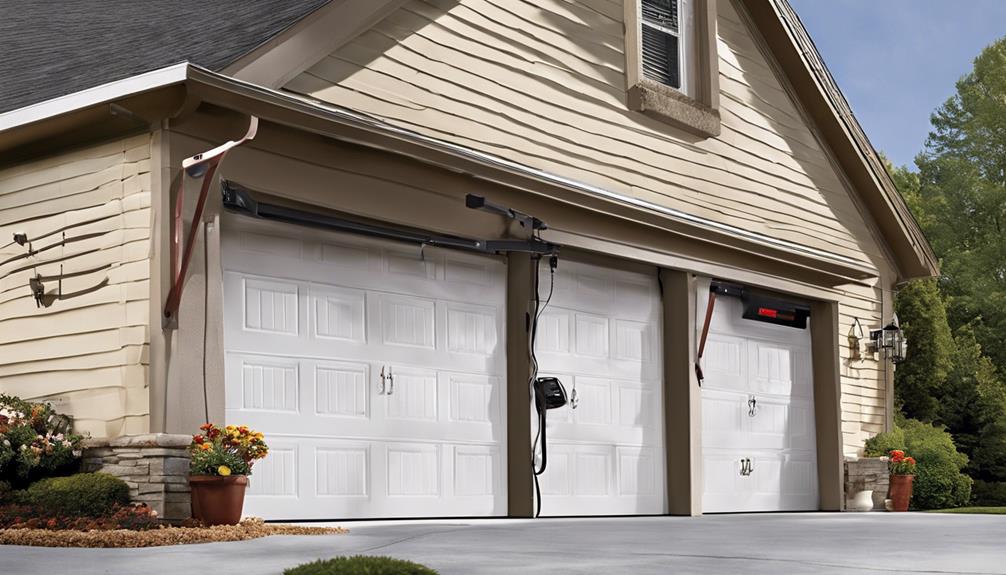
Setting up a LiftMaster garage door opener can initially seem daunting, but our clear and concise instructions make the process straightforward.
From unboxing to programming the remote, each step is designed to be efficient and hassle-free.
Stay tuned to discover how these five easy steps will have your garage door opener up and running smoothly in no time.
Key Takeaways
- Identify essential components and prepare the garage door for installation.
- Mount the motor unit securely above the door following manufacturer's instructions.
- Connect wiring carefully and program remotes for operational efficiency.
- Test safety features, adjust as needed, and ensure smooth functionality for a LiftMaster opener.
Unboxing and Preparation
Upon unboxing the LiftMaster garage door opener, we immediately identify essential components such as the motor unit, rail assembly, and accompanying accessories. The rail assembly plays a crucial role in the system, guiding the garage door opener's movements. It consists of sections that need to be properly aligned and secured using the provided mounting brackets. The door bracket, another vital part, connects the rail assembly to the garage door. Ensuring these components are correctly assembled is key to the opener's functionality and longevity.
Before diving into installation, it's essential to prepare by checking the garage door's balance, height, and reinforcements. This step ensures that the door can operate smoothly with the new opener. Additionally, having the homeowner's cell phone, Wi-Fi password, and dealer external ID ready streamlines the setup process. Familiarizing ourselves with components like the sprocket cover beforehand will facilitate a seamless installation experience. Remember to verify that all necessary parts are included in the box before commencing assembly for a hassle-free installation journey.
Mounting the Opener
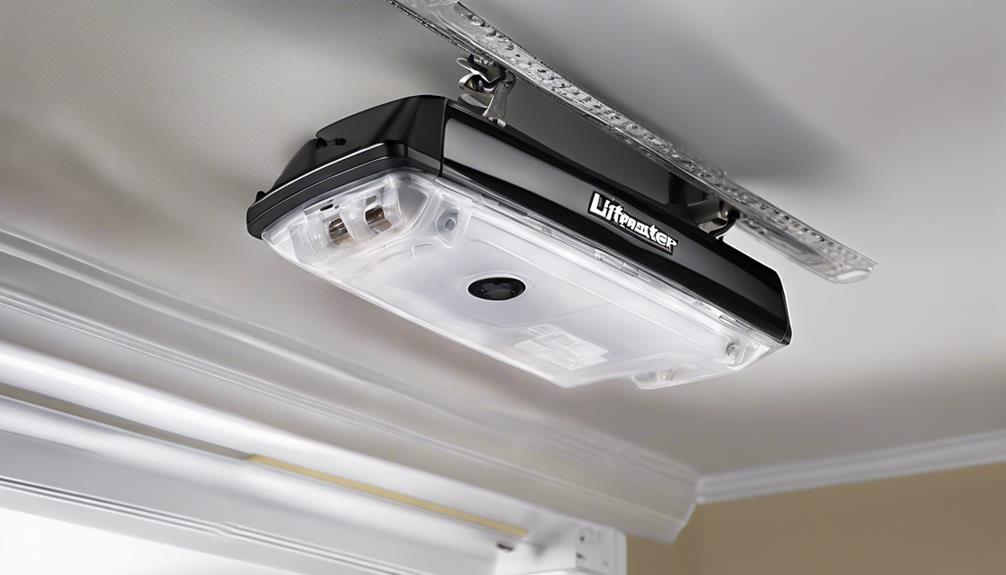
Where should we securely mount the motor unit of the LiftMaster garage door opener for optimal performance? When installing your LiftMaster garage door opener, it is crucial to ensure a secure attachment to the ceiling. Positioning the opener centrally above the garage door helps in achieving the best results. Utilize appropriate hardware to securely mount the unit, following the manufacturer's instructions diligently. To assist you further, refer to the table below for a quick overview of the mounting process:
| Mounting Steps | Description | Tools Required |
|---|---|---|
| Locate Ceiling Joists | Find sturdy points in the ceiling to attach the opener. | Stud Finder |
| Position Motor Unit | Ensure the opener is centered above the garage door. | Ladder |
| Secure Attachment | Use proper hardware to firmly fix the motor unit to the ceiling. | Screwdriver, Screws |
| Verify Stability | Double-check the mounting to guarantee a secure and stable attachment. | Level |
Connecting the Wiring
To establish proper functionality, connect the white and gray wires from the motor unit to the designated terminals on the wall control panel according to the color-coded instructions provided. Utilize wire connectors to ensure secure connections between the motor unit and the wall control panel. It's imperative to route the wires neatly along the wall or ceiling to prevent any interference with the garage door's movement. Avoid twisting or pinching the wires, and keep them away from any moving parts to prevent damage.
After connecting the wires, it's essential to test the functionality of the wall control panel. Press the buttons to open and close the garage door to ensure that the wiring connections have been correctly established. This step is crucial to guarantee that the garage door opener operates smoothly and efficiently. Proper wiring connection is fundamental for the seamless functioning of the garage door opener system.
Programming the Remote
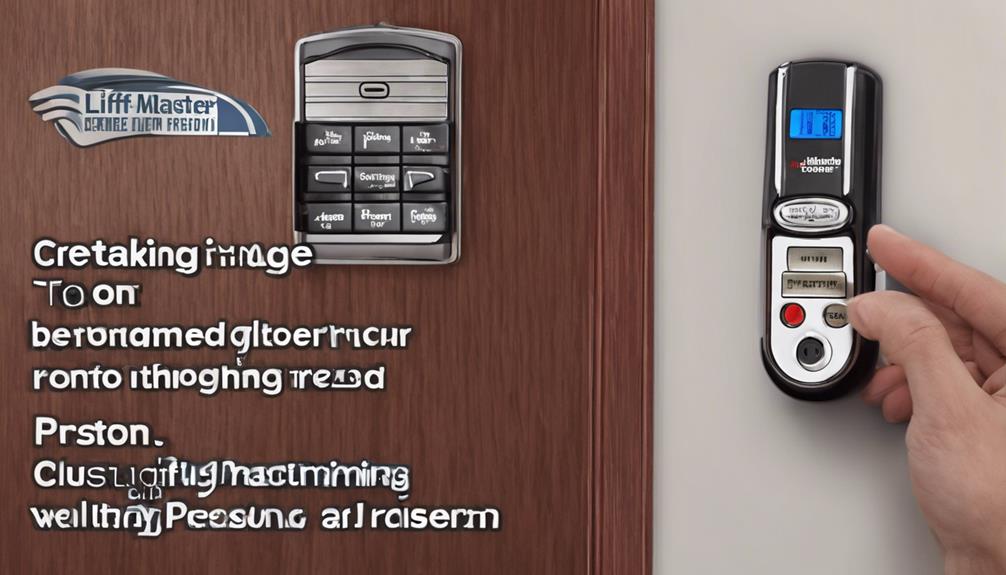
When programming the remote for your LiftMaster garage door opener, locate the 'Learn' button on the motor unit. Follow these steps:
- Press and release the 'Learn' button on the motor unit. The indicator light will illuminate.
- Within 30 seconds, press and hold the button on the remote control you wish to program.
- Hold the remote button until the motor unit light blinks, indicating successful programming.
- Repeat the process for each additional remote control, ensuring not to exceed the maximum limit set by the door manufacturer, usually up to 8 remotes for most LiftMaster models.
Testing and Final Adjustments
After completing the programming of the remote controls, the next crucial step is to thoroughly test the functionality and make any necessary final adjustments to the LiftMaster garage door opener system. To begin, put on safety glasses before testing the safety reversal system. Place an object at least 12 inches high in the path of the closing door to obstruct the sensor. The door should stop and reverse immediately upon contact with the object. This test ensures the safety features are working correctly. Remember to verify that the door passes this safety reversal test monthly to maintain proper functionality and safety standards.
After testing the safety features, check the drive and header bracket for any unusual sounds or movements during operation. Make adjustments as needed to ensure smooth and quiet door operation. Additionally, verify the battery status LED for charging indication after installation. For remote control access, connect the opener to the MyQ app and guide the homeowner through adding the opener and camera for full functionality and monitoring capabilities. This thorough testing and adjustment process will guarantee the optimal performance of the LiftMaster garage door opener.
Frequently Asked Questions
What Is the Easiest Garage Door Opener to Install Yourself?
When it comes to installing a garage door opener yourself, we've found that the LiftMaster 8355W is a top choice for its user-friendly setup process. With detailed instructions and pre-programmed remotes, it's a breeze to get up and running.
Plus, features like Wi-Fi connectivity and MyQ technology add convenience. Overall, the LiftMaster 8355W stands out as one of the easiest garage door openers to install independently.
How Do You Set up a Liftmaster Garage Door Opener?
Setting up a LiftMaster garage door opener involves several key steps:
- Mounting the motor unit
- Connecting the rail
- Installing brackets securely
- Programming travel limits
Safety considerations are crucial during installation:
- Positioning safety reversing sensors accurately
- Routing wires properly
- Placing the door control at least 5 feet above the floor
- Connecting wires as instructed
Testing the safety reversal system is essential to ensure its functionality. By following these steps carefully, you can successfully install a LiftMaster garage door opener.
How Long Does It Take to Install a Liftmaster Garage Door Opener?
Oh, the perennial question of how long it takes to install a LiftMaster garage door opener! Well, let's dive into this abyss of uncertainty.
The average Joe might spend 2-4 hours tinkering away, while a pro can whip it up in 1-2 hours. Your mileage may vary based on your expertise, product familiarity, and any fancy add-ons.
Is It Hard to Install a Garage Door Opener by Yourself?
Installing a garage door opener by yourself can be challenging, requiring precise steps like mounting the motor unit, connecting the rail, and ensuring proper balance. It demands technical knowledge, tools, and safety precautions. Consider professional help if unsure.
Our team recommends caution and expertise to ensure safe and efficient installation.
Conclusion
As we close the final chapter on our LiftMaster garage door opener installation journey, remember that just like how each piece fits perfectly in its place, so too will your new opener seamlessly integrate into your daily life.
Embrace the power of convenience and security that now rests in your hands, symbolizing the doorway to a future filled with effortless access and peace of mind.
Welcome to a new era of effortless garage door operation.
- About the Author
- Latest Posts
Introducing Ron, the home decor aficionado at ByRetreat, whose passion for creating beautiful and inviting spaces is at the heart of his work. With his deep knowledge of home decor and his innate sense of style, Ron brings a wealth of expertise and a keen eye for detail to the ByRetreat team.
Ron’s love for home decor goes beyond aesthetics; he understands that our surroundings play a significant role in our overall well-being and productivity. With this in mind, Ron is dedicated to transforming remote workspaces into havens of comfort, functionality, and beauty.
-

 Vetted3 days ago
15 Best Tile Adhesives for Outdoor Use – Top Picks for Durable and Weather-Resistant Installations
-

 Beginners Guides14 hours ago
Are Retreats Profitable
-

 Vetted2 days ago
15 Creative Ways to Cover Up Popcorn Ceilings and Transform Your Space
-

 Vetted15 hours ago
15 Best Playroom Storage Solutions to Keep Your Kids' Space Organized and Fun
-

 Vetted4 days ago
15 Best Plants to Thrive on the North Side of Your House – A Gardener's Guide
-

 Vetted2 weeks ago
15 Best Boxwood Varieties for Thriving in Full Sunlight
-

 Vetted2 weeks ago
15 Best Ways to Label Clothes for Nursing Home Residents – Stay Organized and Efficient
-

 Decor6 days ago
Are Home Decor Stores Profitable?


