Appliances
How Do I Reset My Hampton Bay Ceiling Fan Remote?
2025
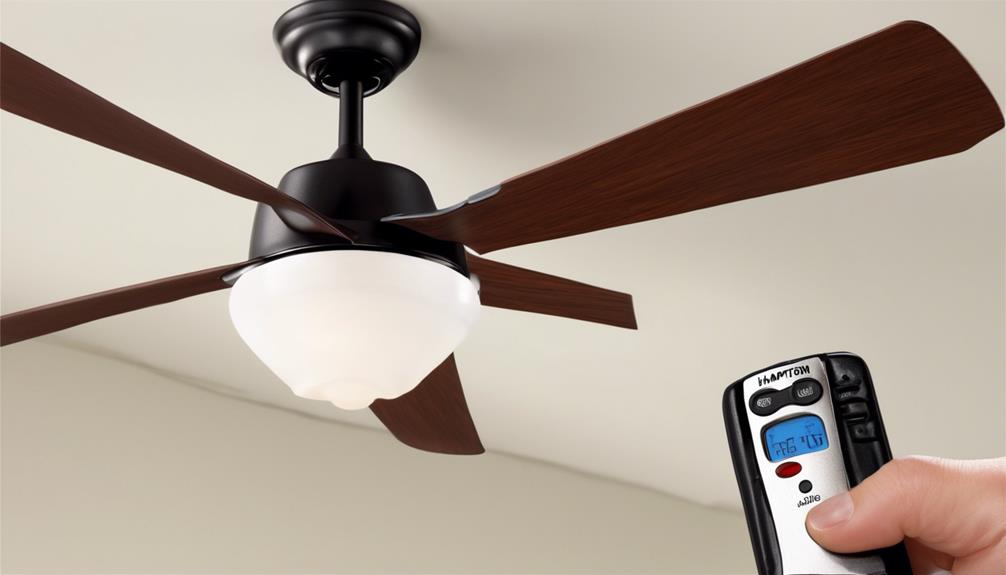
If you’re in the same boat as us and are puzzling over how to get your Hampton Bay ceiling fan remote reset, then you’ve landed in the right spot. In this guide, we’re going to guide you through the process of resetting your remote, ensuring your fan operates seamlessly once again.
It's a simple process that anyone can do, and we'll explain it in a clear and concise manner. By following our instructions, you'll be able to quickly and easily reset your Hampton Bay ceiling fan remote without any hassle.
So, let's get started and get your fan back to its optimal performance in no time.
Key Takeaways
- The reset button for the Hampton Bay ceiling fan remote is typically found on the back or side of the remote.
- Press and hold the reset button for approximately 5 seconds to clear previous settings and establish a new connection between the remote and the ceiling fan.
- After releasing the reset button, wait for the remote to finish resetting and test the connection by pressing buttons on the remote.
- If the remote still doesn't work after resetting, troubleshoot common issues such as checking the batteries, ensuring proper power connection, and contacting Hampton Bay customer support for further assistance.
Find the Reset Button on the Remote
To reset a Hampton Bay Ceiling Fan remote, follow these steps:
- Locate the reset button on the remote. It's typically found on the back or side of the remote, depending on the model. The reset button is small and recessed, so you may need a pen or paperclip to press it.
If you're experiencing issues with your remote, troubleshoot it using these steps:
- Check the battery level. One common issue is a depleted battery. Remove the battery cover on the back of the remote and replace the battery with a fresh one. Ensure that you align the positive and negative terminals correctly.
If the battery replacement doesn't solve the problem, proceed with resetting the remote:
- Press and hold the reset button for approximately 5 seconds. You should see the LED light on the remote blink.
- Release the reset button and wait for the remote to re-establish connection with the ceiling fan.
Turn off the Power to the Ceiling Fan
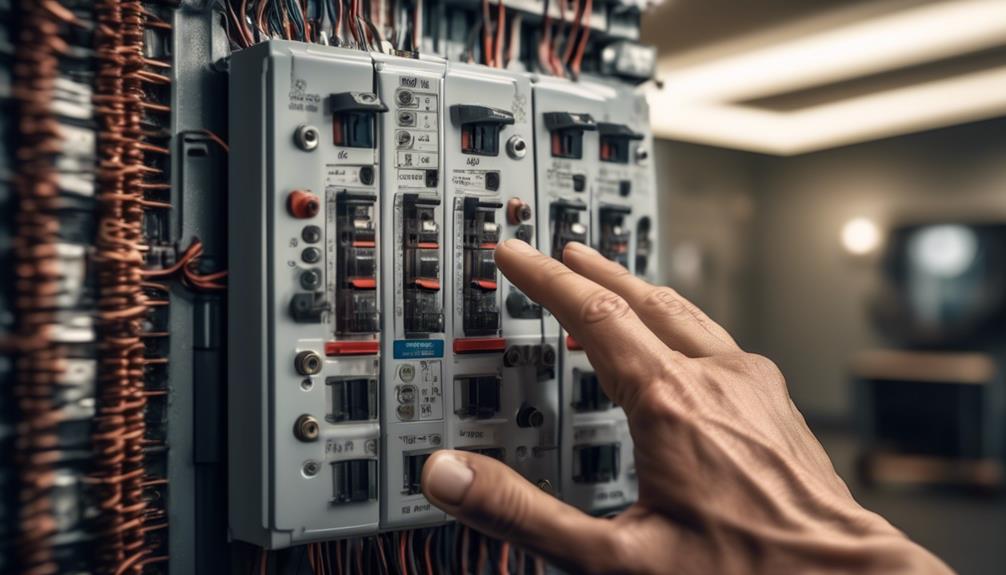
After locating the reset button on the remote and troubleshooting any battery issues, the next step in resetting a Hampton Bay Ceiling Fan remote is to turn off the power to the ceiling fan. This step is crucial in ensuring a successful reset and preventing any electrical issues.
Here is a step-by-step guide on how to turn off the power to your Hampton Bay Ceiling Fan:
- Locate the circuit breaker: In order to turn off the power to the ceiling fan, you'll need to locate the circuit breaker that controls the fan's electrical supply. This is typically found in the main electrical panel of your home.
- Identify the correct circuit: Look for the circuit breaker labeled specifically for the ceiling fan. If it isn't labeled, you may need to switch off each breaker one by one until you find the correct one.
- Flip the switch: Once you have identified the correct circuit breaker, flip the switch to the 'off' position. This will cut off the power supply to the ceiling fan.
- Verify power outage: To ensure that the power to the ceiling fan is completely turned off, test the fan by pressing any of the buttons on the remote. If the fan doesn't respond, then the power has been successfully turned off.
Remember to always exercise caution when working with electricity. If you're unsure or uncomfortable with turning off the power yourself, it's best to consult a professional electrician.
Press and Hold the Reset Button for a Few Seconds
To successfully reset the Hampton Bay Ceiling Fan remote, simply press and hold the reset button for a few seconds. The reset button is located on the back of the remote, usually near the battery compartment. It's a small, recessed button that may require a pen or paperclip to access.
Pressing and holding the reset button allows the remote to clear any previous settings and establish a new connection with the ceiling fan.
If you're experiencing issues with your remote connection, such as the fan not responding to the remote commands or the remote not working at all, performing a reset can often resolve the problem. This is because the reset process restores the remote to its default settings, eliminating any potential glitches or malfunctions.
Before attempting to reset the remote, make sure the power to the ceiling fan is turned off. This is important for safety purposes and to avoid any electrical interference during the reset process.
Once the power is off, locate the reset button on the remote and press and hold it for about 5 seconds. Release the button, and the remote will be reset.
Release the Reset Button and Wait for the Remote to Reset
After holding the reset button for a few seconds, it's important to release the button and patiently wait for the remote to complete the resetting process. This step is crucial in re-pairing the remote and troubleshooting any connection issues.
Here's what you need to do:
- Release the reset button: Once you've held the reset button for a few seconds, let go of it. This action signals the remote to start the resetting process.
- Observe the remote: After releasing the reset button, keep an eye on the remote. It may take a few moments for the remote to reset and establish a new connection.
- Wait for the remote to reset: Give the remote some time to complete the resetting process. This may vary depending on the model and manufacturer's specifications. Be patient and avoid pressing any buttons during this time.
- Test the connection: Once the remote has finished resetting, test its connection by pressing some buttons. Check if the commands are being transmitted to the ceiling fan. If everything is working properly, you have successfully reset your Hampton Bay ceiling fan remote.
Reconnect the Power to the Ceiling Fan
Now that the reset button has been released and we've waited for the remote to reset, the next step is to reconnect the power to the ceiling fan.
This step is crucial in order to restore the fan's functionality. By ensuring a proper power source connection, we can proceed with resetting the remote control and troubleshooting any common issues that may arise.
Power Source Reconnection
We can now proceed with reconnecting the power source to the Hampton Bay ceiling fan. Follow these steps to ensure a successful power source reconnection:
- Turn off the power: Before reconnecting the power, make sure the switch or circuit breaker supplying power to the fan is turned off. This will prevent any electrical accidents or damage.
- Locate the power wires: Identify the power wires coming from the electrical box in the ceiling. These wires are typically colored black and white.
- Connect the wires: Use wire nuts to securely connect the black power wire from the ceiling to the black power wire from the fan. Similarly, connect the white power wire from the ceiling to the white power wire from the fan.
- Secure the connections: After connecting the wires, gently tug on each wire to ensure they're securely attached. Double-check that the wire nuts are tight and properly covering the wire connections.
Resetting the Remote Control
To reset the remote control for your Hampton Bay ceiling fan, the power must be reconnected. Here is a step-by-step resetting process explanation:
- Turn off the fan using the wall switch or circuit breaker.
- Wait for at least 30 seconds to allow the fan's internal components to fully power down.
- Locate the power source for the fan, which is typically a switch on the wall or a circuit breaker in the electrical panel.
- Turn the power source off and then back on again.
- Once the power is restored, the remote control should be reset and ready for use.
If the remote control still doesn't work after following these steps, there are a few troubleshooting tips you can try. First, check the batteries in the remote control and replace them if necessary.
Additionally, ensure that the receiver in the fan is properly connected and not loose.
If these steps don't resolve the issue, it may be necessary to contact Hampton Bay customer support for further assistance.
Troubleshooting Common Issues
To troubleshoot common issues with your Hampton Bay ceiling fan, the first step is to reconnect the power to the fan. This simple action can often resolve various problems, such as ceiling fan noise or remote signal interference. Here are some steps to help you reconnect the power:
- Turn off the fan: Locate the fan's power switch and turn it off. This ensures your safety while working on the fan.
- Turn off the circuit breaker: Locate the circuit breaker that controls the power to the fan and switch it off. This step ensures that there's no power flowing to the fan.
- Wait for a few minutes: Give the fan some time to completely power down.
- Turn the power back on: Flip the circuit breaker back on and then turn on the fan's power switch.
Test the Remote to Ensure It Is Working Properly
Now that we've successfully reset the Hampton Bay ceiling fan remote, it's crucial to test its functionality to ensure it's working properly.
By conducting a remote functionality check, we can identify any potential issues that may arise and troubleshoot them accordingly.
This step is essential to guarantee that the remote is in optimal working condition and ready to be used for controlling the ceiling fan.
Remote Functionality Check
We can verify the functionality of the remote by conducting a thorough test to ensure it's operating correctly. Here's how you can check if your Hampton Bay ceiling fan remote is working properly:
- Replace the remote batteries: Start by replacing the batteries in the remote. A weak battery can cause the remote to malfunction or not work at all.
- Pair the remote with the ceiling fan: Follow the manufacturer's instructions to pair the remote with your ceiling fan. This process may involve pressing certain buttons on the remote and the fan's receiver.
- Check the remote's buttons: Press each button on the remote and observe if the corresponding function is working correctly. Make sure the fan turns on and off, changes speed, and controls the light (if applicable).
- Test the range: Walk around the room while using the remote to check if it works from different distances. A good remote should have a reliable range throughout the room.
Troubleshooting Remote Issues
After conducting a thorough test to verify the remote's functionality, we can now proceed to troubleshoot any issues that may arise.
If you're experiencing problems with your Hampton Bay ceiling fan remote, there are a few steps you can take to troubleshoot the issue.
First, make sure that the remote is properly programmed to the fan. Refer to the user manual for instructions on how to program the remote.
If the remote is already programmed correctly, the next step is to check the battery. A weak or dead battery can cause the remote to malfunction. Replace the battery with a fresh one and test the remote again.
If the remote still doesn't work, it may be necessary to contact customer support for further assistance.
Can the Information on Ceiling Fan Remote Ready Help Me Reset My Hampton Bay Ceiling Fan Remote?
Yes, the information on ceiling fan remote ready can definitely help you reset your Hampton Bay ceiling fan remote. Simply follow the ceiling fan remote explanation provided in the manual or online guide to easily troubleshoot and reset your remote for smooth and convenient operation of your ceiling fan.
Frequently Asked Questions
How Do I Troubleshoot a Hampton Bay Ceiling Fan Remote That Is Not Responding After a Reset?
When troubleshooting a Hampton Bay ceiling fan remote that isn't responding after a reset, there are a few steps you can take.
First, check the remote batteries to ensure they're properly installed and have enough power.
Next, make sure the remote signal strength is strong by standing close to the fan and pointing the remote directly at it.
If the issue persists, you may need to contact customer support for further assistance.
Can I Reset My Hampton Bay Ceiling Fan Remote Without Turning off the Power to the Ceiling Fan?
We can reset the Hampton Bay ceiling fan remote without turning off the power to the fan. There are alternative methods to reset the remote, which can be helpful if the fan is in use or if you don't want to disrupt power to other devices.
To troubleshoot, we can try pressing and holding the reset button on the remote for a few seconds. If that doesn't work, we can also try removing the batteries and pressing all the buttons on the remote to discharge any remaining power.
How Often Should I Reset My Hampton Bay Ceiling Fan Remote?
When it comes to maintaining our Hampton Bay ceiling fan remote, we need to consider how often to replace the batteries and troubleshoot the remote connection.
Regularly checking the battery life and ensuring a strong connection will help keep the remote functioning properly.
By following these maintenance practices, we can avoid the need to reset the remote frequently.
It's important to stay proactive and address any issues as soon as they arise for optimal performance.
What Should I Do if the Reset Button on My Hampton Bay Ceiling Fan Remote Is Not Working?
If the reset button on your Hampton Bay ceiling fan remote isn't working, there are alternative solutions you can try before giving up.
First, make sure the battery is properly installed and functioning.
Next, check if there are any obstructions or interference around the reset button.
If the issue persists, try a manual reset by removing the battery and holding down the reset button for 10 seconds.
If all else fails, contact customer support for further troubleshooting tips.
Are There Any Alternative Methods to Reset a Hampton Bay Ceiling Fan Remote if I Cannot Find the Reset Button?
If you're unable to locate the reset button on your Hampton Bay ceiling fan remote, there are alternative methods to reset it.
Troubleshooting tips can be helpful in these situations.
By power cycling the fan, removing the batteries, or performing a factory reset, you may be able to reset the remote.
These alternative methods should be attempted with caution and in accordance with the manufacturer's instructions to ensure proper functionality.
Conclusion
In conclusion, resetting your Hampton Bay ceiling fan remote is a simple process that can be done by following these steps:
- Locate the reset button
- Turn off the power
- Hold the reset button for a few seconds
- Reconnect the power
A real-life example of the effectiveness of this process is when a user experienced connectivity issues with their remote. However, after resetting it, the remote started working perfectly again.
It's important to follow these steps precisely to ensure the remote is reset properly and functions correctly.
- About the Author
- Latest Posts
Introducing Ron, the home decor aficionado at ByRetreat, whose passion for creating beautiful and inviting spaces is at the heart of his work. With his deep knowledge of home decor and his innate sense of style, Ron brings a wealth of expertise and a keen eye for detail to the ByRetreat team.
Ron’s love for home decor goes beyond aesthetics; he understands that our surroundings play a significant role in our overall well-being and productivity. With this in mind, Ron is dedicated to transforming remote workspaces into havens of comfort, functionality, and beauty.
Garage Door Opener
Mastering the Dip Switch on Your Garage Door Opener
Journey into the mysterious world of dip switches on your garage door opener and uncover the secrets to enhancing your system's security and efficiency.
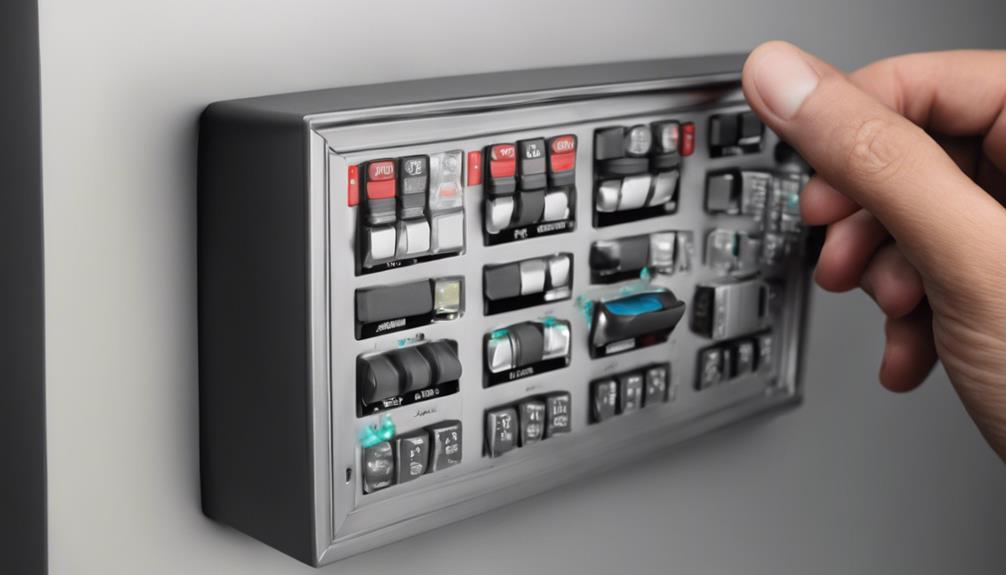
When it comes to your garage door opener, understanding how to master the dip switch is crucial. It is like finding the key to unlock a hidden treasure, as knowing how these switches function can greatly impact your system’s security and efficiency.
So, if you've ever wondered about those mysterious buttons on your opener, stay tuned to discover the secrets behind mastering the dip switch and elevating your garage door experience to a whole new level.
Key Takeaways
- Dip switches provide secure codes for opener communication.
- Locate dip switches near the antenna wire for setup.
- Accurate dip switch alignment ensures proper functionality.
- Dip switch encryption enhances garage door opener security.
Understanding the Dip Switch Functionality
In garage door opener systems, understanding the functionality of the dip switches is essential for ensuring secure and reliable communication between the remote and the receiver. Dip switches, with their 'on' or 'off' positions, allow for various combinations, facilitating unique codes for each opener system. To program a new remote with the opener, one needs to match the dip switch settings on both the remote and the receiver. This process ensures that the remote can effectively communicate with the receiver, granting access to the garage.
The dip switches play a crucial role in preventing interference from other remotes or signals, providing a secure means of operation. One key component often associated with dip switches is the 'learn button.' This button, located on the opener or the receiver, allows users to easily sync a new remote by pressing it and following the pairing instructions. Understanding how to utilize the dip switches and the learn button correctly guarantees the proper functioning of the entire garage door opener system.
Identifying the Dip Switch Location
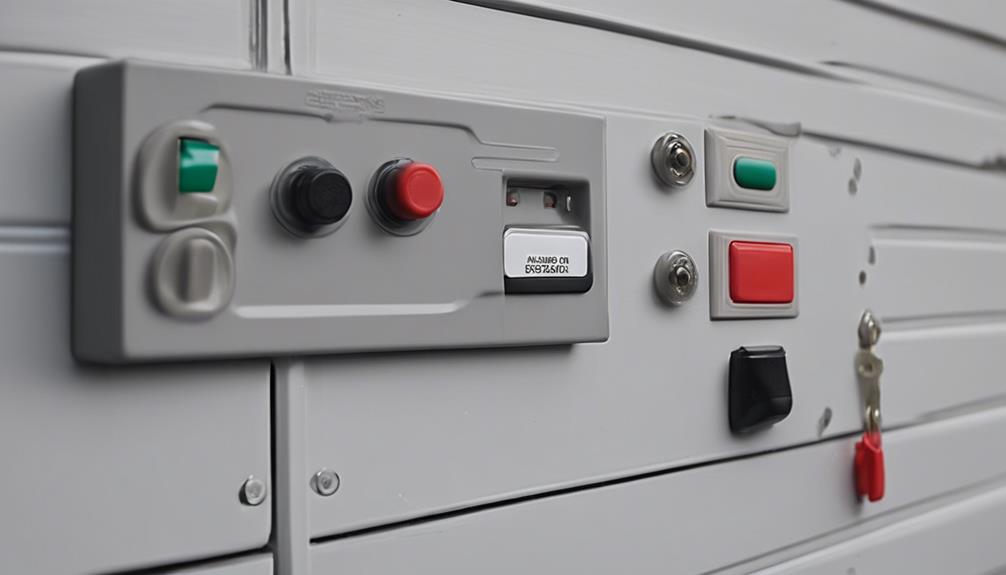
The physical location of the dip switches inside a Genie receiver is typically near the antenna wire, allowing for easy access and configuration of the remote control code.
When identifying the dip switch location, here are key points to consider:
- Near Antenna Wire: The dip switches are commonly positioned close to the antenna wire within the receiver unit for convenient manipulation.
- Numbered 1-9: These dip switches are numbered from 1 to 9, enabling a variety of code combinations for programming the remote.
- Accessing the Receiver: To access the dip switches, one may need to open the cover or panel of the receiver unit, ensuring a direct view of the dip switch settings.
Proper identification of the dip switches is crucial for establishing a secure and functional link between the remote control and the garage door opener. Understanding the physical location and numbering of these dip switches is fundamental for setting up the remote control code accurately.
Setting Up the Dip Switch Correctly
Setting up the dip switch correctly requires precise alignment of the binary switches on both the garage door opener receiver and remote for seamless communication. These binary switches are crucial components that control the rolling code, which is a security feature that generates a new code each time the remote is used, preventing unauthorized access.
To ensure proper functionality, the dip switches on the receiver and remote must be set to the same positions, matching the specific binary values for each switch. Referencing the manufacturer's instructions is essential to configure the dip switches correctly. By aligning the dip switches accurately, you establish a secure and reliable connection between the garage door opener and the remote control.
This meticulous setup guarantees that the rolling code technology operates effectively, enhancing the overall security of your garage door system. Mastering the dip switch setup is fundamental in maintaining a safe and efficient garage door operation.
Troubleshooting Common Dip Switch Issues
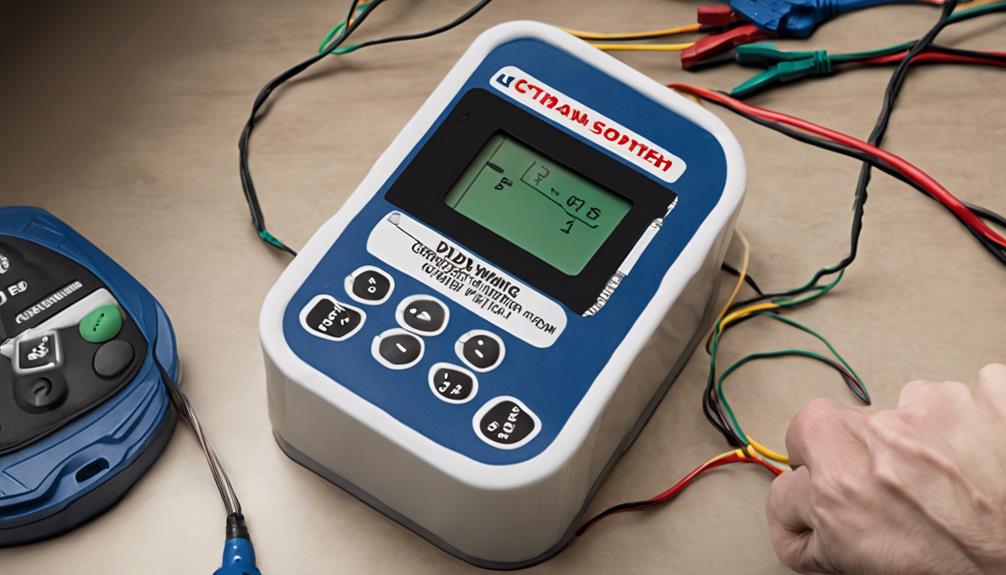
To troubleshoot common dip switch issues effectively, ensure that both the receiver and remote have matching dip switch positions for seamless communication and garage door opener functionality. If you encounter problems with the dip switches, follow these steps to resolve them:
- Verify Matching Patterns: Double-check that the dip switch settings on both the receiver and remote are identical. Press and hold the buttons on your remote while checking the dip switch positions on both devices to ensure they match.
- Adjust for Signal Optimization: If you experience interference or range issues, try adjusting the dip switches to different combinations. Press and hold the learn button on the receiver while setting the dip switches on the remote to find the optimal signal strength.
- Prevent Remote Conflicts: When using multiple remotes, ensure that each remote's dip switches are set identically. Press and hold the programming button on the opener while setting the dip switches on each remote to prevent conflicts in operation.
Enhancing Security With Dip Switch Encryption
When enhancing the security of your garage door opener, implementing dip switch encryption is crucial to prevent unauthorized access. Dip switch encryption adds a vital layer of protection by requiring a unique code match between the remote and receiver.
By setting each dip switch position to either on or off, a specific code is generated, making it challenging for intruders to intercept or duplicate the signal. With billions of potential code combinations available, dip switch encryption significantly reduces the risk of unauthorized entry.
Regularly changing the dip switch settings further enhances security, minimizing the chances of code grabbing or hacking attempts. Understanding the mechanics behind dip switch encryption empowers homeowners to safeguard their garage and valuables effectively.
Frequently Asked Questions
How Do You Program a Dip Switch on a Garage Door Opener?
When programming a dip switch on a garage door opener, the first step is to match the dip switch positions on the remote to those on the receiver. Ensure both switches are set in the same position (up for off, down for on).
Activate the remote by pressing the programming button until the light turns on. Then, press the desired button multiple times to sync it with the opener.
What Does Dip Mean on a Garage Door Opener?
When we talk about 'DIP' on a garage door opener, we're diving into the world of Dual In-line Package switches. These tiny toggles play a crucial role in setting specific codes for your opener.
When Did Garage Door Openers Stop Using DIP Switches?
We stopped using DIP switches in garage door openers around the early to mid-2000s.
The transition to rolling code technology during that period marked a significant shift towards enhanced security. Rolling code technology provides a unique code with each remote use, offering improved protection against unauthorized access.
This change was crucial in addressing security vulnerabilities associated with fixed DIP switch codes, ultimately ensuring better safeguarding of the user's property.
What Is Dip Switch Settings?
Dip switch settings are configurations of small switches inside the garage door opener that dictate its communication with the remote. By flipping these switches up or down, a unique code is established to pair the remote with the opener.
Understanding and correctly setting the dip switches is essential for proper functionality and security. These settings can also help prevent interference from neighboring garage door openers using similar frequencies.
Conclusion
In conclusion, mastering the dip switch on your garage door opener is essential for seamless operation. By carefully aligning the dip switch numbers between the receiver and remote, you can ensure effective communication and security.
Remember, the dip switch functionality may seem simple, but it plays a crucial role in the functionality of your garage door opener system. So, take the time to understand and utilize the dip switch for a reliable and secure garage door operation.
- About the Author
- Latest Posts
Introducing Ron, the home decor aficionado at ByRetreat, whose passion for creating beautiful and inviting spaces is at the heart of his work. With his deep knowledge of home decor and his innate sense of style, Ron brings a wealth of expertise and a keen eye for detail to the ByRetreat team.
Ron’s love for home decor goes beyond aesthetics; he understands that our surroundings play a significant role in our overall well-being and productivity. With this in mind, Ron is dedicated to transforming remote workspaces into havens of comfort, functionality, and beauty.
Garage Door Opener
5 Steps to Clear Your Garage Door Opener in Your Car
Harness the power to reset your garage door opener in your car securely and leave no room for unauthorized access codes—find out how!
Let’s simplify the process of resetting your car’s garage door opener to ensure a secure handover.
Ever wondered how to ensure no lingering access codes remain? Well, the process involves a simple sequence of actions to wipe the slate clean and safeguard your property.
Curious about the exact steps? Stay tuned to discover the precise measures to guarantee a fresh start for the next driver.
Key Takeaways
- Clear existing codes by holding outside buttons until LED blinks.
- Program car's opener button by pressing and holding outside buttons for 30 seconds.
- Test the opener's functionality by pressing the programmed button in your car.
- Troubleshoot issues by checking battery, obstructions, and consulting the manual.
Identify Your Garage Door Opener Model
To begin identifying your garage door opener model, check the manufacturer's label located on the motor unit inside your garage. This label typically contains crucial information such as the model number and brand of your opener. Once you locate this label, note down the model number as this will be essential for finding the specific reset procedures for your opener.
If you're unable to find the label on the motor unit, you can also check the opener's remote for any model information. Some remotes have the model number printed on the back or inside the battery compartment.
Identifying your garage door opener model is the initial step towards ensuring you follow the correct reset procedures and clear codes effectively. By knowing the model, you can refer to the manual for precise instructions tailored to your specific opener, enabling a smooth and successful code clearing process.
Clear Existing Codes
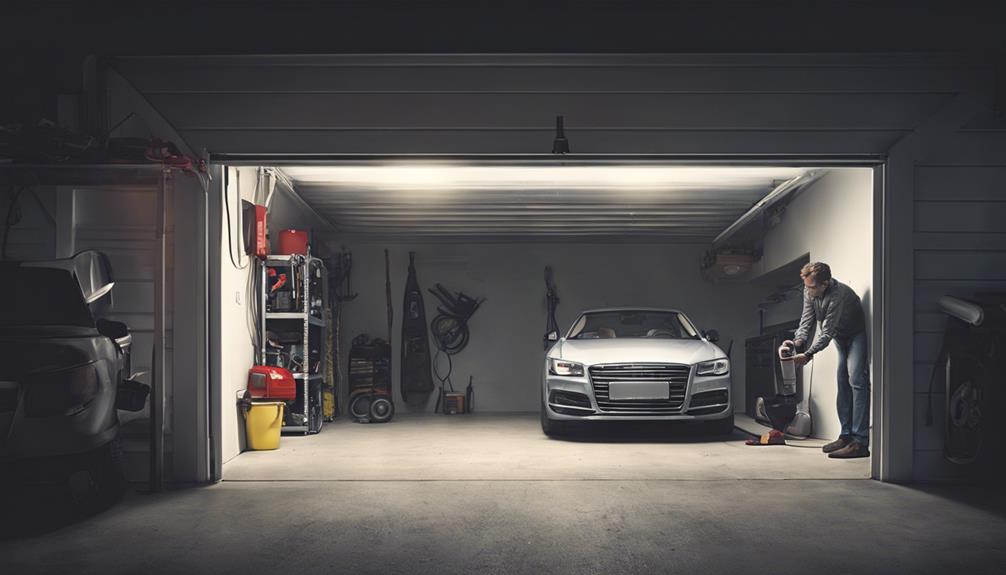
After identifying your garage door opener model, the next step is to clear any existing codes by following these precise instructions. Ensure the ignition is on before proceeding with the code clearing process.
Here's a step-by-step guide to clear existing codes from your garage door opener:
- Hold down both outside buttons simultaneously until the LED light cycles, signaling the beginning of the clearing process.
- Release the buttons once the LED light starts blinking, indicating that the codes have been successfully erased.
- Test each button to confirm that the codes have been cleared from your garage door opener.
- If necessary, consider reassigning the door's code to a different button for your convenience.
Program the Car's Opener Button
Initiate the programming process by pressing and holding the outside buttons on the car's garage door opener module for 30 seconds to clear its memory.
Once the memory is cleared, locate the Learn button on the garage door opener unit. Press and release this button to enter programming mode.
Now, get inside your car and find the button you want to program as the opener. It could be a designated button for this purpose or any button you choose based on the manufacturer's instructions.
Press and hold this button in your car. While holding the button, also press and release the Learn button on the garage door opener. Release both buttons simultaneously. This action will program the selected button in your car to operate the garage door opener.
Test the functionality by pressing the programmed button inside your car to ensure the garage door opens smoothly. If any issues arise, troubleshoot following the manufacturer's guidelines to guarantee proper operation.
Test the Garage Door Opener
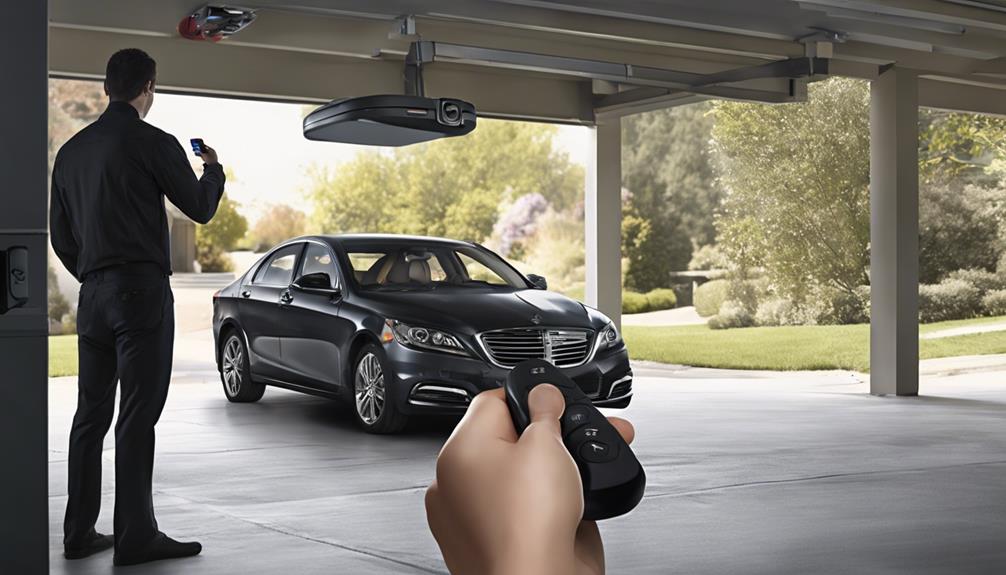
Once the garage door opener button in your car is programmed, the next step is to test its functionality by pressing the programmed button and observing the garage door's response.
- Press the Button: Sit in your car within range of the garage door and press the programmed button on your car's opener.
- Observe the Response: Watch the garage door closely to ensure it responds promptly to the button press.
- Check Movement: Verify that the garage door either opens or closes smoothly as intended.
- Ensure Consistency: Repeat the test a few times to make sure the garage door opener consistently operates from your car.
Testing the garage door opener from your car is essential to confirm that the programming was successful and that the system functions correctly. By following these steps, you can ensure that your car's opener button interacts seamlessly with the garage door opener, providing you with convenient access to your garage.
Troubleshoot Any Issues
To troubleshoot any issues with your garage door opener in your car, first, ensure that the programmed button is functioning correctly to open the garage door smoothly.
Test the battery status of the remote control to guarantee proper functionality.
Check for any physical obstructions that may be hindering the garage door's operation.
If the remote control doesn't work initially, repeat the pairing process to ensure it's correctly paired with the garage door opener.
If problems persist, consult the user manual for troubleshooting tips or seek professional assistance for more complex issues.
By following these steps and ensuring that all components are in working order, you can address and resolve any issues that may arise with your garage door opener system.
Remember to maintain regular checks and upkeep to prevent future problems and ensure smooth operation of your garage door opener.
Frequently Asked Questions
How Do I Clear My Garage Door Opener in My Car?
To clear your garage door opener in your car, start by holding both outside buttons simultaneously until the LED cycles. Once blinking starts, release the buttons and test each one for deleted codes.
It may be necessary to reassign the door's code to a different button for proper functionality. Clearing the memory is crucial when selling or passing on the car to prevent unauthorized access.
Follow specific instructions for your car model due to slight variations in the process.
How Do I Disconnect My Garage Door Opener From My Car?
We disconnect our garage door opener from the car by simultaneously holding the outside buttons until the LED light cycles. Releasing the buttons when the blinking starts clears the codes from the car's memory.
We test each button to confirm successful erasure. For added security, consider reassigning the door's code to a different button. This process is crucial when selling or passing on the car to prevent unauthorized access to the garage.
How Do I Reprogram My Garage Door Opener in My Car?
To reprogram your garage door opener in your car, we need to follow specific steps for successful programming.
First, erase existing codes by holding the outside buttons on the module for 30 seconds.
Then, press the LEARN button on the garage door opener unit and program a button in the car panel by holding it until you hear two clicks.
How Do I Clear My Homelink Button?
When clearing your Homelink button, press and hold the desired button for about 20 seconds until you see a rapid blinking light to confirm. Repeat this process for each button that needs resetting.
Once cleared, you can reprogram the buttons with new garage door opener codes. Remember, patience is key for a successful reset.
Now, let's delve into the steps to liberate your Homelink buttons from their current programming.
Conclusion
In conclusion, by following these 5 simple steps to clear your garage door opener in your car, you can ensure a smooth transition for the next user.
With just a few button presses and a quick test, you can rest easy knowing that all previous codes have been erased.
It's as easy as pie, and you'll feel like a garage door opener wizard once you've completed the process!
- About the Author
- Latest Posts
Introducing Ron, the home decor aficionado at ByRetreat, whose passion for creating beautiful and inviting spaces is at the heart of his work. With his deep knowledge of home decor and his innate sense of style, Ron brings a wealth of expertise and a keen eye for detail to the ByRetreat team.
Ron’s love for home decor goes beyond aesthetics; he understands that our surroundings play a significant role in our overall well-being and productivity. With this in mind, Ron is dedicated to transforming remote workspaces into havens of comfort, functionality, and beauty.
Garage Door Opener
How Long Does It Take to Install a Garage Door Opener: 10 Easy Steps
Discover the surprising truth about how long it really takes to install a garage door opener in just 10 easy steps!
We have all heard the expression, “Rome wasn’t built in a day,” and that sentiment remains accurate when it comes to installing a garage door opener.
Have you ever wondered just how long it takes to complete this task efficiently and effectively?
Well, in this discussion, we'll uncover the steps involved and provide insights into the time it typically takes to install a garage door opener.
So, let's explore this process together and shed light on what it entails.
Key Takeaways
- Proper preparation and tool gathering is essential for a successful installation.
- Ensure garage door readiness, balance, and clear workspace before starting.
- Follow installation steps meticulously for a smooth and efficient process.
- Test the system, adjust settings, and program sensors accurately for optimal functionality.
Gathering Necessary Tools and Materials
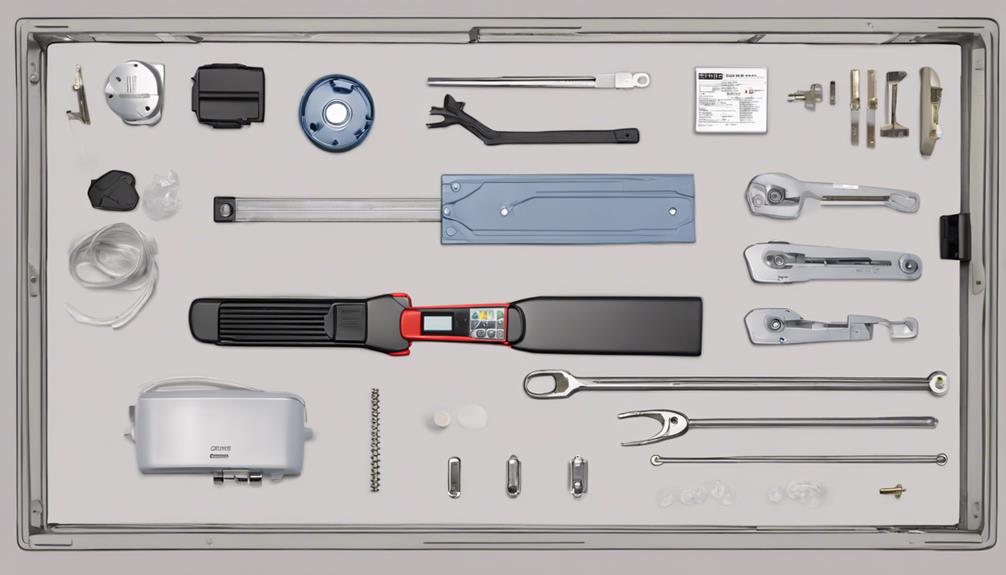
To begin the installation process of a garage door opener, gather essential tools such as a power drill, wrench set, screwdrivers, and a ladder, ensuring readiness for a smooth and efficient setup. It's crucial to have the garage door opener kit, mounting hardware, and safety sensors at hand. These components are vital for a successful installation.
Additionally, having a level, measuring tape, and safety glasses ready will ensure precise installation and safety throughout the process. Before starting, creating a stable work surface and clearing the area around the garage door will provide easy access and a clutter-free environment for installation tasks.
Organizing all components and thoroughly reading the manufacturer's instructions is key to understanding the assembly process and ensuring everything is correctly set up. By having all the necessary tools and materials prepared, we set ourselves up for a hassle-free and successful garage door opener installation experience.
Preparing the Garage Door for Installation
Before proceeding with the installation of the garage door opener, ensuring that the power to the garage door has been disconnected is imperative. This step is crucial for safety reasons and to prevent any accidents during the setup process.
Once the power is off, it's essential to clear the area around the garage door opener. This ensures a safe and accessible workspace for the installation. Additionally, verifying that the garage door is balanced and functioning properly is key to avoiding any issues later on.
By following the manufacturer's instructions diligently, you can gather all the necessary tools and materials required for a smooth installation process. Reading through the guidelines provided by the manufacturer will help you understand the pre-installation requirements and steps involved.
Taking these preparatory steps will make the installation of your garage door opener easier and more efficient.
Attaching the Header Bracket
After ensuring the power to the garage door is disconnected and the workspace is clear, the next step in installing a garage door opener is attaching the header bracket.
The header bracket is a crucial component as it connects the carriage tube to the wall, providing stability during the garage door opener's operation. Proper installation of the header bracket is vital for the smooth functionality of the opener. It's essential to attach the header bracket at the correct height to ensure optimal performance.
Additionally, the header bracket plays a key role in supporting the weight of the garage door opener, making its secure attachment crucial. Following the manufacturer's instructions for attaching the header bracket is imperative for a successful installation.
Installing the Rail and Trolley
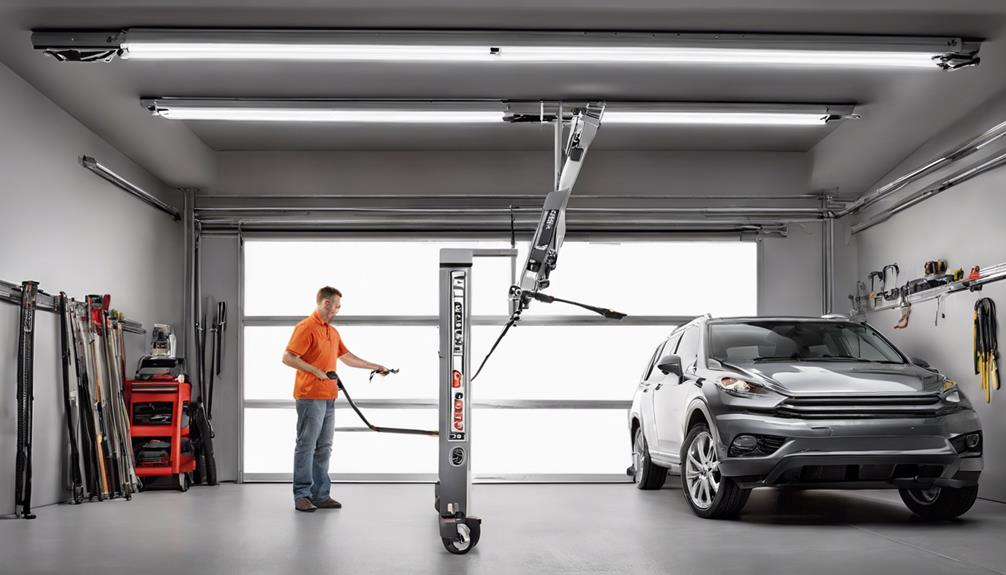
When installing the rail and trolley for the garage door opener, we typically start by securely fastening the rail to the motor unit. Ensuring a solid connection at this stage is crucial for the overall functionality of the system.
Here are the key steps to successfully installing the rail and trolley:
- Secure the Rail to the Motor Unit: Use the provided hardware to firmly attach the rail to the motor unit, following the manufacturer's instructions.
- Attach the Trolley to the Rail: Slide the trolley onto the rail and secure it in place according to the provided guidelines to enable smooth movement.
- Connect the Trolley to the Garage Door: Properly link the trolley to the garage door to establish the necessary connection for operation.
- Secure All Parts: Double-check all connections and fasteners to ensure everything is tightly secured, minimizing the risk of accidents or malfunctions.
- Test Functionality: Before completion, test the functionality of the rail and trolley system to confirm smooth operation and address any issues promptly.
Mounting the Motor Unit
Securing the motor unit to the ceiling using metal straps or angle irons is a critical step in mounting the garage door opener system. When mounting the motor unit, it's essential to position it at least 7 feet above the ground to ensure safe and efficient operation. Proper attachment of the motor unit to the ceiling is crucial for stability and to prevent vibrations that may occur during the garage door's operation.
To achieve a secure attachment, follow the manufacturer's instructions meticulously. These instructions are designed to guide you through the process and help avoid installation errors that could impact the functionality of the garage door opener. By adhering to the guidelines provided by the manufacturer, you can ensure that the motor unit is mounted correctly and securely, promoting smooth and reliable operation of your garage door opener.
Connecting the Opener to Power
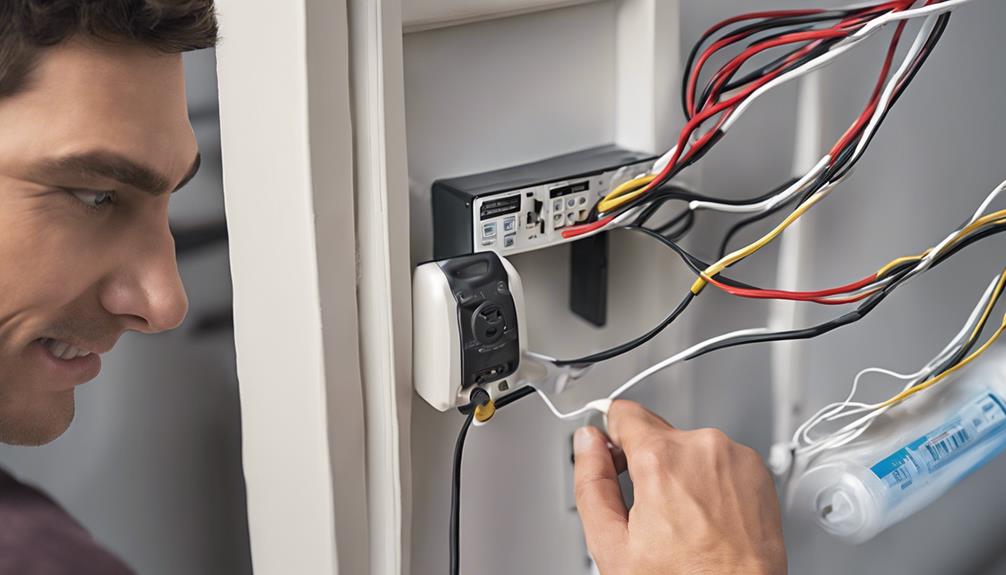
Let's start by plugging in the power cord to the nearby electrical outlet.
It's crucial to check the compatibility of the outlet with the garage door opener.
We need to securely fasten the electrical connections to ensure safe and reliable operation.
Plug in Power Cord
To ensure reliable functionality, securely plug the power cord of the garage door opener into a standard electrical outlet following the manufacturer's guidelines. Make sure to:
- Verify the power cord is firmly connected to the opener.
- Ensure there's a nearby power source accessible.
- Follow the manufacturer's instructions for the correct socket.
- Double-check the power cord connection for proper power supply.
- Confirm the power cord is securely plugged in to operate the opener effectively.
Check Outlet Compatibility
After ensuring the power cord is securely plugged into the garage door opener, the next step is to check the compatibility of the outlet for connecting the opener to power.
For a successful garage door opener installation, the outlet must be a standard one within reach of the opener, grounded, and providing the required voltage. It's crucial to verify the outlet's accessibility and ensure it's in good working condition. Professional installers possess the expertise to assess outlet compatibility and make any necessary adjustments during the installation process.
Secure Electrical Connections
Securing the electrical connections for a garage door opener involves ensuring proper wiring techniques and secure connections to prevent potential electrical hazards. When connecting your garage door opener to power, follow these key steps:
- Check the compatibility of the electrical outlet with the opener's power requirements to avoid any operational issues.
- Utilize correct wiring techniques to maintain a safe and efficient electrical connection.
- Ensure all connections to the power source are secure to guarantee the opener functions correctly.
- Double-check the power source connections to prevent any malfunctions once the opener is in use.
- Adhere strictly to the manufacturer's instructions for electrical connections to guarantee safe and optimal operation of your garage door opener.
Adjusting and Testing the Garage Door Opener
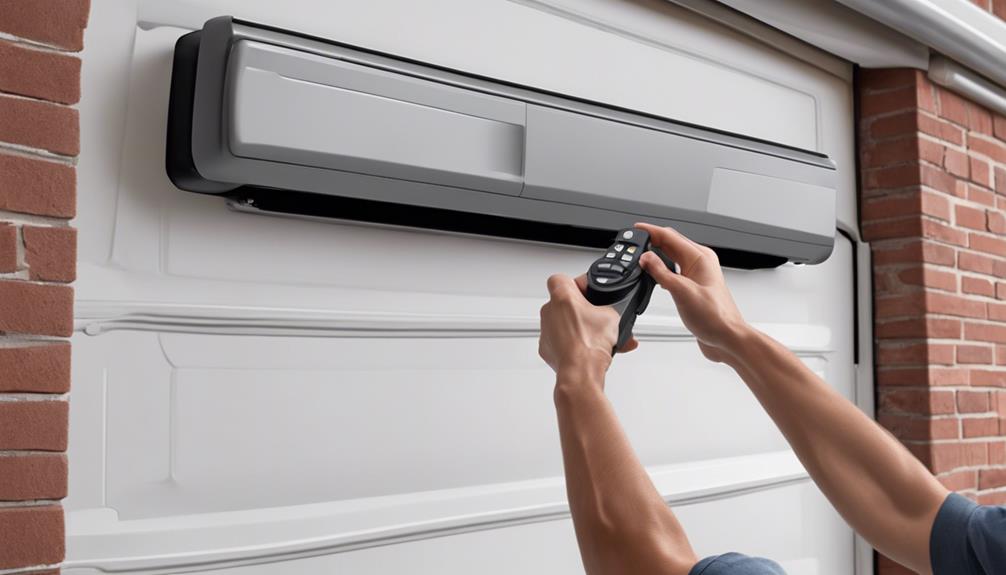
Let's ensure the garage door opener functions smoothly by:
- Confirming sensor alignment
- Testing remote functionality
- Adjusting force settings
These steps are crucial in fine-tuning the opener to operate efficiently and safely. Regularly checking and readjusting these settings will help maintain optimal performance.
Confirm Sensor Alignment
To ensure accurate sensor alignment when adjusting and testing the garage door opener, use a laser level to align the sensor mounts properly. It's crucial to mount the sensors at the appropriate height on each side of the garage door for proper function.
Additionally, route the sensor wires as directed by the manufacturer to avoid interference. After sensor installation, test the door operation and make any necessary adjustments for optimal performance.
Regularly checking and testing the safety sensors will help maintain the garage door opener's functionality. Remember, proper sensor alignment is key to ensuring the safety and efficiency of your garage door system.
Test Remote Functionality
For precise adjustment and testing of the garage door opener, it's essential to verify smooth operation by using the remote control to open and close the door.
Begin by adjusting the travel limits to ensure the door moves accurately in both directions.
Next, fine-tune the force sensitivity settings to guarantee the door stops and reverses correctly when encountering an obstruction.
To complete the process, test the remote range by operating the door from various distances within the property. This step ensures that the remote functionality is reliable and consistent.
Adjust Force Settings
Adjusting the force settings on your garage door opener ensures precise control over the amount of force exerted during operation, promoting smooth functionality and enhancing safety measures. When fine-tuning these settings, consider the following:
- Adjust the force settings to control the amount of force exerted by the garage door opener during operation.
- Testing the force settings ensures that the door closes and opens smoothly without causing damage or safety hazards.
- Proper adjustment prevents the door from closing too forcefully or reversing unexpectedly.
- Testing the force sensitivity helps in fine-tuning the settings for optimal performance and safety.
- Regularly checking and readjusting the force settings is essential for maintaining the garage door opener's functionality.
Programming the Remote Control
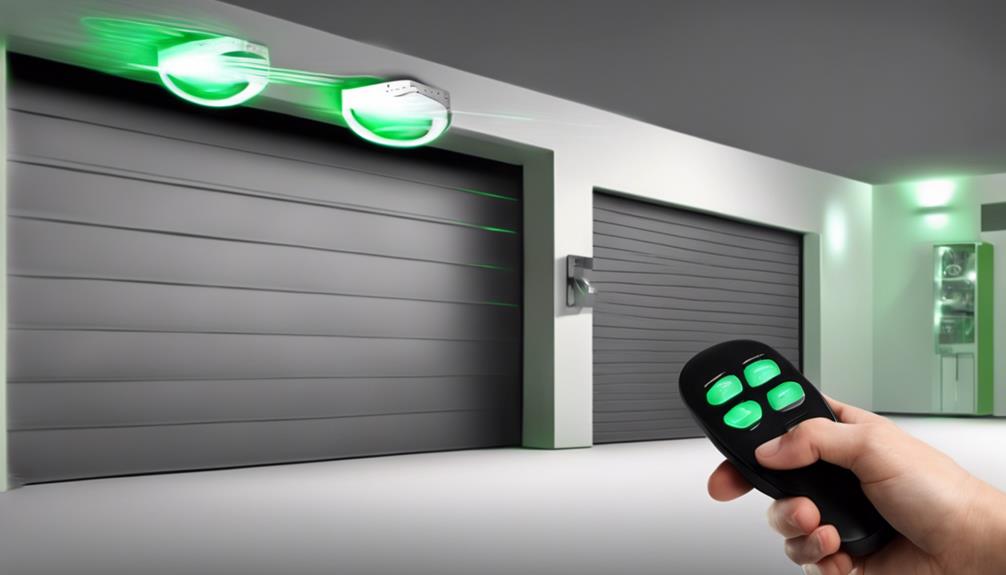
Let's initiate the remote control programming process by following the manufacturer's specific button sequence instructions. Ensure the remote control battery is fresh and properly inserted to facilitate successful programming. Some garage door openers feature a convenient learn button for easy remote programming by syncing with the opener unit. Here is a table summarizing the essential steps for programming the remote control:
| Step | Instructions |
|---|---|
| 1 | Locate the learn button on the opener |
| 2 | Press the learn button |
| 3 | Within 30 seconds, press the remote control button to sync |
Following the step-by-step guide provided with the garage door opener ensures accurate programming of the remote control. By adhering to the manufacturer's instructions and utilizing the learn button feature, the remote control programming process can be completed swiftly and efficiently. Remember, a well-programmed remote control enhances the overall functionality and convenience of your garage door opener system.
Installing Safety Sensors
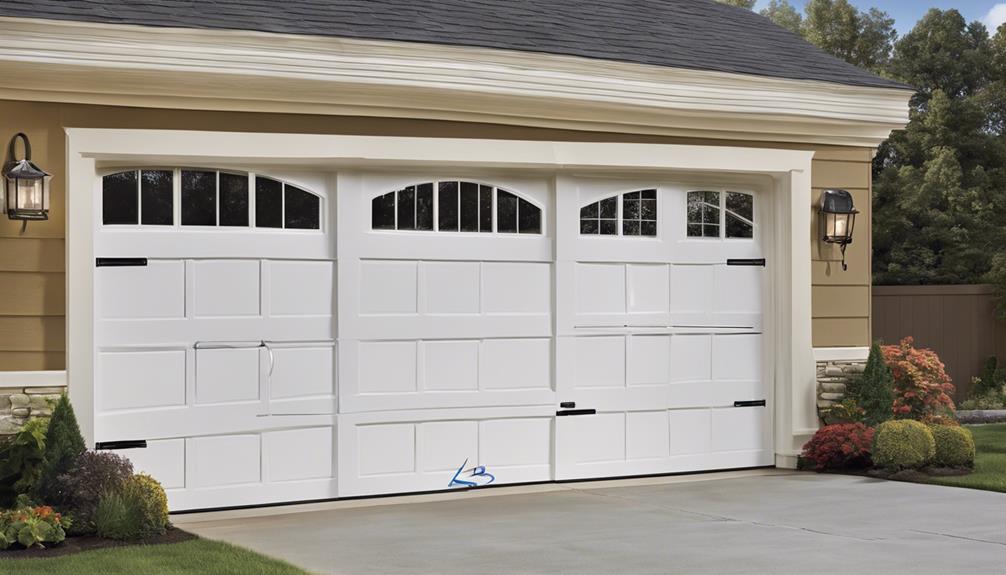
Safety sensors play a crucial role in the effective and safe operation of a garage door opener system. When installing safety sensors, attention to detail is key to ensure proper alignment and functioning. Here are some essential tips for installing safety sensors:
- Positioning: Install the sensors near the bottom of the garage door tracks, facing each other.
- Wiring: Connect the sensors to the opener unit following the manufacturer's instructions carefully.
- Alignment: Make sure the sensors are perfectly aligned to allow the infrared beams to communicate effectively.
- Testing: Test the sensors by closing the door and interrupting the beam to ensure they stop the door from closing.
- Final Check: Conduct a final inspection to guarantee the sensors are functioning correctly before completing the installation.
Final Inspection and Cleanup
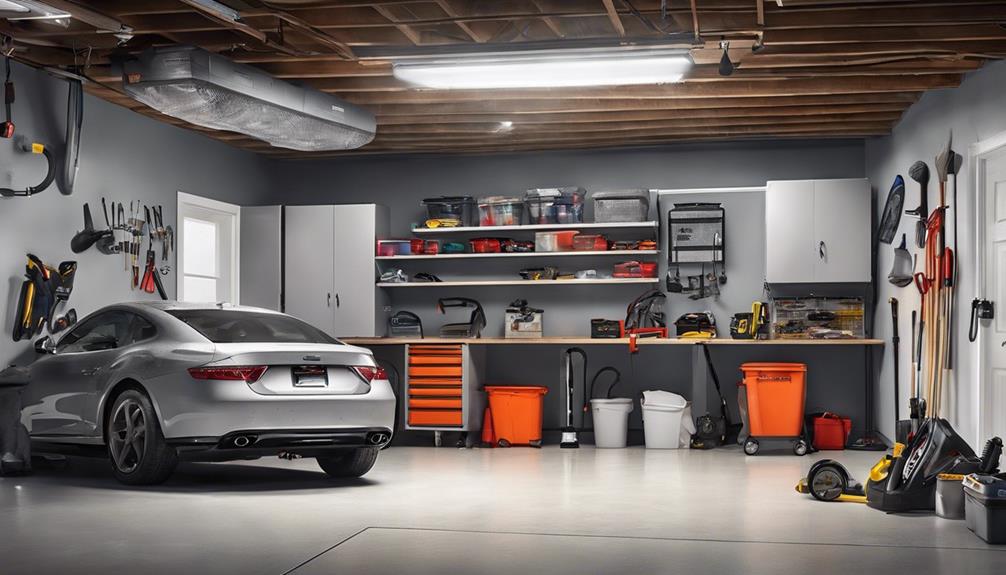
Upon completing the installation process, it is essential to conduct a thorough inspection of the garage door opener to ensure proper functionality and alignment. This final step guarantees that the opener operates smoothly and safely. Here is a detailed checklist for the final inspection:
| Inspection | Actions |
|---|---|
| Proper Installation | Check all components for secure fitting and alignment. |
| Functionality | Test the opener by opening and closing the garage door. |
| Safety Features | Verify sensors and auto-reverse mechanisms are functioning correctly. |
| Cleanup | Remove any debris or packaging materials from the installation. |
| Remote Controls | Test remote controls and keypad entry to ensure synchronization with the opener. |
Frequently Asked Questions
How Long Does It Take to Put a Garage Door Opener?
Installing a garage door opener generally takes 4 to 6 hours. The duration can vary depending on if it's a new setup or a replacement. Understanding the specific opener model is crucial for a successful installation.
DIY versus professional installation can also impact the time needed. Replacing an opener takes about 4 hours, while installing a new one might require up to 6 hours. It's essential to factor in these variables for an efficient installation process.
How Easy Is It to Install a Garage Door Opener?
Installing a garage door opener can be straightforward with the right tools and guidance. Our team has found that by following precise steps, such as aligning tracks and testing safety features, the process becomes manageable for most DIY enthusiasts.
However, we advise caution and thorough research to ensure a successful installation. Remember, safety first!
How Long Does It Take for Garage Doors to Be Installed?
Installing a garage door opener usually takes 4 to 6 hours, depending on factors like door type and size. Professional installations are quicker and more efficient.
Weather conditions can affect installation ease. Proper brackets and wiring are crucial for a smooth process.
We've found that experience and attention to detail are key to timely and successful installations.
What Is the Easiest Garage Door Opener to Install Yourself?
We find the Chamberlain B970 to be the easiest garage door opener to install independently. Its straightforward DIY installation process, complete with clear instructions and pre-programmed remote controls, makes it a breeze for homeowners.
This opener offers convenience and efficiency, allowing us to save time and money. With its user-friendly design, the Chamberlain B970 is our top choice for hassle-free self-installation.
Conclusion
In conclusion, installing a garage door opener can be a time-consuming process, but by following the 10 easy steps outlined in this article, you can ensure a smooth and efficient installation.
Remember, seeking professional help is always an option for those who want to save time and guarantee a properly functioning opener.
By taking the time to install your garage door opener correctly, you can enjoy the convenience and security it provides for years to come.
- About the Author
- Latest Posts
Introducing Ron, the home decor aficionado at ByRetreat, whose passion for creating beautiful and inviting spaces is at the heart of his work. With his deep knowledge of home decor and his innate sense of style, Ron brings a wealth of expertise and a keen eye for detail to the ByRetreat team.
Ron’s love for home decor goes beyond aesthetics; he understands that our surroundings play a significant role in our overall well-being and productivity. With this in mind, Ron is dedicated to transforming remote workspaces into havens of comfort, functionality, and beauty.
-

 Vetted7 days ago
15 Best Tile Adhesives for Outdoor Use – Top Picks for Durable and Weather-Resistant Installations
-

 Beginners Guides3 days ago
Designing Your Retreat Center – Essential Tips
-

 Beginners Guides5 days ago
Are Retreats Profitable
-

 Vetted6 days ago
15 Creative Ways to Cover Up Popcorn Ceilings and Transform Your Space
-

 Vetted5 days ago
15 Best Playroom Storage Solutions to Keep Your Kids' Space Organized and Fun
-

 Vetted3 weeks ago
15 Best Ways to Label Clothes for Nursing Home Residents – Stay Organized and Efficient
-

 Vetted1 week ago
15 Best Plants to Thrive on the North Side of Your House – A Gardener's Guide
-

 Vetted2 weeks ago
15 Best Boxwood Varieties for Thriving in Full Sunlight


