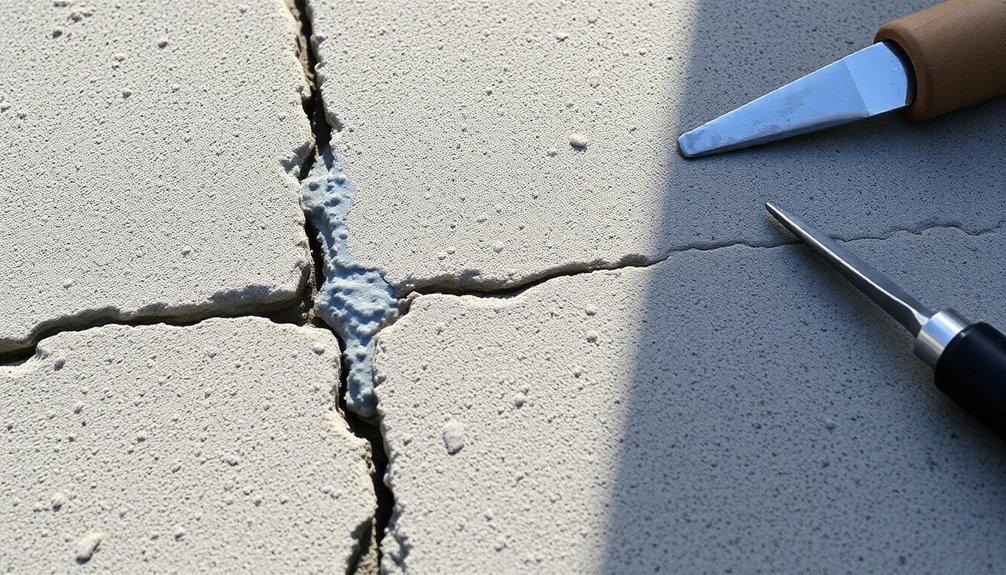
To fill cracks in concrete and keep your surfaces smooth, start by thoroughly cleaning the area. Remove dirt and old sealants, and ensure everything is dry. Choose the right filler—epoxy for durability or polyurethane for flexibility. When applying, use a putty knife for small cracks or a caulk gun for larger ones, pressing firmly to avoid air pockets. Keep the surface even by wiping away excess filler. Finally, apply a compatible bonding agent and allow ample curing time. Regular inspections and maintenance can help preserve your work. There's more to ensure long-lasting results, so let's continue exploring.
Key Takeaways
- Thoroughly clean and prepare the crack by removing debris and using a bonding agent for better adhesion.
- Choose the right filler based on crack size and location; epoxy is durable while polyurethane offers flexibility.
- Fill the crack carefully, ensuring no air pockets, and smooth the surface with a putty knife or caulk gun.
- Allow sufficient curing time and maintain stable conditions to ensure proper bonding and durability.
- Regularly inspect and maintain your concrete surfaces, applying sealers every 1-3 years to protect against future damage.
Preparation
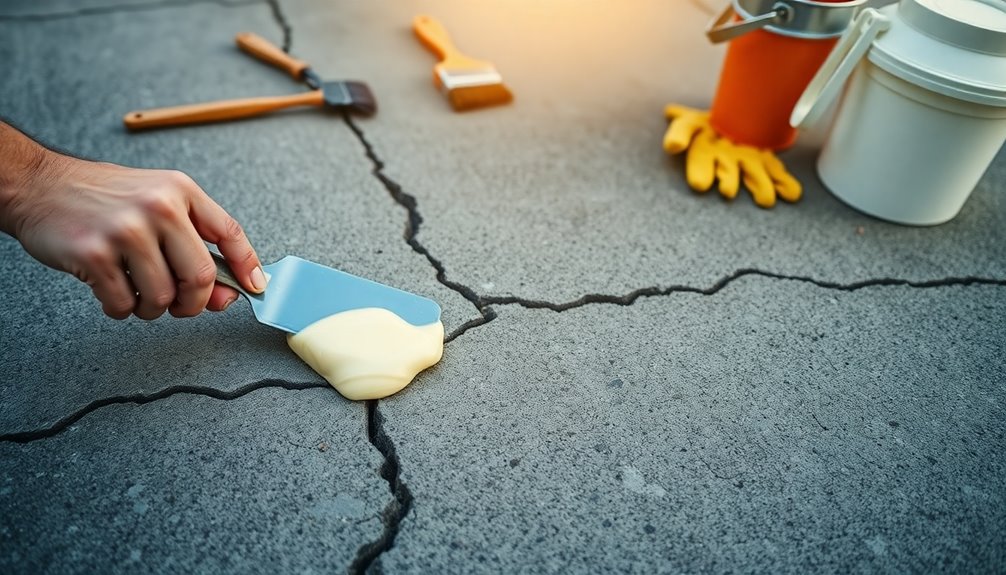
Before you start filling cracks in concrete, it's essential to prepare the surface properly.
Begin by cleaning the area—remove dirt, grime, and old sealants with a wire brush. A pressure washer can help, but keep the setting low to avoid damaging the concrete.
Ensure the surface is completely dry, using towels or letting it air dry.
Next, tackle any loose concrete by chiseling it away, wearing gloves and safety glasses for protection.
Sweep up any remaining dust and debris.
Apply a bonding agent following the manufacturer's instructions, ensuring even coverage.
Finally, check for low spots that might collect water and use a level to ensure everything is even before proceeding to the next steps.
Selecting the Right Filler
Once you've prepared the surface, selecting the right filler is the next critical step in repairing cracks in concrete. You have several options: epoxy-based fillers are durable and resistant to chemicals, while polyurethane-based fillers provide flexibility for expanding cracks.
Acrylic-based fillers are easy to clean and suitable for indoors, whereas cement-based fillers are cost-effective but less durable. Also, consider color matching; ensure your filler blends with the existing concrete, using pigments if necessary. Test the color before application to confirm consistency.
For application, you can use hand tools for small cracks or pneumatic tools for larger ones. Ultimately, choose a filler that offers the durability and performance you need for long-lasting results.
Filling the Crack
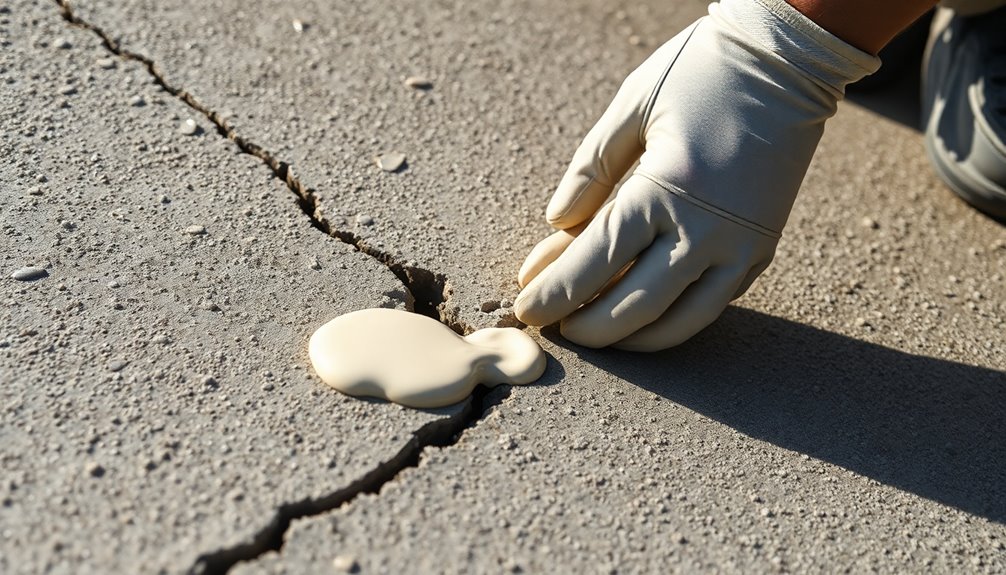
Start by thoroughly preparing the crack to ensure a successful repair. Clean it well to remove dirt and debris, then use a wire brush to roughen the surface.
Apply a bonding agent and let it dry completely before moving on. For filling, choose the right tool: a putty knife or trowel for small cracks, and a caulk gun for larger ones. Make sure your tool is clean and comfortable to handle.
Begin filling the crack with your chosen material, starting from one end and using a steady motion to avoid air pockets. Press the filler firmly in place.
Wipe away any excess with a damp cloth, and allow it to set according to the manufacturer's instructions.
Ensuring Proper Bonding
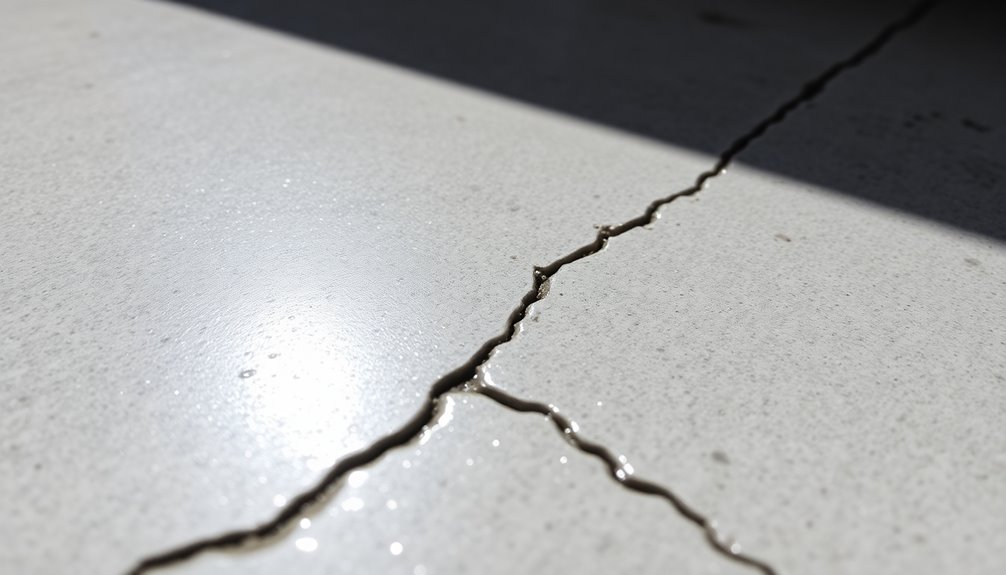
Ensuring proper bonding is crucial for a lasting concrete repair. Start by cleaning the area thoroughly, removing dirt, dust, and loose debris from the crack. Use a concrete etching solution to roughen the surface, and make sure it's completely dry before applying any bonding agents. If there are old sealants, remove them and neutralize the pH of the concrete.
Next, choose a compatible bonding agent based on the crack's depth and width. Follow the manufacturer's recommendations for application. Apply thin layers of the agent with a brush or roller, avoiding overlaps. Allow each layer to dry as instructed.
Finally, give the bond ample time to cure, maintaining stable humidity and temperature throughout the process. Regularly inspect the bond for strength and security.
Smoothing the Surface
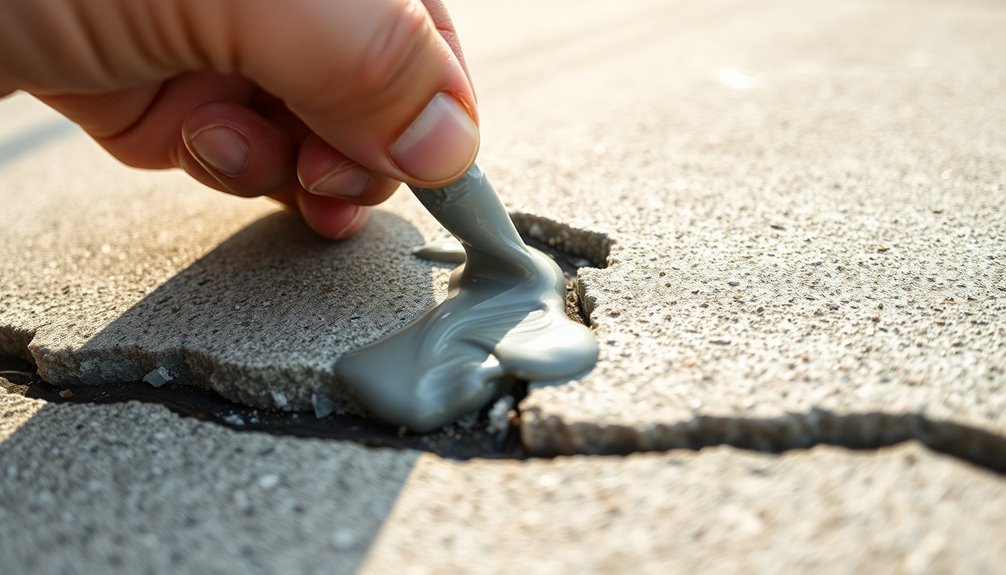
With the bonding process complete, the next step involves smoothing the surface to achieve a seamless finish.
Start by cleaning the area to remove dirt and debris, then scrape off any loose concrete. Fill gaps with sand for a level surface and apply a primer, allowing it to dry completely.
Choose a filler that matches your concrete's color and texture. Use a putty knife to apply the filler, then smooth it out with a trowel. Employ a concrete float for an even finish and use edging tools for sharp edges.
If needed, grind the surface for larger areas and polish for a high-gloss look. Make sure to inspect for imperfections and touch up where necessary.
Maintenance and Protection
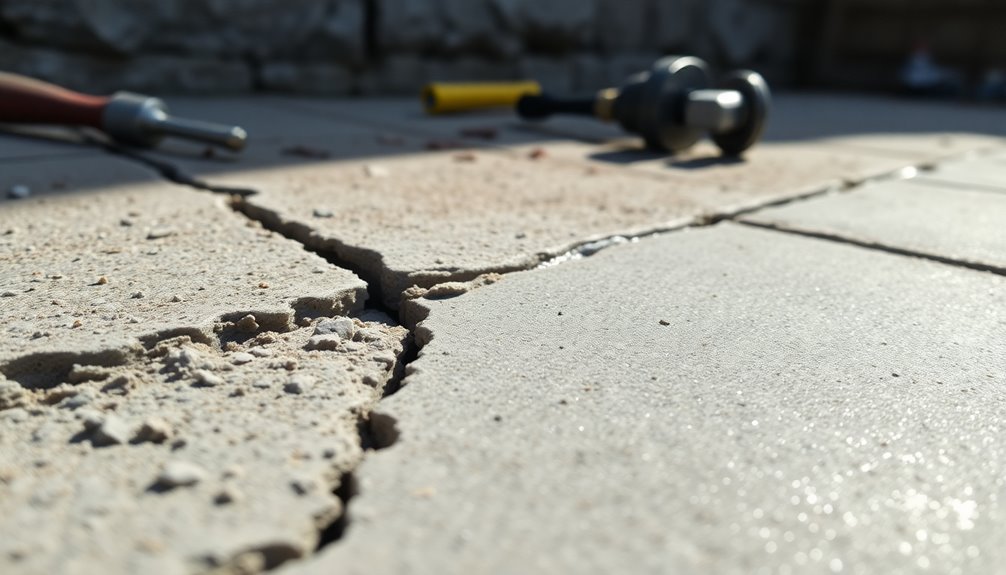
To keep your concrete surfaces looking their best and lasting longer, regular maintenance is essential. Conduct inspections every 6-12 months to check for cracks, discoloration, and efflorescence. Use a flashlight and a level for thorough examination.
Clean the surface with a mild detergent and soft-bristled brushes, avoiding high-pressure washers that can cause damage. After cleaning, let it air dry completely before applying any treatments.
Choose the right sealers—like acrylic or epoxy—and reapply them every 1-3 years based on use and conditions. Additionally, consider protective coatings to enhance durability. Ensure even application and follow curing instructions.
Regular checks will help you catch wear and tear early, keeping your concrete in top shape.
Frequently Asked Questions
How Long Does It Take for Concrete Filler to Cure Completely?
Concrete filler typically takes about 28 days to cure completely, reaching its full strength.
Initially, you'll notice it starts hardening within 1-2 hours. After 24 hours, it can handle light foot traffic.
For moderate use, wait about 7 days.
Remember, environmental factors like temperature and humidity can affect curing times, so keep an eye on those conditions to ensure optimal results.
Always follow the manufacturer's guidelines for the best outcome.
Can I Use Regular Paint Over the Repaired Area?
You can't just use regular paint over the repaired area. First, make sure the surface is clean and completely dry.
You should lightly etch it to improve adhesion, then apply a primer made for concrete.
Choose a paint specifically for concrete surfaces that matches the finish and color of the surrounding area.
Remember to apply thin coats and let everything cure according to the manufacturer's instructions for the best results.
What Temperature Is Best for Applying Concrete Filler?
The best temperature for applying concrete filler falls between 50°F and 90°F.
This range ensures optimal curing and adhesion, making it easier for you to work with the filler.
Avoid applying it in temperatures below 40°F or above 100°F, as this can lead to slower curing, reduced adhesion, or even cracking.
Always consider humidity and direct sunlight, too, as they can impact your filler's performance and finish.
How Do I Know if My Crack Needs Professional Repair?
To know if your crack needs professional repair, check its size and location. If it's wider than 1/4 inch or in a load-bearing area, you should consider expert help.
Look for signs like sinking surfaces, water damage, or unusual noises. If the crack's been there a while and keeps worsening, don't wait.
Delaying repairs can lead to bigger issues and higher costs down the line, so it's best to act promptly.
Is It Safe to Walk on the Repaired Area Immediately?
It's not safe to walk on the repaired area immediately.
You should wait at least 24 hours for the concrete to set properly. During this time, factors like temperature and weather can affect its hardness.
Test the surface to ensure it can bear weight without leaving impressions. If conditions are poor, it's best to wait longer.
Always follow professional advice and manufacturer guidelines to avoid potential damage or injury.
Conclusion
Just like a skilled artist perfects a canvas, you can transform your concrete surface into a masterpiece. By carefully preparing, selecting the right filler, and ensuring a smooth finish, you're not just filling cracks; you're crafting a resilient foundation for your space. Think of each step as a brushstroke, creating a seamless picture that withstands the test of time. With regular maintenance, your work of art will shine, reflecting your dedication to keeping your surfaces smooth and strong.
