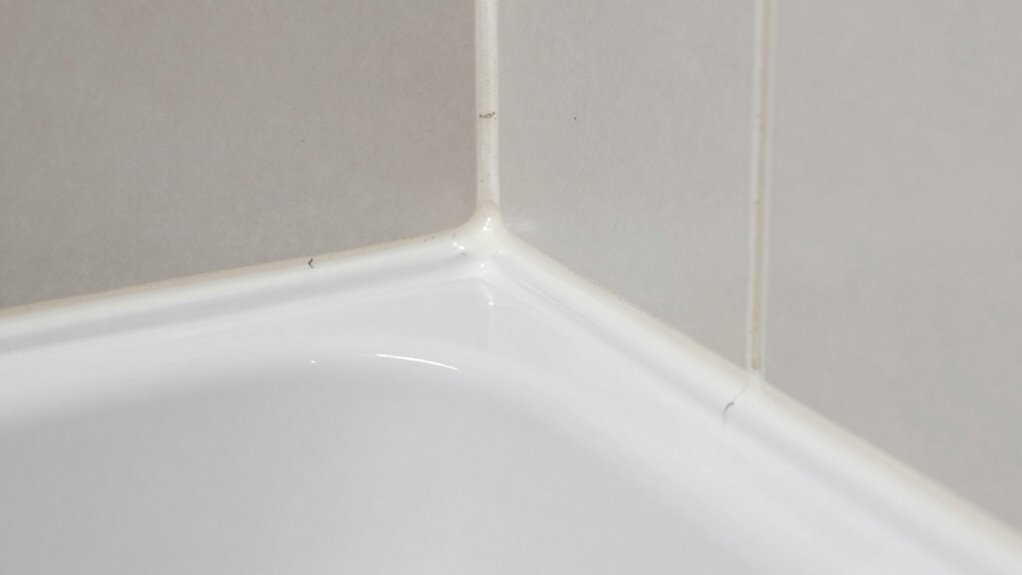
To inspect your bathroom caulk before it fails, look for visible cracks, gaps, or peeling around fixtures like the bathtub and sink. Gently press along the caulk lines to see if it feels soft or brittle. Check for dark spots, fuzzy patches, or discoloration that indicate mold growth, and sniff for musty odors. Be thorough in your examination, especially in hidden areas, to spot early signs of damage. Keep going to discover more useful tips.
Key Takeaways
- Examine caulk lines for cracks, gaps, peeling, or discoloration around fixtures like tubs and sinks.
- Gently press along caulk to test flexibility and identify soft, brittle, or cracked areas.
- Look for mold signs such as fuzzy patches, dark spots, or musty odors indicating hidden moisture issues.
- Remove old caulk thoroughly and clean surfaces to ensure proper adhesion of new sealant.
- Regularly inspect and maintain caulk, ensuring proper ventilation to prevent moisture buildup and mold growth.
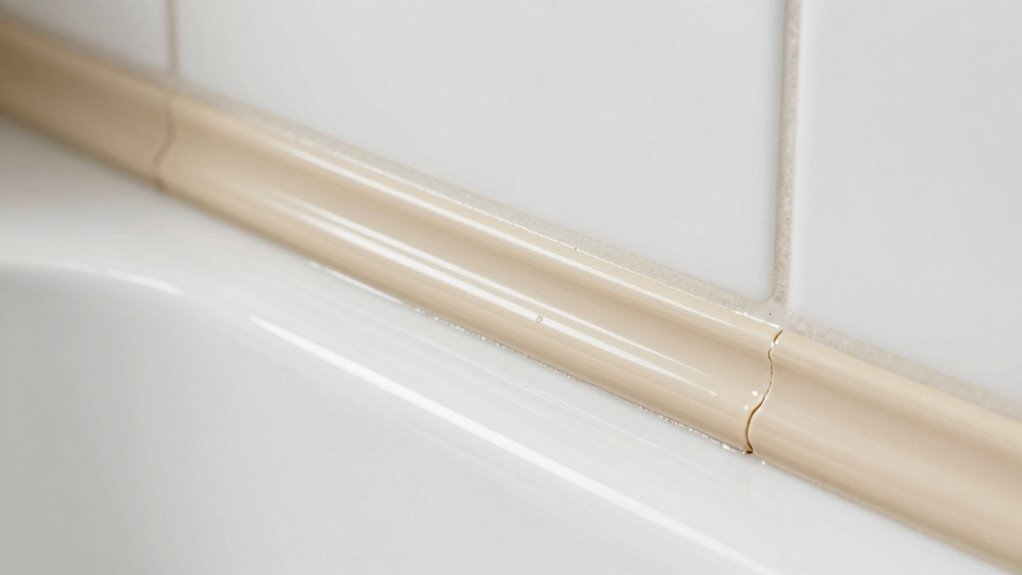
Have you ever wondered if your bathroom caulk is still doing its job? Over time, caulk can deteriorate, leading to leaks, water damage, and even mold growth. The first step in preventing these issues is knowing how to properly inspect it. Start by examining the caulk lines around your bathtub, sink, and shower. Look for visible cracks, gaps, or peeling sections. These signs indicate that the seal isn’t as effective as it should be. Keep in mind that mold growth can often develop in hidden spots, especially where moisture tends to linger. If you see dark spots or fuzzy patches, it’s a clear sign that your caulk might be compromised and needs attention.
Inspect your bathroom caulk regularly for cracks, gaps, or mold to prevent leaks and water damage.
Before you attempt any repairs, surface preparation is key. Proper surface prep ensures that new caulk adheres well and lasts longer. Begin by removing any old, cracked, or loose caulk using a caulk remover tool or a utility knife. Be thorough; lingering old caulk can prevent the new application from sealing properly. Once you’ve stripped away the old material, clean the surface meticulously. Use a mixture of water and a mild detergent or a specialized bathroom cleaner to eliminate soap scum, dirt, and residual mold spores. Rinse the area well and dry it completely with a clean cloth. Moisture left behind can hinder adhesion and promote mold growth under the new caulk, so don’t skip this step. Additionally, understanding moisture control techniques can help prevent future caulk issues. Regular inspections can also help you catch early signs of deterioration before they become costly problems. Incorporating proper ventilation practices can significantly reduce moisture buildup and extend the life of your caulk. Maintaining good indoor air quality by managing humidity levels can further inhibit mold development beneath the caulk.
Inspecting the caulk isn’t just about visual cues; you should also test its flexibility. Gently press along the caulk line with your finger. If it feels brittle or cracks under slight pressure, it’s a sign that it’s deteriorating. Pay close attention to any areas that seem discolored or have become soft. These are often early indicators of failure. Remember, mold growth isn’t always visible on the surface; it can thrive underneath the caulk, especially in damp environments. When inspecting, check for any musty smells or discoloration around the caulked areas, which can also point to hidden mold problems. Conducting regular inspections and understanding damage prevention techniques are essential in maintaining a healthy bathroom environment. Proper surface preparation combined with timely repairs ensures your bathroom stays dry, mold-free, and well-sealed. Taking these steps keeps your bathroom safe and functional, avoiding the costly damage that can result from poorly maintained caulk.
As an affiliate, we earn on qualifying purchases.
Frequently Asked Questions
How Often Should I Inspect Bathroom Caulk?
You should inspect your bathroom caulk at least once every six months. Look for changes in caulk color, such as discoloration or mold, and check the texture for cracks, gaps, or peeling. Regular inspections help you catch issues early, preventing water damage. Keep an eye on these signs, especially around tubs and sinks, so you can reseal or replace the caulk before leaks develop.
Can I Replace Old Caulk Myself?
Yes, you can replace old caulk yourself with some DIY repair. Start by removing the old caulk carefully through caulk removal using a utility knife or caulk remover tool. Clean the area thoroughly and let it dry. Apply fresh, mold-resistant caulk smoothly along the joints. With patience and the right tools, you’ll have your bathroom looking fresh and sealed without needing professional help.
What Tools Are Needed for Caulk Inspection?
To inspect bathroom caulk, you’ll need a flashlight, a utility knife, and a mirror for detailed views. Check for cracks, mold, and deterioration by using inspection techniques like gently probing the caulk’s edges and looking for gaps or discoloration. Knowing different caulk types helps you identify issues—silicone, acrylic, or latex—since each reacts differently to wear. Regular inspections guarantee you catch problems early before leaks or water damage occur.
How Long Does Bathroom Caulk Typically Last?
Bathroom caulk typically lasts between 5 to 10 years, depending on caulk types and maintenance tips. Silicone caulk tends to last longer than acrylic, especially in moist environments. To extend its lifespan, you should regularly clean the area, keep it dry, and inspect for cracks or mold. Proper maintenance helps identify early signs of wear, ensuring you can replace or repair caulk before it fails, maintaining a watertight seal.
Is It Safe to Use the Bathroom During Caulk Drying?
Sure, go ahead and shower during caulk drying—what’s the worst that could happen? Just keep an eye on humidity levels and make certain your ventilation’s working effectively. Excess humidity can slow down drying or cause mold, but if you have good airflow, you’re probably fine. Still, avoid splashing water directly on the fresh caulk, and don’t forget: patience is a virtue, even in the bathroom.
Conclusion
Think of your bathroom caulk as the silent guardian of your space, holding everything together when no one’s watching. Regular inspections are like tending to a trusted friend—catching small issues before they become disasters. When you notice cracks or mold, it’s a warning sign, a whisper from the fortress that needs reinforcement. By paying attention now, you’re not just fixing caulk; you’re safeguarding the sanctuary you rely on every day.