To stop drafts fast around your doors and windows, gather tools like a flashlight, incense stick, or thermal camera to perform an air-leak test. Look for visible gaps or feel for cold spots when you test for drafts. Use smoke or thermal imagery to identify hidden leaks, then seal gaps with weatherstripping or caulk. For even quicker results, learn proven steps to locate and block leaks effectively—continue below to discover how.
Key Takeaways
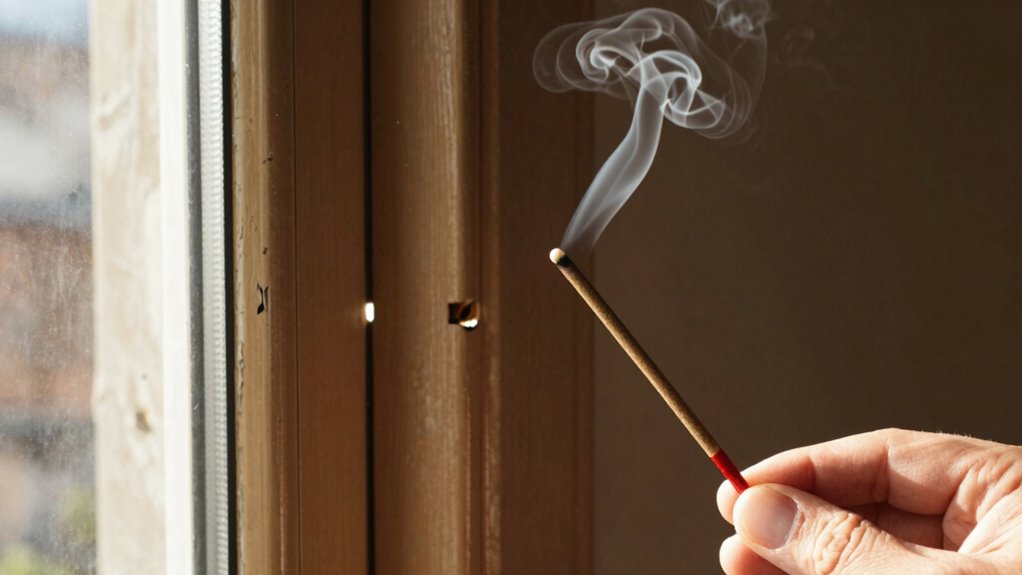
- Use a smoke pen or incense stick near door and window edges to visualize and identify air leaks quickly.
- Perform visual inspections for gaps, cracks, or damaged weatherstripping around frames.
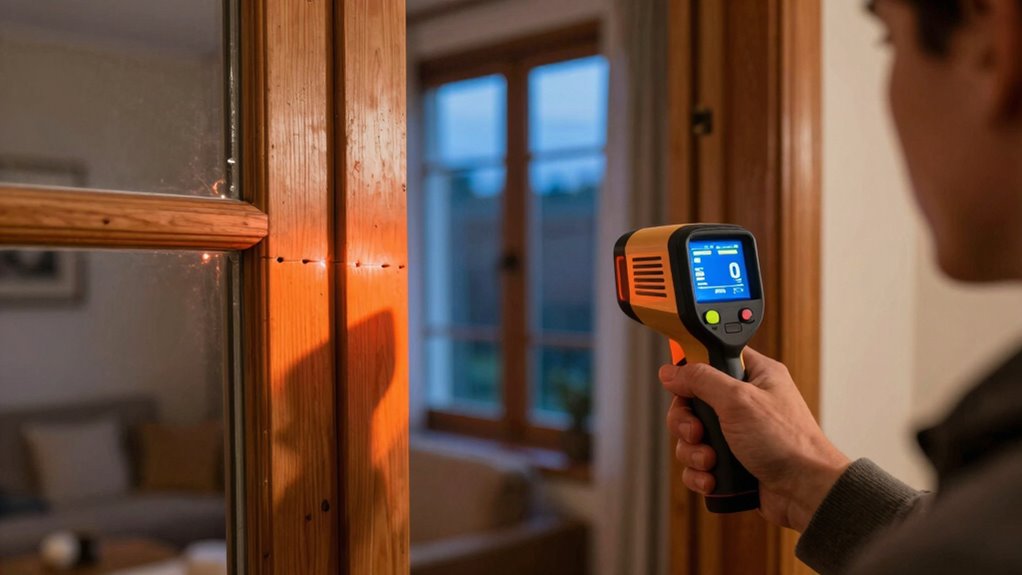
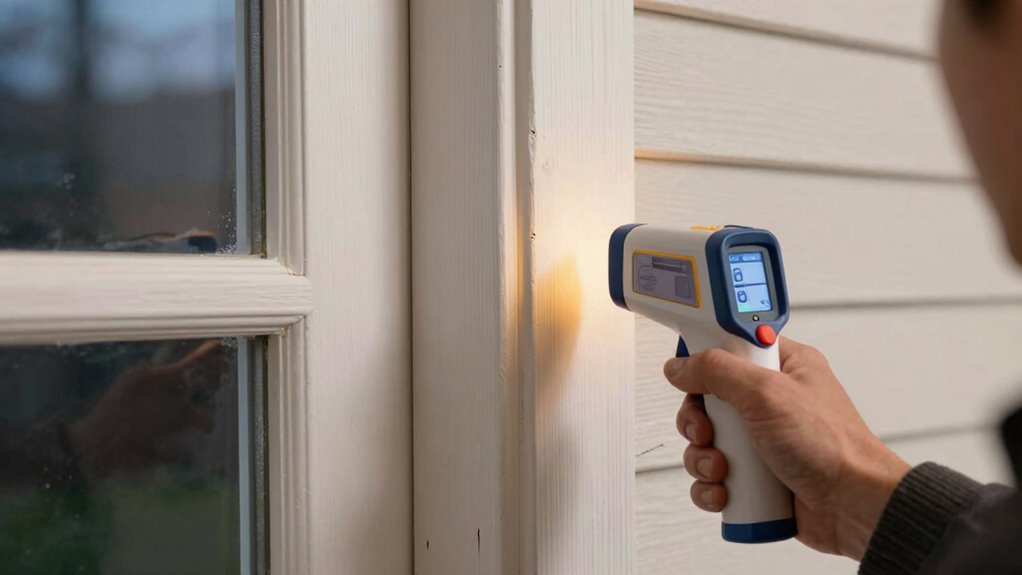
- Check for drafts by feeling surfaces and using thermal cameras to detect temperature differences.
- Seal identified leaks with weatherstripping, caulk, or door sweeps to stop drafts promptly.
- Enhance insulation with draft stoppers and thermal curtains for immediate, effective draft prevention.
Why Do Drafts Happen at Doors and Windows?
Drafts often occur at doors and windows because their seals and weatherstripping can wear out or become damaged over time. Changing weather patterns, such as temperature fluctuations and humidity, accelerate this deterioration, making gaps more likely. Building materials also influence how well your doors and windows seal; some materials expand or contract more than others, creating spaces for air to leak through. As weather patterns shift, the natural movement of materials can cause seals to loosen or crack, increasing drafts. If your doors or windows aren’t properly installed or are made from less durable materials, they become more prone to air leaks. Regular wear and environmental factors combined mean drafts are a common issue at these entry points. Additionally, the type of weatherstripping used can significantly impact the effectiveness of your seals and reduce drafts. Proper installation techniques and choosing the right seal material can further improve your door and window efficiency. Ensuring your seals stay intact through maintenance and quality materials is essential for minimizing drafts over time. Moreover, understanding the building envelope can help identify other areas where drafts may occur, leading to more comprehensive sealing solutions.
How to Gather the Right Tools for Detecting Drafts
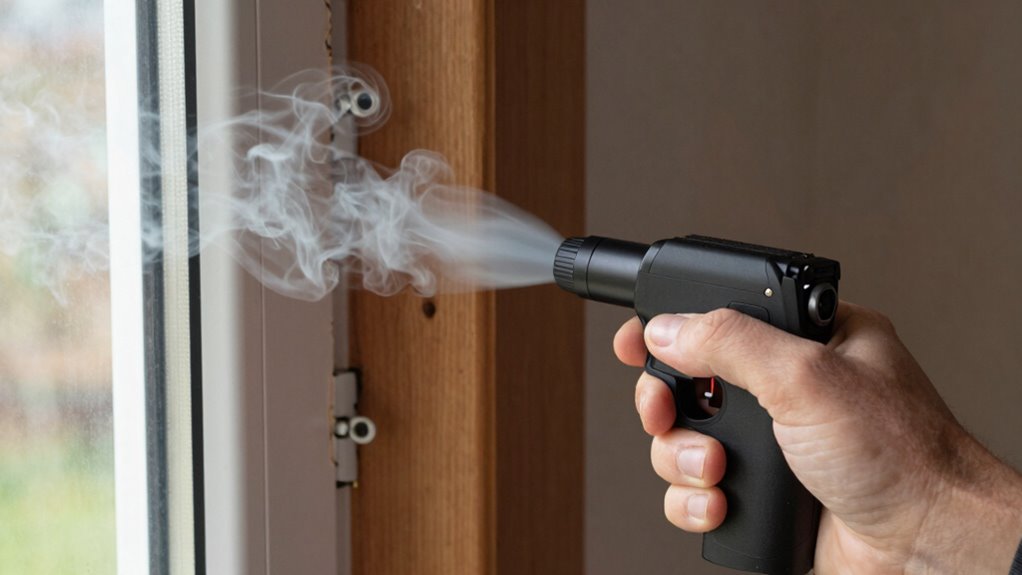
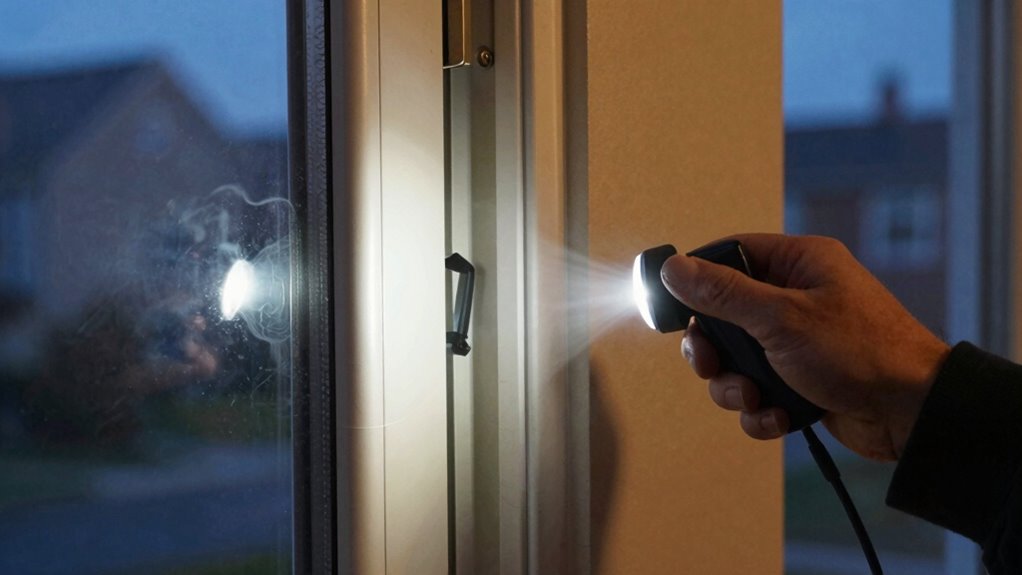
To effectively detect air leaks around your doors and windows, you need to gather the right tools. Start with a flashlight to spot small gaps and cracks, especially in dark corners. A portable smoke pen or incense stick can help reveal drafts by showing airflow. A thermometer or thermal camera offers weatherproofing tips, making it easier to identify temperature differences indicating leaks. Keep a ruler or measuring tape handy for precise assessment. For DIY sealing, a caulking gun and weatherstripping materials are essential. Additionally, a mirror on a stick can help you inspect hard-to-see spots. Collecting these tools ensures you’re prepared to locate drafts accurately, allowing you to apply effective weatherproofing tips that save energy and improve comfort around your home. Using a thermal imaging device can also help you visualize temperature discrepancies more clearly, making the detection process even more straightforward. Incorporating air leak detection techniques can significantly enhance your ability to find even the tiniest gaps that impact your home’s energy efficiency, especially when combined with proper draft sealing methods. Being aware of energy loss factors enables you to target your sealing efforts more effectively.
How to Perform a Door and Window Air-Leak Test Step-by-Step

To get accurate results, start by preparing the testing area—clear away obstructions and make certain of good lighting. Next, you’ll need to gather your tools and get ready to identify drafts. Once everything’s set, you can confidently proceed with the air-leak check itself. Consider using Free Floating techniques for more precise detection of leaks around your doors and windows. Additionally, understanding the ventilation considerations in your space can help ensure that draft detection is thorough and effective. Recognizing airflow patterns can further improve the accuracy of your leak identification process. Being aware of air circulation within your garage can also aid in pinpointing the most common leak locations. Incorporating modern sensing technologies can enhance your ability to detect even the tiniest leaks with greater accuracy.
Prepare the Testing Area
Before starting the air-leak test, you need to prepare the testing area to guarantee accurate results. Clearing the space helps you focus on potential leaks without distractions. Take this time to review your seasonal maintenance and weatherproofing tips to ensure everything is in order. Proper preparation also reduces the chance of false positives caused by environmental factors such as wind or drafts from outside. Proper sealing techniques ensure that your testing results are precise and reliable. Additionally, verifying that your home insulation is intact can improve the accuracy of your test. Ensuring that your backup power systems are properly maintained can also help prevent unexpected outages during testing or storms. Incorporating energy efficiency measures can further enhance the accuracy of your leak detection process. Moreover, paying attention to thermal imaging can help you identify hidden leaks that may not be visible to the naked eye.
Conduct the Air-Leak Check
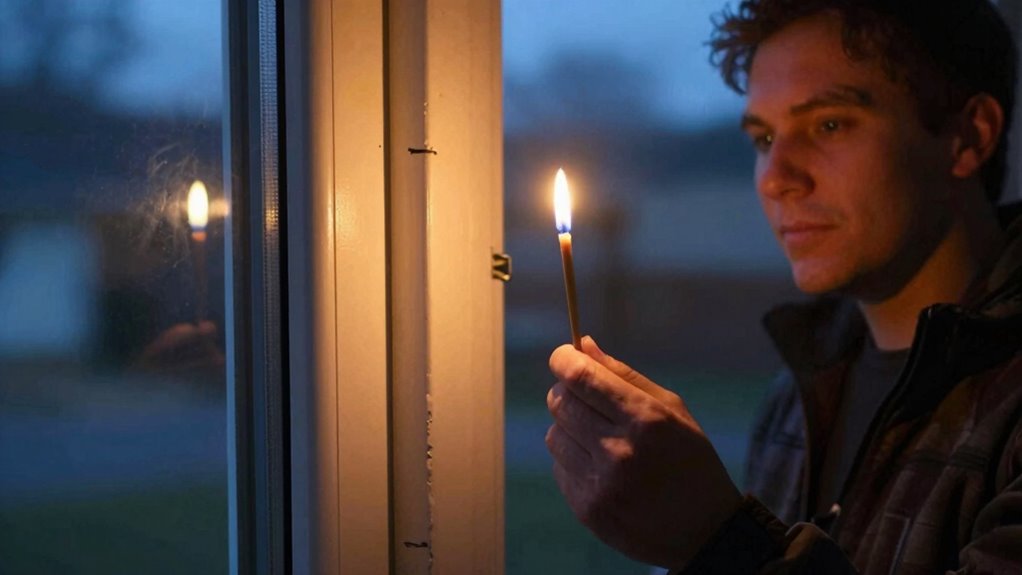
With the area prepared, it’s time to perform the actual air-leak check. Stand inside and hold a lit candle or incense near the edges of your doors and windows. Watch for flickering or smoke movement, indicating leaks. Use this visual cue to identify drafts that need sealing. To improve ventilation tips, open and close doors and windows to observe airflow patterns. Understanding airflow can help you better interpret the movement of air within your home and locate subtle leaks more effectively. Recognizing how airflow dynamics work can enhance your ability to detect drafts accurately. For effective sealing, consider using weatherstripping materials to close gaps around frames. Remember, small leaks matter. Here’s a quick guide:
| Step | Action | Purpose |
|---|---|---|
| 1 | Light candle or incense | Detect drafts visually |
| 2 | Move along edges | Find leaks efficiently |
| 3 | Record findings | Plan sealing areas |
How to Identify Visual and Tactile Signs of Air Leaks

Identifying air leaks often starts with a close visual and tactile inspection. Look for visual clues like gaps, cracked seals, or peeling paint around doors and windows. Feel for drafts by placing your hand near potential leak areas; you’ll notice cool air or a gentle breeze. Use your tactile sensations to detect subtle leaks that aren’t obvious visually. Keep an eye out for these signs:
- Gaps or cracks around frames
- Warped or damaged weatherstripping
- Discolored or stained caulking
- Loose or missing trim
- Cold spots on the surface of the door or window
- Smart home sensors can also help monitor air quality and detect leaks more precisely.
What Your Test Results Show About Draft Locations
When you conduct a blower door test or use a smoke pencil, the results can reveal exactly where drafts are entering your home. These findings highlight common causes, such as gaps around windows, doors, or utility penetrations. Seasonal effects also influence draft locations: cold weather often exposes leaks at poorly sealed points, while summer shows gaps due to temperature shifts. Understanding these results helps prioritize repairs efficiently. Recognizing air leakage points can help you target your sealing efforts more effectively.
How to Pinpoint Difficult-to-Detect Drafts
Difficult-to-detect drafts can be tricky to find because they often occur in hidden or hard-to-reach areas of your home. To improve draft detection, try these methods:
- Use a lit incense stick or a smoke pen near suspected spots; if the smoke wavers, you’ve found a draft.
- Perform a visual inspection around corners, moldings, and behind appliances.
- Check for gaps in weatherstripping and caulking that may hide hidden drafts.
- Feel with your hand during windy days to locate subtle air movements.
- Use a thermal camera to reveal temperature differences indicating draft sources.
How to Seal and Insulate Drafty Spots Effectively
Sealing and insulating drafty spots is essential for maintaining a comfortable and energy-efficient home. Start by installing thermal curtains on your windows to block out cold air and retain indoor heat. For gaps under doors, use draft stoppers or door sweeps to create a tight seal. Check for leaks around window frames and use weatherstripping or caulk to close small cracks. Don’t forget to inspect and seal any other openings, like attic vents or electrical outlets. These simple measures can notably reduce drafts and keep warm air in. Using draft stoppers and thermal curtains together provides an effective barrier against cold spots. Regularly re-evaluate your seals to ensure they stay effective and maintain a cozy, energy-efficient environment year-round.
How the Air-Leak Test Saves You Energy and Money

Conducting an air-leak test can directly save you energy and money by identifying hidden drafts that waste heat and increase your heating bills. When you find and seal leaks, you improve your home’s energy efficiency, reducing the workload on your heating system. This means you’ll use less fuel or electricity, leading to noticeable cost savings over time. Additionally, sealing leaks creates a more comfortable indoor environment by eliminating cold spots and drafts.
Sealing leaks reduces energy waste, lowers bills, and boosts home comfort year-round.
Key benefits include:
- Lower heating and cooling costs
- Reduced energy consumption
- Increased comfort year-round
- Prevention of moisture and mold issues
- Extended lifespan of HVAC systems
Frequently Asked Questions
How Often Should I Perform the Air‑Leak Test?
You should perform the air-leak test at least once a year during seasonal maintenance to catch drafts early. Additionally, schedule a professional inspection if you notice increased drafts or higher energy bills, as they can identify hidden leaks you might miss. Regular testing ensures your home stays energy-efficient and comfortable, preventing drafts from causing discomfort and wasted energy. Keep up with these checks for peak home performance.
Can Weather Conditions Affect the Accuracy of the Test?
Weather conditions can greatly impact the accuracy of your air-leak test. Wind, rain, and temperature fluctuations create weather impact that may cause false readings or mask real leaks. To guarantee your test is accurate, it’s best to perform it during calm, dry days with stable temperatures. This way, you minimize weather effects and get precise results, helping you identify and seal drafts effectively.
Are There DIY Methods to Improve Door and Window Insulation?
Think of your door and window leaks as open doors to winter’s chill. You can improve insulation with simple DIY sealing, like weatherstripping or foam tape around frames. Adding draft stoppers or caulk can also seal gaps. These easy window insulation tricks help keep warmth in and drafts out, making your home cozier and more energy-efficient without needing professional help.
What Safety Precautions Should I Take During Testing?
During testing, you should wear personal protective gear like gloves and safety glasses to protect yourself. Make sure you create a safe testing environment by turning off any open flames, unplugging electrical devices, and working in well-ventilated areas. Keep the testing area clear of obstacles, and handle tools carefully. Taking these precautions helps prevent accidents and ensures accurate results while keeping you safe throughout the process.
How Do I Choose the Best Sealing Products for My Home?
Imagine choosing sealing materials is like selecting the right armor for a battle—your home’s comfort depends on it. Look for high-quality sealing products, like weatherstripping and caulk, that match your specific needs. Consider insulation options that fit your climate. You’ll want durable, weather-resistant materials that prevent drafts efficiently. Test different options if needed, and pick products that will keep your home cozy and energy-efficient for years to come.
Conclusion
By mastering this simple air-leak test, you hold the key to a cozier, more energy-efficient home. Think of each detected draft as a secret leak in your fortress—once sealed, your space becomes a sanctuary of comfort and savings. Don’t let hidden leaks drain your resources; instead, take action now. After all, a tight home isn’t just better for your wallet—it’s a fortress against the elements.